When I design patterns I focus on one type of flower at a time. But in a garden or in the wild, flowers don't grow in isolation, they nestle next to each other.
In this blog post I’ll outline how you can take the elements of different patterns to make your own unique embroidery.
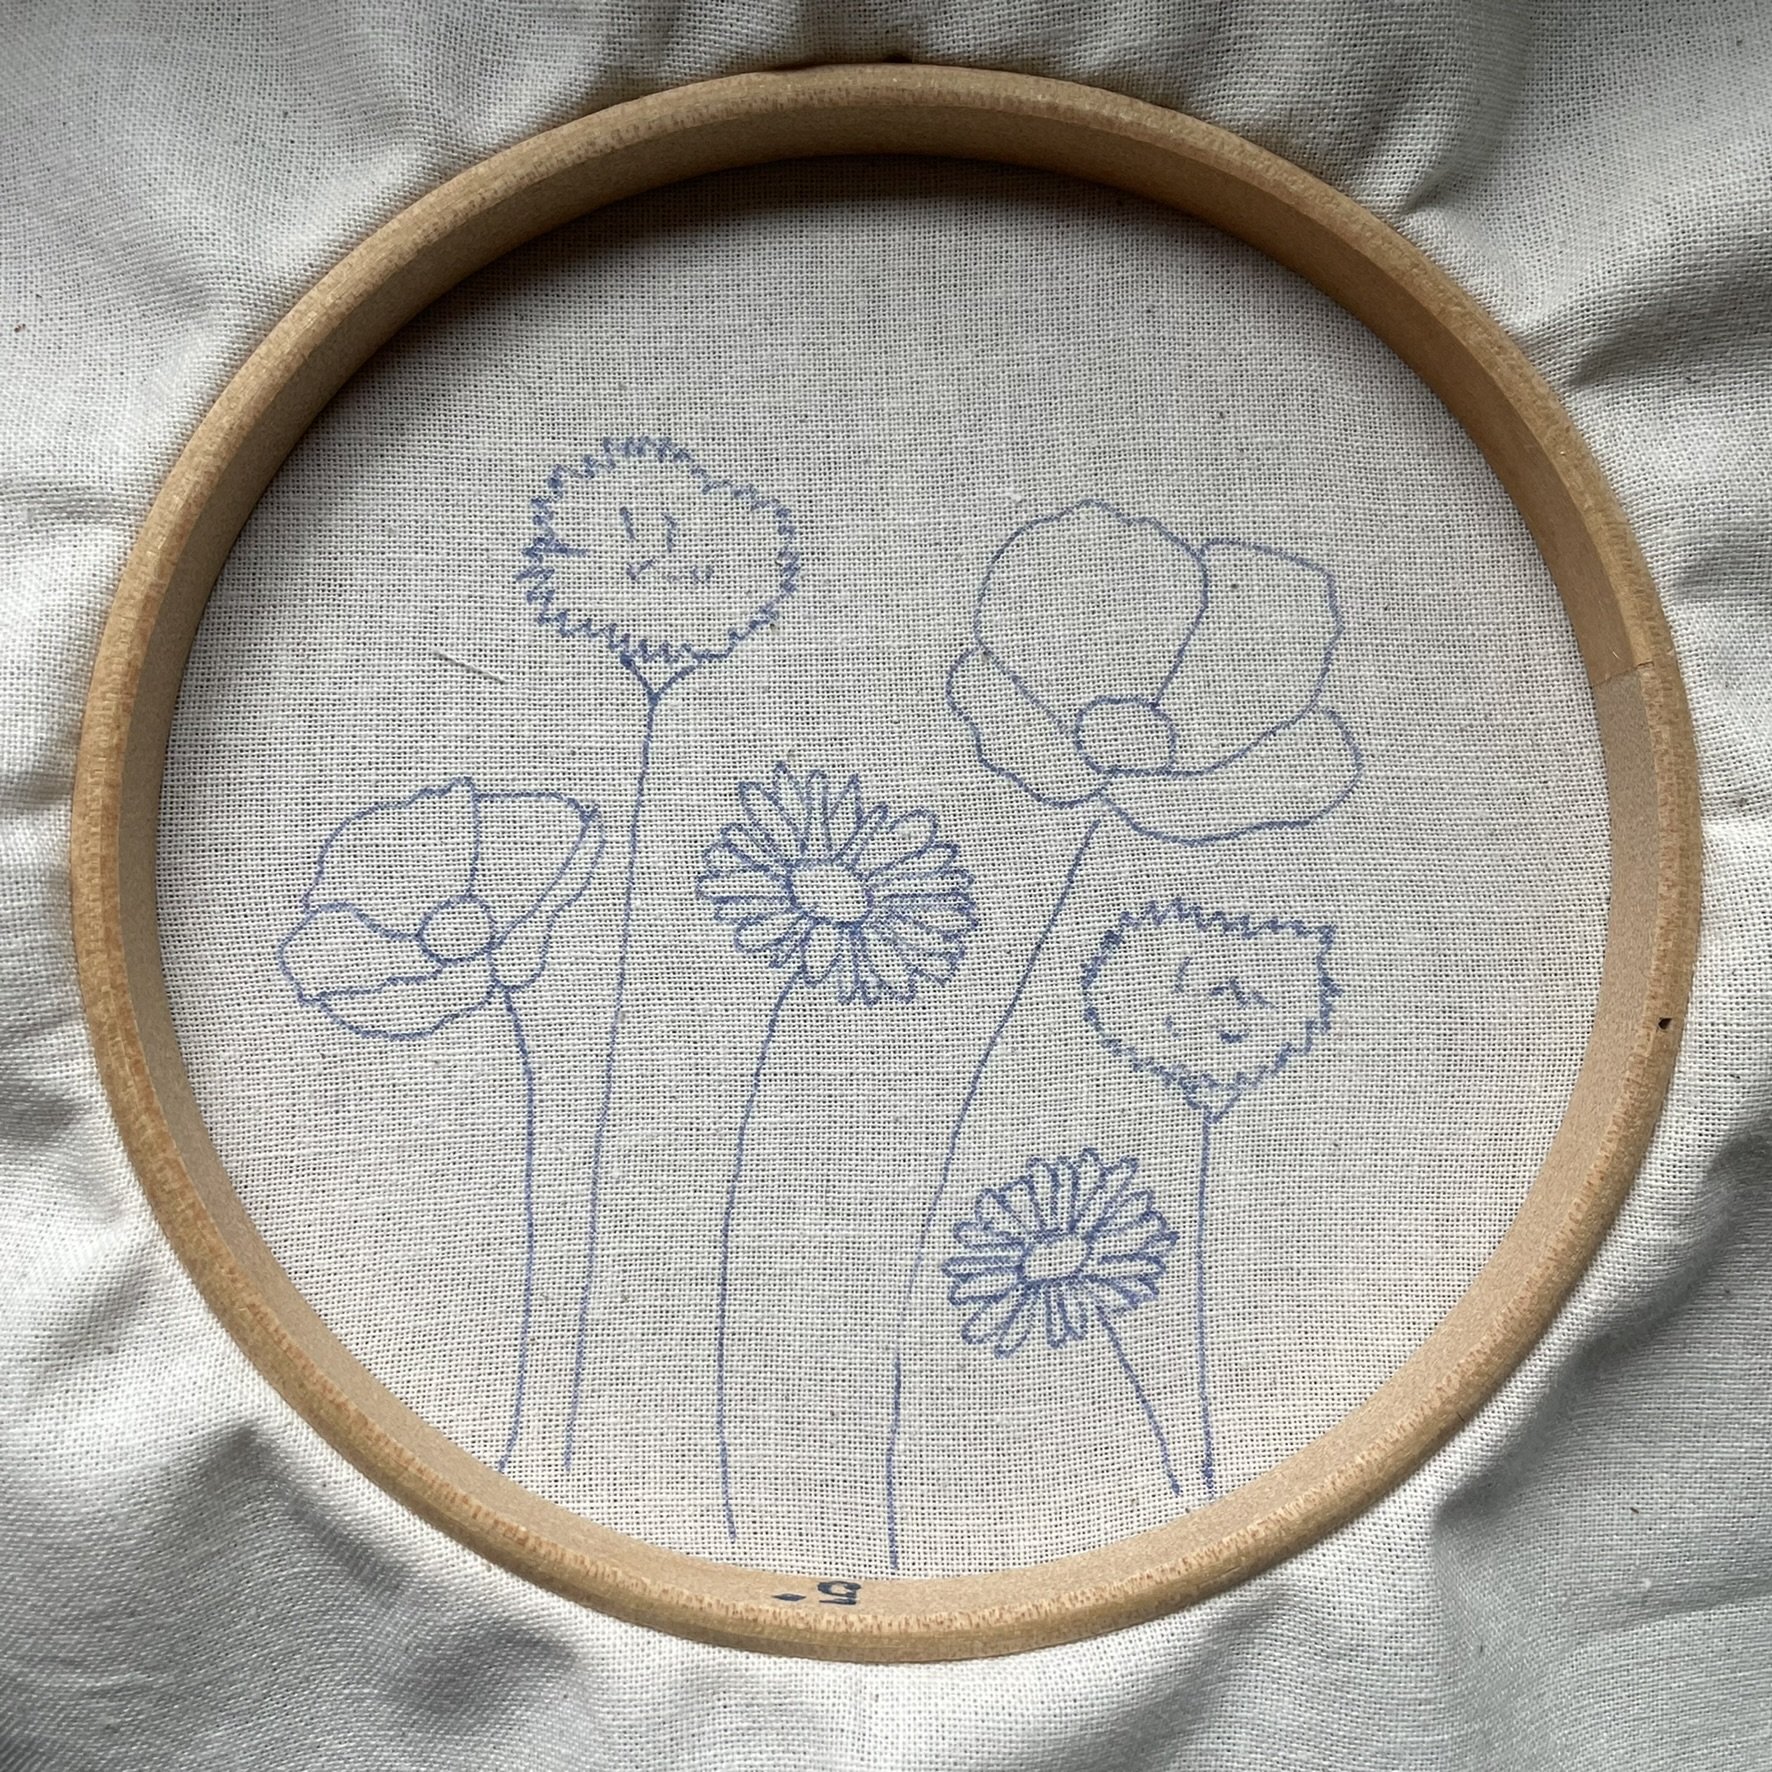
Inspired by this photo snapped during Summer 2020 in Peckham Rye Park, London I combined my cornflower, poppy and daisies patterns.
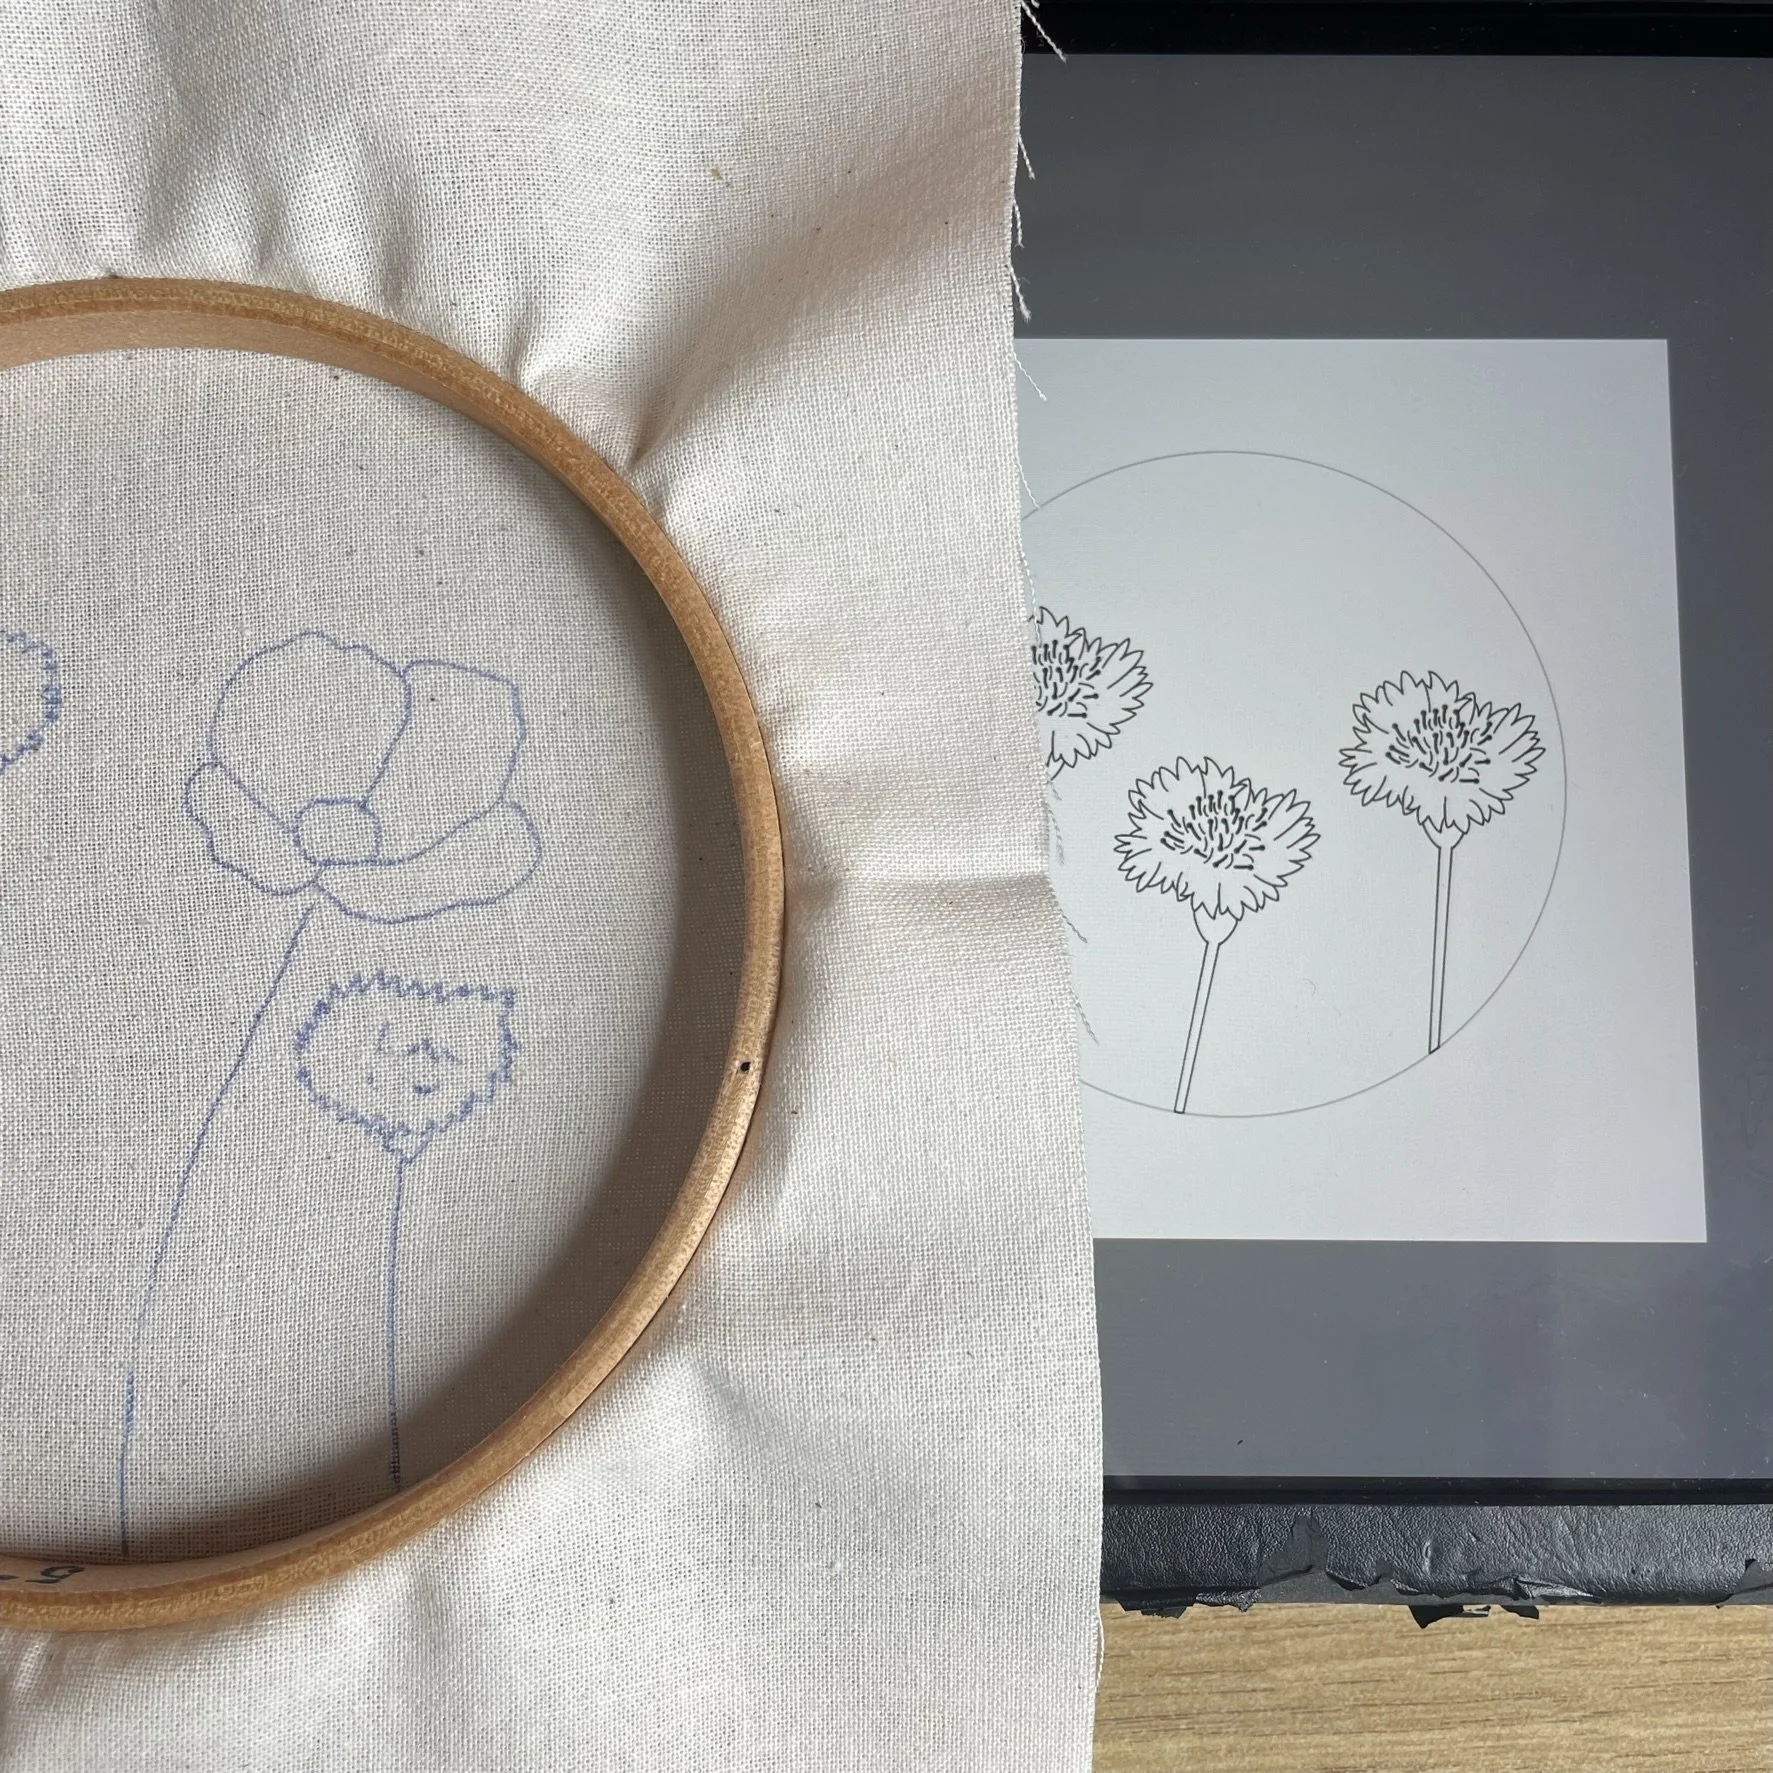
The approach I suggest is to trace each element onto the fabric in turn to build up your design.
1. Download patterns
Start by downloading the patterns you want to use. I recommend working with the digital versions of patterns to allow you to re-size the different flowers.
If you’ve not used or transferred from a digital pattern before then this blog post guides you through how do to this.
2. Trace the first element
Pick the first flower to trace. I recommend picking the largest flower or the one you want to feature. I started with the poppy. You can either trace one of this first flower or several.
3. Add the next layers
When adding the next layers of flowers consider the following when creating your composition and tracing the elements:
Size - varying the size can help make one flower stand out more
Height - you can place all the flowers in a neat row of the same height, but I like to vary the height
Spacing - I have left a gap between each flower but you can decide to overlap the flowers to make a denser composition
Colour - consider where you place flowers of different colours, in my design I wanted a scattered natural look so I’ve mixed up the flowers and colours accordingly.
Enjoyed this blog post? I share embroidery tips and a free embroidery pattern in my monthly newsletter. Sign up here to receive the newsletter on the 1st of each the month.


