• Home
  • Shop
  • Stitch Showcase
  • Embroidery tips
  • Freebies
  • About
  • Contact
Menu

Embellished Elephant

  • Home
  • Shop
  • Stitch Showcase
  • Embroidery tips
  • Freebies
  • About
  • Contact

Focus on hoops

September 1, 2024

Continuing the series where I pick out some of my blog posts to share with you, this month's theme is hoops. 

  • An embroidery hoop is one of the basic tools for embroidery but if you've not looked into the different parts of an embroidery hoop then I've outlined the anatomy of an embroidery hoop and the basics of using an embroidery hoop.

  • I try and buy good quality embroidery hoops but occasionally you get one that it a bit wonky and in this blog I outline how to deal with a wonky hoop. 

  • Hoops are a great way to display your finished embroidery and this blog post looks at different ways to finish the back of an embroidery hoop.

I've got plenty of other blog posts about hoops (and other aspects of embroidery) so I encourage you to browse through the embroidery tips page on my website.

Enjoyed this blog post? I share embroidery tips and a free embroidery pattern in my monthly newsletter. Sign up here to receive the newsletter on the 1st of each the month.

In tips 4 Tags Hoops
Comment
a picture of an embroidery hoop that is wonky overlayed with a blue square with the text - hand embroidery, how to deal with a wonky hoop, www.embellishedelephant.co.uk

How to deal with a wonky hoop

April 6, 2022

The best hoops are nicely round, the inner and outer hoops fit snuggly together meaning they grip the fabric and hold it drum tight for stitching.

A wonky hoop won’t hold your fabric tight enough to give you enough tension to create great stitches. I’ve learned this the hard way. I went on holiday for 2 weeks with plenty of embroidery to keep me busy but only one hoop. I didn’t check that hoop before packing it and spent the whole holiday cursing that hoop!

1 - Rotate the hoops

Try rotating the inner hoop around before adding the fabric to find the best fit and minimise the size of any gaps. Once you’ve found the best fit, mark the edge of the inner and outer hoop in pencil so you can align them back up when you’ve added the fabric.

2 - Wrap the inner hoop

Wrapping fabric tape around the inner hoop can help prevent the fabric getting marked or creased when it is in the hoop. It also helps to bulk out the inner hoop and potentially reduce any of the gaps as the fabric tape gets squished where the hoop it snug and fills the gap where it isn’t.

3 -Ditch it!

Some hoops are just beyond saving and it is worth preventing hours of frustration by just deciding it’s not worth trying to stitch with that hoop.

If you are thrifty and don’t want to just throw it out then it can be used for framing (where the fabric can be held taut with gathering stitches) and/or remove the outer part of the hoop when displaying the finished embroidery.

It could also be used for non-embroidery projects such as a macramé wall hanging

You shouldn’t find any wonky hoops in my kits! I’ve tried and tested a range of hoops from different brands and only use hoops I know are the best. I check the hoops before I add them to my kits to avoid giving you the challenge of a wonky hoop. Why not take a look at the range of kits I have available here.

Enjoyed this blog post? I share embroidery tips and a free embroidery pattern in my monthly newsletter. Sign up here to receive the newsletter on the 1st of each the month.

In tips 3 Tags Hoops
Comment
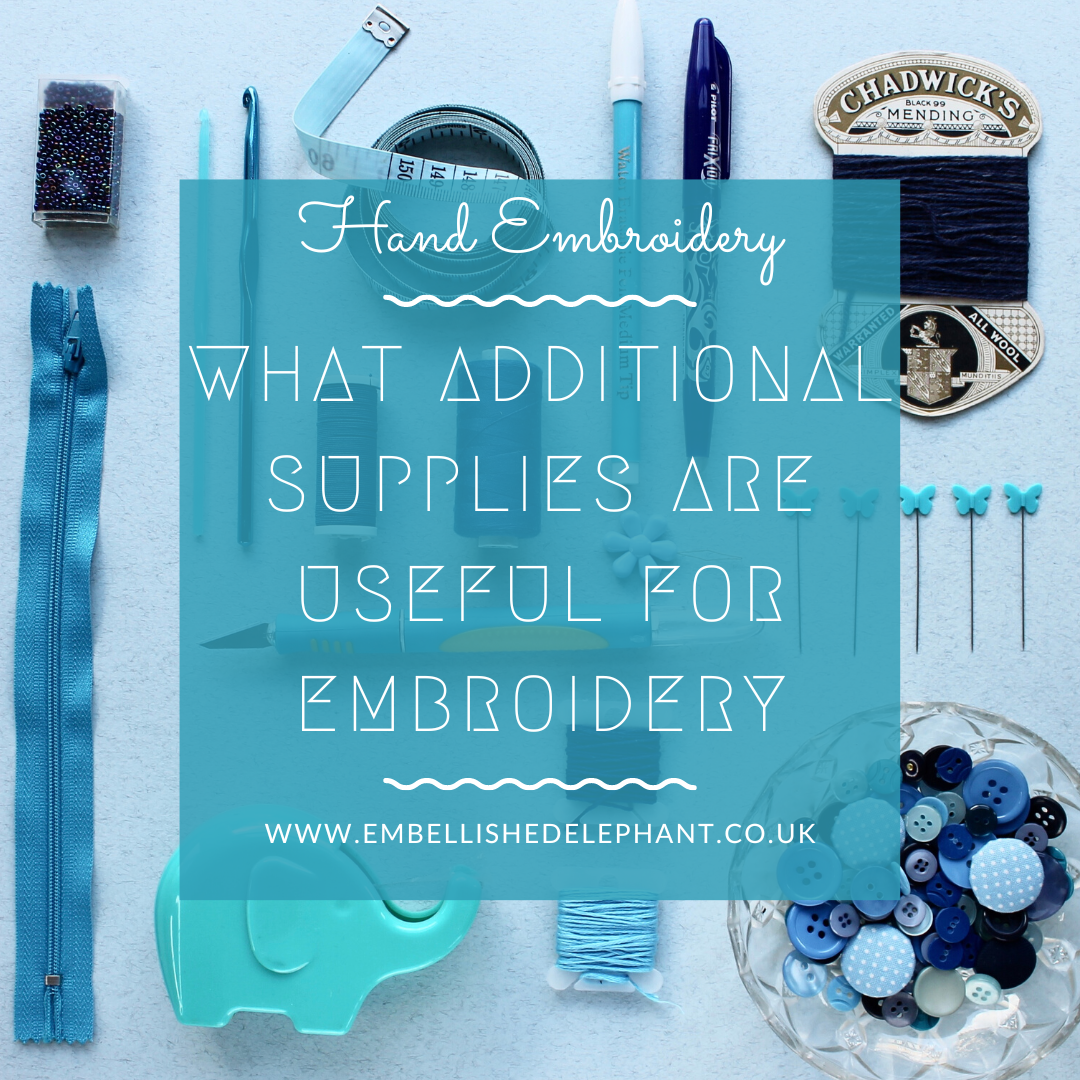
on a blue background, there are lots of different blue coloured craft supplies laid out. Overlayed is a blue square with text saying - hand embroidery, what additional supplies are useful for embroidery

What additional supplies are useful for embroidery?

February 2, 2022

When starting out with embroidery you need just a few supplies (that I cover here). But if you are hooked and want to do more and more embroidery what other supplies might it be useful to invest in (or ask for as gifts).

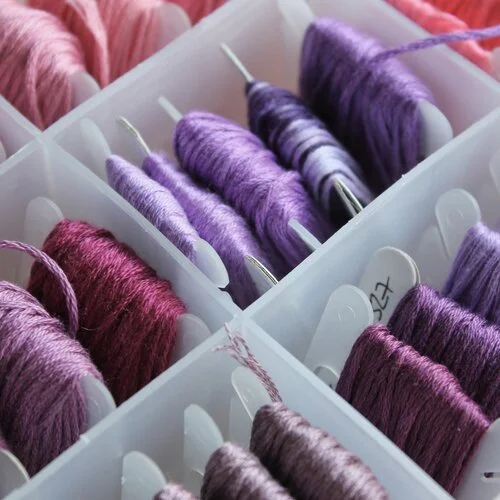
A picture of lots of pink and purple embroidery floss wound onto thread bobbins and stored in a plastic bobbin box

Thread storage

If you’ve stitched a few projects you’ve probably got a growing stash of threads. Investing in some thread storage really helps in finding the colours you need (and ensuring you don’t end up buying skeins of colours you already have).

This blog post covers different storage options, but my favourite is thread boxes and bobbins.

A wooden embroidery hoop stand sitting on a bright pink cutting mat, the stand is holding an embroidery hoop with a partially complete houseplant embroidery

Embroidery Stand

If you are really hooked on embroidery then you may be stitching for hours on end and finding that you get cramp in your hoop holding hand.

An embroidery stand can hold your hoop for you. It also frees up your non-stitching hand so you can use one hand on the top of the fabric and another underneath.

This stand slips under your leg as you are sat stitching to hold it still.

I tend to make sure that I take regular breaks rather than use a stand but I do use on for really large pieces which are much heavier.

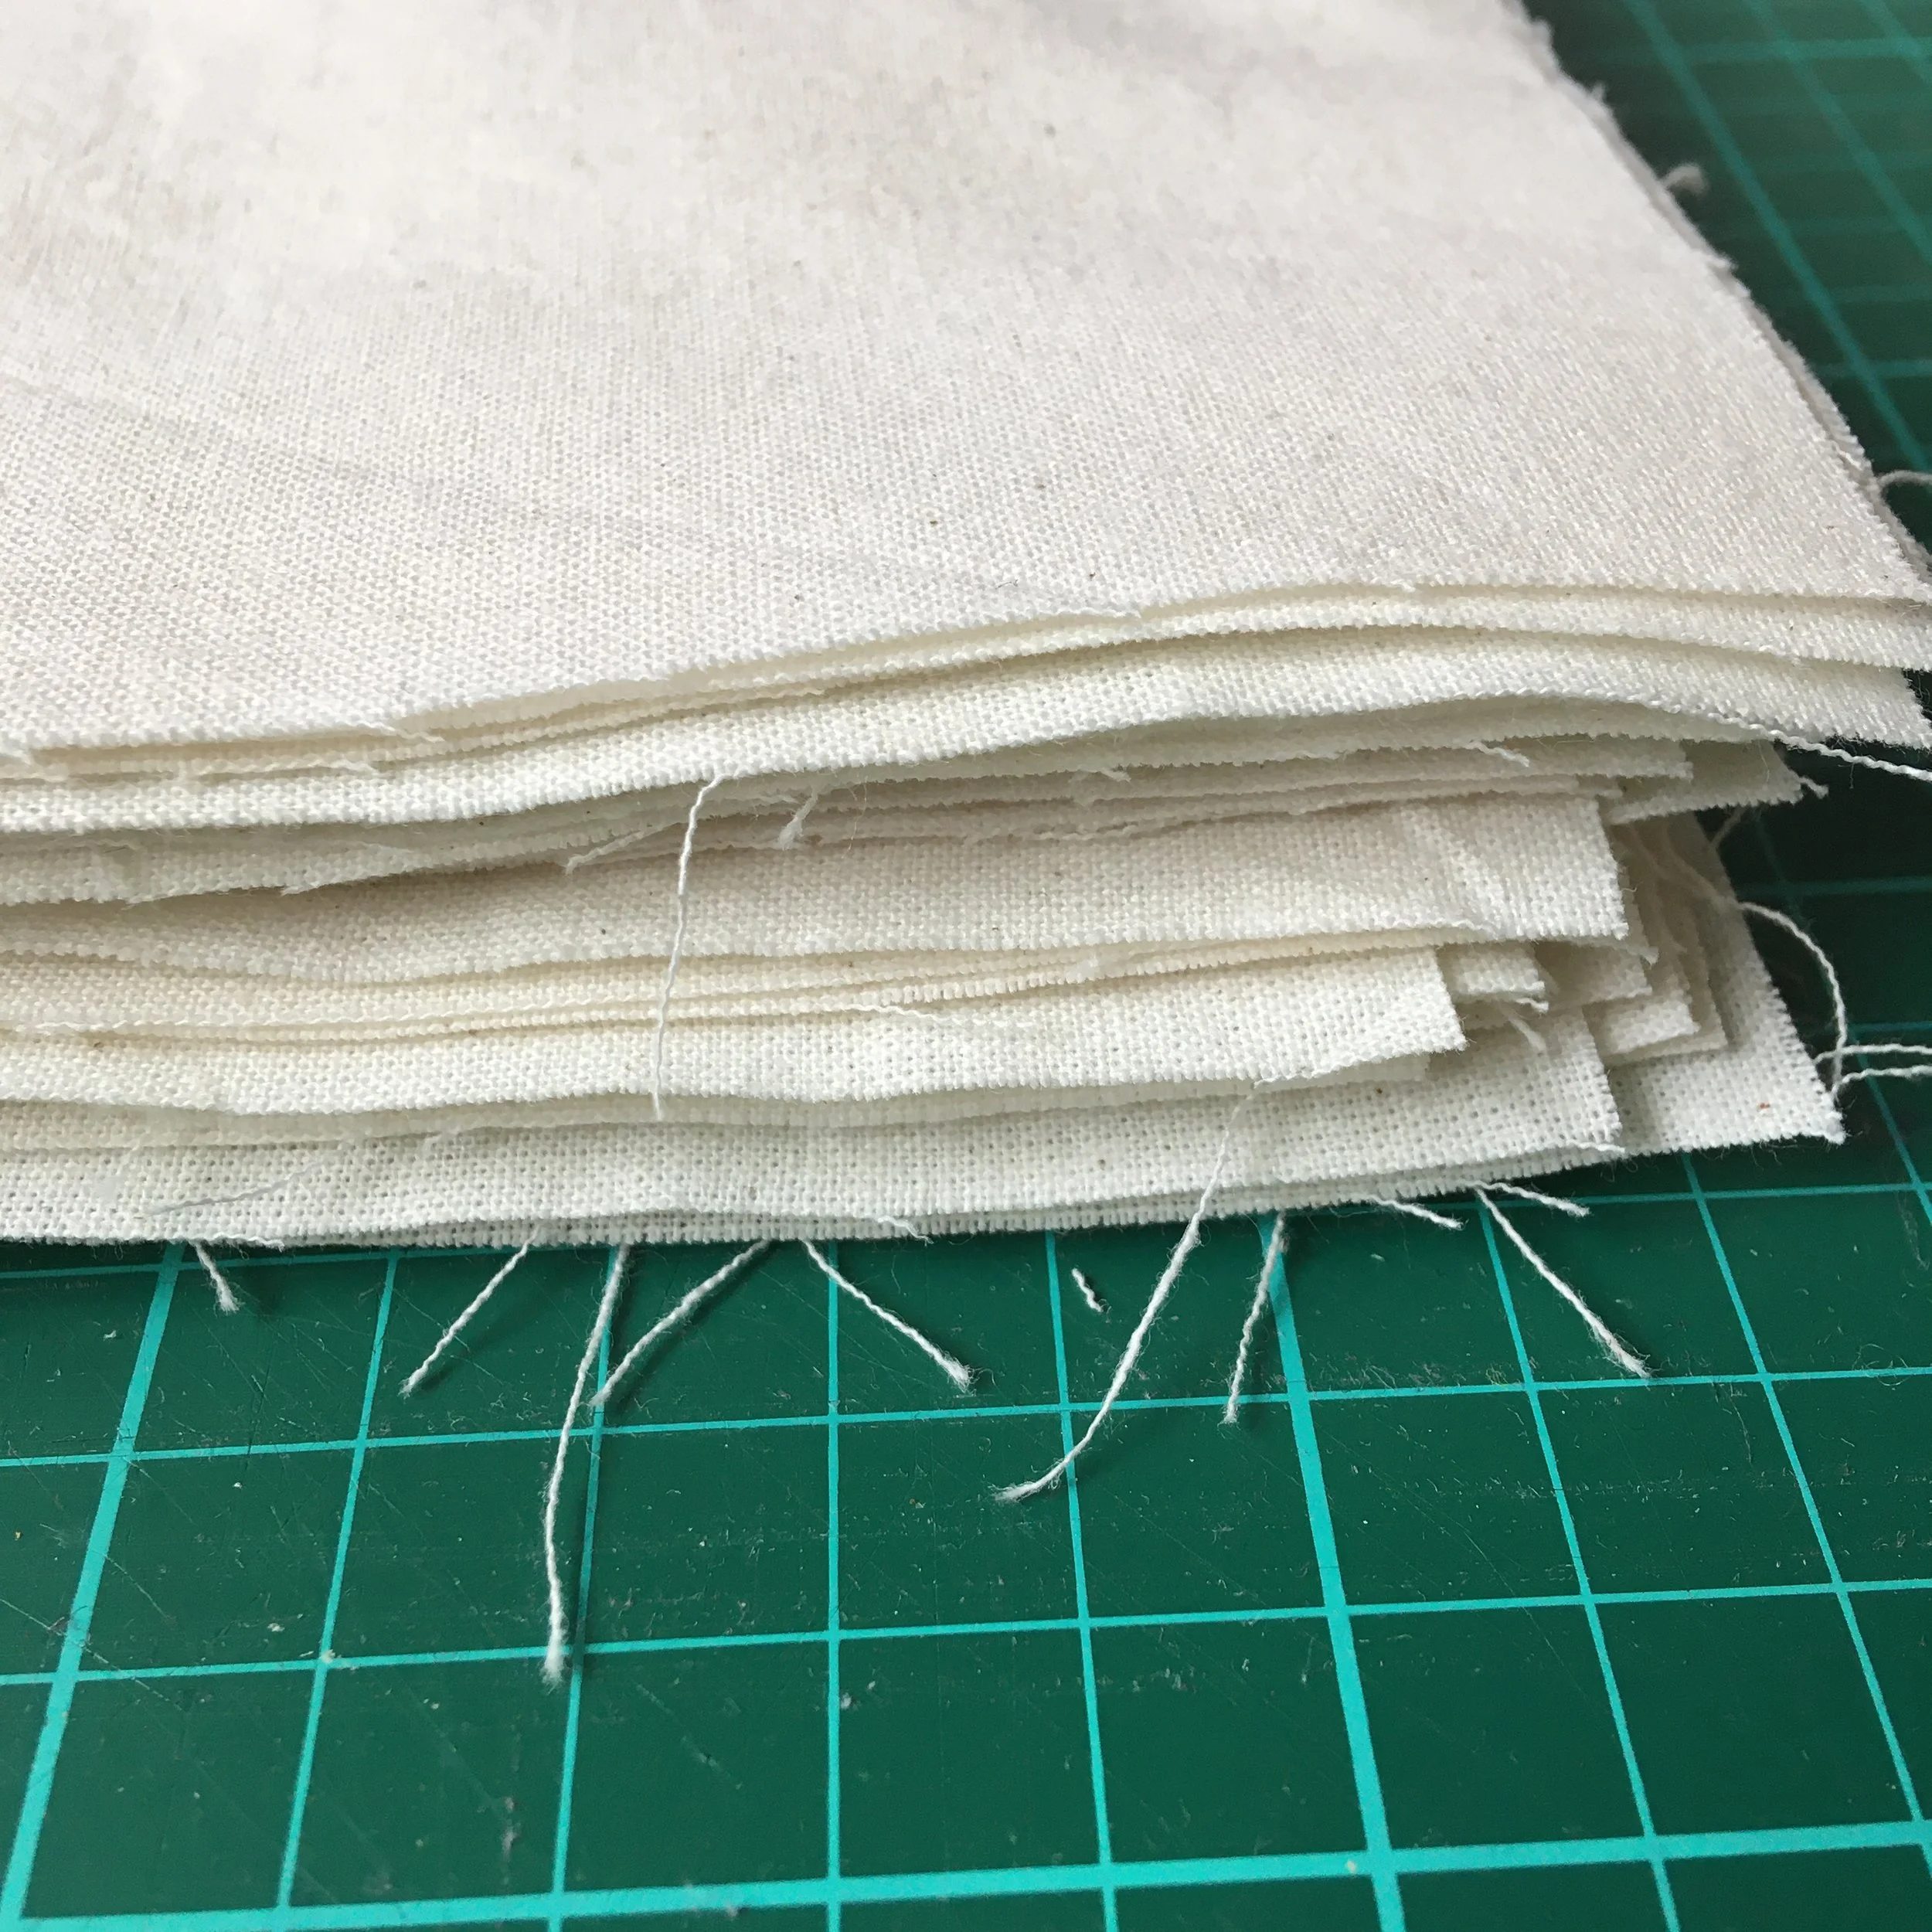
an image of a green cutting mat with a pile of pre-cut calico fabric

Cutting mat, rotary cutter & quilting ruler

You can cut up fabric for stitching on just using scissors but if you are wanting to make life a little easier for you then a cutting mat, rotary cutter and quilting ruler makes life so much simpler.

I will buy a length of calico, wash it (so there is not shrinkage) and iron it (another great investment is to get an iron purely for your crafting). Then I’ll cut up the fabric into lots of squares for different sized hoops so I always have fabric ready to stitch on.

a side table next to a sofa, on the side table is a wooden crate with items such as embroidery magazines, also on the table is a flexible neck table lamp

Daylight bulb or lamp

Especially during the winter if you are wanting to do lots of stitching then investing in a daylight lamp or bulb can be invaluable. It really helps prevent eye strain and in particular when trying to stitch darker colours such as black.

I found that the IKEA NÄVLINGE desk lamp works really well for me. It’s not a daylight bulb but can be easily angled onto my embroidery to give some extra light when I find my eyes straining.

Enjoyed this blog post? I share embroidery tips and a free embroidery pattern in my monthly newsletter. Sign up here to receive the newsletter on the 1st of each the month.

In tips 3 Tags Thread, Hoops, Fabric
Comment
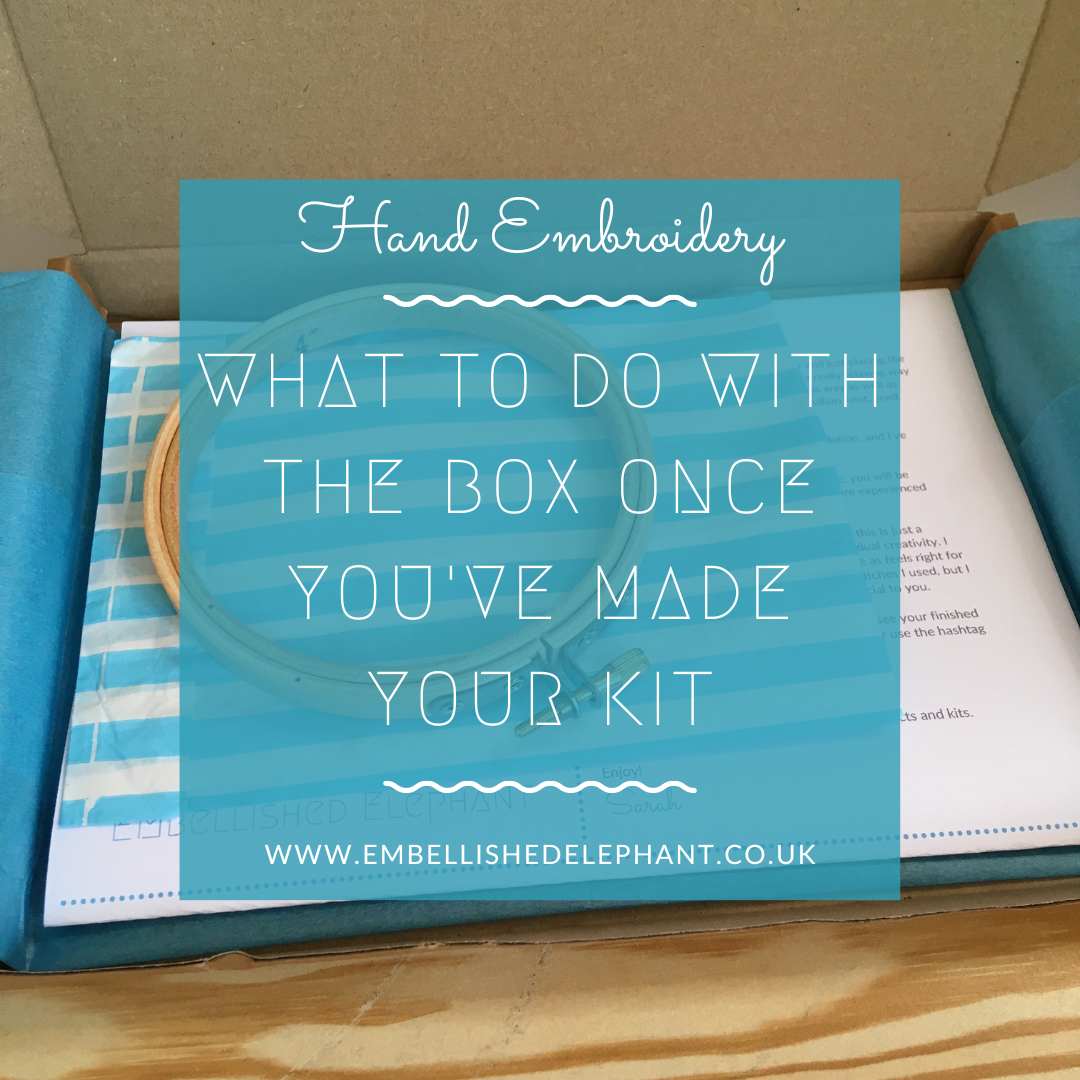
A picture of a A5 pip box with the contents of an embroidery kit inside. Overlaid is a blue square with with text saying - hand embroidery, what to do with the box once you've made your kit, www.embellishedelephant.co.uk

What to do with the box once you've made your kit

September 15, 2021

The kits I design are sent out in an A5 mailer box. I chose these boxes for a number of reasons including that they are recyclable and they fit through the letterbox.

But what do you do with the box once you’ve stitched your kit? You can store the instructions and any leftover materials in it but here are some other ideas.

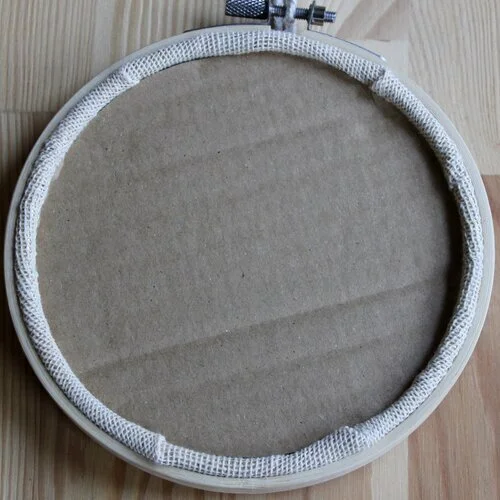
A picture of the back of an embroidery hoop where the fabric is tucked in and held in place with a circle of cardboard

Use it to back your hoop

This is my current favourite way to back a finished embroidery hoop as it is so simple.

Draw round the inner hoop on a bit of cardboard. Cut it out inside the line. Gather the lose fabric at the back of your hoop (you can sometimes get away with not having done this). The cardboard backing should fit snuggly in the back of the hoop. If it doesn’t fit then carefully trim a small amount all the way around.

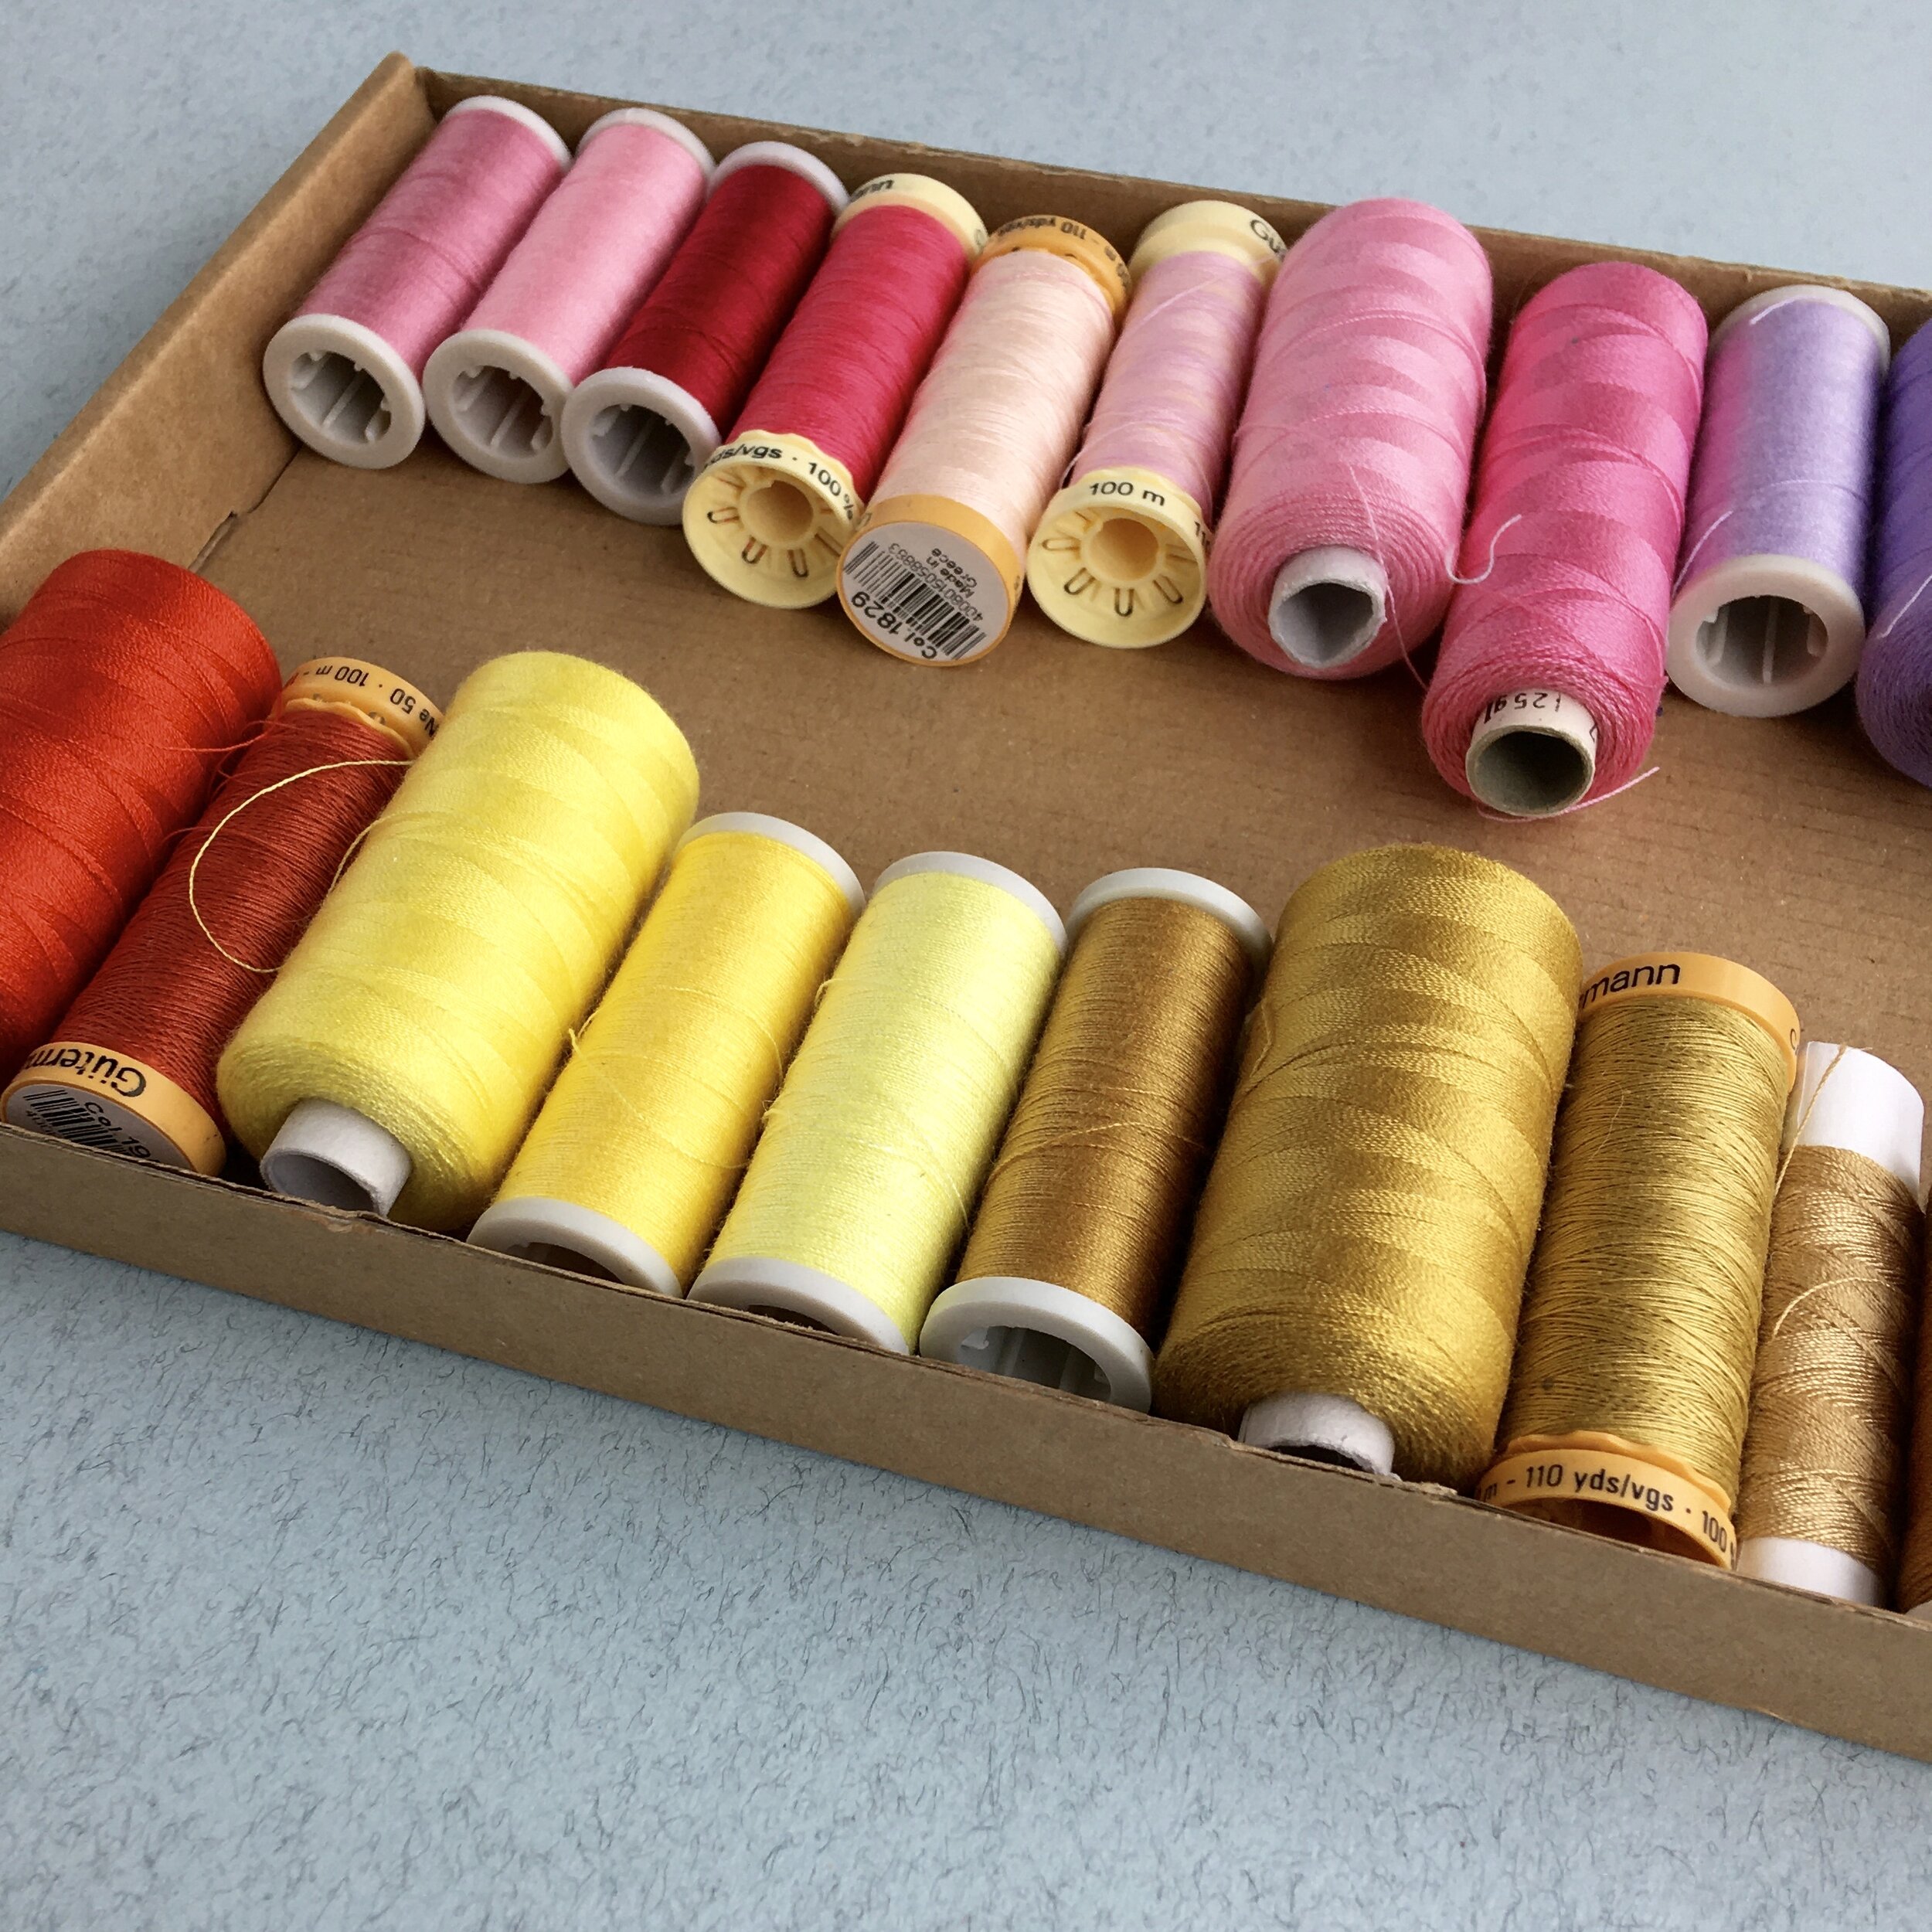
A picture of an A5 large letter box with the lid cut off to create a tray. In the tray are spools of thread in pinks and yellows

Create a tray to store your craft project/materials

If the box is damaged or you’ve used the top of the box to back your hoop then the rest of the box makes a great storage tray.

I’ve recently used some of these boxes to organise my sewing threads. Previously all of my sewing threads were jumbled up in a draw in my craft cupboard and it was difficult to see whether I had the right colours for my projects.

Using these boxes as trays has really helped to organise this drawer and they stack neatly on top of each other.

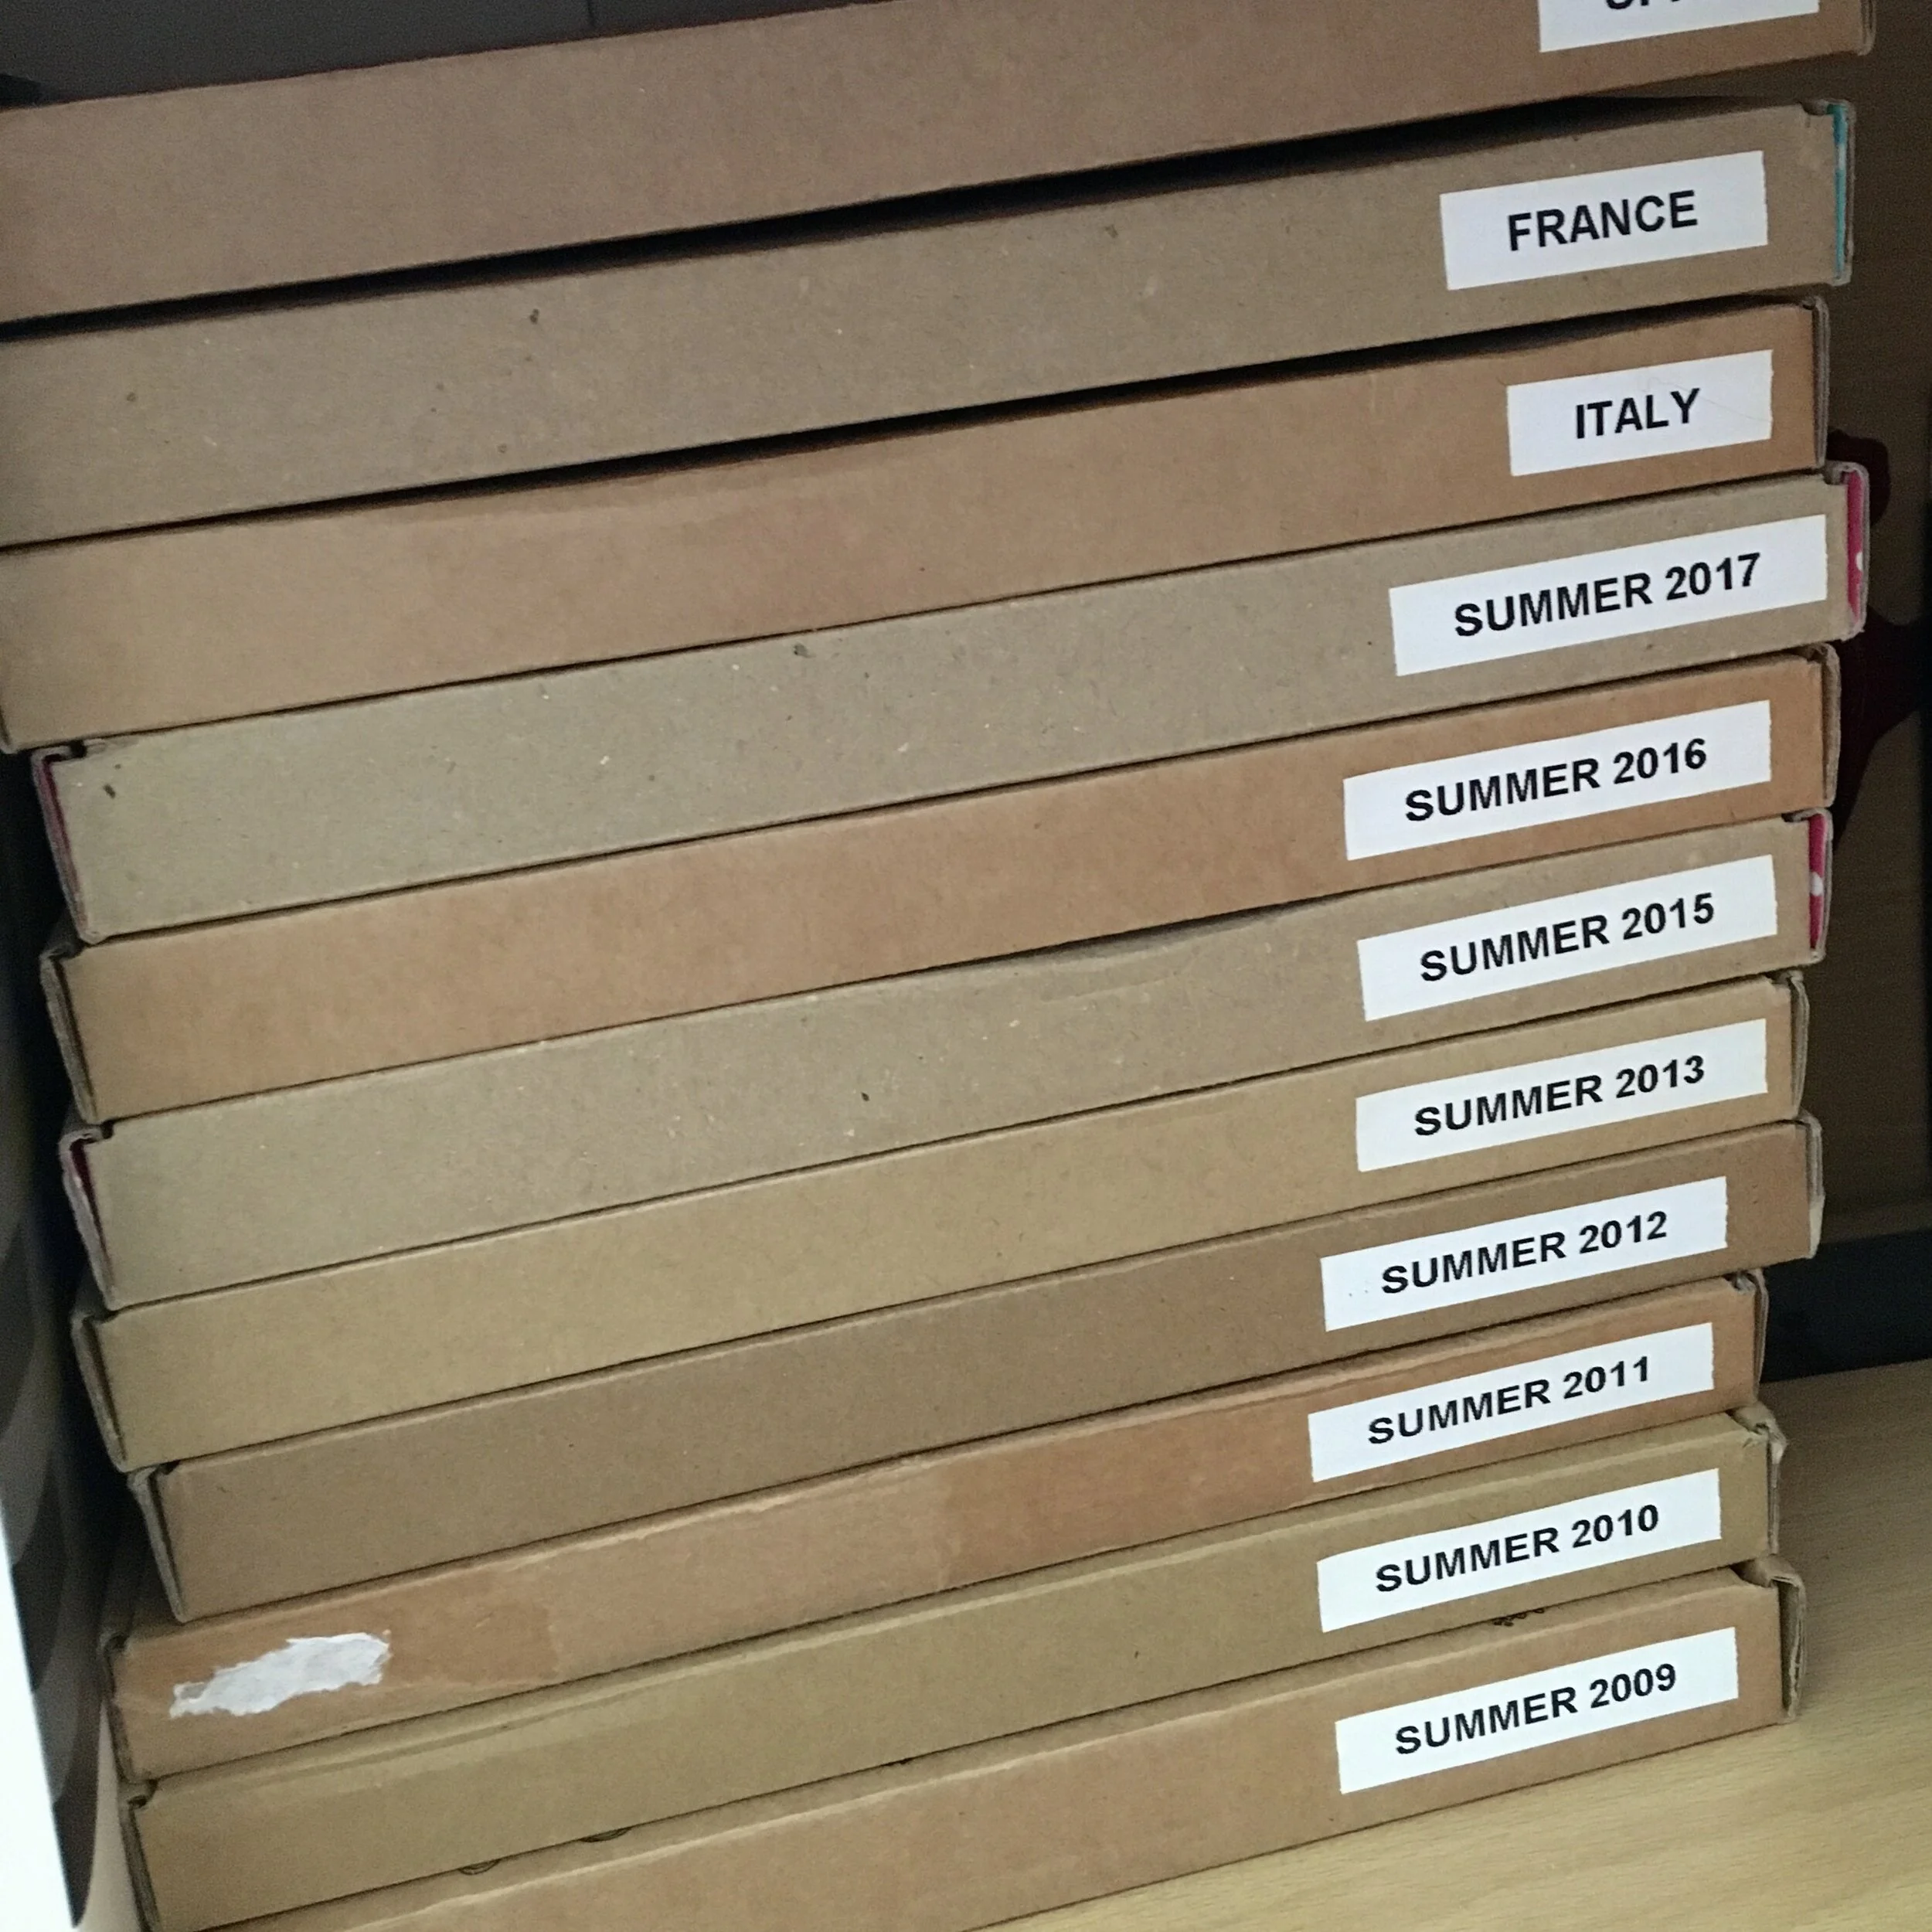
A stack of A5 large letter postal boxes with labels on the right hand spine

Store keepsakes

Whenever I come back from travelling I have a bunch of little items such as museum entrance tickets, postcards etc that I keep as reminders of the trip. These boxes are perfect for storing all of this bits and pieces in.

You can keep the box plain (I remove all the postage labels etc) or you can cover it in decorative paper. I label all my boxes so that I can easily find what I need when I want a trip down memory lane.

A picture of a small rectangle of cardboard with embroidered details and a tassel at the bottom

Embroidered cardboard jewellery

A great way to use up any embroidery thread from your kit as well as the cardboard box.

Cut out a shape from your box & plan your design. Create holes for you to stitch through using a pin and something to protect your surface such as a cutting mat (or another piece of cardboard). Get stitching!

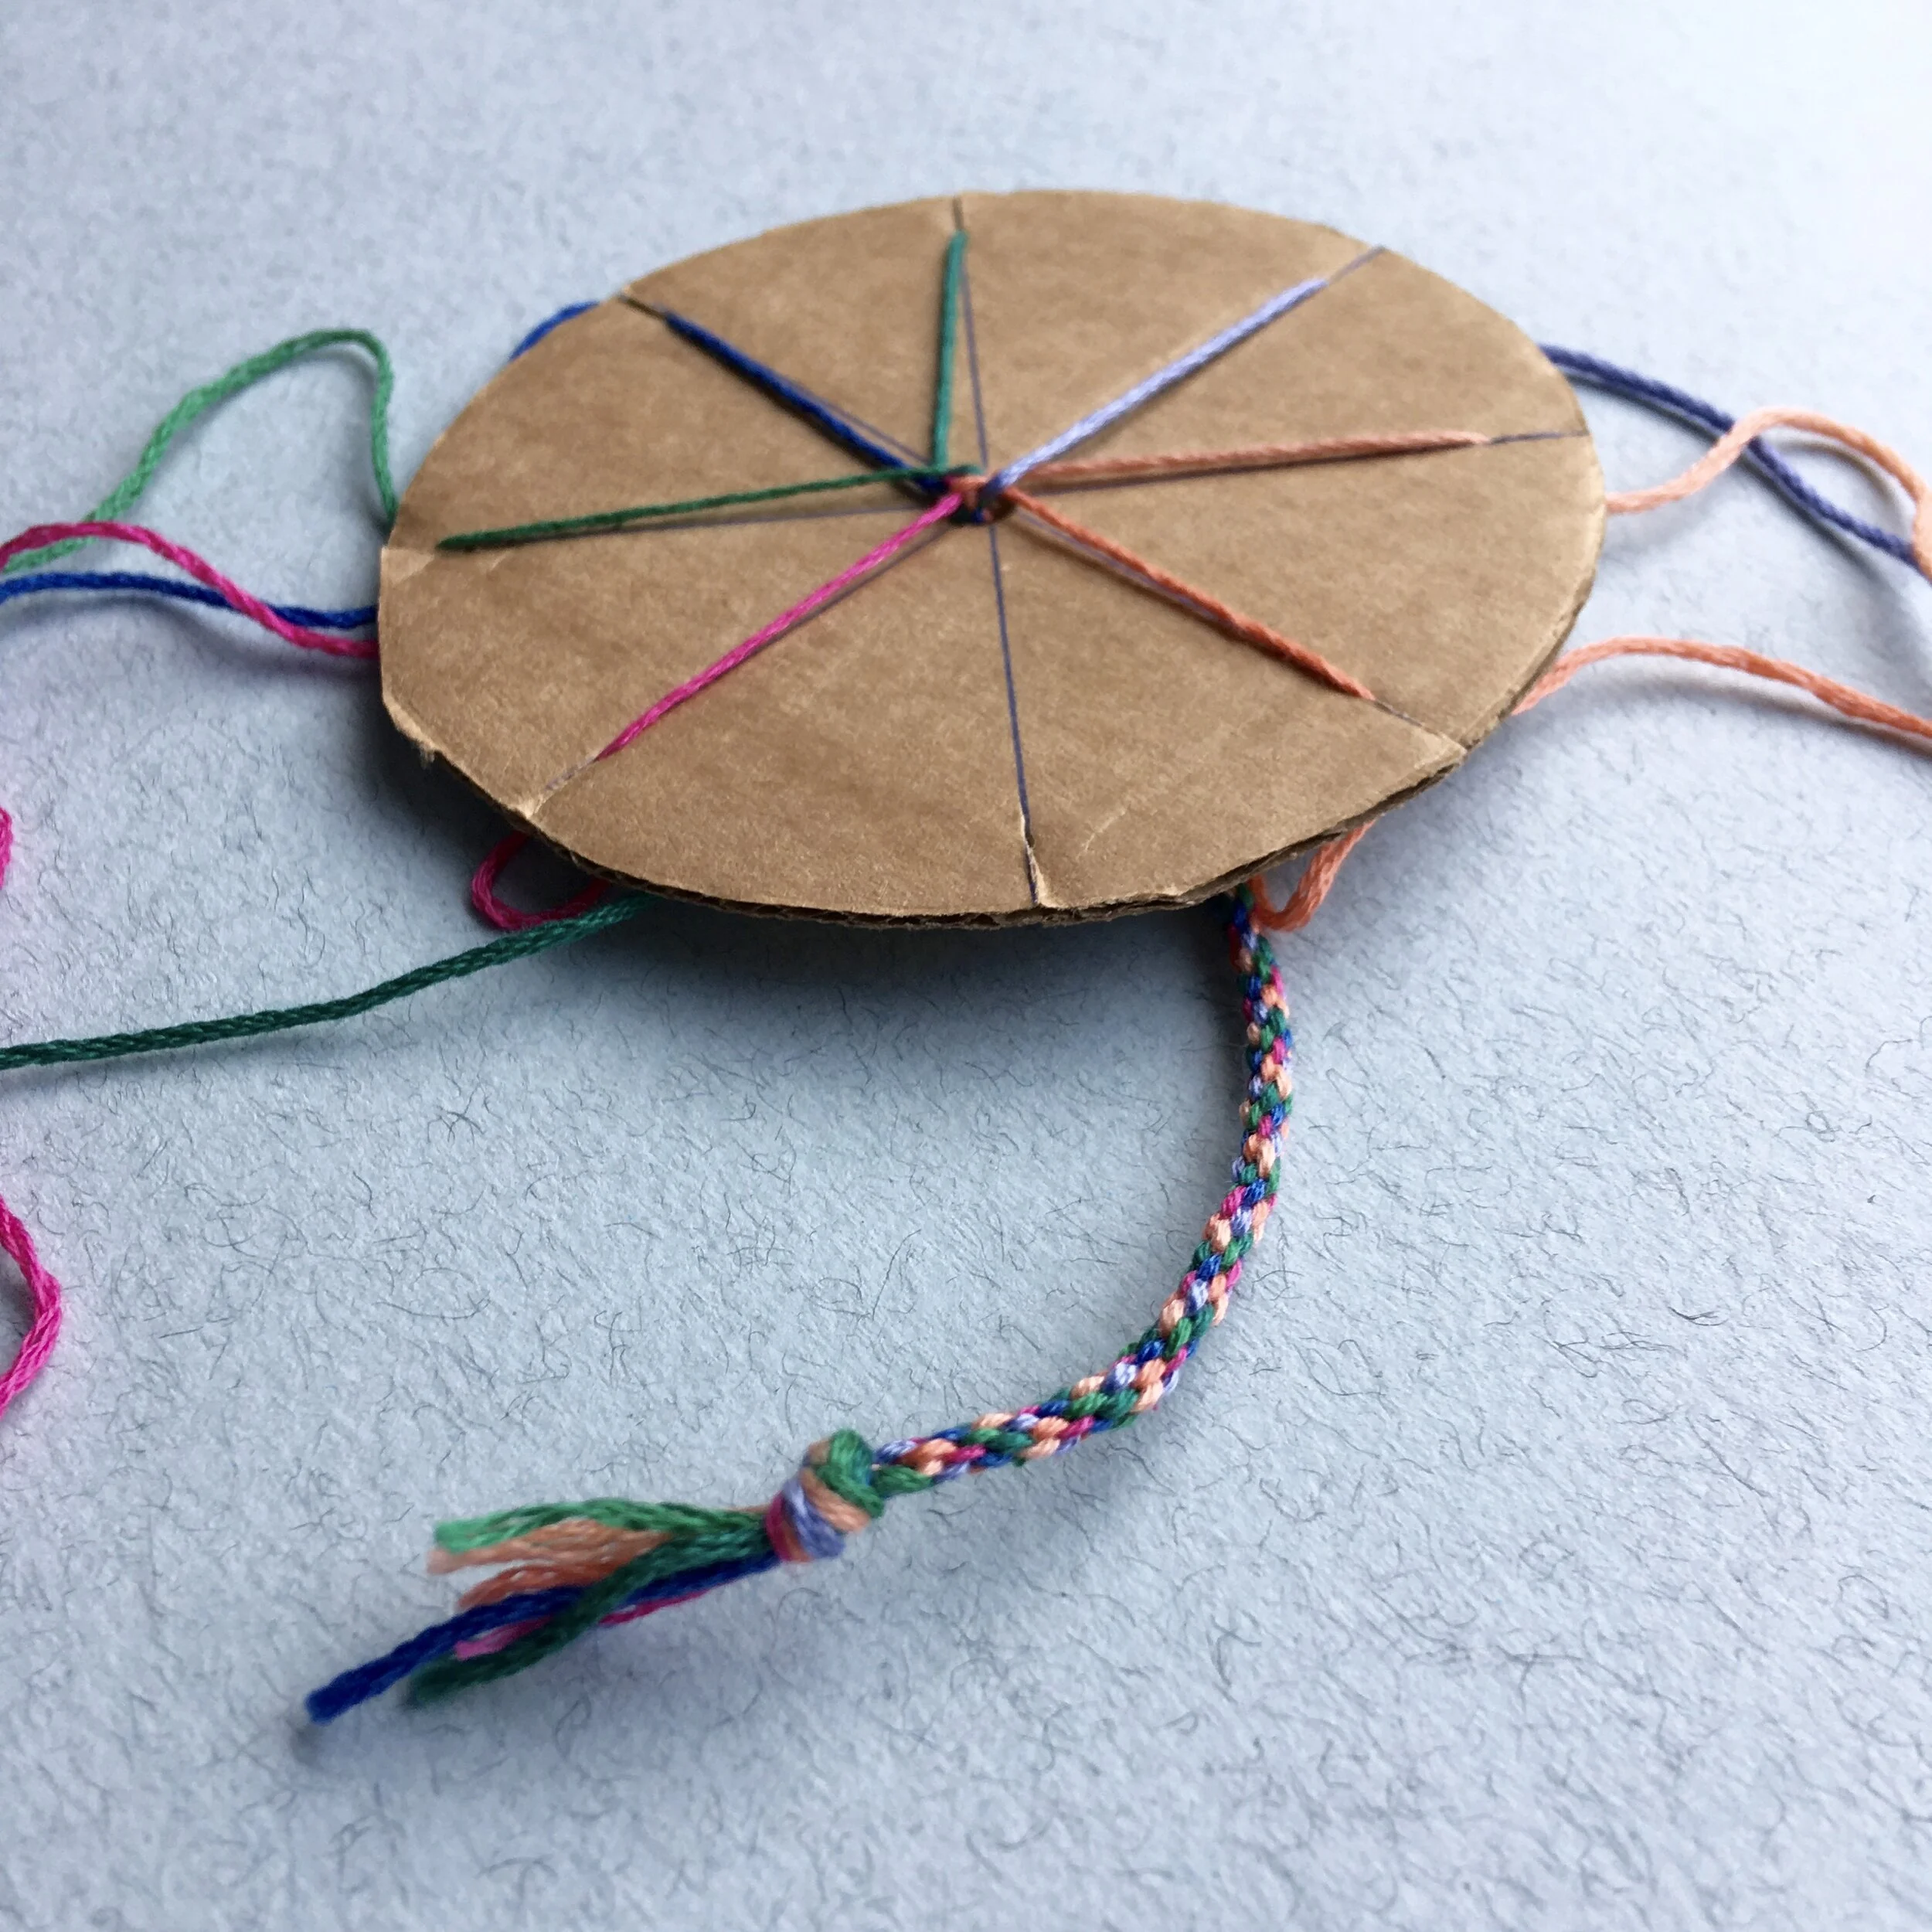
A circle of cardboard with 7 strands of thread, trailing out of a central hole in the cardboard is a colourful braid

Friendship bracelet loom

Another great way to use up any embroidery thread. There are plenty of tutorials on YouTube about how to make a cardboard loom and start making bracelets such as this one.

And if you want to think about Christmas here is a bonus idea - cardboard Christmas tree decorations.

Enjoyed this blog post? I share embroidery tips and a free embroidery pattern in my monthly newsletter. Sign up here to receive the newsletter on the 1st of each the month.

In tips 3 Tags Hoops, Reuse
Comment
A picture of a magnolia wall, on it are hanging 6 embroidery hoops on clear plastic hooks. Overlaid is a blue square with white text saying - hand embroidery, five ways to display your finished hoops, www.embellishedelephant.co.uk

Five ways to display your finished embroidery hoops

June 30, 2021

So you’ve finished your embroidery and want to proudly show it off? Here are five easy ways to display hour embroidery in your home.

A picture of an embroidery hoop, the screw fitting is resting on a small nail in a wall

Nail in the wall

This is a quick way to hang up your hoops but if you want to move your hoops somewhere else then those little holes will need fixing! I have a few nails that stay in place and I just switch the hoops that I hand on them.

A picture of an embroidery hoop held up on a wall by a clear plastic hook and some clear beading thread

Removable hooks

These hooks are a bit of magic. You can stick them to your wall and then reportedly you can remove them without them leaving any marks.

I’ve used the hooks and they are so simple to put up but I’ve not tried removing any as yet as I’m happy where they are at the moment!

These are the hooks I recommend.

(Note: This is an affiliate link which means that I get a small amount of money if you buy using this link.)

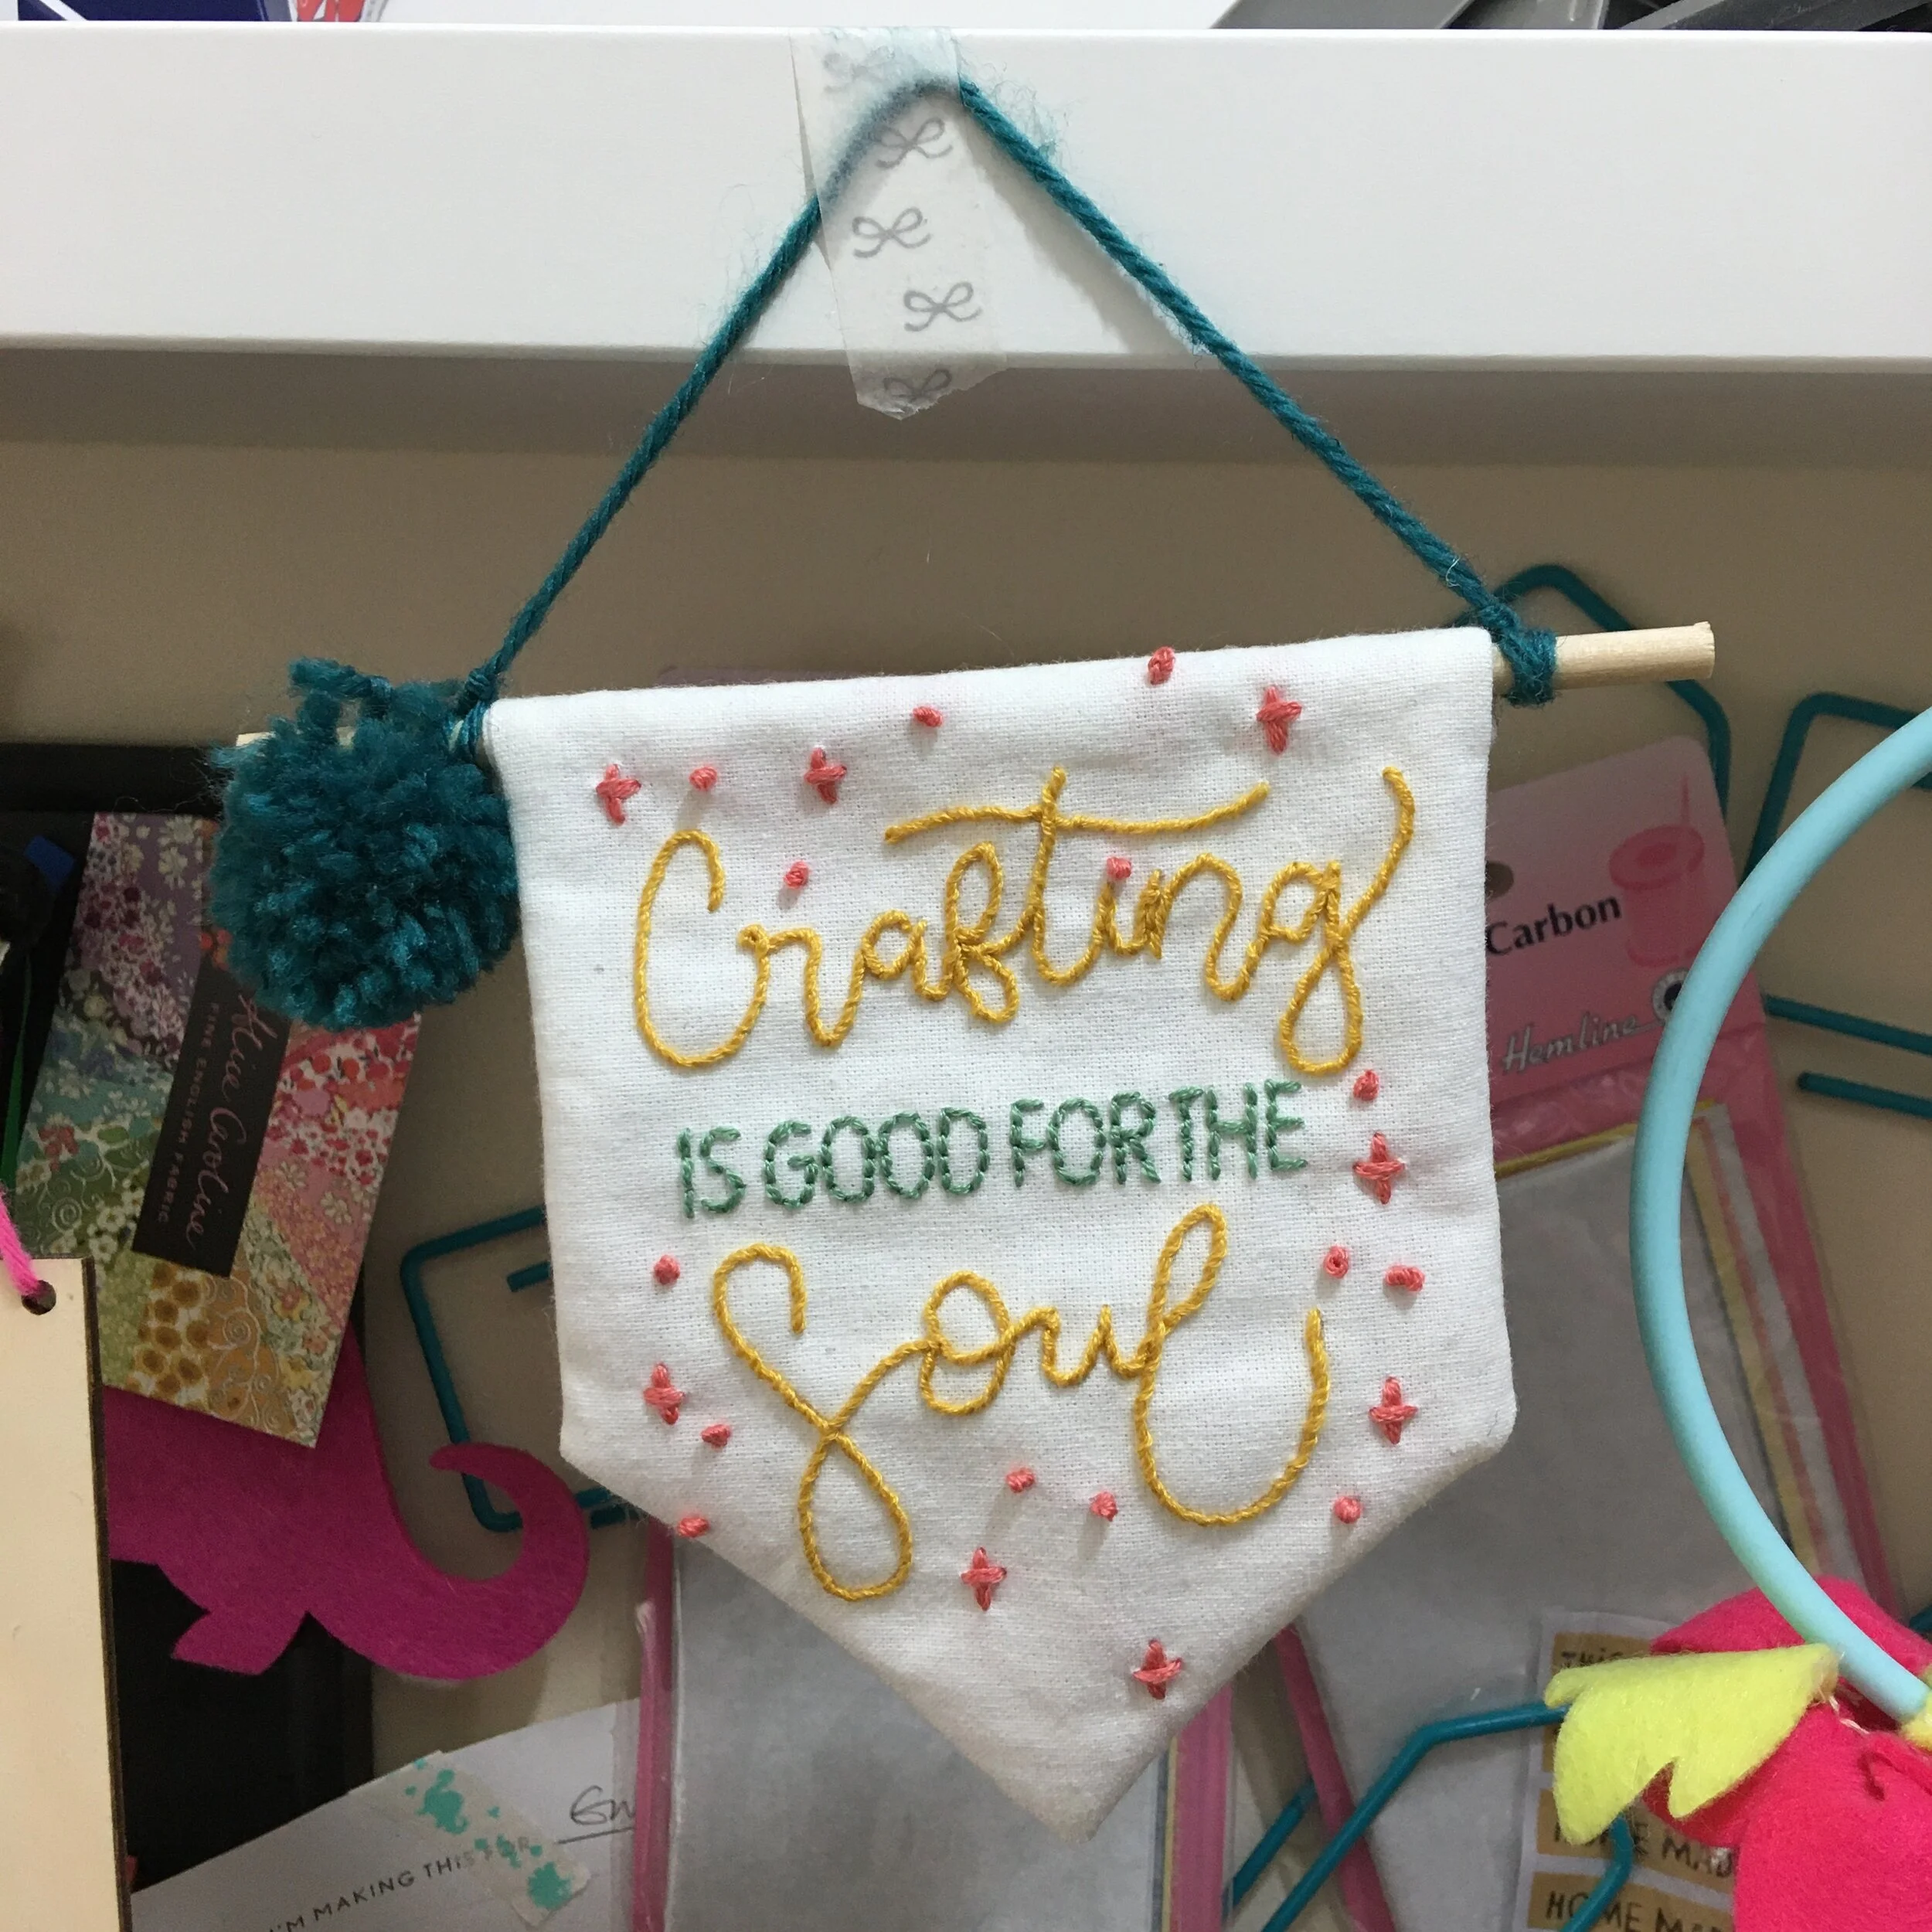
A picture of an embroidered banner saying 'crafting is good for the soul'. It is displayed hanging from a shelf via some tape to the hanging thread.

Tape

I have to admit this isn’t my favourite - I just can’t get the hoops to stay on the way with tape alone. But I have had success with lighter items such as this banner.

If you are going to try this method with a hoop, you need to add a hanging thread through the screw. I’d also recommend adding a knot to the end of that hanging thread as I’ve found that without a knot the weight of the hoop means it just slides straight through the tape.

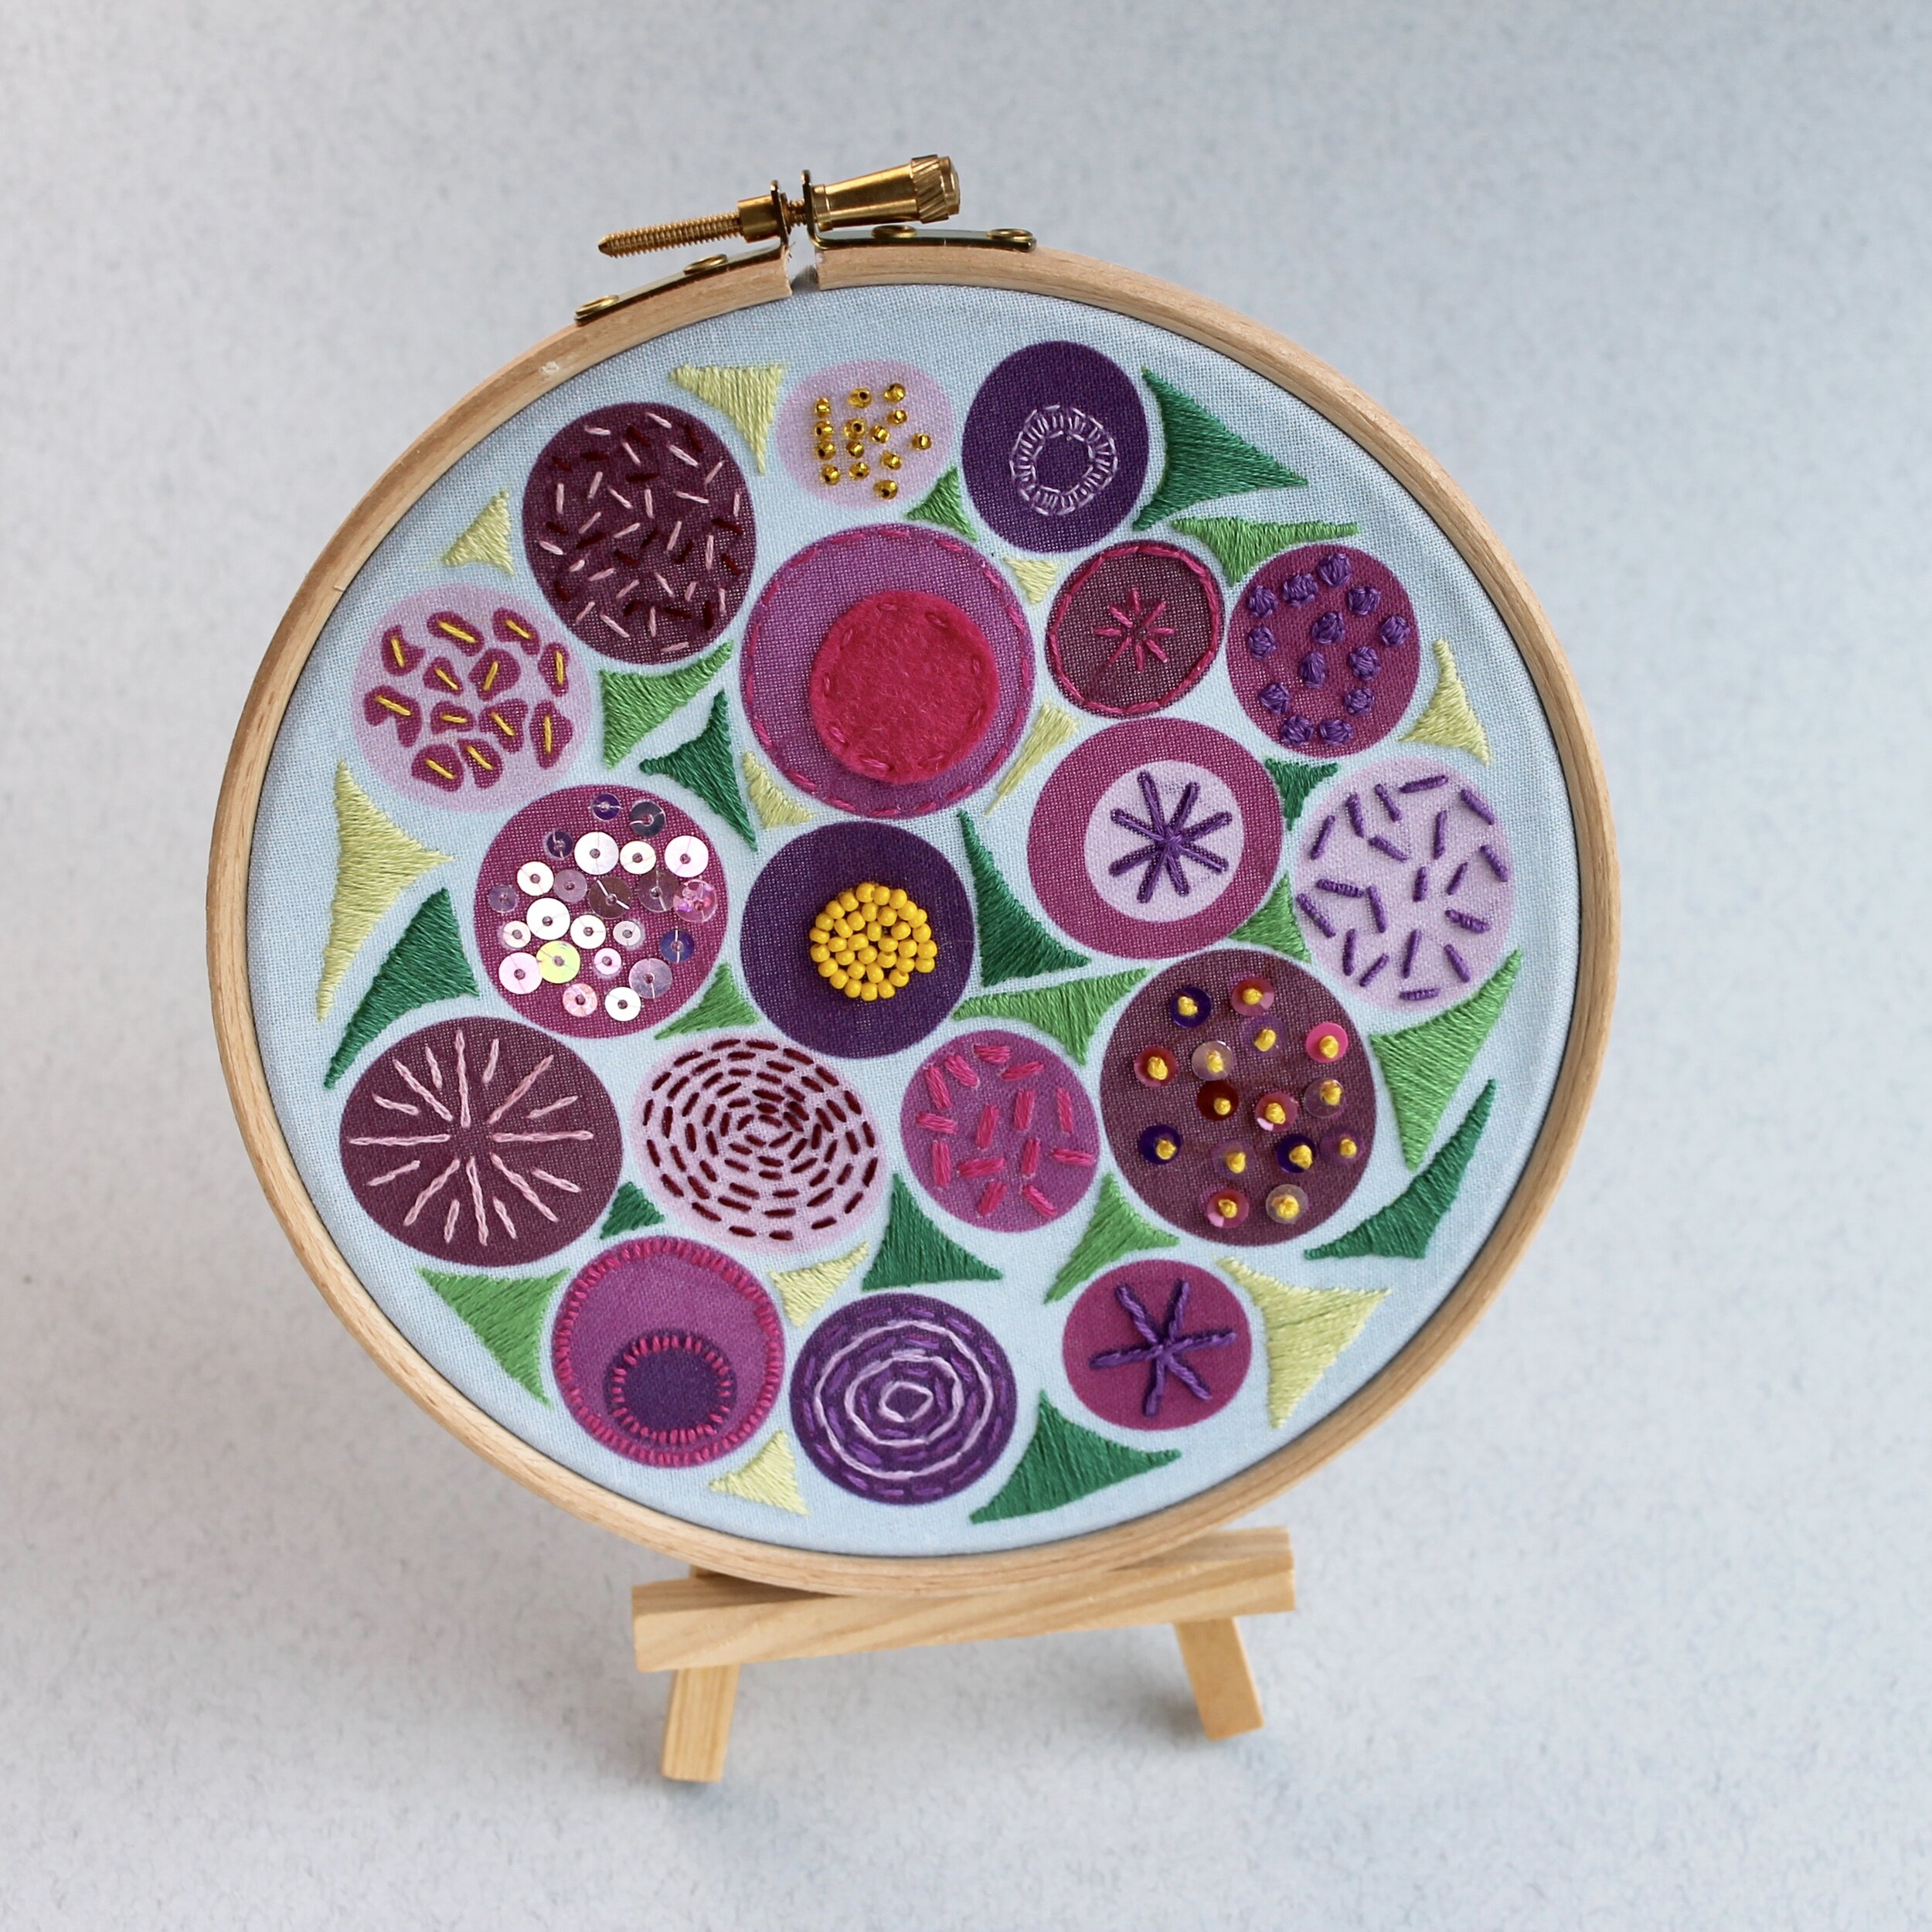
A picture of a colourful embroidery in a hoop resting on a mini easel

Mini easel (or plate stand)

I spotted this mini easel in Flying Tiger (complete with a canvas) and thought it would work really well to display embroidery hoops on a shelf and I think it looks great. It also means that it’s super simple to switch the hoops around .

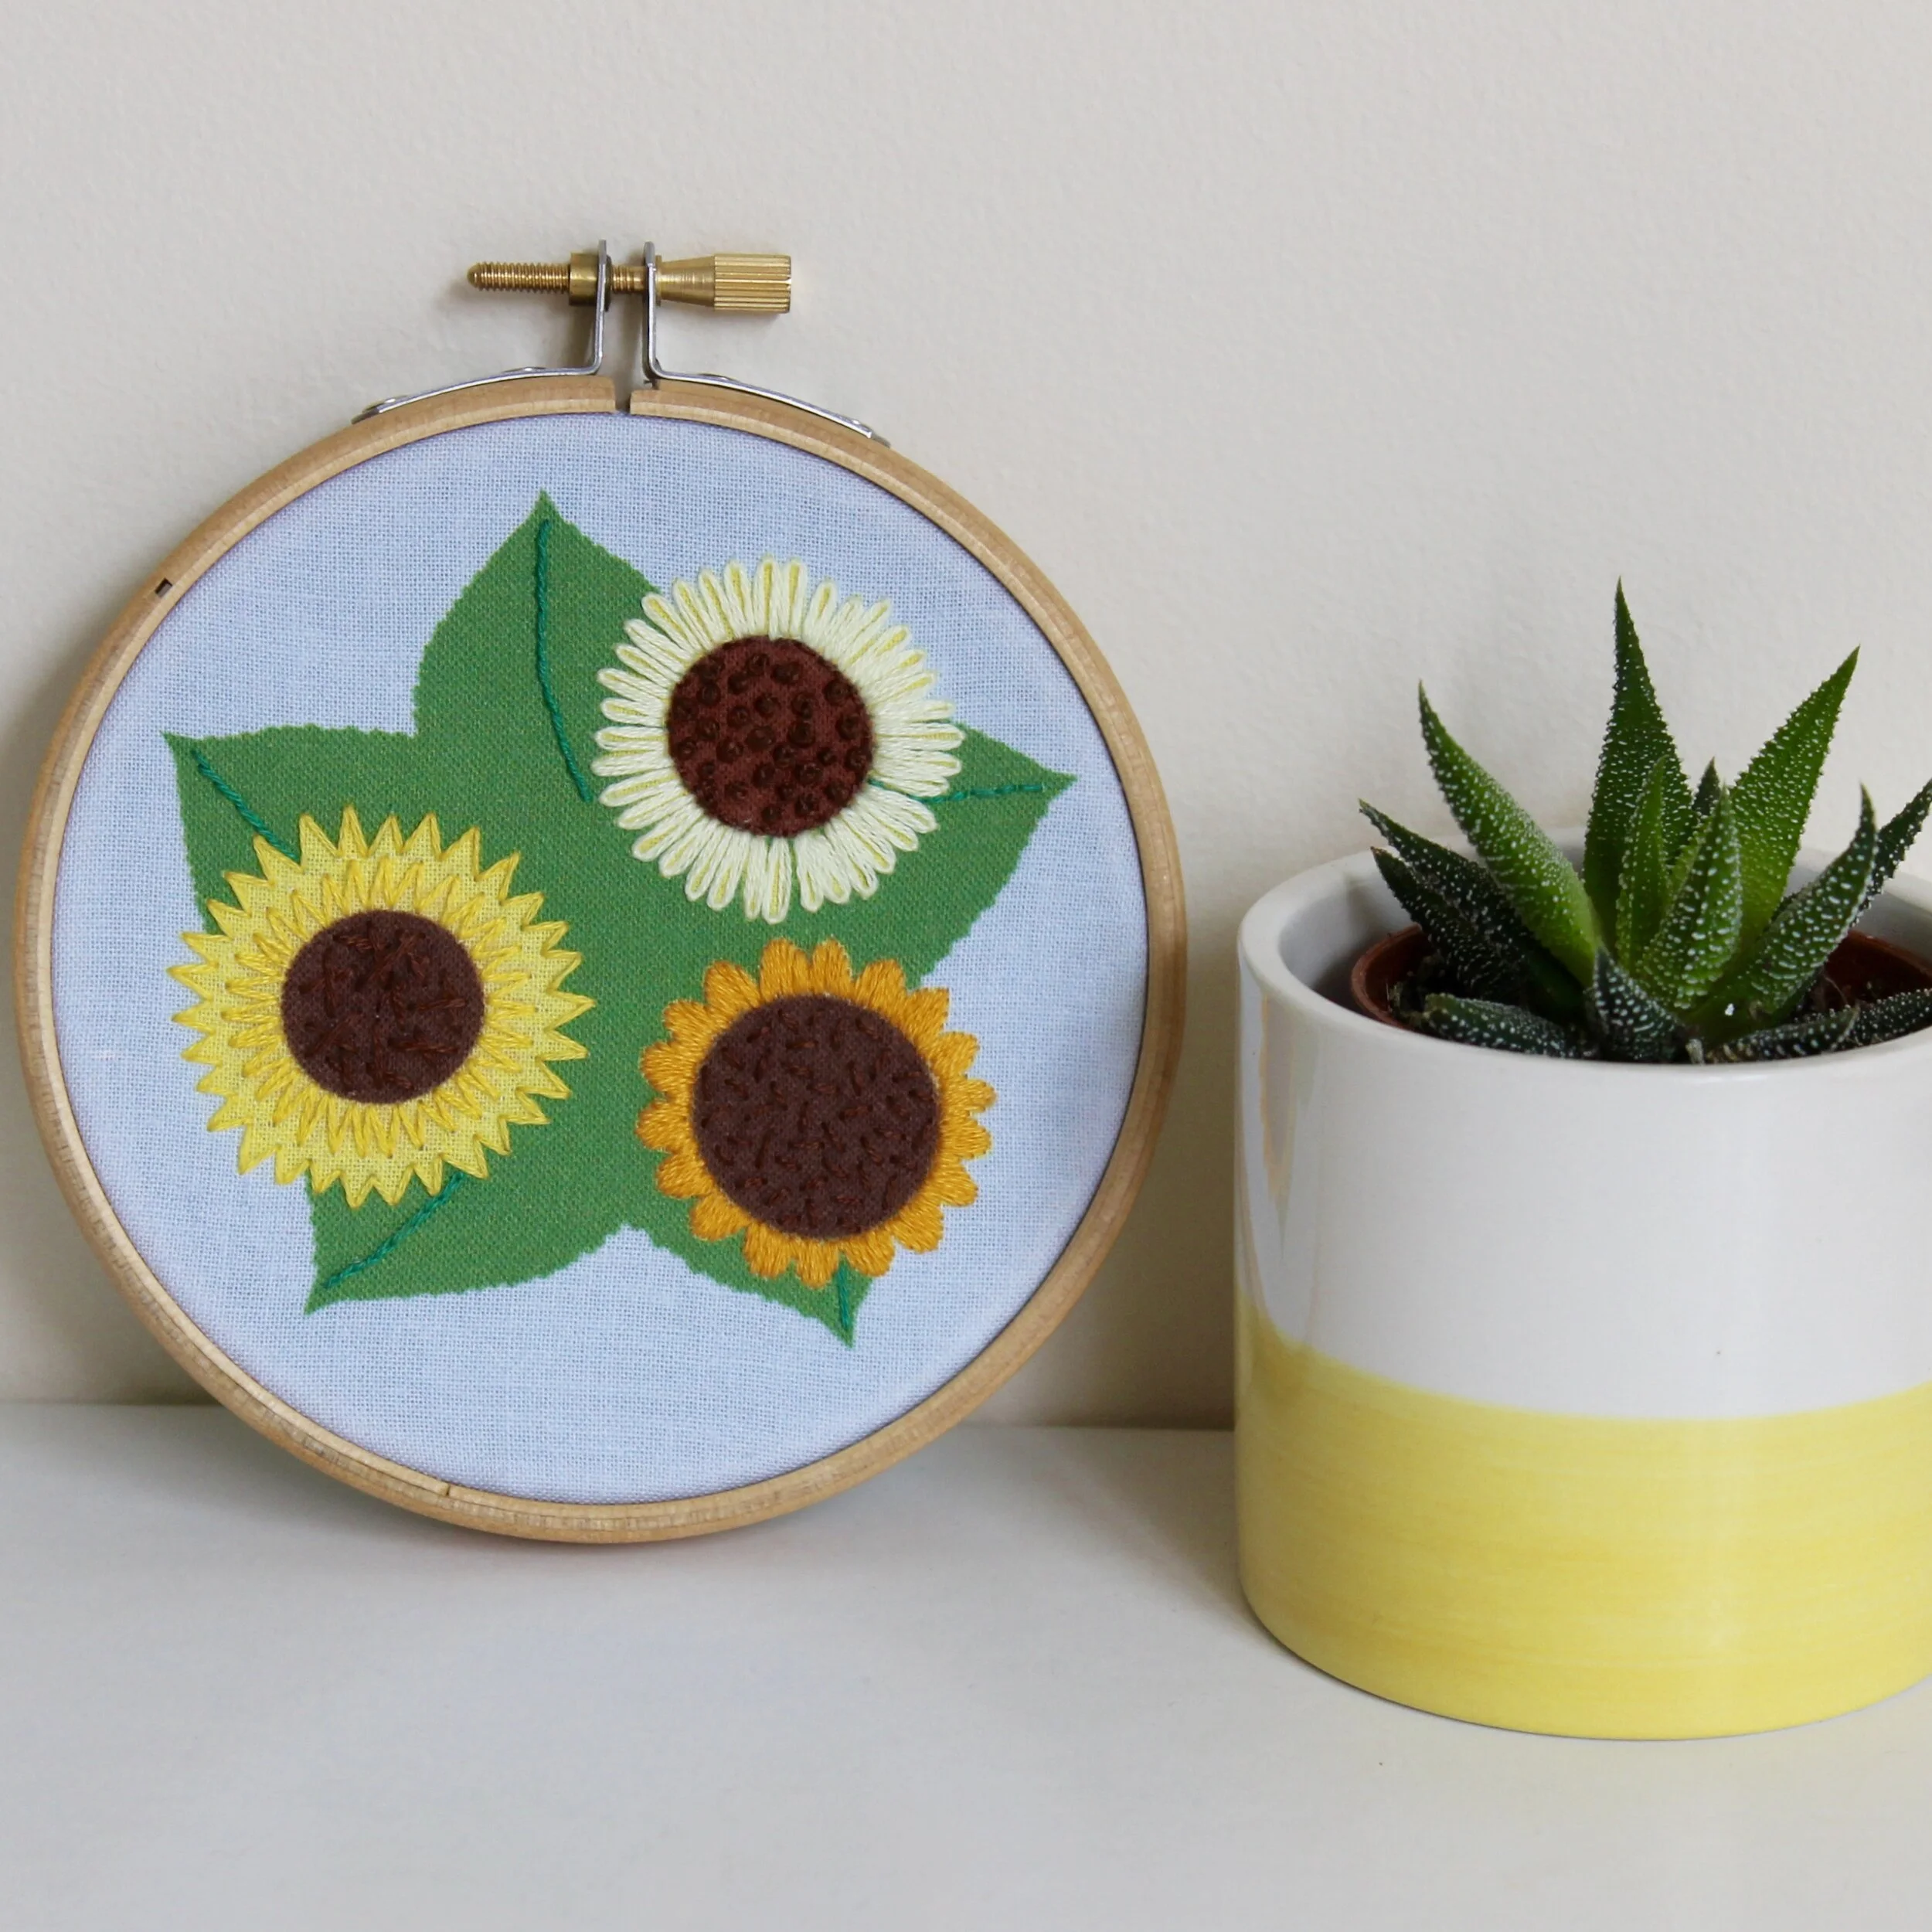
A picture of a colourful embroidery hoop displayed next to a small succulent in a pot on a shelf

On a shelf/picture shelf

Many of my hoops are simply propped up on a shelf. It the quickest and easiest way to get your hoop on display (providing you don’t have to put the shelf up first!) but it does take a knack to get them to sit upright.

Enjoyed this blog post? I share embroidery tips and a free embroidery pattern in my monthly newsletter. Sign up here to receive the newsletter on the 1st of each the month.

In tips 2 Tags Finishing, Hoops
Comment
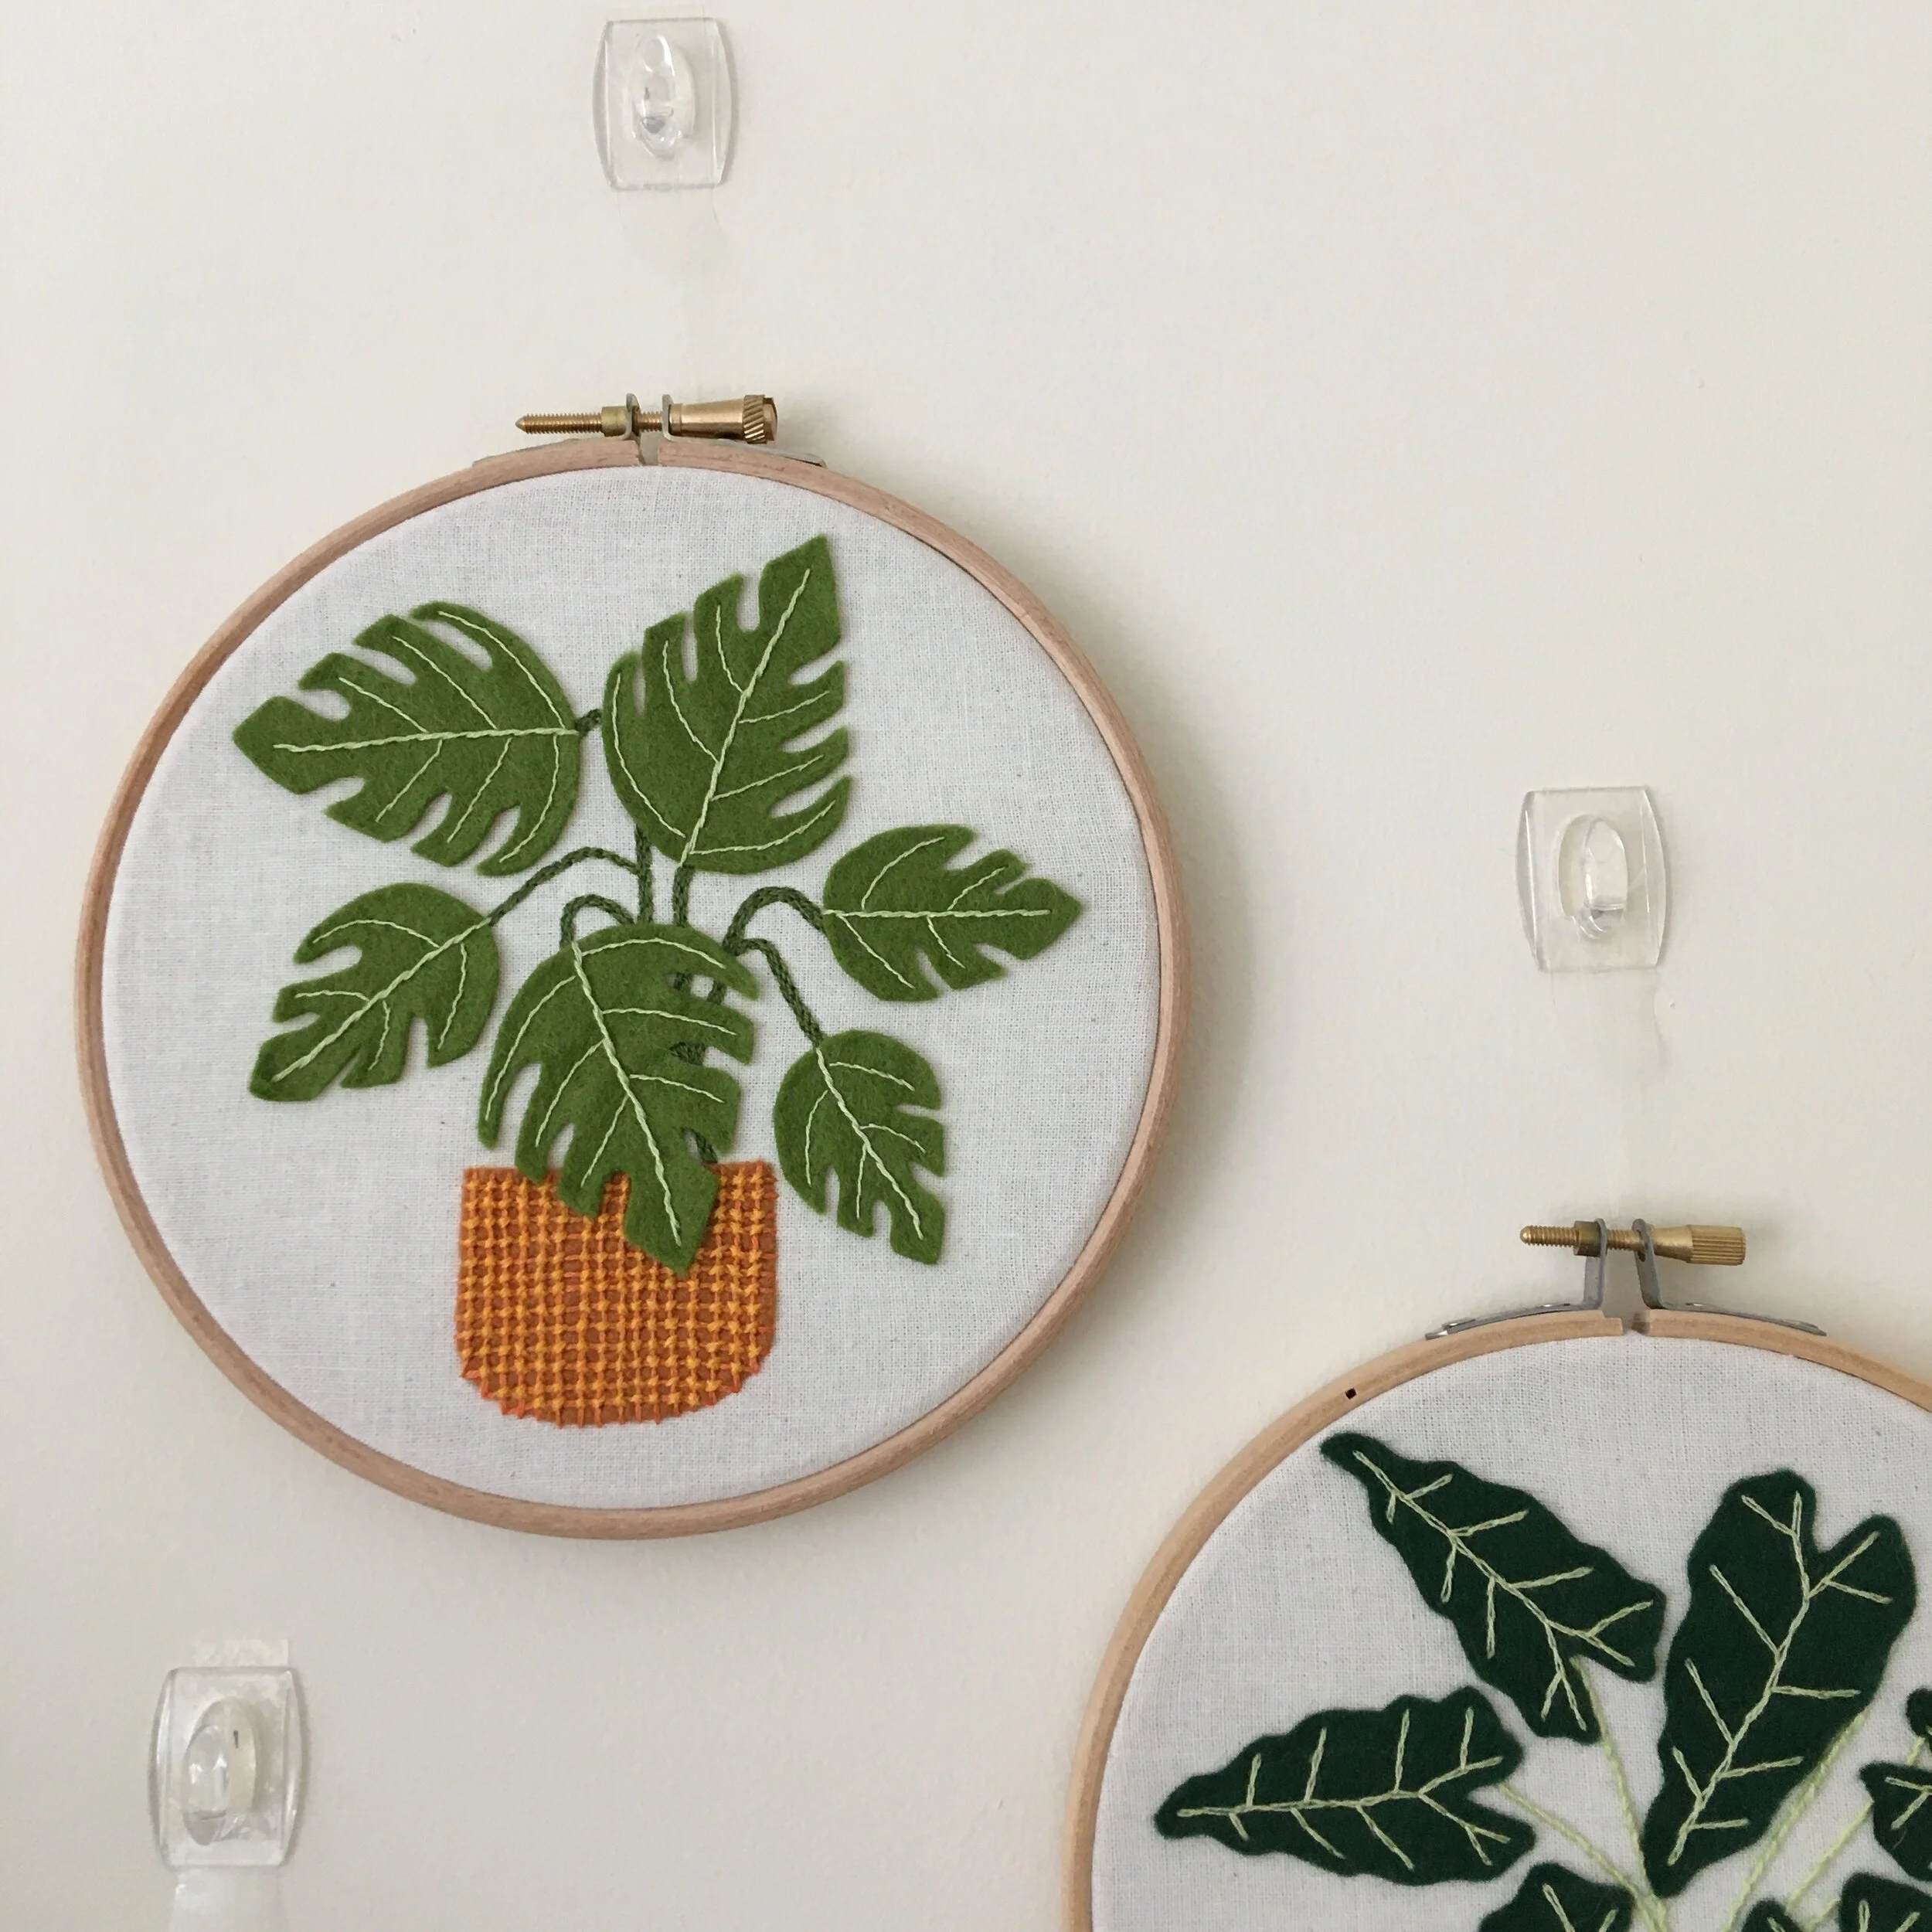
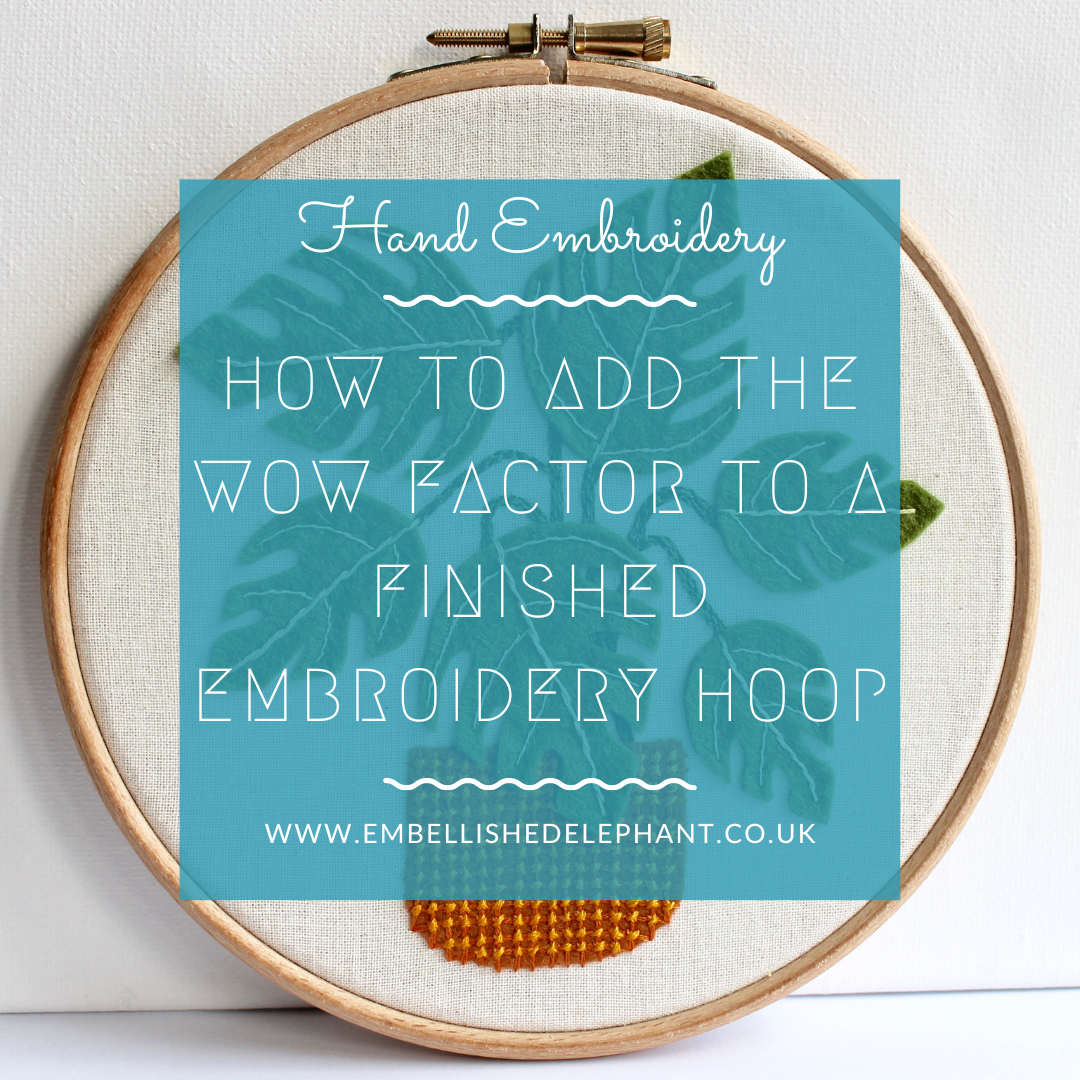
A picture of an embroidery hoop with a monstera plant stitched on it. Overlaid is a blue square with white text saying- hand embroidery, how to add the wow factor to a finished embroidery hoop, www.embellishedelephant.co.uk

How to add the wow factor to a finished embroidery hoop

June 23, 2021

The most popular way of displaying a finished piece of embroidery is to leave it in the hoop it was stitched in. A standard bamboo hoop looks great without any added effort, but here are five simple ways to add a wow factor to your finished hoop.

A picture of an abstract embroidery in browns, yellows and greens. It is displayed without the outer embroidery hoop

Remove the outer hoop

This is my current favourite, it gives a great clean edge to the piece and I think it makes the embroidery look more like a work of art than an craft project.

All you need to do is make sure the fabric is secured as tight as possible at the back by gathering it. Once you are happy with the tension then just unscrew the outer hoop and remove it.

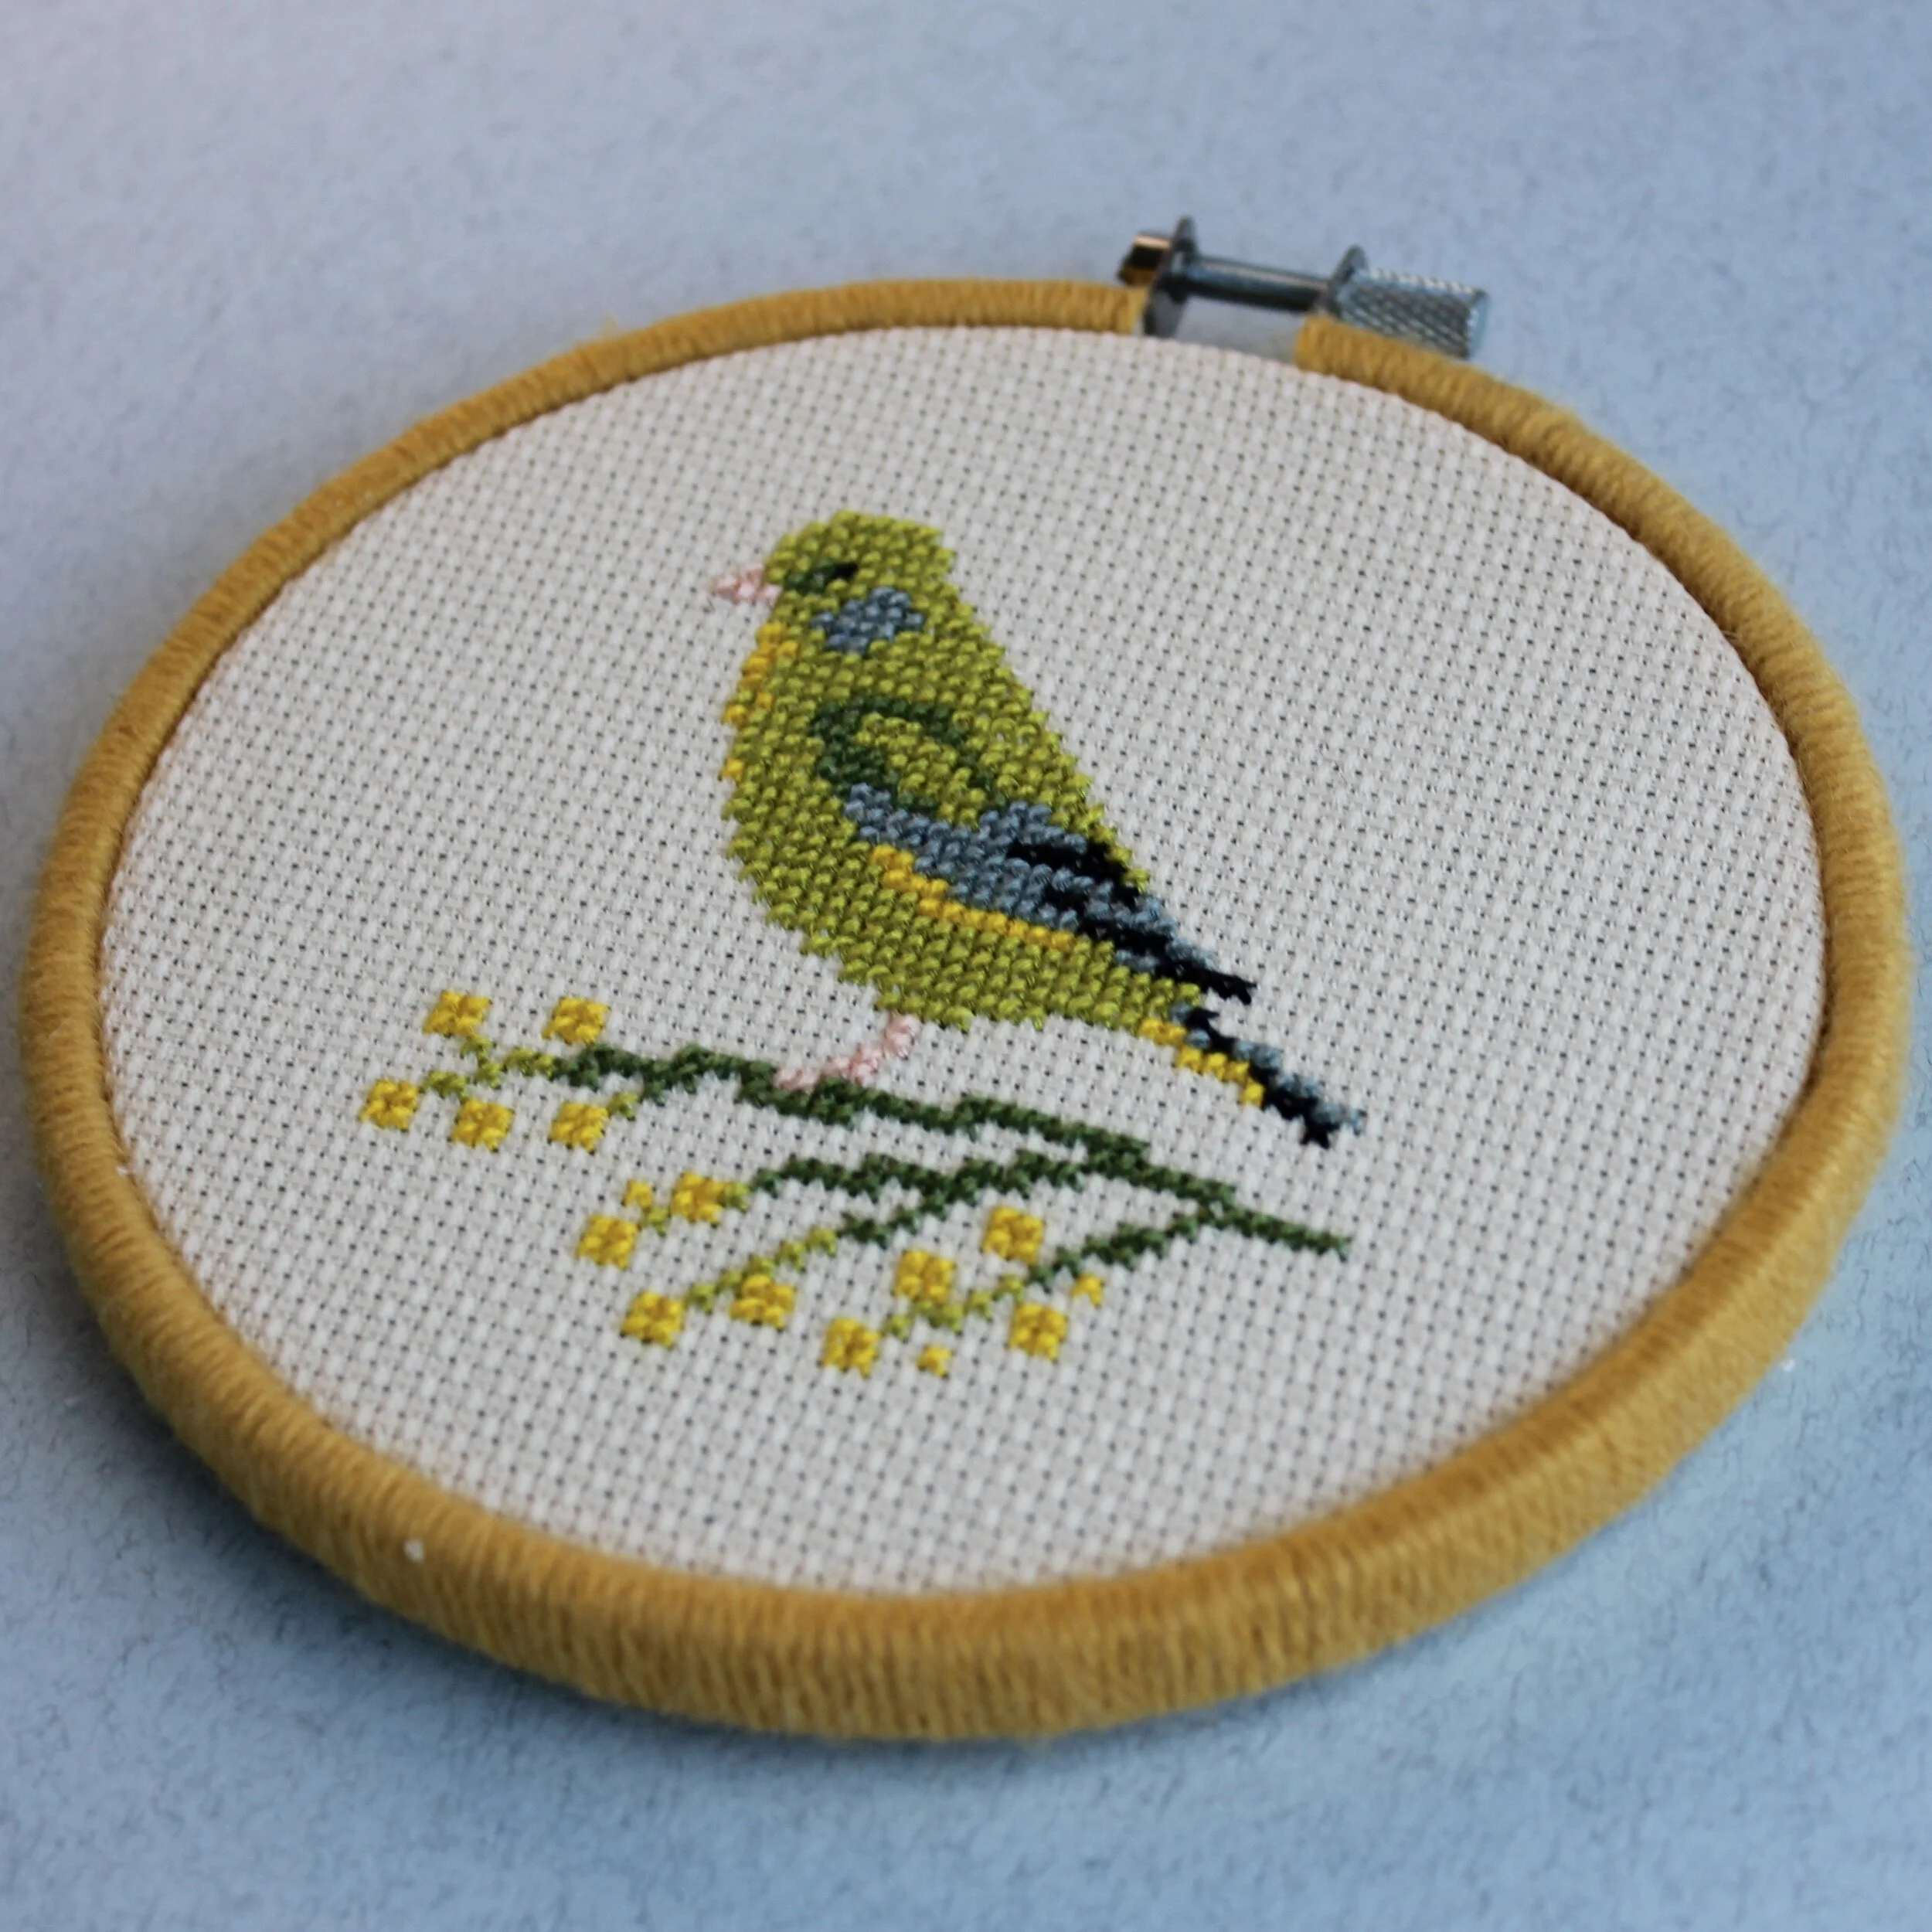
A picture of a cross stitch bird. The outer hoop is wrapped in yellow yarn.

Wrapping the outer hoop

If you do any sewing projects such as dressmaking or patchwork you will probably have strips of fabric off cuts, these can be carefully wrapped around the outer hoop to change up the finished loop of the hoop.

Ribbon can also be used to wrap round the hoop as can yarn.

A glue gun can be used to secure the start and end of the material used, but when wrapping this hoop with yarn I used a needle to secure the ends and keep everything in place.

A picture of a blue abstract embroidery. The embroidery hoop it is displayed in is painted blue.

Painting/staining

Changing up the colour of the outer hoop can really alter how the finished piece looks.

Acrylic paint works well for this but you could use any paint you have around even some emulsion from that last decorating job!

A picture of a felt holly leaf wreath with felt holly leaves attached to the outer embroidery hoop. holl

Sewing on felt shapes

For this holly wreath, the felt leaves are stitched onto the outer hoop as a feature of the finished piece. You don’t have to cover the whole hoop. A few flowers on one part of the hoop with just some plain fabric would look fantastic.

A picture of a colourful embroidery. Around the hoop is a crochet edging in bright pink.

Crocheting around the edge

Picking the right edging stitch can make a great frame and create a soft edge.

The crochet is around the outer edge of the hoop and different stitches will create different effects. A shell stitch is a great one to use if you want a scalloped effect.

A picture of a kit from the make arcade, the embroidery hoop is decorated with black mini pompom trim

Adding pompom trim (or other embellished edging)

I think this works especially well for colourful projects such as cross stitch. I’ve not tried this myself but this picture from The Make Arcade shows how fantastic it can look.

Enjoyed this blog post? I share embroidery tips and a free embroidery pattern in my monthly newsletter. Sign up here to receive the newsletter on the 1st of each the month.

In tips 2 Tags Hoops, Basics
Comment
A picture of a flat lay of various craft materials all materials and the background are in shades of green. Overlaid is a blue square with white text saying - hand embroidery, three embroidery tools it is worth getting right

Three embroidery tools it's worth getting right

May 19, 2021

I’m an advocate for re-using and recycling materials for my crafting. And when there is something I need for a project I’ll often head for the local pound shops to see if they have something I can use.

But embroidery requires a degree of precision so there are some tools where it is worth investing a little money to get great quality items.

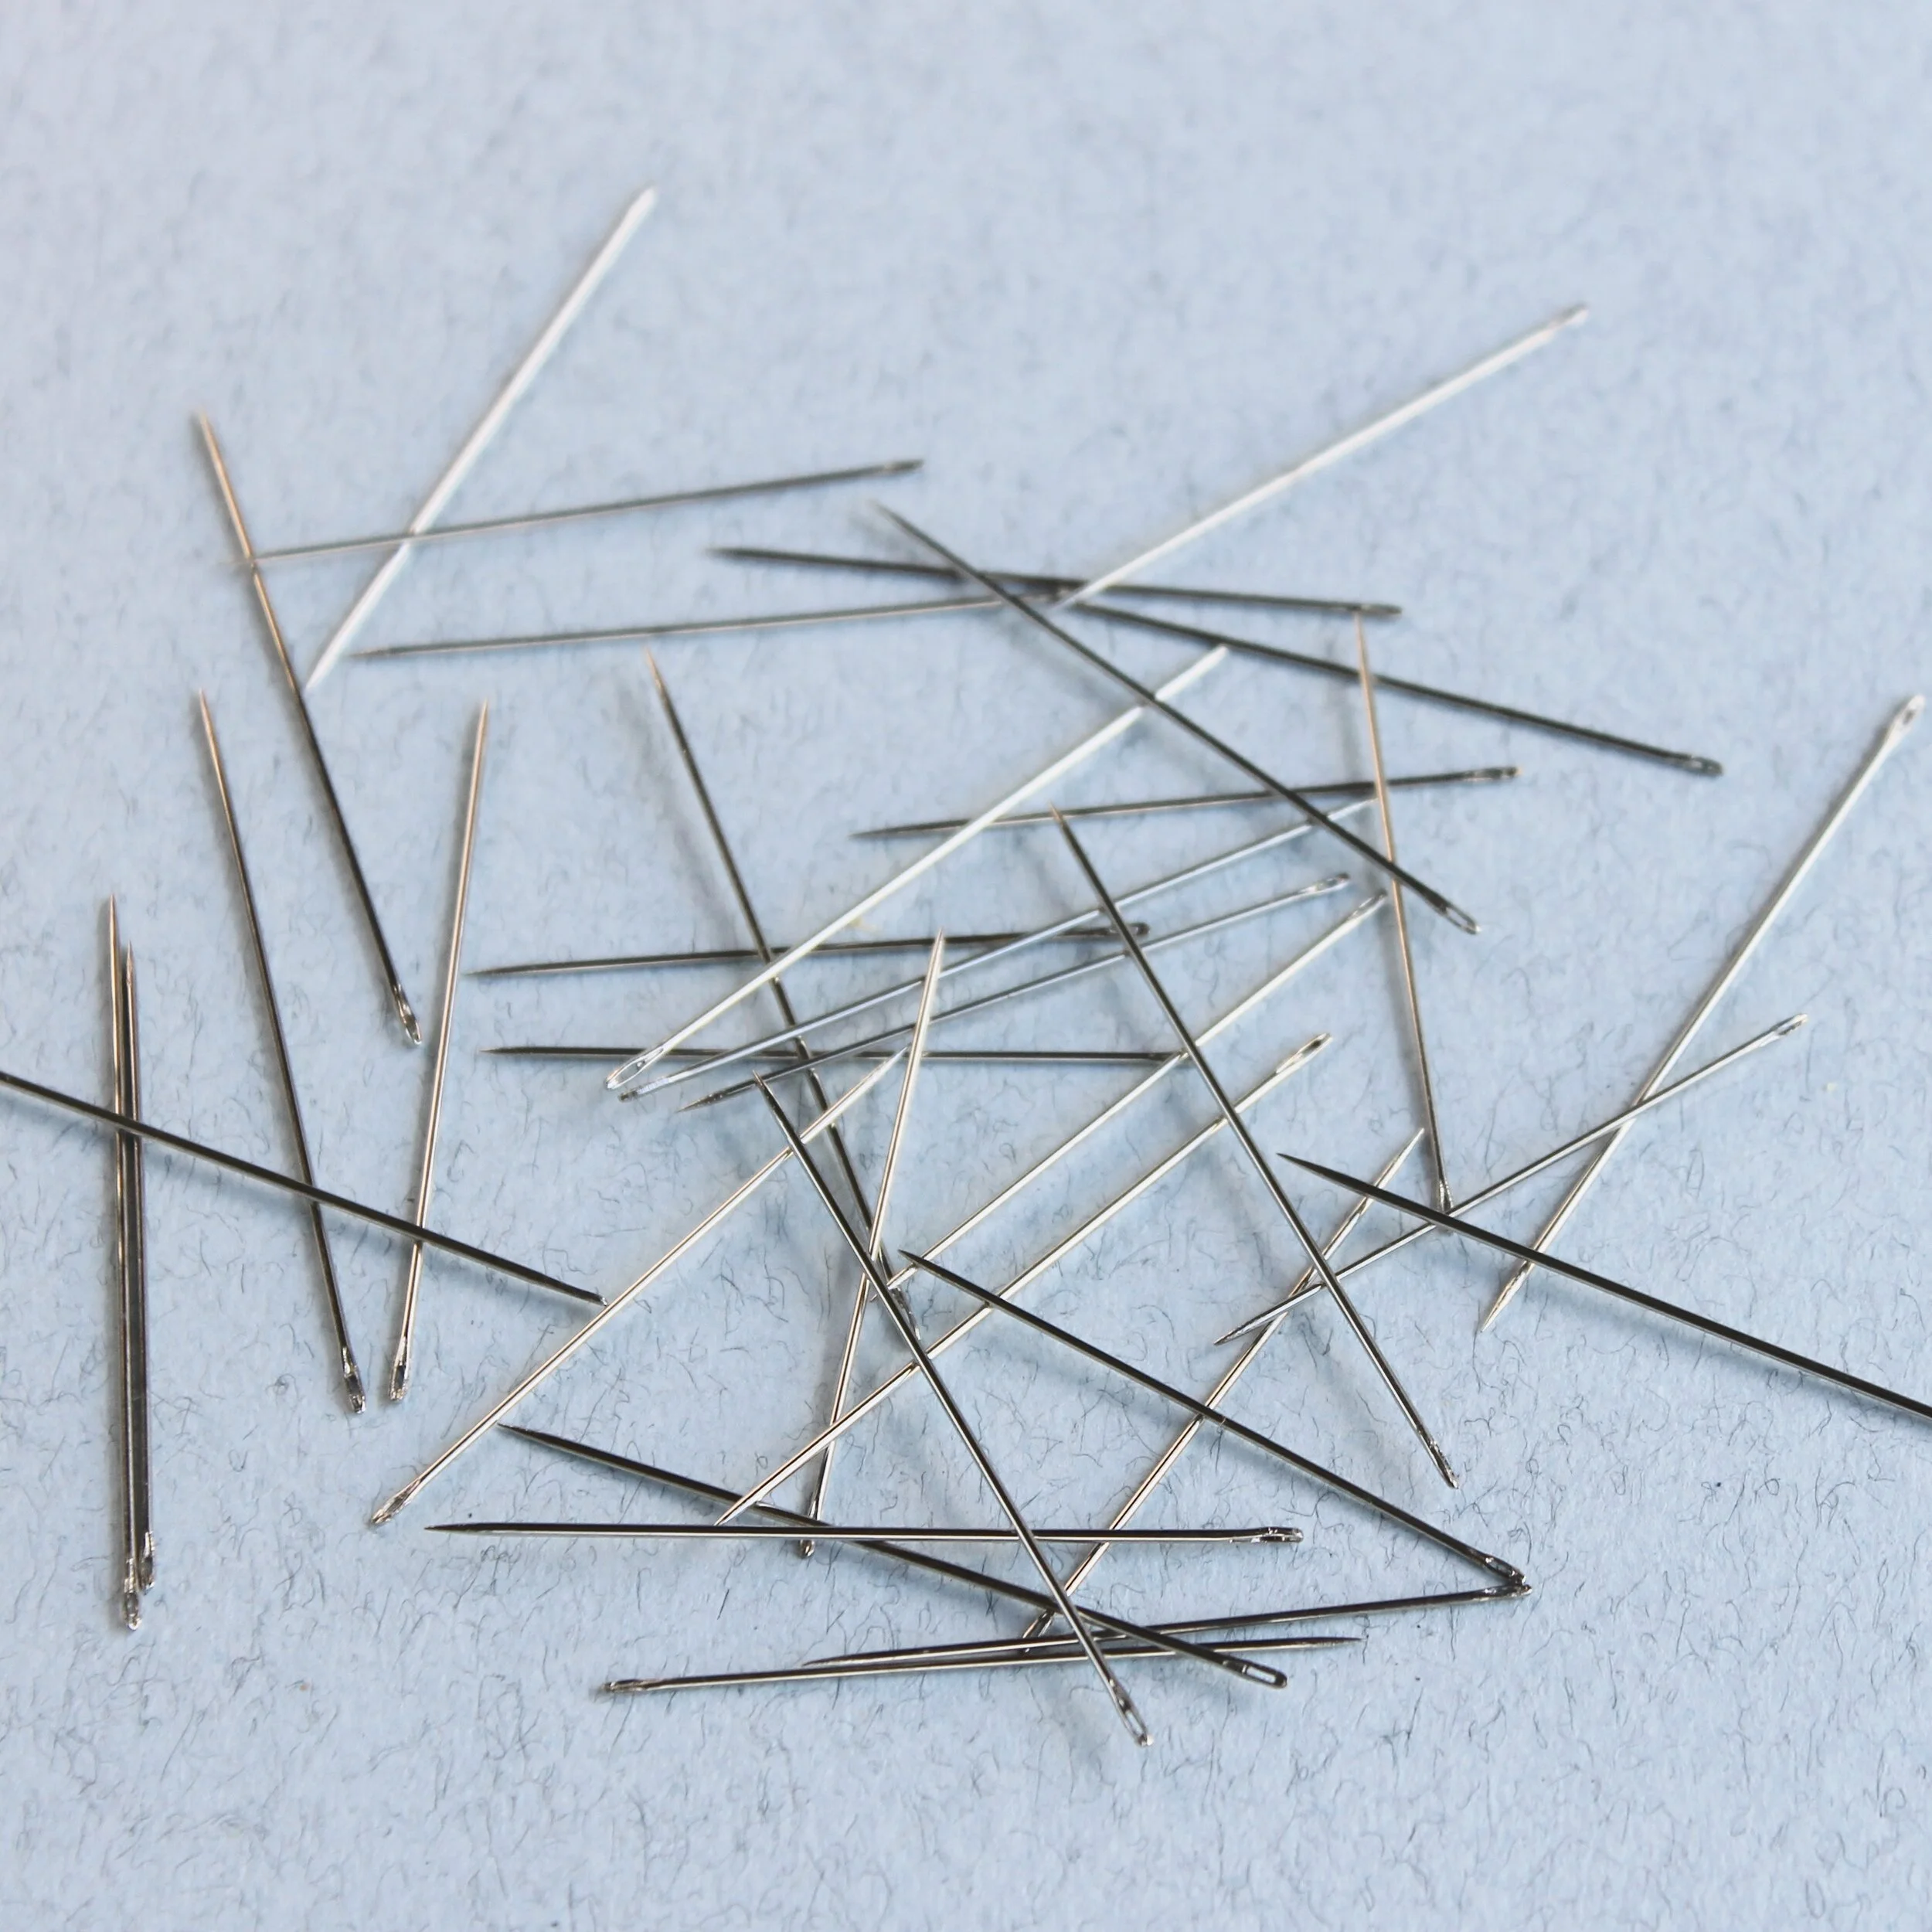
A pile of embroidery needles scattered as if someone has played kerplunk with them

Needles

I once made the mistake of buying some needles from the pound shop. They were terrible. The shaft of the needle wasn’t smooth so they caught in the fabric. The eye of the needle was also rough and frayed the thread after just a few stitches. One needle in the batch even had a completely square eye end!

There are some brand names that I’ve had a similar experience with. All the needles I use in my kits are from Prym and they’re great. I’ve also used John James needles that I’ve been impressed by.

A picture of 8 different craft and embroidery scissors arranged in a circle

Scissors

For embroidery the two crucial features of scissors are sharp and pointy. You don’t want to be hacking away at your thread of fabric, you want a nice clean cut.

These are all the scissors I have sitting in a jar on my craft table. Of these the gold stork scissors and little silver pair are my go-to’s. They both have the pointiest points and a good ‘snip’.

I’ve accumulated these pairs over time as gifts or as part of kits so don’t have any recommendations of where to buy a good pair at the moment.

a picture of an embroidery hoop where there is clearly a gap between the inner and outer hoop for only part of the circumference

Hoop

A wonky hoop won’t hold your fabric tight enough to give you enough tension to create great stitches. I’ve learned this the hard way. I went on holiday for 2 weeks with plenty of embroidery to keep me busy but only one hoop. I didn’t check that hoop before packing it and spent the whole holiday cursing that hoop!

Can you see that gap on the left of the hoop in the picture? That’s a big no-no with hoops - you shouldn’t be able to see any gap with a good hoop.

Elbesee are UK made hoops with a great reputation. I also have found a great supplier of hoops and you’ll be able to buy these hoops in my shop soon.

Enjoyed this blog post? I share embroidery tips and a free embroidery pattern in my monthly newsletter. Sign up here to receive the newsletter on the 1st of each the month.

In tips 2 Tags Needles, Hoops, Scissors
Comment
A picture of an embroidery hoop with pink fabric. Overlaid is a blue square with white text saying - hand embroidery, five tips for getting fabric taut in an embroidery hoop, www.embellishedelephant.co.uk

Five tips for getting fabric taut in an embroidery hoop

April 21, 2021

An embroidery hoop is crucial to creating a beautiful finished piece of embroidery. Most of the projects that you’ll stitch you’ll need the fabric really taut so you can drum your fingers on it and get a sound. (There are some exceptions to this but that’s for another blog post).

Here are my tips for getting your fabric as taut as you can in your hoop.

1) pick a hoop with a bit of grip

Hoops are normally made from wood, bamboo or plastic. Personally I avoid stitching with plastic hoops as I in my experience they are too slippery and don’t grip the fabric well enough. I prefer wood or bamboo hoops which give some added grip and help to maintain the tension. However, I know that others swear by plastic hoops - find what works best for you.

2) make sure that the inner and outer hoop fit snuggly together

Some hoops aren’t perfectly round so the inner and outer hoop may have some gaps between them. Try rotating the inner hoop around before adding the fabric to find the best fit. You can mark the edge of the inner and outer hoop so you can align them back up when you’ve added the fabric. But at the end of the day if the hoop is misshapen it’s best to put it to one side and pick another hoop.

3) pull the EDges of the fabric to create tension

Working around the hoop and pulling the edge of the fabric after you’ve tightened the hoop can make sure that the fabric in the centre of the hoop is taut. Then tighten the screw one last time to secure the fabric in place. You may find that you need to do this a few times as you stitch the project.

4) use tools to tighten the screw

I only learned fairly recently that the screw on some hoops has a slot for a flat head or philips head screwdriver. Using a screwdriver really works - you can turn the screw much further than with your fingers alone. And if your hoop doesn’t have this slot then you could use some pilers instead (although these may mark the metal so be careful!)

5) use a second layer of fabric

For some hoops you get to the limit of how far you can tighten the screw before you’ve reached the tension you need. Bulking out your fabric by using an extra layer can help give you that extra turn of the screw and get your fabric super taut. Alternatively you can bind the inner hoop with some fabric tape to get the same effect.


Enjoyed this blog post? I share embroidery tips and a free embroidery pattern in my monthly newsletter. Sign up here to receive the newsletter on the 1st of each the month.

In tips 2 Tags Fabric, Hoops
A picture of an embroidery hoop on a cream background. Overlaid is a blue square with white text saying - hand embroidery, The anatomy of an embroidery hoop, www.embellishedelephant.co.uk

The anatomy of an embroidery hoop

April 3, 2021

An embroidery hoop is the one piece of equipment you need to get started with embroidery. So understanding a bit about the hoop helps (but isn’t essential).

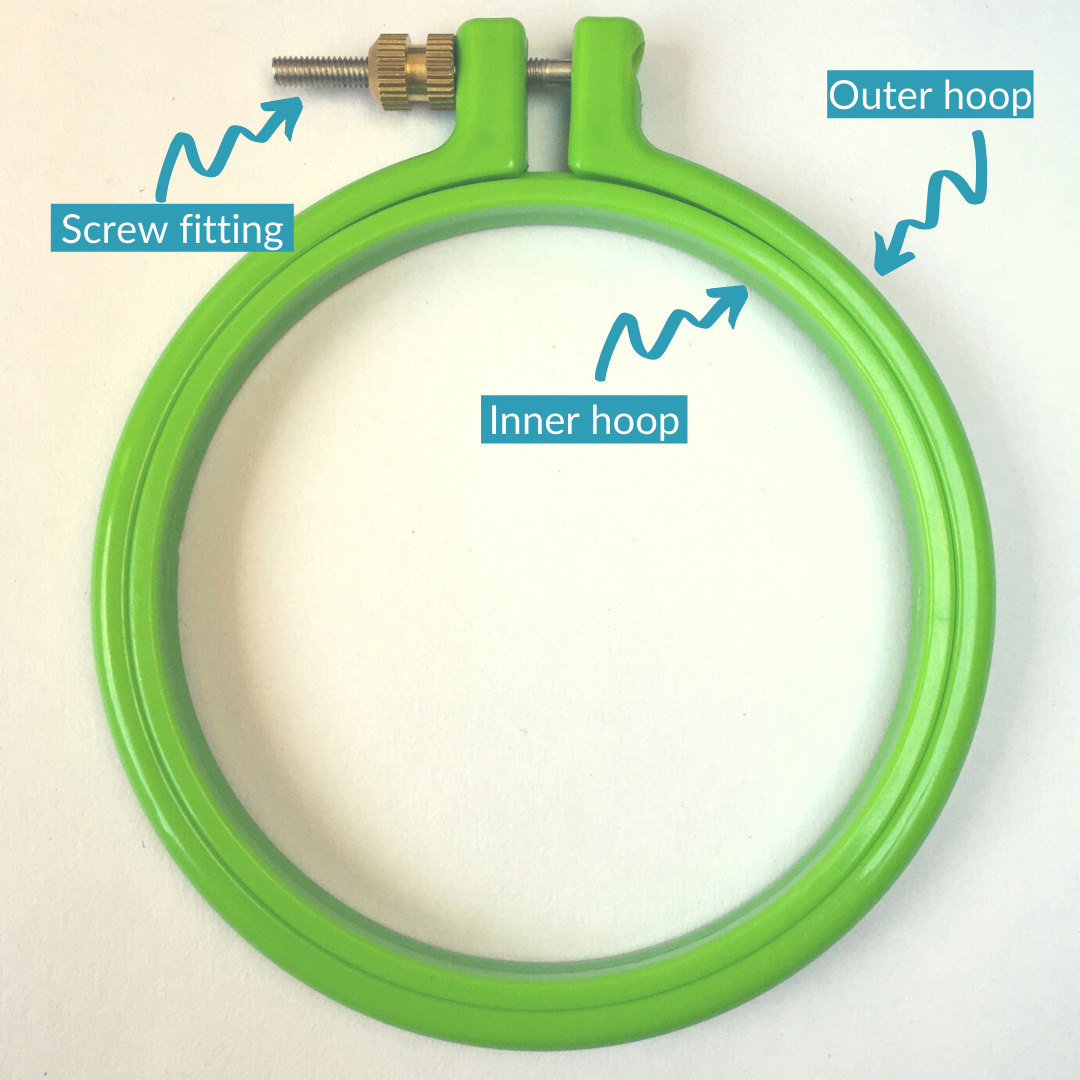
There are three main parts to an embroidery hoop that it is useful to recognise. The inner hoop, the outer hoop and the screw fitting. The materials the hoop is made from and the size are also important considerations

A picture of a green plastic embroidery hoop. There are 3 text labels in blue with white text and a wiggly line pointing to the part of the embroidery hoop. The labels say, screw fitting, inner hoop, outer hoop

Inner & outer hoop

An embroidery hoop has two parts, an inner hoop and an outer hoop. The inner hoop fits snuggly inside the outer hoop (if it doesn’t then you will have problems when stitching). The inner hoop is fully circular, you shouldn’t be able to see any joins! The outer hoop has a screw fitting and isn’t fully circular.

I recommend that you embroider with the fabric laid over the inner hoop and the outer hoop pressed on top. This will mean that there will be a few millimetres right at the edge of the embroidery hoop where you can’t stitch but it is easy to embroider this way up than flipping the hoop over and having the inner hoop on top.

Screw fitting

The screw fitting is there to tighten the hoop to create tension in the fabric. You can fully unscrew the screw but normally this isn’t needed.

On some hoops if you look at the end of the screw you’ll see an indent that you can use a screwdriver with. Most of the time you can tighten the screw tight enough with your fingers but if you need that little extra grip then for this style of hoop you can use a screwdriver.

Materials

Embroidery hoops are most commonly made from wood, bamboo or plastic.

My preference is to use a wooden hoop as I find that these type of hoop grips the fabric really well creating great tension. I use wooden hoops in all of my kits for this reason.

Bamboo hoops are also great for the same reason but I’ve found that some of the bamboo hoops I’ve bought (especially from eBay) are mis-shapen. When a hoop isn’t perfectly round then it doesn’t hold the fabric tight and causes problems with stitching.

I’ve also found two different types of plastic hoops - those that have a screw (like the wooden/bamboo hoops) and those that have some flex. Personally I find that when I stitch in plastic hoops the fabric slips around too much. I am also trying to reduce the amount of plastic in my life so am not buying any more of this type of hoop. Any that I have left in my stash I'm using just for framing finished pieces.

Size

Embroidery hoops come in different sizes and will be measure by diameter so a 6 inch hoop will be that measurement across (not around). Some designs work best in certain sized hoops. In addition sometimes it can be better to stitch a design in a slightly larger hoop than you will display the finished work in (so you can stitch right to the edge of the available space.


Enjoyed this blog post? I share embroidery tips and a free embroidery pattern in my monthly newsletter. Sign up here to receive the newsletter on the 1st of each the month.

In tips 2 Tags Hoops, Basics
Comment
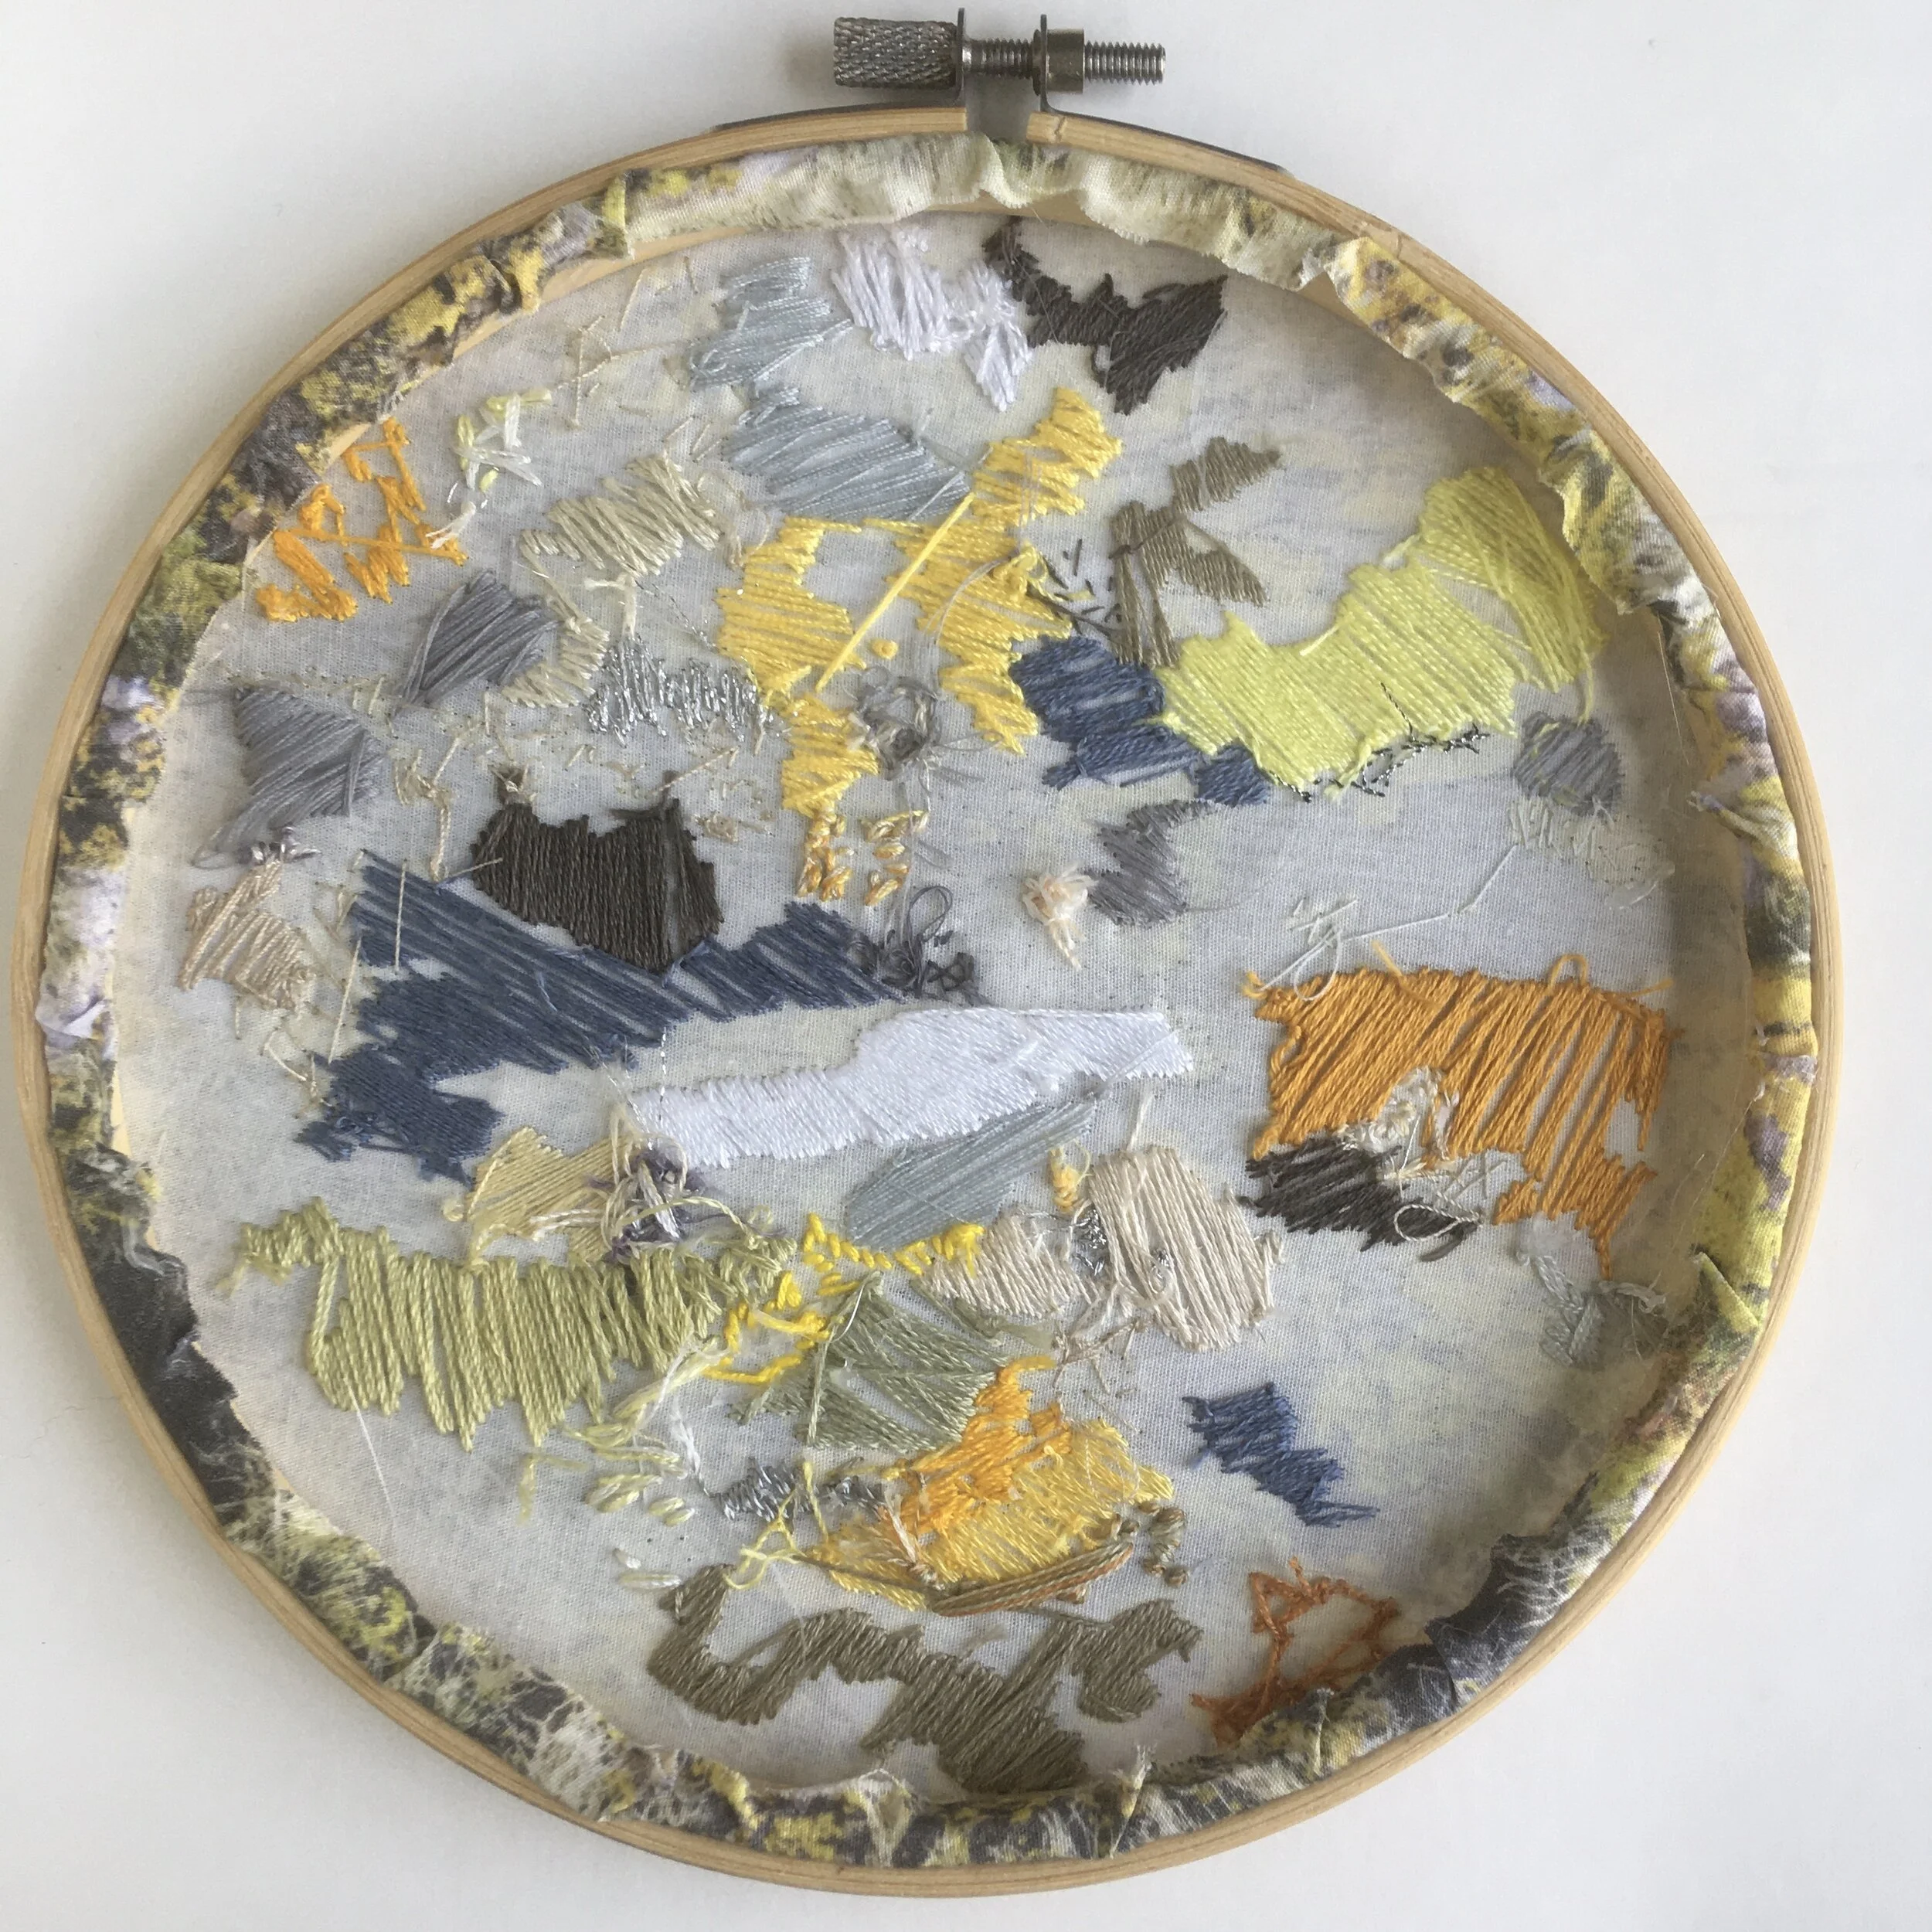
A picture of the back of an embroidery hoop where the fabric has been glued to the hoop. Overlaid is a blue square with white text saying - hand embroidery, four ways to finish the back of a hoop, www.embellishedelephant.co.uk

4 ways to finish the back of embroidery hoops

December 12, 2020

You’ve stitched your piece and you want to proudly hang it in a hoop on the wall. But for it to lie flat on the wall you need to finish off the back of the hoop.

There are several different ways to do this:

A picture of an embroidery hoop with fabric glued to the hoop to finish the back of the hoop

1. Glue

This is great if you know you don’t want to use the hoop for another purpose at a later date and perfect if you’ve not got enough fabric to gather. Just get your glue gun out and work round the hoop section by section

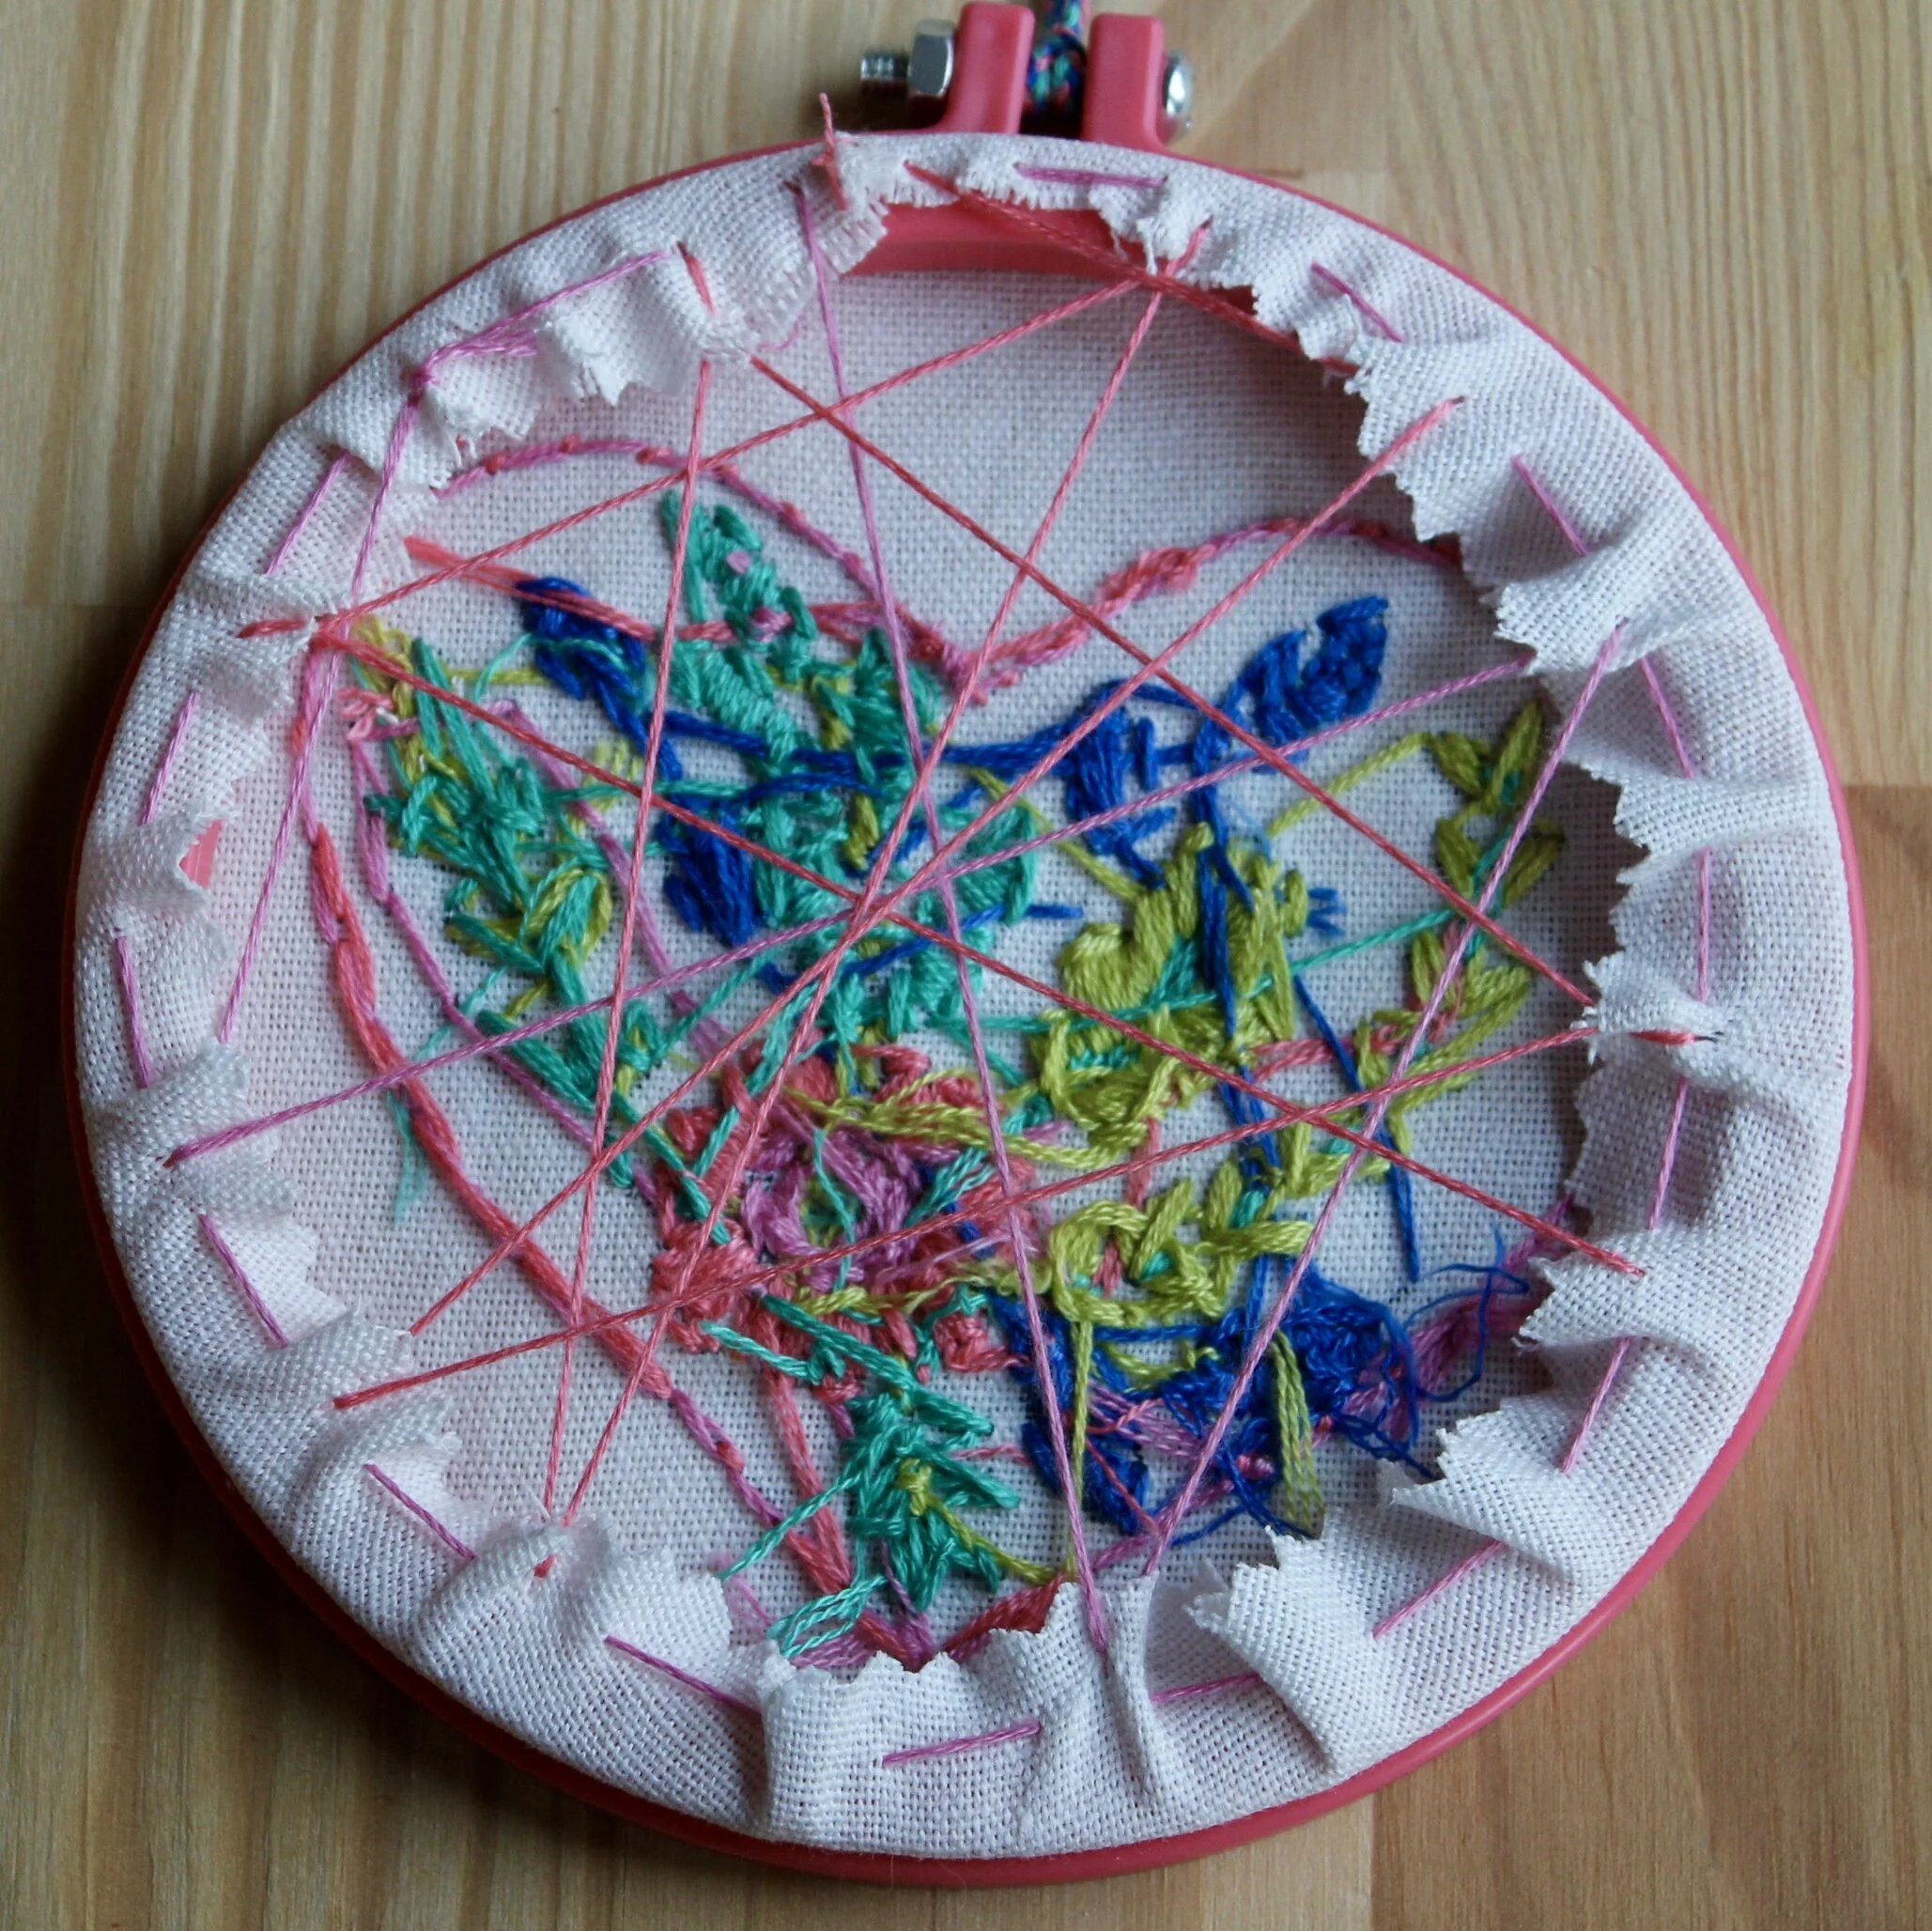
A picture showing an embroidery hoop by finished by gathering fabric using running stitches

2. Gathering

The easiest non-permanent way to finish a hoop by stitching around the edge of the fabric at the back of the hoop and gently pulling the threads to tighten the edges. Just use a large running stitch round the edge of the fabric and gently pul until the fabric has gathered. You can get an even flatter finish if you criss-cross the threads at tension across the back of the hoop as well.

A picture of an embroidery hoop finished using a cardboard circle

3. Cardboard

This is my current favourite as it is so simple, works best if you’ve already gathered the lose fabric although you can sometimes get away with not having done this. Just draw round the inner hoop on a bit of cardboard and cut it out inside the line, trimming by a small amount if the card board still doesn’t fit

A picture of the back of an embroidery hoop finished off by stitching fabric over the back of the hoop

4. Felt

This gives the most professional finish again you need to gather the fabric first before carefully stitching the felt on to the fabric. Draw round the inner hoop on the felt and then attach with either running stitch or blanket stitch

Enjoyed this blog post? I share embroidery tips and a free embroidery pattern in my monthly newsletter. Sign up here to receive the newsletter on the 1st of each the month.

In tips 2 Tags Hoops, Finishing, Basics
Comment
A picture of the back of an embroidery hoop  showing the edge of the fabric. Overlaid is a blue square with white text saying - hand embroidery, how to gather fabric at the back of a hoop, www.embellishedelephant.co.uk

How to gather the fabric at the back of an embroidery hoop

November 14, 2020

Once you’ve finished your embroidery and want to put it on display the easiest way to do this is to display it in the hoop you stitched it in. 

Many of the different techniques to finish off the back of an embroidery hoop for display require the fabric to be gathered first so that none of the excess fabric peaks out and so it also lies flat on the wall. 

  • Before you start you may need to straighten up the embroidery in the hoop and make sure the screw fixture is at the top of the hoop as this is how you will hang it on the wall. Don’t forget once you have straightened it up to re-screw the fabric as tight as possible.
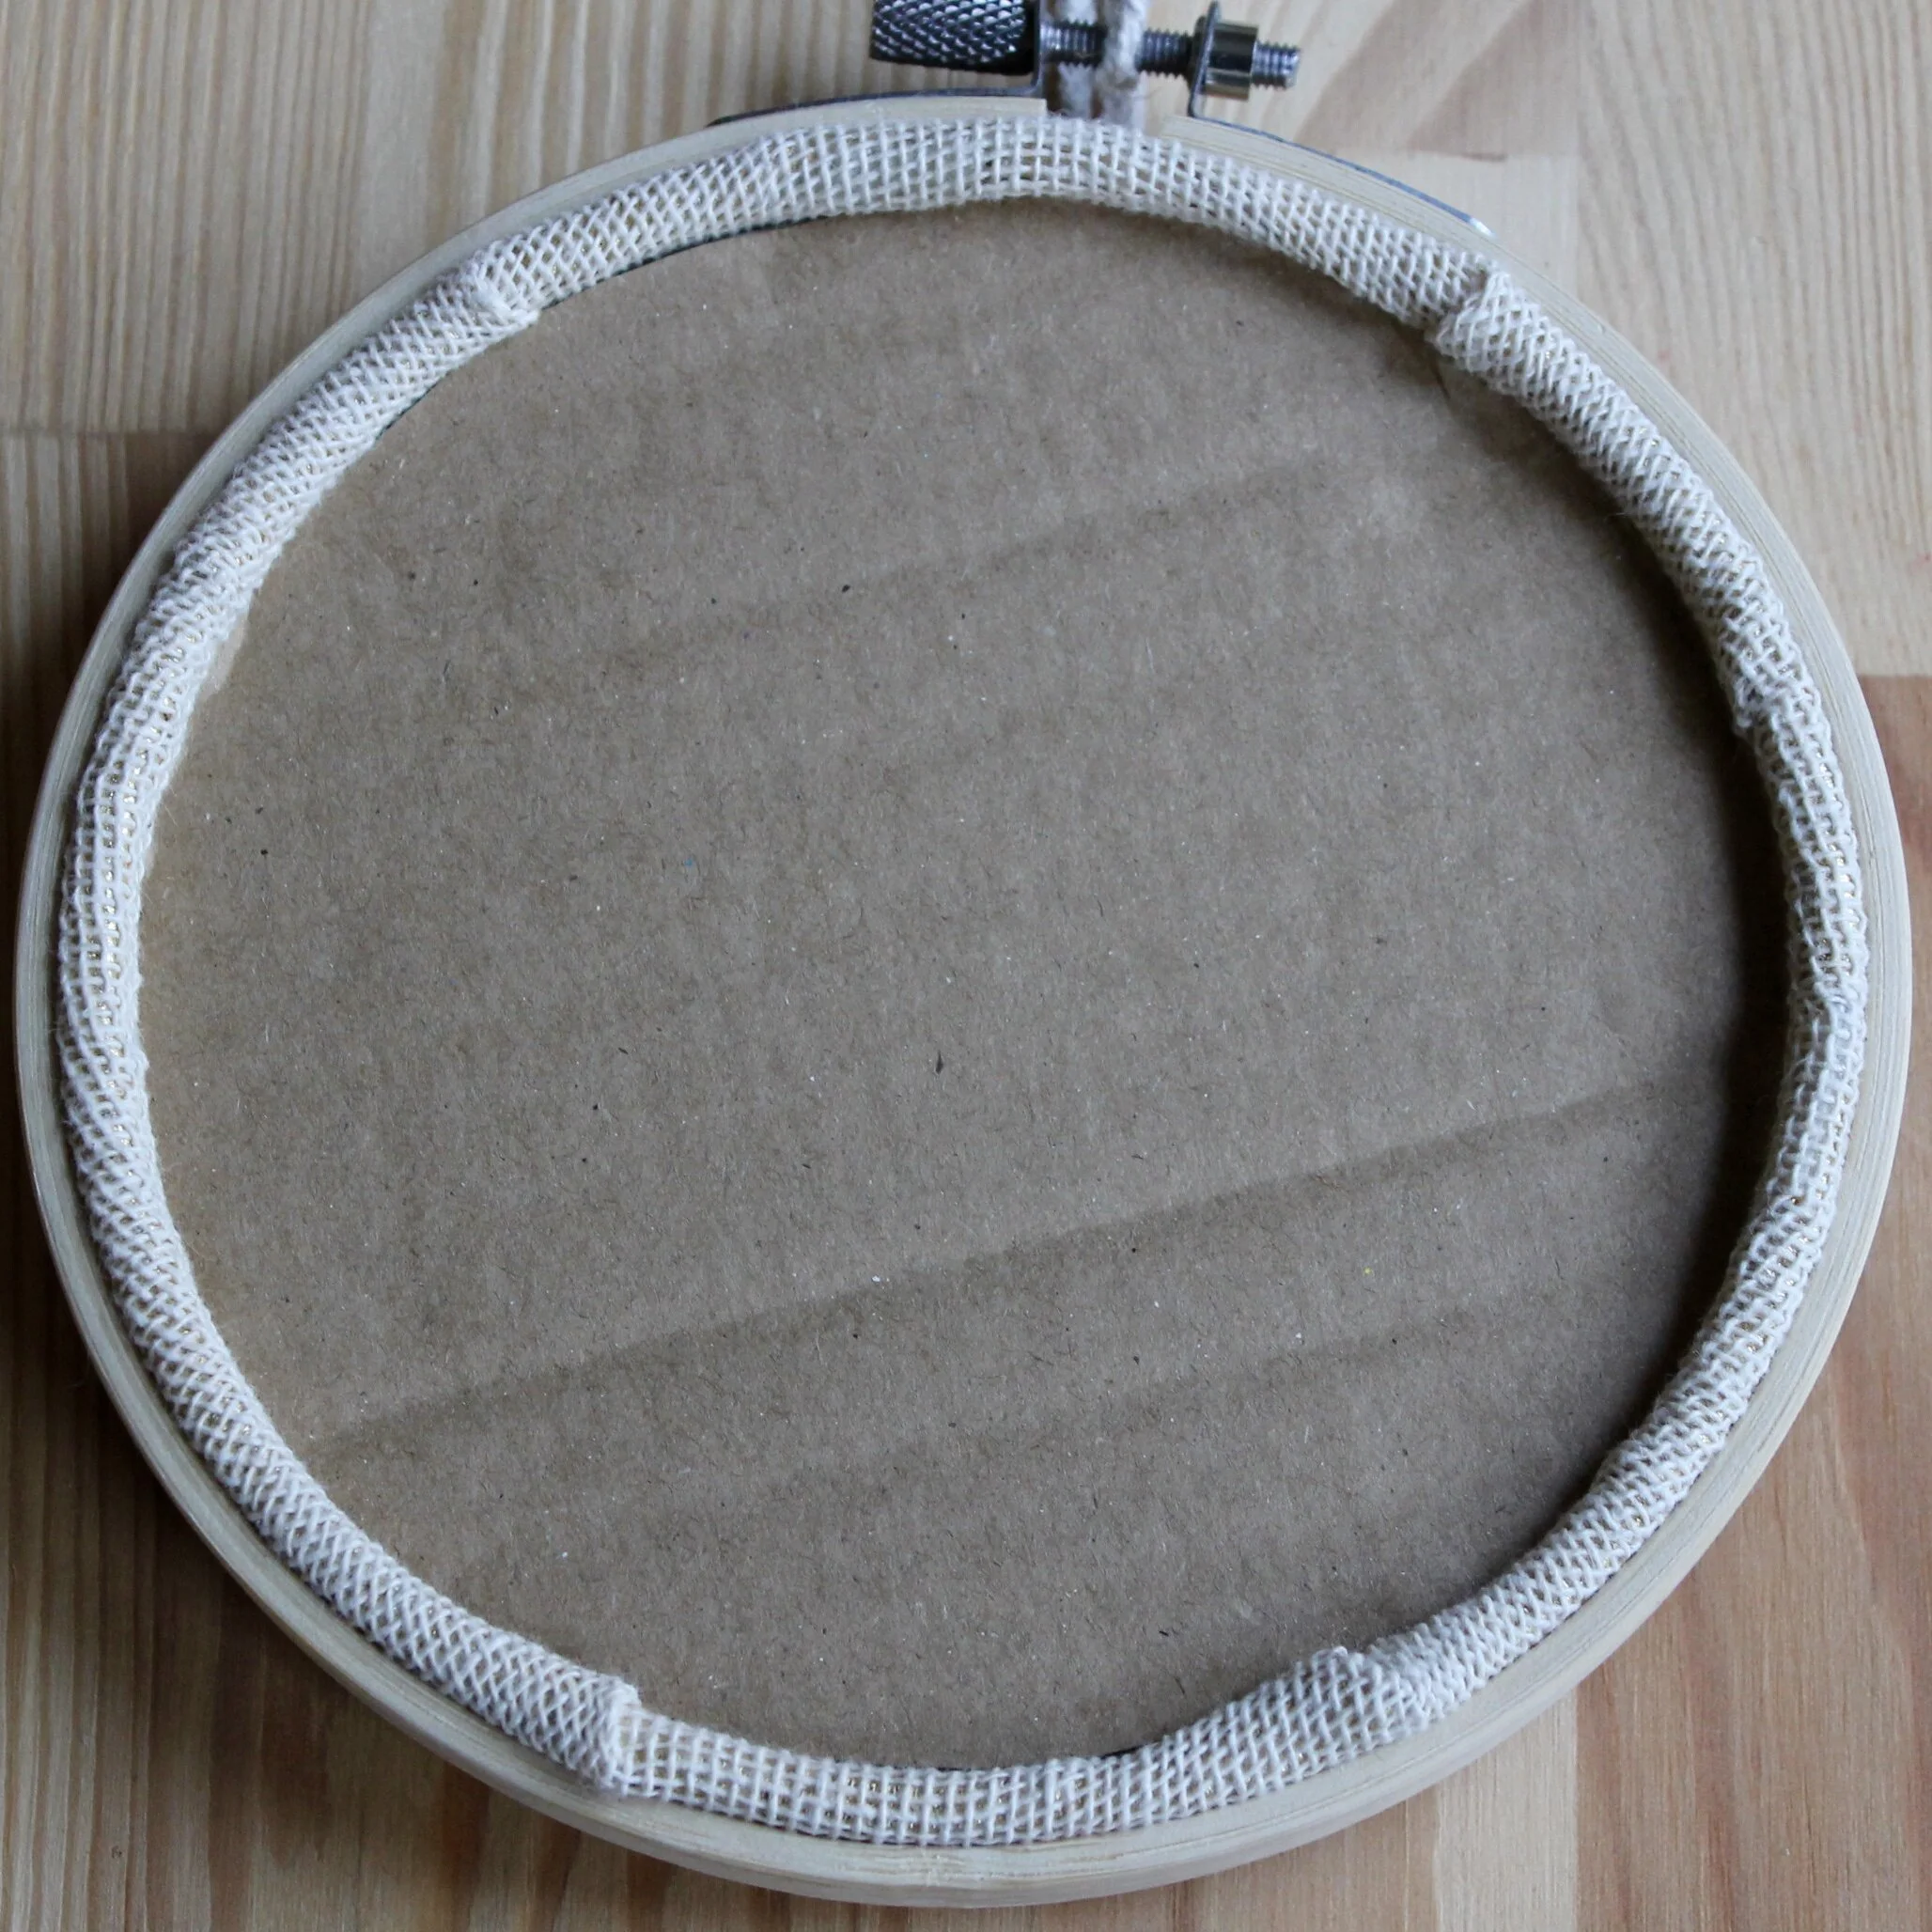
  • Trim any excess fabric, but don’t trim too close to the hoop - you need some fabric to be able to overlap to the inner hoop for all methods about 1.5-2cm is perfect (it doesn’t need to be trimmed in a perfect circle but just make sure you get as close as you can). 
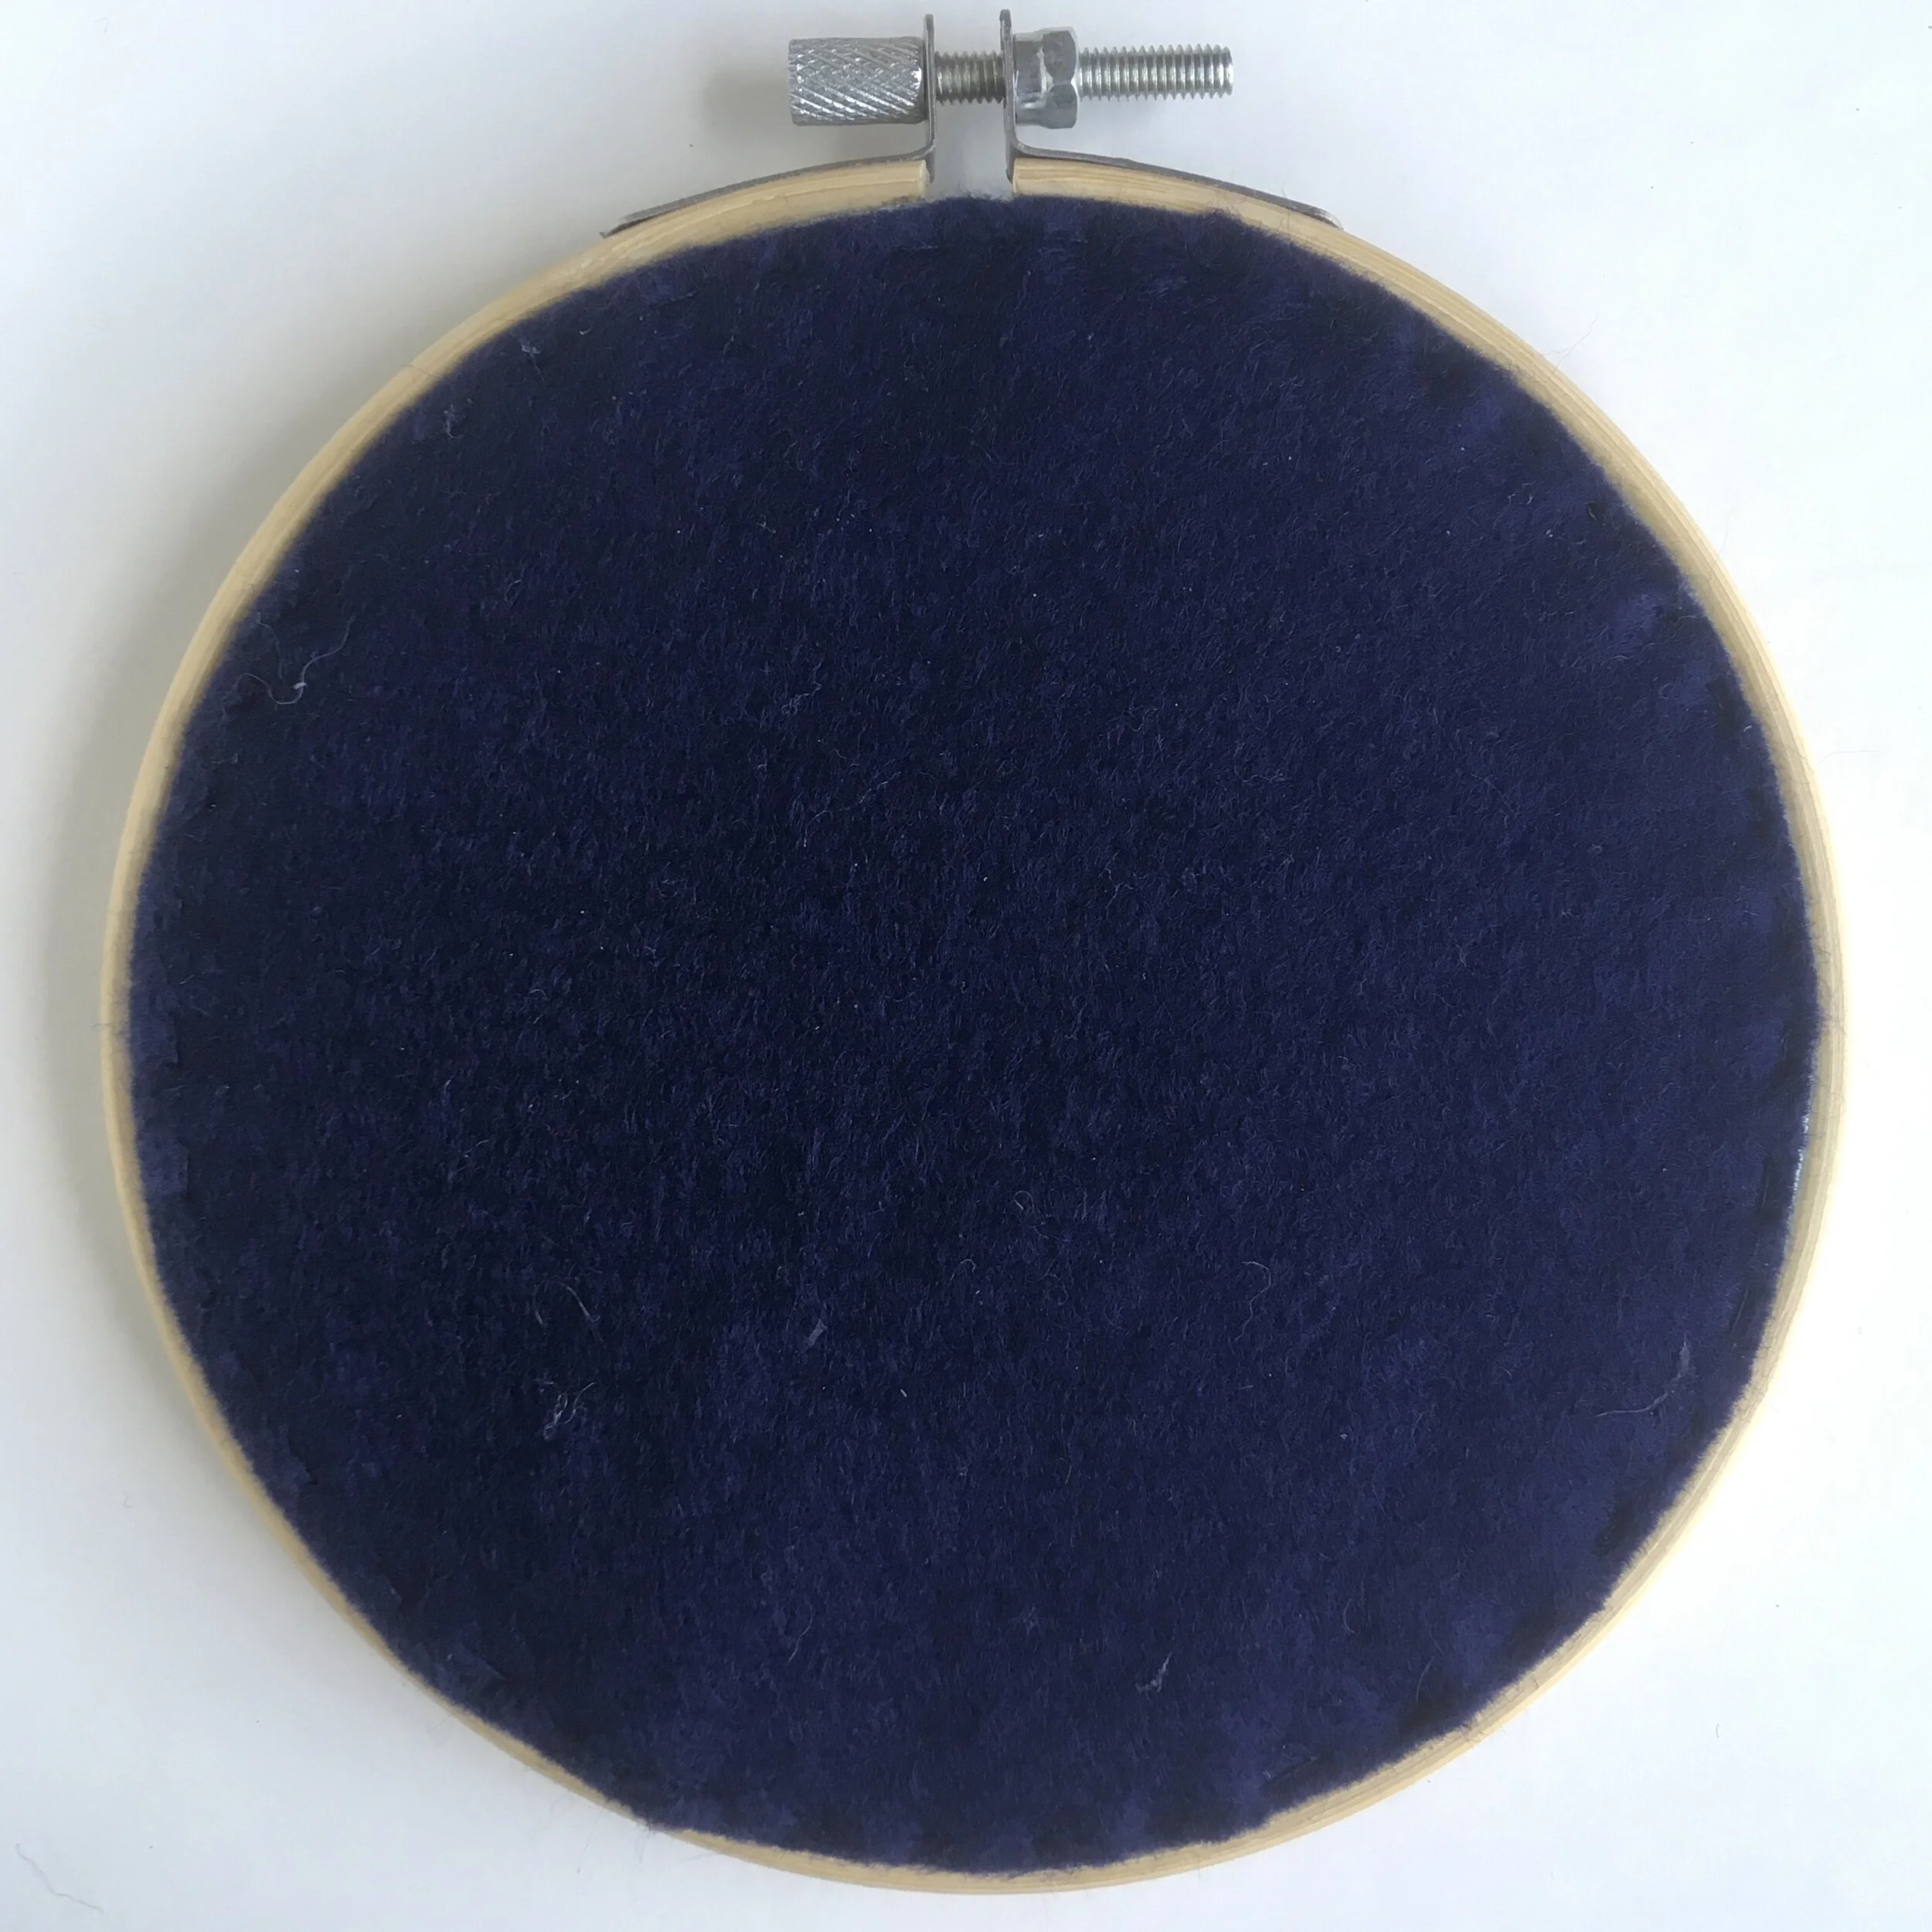
  • Take a long length of normal sewing thread - long enough to go round the circumference of the hoop twice (to give some nice long ends to pull on to gather).  

  • Tie a BIG knot in one end - it doesn’t have to be neat as it will get the chop later - but you do need to make sure that it won’t pop through the weave of the fabric as you sew

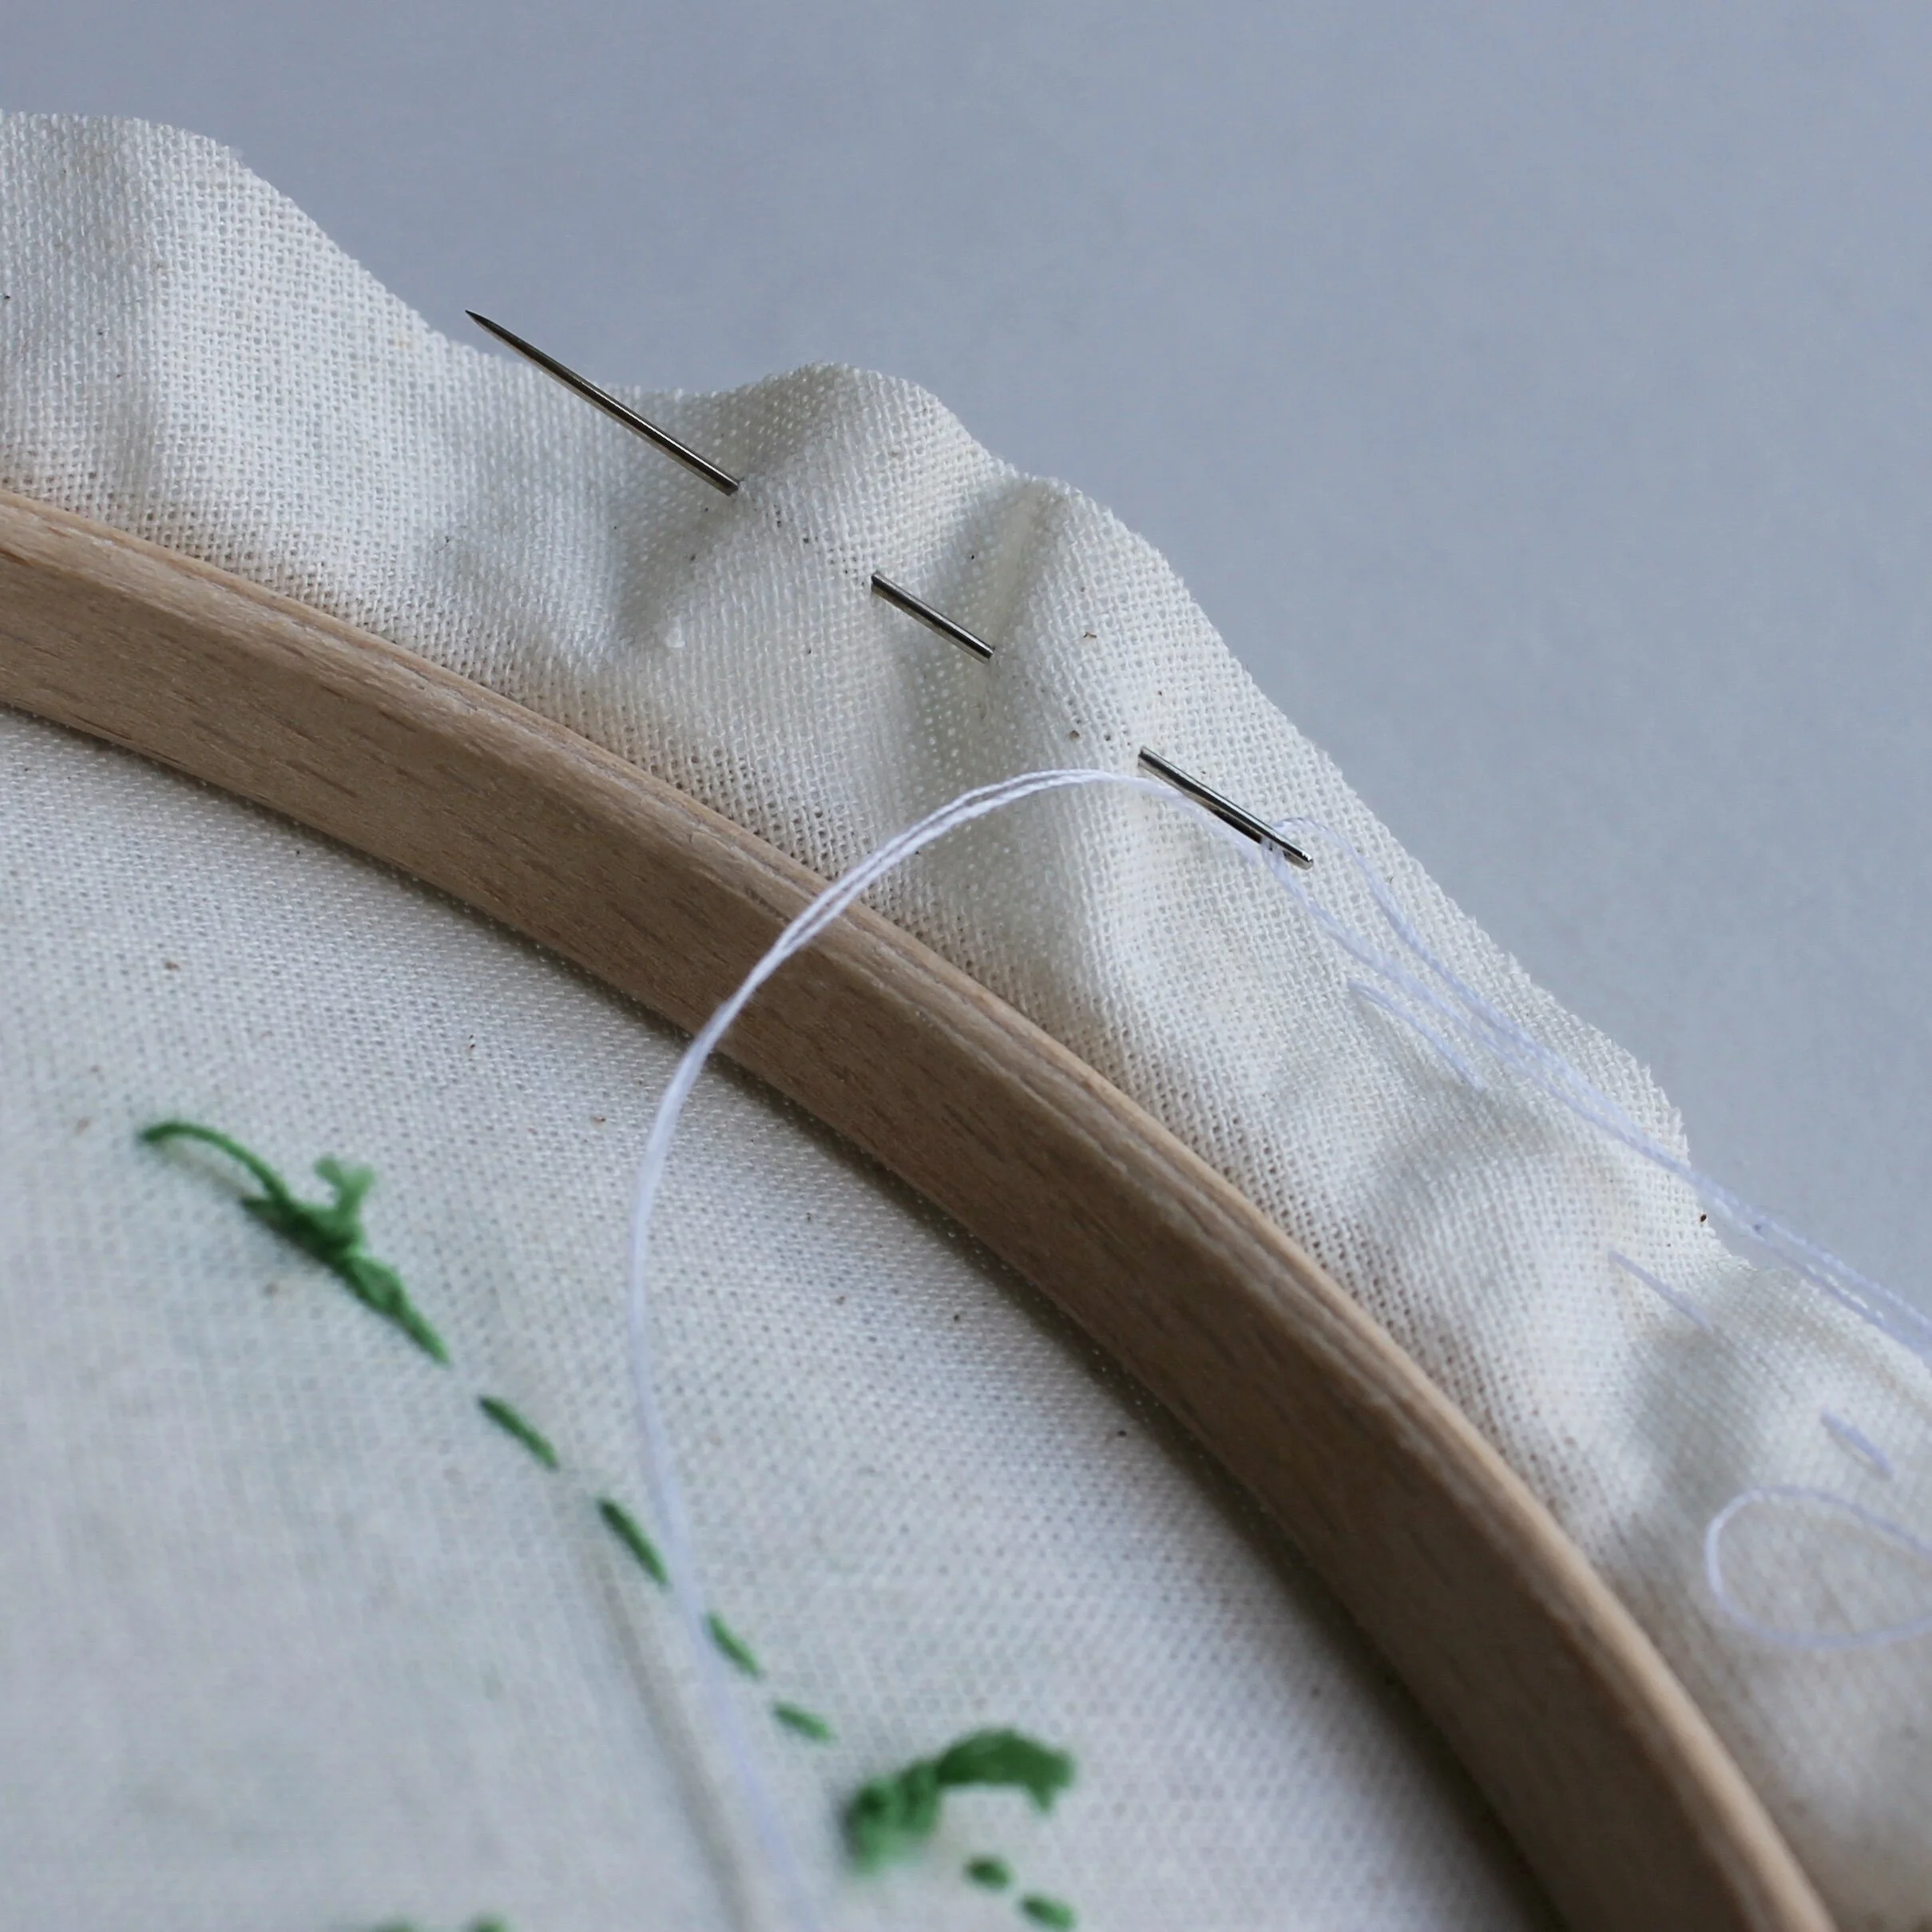
  • Stitch around the fabric in a running stitch - each stitch should be reasonably long (around 1cm). Your stitches should be about 5mm from the edge of the fabric but don’t worry if it isn’t even from the edge all the way round.  

A picture showing how running stitch can be used to gather the fabric at the back of the embroidery thread
  • Once you’ve stitched all the way round and get back to the starting point, gently pull on the knot end slightly whilst holding the other end so you have two tails.

  • Then pull on one of the tails while holding the other to gather the fabric. Once it is gathered maintain the tension and tie the two tails together. It is tricky to maintain the tension so do a single knot first and then pull to tighten before doing the second (double) knot. Don’t pull too hard otherwise you risk breaking the thread.

  • You can either leave it like this or pull the fabric at the back extra tight by stitching across the back from opposite side to opposite side.

A picture showing additional stitches to gather fabric at the back of an embroidery hoop

Enjoyed this blog post? I share embroidery tips and a free embroidery pattern in my monthly newsletter. Sign up here to receive the newsletter on the 1st of each the month.

In tips 2 Tags Fabric, Hoops, Basics
Comment
A picture of some pink fabric in a wooden embroidery hoop. Overlaid is a blue square with white text saying - hand embroidery, the basics of using an embroidery hoop, www.embellishedelephant.co.uk

The basics of using an embroidery hoop

September 12, 2020

An embroidery hoop is vital to creating a great finished look for your embroidery project.

It’s important to stretch the fabric taut to keep the stitches you make even, if the fabric is too lose then you will often unwittingly pull the stitches marginally too tight meaning the fabric can’t lie flat due to the uneven tension when you remove it from the hoop.

There are a few different types of embroidery hoop, but the most common is the wooden hoop with a screw fixture.

Ideally the size of the hoop should be big enough to display the whole area you are going to stitch but this isn’t vital unless you are working with beads or other embellishments.

  • To get started loosen the screw slightly (you don’t need to unscrew it all the way) until the inner hoop separates from the outer hoop.

  • Lie the inner hoop down and place the ironed fabric over the inner hoop so that it is central.

  • Place the outer hoop over the inner hoop and gently press down, you may need to unscrew the outer hoop a little further if you have any difficulty in pushing the outer hoop down.

  • The tighten the screw as tight as you can so that the fabric is like the skin of a drum, you can pull each side of the fabric to make sure it is as taut as possible.

Enjoyed this blog post? I share embroidery tips and a free embroidery pattern in my monthly newsletter. Sign up here to receive the newsletter on the 1st of each the month.

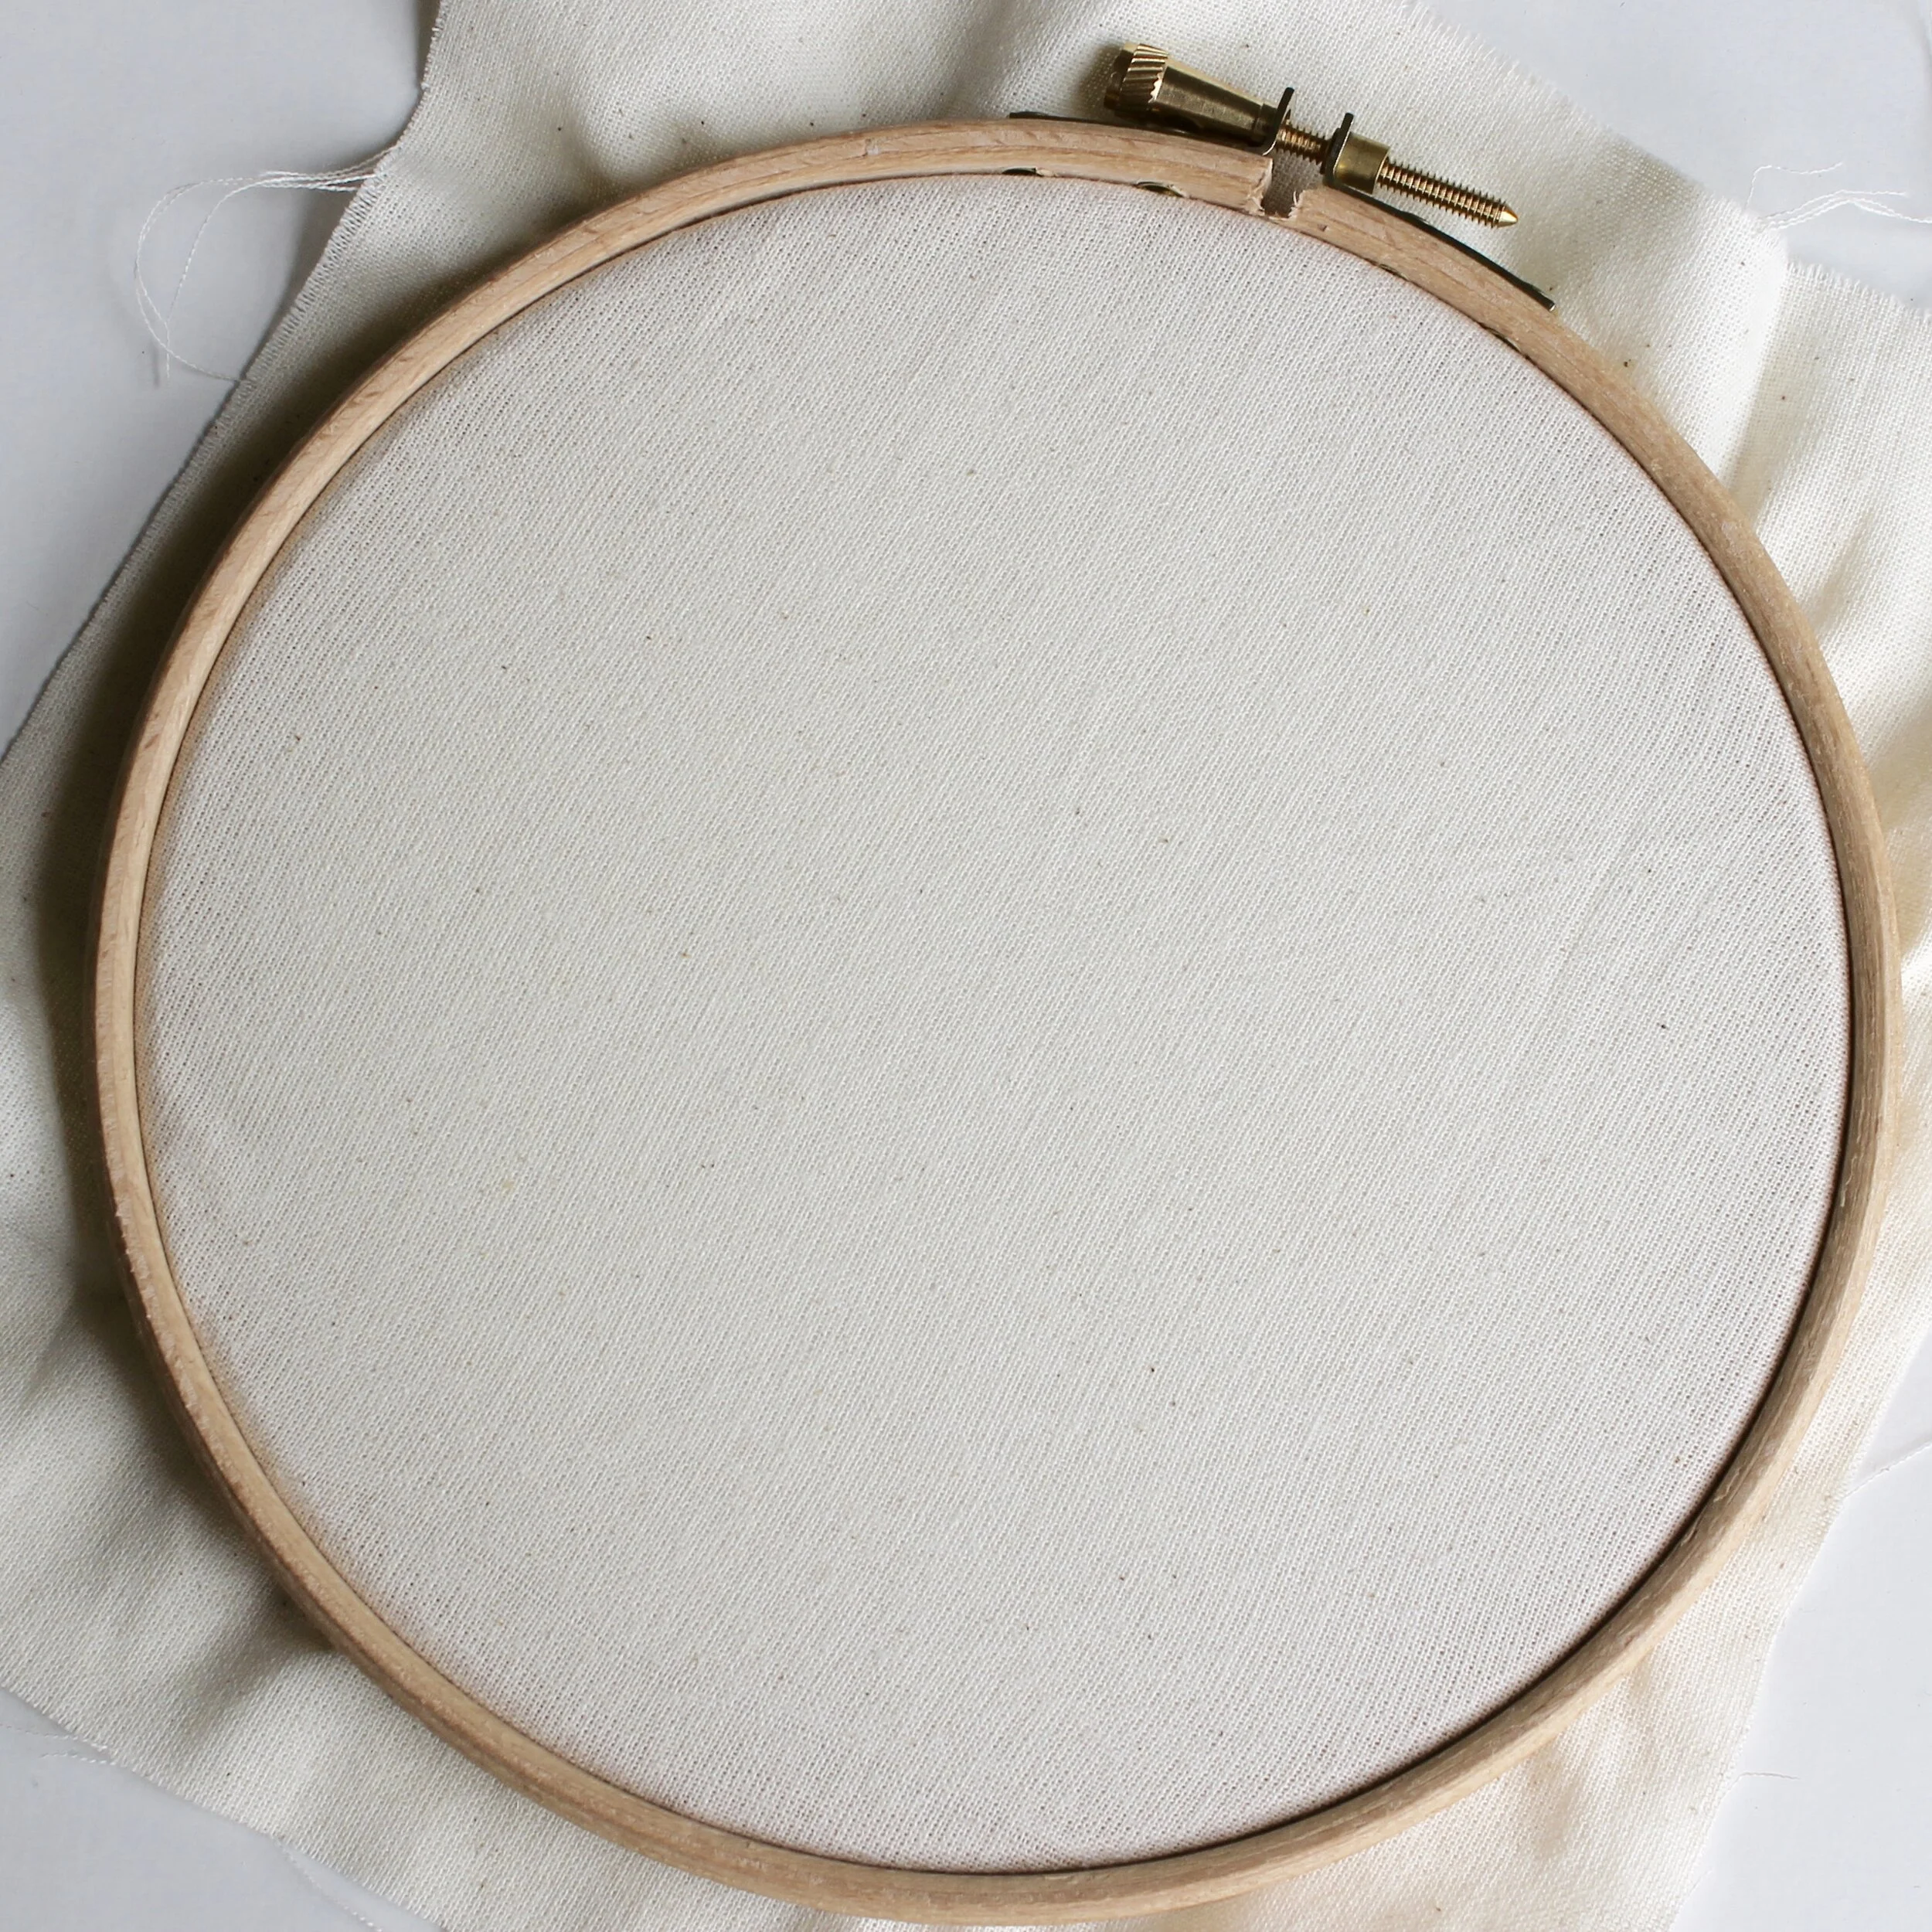
a picture of some calico fabric in a wooden embroidery hoop
In tips 2 Tags Hoops, Basics
Comment

Tags

  • About me
  • Artists/Designers
  • Basics
  • Christmas
  • colour
  • Couching Stitch
  • Fabric
  • Filling Stitch
  • Finishing
  • Hoops
  • Isolated Stitch
  • Line Stitch
  • London
  • My Makes
  • Needles
  • Stitch Showcase
  • Texture Stitch
  • Thread
  • Transfer
  • Travel

Latest Posts

Featured
May 1, 2025
How to manage your backlog of craft projects
May 1, 2025
May 1, 2025
Apr 1, 2025
What to do if you don't like what you've stitched
Apr 1, 2025
Apr 1, 2025
Feb 15, 2025
How to decide which embroidery stitch to use
Feb 15, 2025
Feb 15, 2025
Feb 1, 2025
Focus on stitches for flowers
Feb 1, 2025
Feb 1, 2025
Jan 1, 2025
Focus on stitches for leaves
Jan 1, 2025
Jan 1, 2025
Nov 1, 2024
Stitch Showcase: Six-pointed star stitch
Nov 1, 2024
Nov 1, 2024
Oct 1, 2024
Focus on transferring or tracing patterns
Oct 1, 2024
Oct 1, 2024
Sep 1, 2024
Focus on hoops
Sep 1, 2024
Sep 1, 2024
Aug 1, 2024
A focus on needles
Aug 1, 2024
Aug 1, 2024
Jul 1, 2024
Focus on threads
Jul 1, 2024
Jul 1, 2024

Home — Shop — Stockists — Wholesale — Portfolio — Contact — Reviews — Policies — FAQs