• Home
  • Shop
  • Stitch Showcase
  • Embroidery tips
  • Freebies
  • About
  • Contact
Menu

Embellished Elephant

  • Home
  • Shop
  • Stitch Showcase
  • Embroidery tips
  • Freebies
  • About
  • Contact
A picture of some calico fabric with two embroidery needles threaded with yellow cotton. Overlaid is a blue square with white text saying, hand embroidery, a focus on needles, www.embellishedelephant.co.uk

A focus on needles

August 1, 2024

It’s time to focus on one of the key tools for any embroiderer, the needle.

  • There are many different types and sizes of needle available.  Picking the right needle can help make your life easier. This blog post shows five types of needles I commonly use and their different features. 

  • Some people find it really challenging to thread a hand embroidery needle. In this blog post I've shared some of my tips for making this a little easier. 

  • How do you keep your needles safe and stop them hurting you or other people? This blog post covers a range of different ways to store your needles when you are not using them. 

Enjoyed this blog post? I share embroidery tips and a free embroidery pattern in my monthly newsletter. Sign up here to receive the newsletter on the 1st of each the month.

In tips 4 Tags Needles
Comment
image of hand embroidery needles woven into a felt needle case. Overlaid is blue square with text saying Hand Embroidery - When to Change Your Hand Embroidery Needle

When to change your hand embroidery needle

March 2, 2022

I used to do a lot of beadwork and beading needles are very long and very thin. Over time the needle is stressed as it passes through the beads and all of a sudden when you give it a little tug it snaps and can be a bit of a shock.

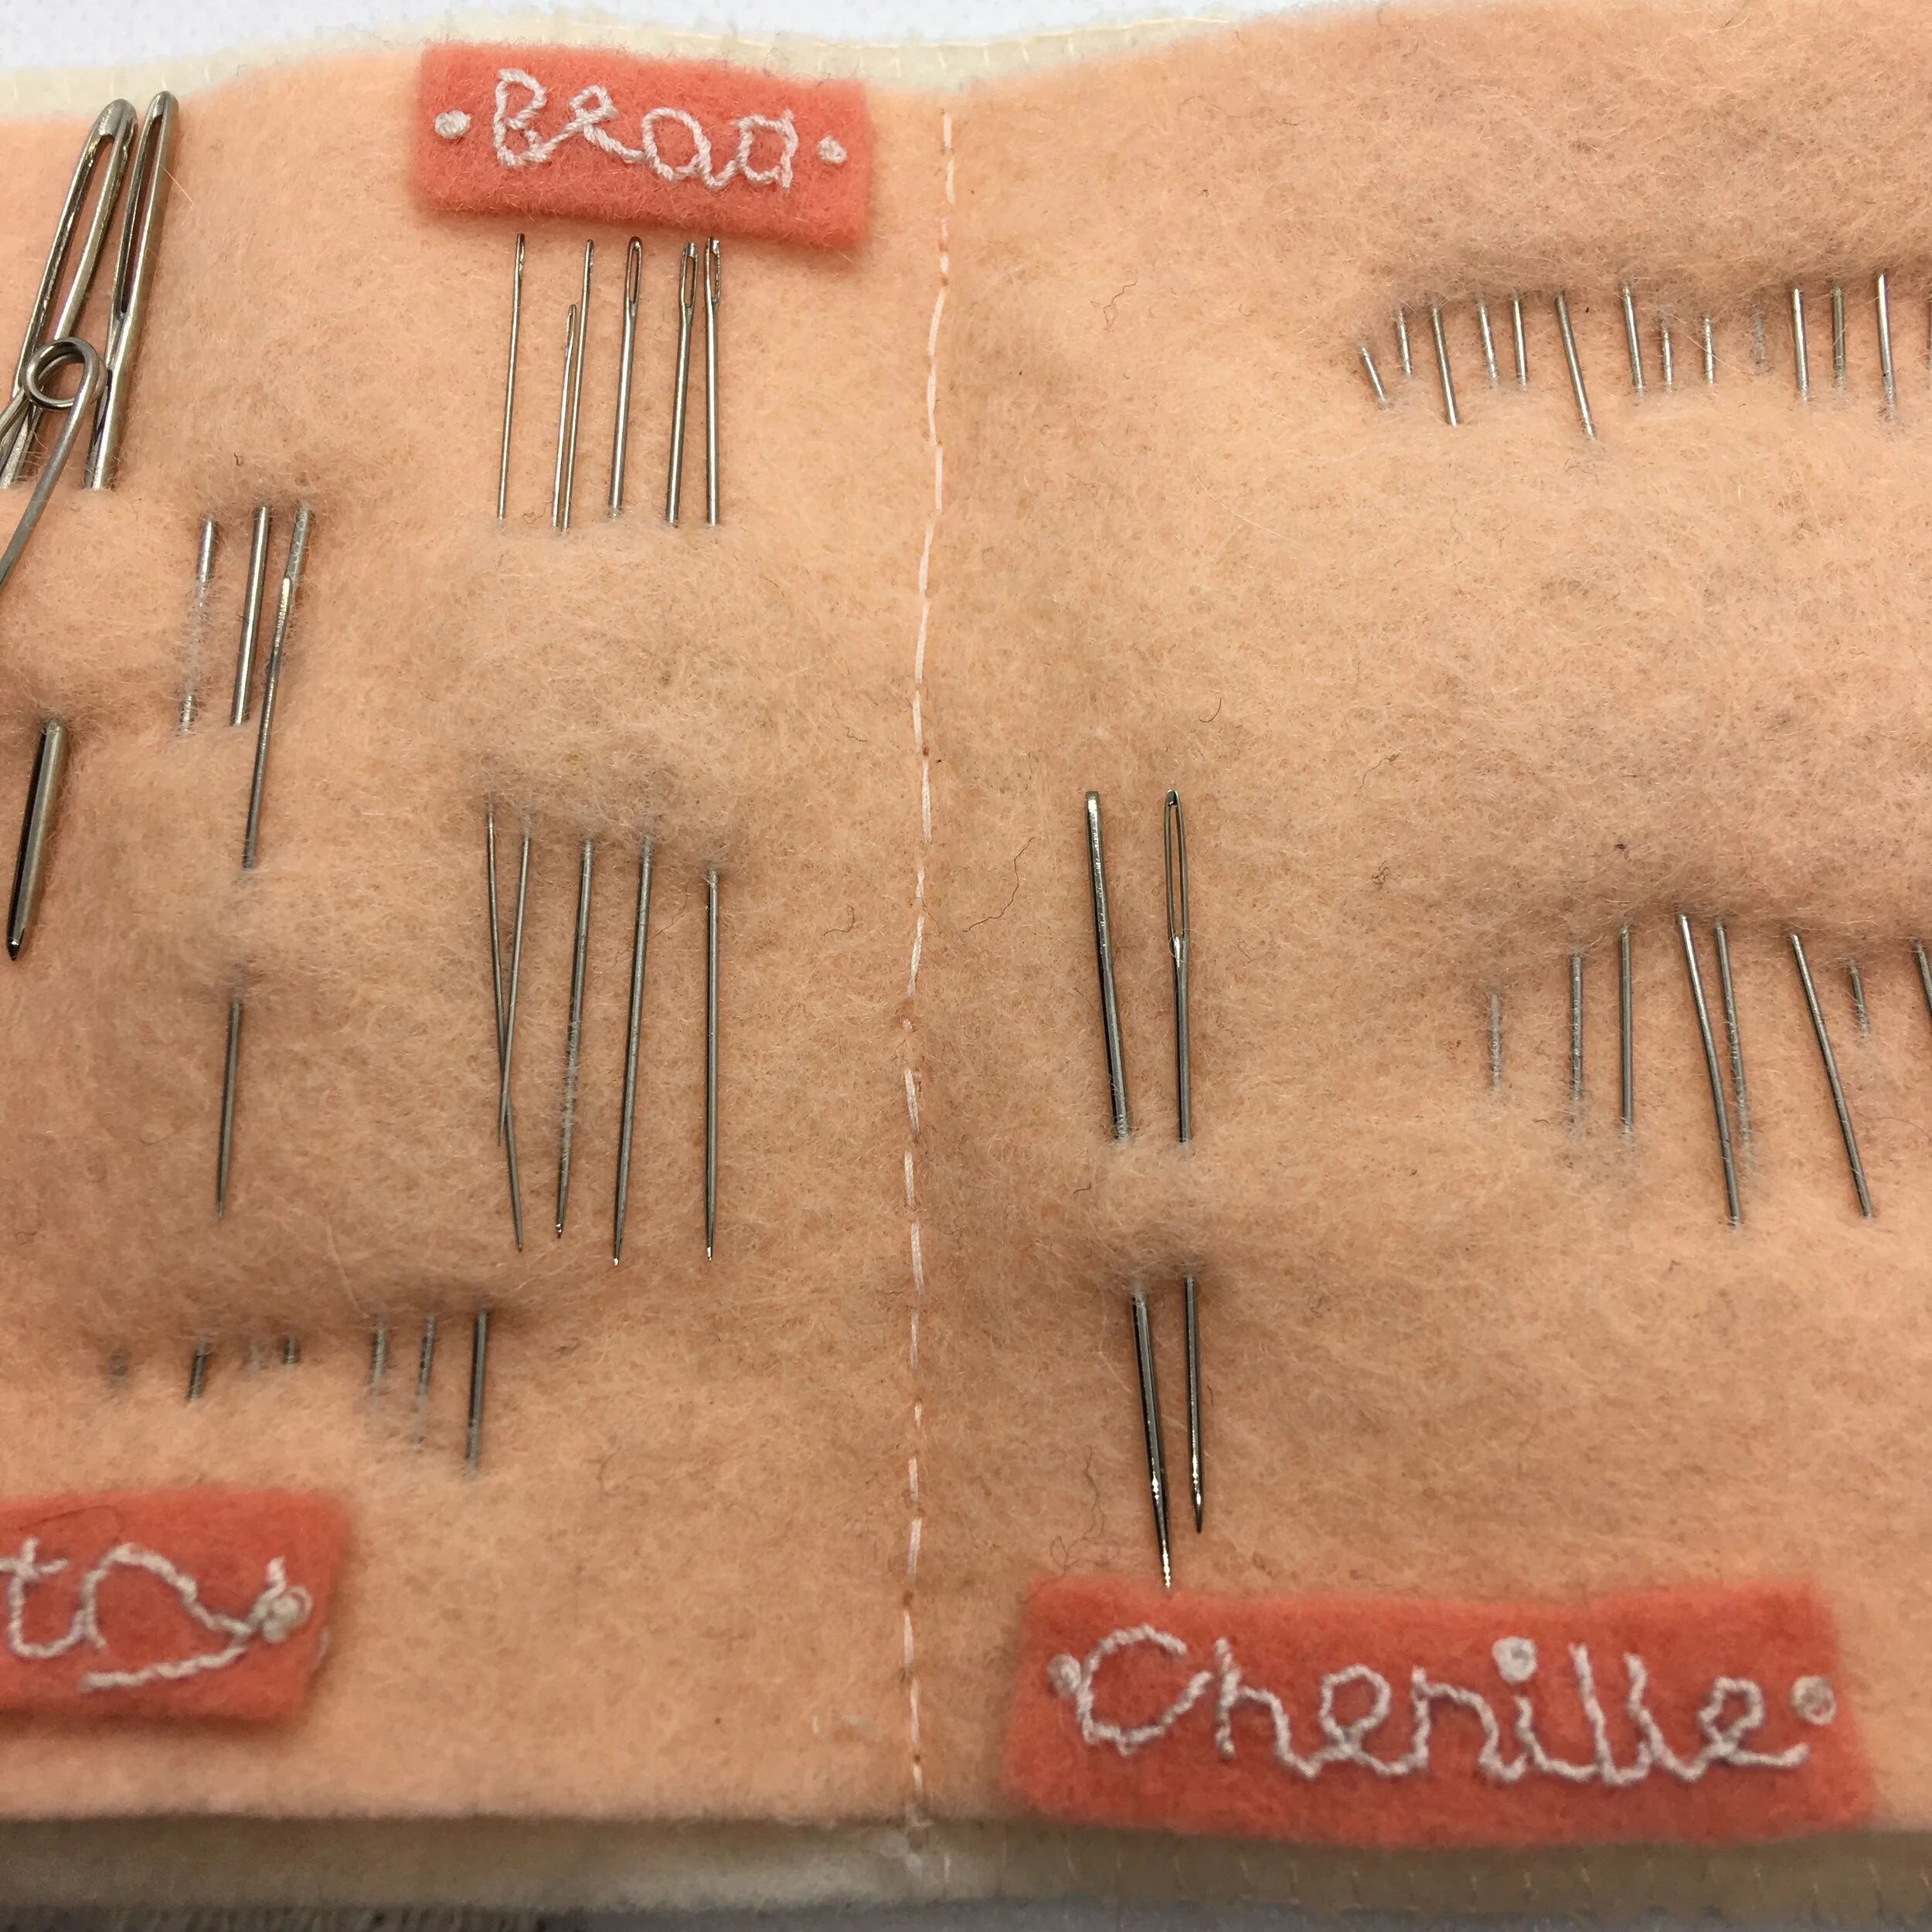
I’ve found that hand embroidery needles snap less often as they are a little thicker so how do you know when to change them?

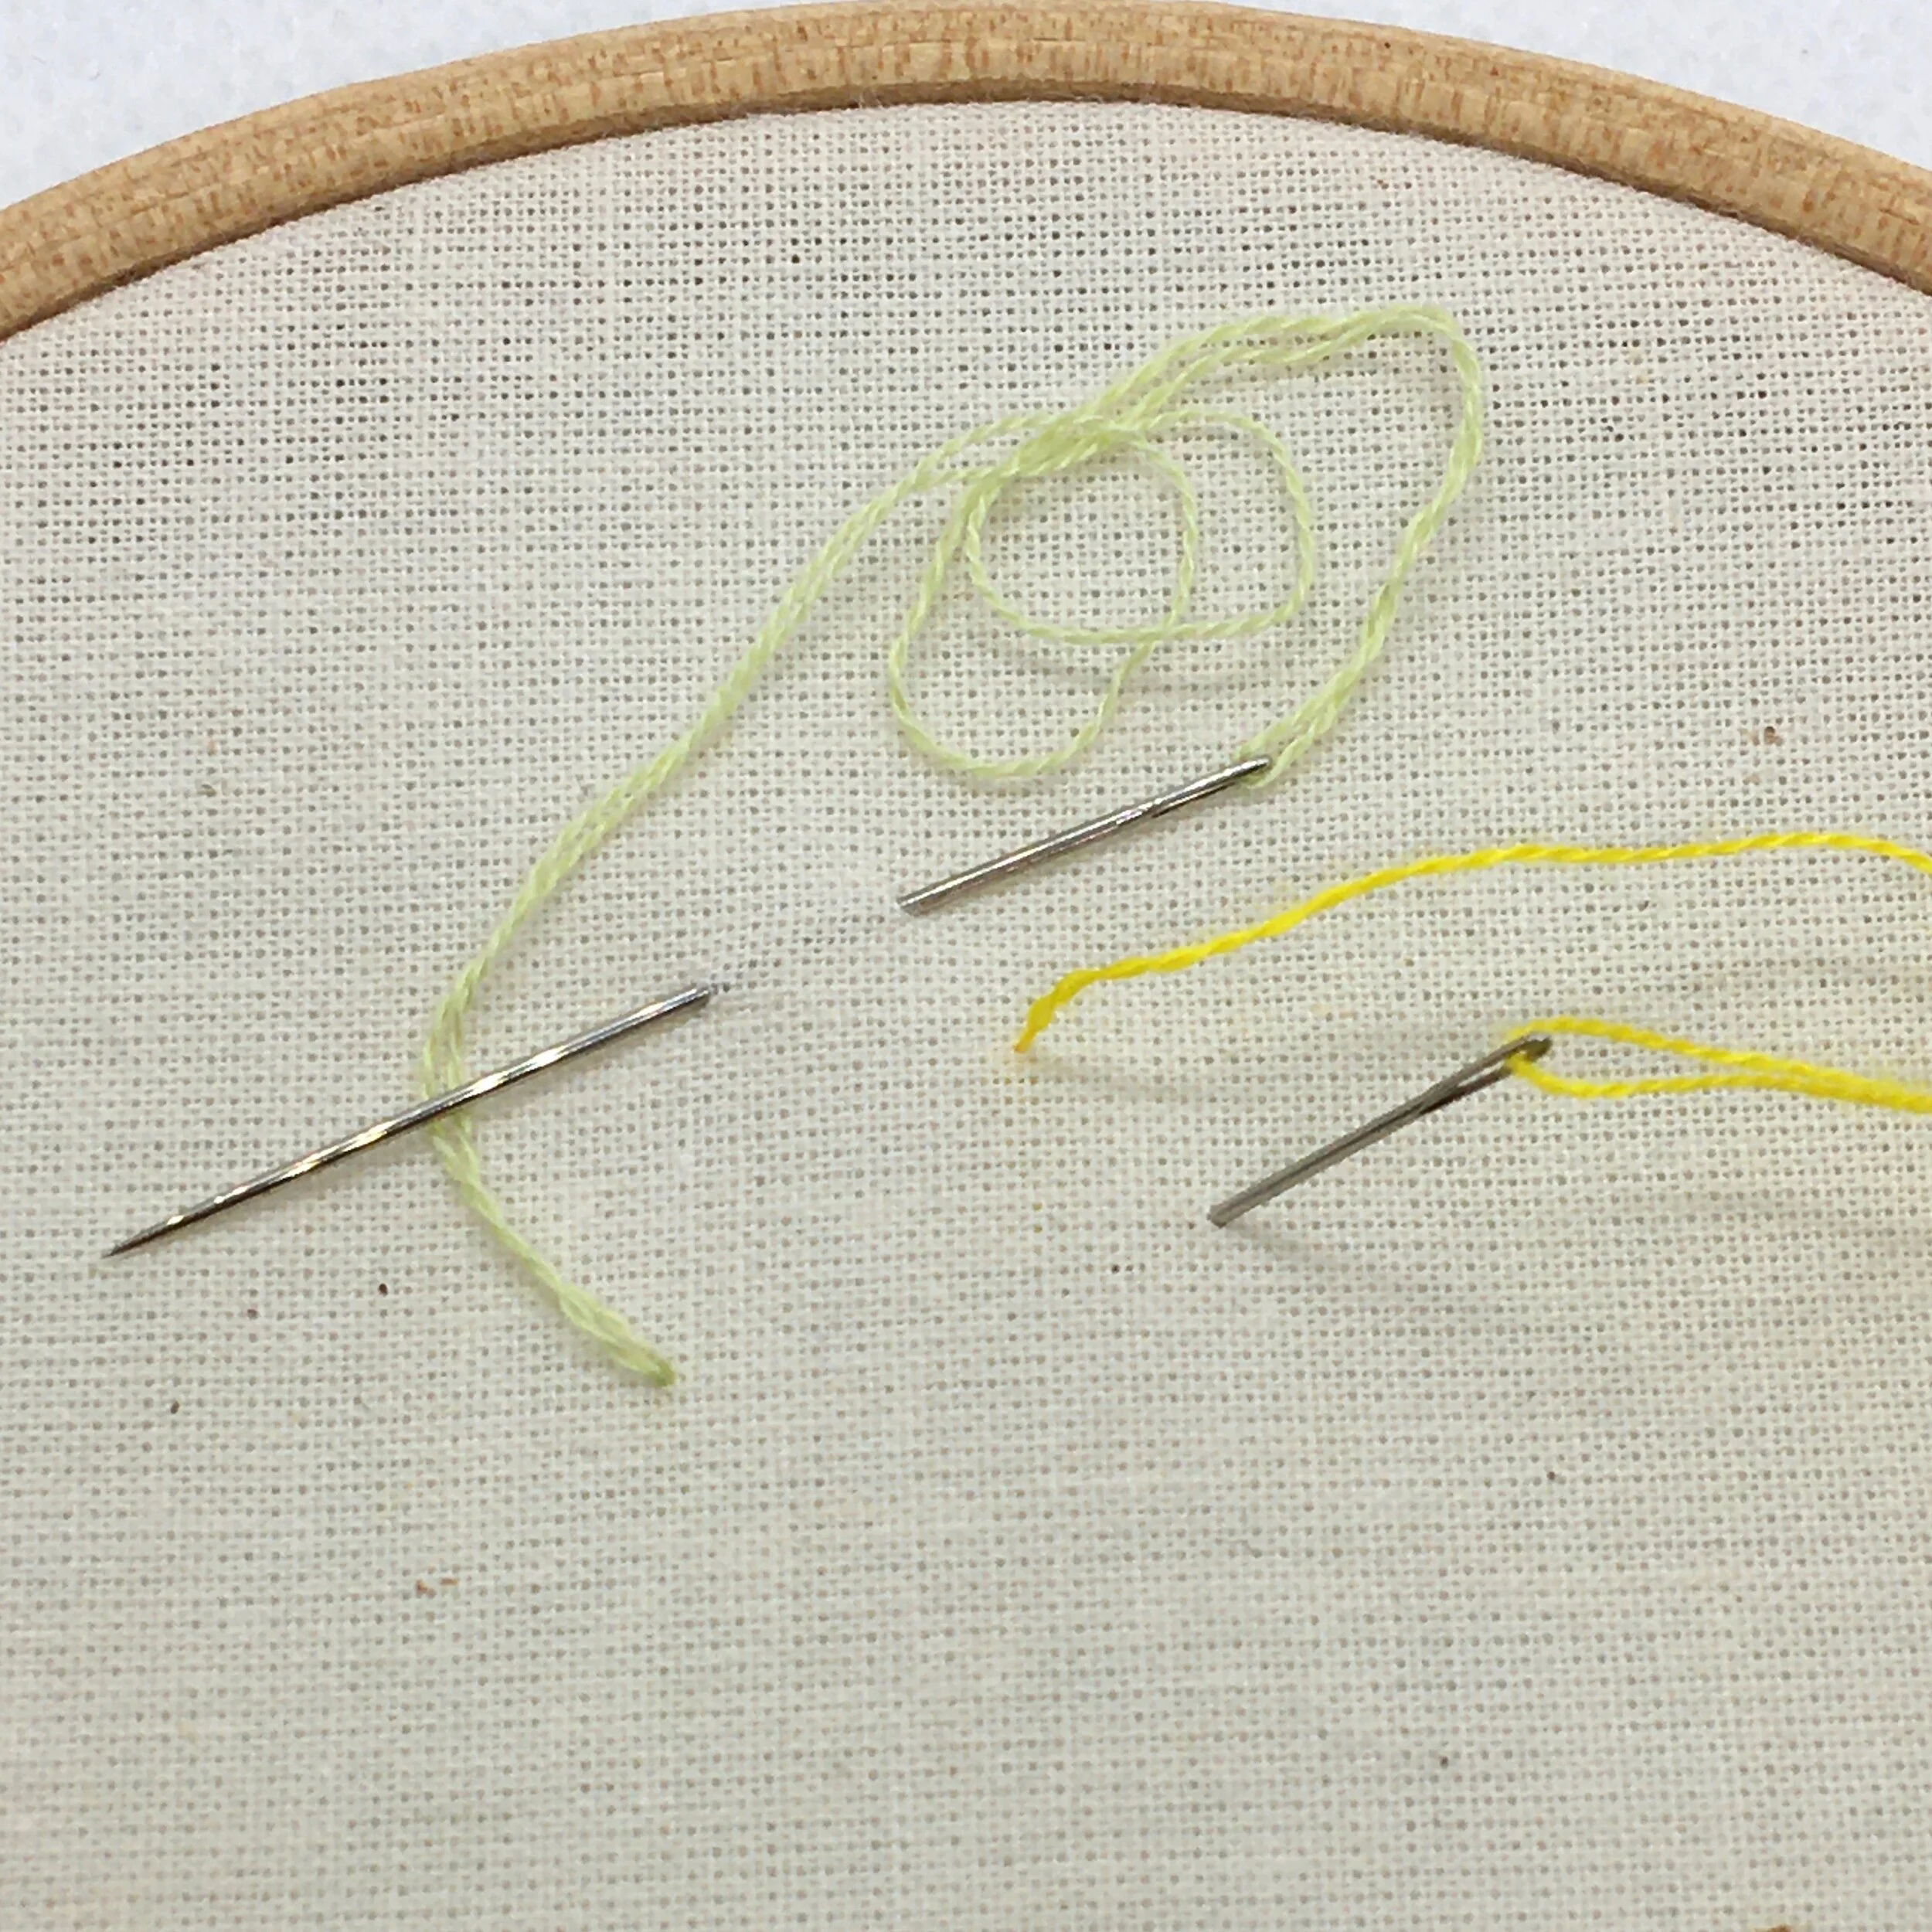
1 - It starts to bend

For me this is much more common that a snapped needle. I find that I often don’t notice how bent a needle has got until it’s laid on a flat surface like a table. You can keep stitching with a bent needle but it can be difficult to stitch with if you need to be very active.
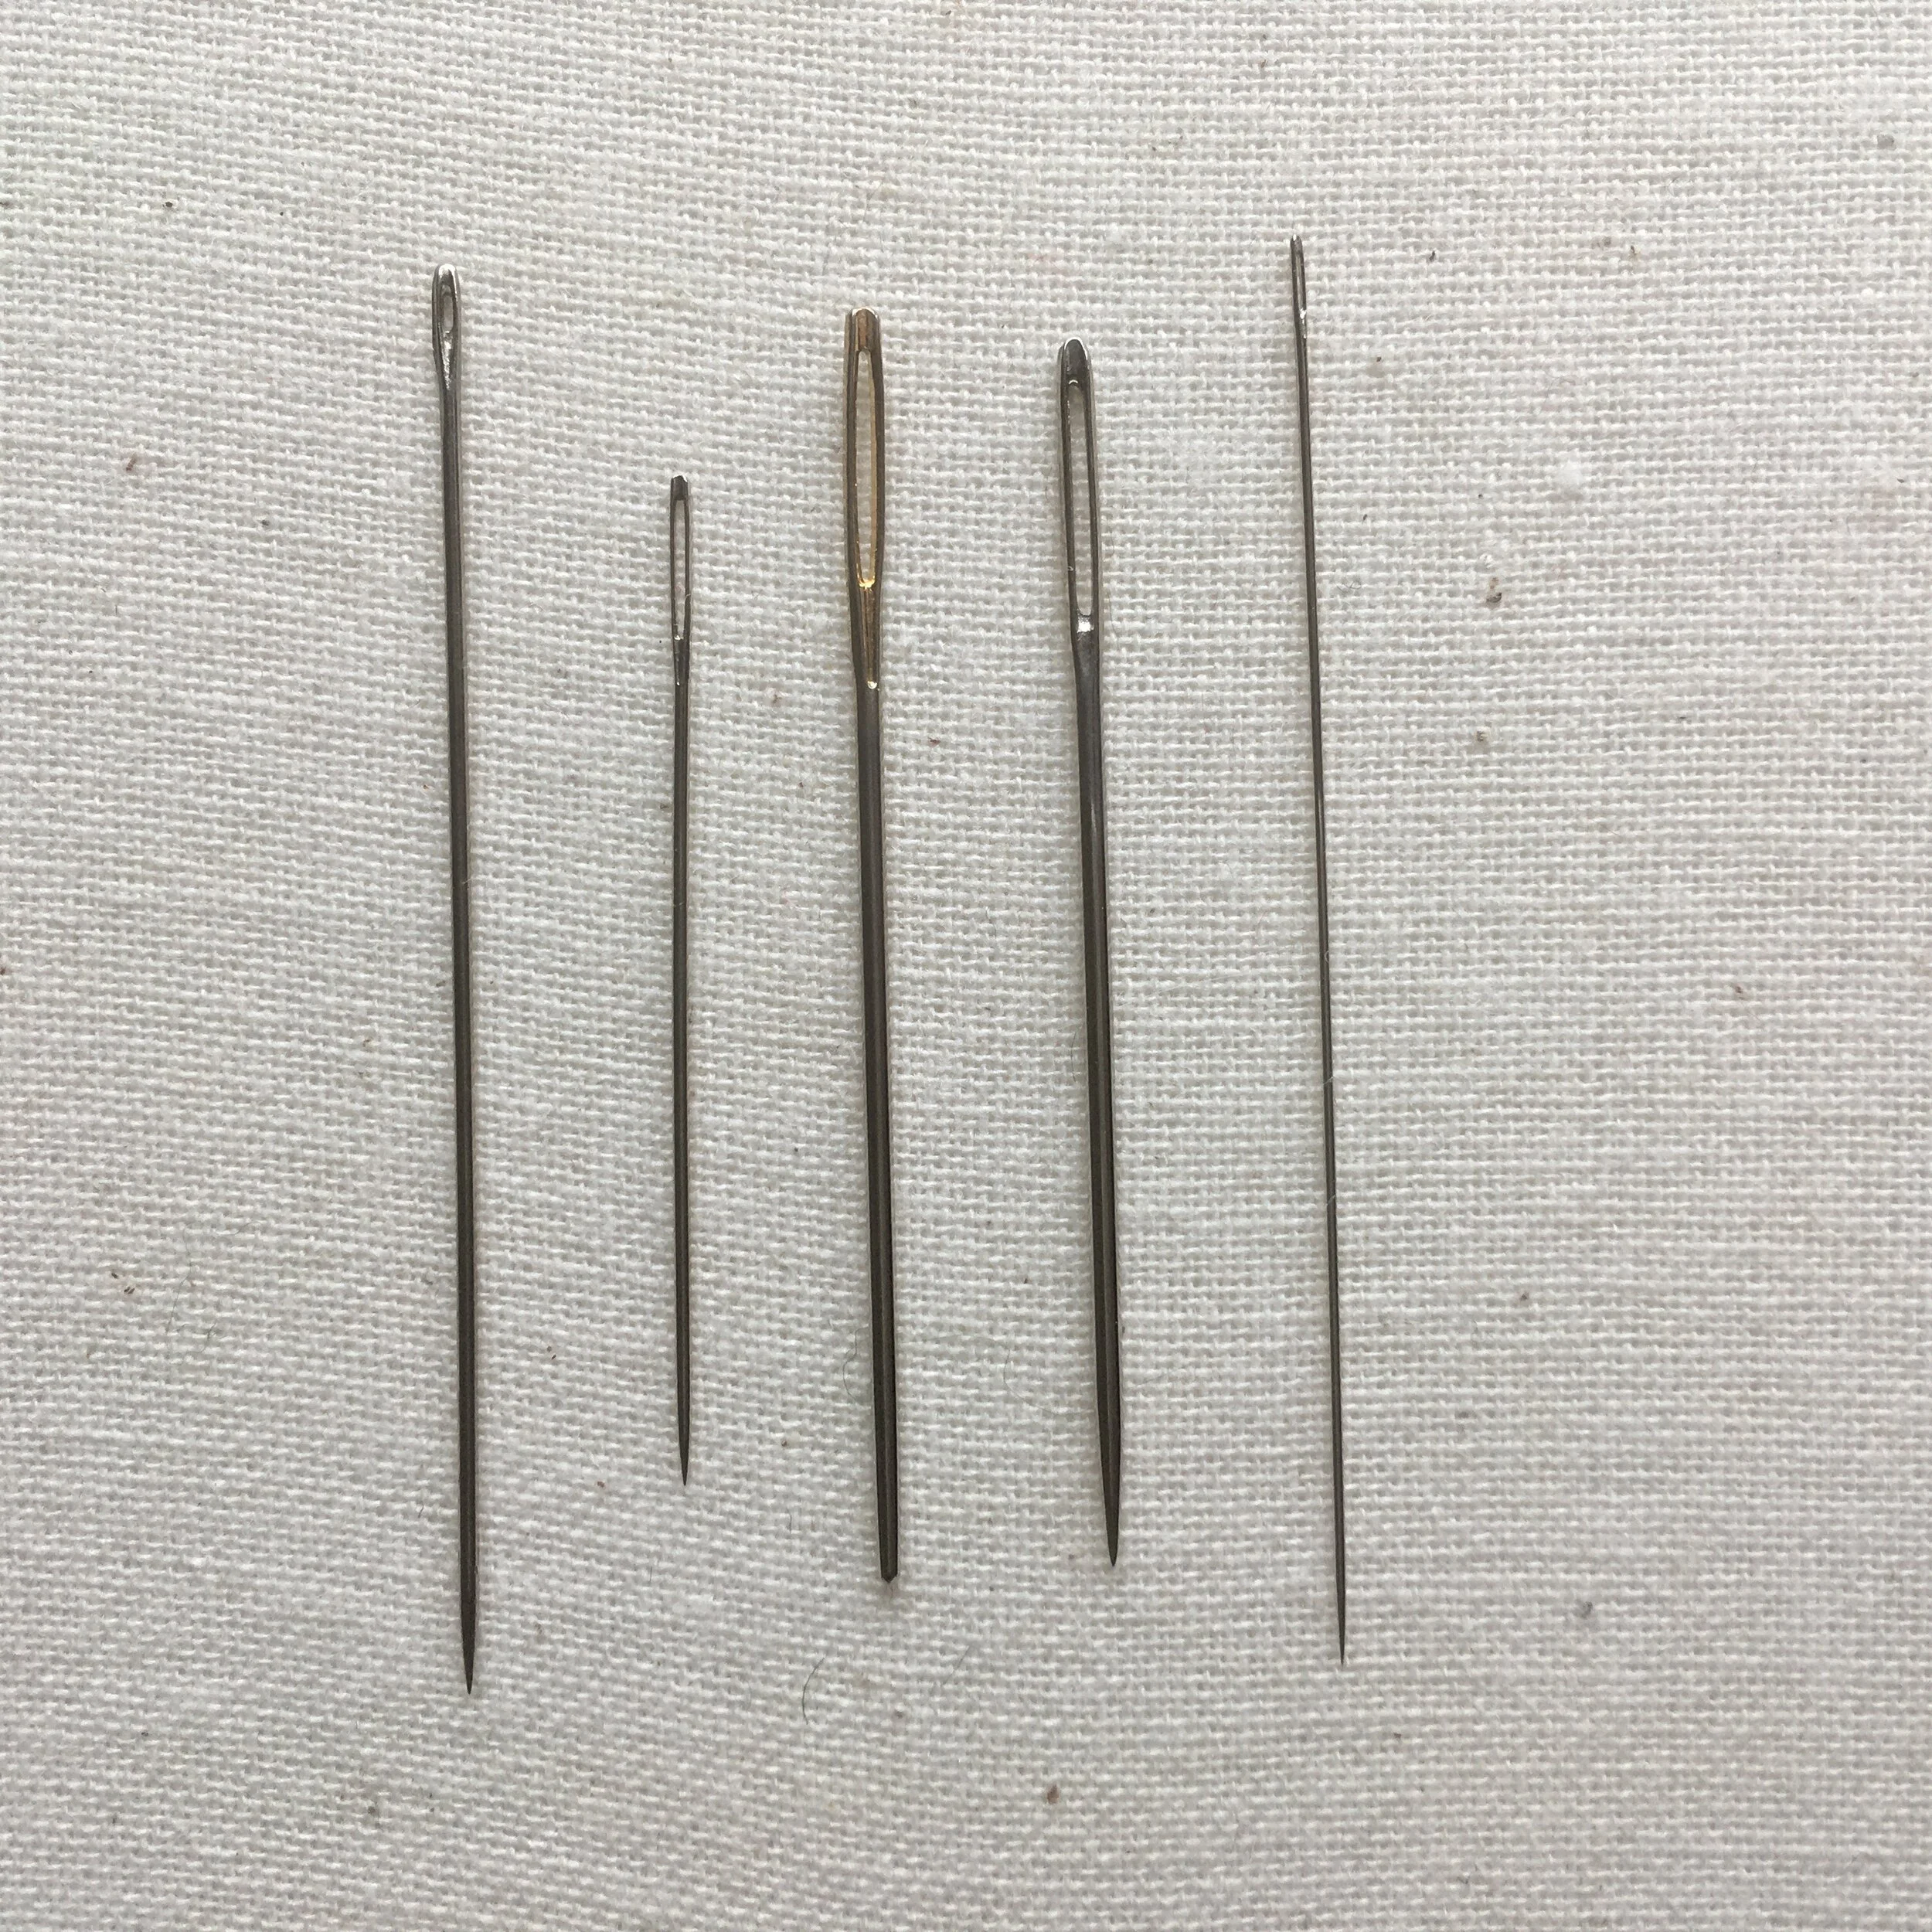
2 - It is tarnished

The oils on your fingers can tarnish a needle over time. If the needle is plated then the metal plate may wear as the needle passes through the fabric. Take a look at your needles and see whether the centre of the needle is a slightly different colour or duller than the ends. You can try washing the needles to see if the colour goes back to normal, if that doesn’t work then it’s best to put it to one side.

3 - It is snagging

Over time the surface of the needle shaft may become roughed up and start snagging on the fabric. I also find that lower quality needles can have this problem from the start. Replace a needle as soon as you start of feel the snagging.

4 - It goes blunt

If you are finding that you are having to use more and more force to piece the fabric then the needle may be blunter than you need. Try switching to a new needle to determine if it was the needle or whether it was something else making it harder work like the bulk of stitches on the back of the work. Needles can be sharpened if they do go blunt.

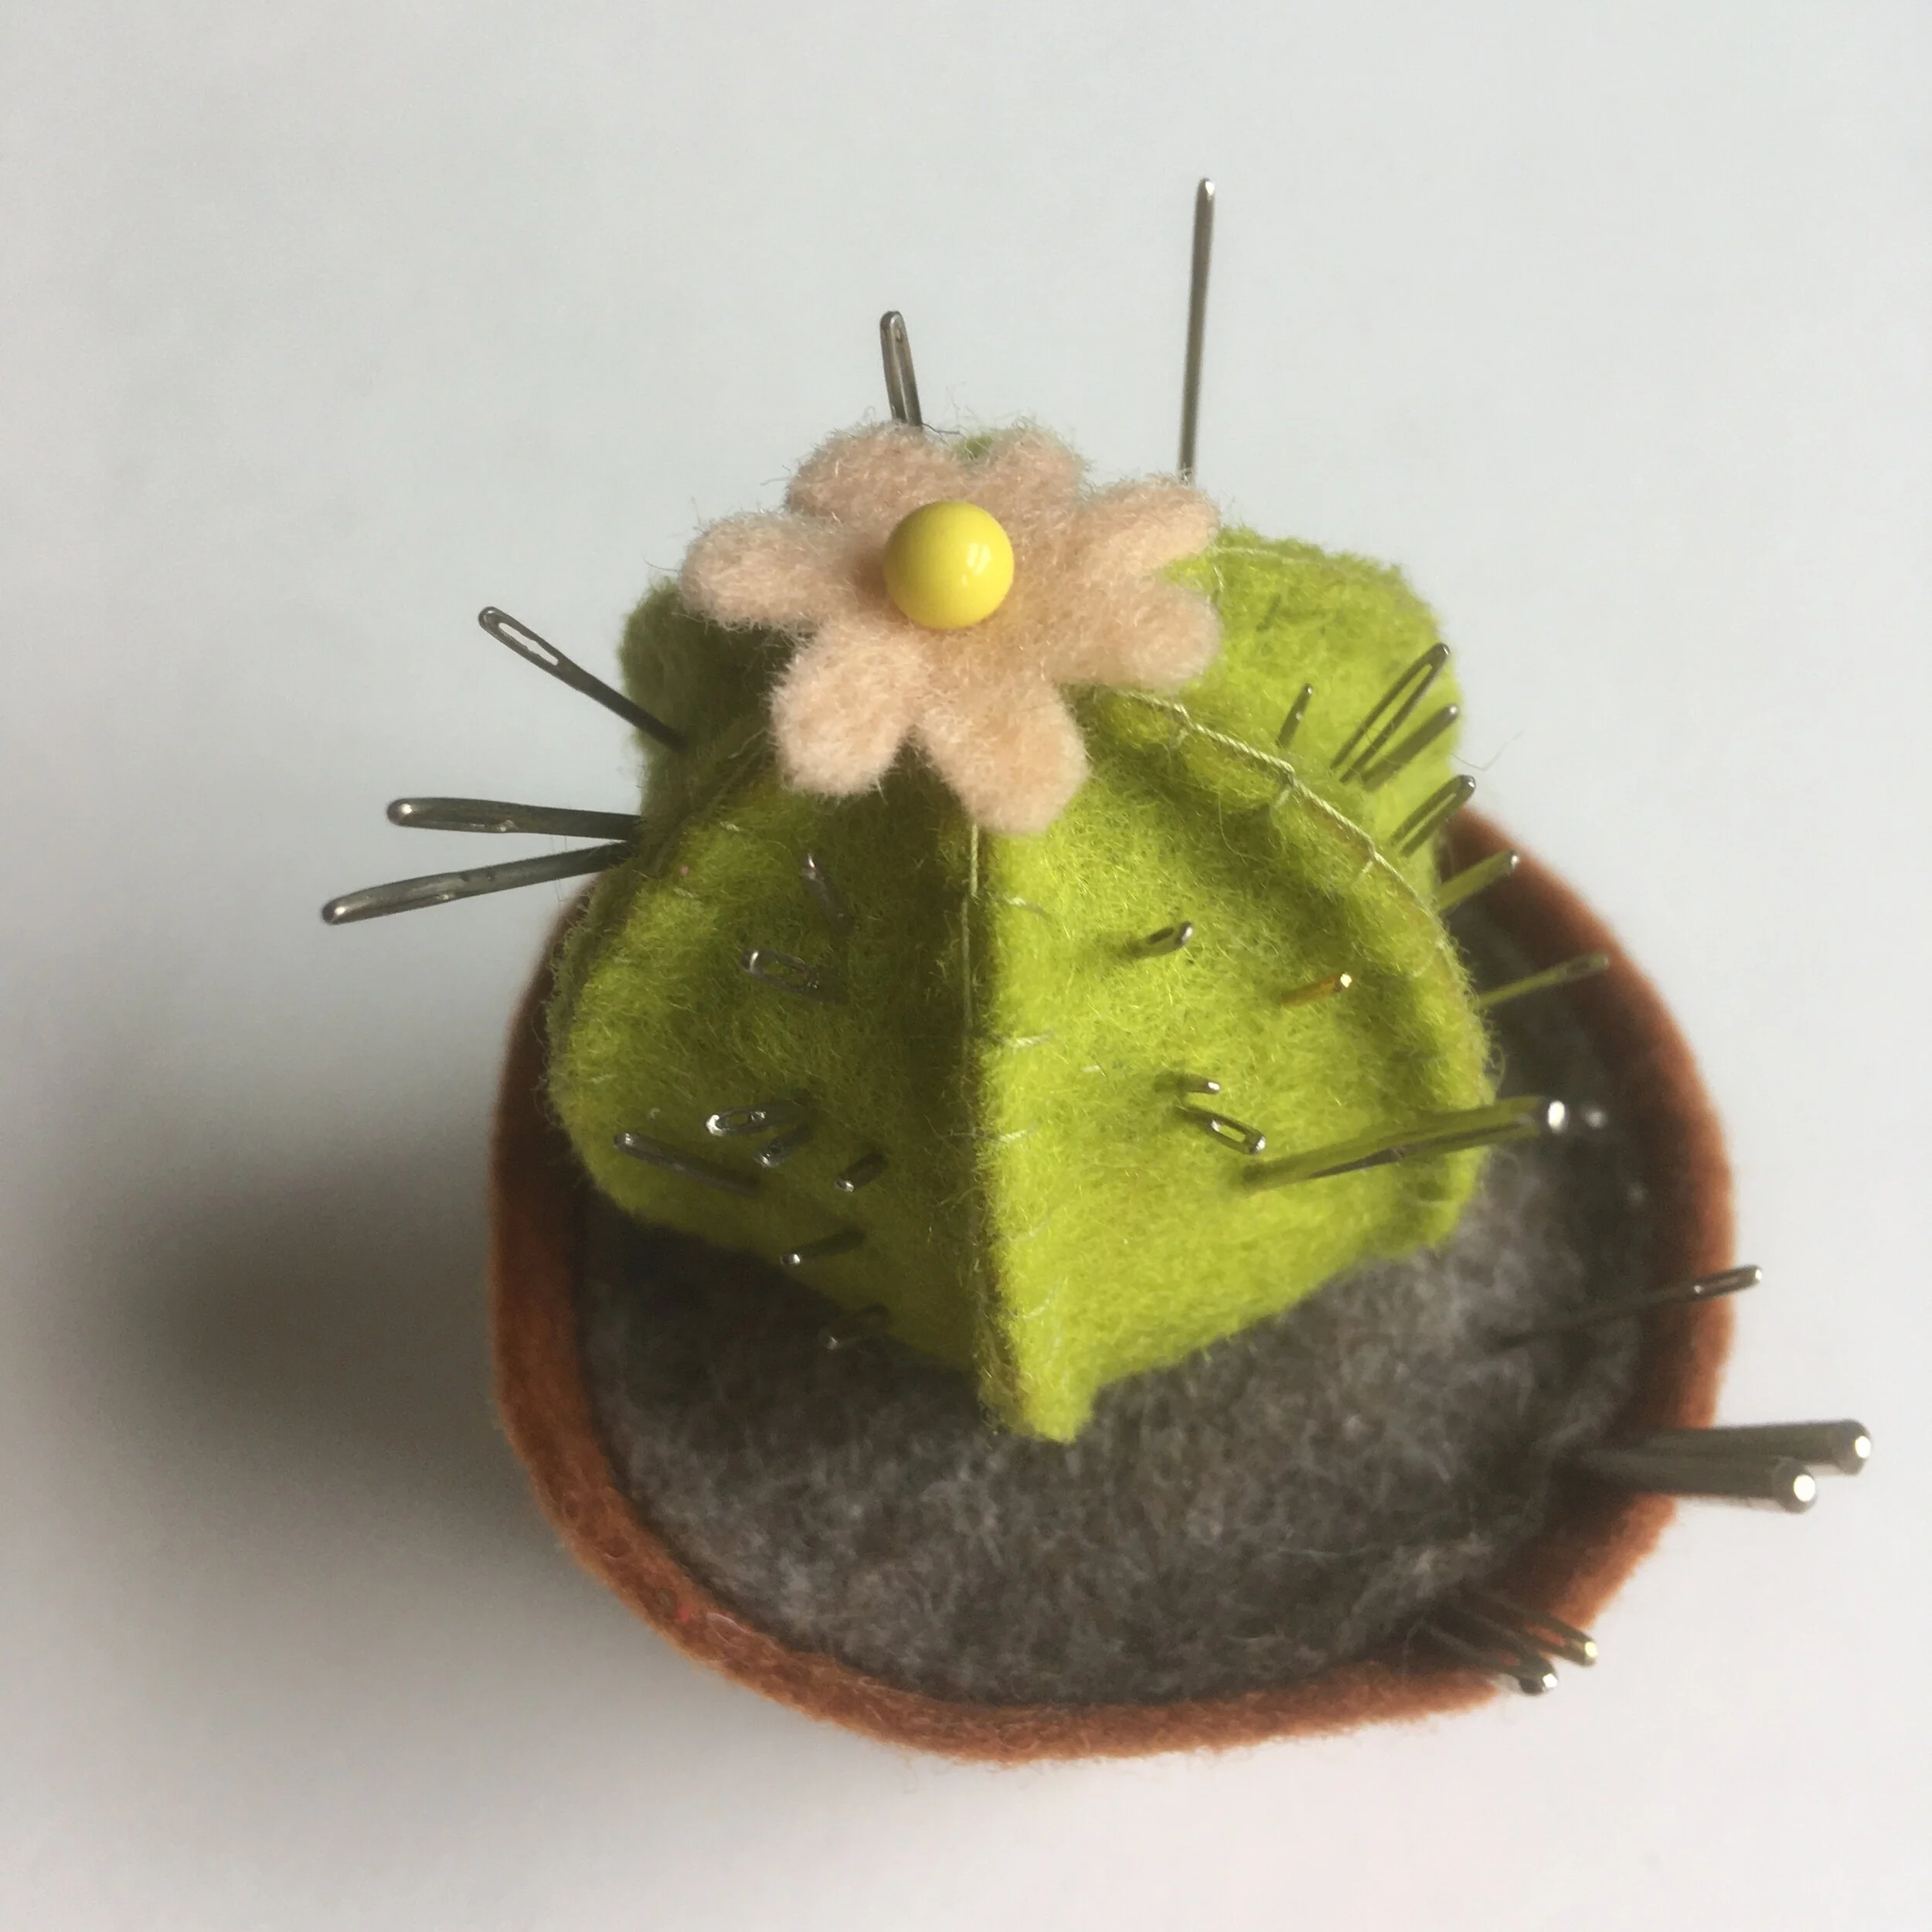
Finally, what do you do with any needles you no longer have use for? If you need to dispose of them, don’t place them lose in the bin as they may escape and hurt someone. Weave them into a bit of fabric or cardboard or place them in a bag. Needles and pins are made from steel (hence why magnetic needle minders work) so they might be able to be recycled anywhere that also accepts things such as nails and bolts.

All my kits come with one needle that will get you through the project and plenty more future projects. But if you already have enough embroidery needles in your life, just drop me a message when you order and I can leave the needle out.

Enjoyed this blog post? I share embroidery tips and a free embroidery pattern in my monthly newsletter. Sign up here to receive the newsletter on the 1st of each the month.

In tips 3 Tags Needles
Comment
A picture of needles threaded with yellow floss lying on some calico. Overlaid is a blue square with white text saying - hand embroidery, keeping your needles safe, www.embellishedelephant.co.uk

How to keep your needles safe

October 13, 2021

Have you ever had that panic of dropping a needle and not being able to find it again? The pesky things can lodge themselves in your clothes or soft furnishings where you are stitching such as a sofa, bed or carpet. The chance of skewering yourself or someone else doesn’t bear thinking about!

Most of the time they land longways and eventually after some careful exploration of your surroundings they are found without causing anyone any harm. But occasionally they land point down making it much harder to spot them. I’m relieved to say that in all my years of stitching I don’t recall a time when I’ve not been able to locate a dropped needle.

Here are my tips for making sure you keep your needles safe and you don’t have to face that panic inducing search!

A picture of one embroidery needle threaded with yellow floss. the needle is resting on calico

Keep the needle threaded

It’s much easier to locate a dropped needle if it has a length of thread trailing from the eye. It doesn’t stop the risk of dropping the needle when threading it though.

A picture of two embroidery needles placed on an embroidery hoop holding calico fabric

Only use one needle at a time

There are some embroidery techniques where you need to have more than one needle on the go. But the fewer needles you are working with, the less chance there is of losing one. If you are working with more than one needle then remove it from the thread and try a good temporary storage method such as those below.

A picture of an embroidered magnetic needle minder. The embroidery shows and S and some flowers. There is an embroider needle resting on it.

Needle minder

This is a magnetic button which clips onto your fabric without making any holes. You can lay your needle on it between stitches or at the end of a period of stitching. They are great for temporary needle storage- when I’ve finished a project I tend to move needles to a needle case. The magnet of needle minders are also great at helping to find a dropped needle.

An image of the inside of a needle case.  The peach felts holds lots of different needles. Each group of needles is labelled with an embroidered name showing the needle type

Needle case

Needle cases are another way of storing needles that aren’t in use. I tend to use them for longer term storage rather than temporary storage for a project in between stitching sessions.

I made labels for my needle case in the hope that it would help me find the needles I needed more quickly.

A picture of a cactus pincusion made from felt with a range of needles sticking out from it

Pin cushion

This is a short or long term storage for needles if you’d rather not use a needle minder or needle case. But a pin cushion can end up very spiky if you don’t have a few pins in it too.

Enjoyed this blog post? I share embroidery tips and a free embroidery pattern in my monthly newsletter. Sign up here to receive the newsletter on the 1st of each the month.

In tips 3 Tags Needles
Comment
A picture of a flat lay of various craft materials all materials and the background are in shades of green. Overlaid is a blue square with white text saying - hand embroidery, three embroidery tools it is worth getting right

Three embroidery tools it's worth getting right

May 19, 2021

I’m an advocate for re-using and recycling materials for my crafting. And when there is something I need for a project I’ll often head for the local pound shops to see if they have something I can use.

But embroidery requires a degree of precision so there are some tools where it is worth investing a little money to get great quality items.

A pile of embroidery needles scattered as if someone has played kerplunk with them

Needles

I once made the mistake of buying some needles from the pound shop. They were terrible. The shaft of the needle wasn’t smooth so they caught in the fabric. The eye of the needle was also rough and frayed the thread after just a few stitches. One needle in the batch even had a completely square eye end!

There are some brand names that I’ve had a similar experience with. All the needles I use in my kits are from Prym and they’re great. I’ve also used John James needles that I’ve been impressed by.

A picture of 8 different craft and embroidery scissors arranged in a circle

Scissors

For embroidery the two crucial features of scissors are sharp and pointy. You don’t want to be hacking away at your thread of fabric, you want a nice clean cut.

These are all the scissors I have sitting in a jar on my craft table. Of these the gold stork scissors and little silver pair are my go-to’s. They both have the pointiest points and a good ‘snip’.

I’ve accumulated these pairs over time as gifts or as part of kits so don’t have any recommendations of where to buy a good pair at the moment.

a picture of an embroidery hoop where there is clearly a gap between the inner and outer hoop for only part of the circumference

Hoop

A wonky hoop won’t hold your fabric tight enough to give you enough tension to create great stitches. I’ve learned this the hard way. I went on holiday for 2 weeks with plenty of embroidery to keep me busy but only one hoop. I didn’t check that hoop before packing it and spent the whole holiday cursing that hoop!

Can you see that gap on the left of the hoop in the picture? That’s a big no-no with hoops - you shouldn’t be able to see any gap with a good hoop.

Elbesee are UK made hoops with a great reputation. I also have found a great supplier of hoops and you’ll be able to buy these hoops in my shop soon.

Enjoyed this blog post? I share embroidery tips and a free embroidery pattern in my monthly newsletter. Sign up here to receive the newsletter on the 1st of each the month.

In tips 2 Tags Needles, Hoops, Scissors
Comment
On a pale blue background, a pile of embroidery needles are scattered like a game of kerplunk. Overlaid is a blue square with white text saying - hand embroidery, how to thread a needle, www.embellishedelephant.co.uk

How to thread a needle

April 14, 2021

I’ve had 25+ years of practice of threading a needle and to me it is second nature, but if you are just starting out it can be very frustrating if you spend more time threading the needle than stitching.

Here are my top tips for you to try to improve your needle threading experience.

five different hand sewing and embroidery needles are laid in parallel on calico fabric

Pick the right needle

If you struggle with threading a needle then have a look at the needle you are using. It may be that the eye of the needle is super small making it really difficult for you.

You don’t necessarily need to pick a thicker needle, just a slightly different type with a bigger eye. This post shows some of the different types you might come across.

A picture of the end of embroidery thread being cut by scissors

Trim the end of your thread

Snipping the end to create a blunt flat starting point makes it a lot easier to thread a needle.

This is a really important step if you are re-threading a needle that you’ve been stitching with already as the end of the thread frays slightly as you work. If you are stitching with multiple strands snipping them so they are all the same length also really helps.

A picture of a left hand, between the thumb and first finger is the end of a blue embroidery thread

Moisten and squeeze

I don’t know if there is any scientific backing to this tip but it has always worked for me! I pop the end of the thread in my mouth to moisten it slightly. I then squeeze the end between my thumb and forefinger so that the end sticks up no more than a millimetre.

A picture of two hands, the left hand is holding a blue thread, the right hand is holding an embroidery needle , the thread is just poking through the eye of the needle

Take the needle to the thread

Whilst you are squeezing the thread with your non-dominant hand, pick up the needle in your sewing hand and take it towards the thread. Push the needle down and gently release more of the thread as you move the needle down. As soon as there are a few millimetres through the eye grab the needle with your non-sewing hand and grab the end of the thread with your sewing hand and pull the thread through so you have a decent length tail.

A picture of two hands, in the left a needle is held. In the right is a metal needle threader. The needle threader is through the eye of the needle and through the loop of the needle threader is a length of blue thread

A needle threader is an option

I don’t include a needle threader in my kits as I believe most people can learn to thread a needle.

But if you are really having trouble threading a needle then a needle threader is always an option.

Enjoyed this blog post? I share embroidery tips and a free embroidery pattern in my monthly newsletter. Sign up here to receive the newsletter on the 1st of each the month.

In tips 2 Tags Needles
Comment
A picture of packets of embroidery needles. Overlaid is a blue square with white text saying - hand embroidery, five needle types for embroidery, www.embellishedelephant.co.uk

Five needle types you need to know about for hand embroidery

November 28, 2020

My favourite pin cushion isn’t a pin cushion but a ‘needle’ cushion. I’ve accumulated many needles over the years and in this pin cushion I can sort them into their different types (I also love that they look like the spines on a cactus).

A picture of a pin cushion in the shape of a cactus in a pot made from green and brown felt.

I find that most of the time it doesn’t matter what type of needle I use (as long as it has a decent point, a big enough eye and isn’t too thick) but it’s well worth being able to tell the different types of needles apart.

Here are the five different types of needles I use for hand embroidery (shown from left to right in the picture below):

  • Sharps - are used for general hand sewing, they have a small eye as generally only one strand of sewing thread is used at a time

  • Crewel - this is the needle to use for hand embroidery it has a slightly longer eye than a sharps needle to allow threading of multiple strands of thread

  • Tapestry - has a large eye & blunt end to pass thick tapestry yarn through canvas without splitting it, thinner versions are also used for cross stitch

  • Chenille - is a cross between a sharps needle and a tapestry needle in that there is a large eye and a sharp point, it’s great for stitching with yarn on fabric (rather than canvas)

  • Beading - the thinnest needle so that it can fit through the smallest seed bead hole it is long and thin and can be very difficult to thread, it’s also really flexible.

A picture of 5 types of hand embroidery needles laid flat on calico fabric

Each of these comes in different lengths or thicknesses and if you want to read more about different needle types, diameter, lengths and what those numbers mean in terms of sizes then John James have a great needle guide.

Enjoyed this blog post? I share embroidery tips and a free embroidery pattern in my monthly newsletter. Sign up here to receive the newsletter on the 1st of each the month.

In tips 2 Tags Needles, Basics
Comment

Tags

  • About me
  • Artists/Designers
  • Basics
  • Christmas
  • colour
  • Couching Stitch
  • Fabric
  • Filling Stitch
  • Finishing
  • Hoops
  • Isolated Stitch
  • Line Stitch
  • London
  • My Makes
  • Needles
  • Stitch Showcase
  • Texture Stitch
  • Thread
  • Transfer
  • Travel

Latest Posts

Featured
May 1, 2025
How to manage your backlog of craft projects
May 1, 2025
May 1, 2025
Apr 1, 2025
What to do if you don't like what you've stitched
Apr 1, 2025
Apr 1, 2025
Feb 15, 2025
How to decide which embroidery stitch to use
Feb 15, 2025
Feb 15, 2025
Feb 1, 2025
Focus on stitches for flowers
Feb 1, 2025
Feb 1, 2025
Jan 1, 2025
Focus on stitches for leaves
Jan 1, 2025
Jan 1, 2025
Nov 1, 2024
Stitch Showcase: Six-pointed star stitch
Nov 1, 2024
Nov 1, 2024
Oct 1, 2024
Focus on transferring or tracing patterns
Oct 1, 2024
Oct 1, 2024
Sep 1, 2024
Focus on hoops
Sep 1, 2024
Sep 1, 2024
Aug 1, 2024
A focus on needles
Aug 1, 2024
Aug 1, 2024
Jul 1, 2024
Focus on threads
Jul 1, 2024
Jul 1, 2024

Home — Shop — Stockists — Wholesale — Portfolio — Contact — Reviews — Policies — FAQs