I moved house at the start of 2022. I knew I’d accumulated quite a craft stash over the 9 years since we’d last moved but having to box it all up revealed exactly how much I’d managed to cram into the craft cupboard. It also allowed me to compare the number and size of boxes I packed compared to the number of boxes football memorabilia my partner had acquired (and that I was always moaning to him about).
I started mulling over how I’d ended up with such a stash:
Buying something just because it was pretty without a clear idea of how I might use it
Being gifted or inheriting materials, again without a link to a particular project
Trying new crafts and buying all the necessary tools and materials
Keeping left over materials because they might be useful
Packages often containing far more materials than I needed for a particular project
I had disposable income and I chose to spend it on craft materials.
It was that last point that really got me thinking and exploring my feelings towards my stash.
To be honest I felt embarrassed by all the things I had accumulated. No one needs that much stuff. I felt embarrassed because I felt privileged to be in a position to waste money on things that were just sitting in boxes waiting for their moment to come alive.
My move also came after taking 18 months career break when I wasn’t working full time, so I was more aware of how much money I’d spent and was tied up in my stash.
The packing and move was precipitated by needing to care for a family member and moving into their property. Knowing we’d have less space of our own and how much of their stuff we would need to go through and decide what to keep, donate to charity, sell or chuck out also brought into focus the question of actually what objects do we really need to have in our every day life.
Even if I made a project a week for the next 5 years, I’m would still have a huge stash of stuff. So what could I do to address the size and feelings towards my stash?
First up, crafting is a huge part of what I do to relax and is my biggest form of self-care. Having a stash of materials is a reasonable consequence of this past-time and I accept that, but I can still indulge in this hobby without needing every single item I currently own.
Not buying any new craft materials for 12 months was the obvious first step towards rationalising my stash. I have not been 100% successful but I have pretty much cut out buying something just because it is pretty. There were a few exceptions I allowed myself (as I’m trying to kick a 30 year habit!)
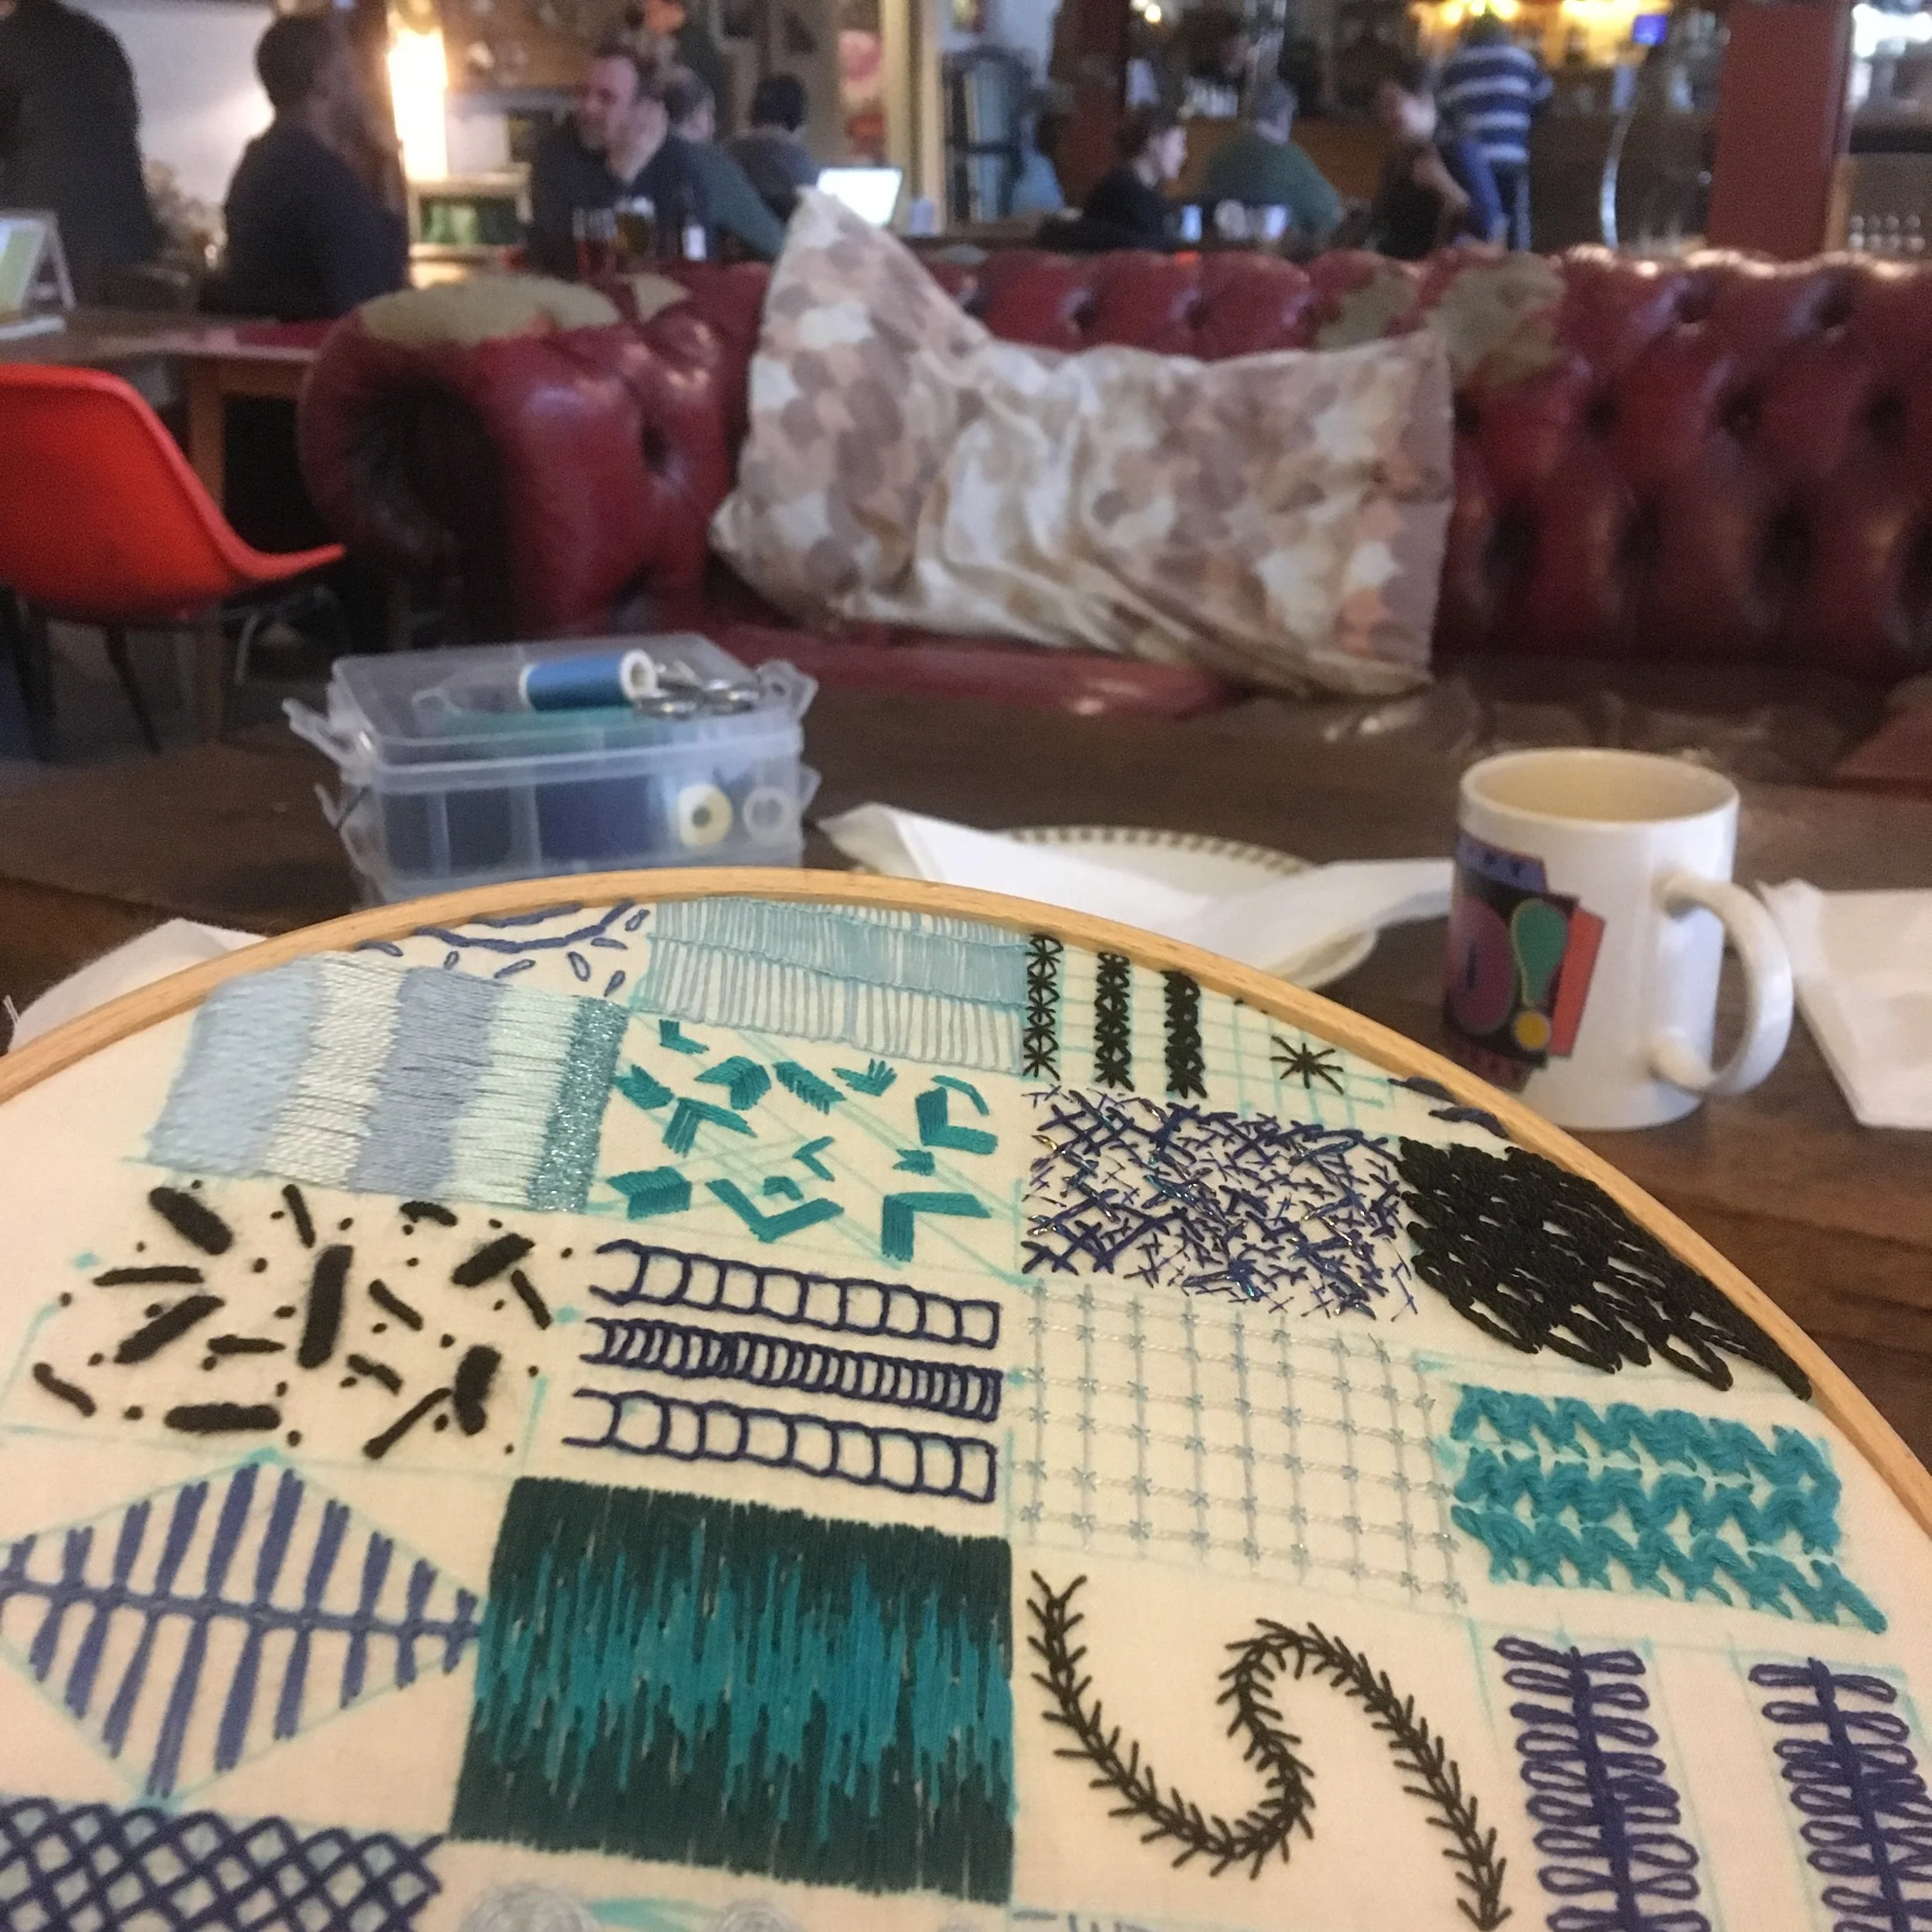
Quarterly Craftpod – I consider this part of my self-care routine as the projects are so gorgeous. But what I have started doing is not keeping all the off cuts ‘just in case’
Gifts – my family will often get me something craft related as a gift. This is a nice thing, I don’t want it to stop but I’ll direct them to a kit or workshop rather than just a load of materials so I can make a project and move on
Workshops – having moved, I was looking for activities that would let me meet more people locally and discovered Pimms and Needles, which is a craft based group. Every month we make a new project. But the good thing about this I can try out a new craft without buying all the stuff. The bad thing is that I end up walking away with a finished item that I need to find a home for!
I also acknowledged that there may be a need to buy some craft materials to use up some that are already in my stash. For example, to use up 3 metres of Jersey fabric I need some 1/4 inch clear elastic. In this case the aim was to buy exactly the amount of elastic I needed to complete this project and not extra just because it was a better deal.
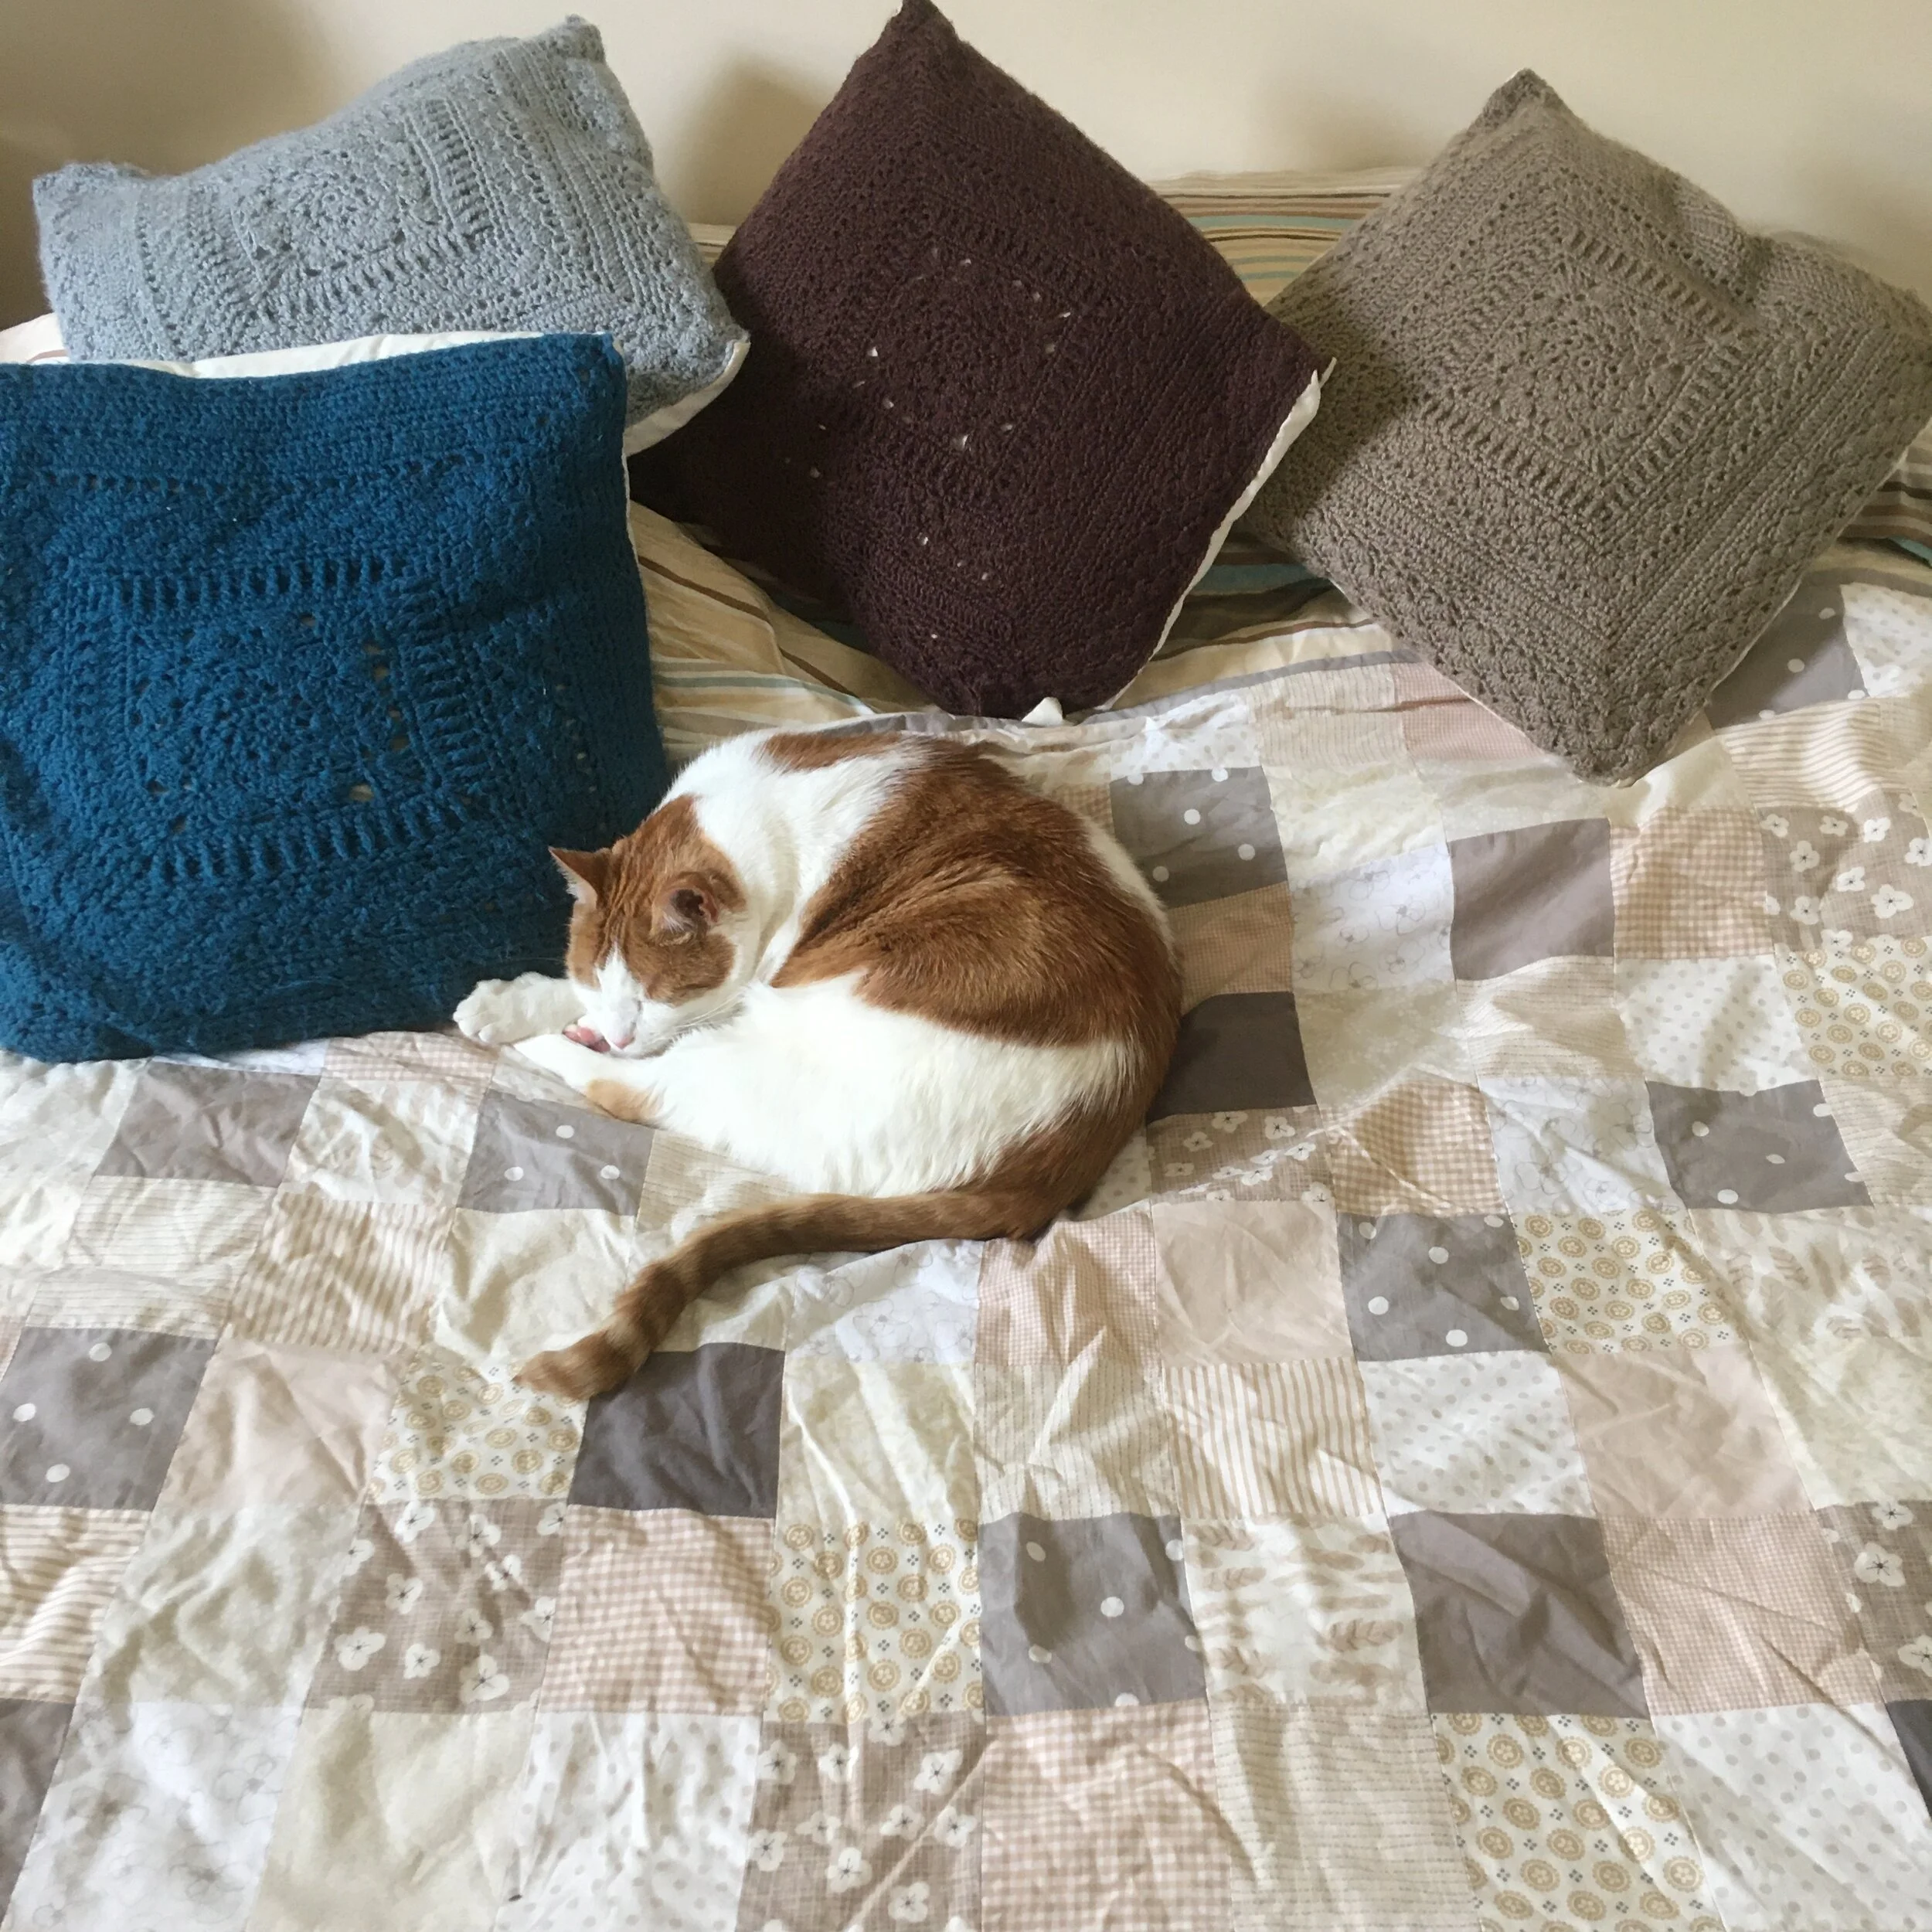
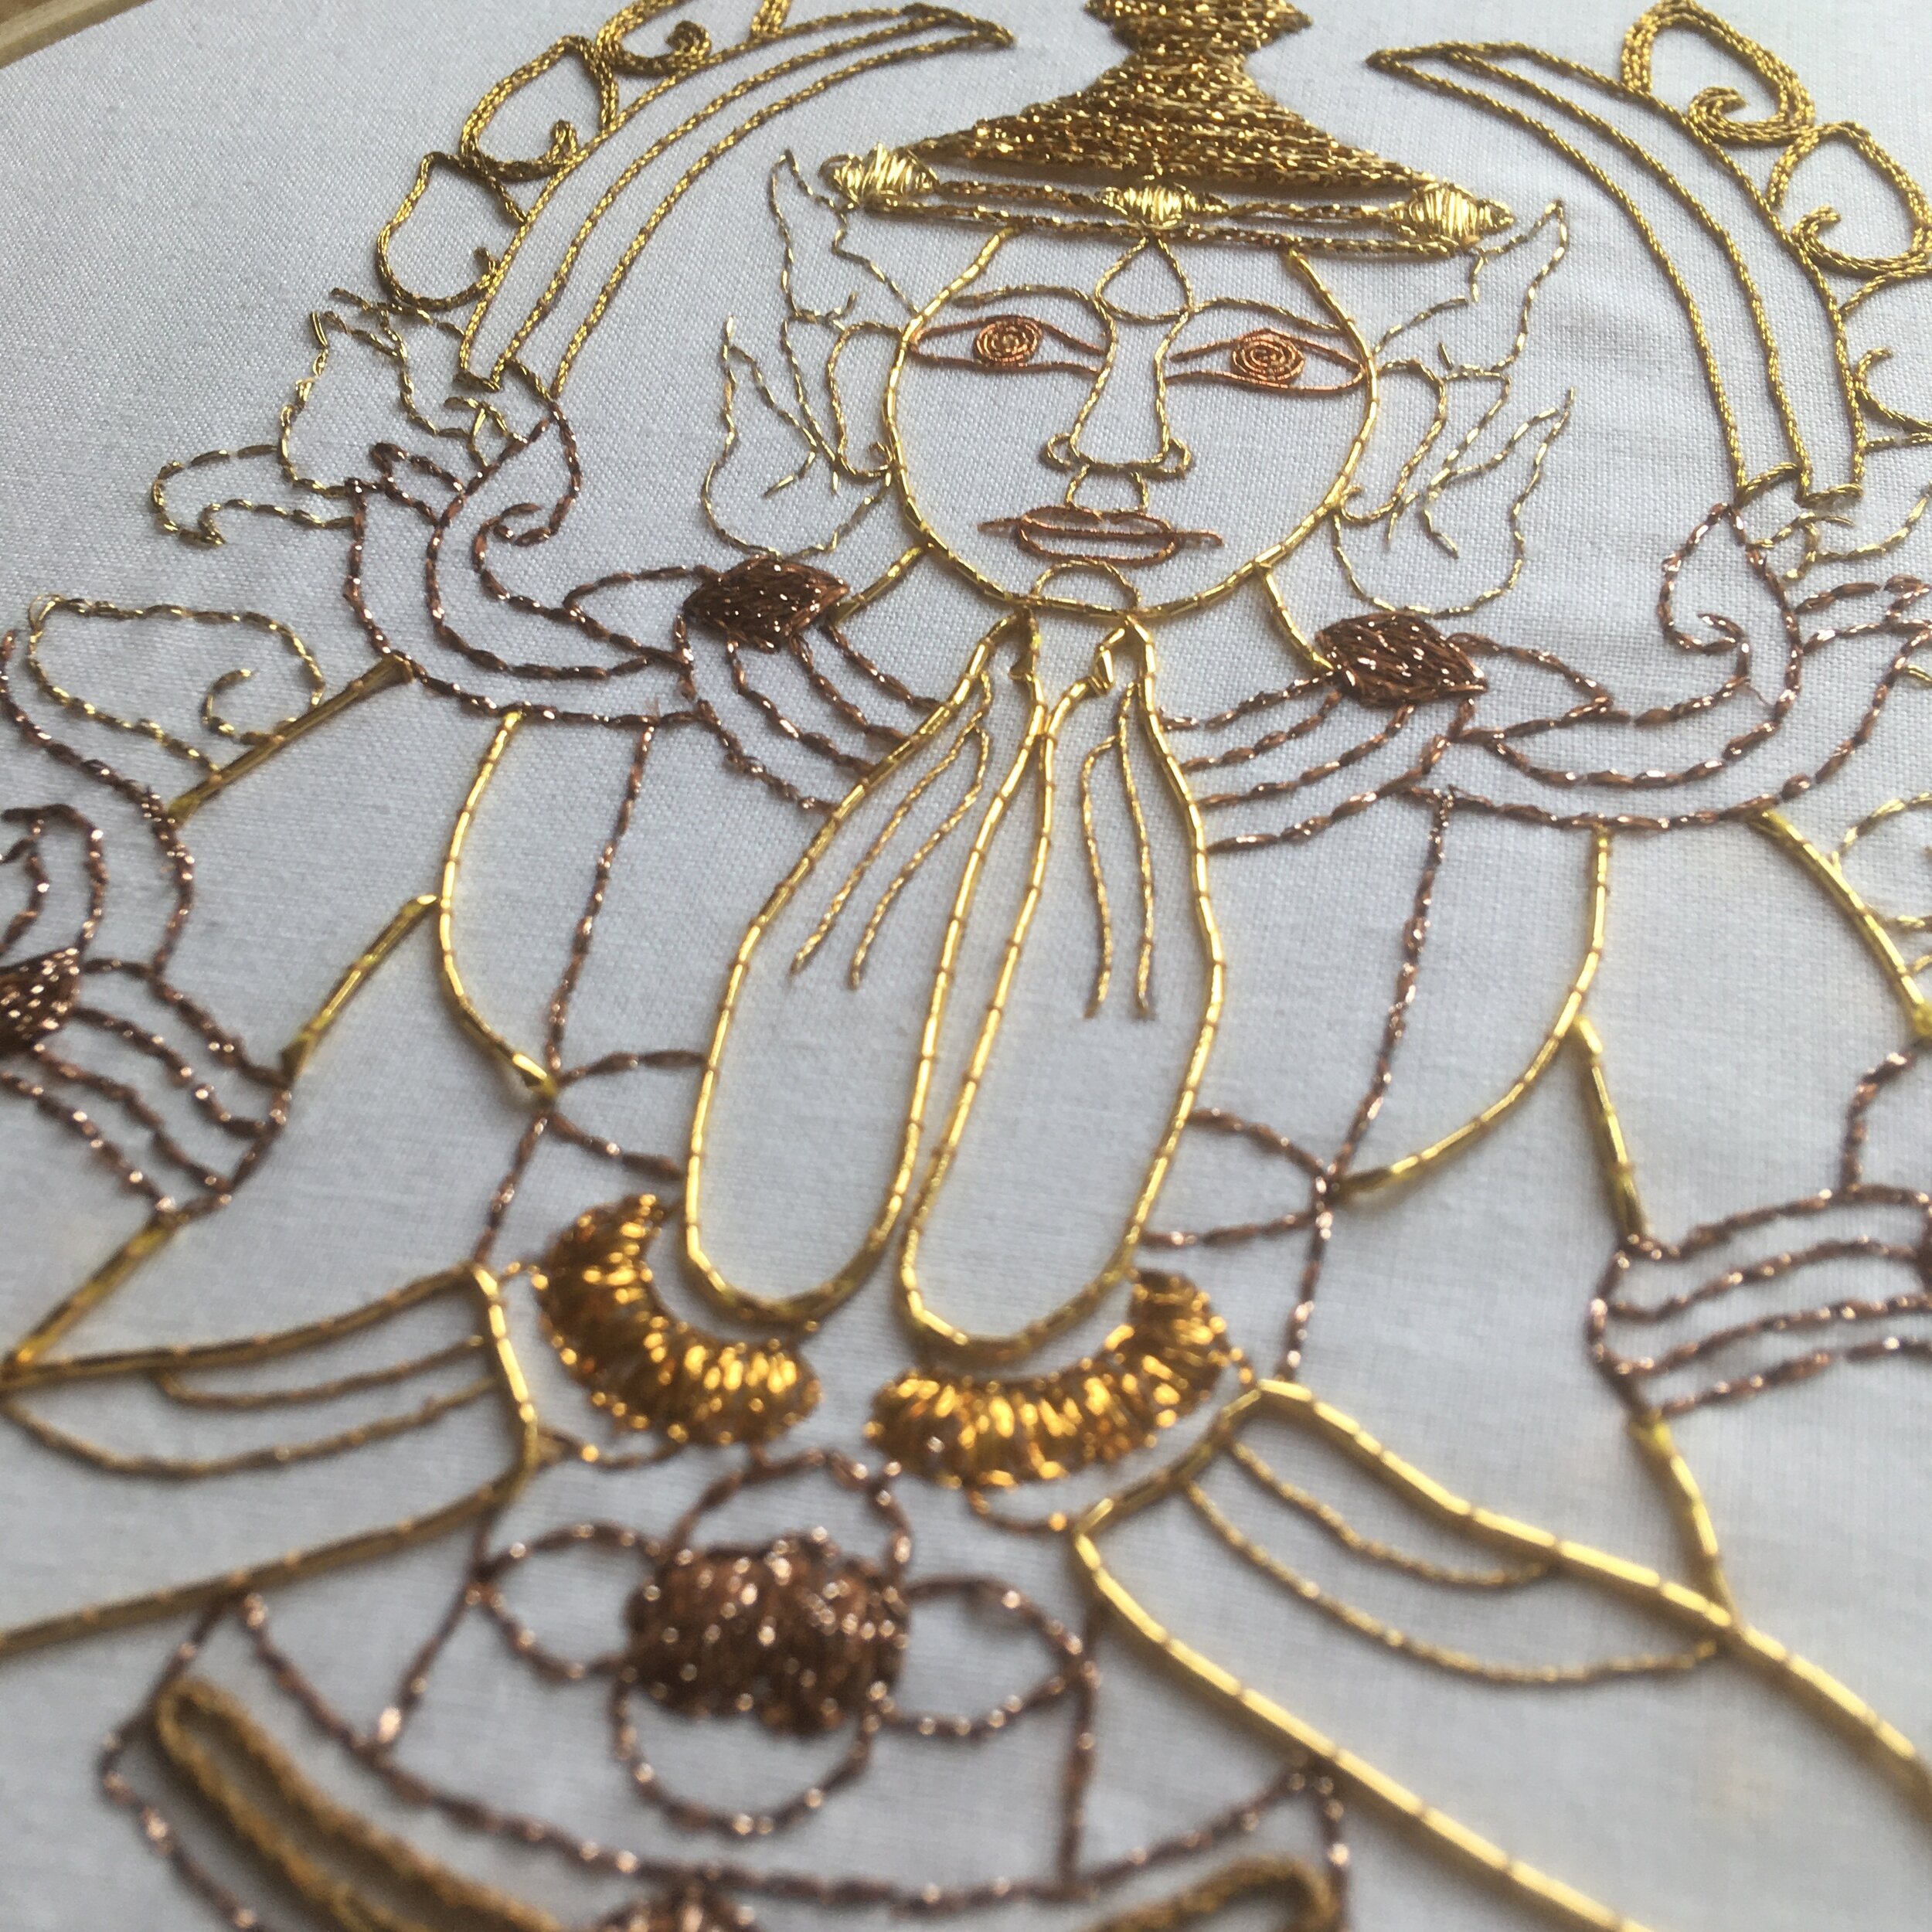
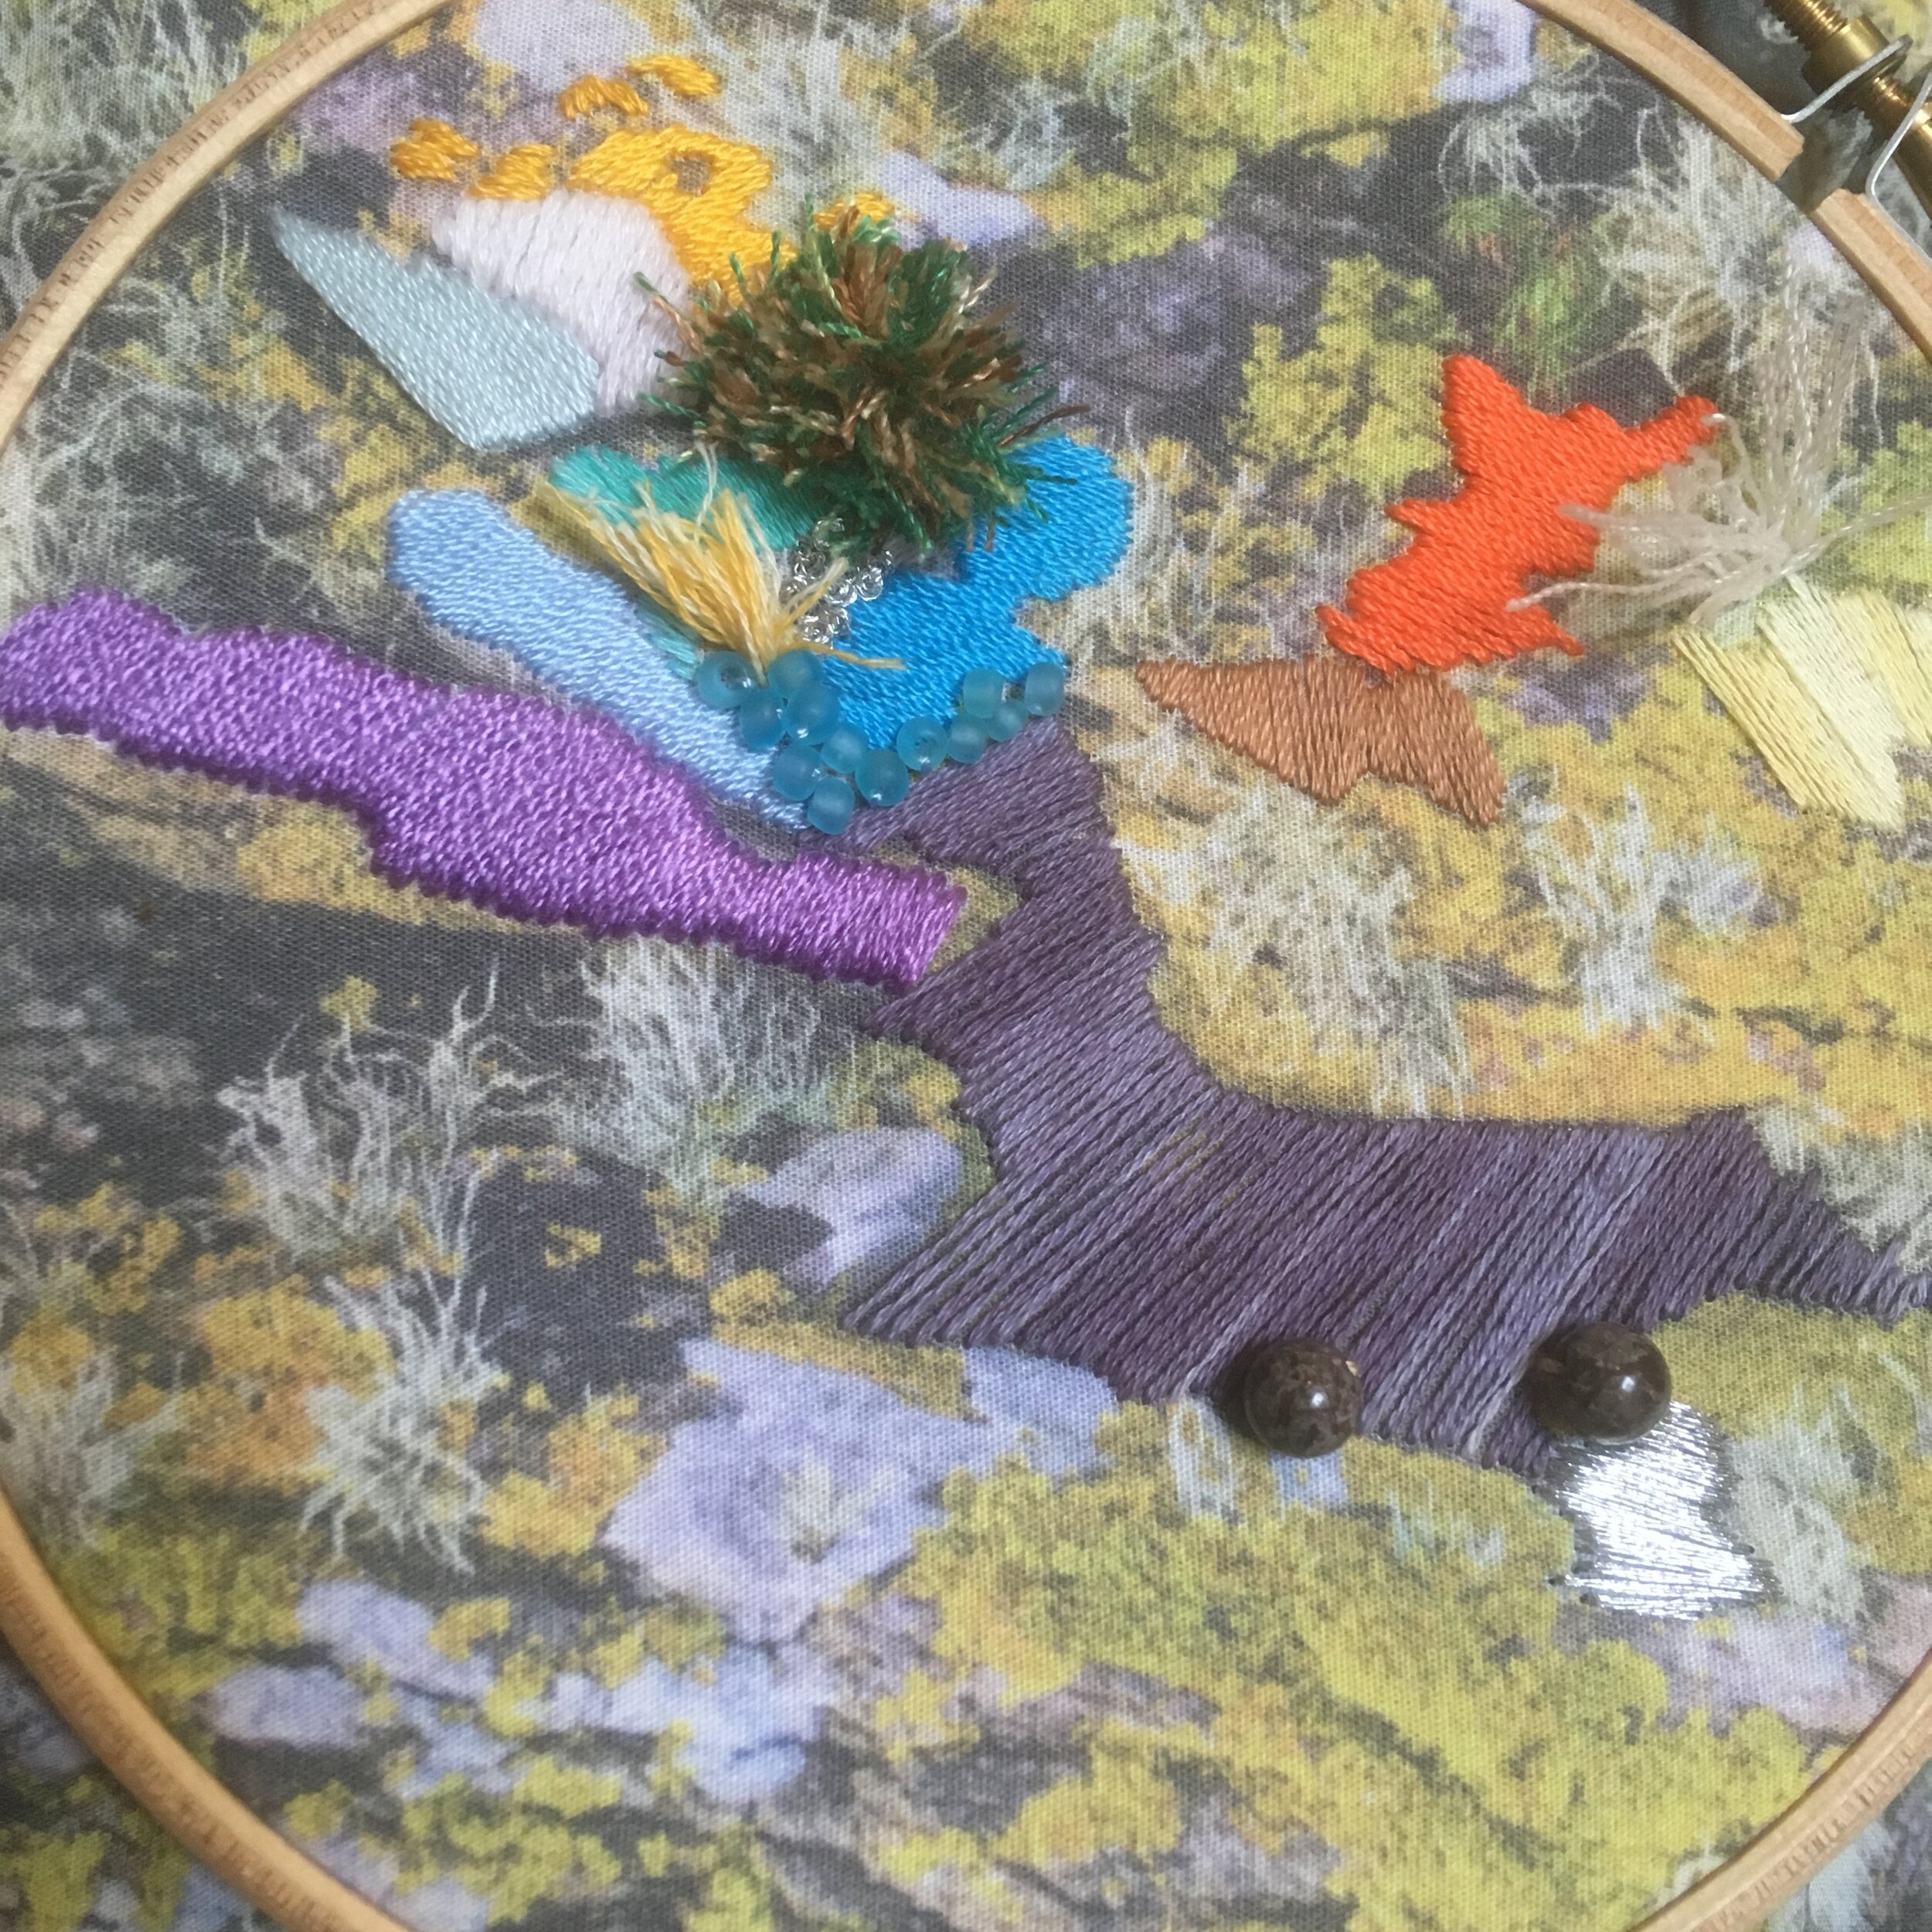
I was also more conscious with the projects I chose to make. I have four plastic tubs of fabric which is one of the bigger collections in my stash. I embarked on a quilting project to use up all the fabric scraps I’ve accumulated, even the very tiny scraps that could never be used for making a garment. I also went through the larger sections of fabric and have matched the fabric with projects I want to make. I browsed Ravelry for knitting and crochet patterns that match the yarn weights I have in my stash rather than just picking a project and buying the yarn to fit it.
So why am I talking about not buying any new craft materials when I design and make craft kits? Well, if you like the idea of partaking in some craft as therapy or self-care but don’t want to end up with the stash problem I’ve found myself with, then kits are a great solution. Even though didn’t buy any new materials for the year, I did give myself permission to buy kits as it’s a controlled way of fulfilling my creativity needs.
Enjoyed this blog post? I share embroidery tips and a free embroidery pattern in my monthly newsletter. Sign up here to receive the newsletter on the 1st of each the month.