When I’m stitching personal projects I prefer to trace the pattern I’m going to use from a digital image rather than a printer one (mainly because I have a very old printed that’s a bit of a faff to set up and never seems to have ink or paper!) This method does only work for projects that are no bigger than your tablet screen. For bigger projects then the paper based method is probably best.
First up take a screenshot of the pattern - how you do this will depend on your type and model of tablet. For iPads there are instructions on the Apple support site. Save this image to your photos.
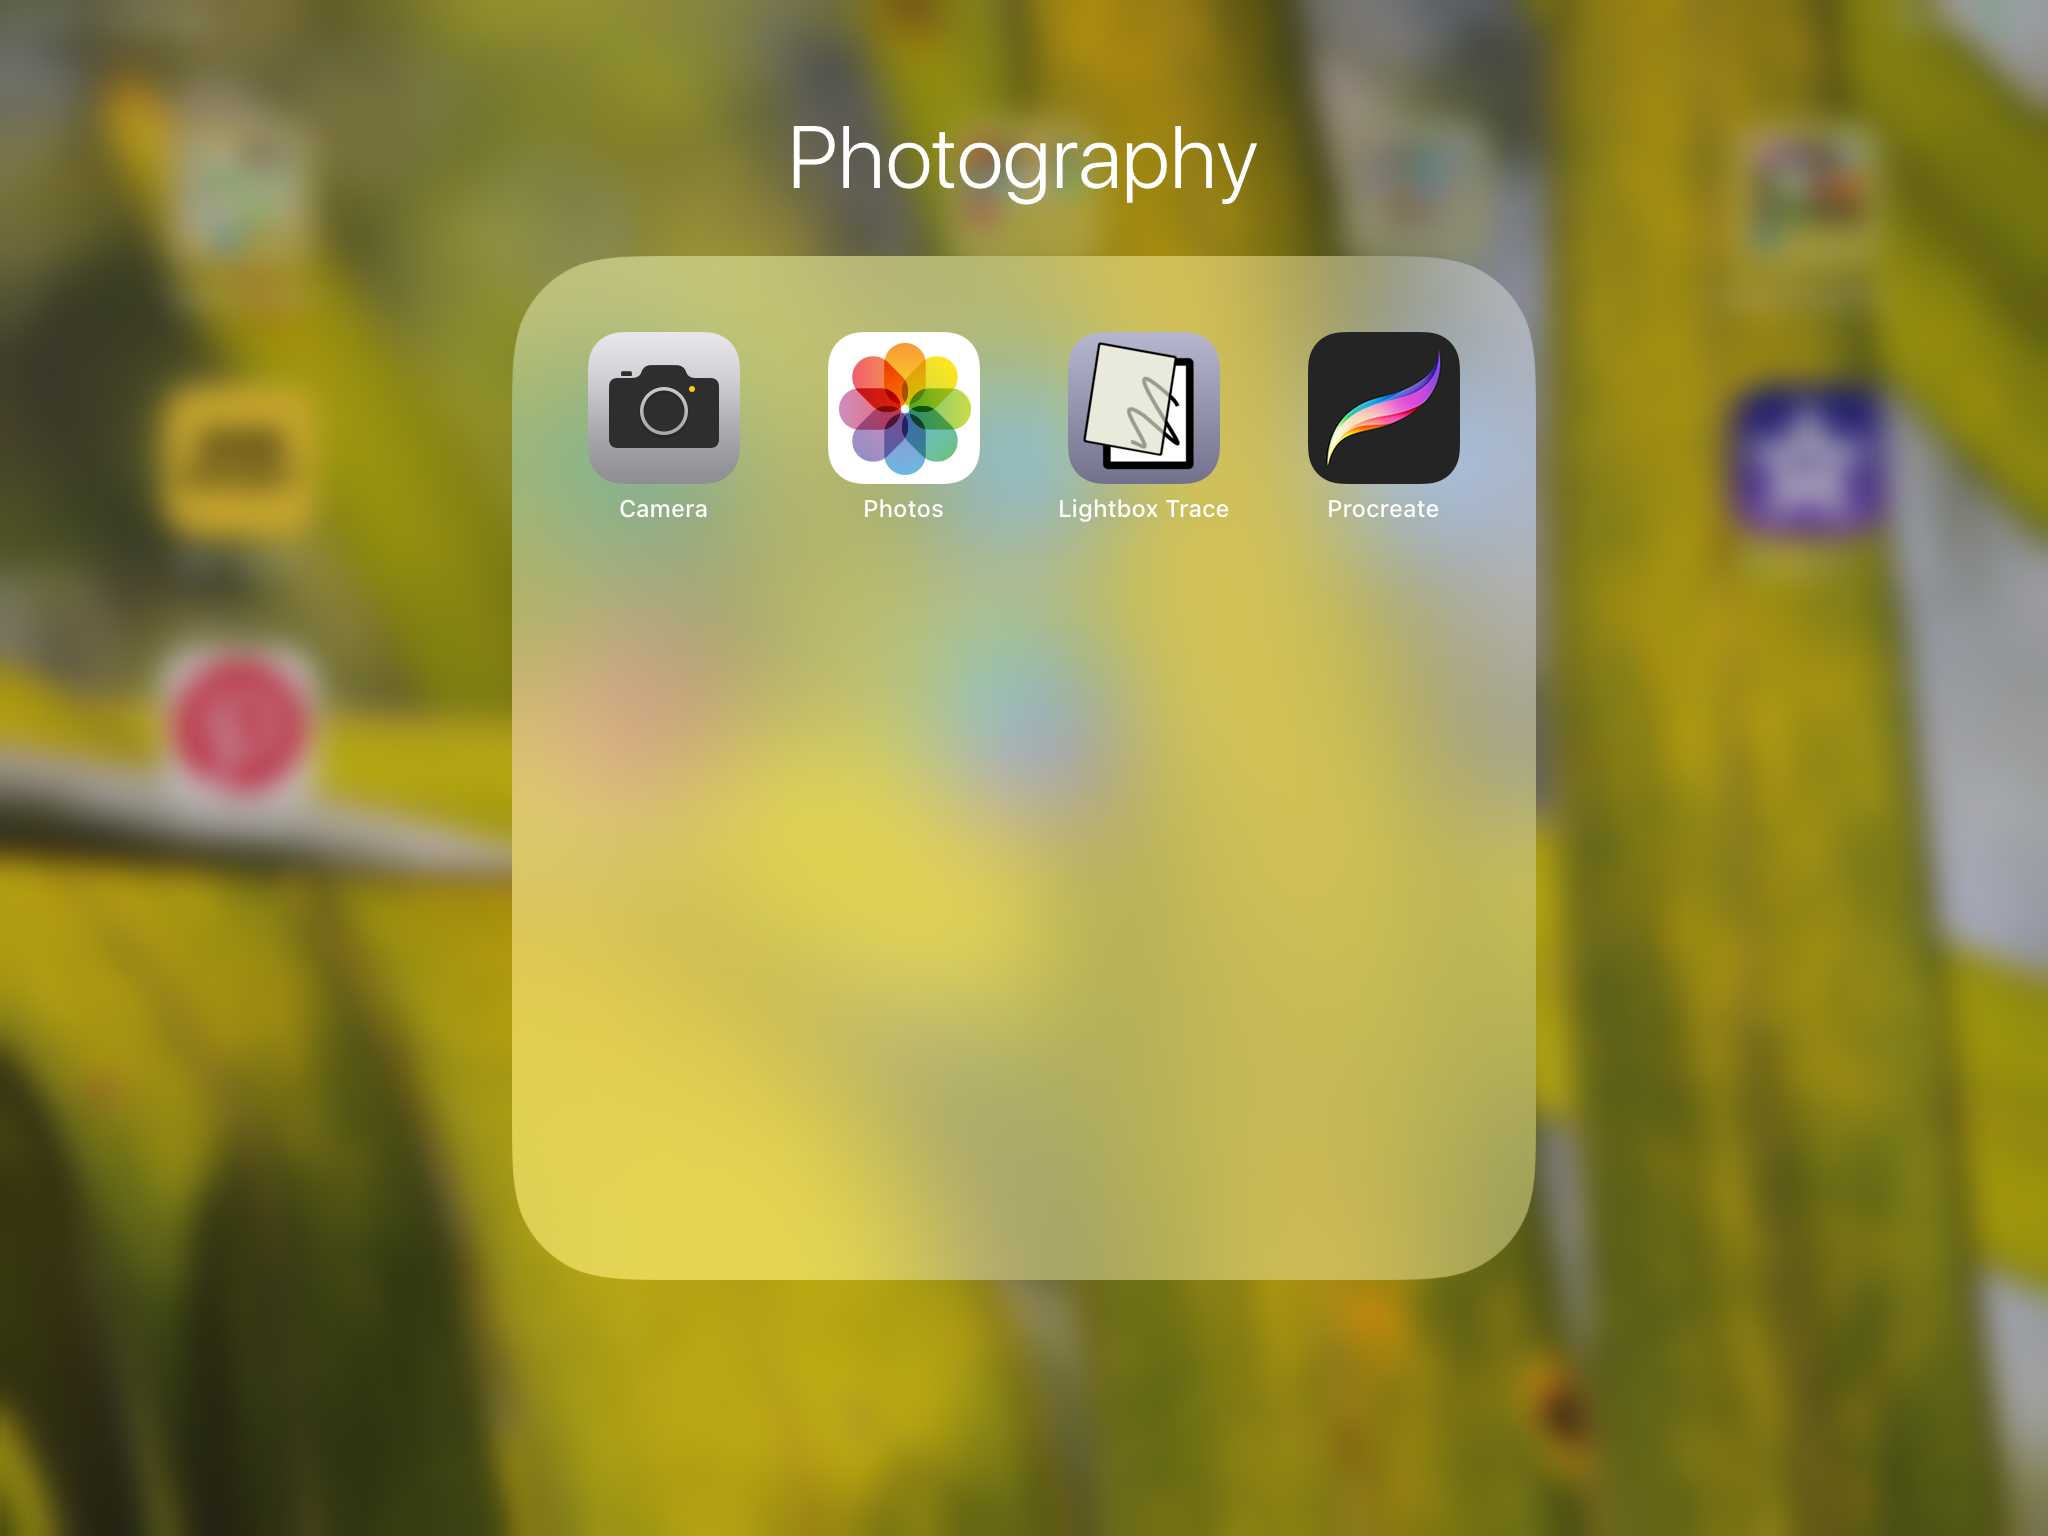
I have an iPad and use an app called Lightbox Trace. There are other apps out there but I like the simplicity of this app.
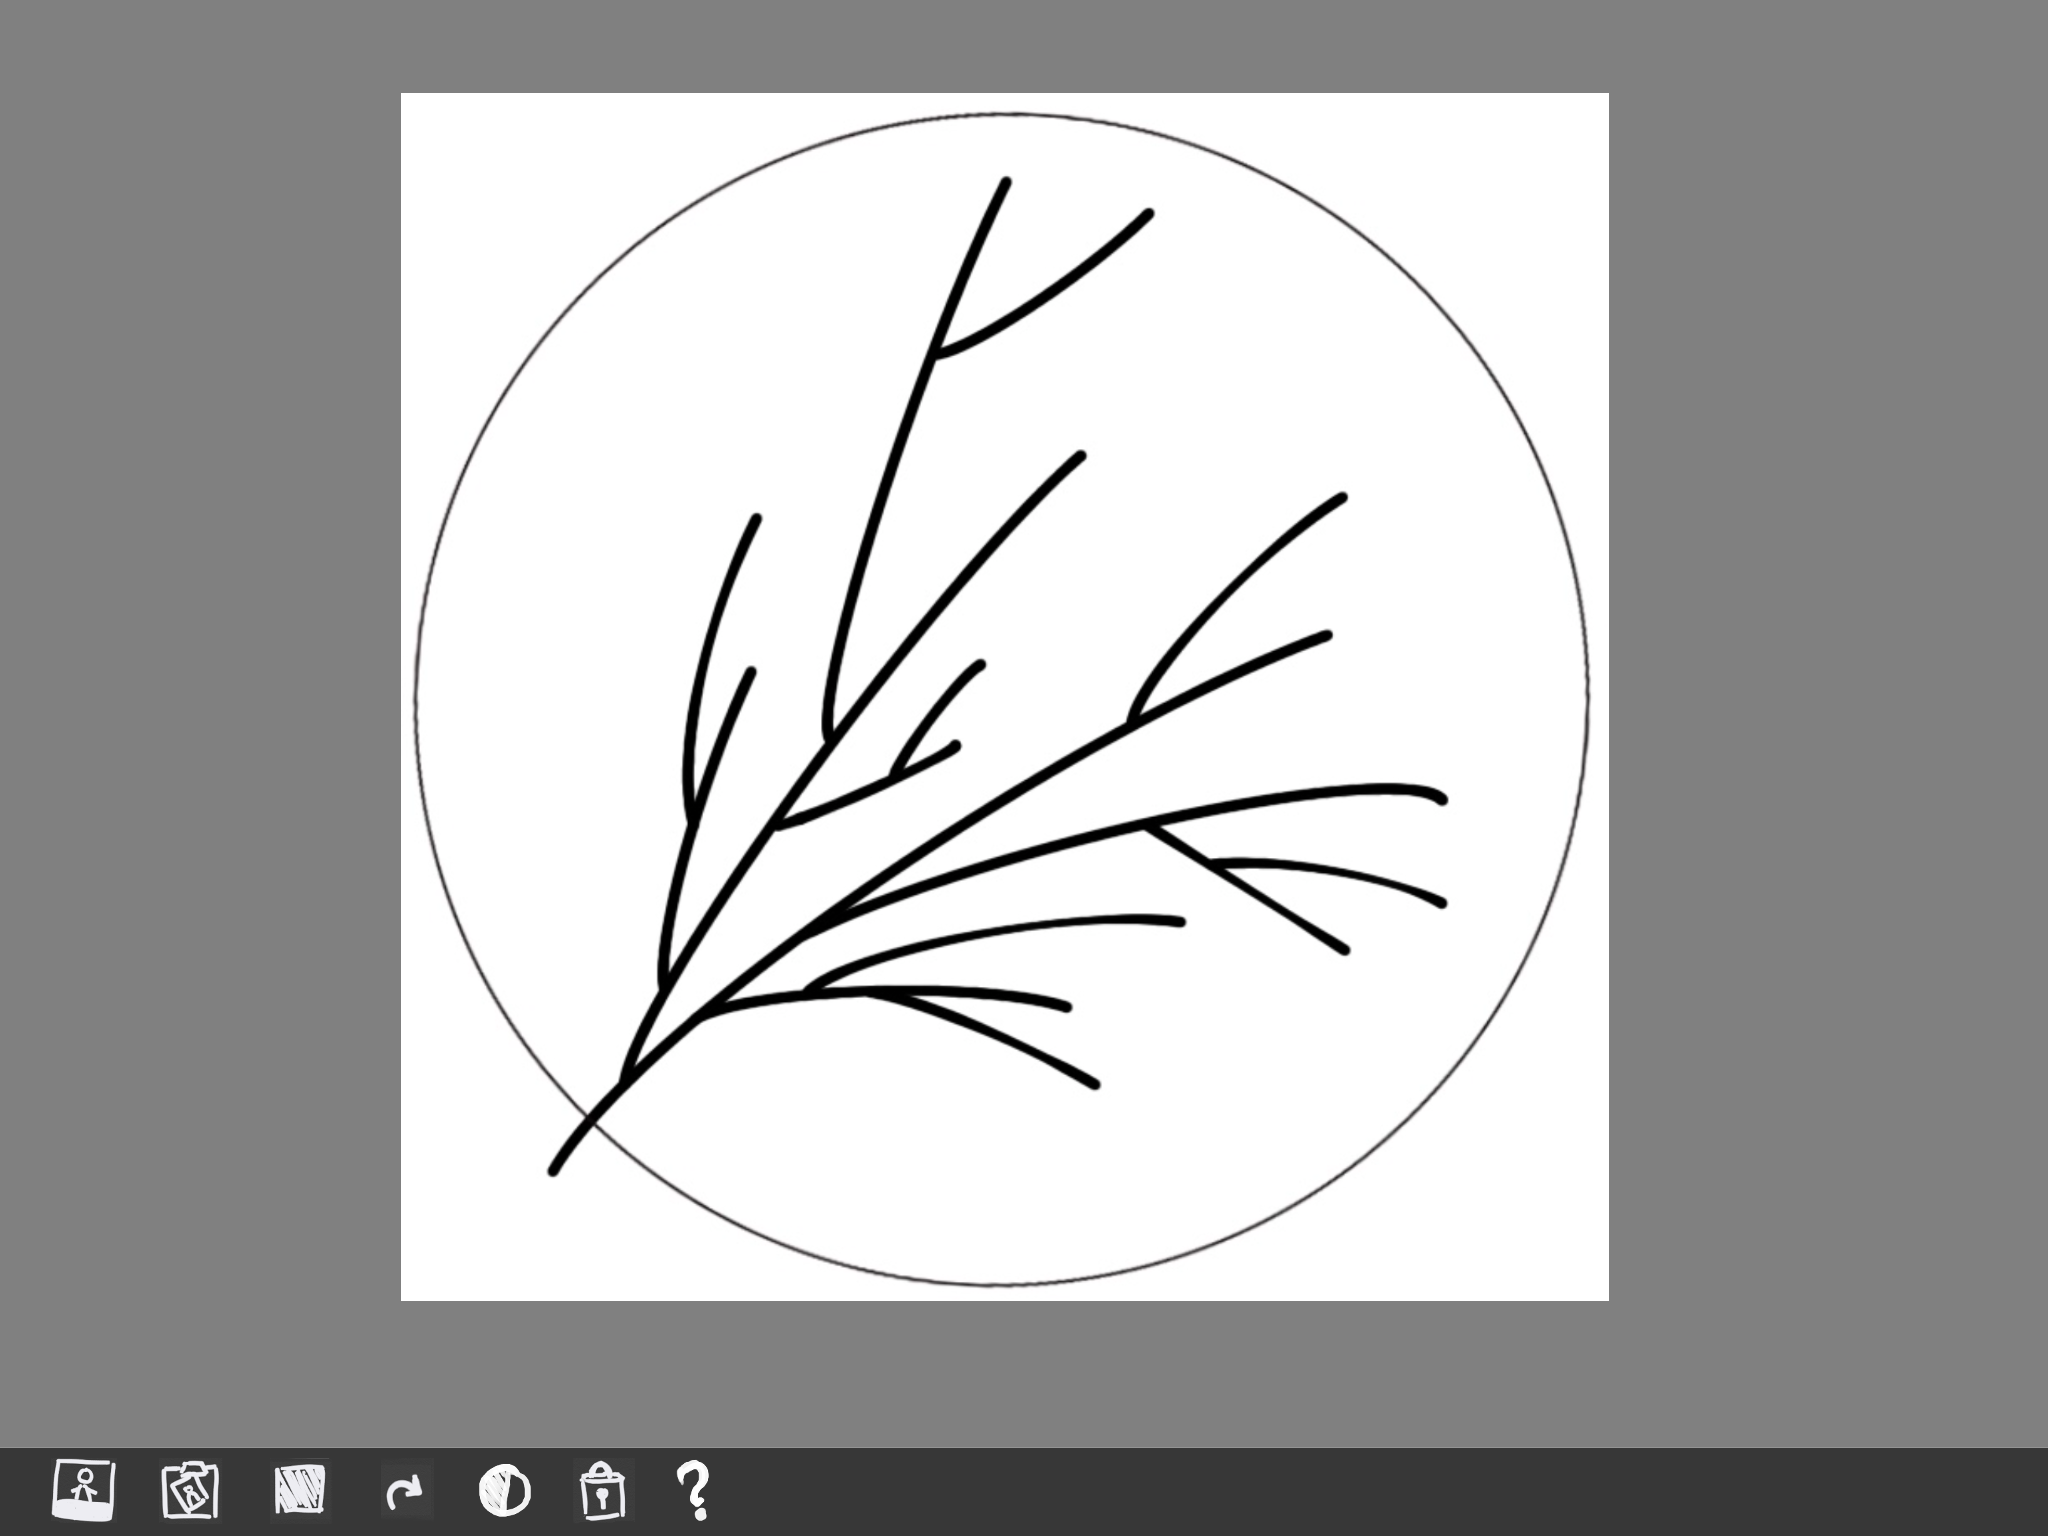
When you open up the app you get this rather boring grey screen. Tap on the button in the bottom left of the screen and select the pattern image from your photo library.
Resize the image so that it is the right size for the hoop you are using.
Then click on the ‘padlock’ icon (second from the right on the tool bar.
This will lock the image and stop it moving around. You should also see your screen noticeably brighter.
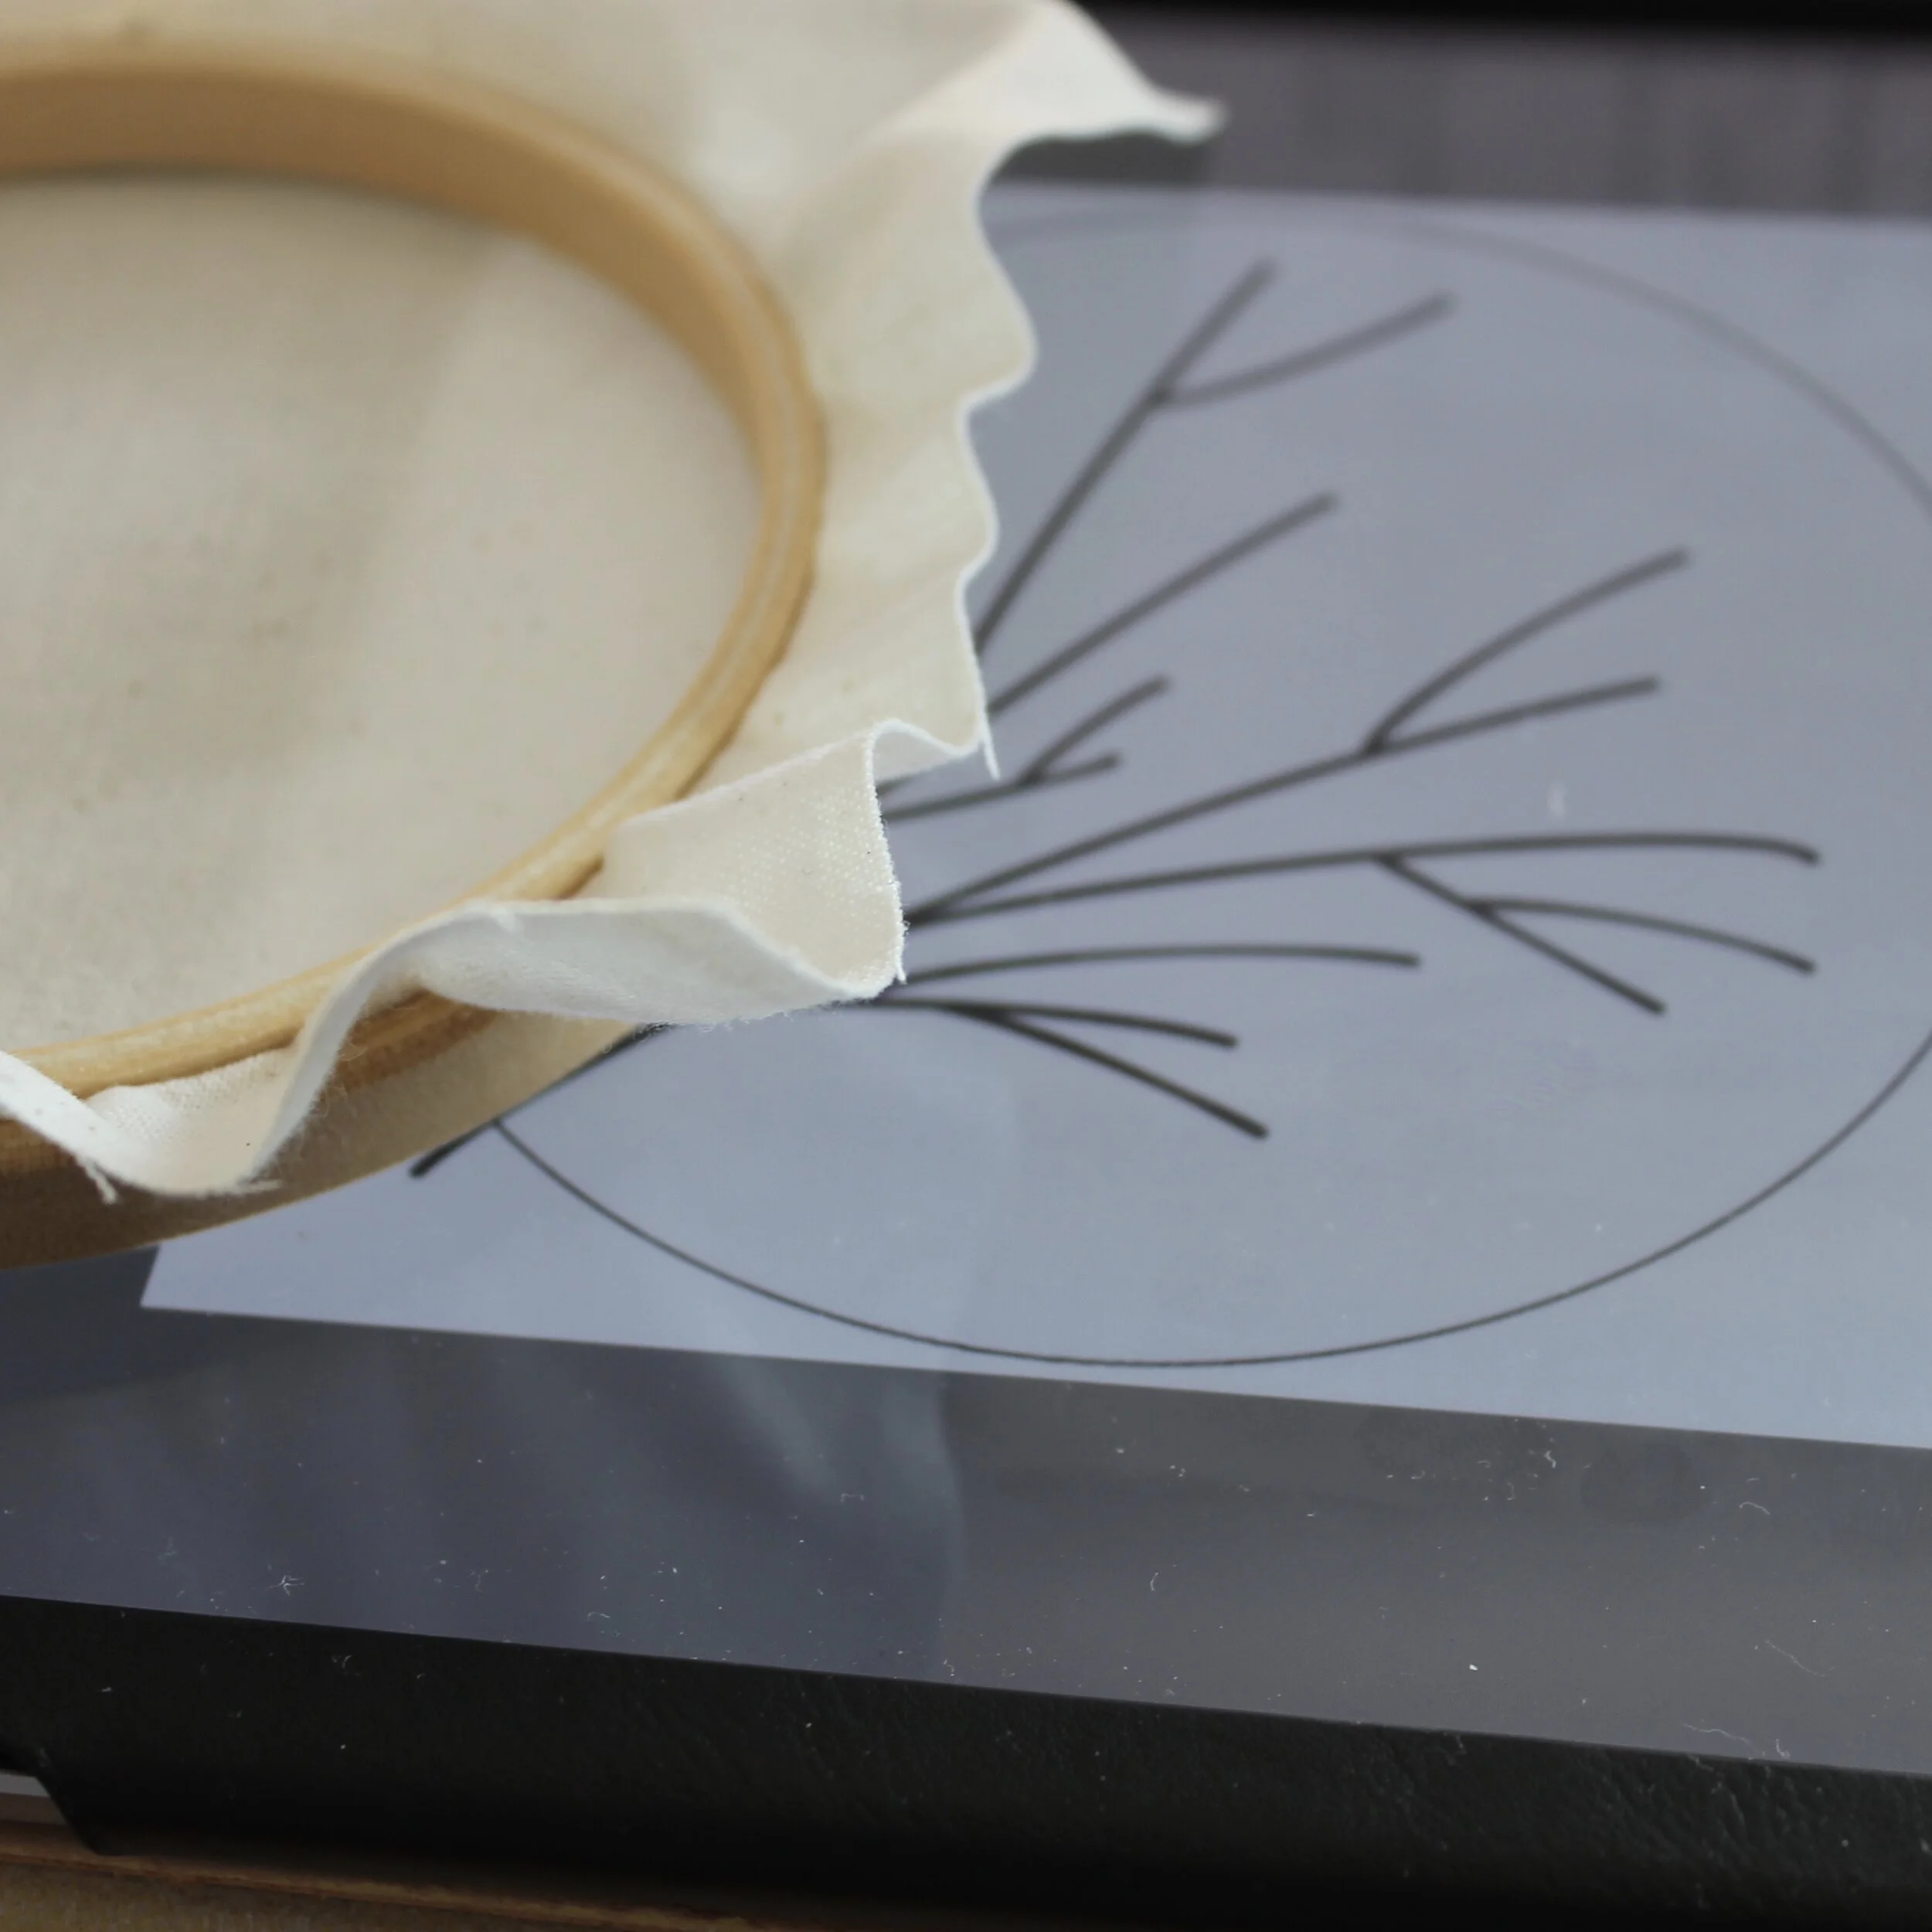
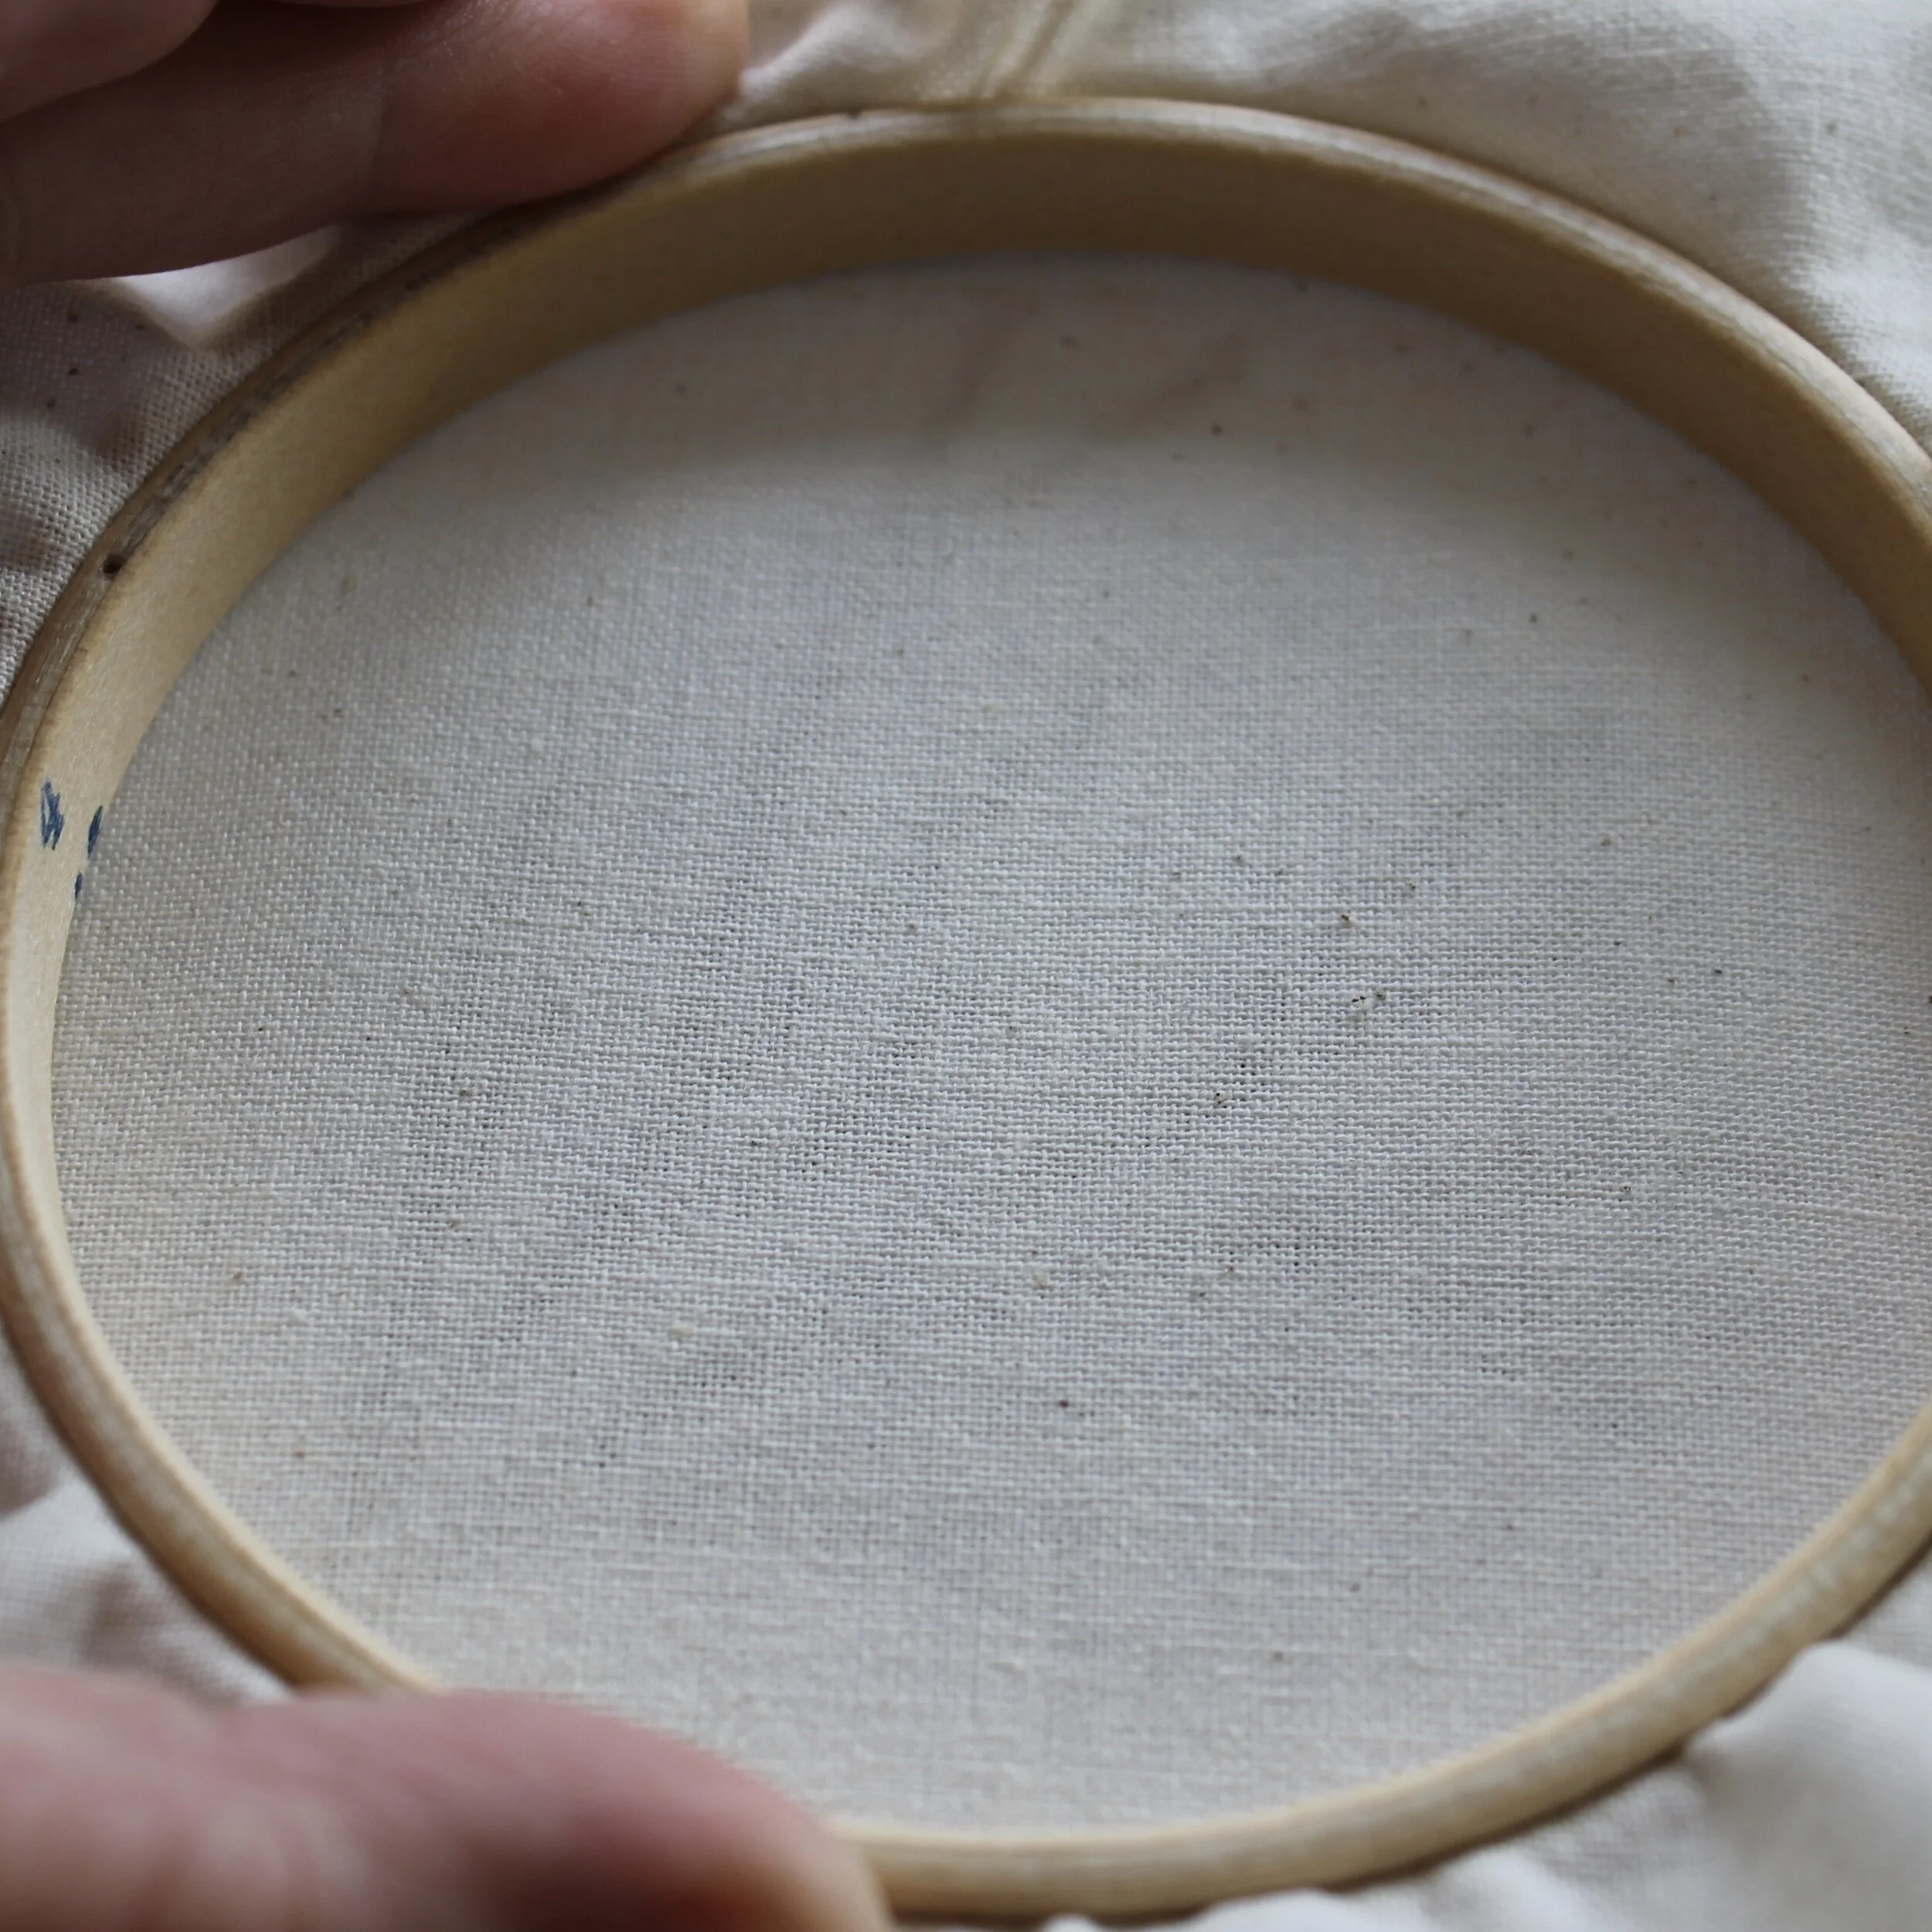
Make sure that you’ve added your fabric to you hoop and it’s as tight as possible. Flip the hoop over so that you can see the inner ring and the fabric can lie flat on the screen.
Line the hoop up over the screen and press down so the hoop doesn’t move around. You should be able to see the pattern through the fabric. If the fabric is thick or dark then this method probably isn’t going to work.
Using a pencil or air/water/heat erasable pen make smooth rather than sketchy lines as you trace the pattern.
If you need to move the hoop to check that you have traced all parts of the pattern, carefully re-align the hoop before you continue tracing.

