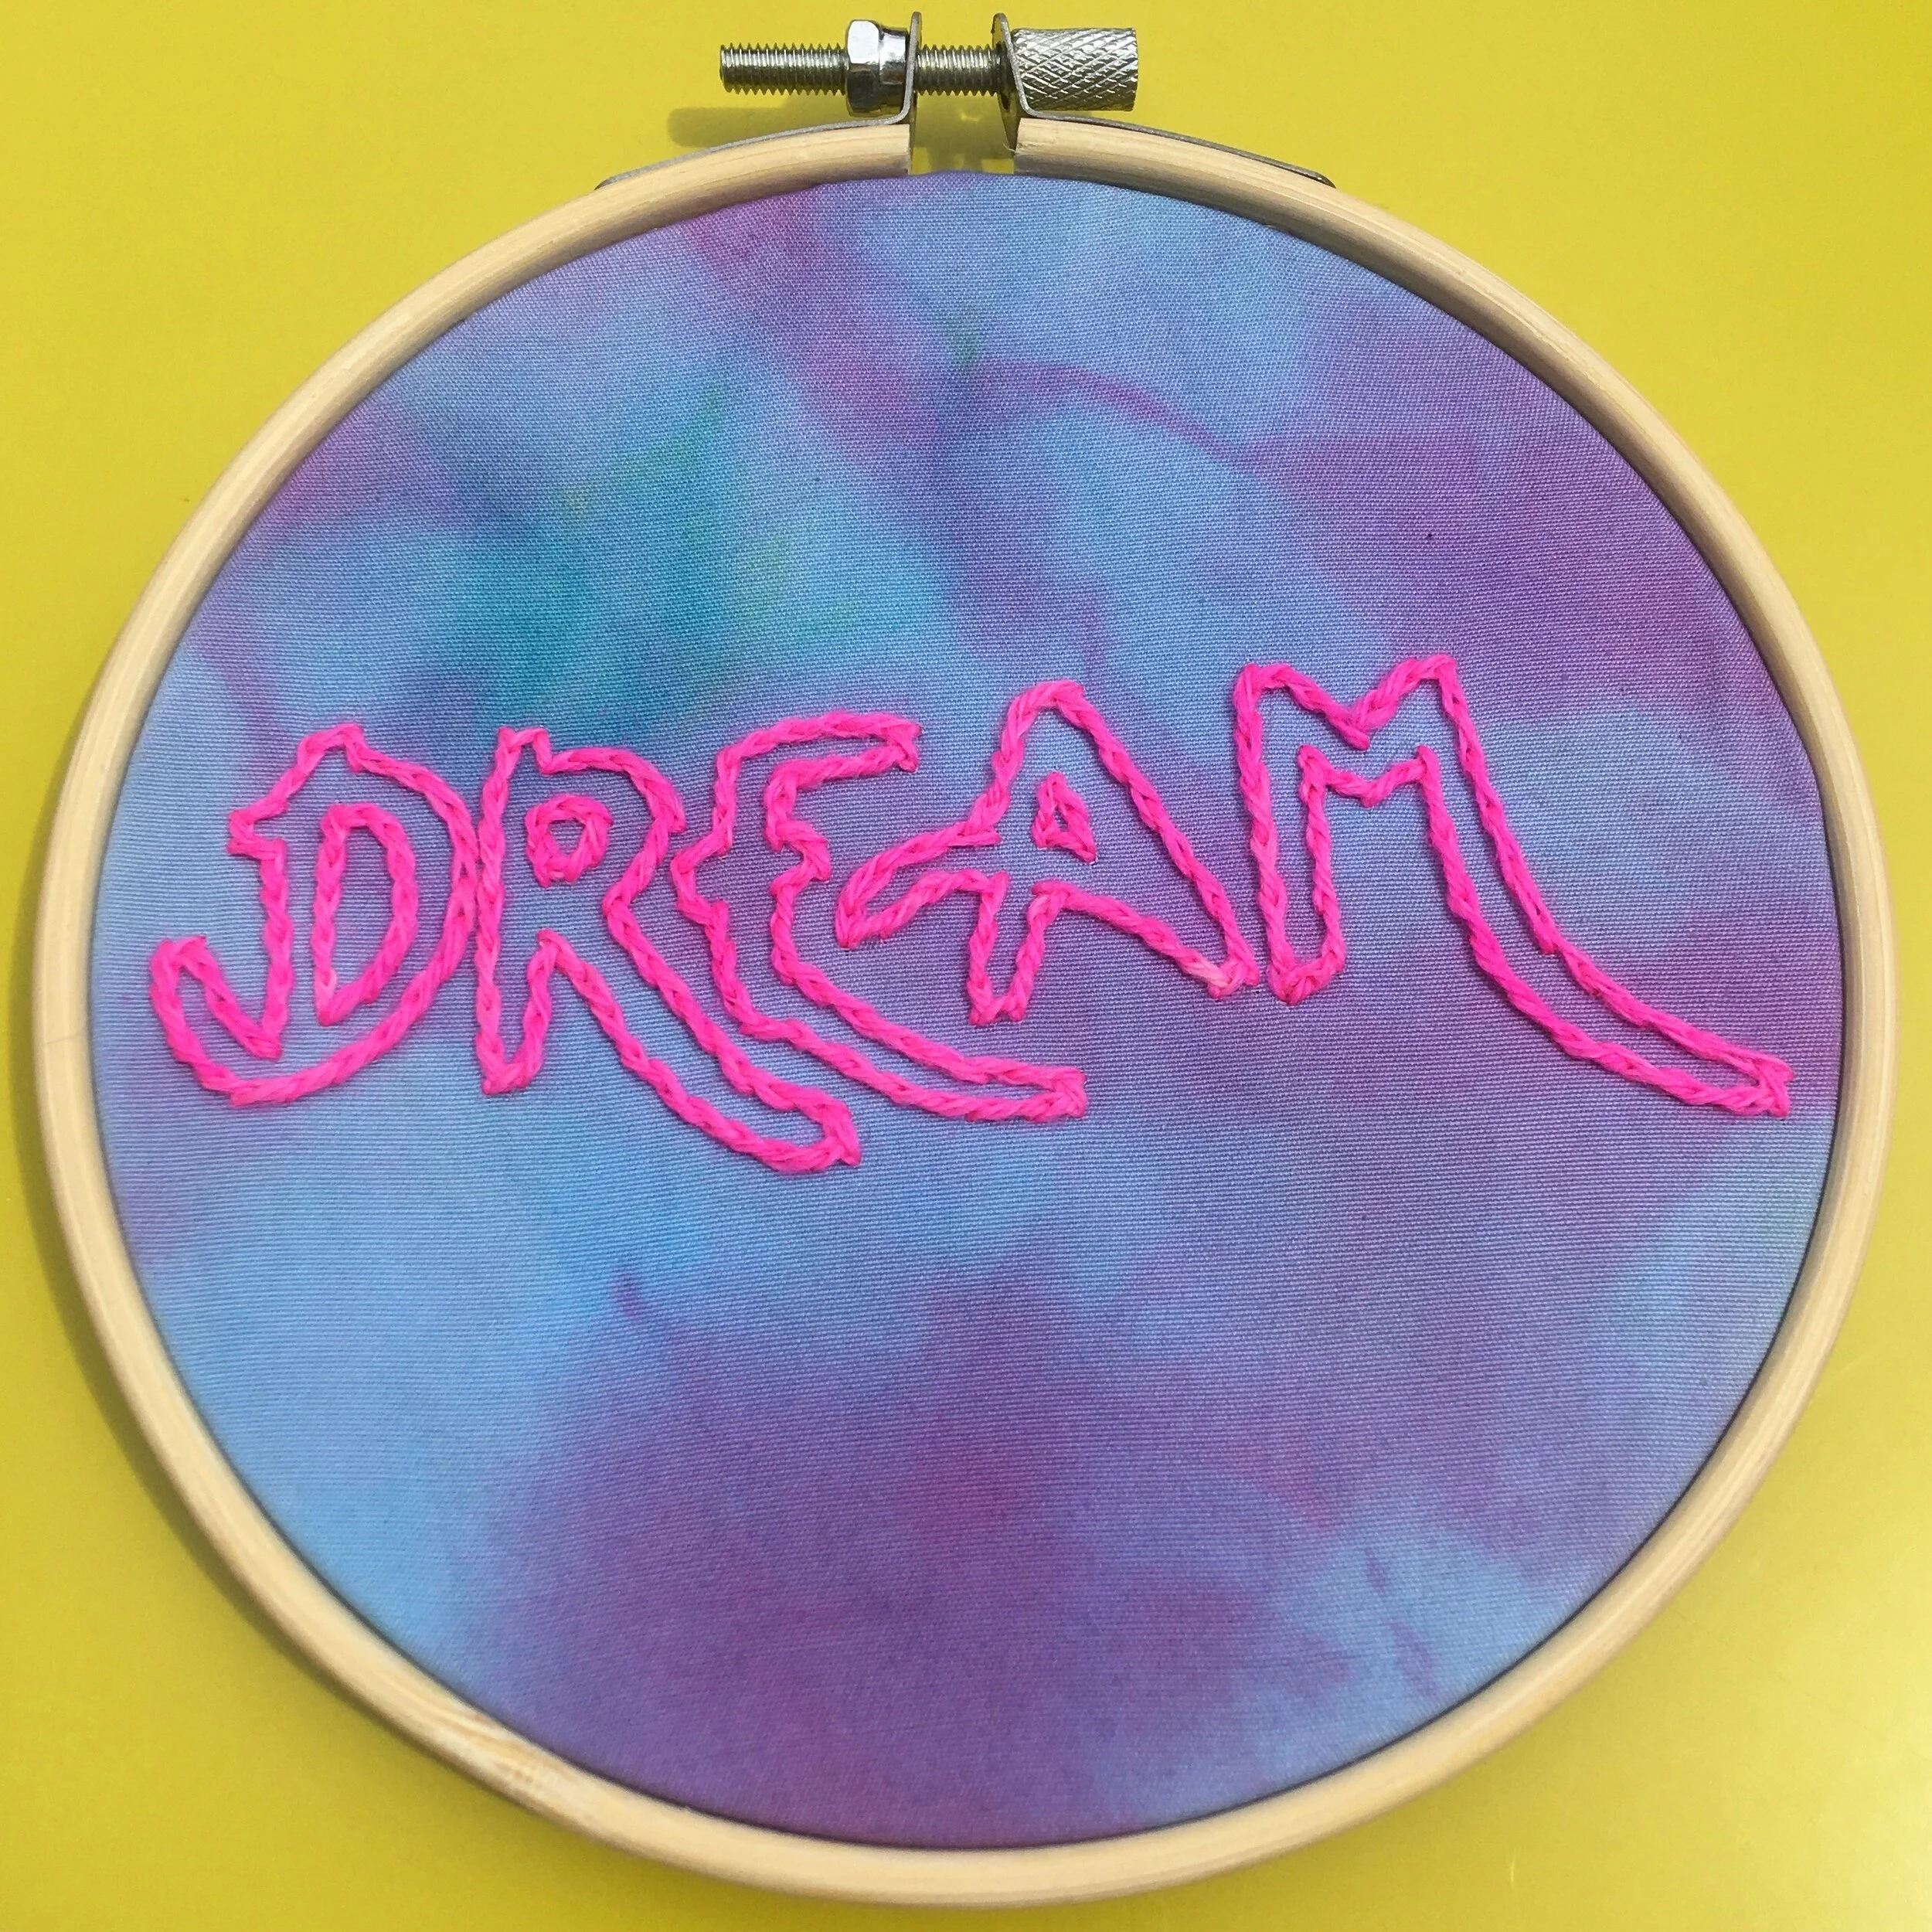
Displaying a finished piece of embroidery in a hoop is the default as it is a simple way to finish it off and put it on display. This does mean that they are not viewed as pieces of artwork in the same way that a painting in a rectangular frame might be.
Finishing in a hoop also restricts the size and form of the work. So I’ve been experimenting with stitching on pre-stretched canvases. You can buy these quite cheaply in shops such as B&M and Flying Tiger.
Here are some of my thoughts of how you translate embroidery to canvas.
Wide wooden frame
Canvases are stretched over a wooden frame that is about 1 inch wide. This restricts the area for stitching and although you can get creative with the angle of your needle when stitching in the areas above the frame, this border needs to be taken into account in the design.
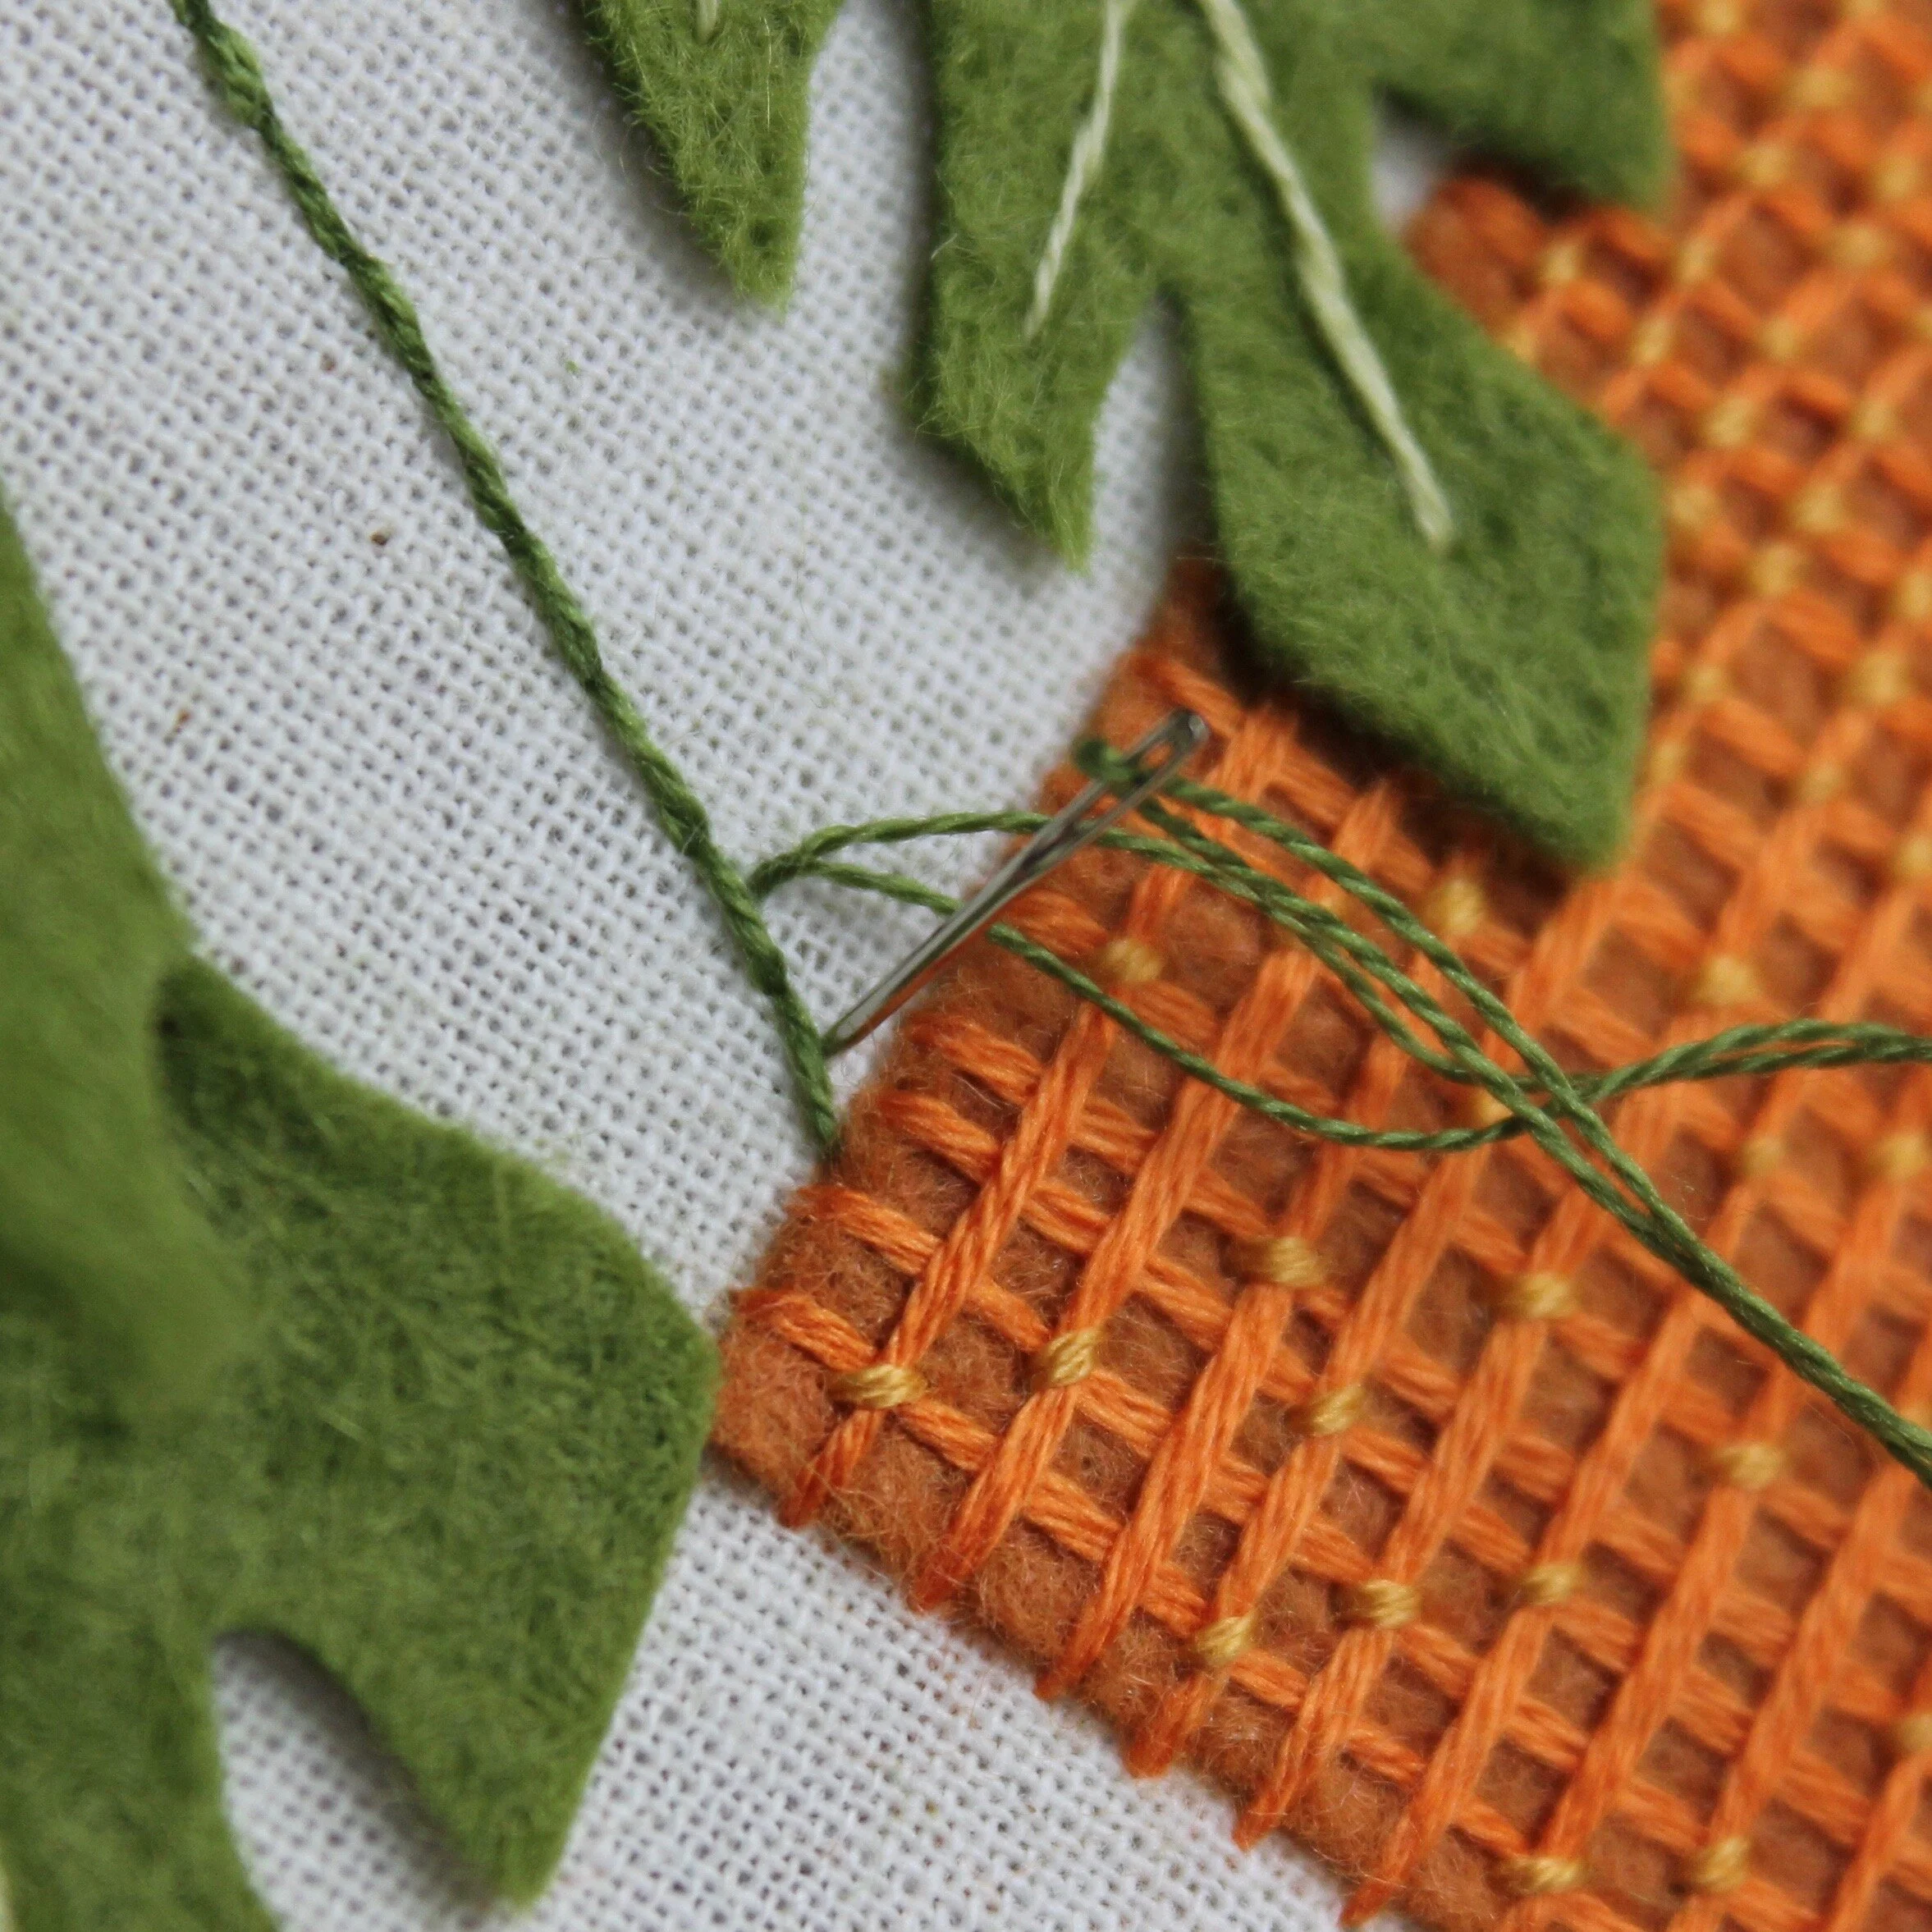
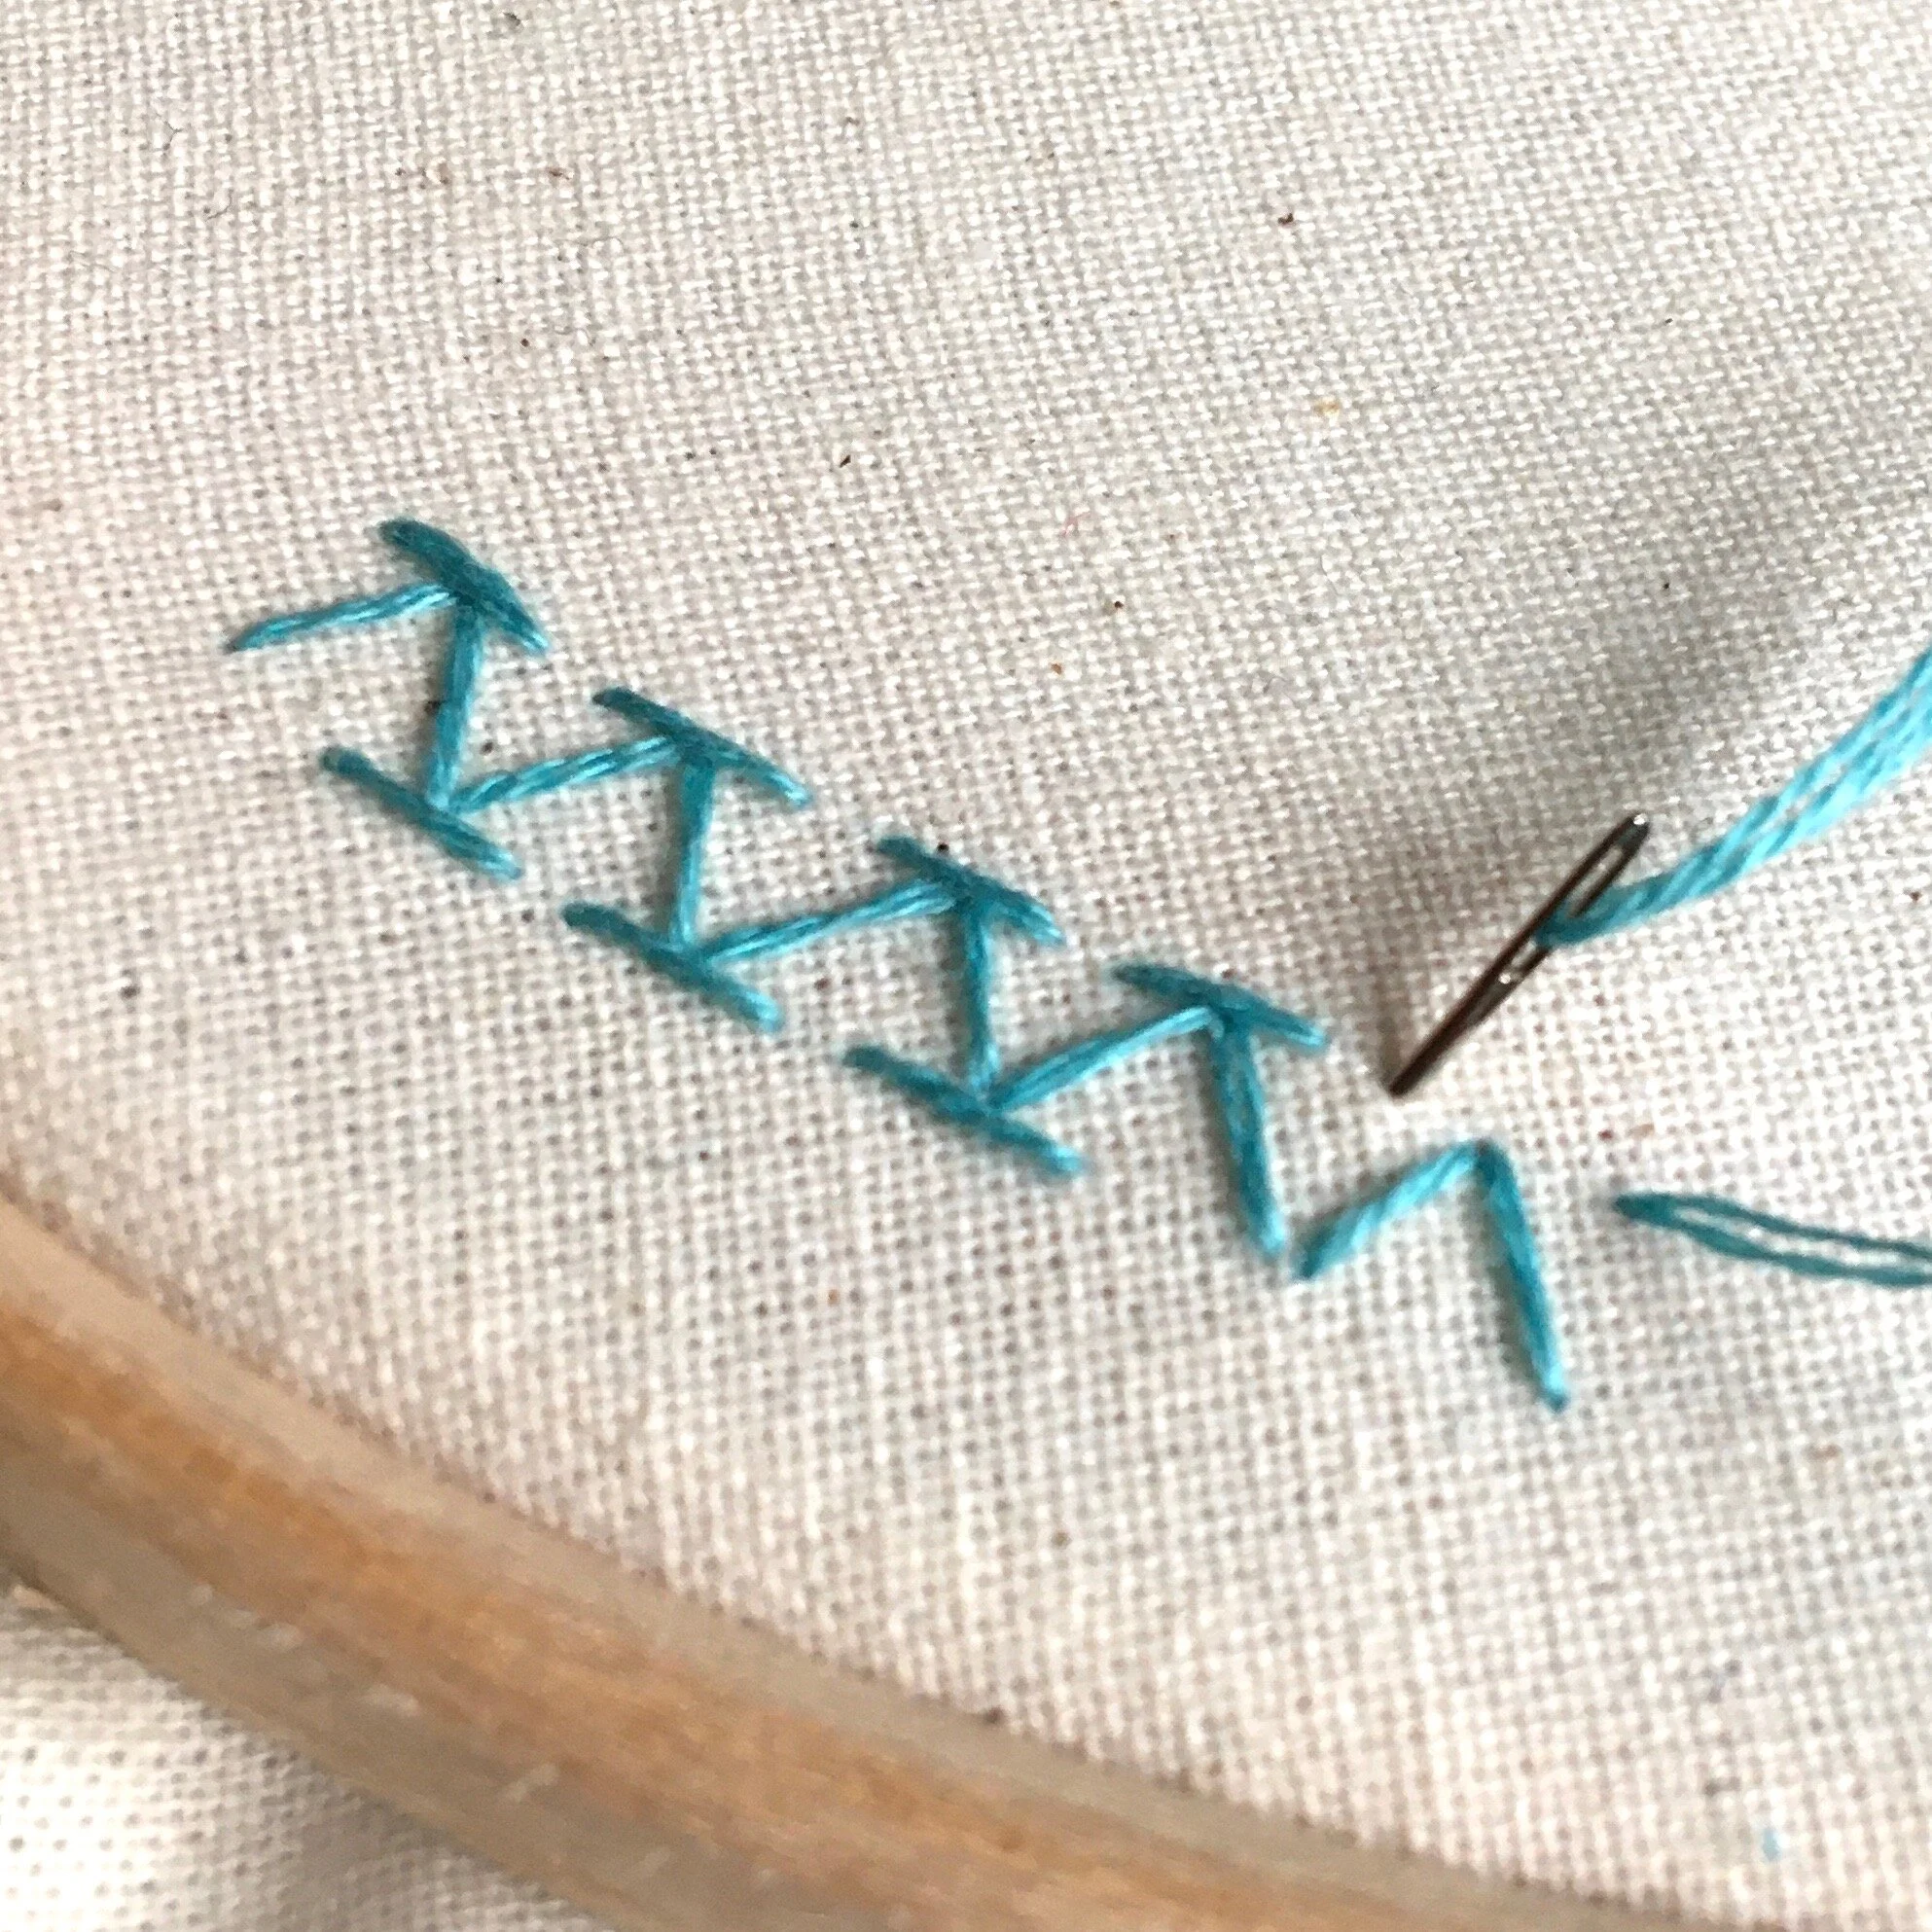
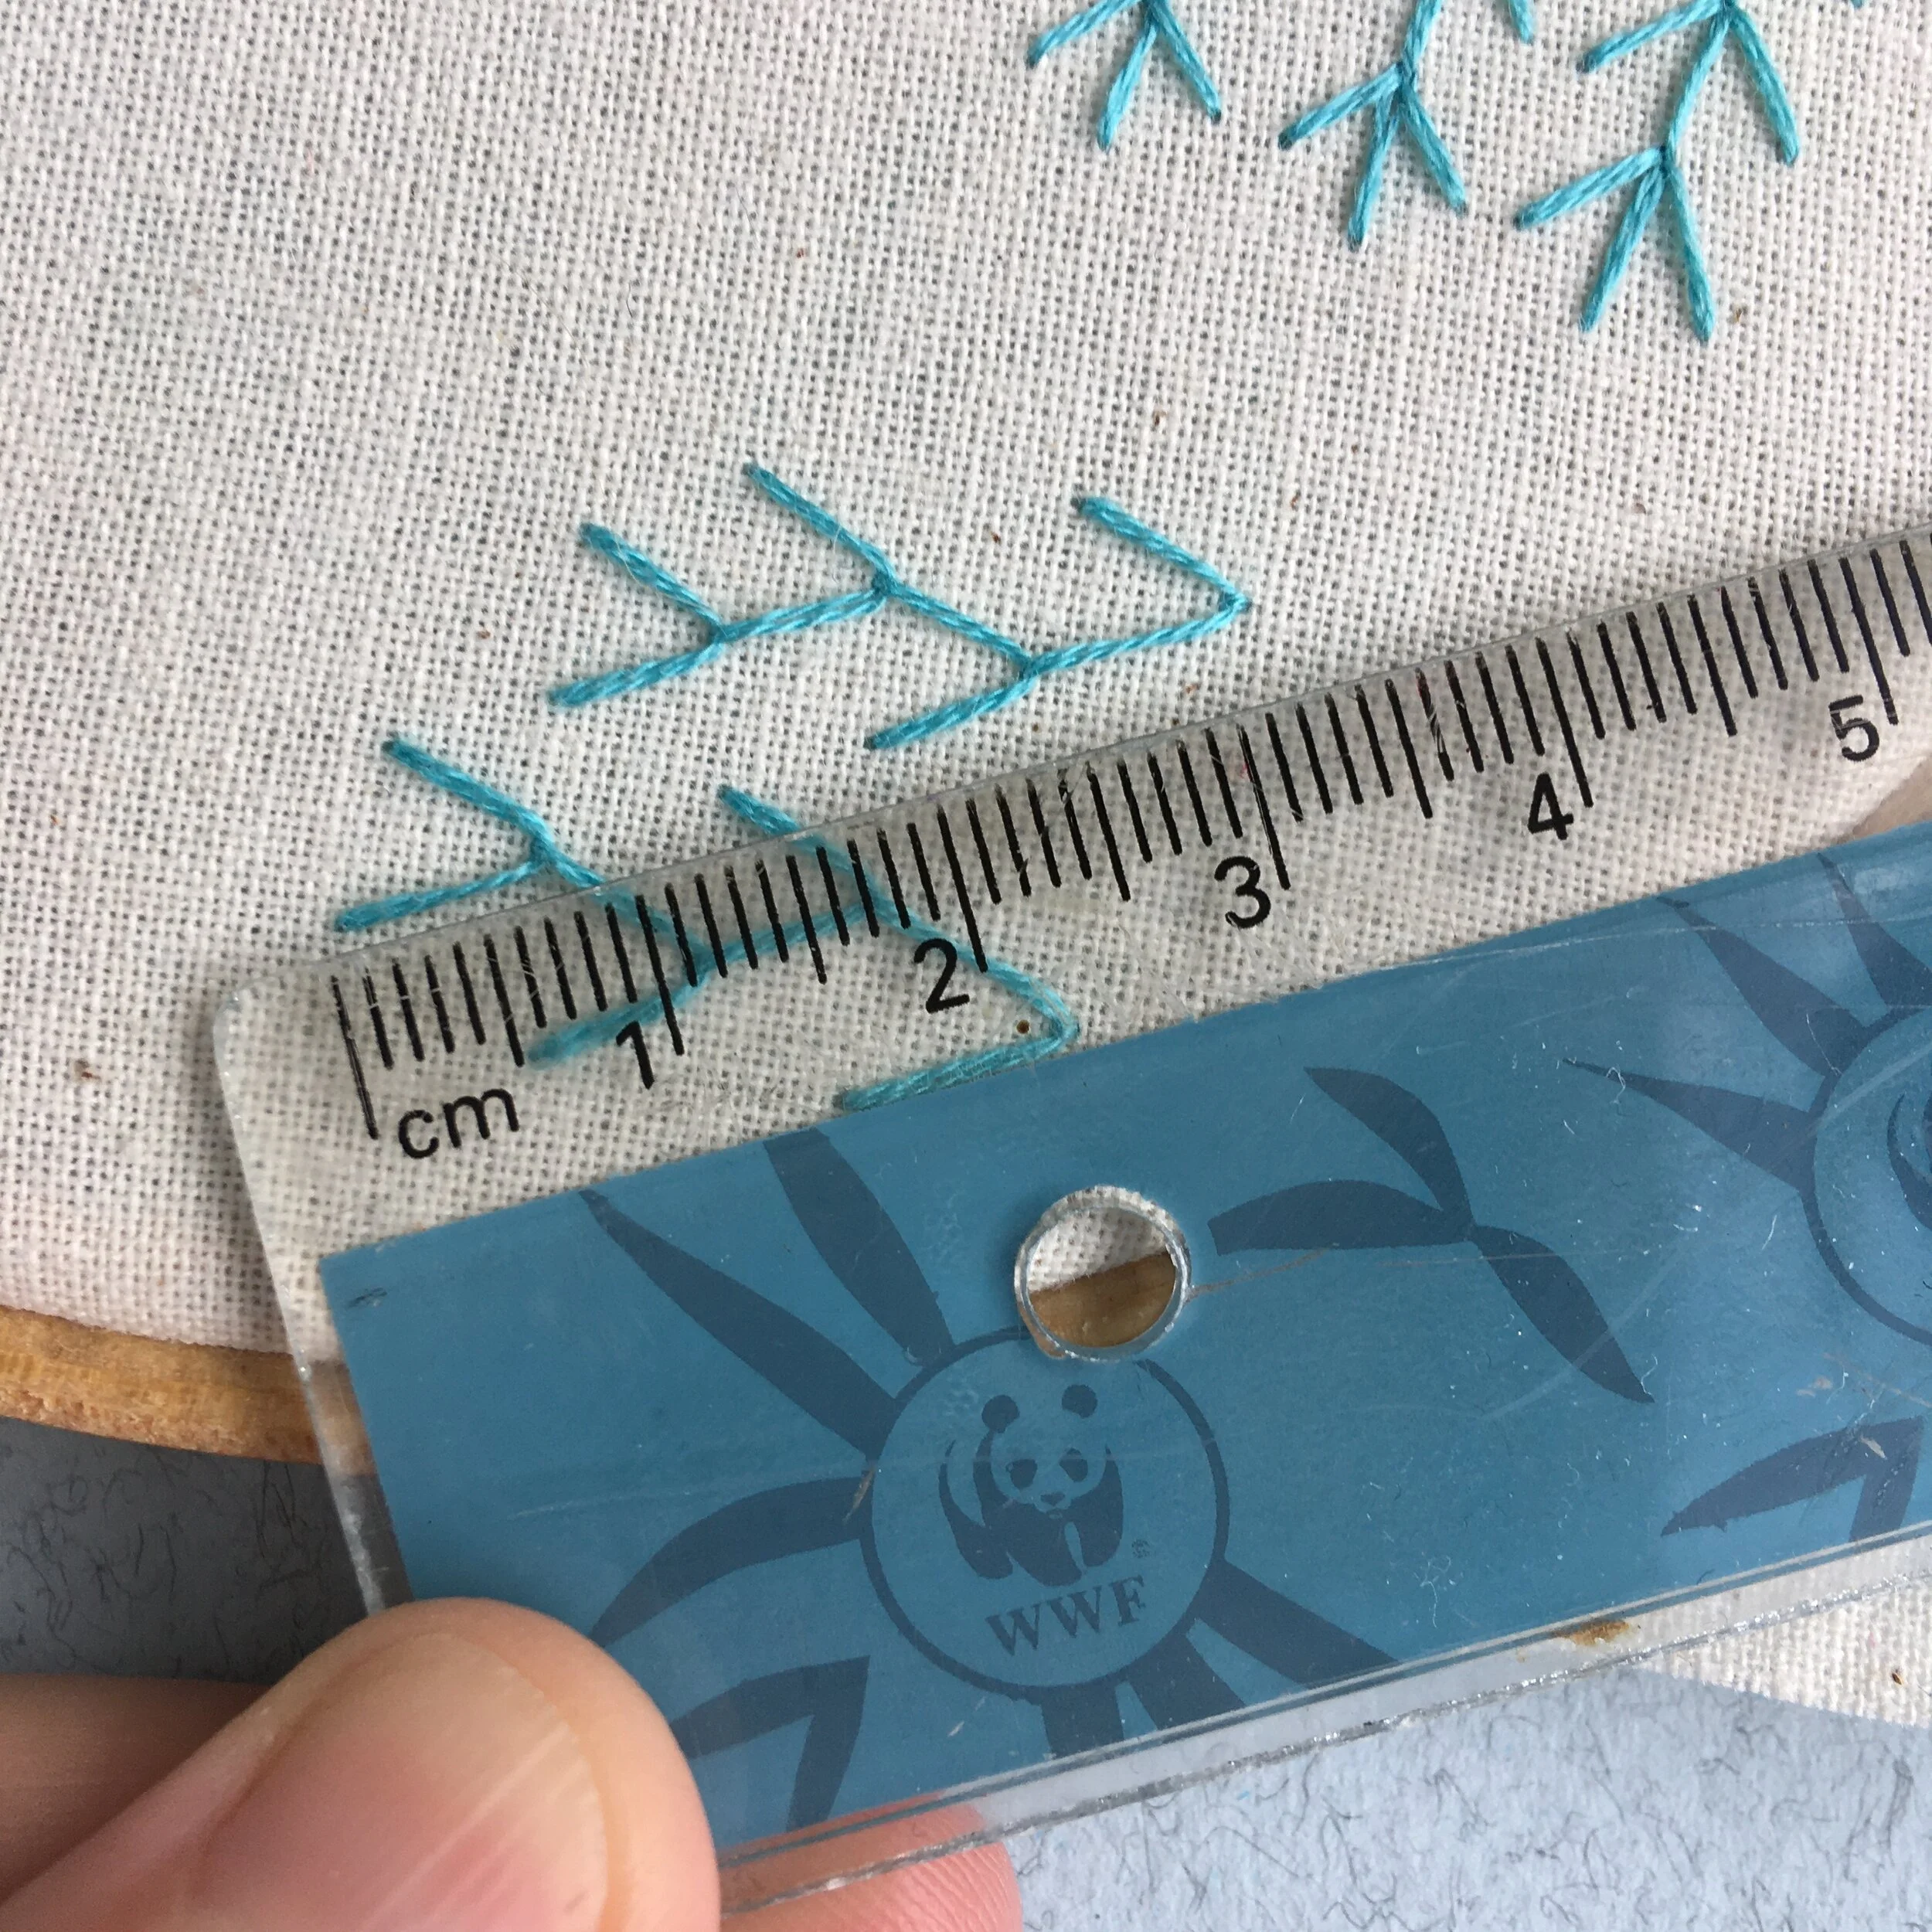
Large warp and weft
The canvases I’ve bought have wide warp and weft threads. This means that it can be hard to stitch really delicate designs as you normally stitch in the tiny hole that is the intersection between warp and weft threads. However, canvas is also a fairly even weave fabric meaning that modern designs with geometric shapes work well.
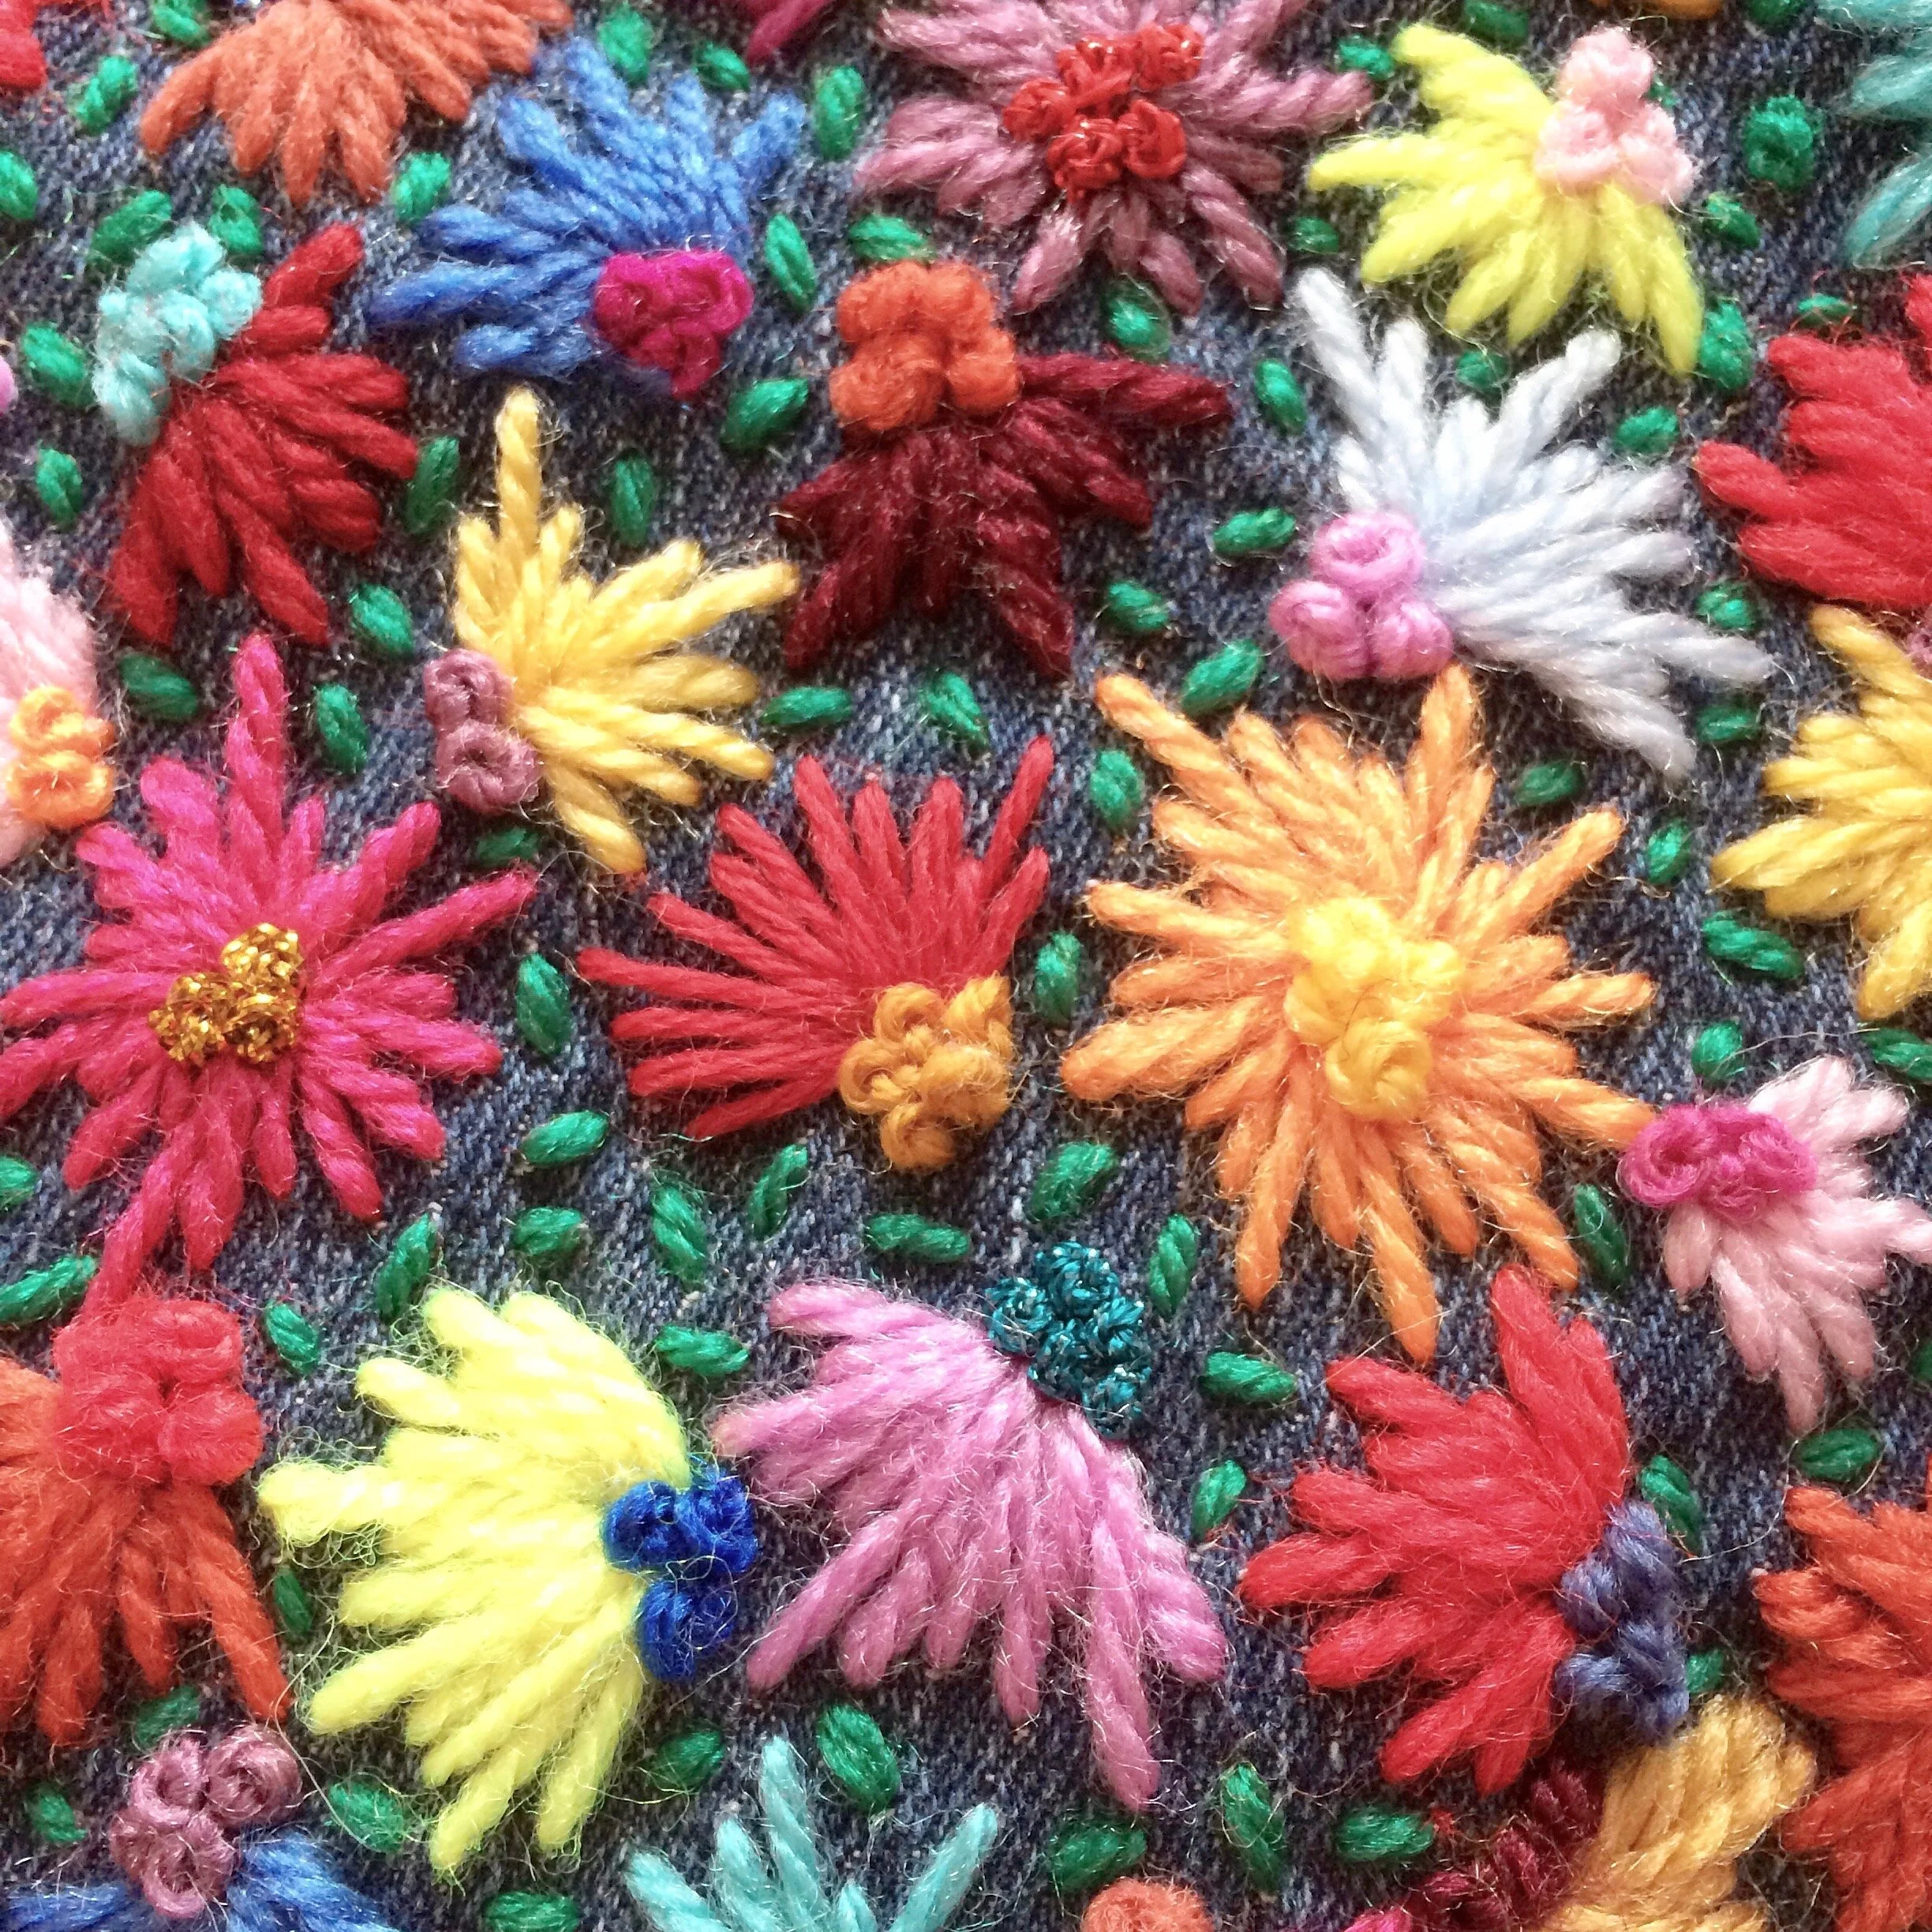
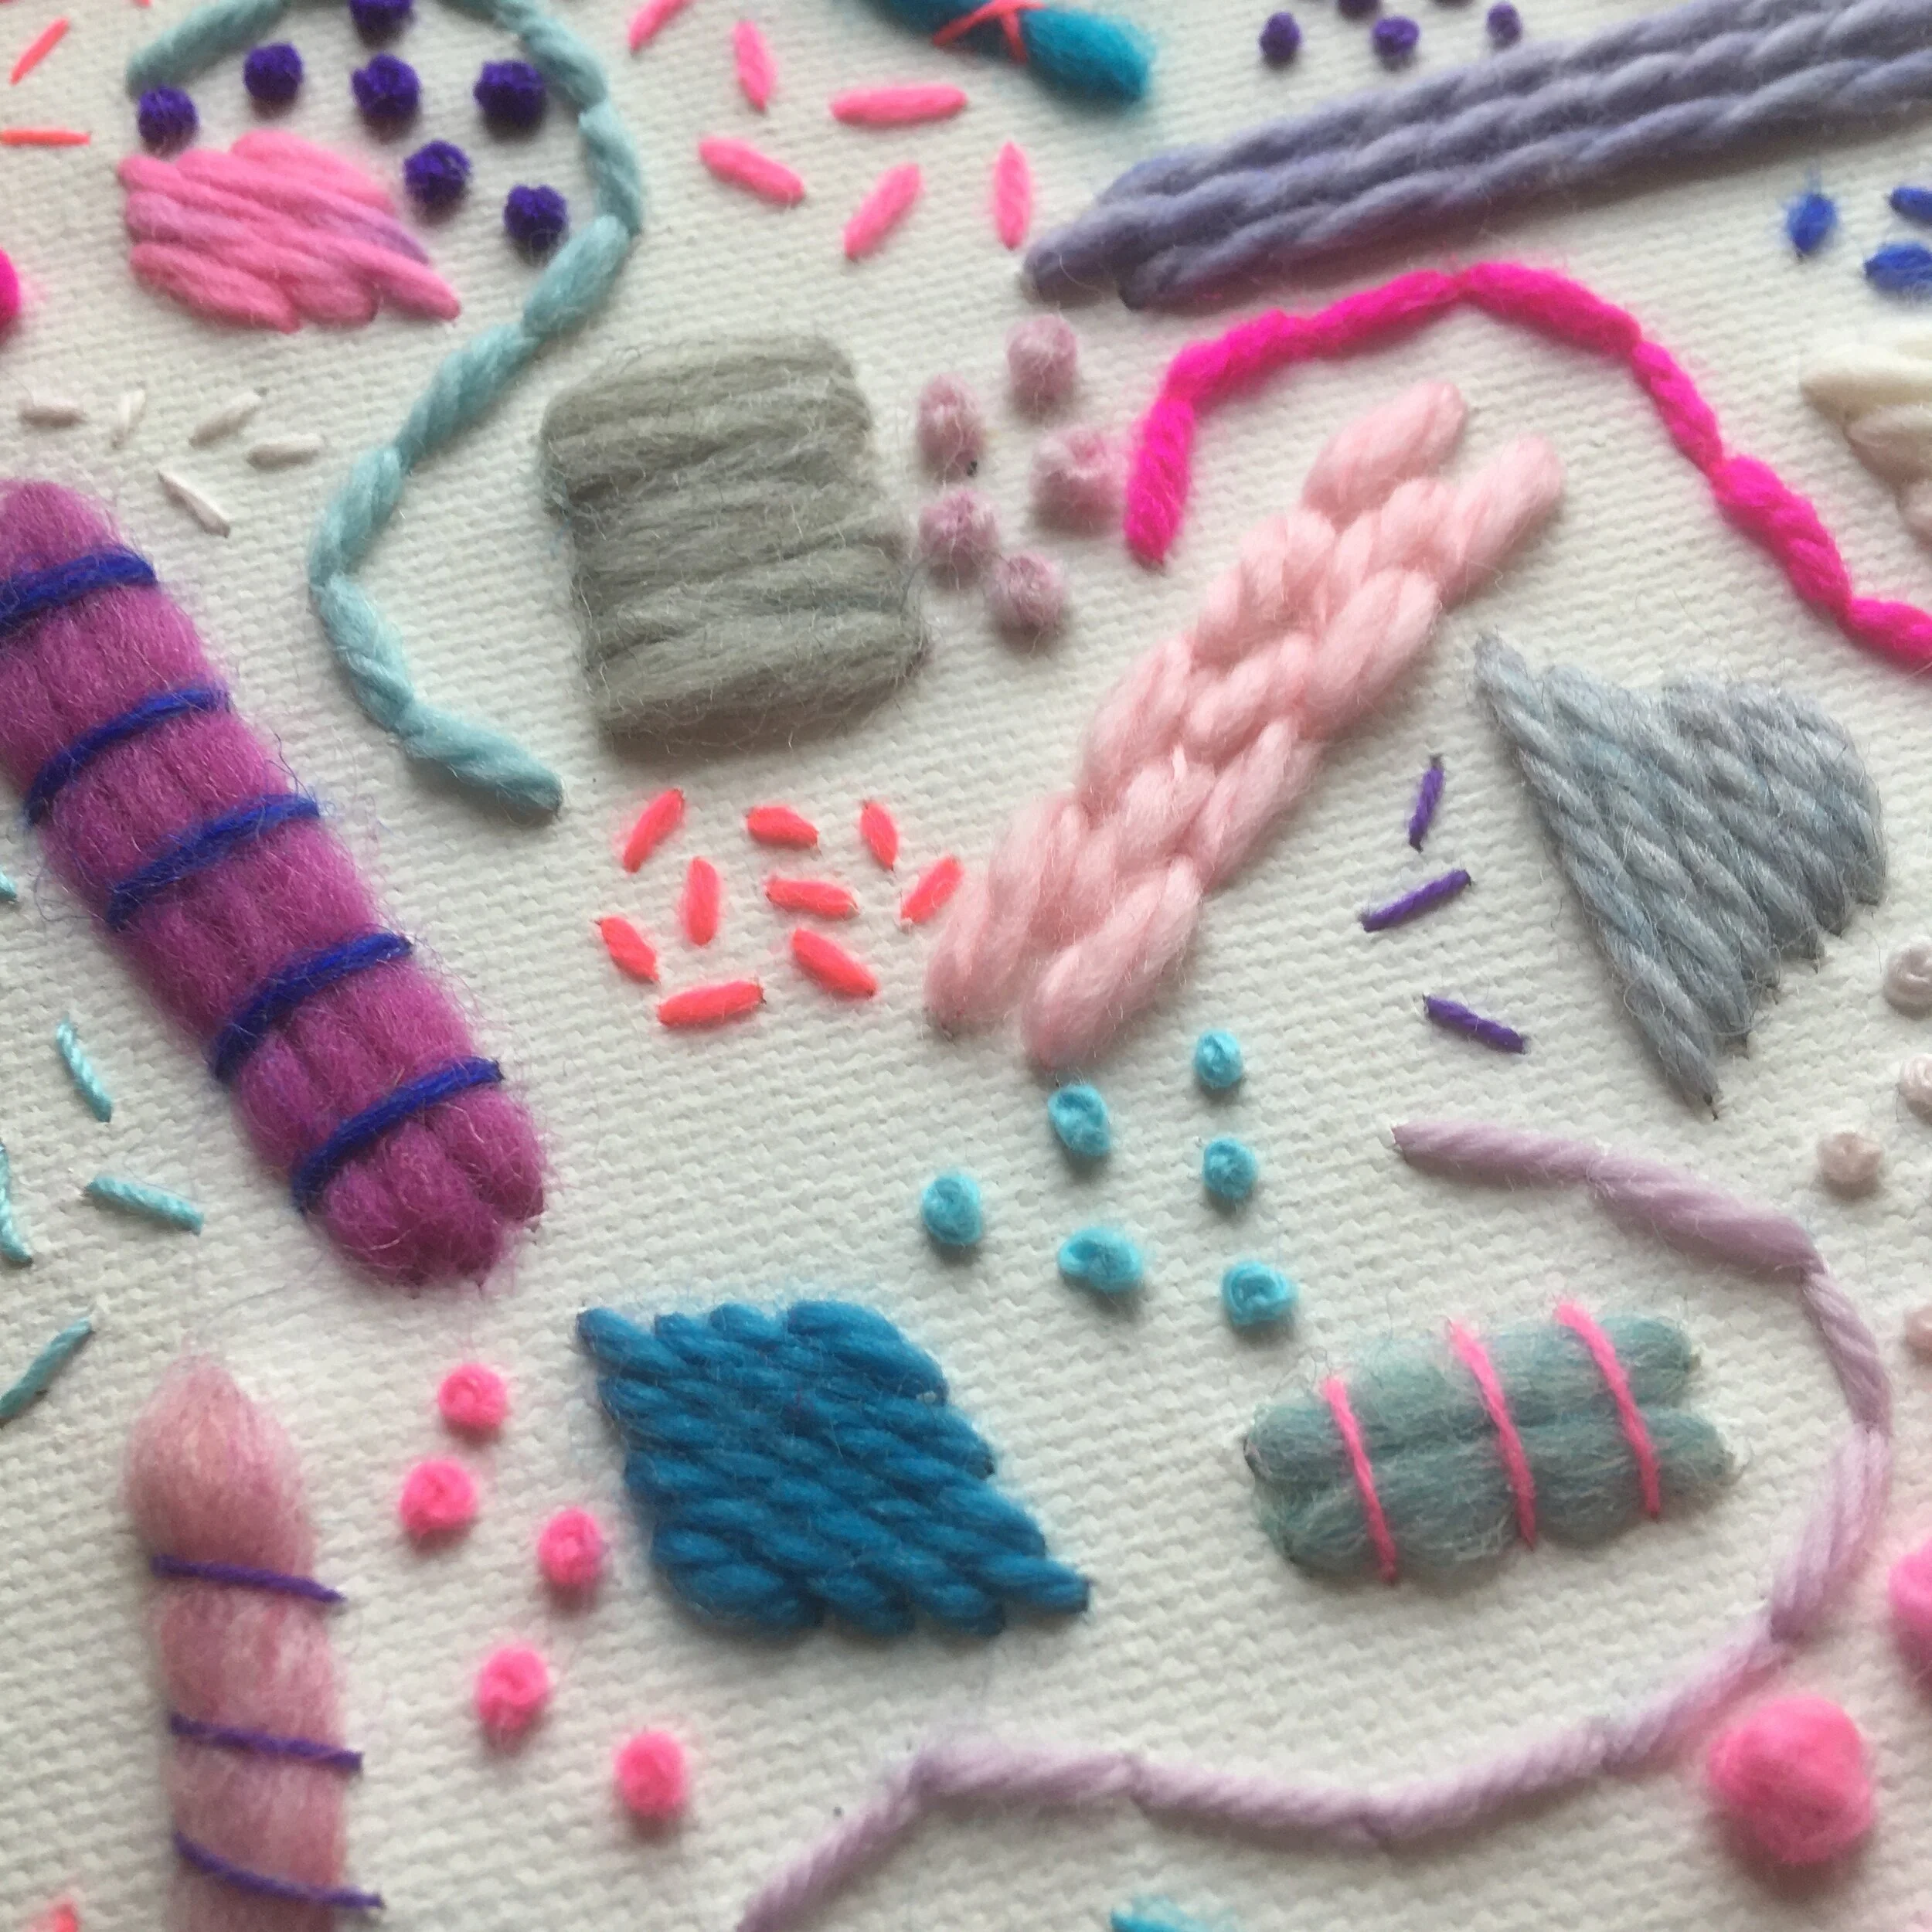
Using thicker threads
Canvas is a thick fabric which can be hard on the fingers. But it also means it can hold the weight of thicker threads such as yarn.
I found that using chenille needles rather than crewel needles worked best when stitching on canvas as the thicker needles gave better grip and the larger eye accommodated thicker thread.
Pre-stretched
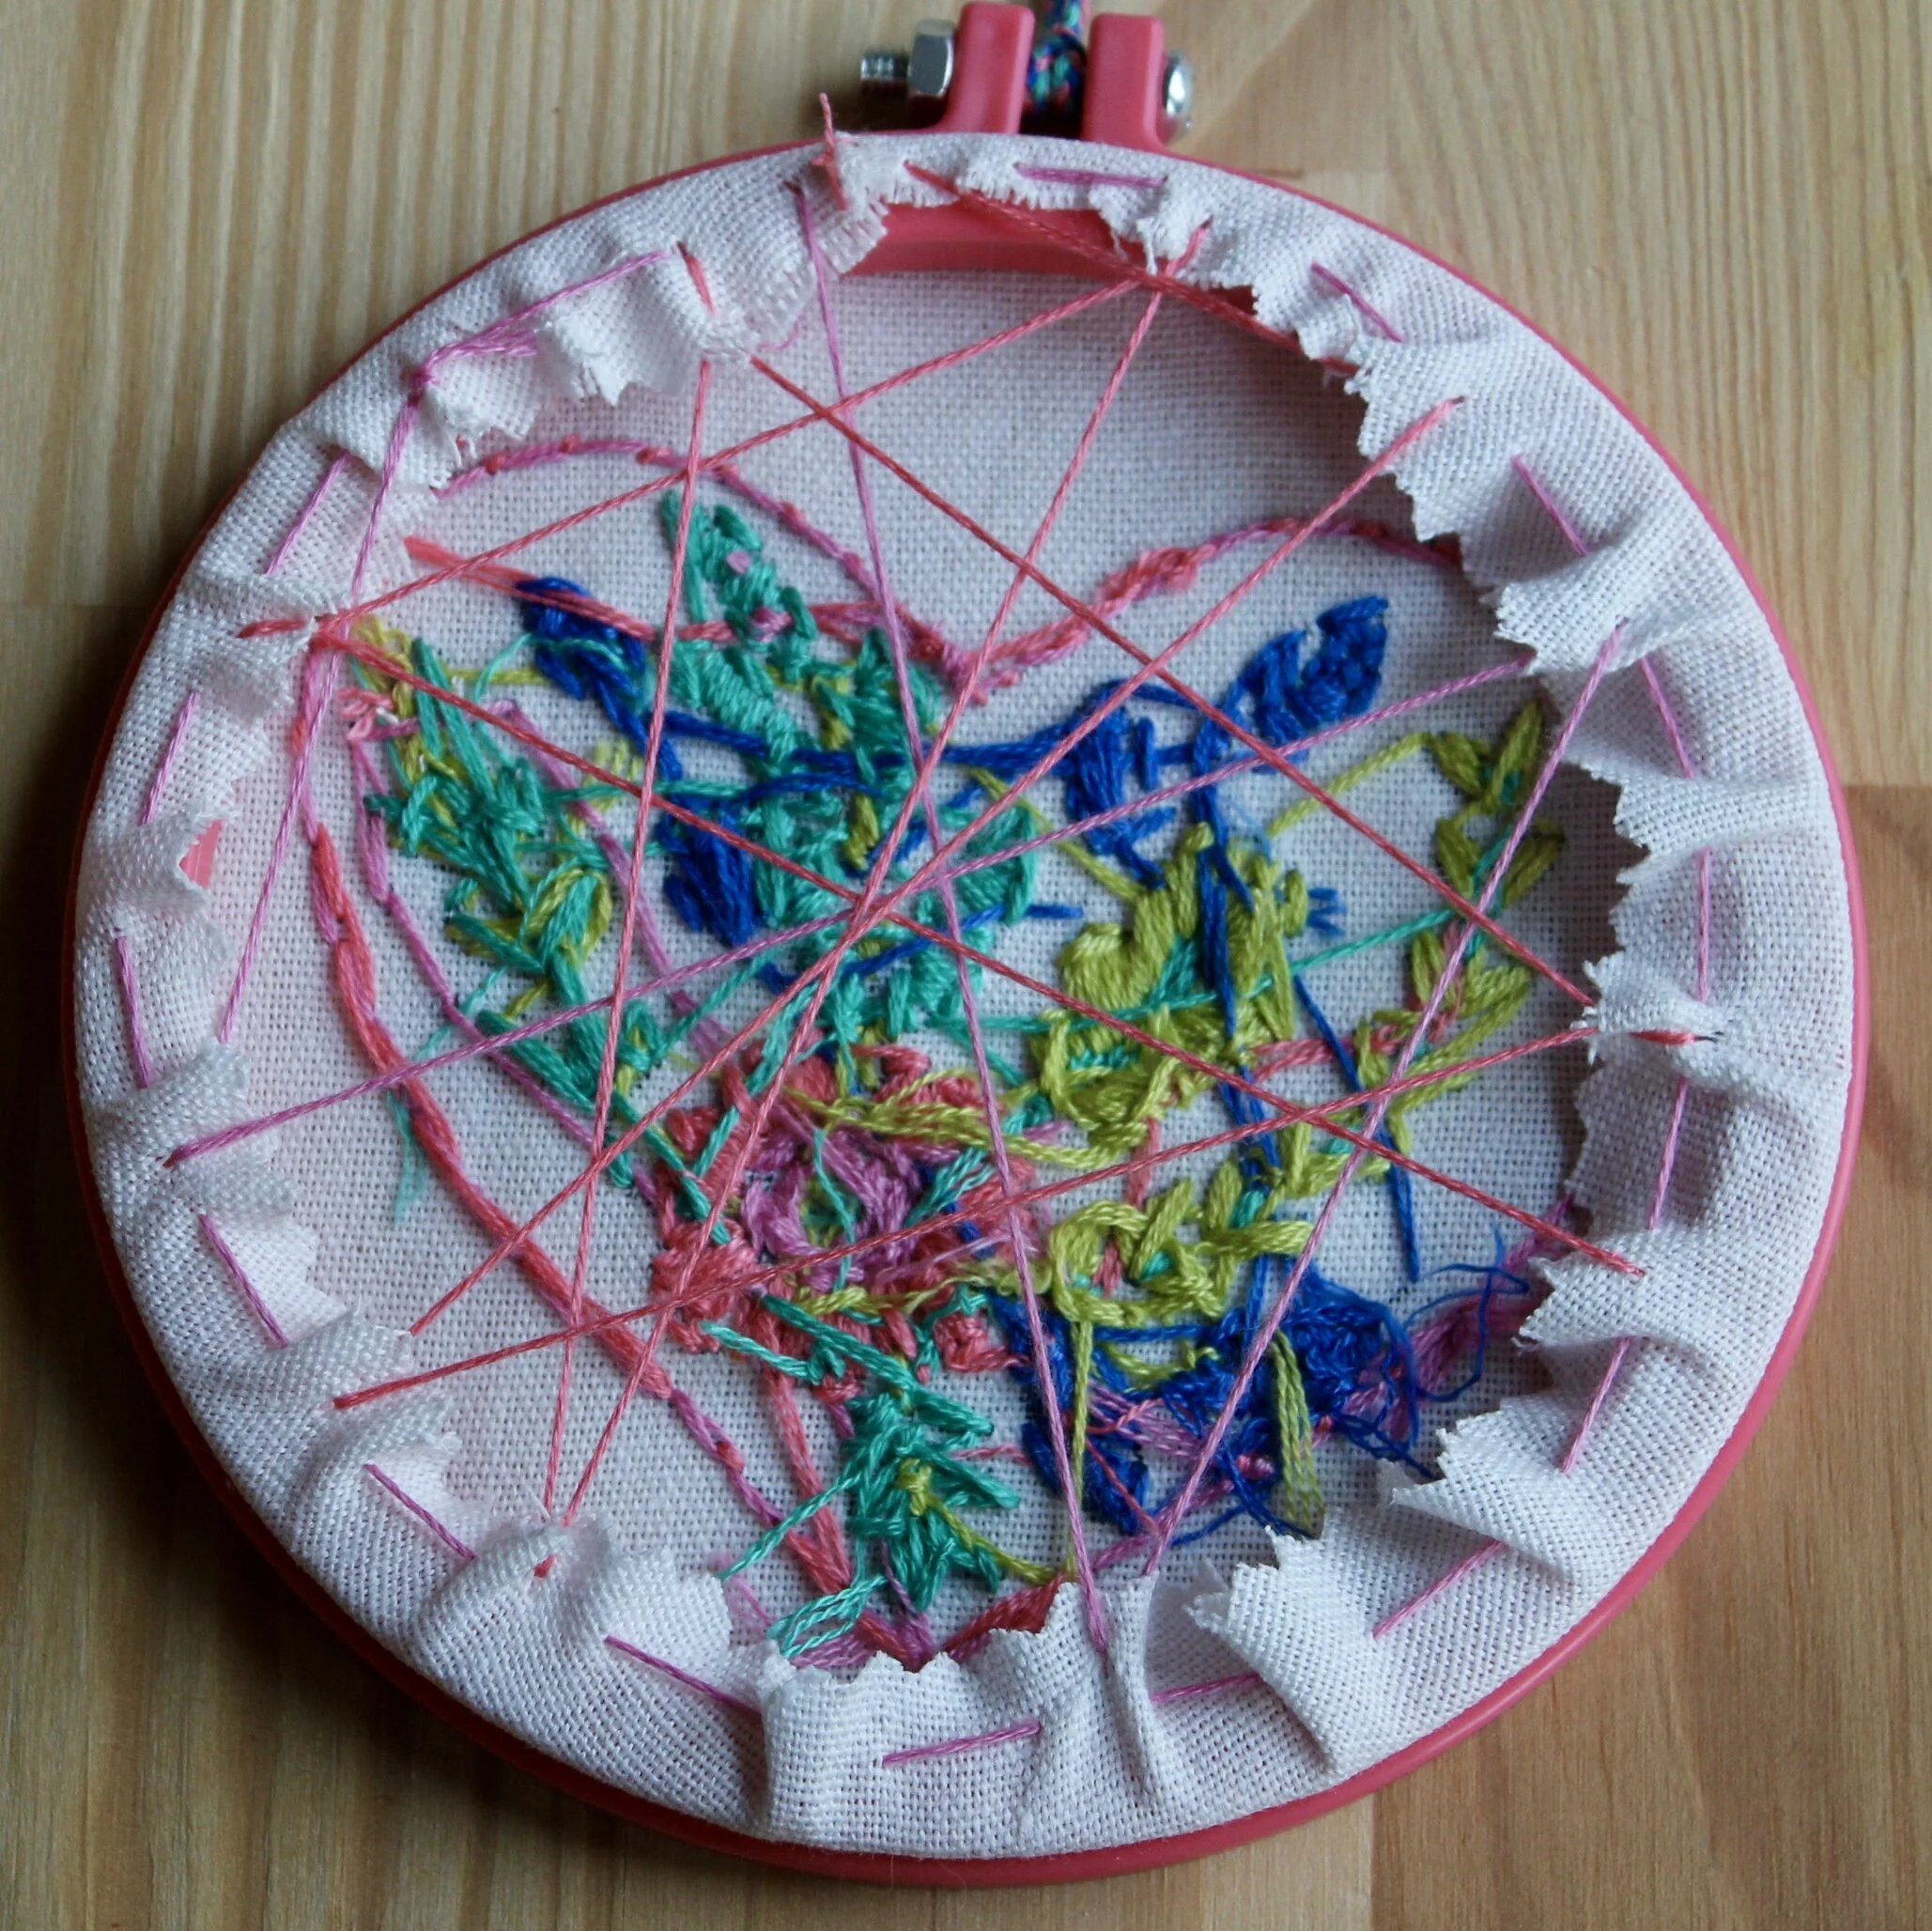
As the canvas is pre-stretched it means that if it becomes loose it can’t easily be re-stretched to make the fabric taut (which is needed for great looking embroidery). Canvas can become loose if it is heavily worked so choosing a design with fewer stitches will help prevent the canvas going loose.
Changing the fabric
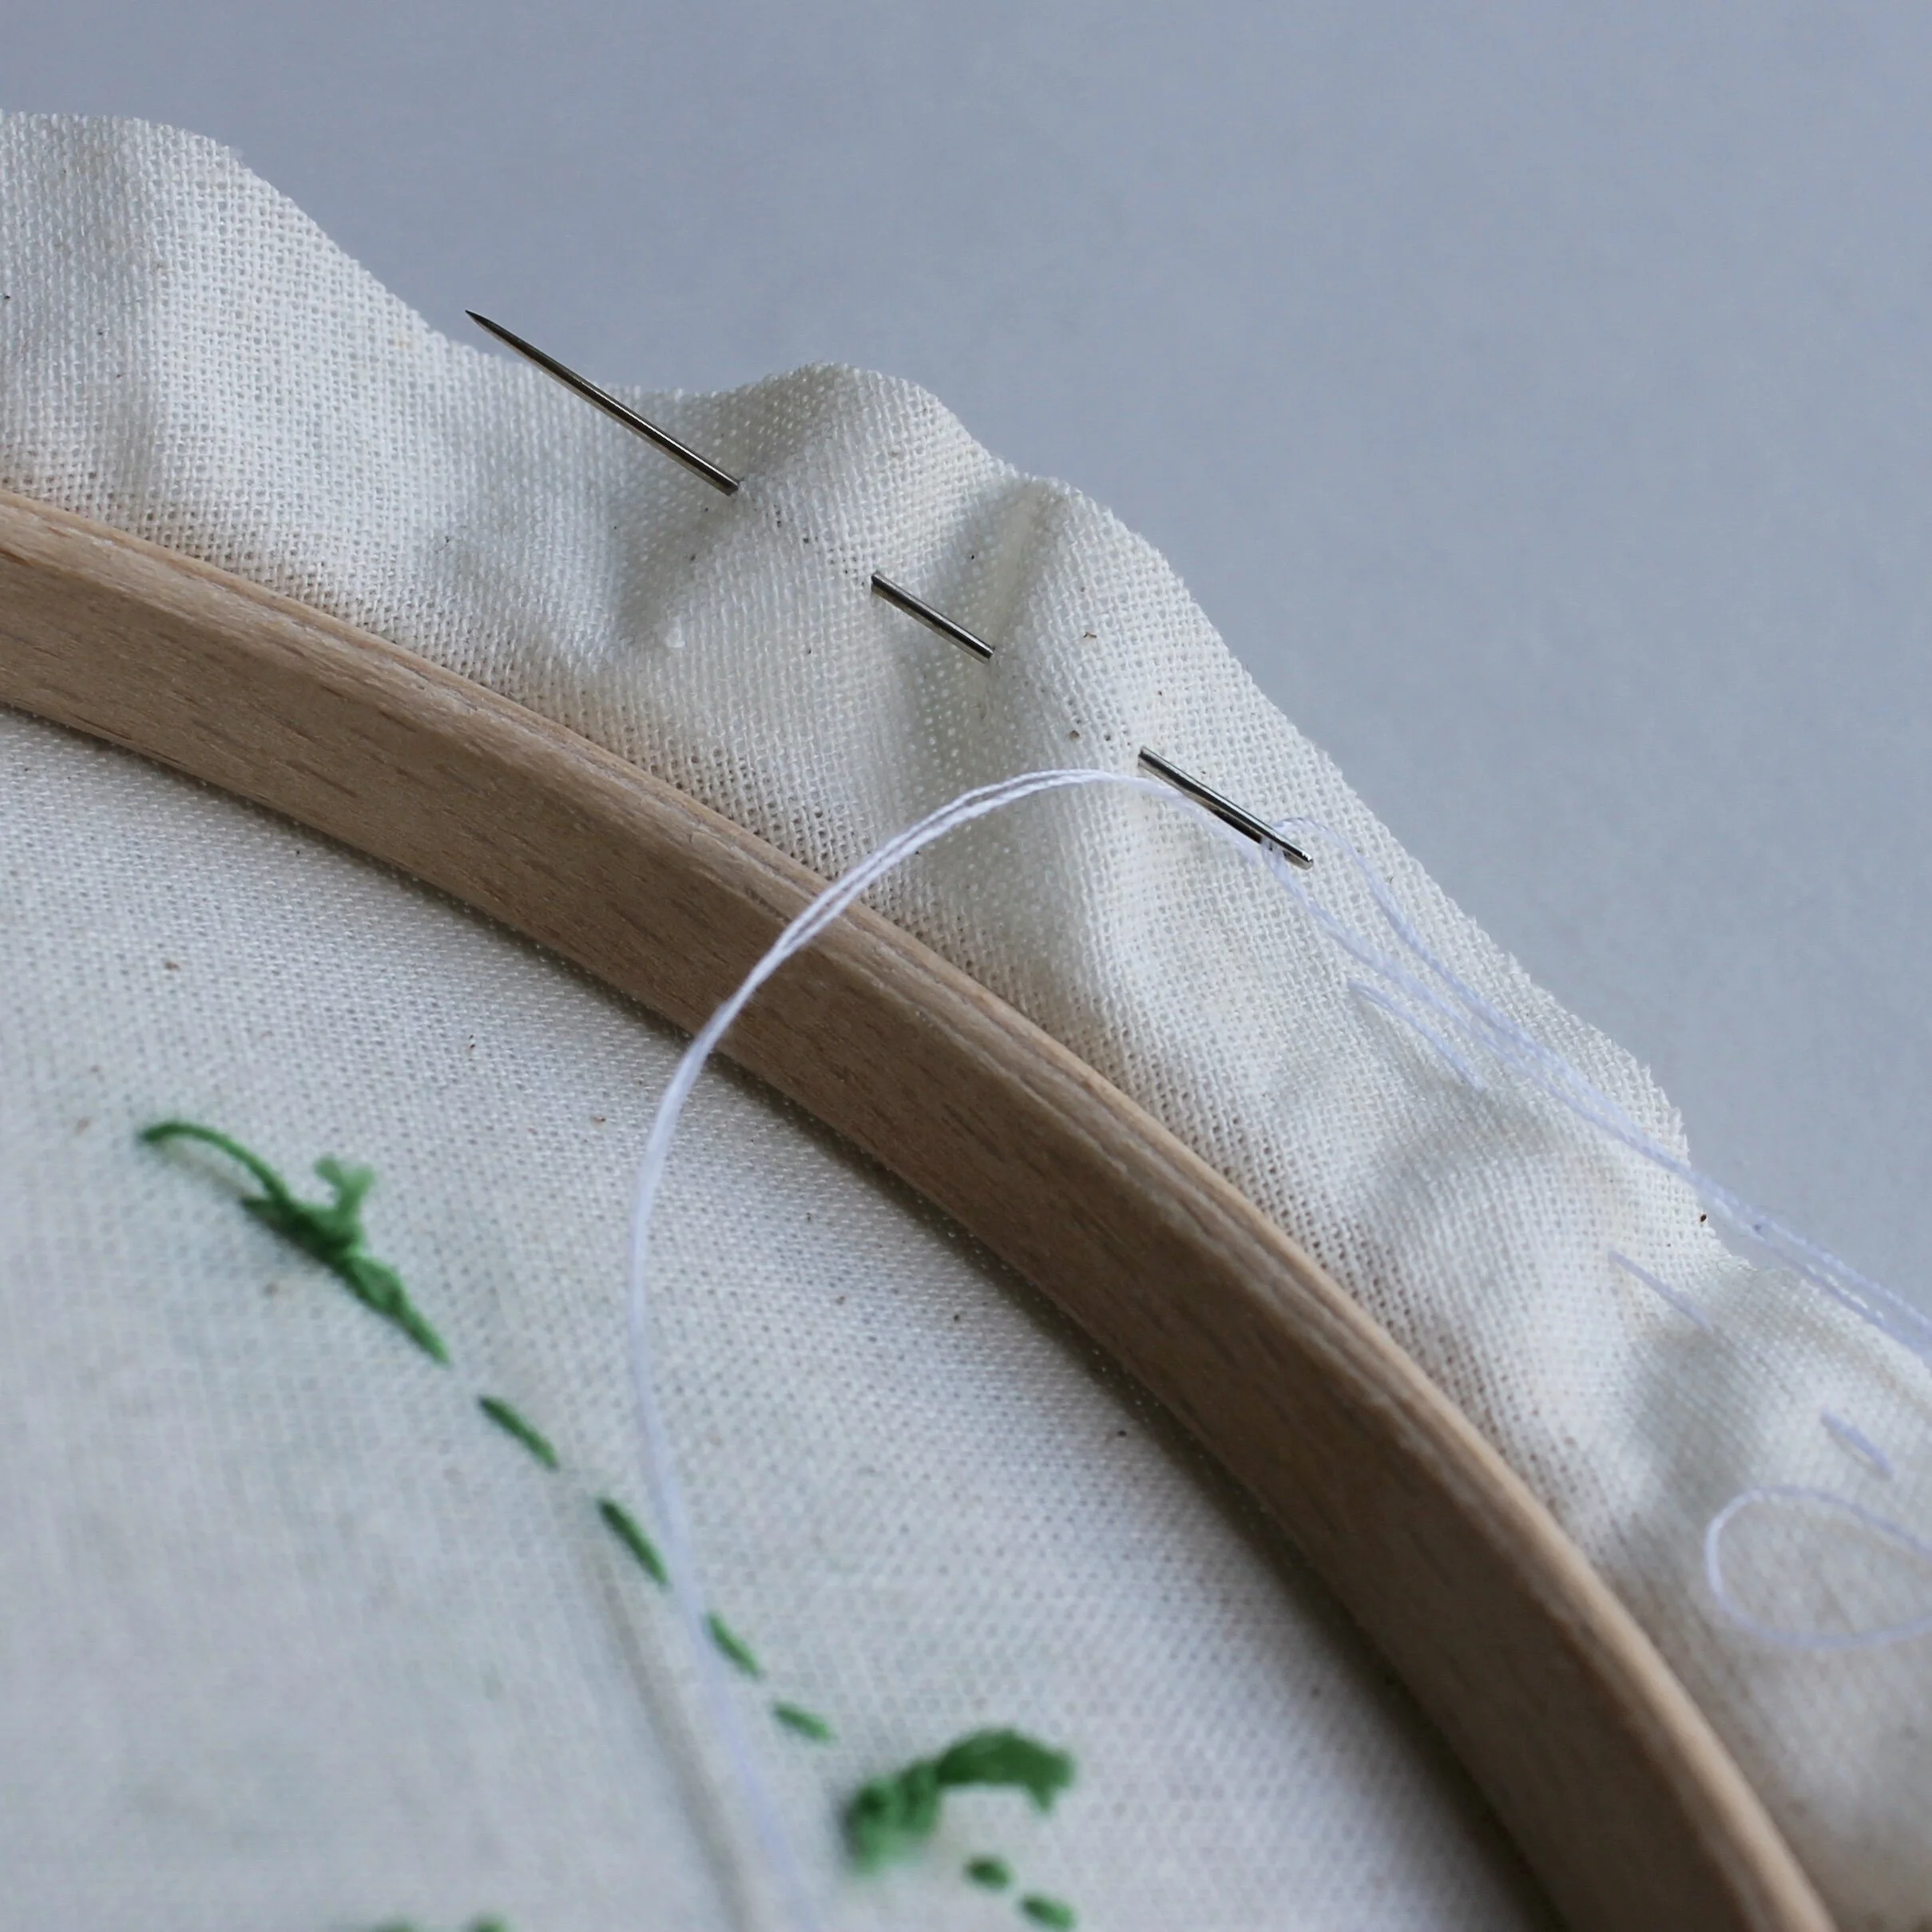
You can take the canvas off and use the frame to stretch other fabrics. I’ve experimented with replacing the canvas with a very open weave linen stretching the new fabric over the frame and holding it in place with drawing pins while I stitched. Once the piece was finished I re-stretched the fabric and attached it securely using a staple gun. I worked in this way as I don’t have a roll frame embroidery stand.
Enjoyed this blog post? I share embroidery tips and a free embroidery pattern in my monthly newsletter. Sign up here to receive the newsletter on the 1st of each the month.