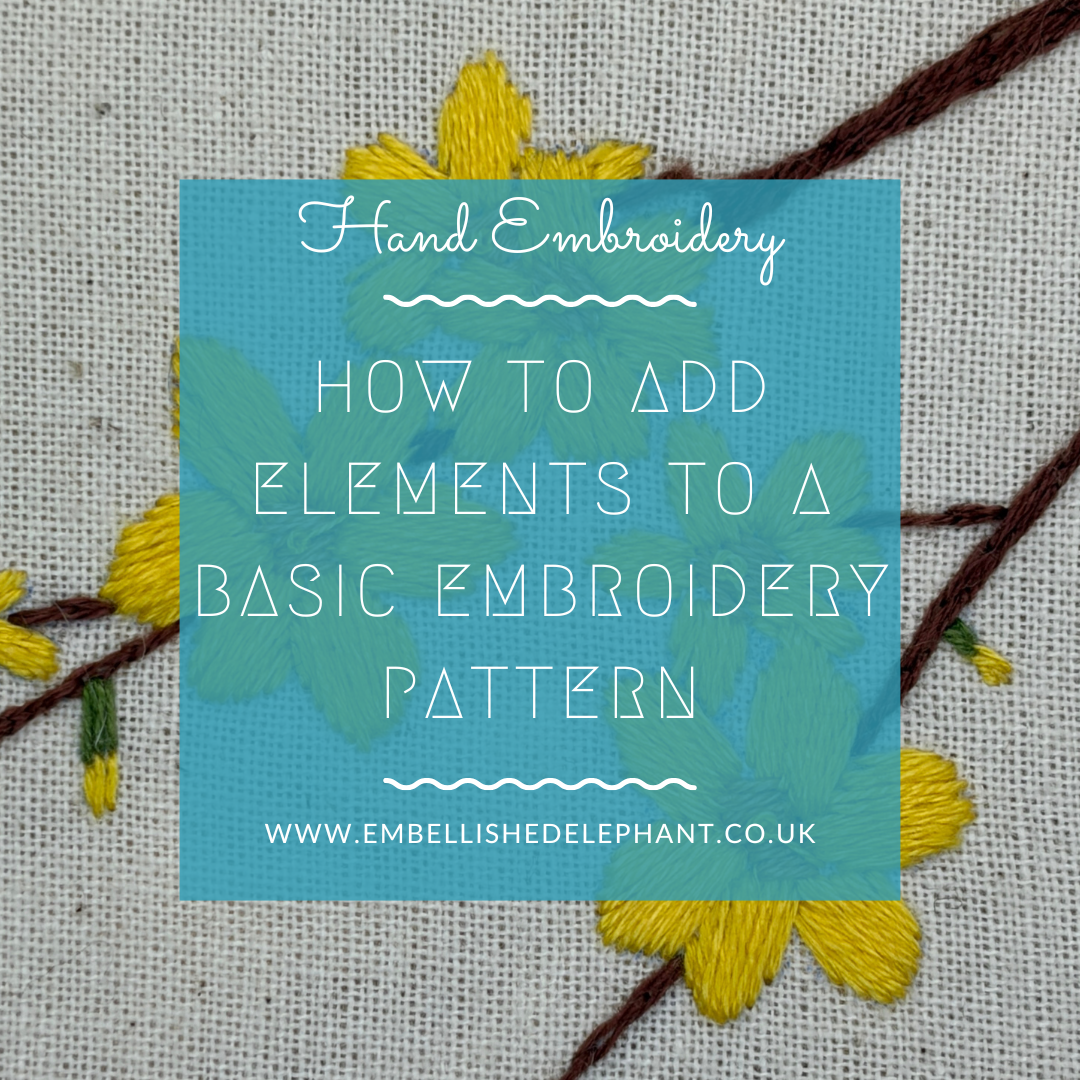
When I design patterns I tend to include only one or two main elements in the pattern. But in reality plants or flowers don't grow in isolation, they nestle next to each other.
In this blog post I’ll outline how you can take one of my embroidery patterns and repeat some of the elements to fill more of the embroidery hoop and make your own unique embroidery.
Start by downloading the pattern you want to use. I recommend working with the digital versions of patterns to allow you to re-size the different elements.
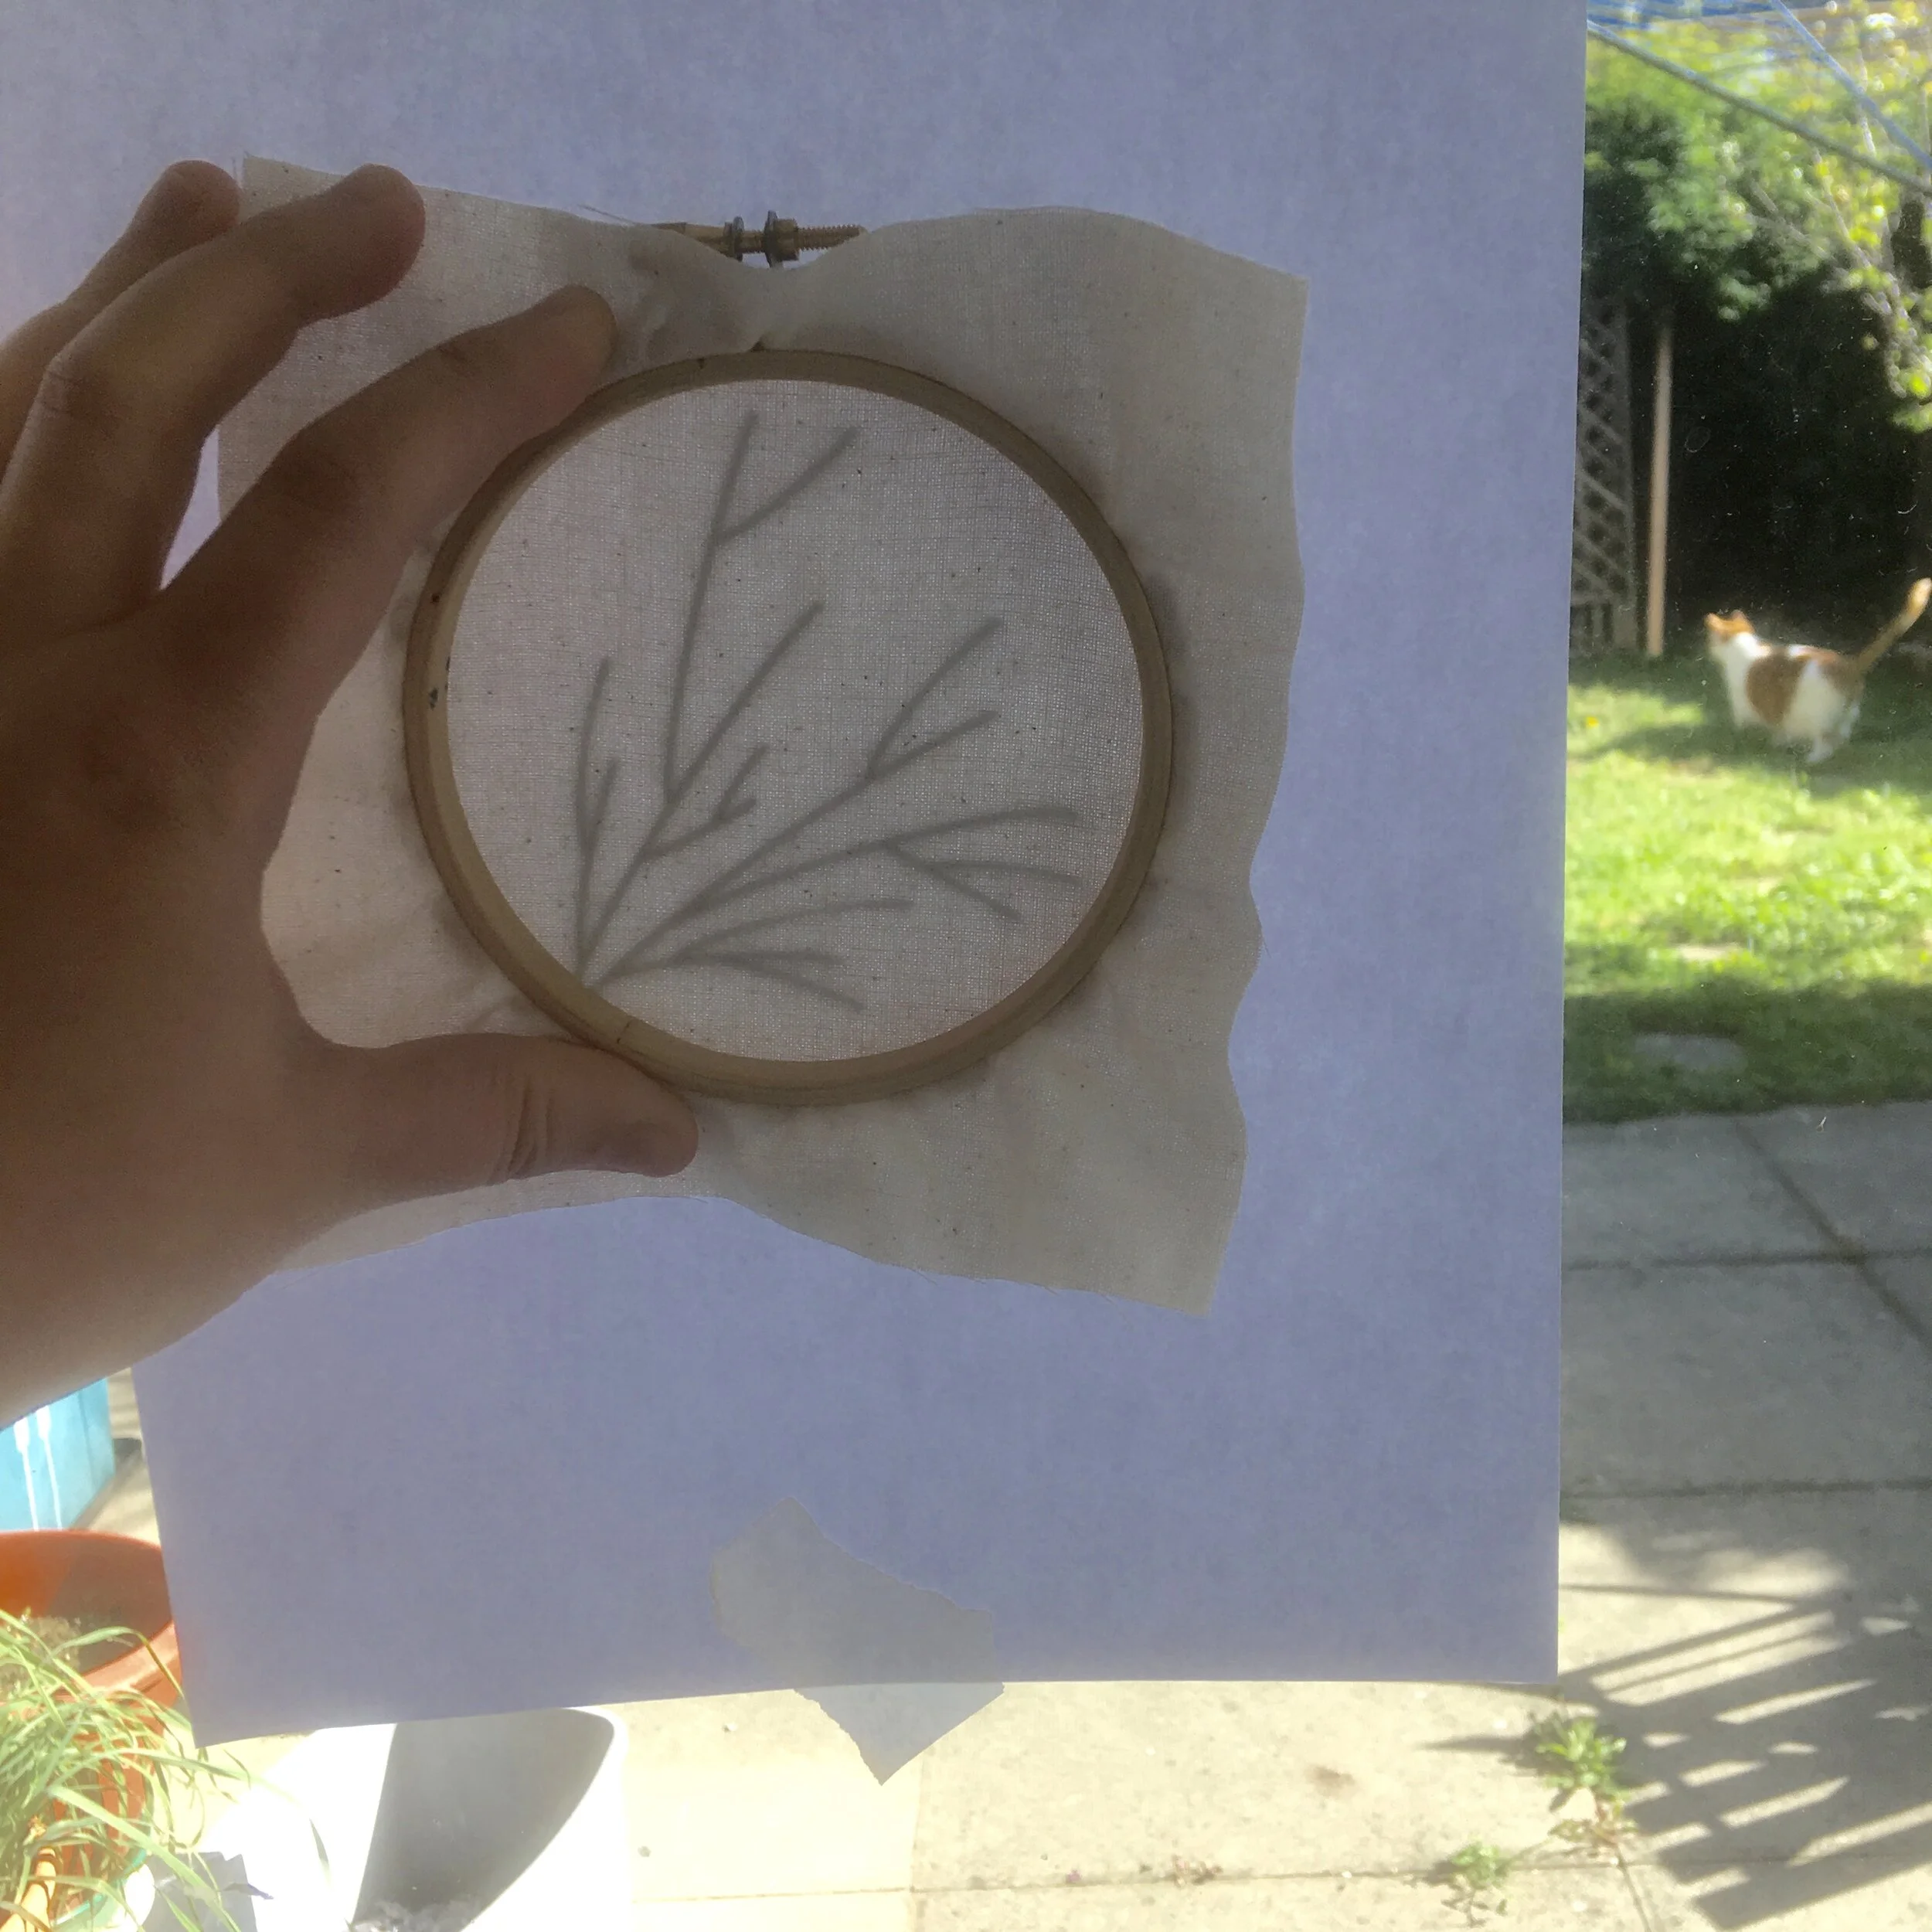
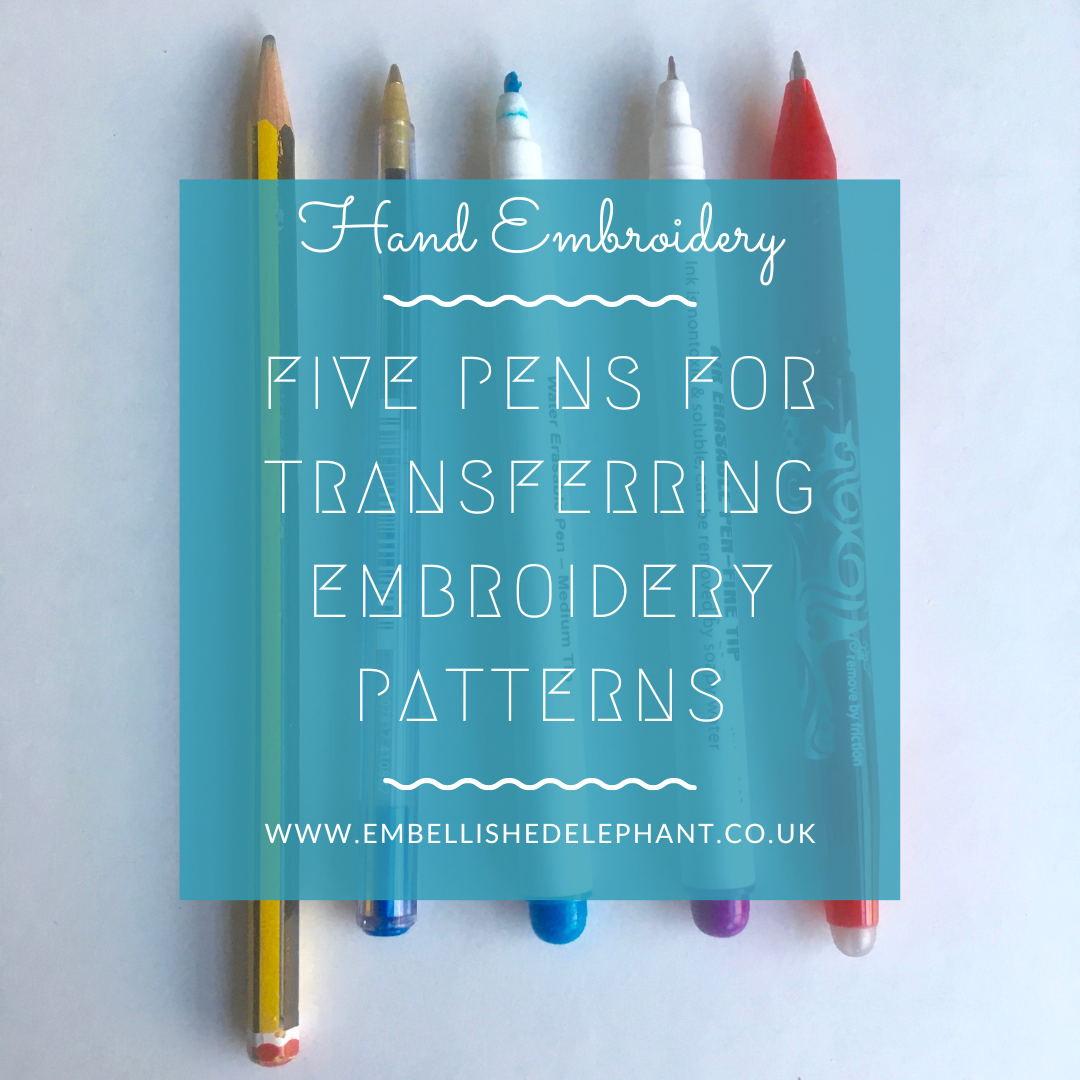
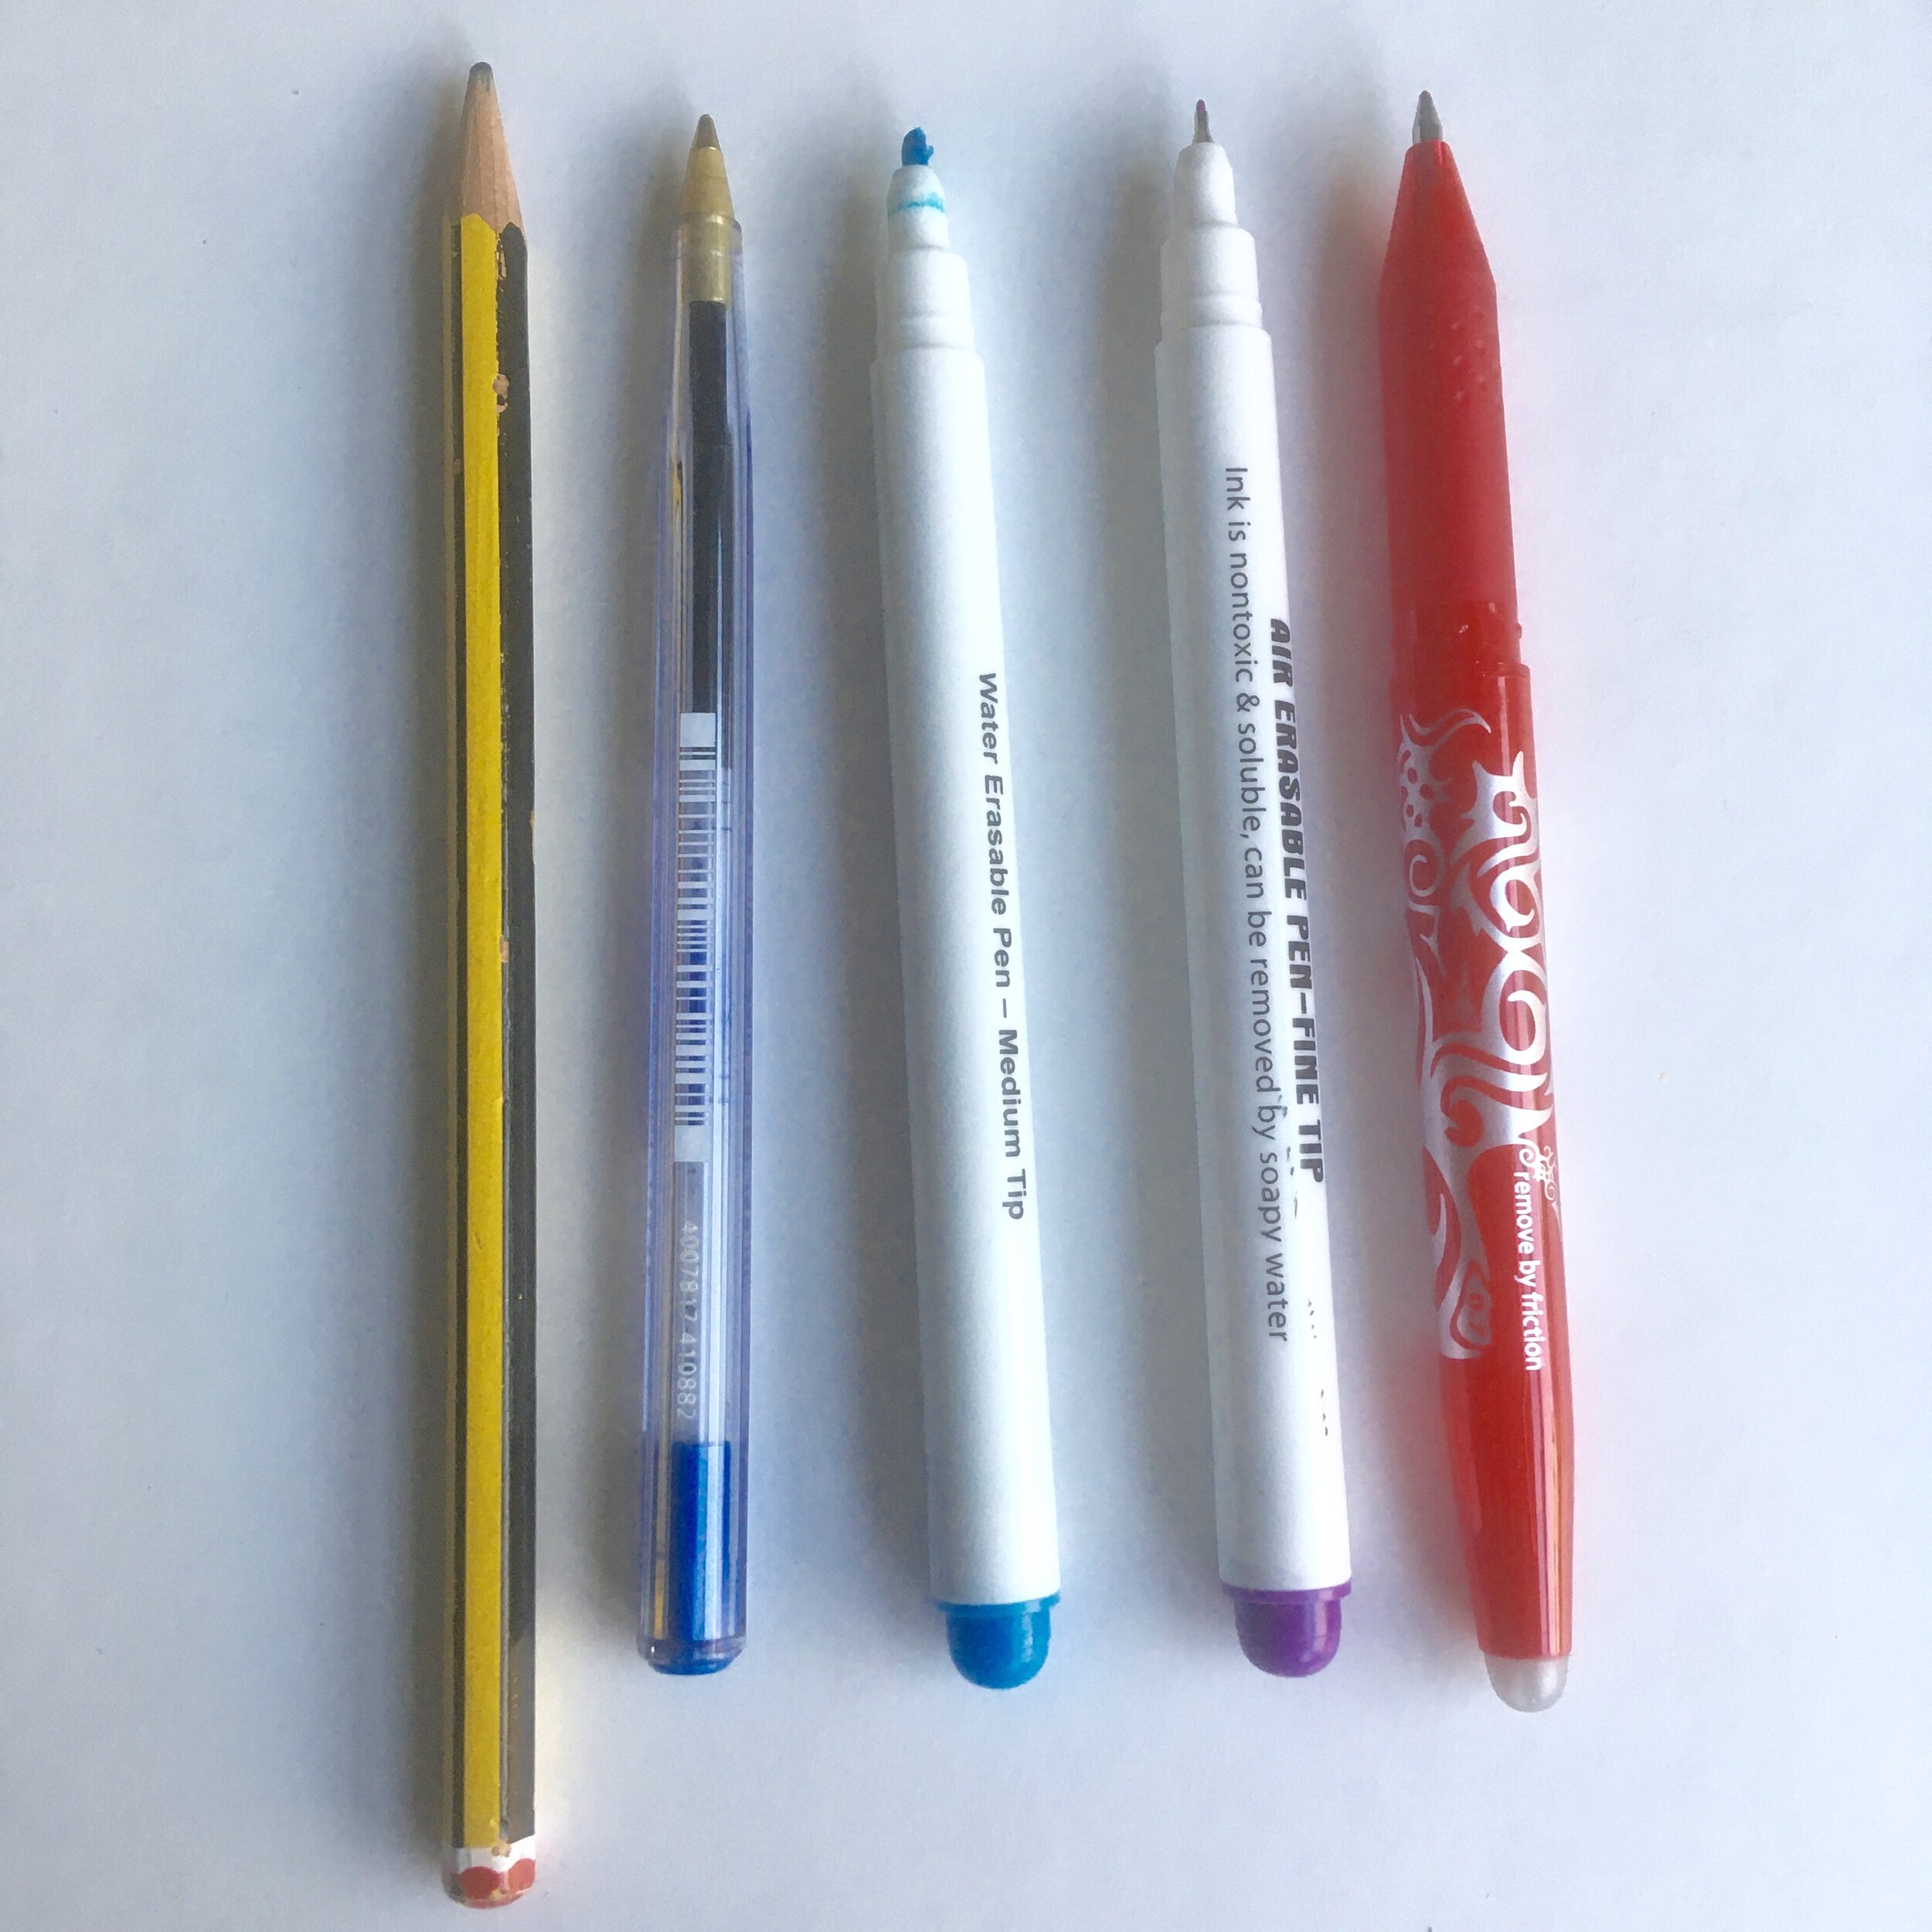
If you’ve not used or transferred from a digital pattern before then this blog post guides you through how do to this
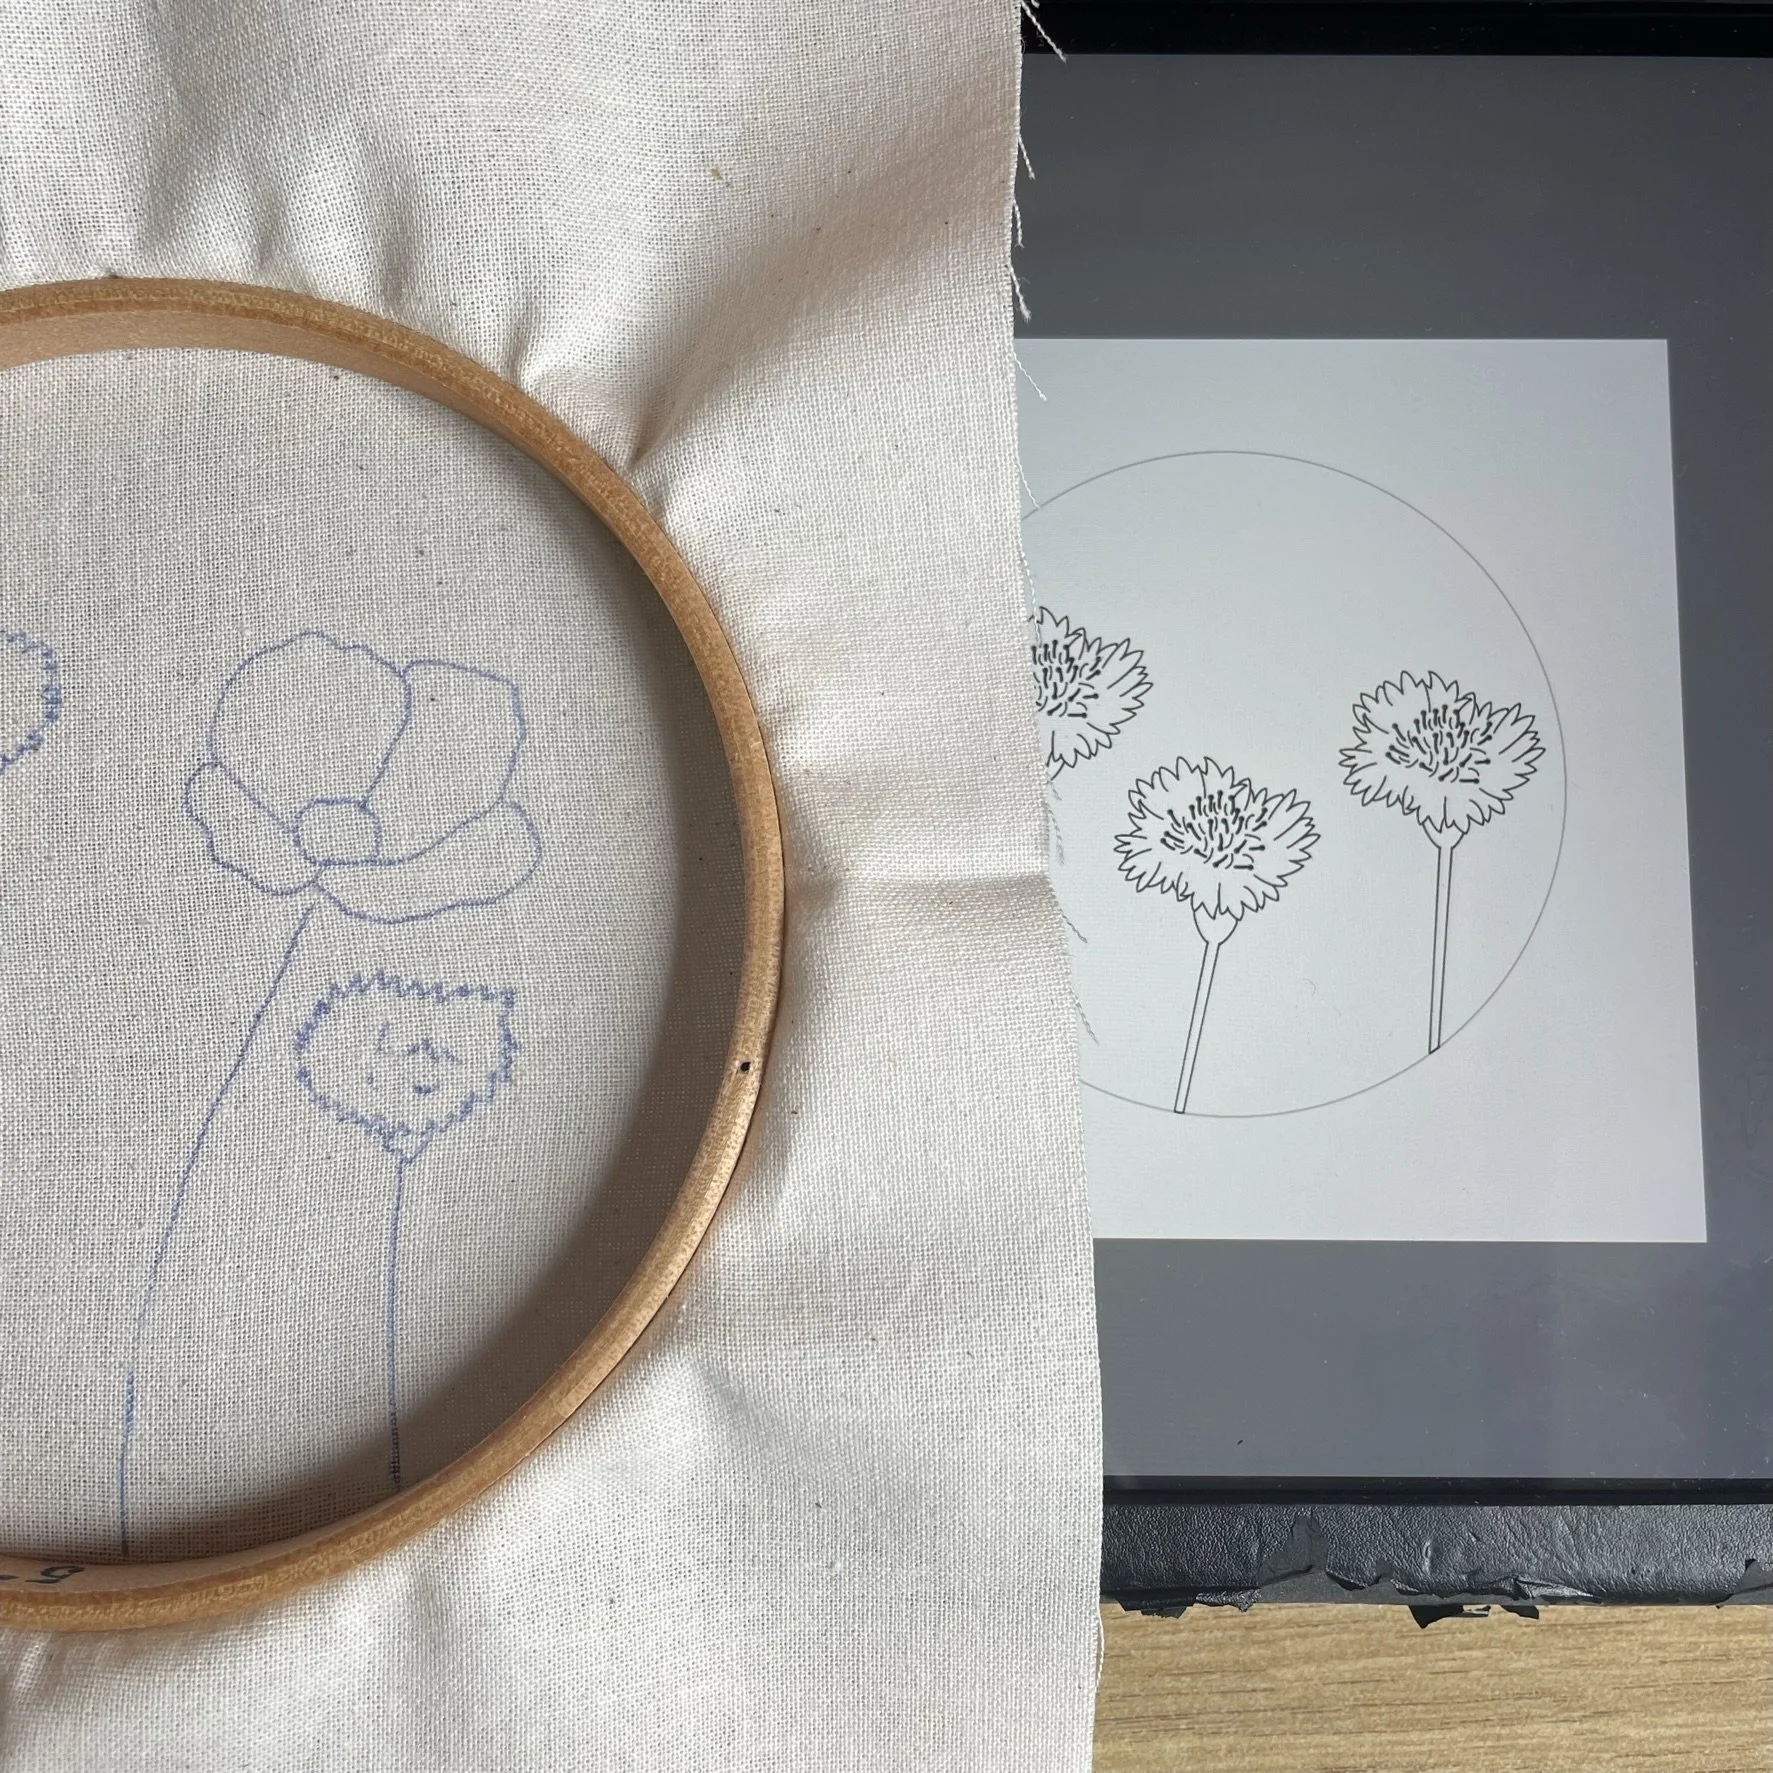
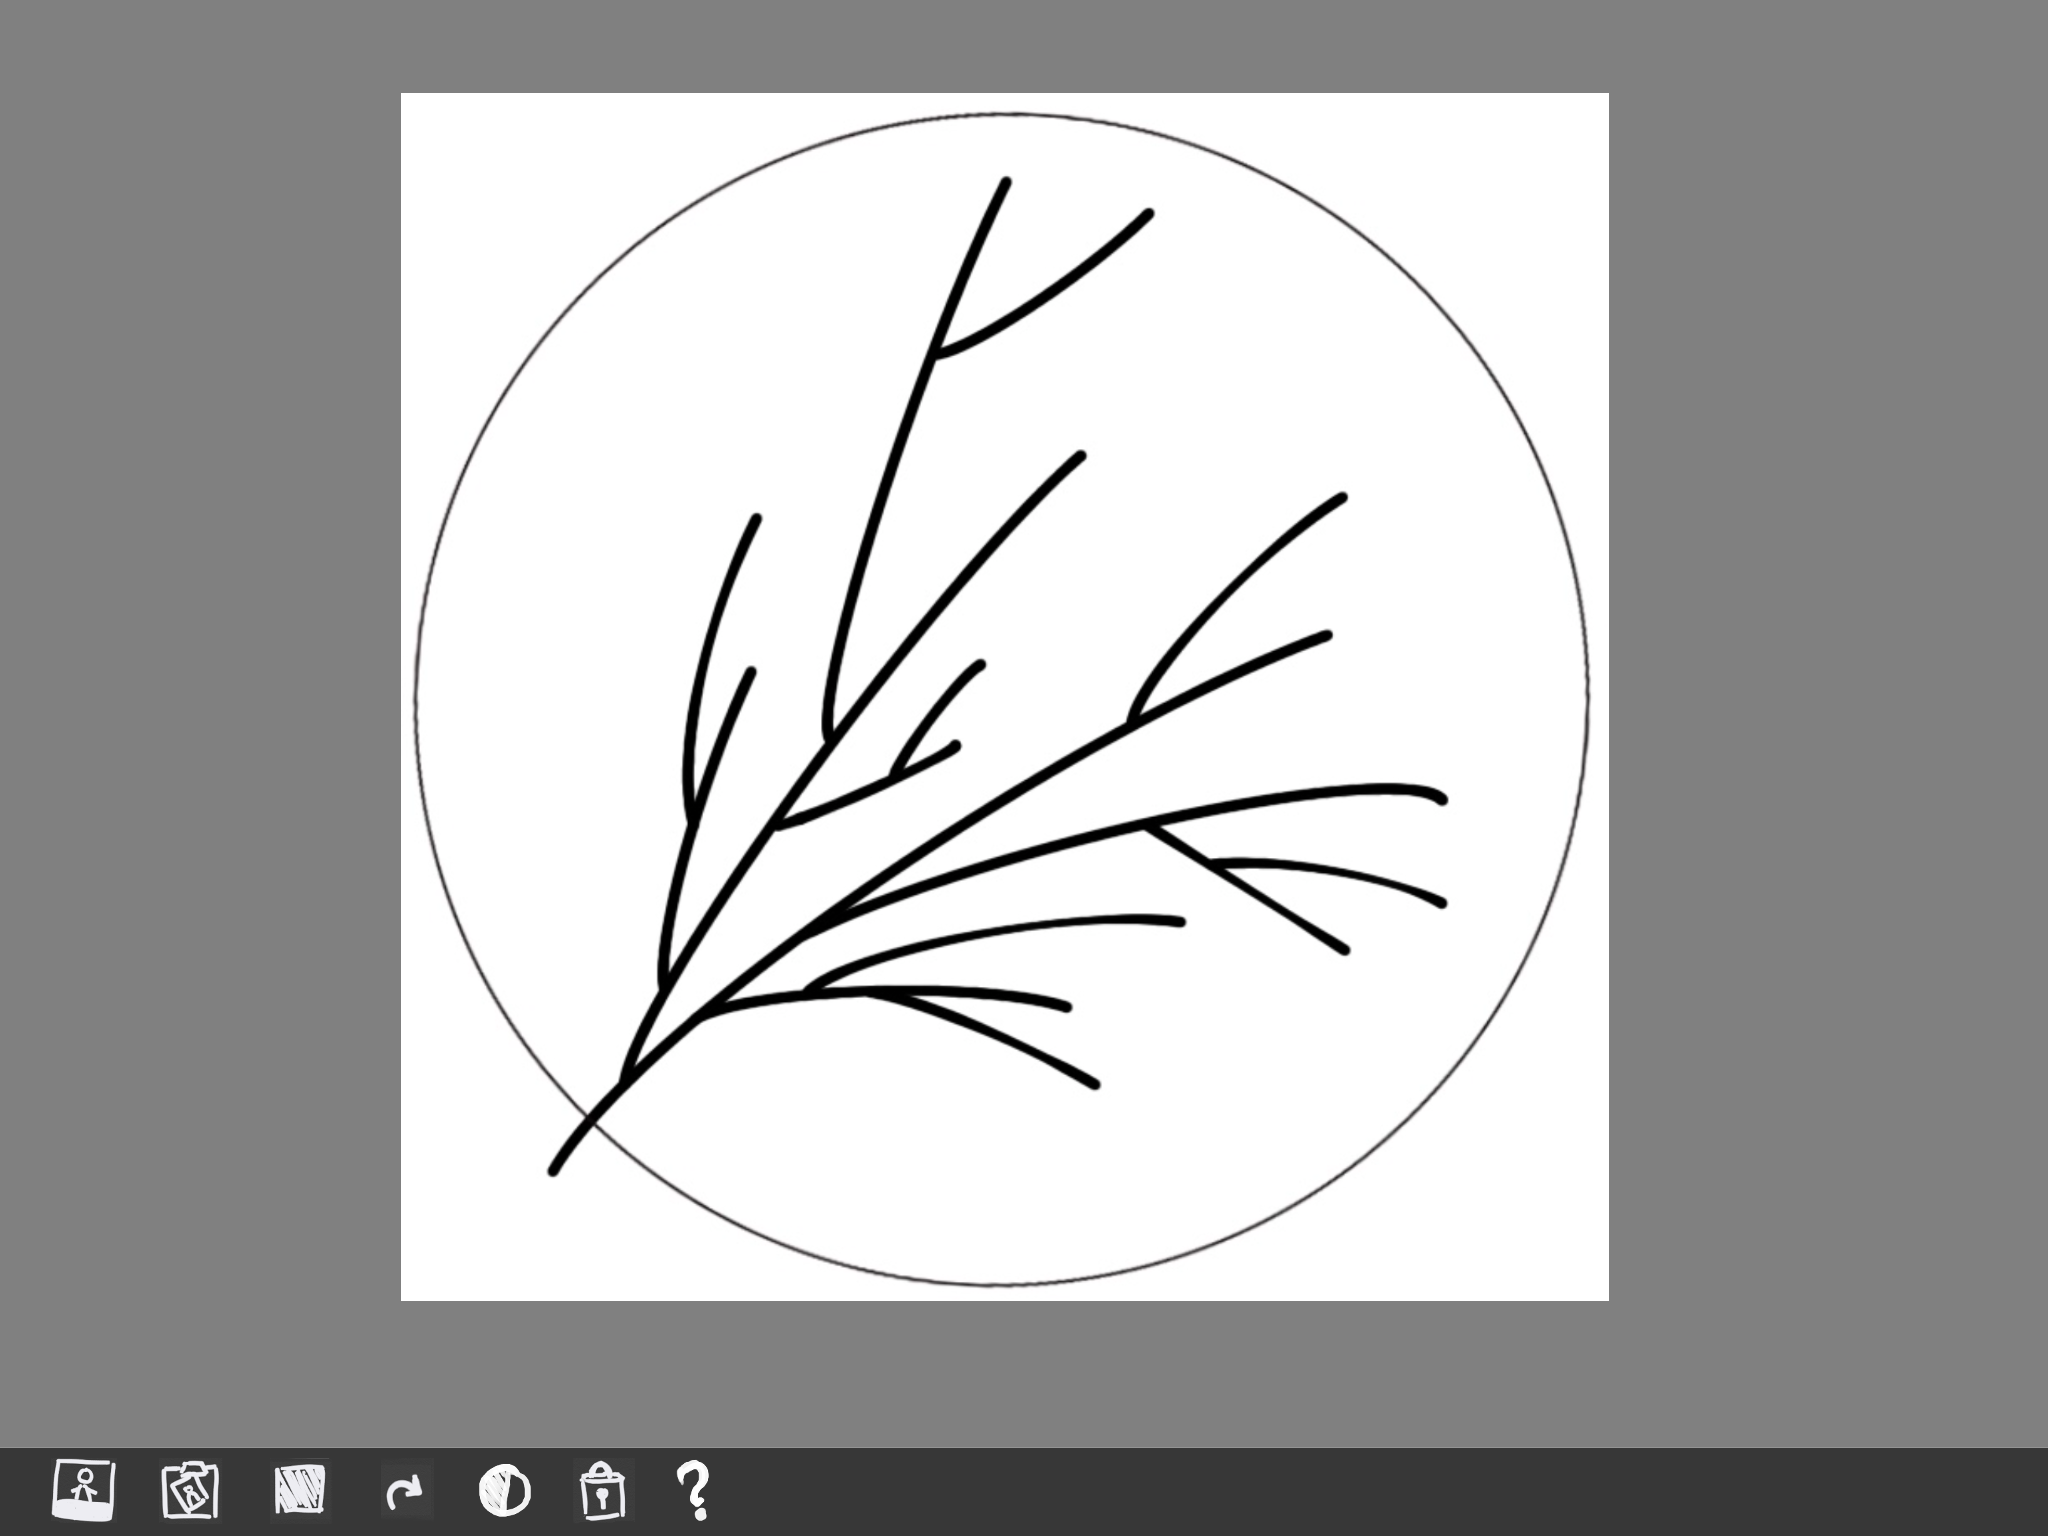
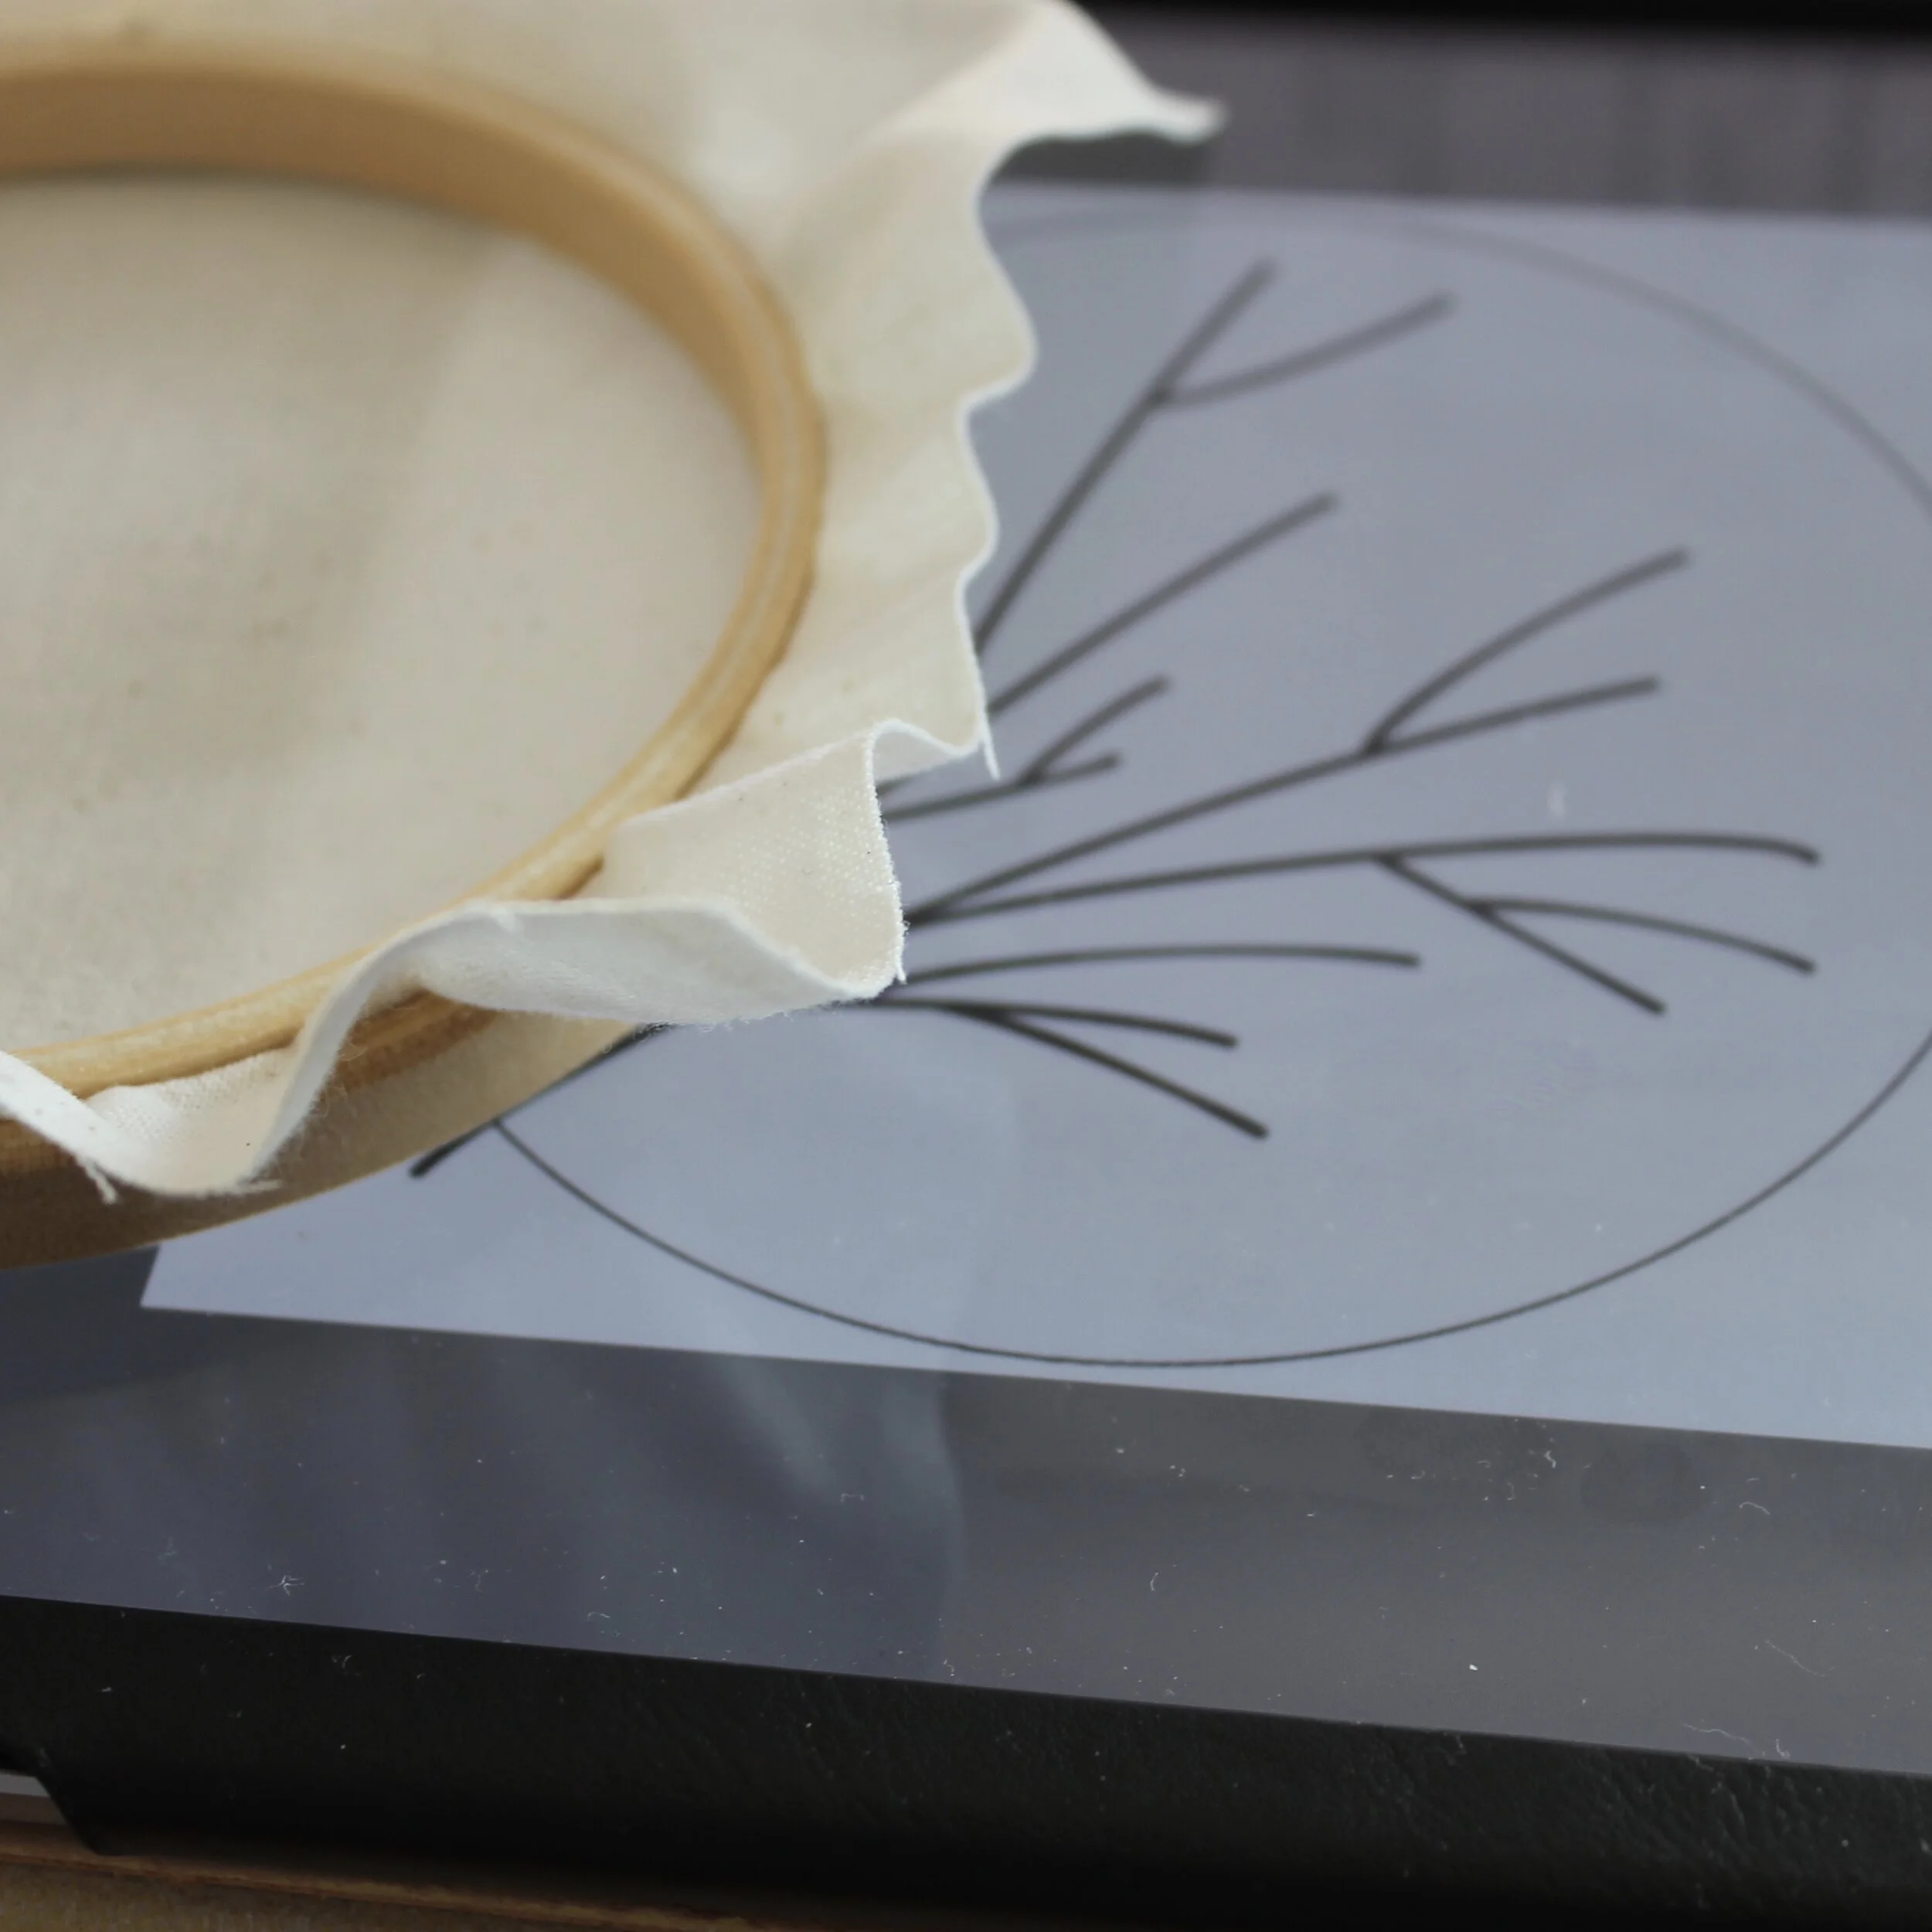
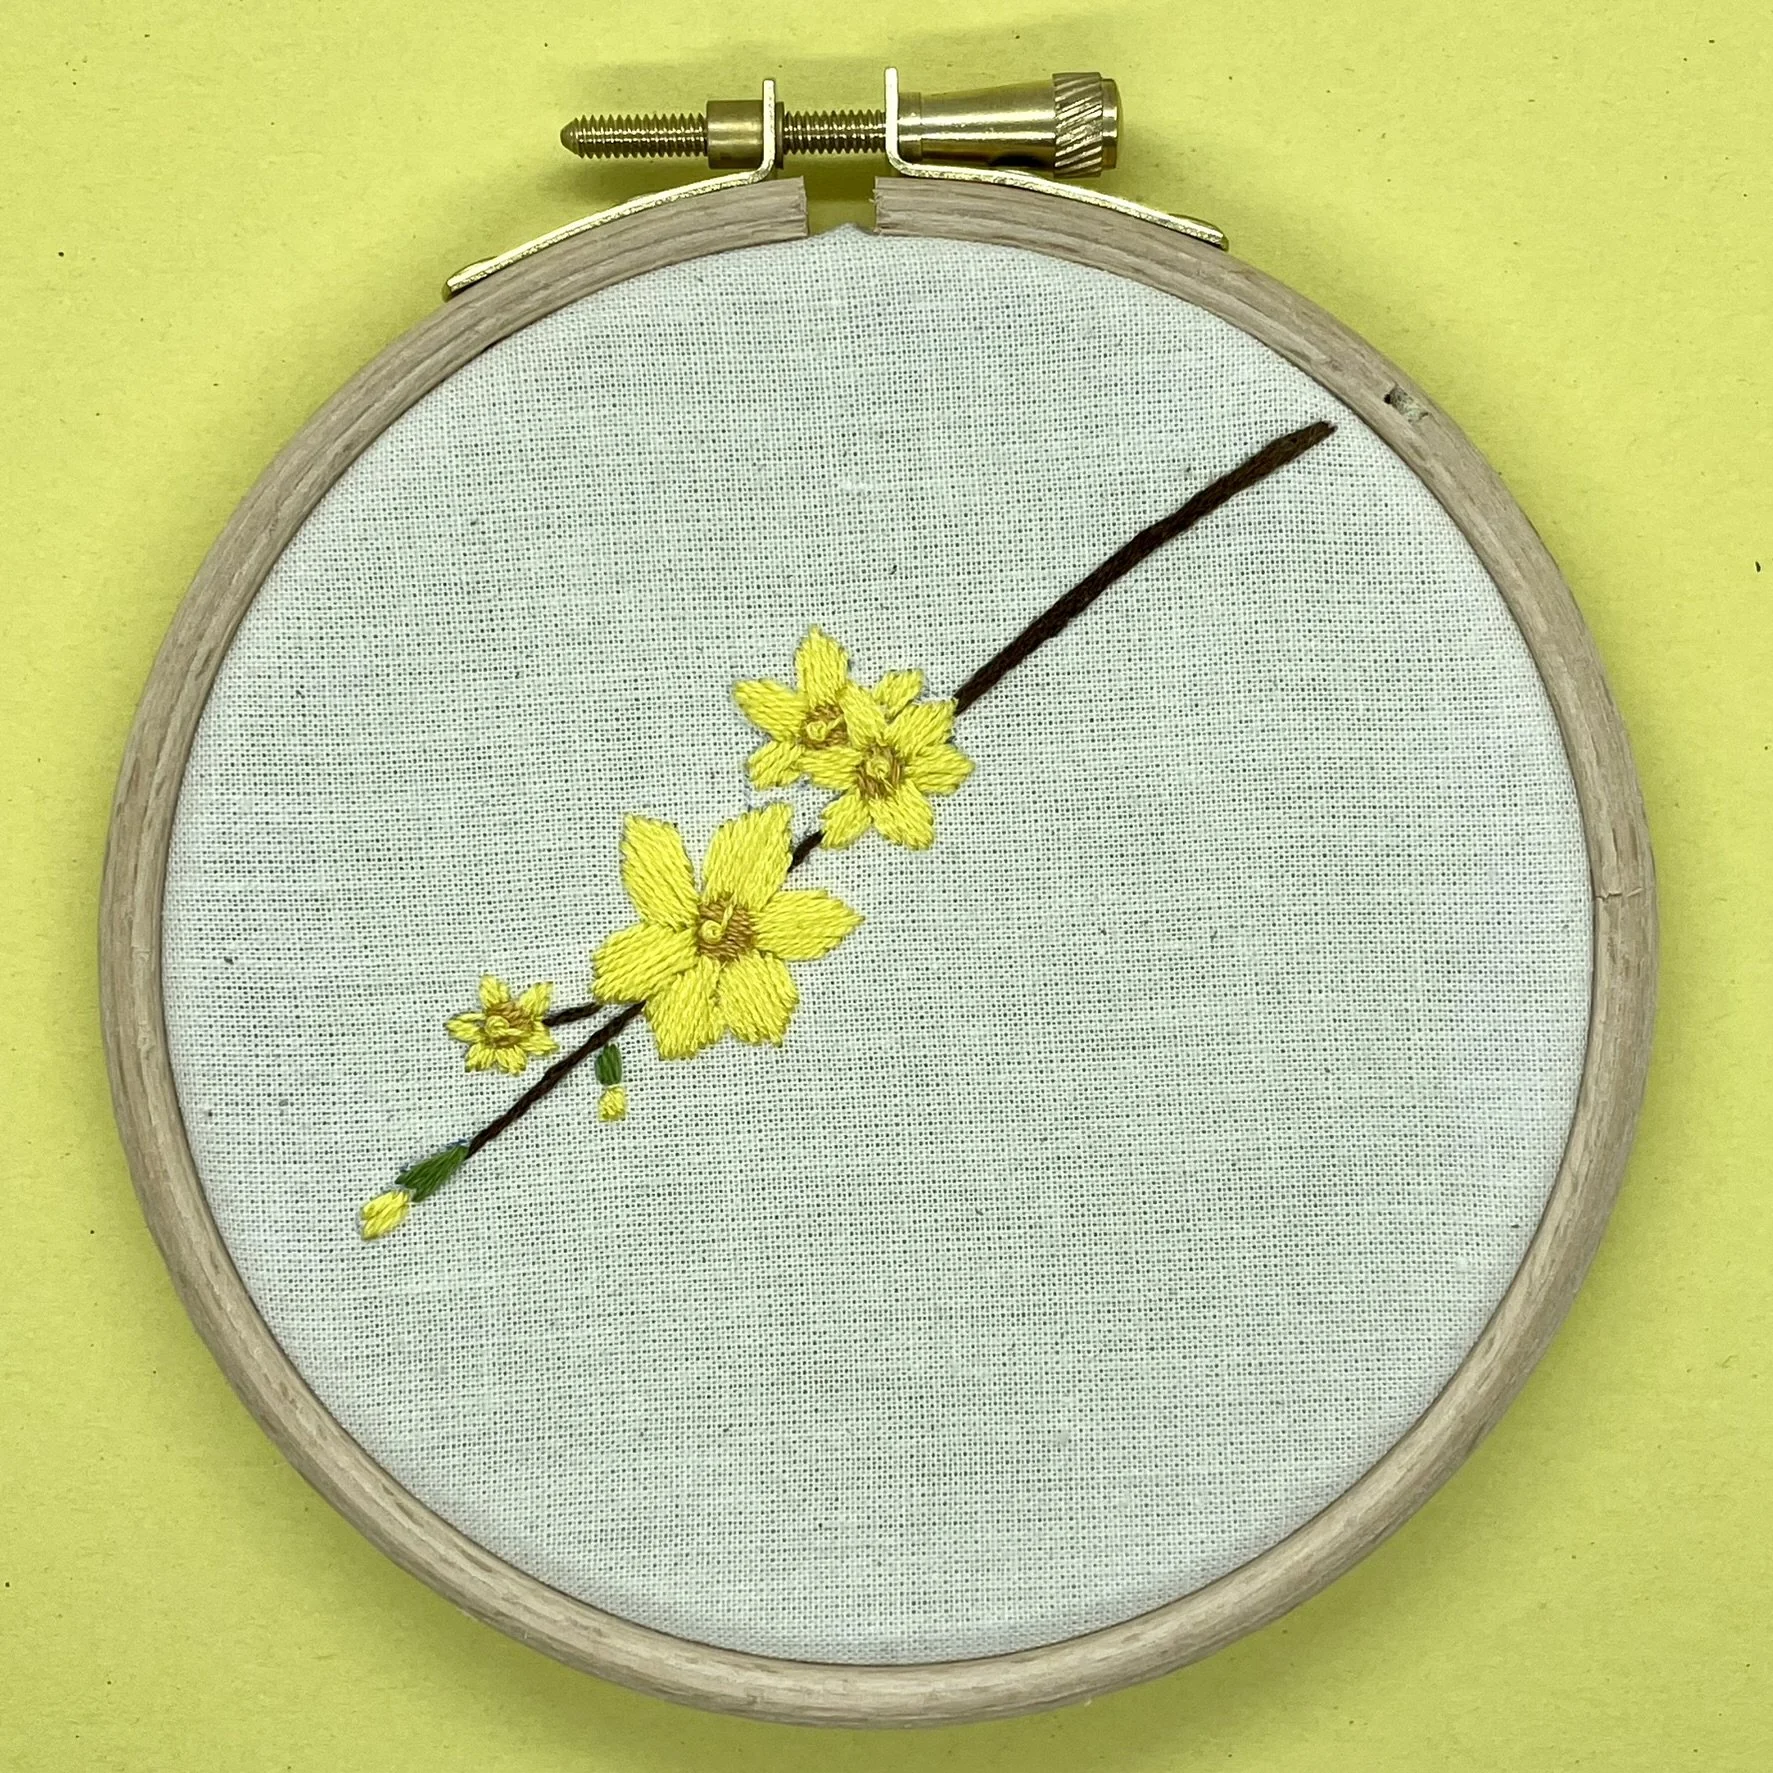
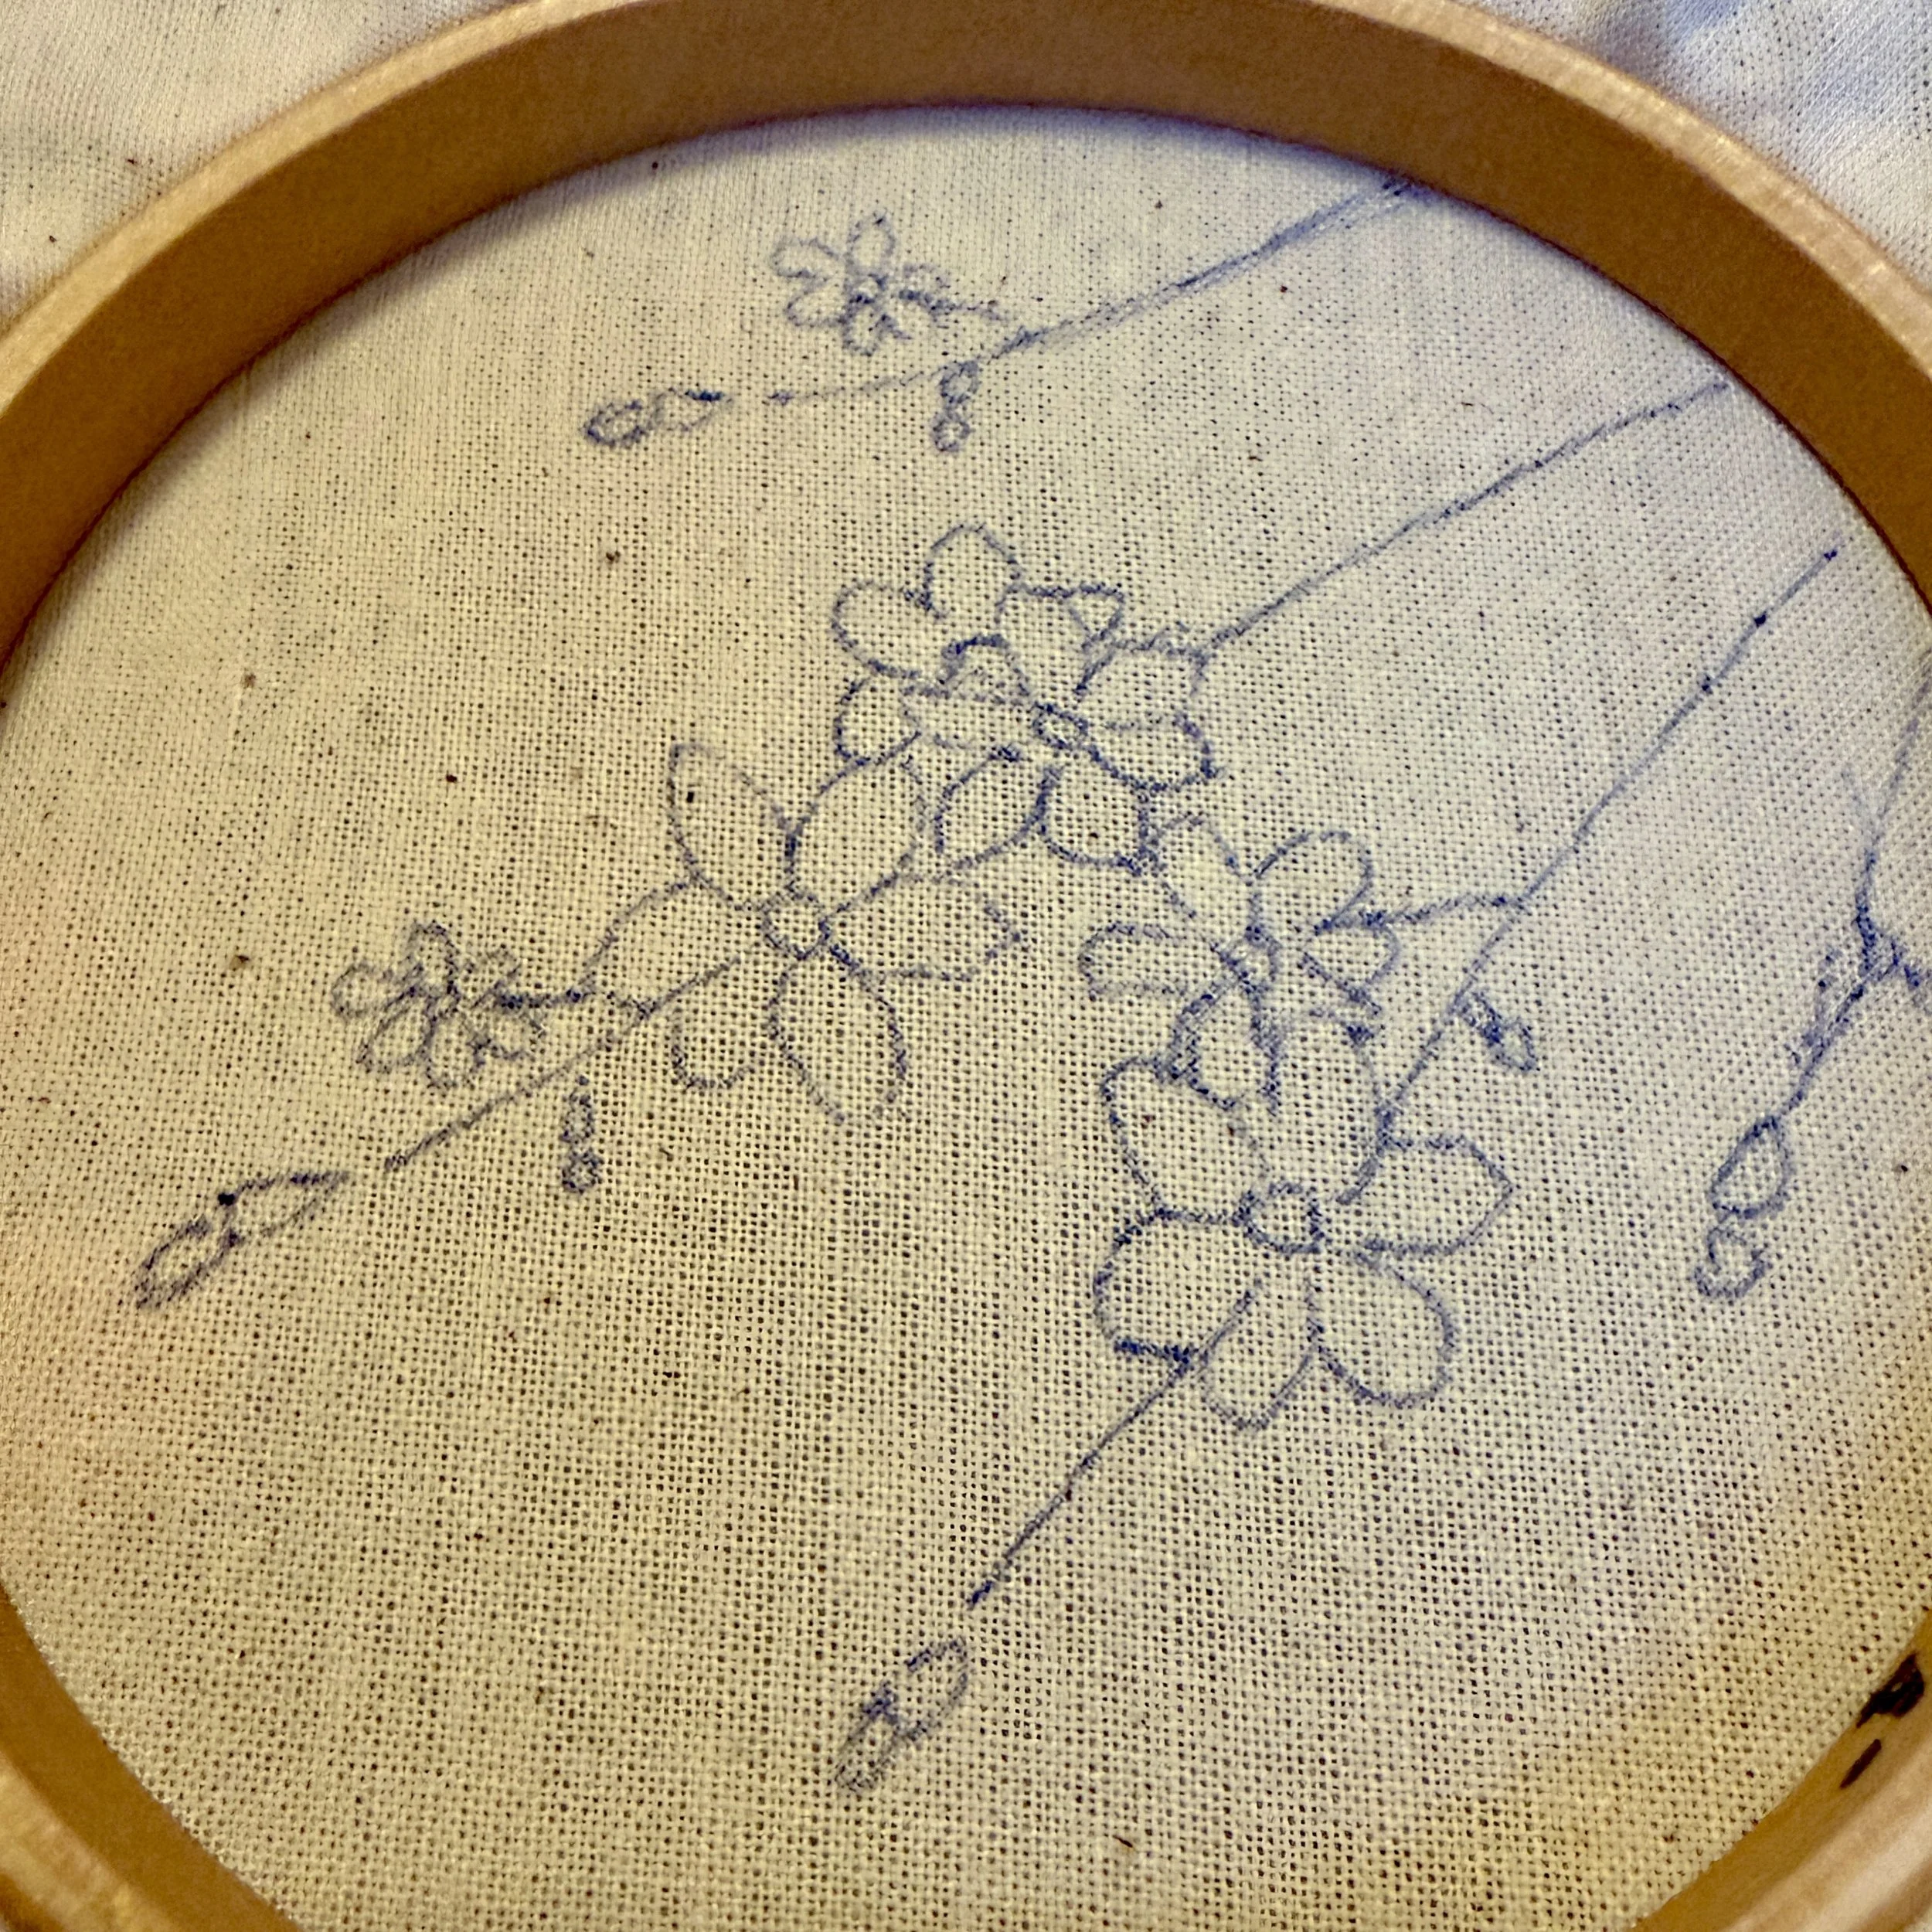
Pick the first element to trace. In the Winter Jasmine example shown below I traced the basic pattern onto the fabric first. You could also pick the largest flower or the one you want to feature.
For the next layers of the elements, look at the basic patterns and see which parts of it you can use in full or by tweaking slightly.
I traced most of the original pattern for the next branch down but moved the pattern slightly so that a smaller flower overlapped the largest flower making it a bit different from the original design but not having to draw anything that wasn’t on the original pattern. I also omitted a couple of parts of the original design on this branch so it wasn’t a complete copy.
For the top and bottom elements on the fuller design, I traced parts of the end of the original pattern.
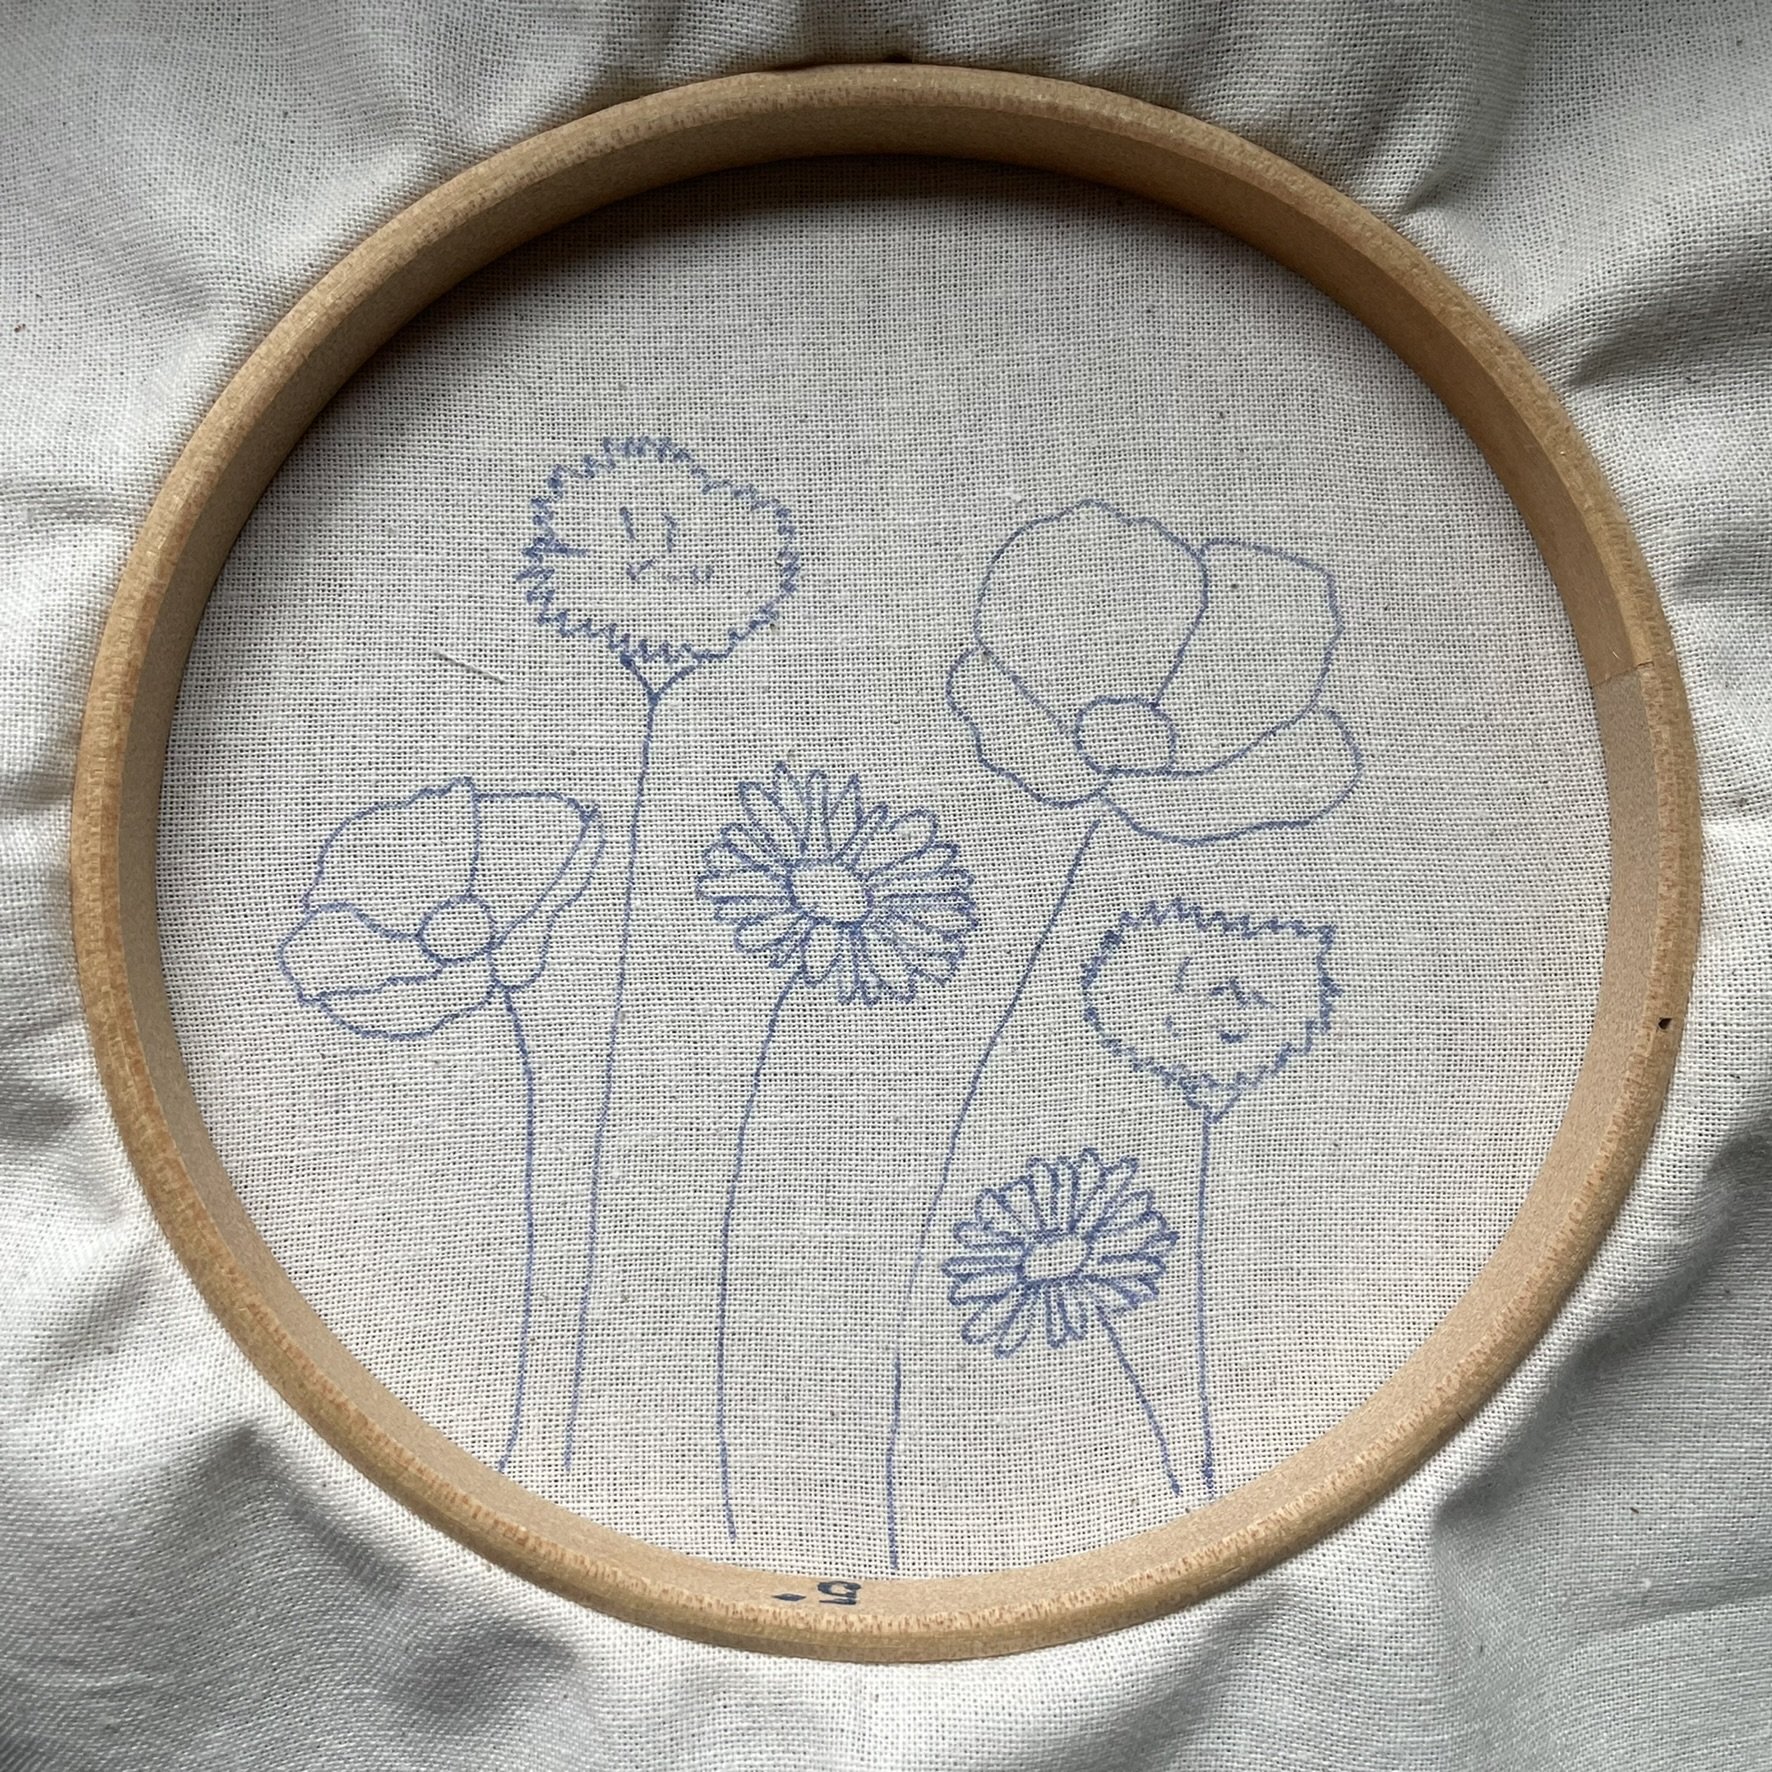
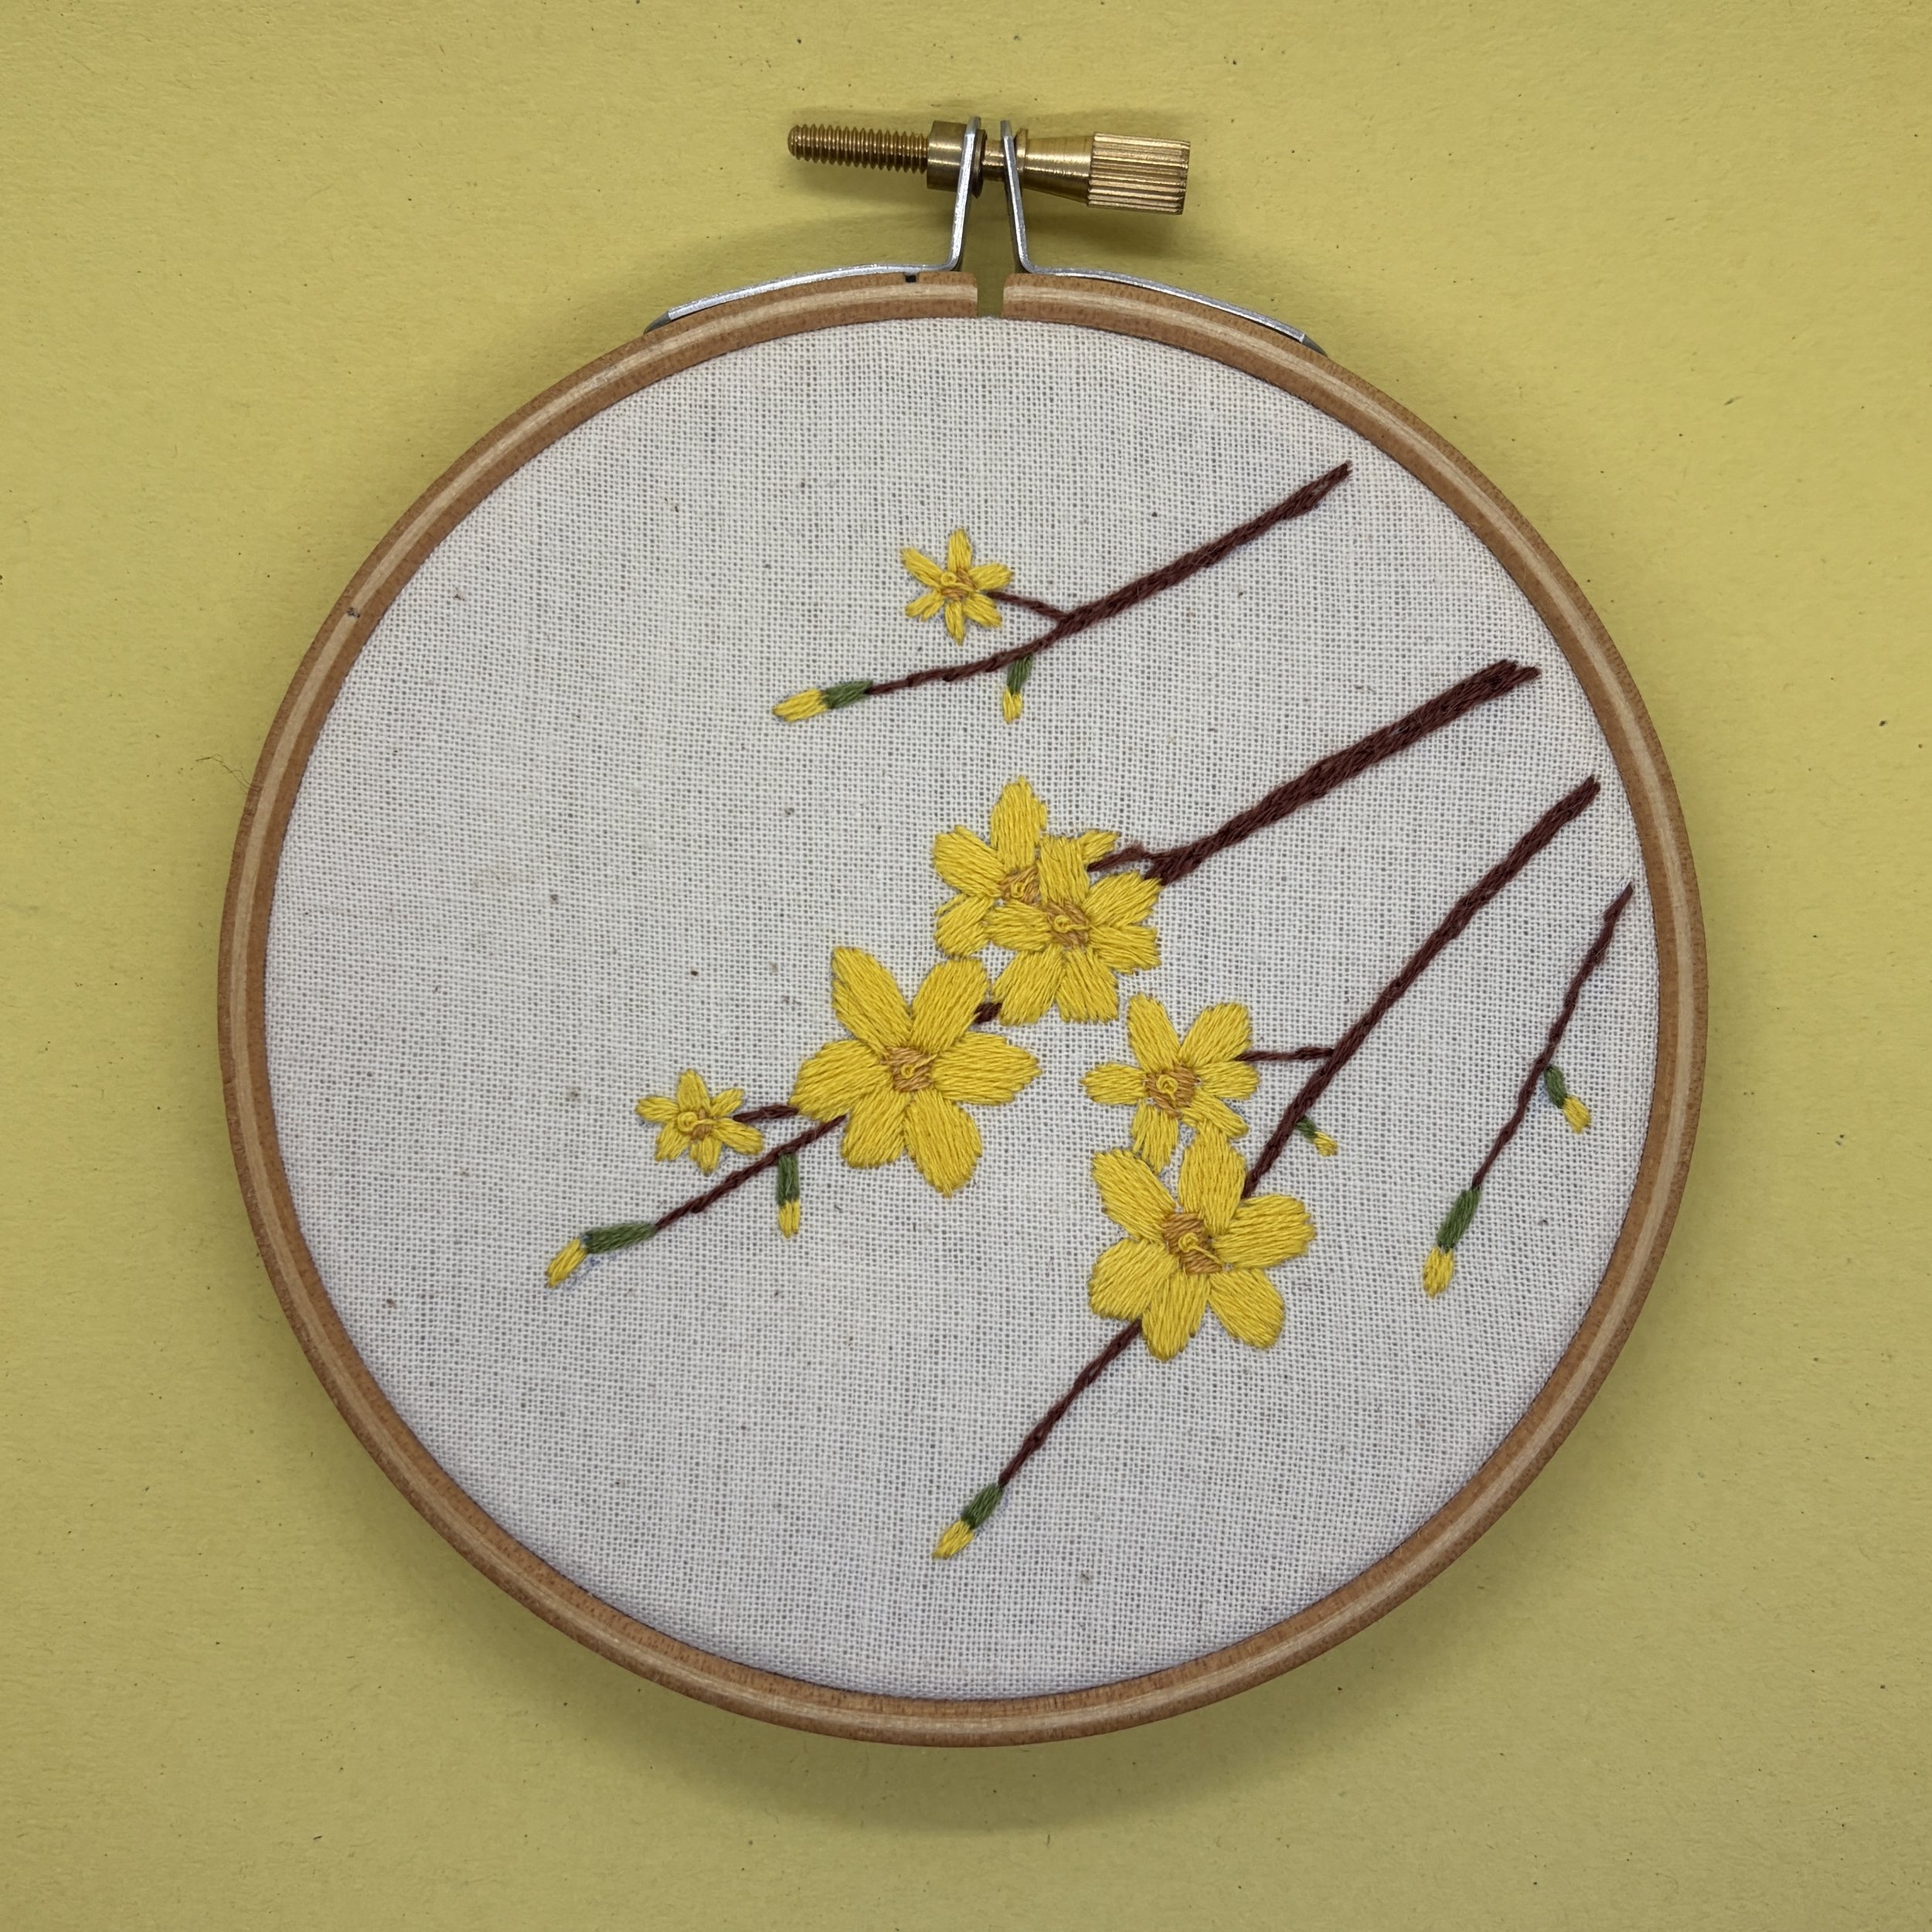
When adding these other elements consider whether you can vary the size of the elements - if you are tracing from a digital pattern you can resize the pattern before you trace additional parts. Also think about the positioning of the additional elements. In my Winter Jasmine example I angled each additional element to try and make them look like they were all coming from a main branch that was out of frame. It’s also important to consider spacing, and whether you want any elements to overlap each other.
Below is the original pattern and what I traced using the original pattern to fill the hoop and what the extra elements look like when stitched.
Enjoyed this blog post? I share embroidery tips and a free embroidery pattern in my monthly newsletter. Sign up here to receive the newsletter on the 1st of each the month.