• Home
  • Shop
  • Stitch Showcase
  • Embroidery tips
  • Freebies
  • About
  • Contact
Menu

Embellished Elephant

  • Home
  • Shop
  • Stitch Showcase
  • Embroidery tips
  • Freebies
  • About
  • Contact
a background image of circles of purple and pink felt with embroidery detail. Overlaid is a blue square with white text saying, hand embroidery, a focus on stitches for flowers, www.embellishedelephant.co.uk

Focus on stitches for flowers

February 1, 2025

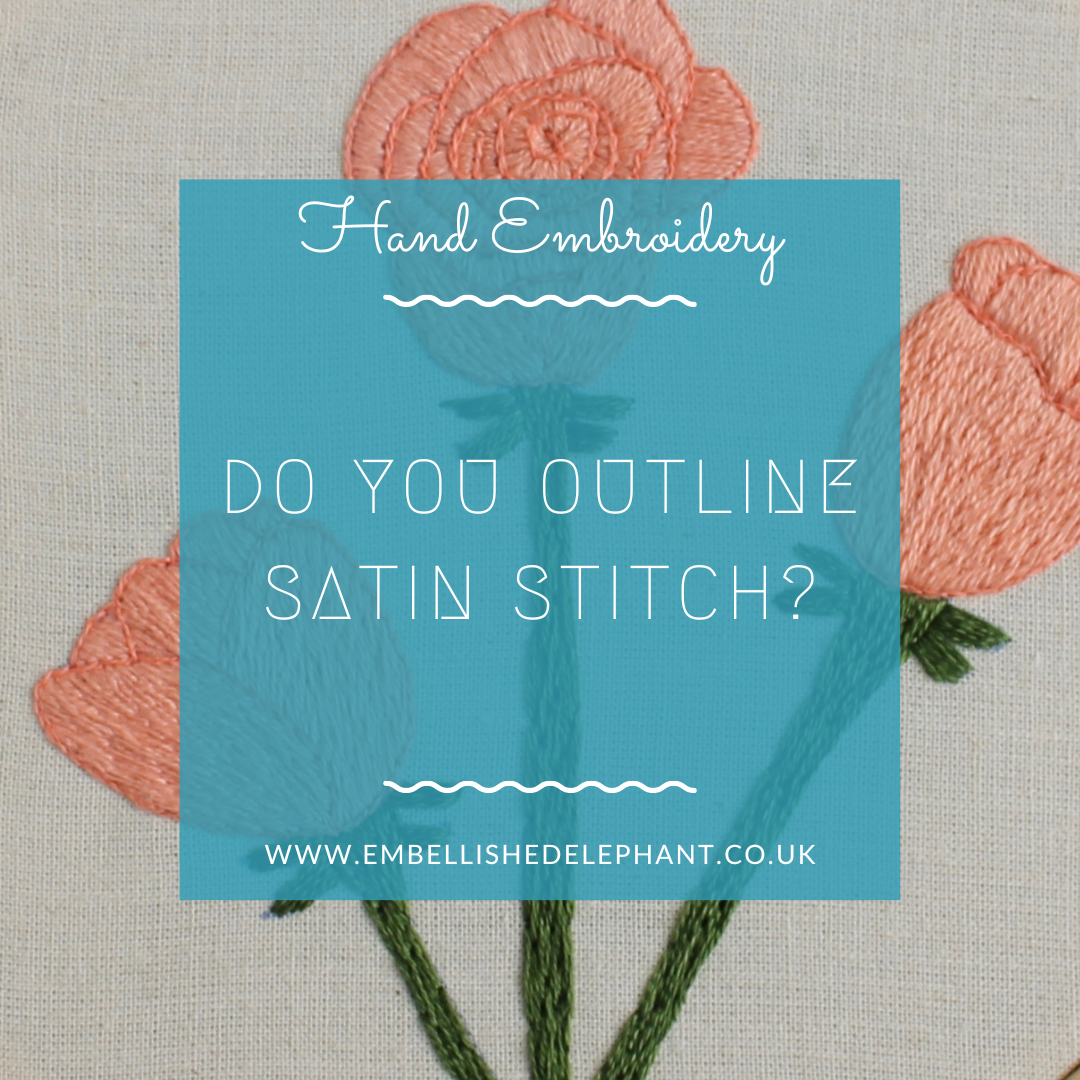
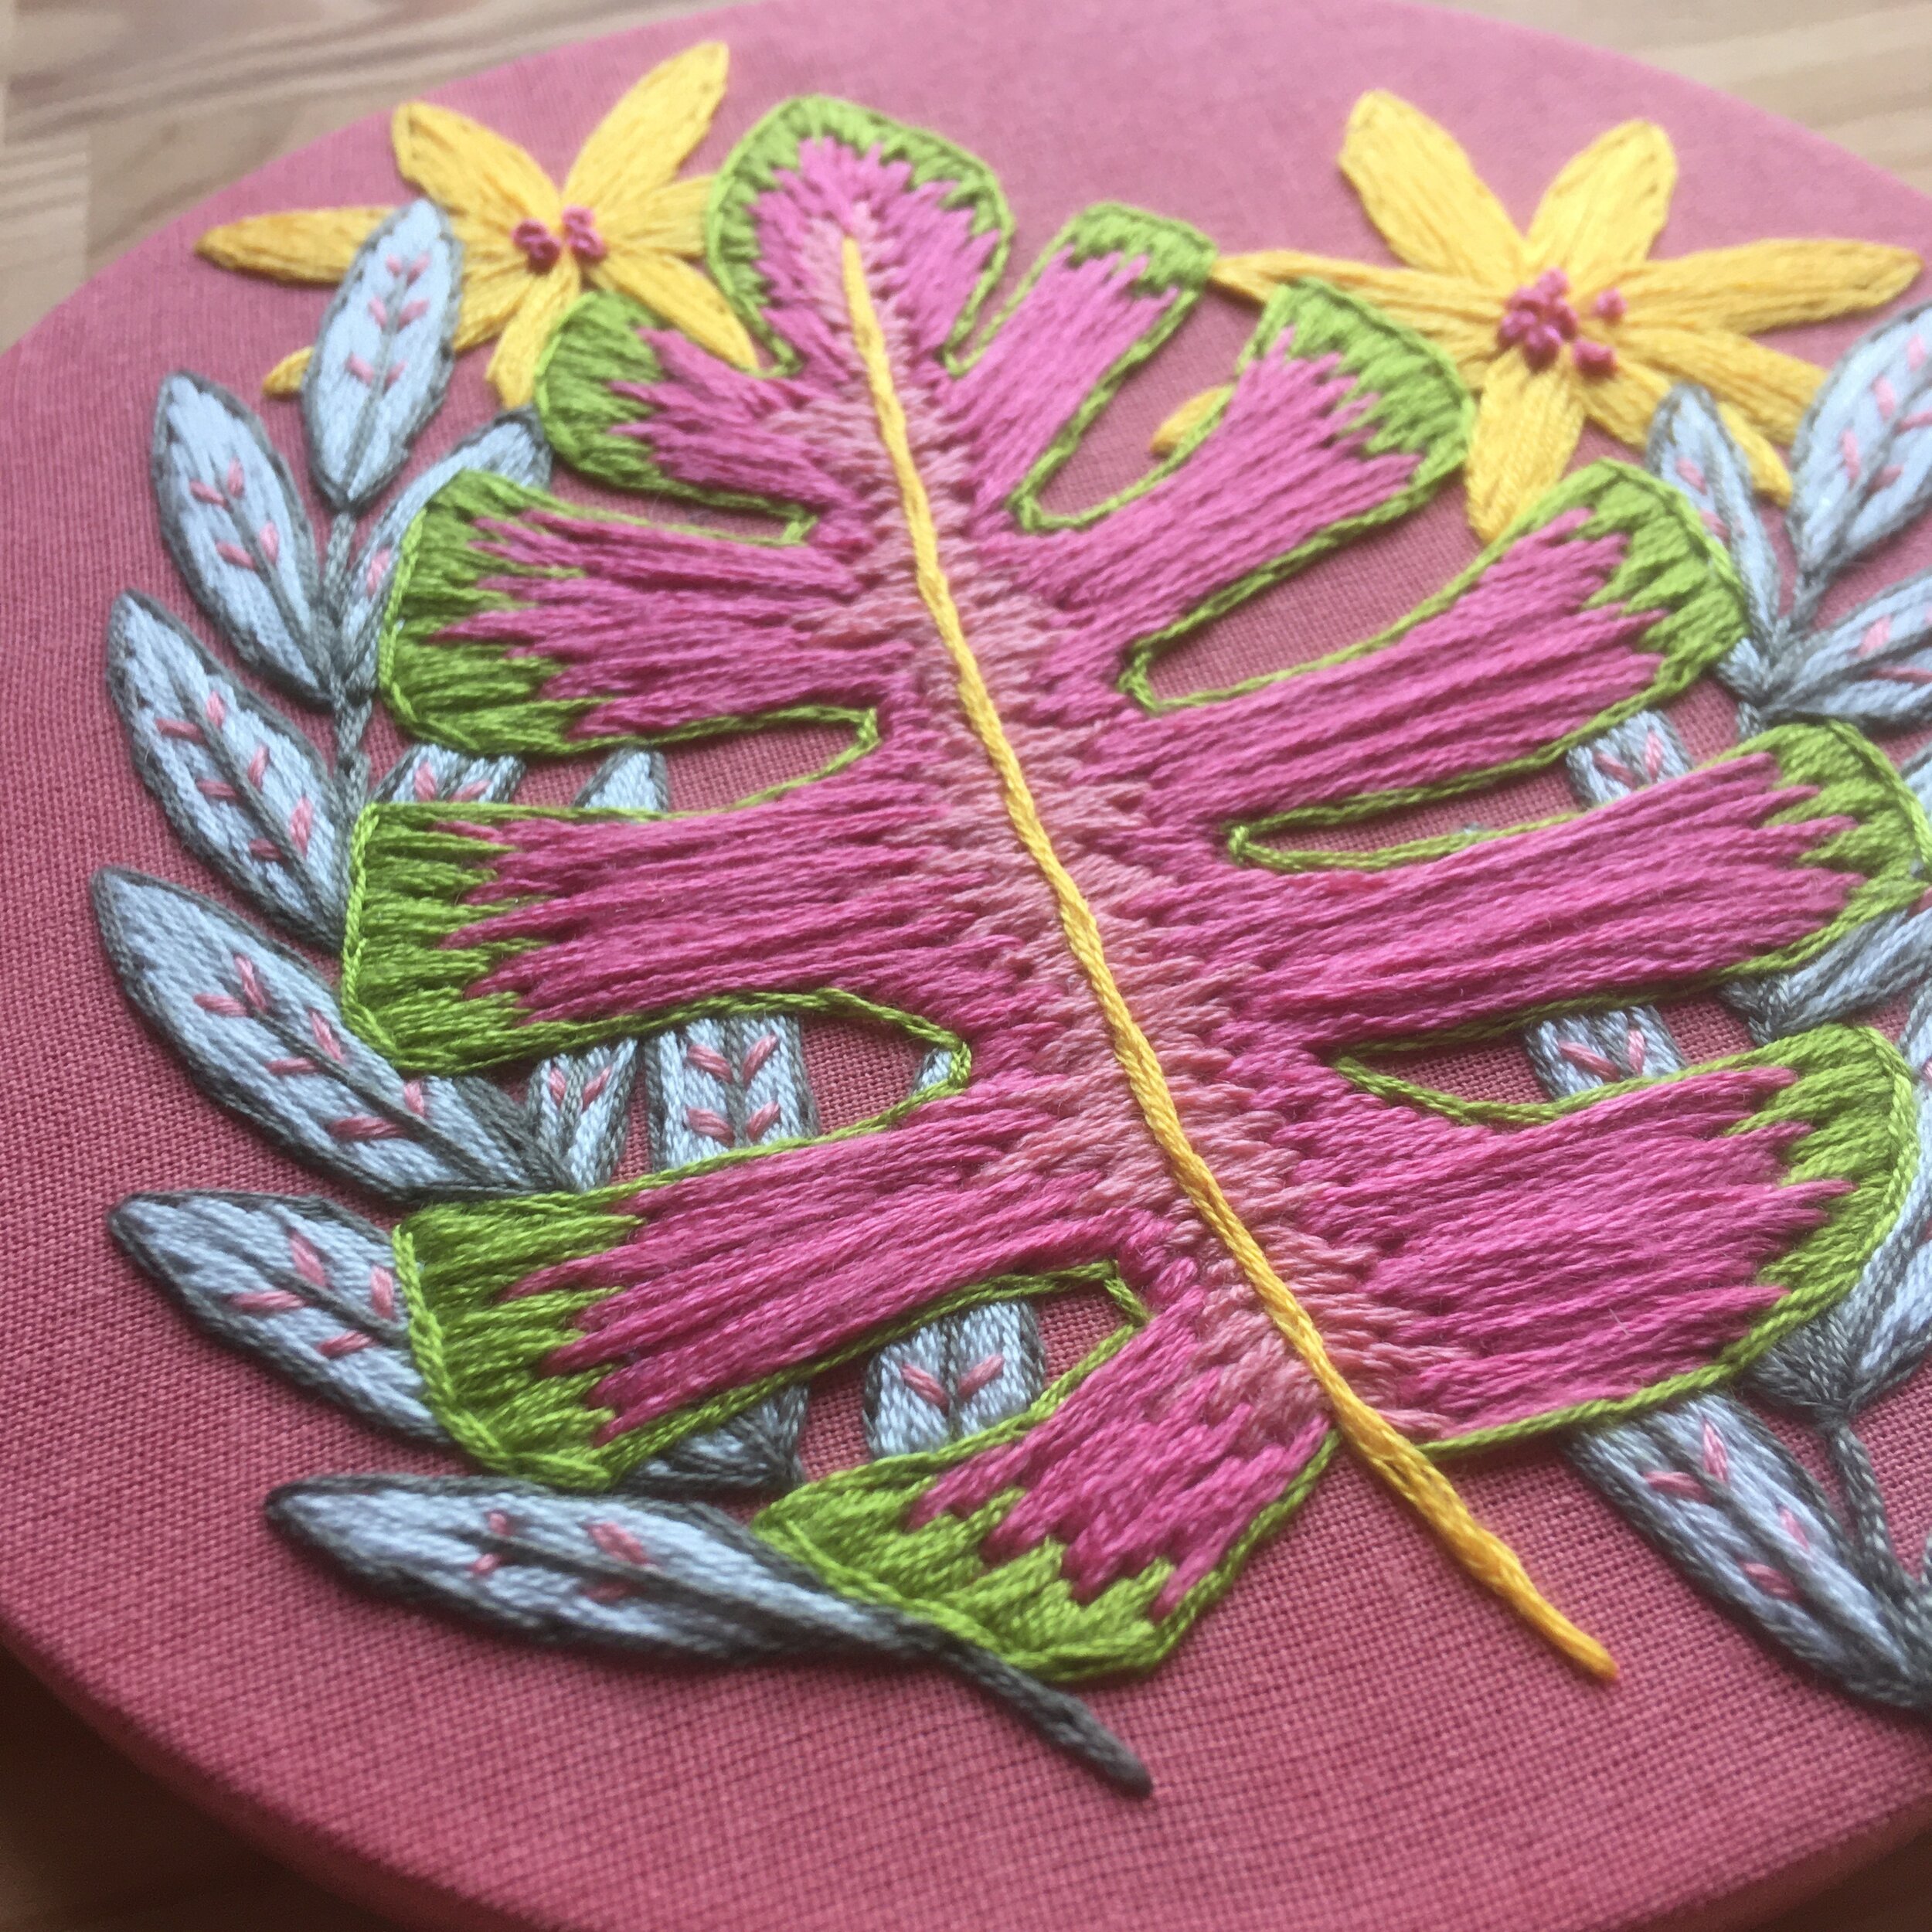
Many of my patterns feature flowers so I thought I'd share some different stitches that can be used to stitch flowers. 

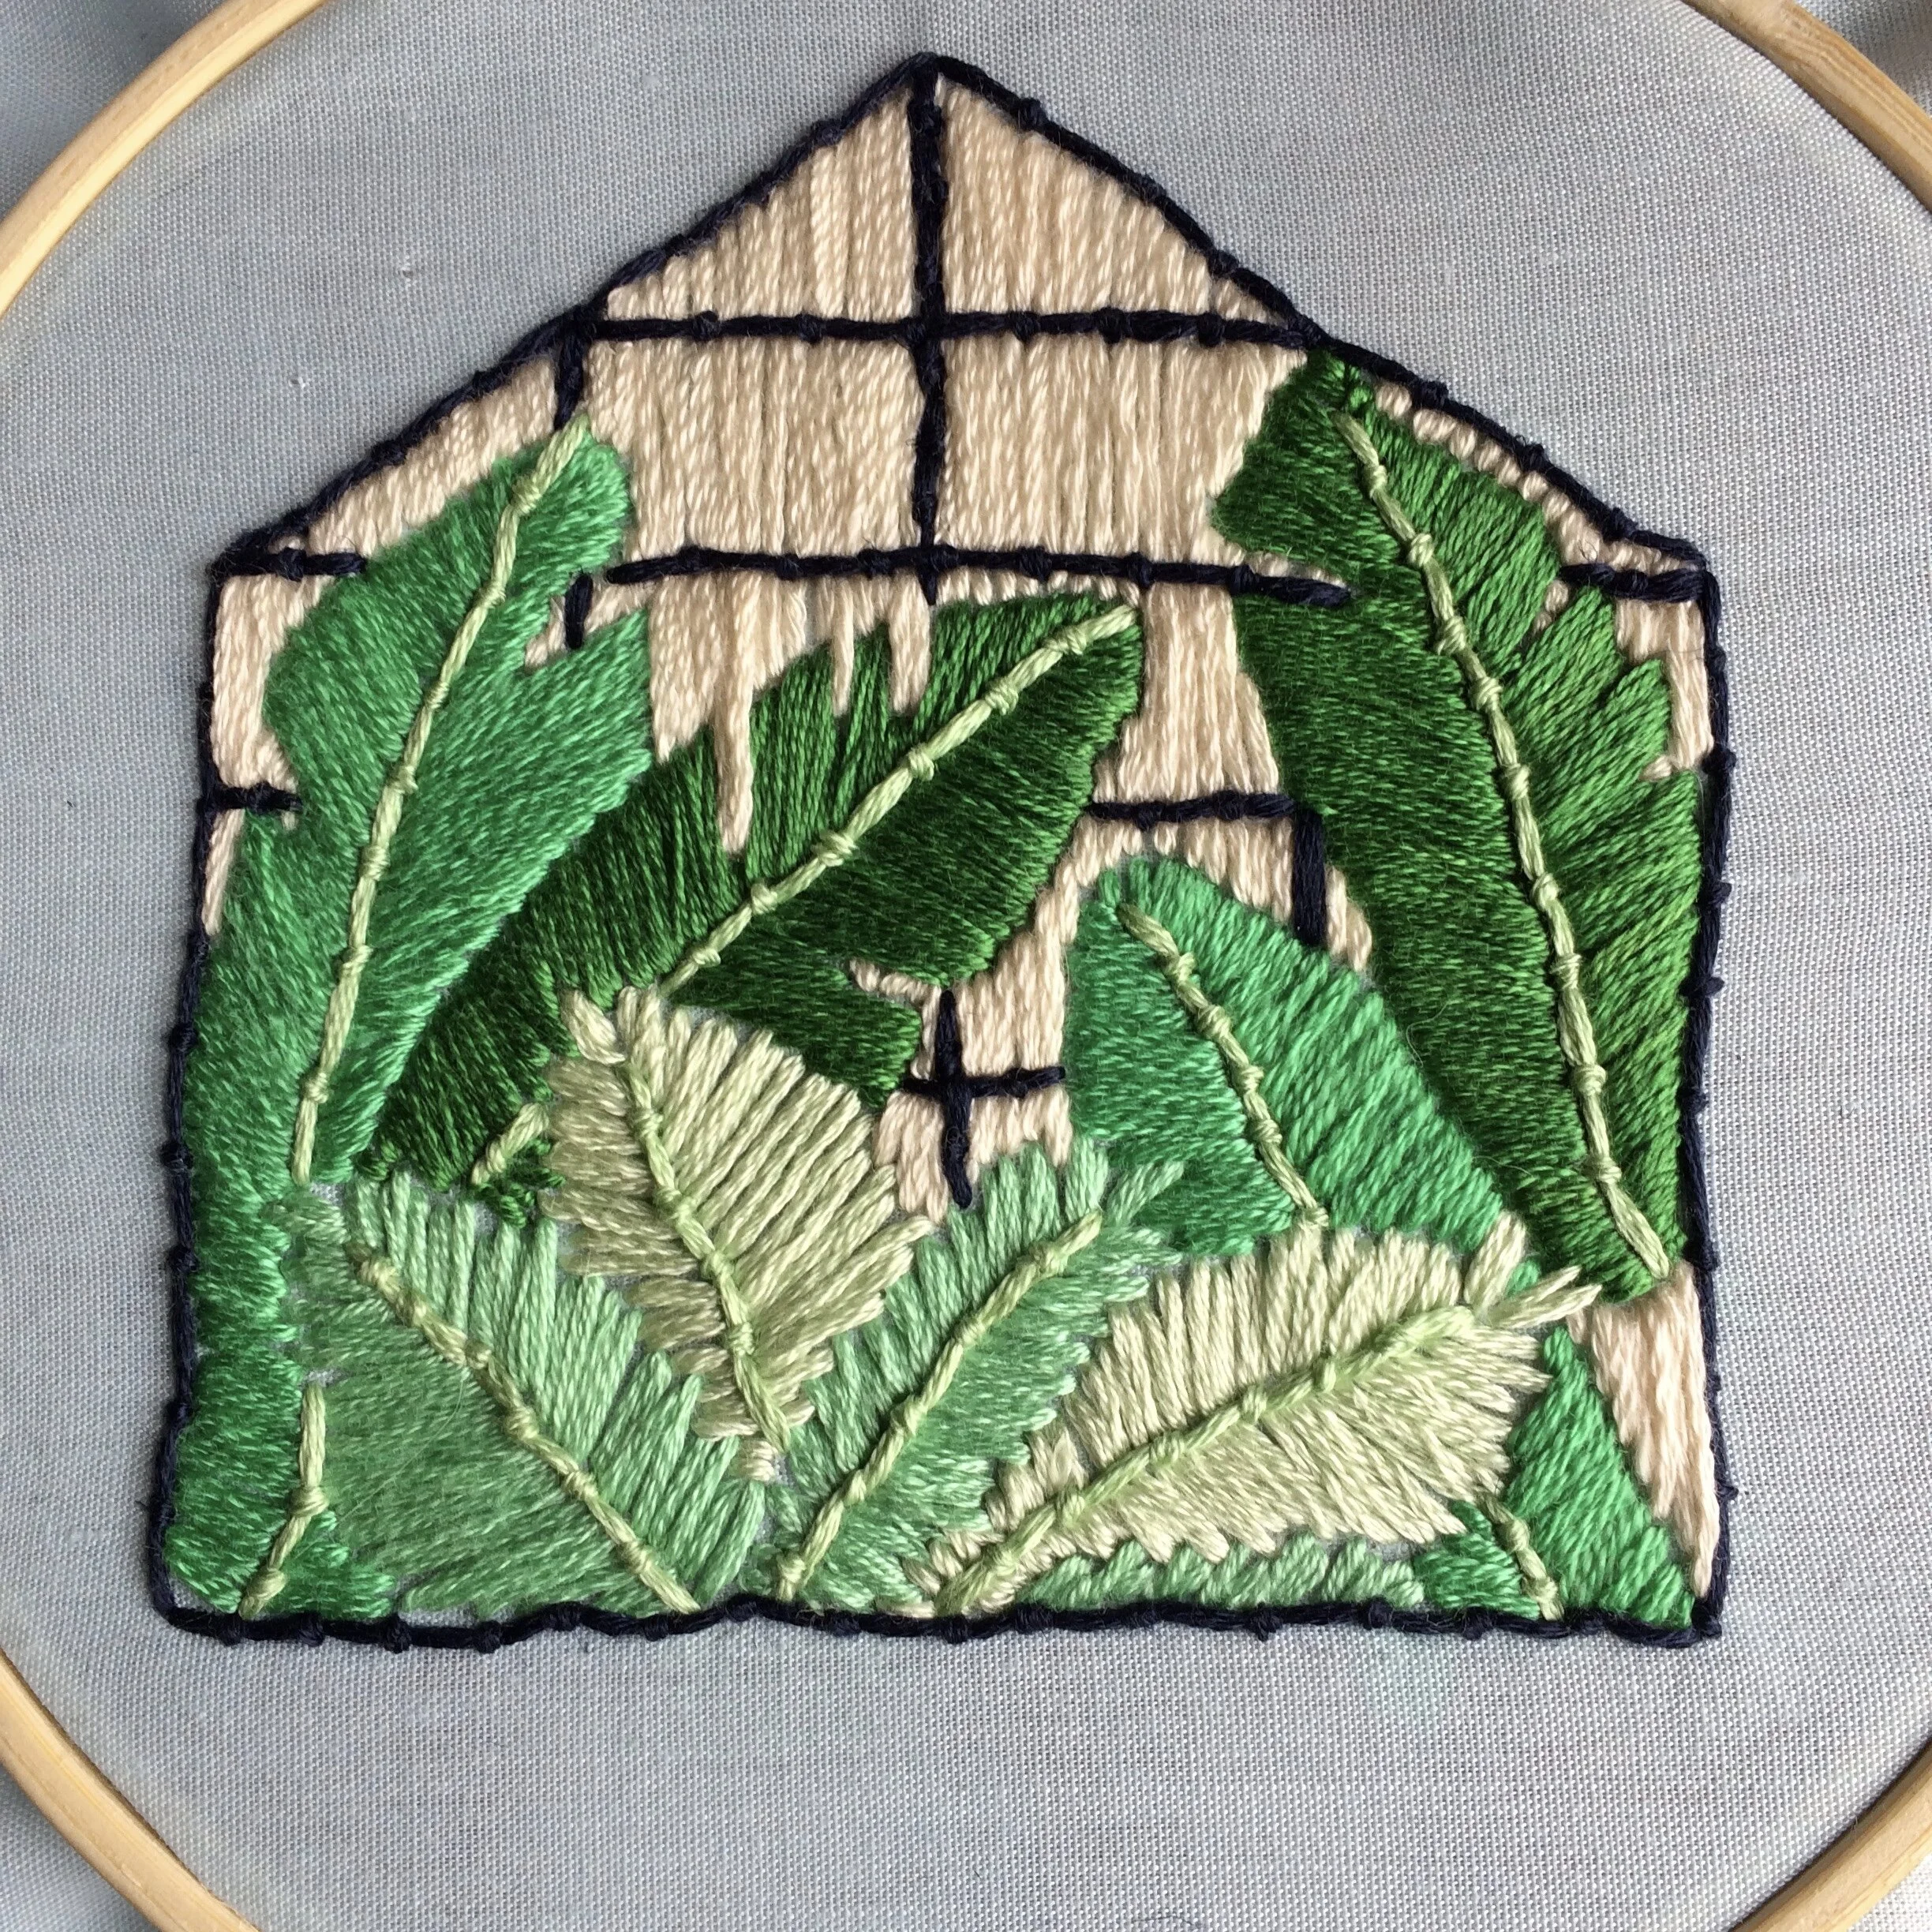
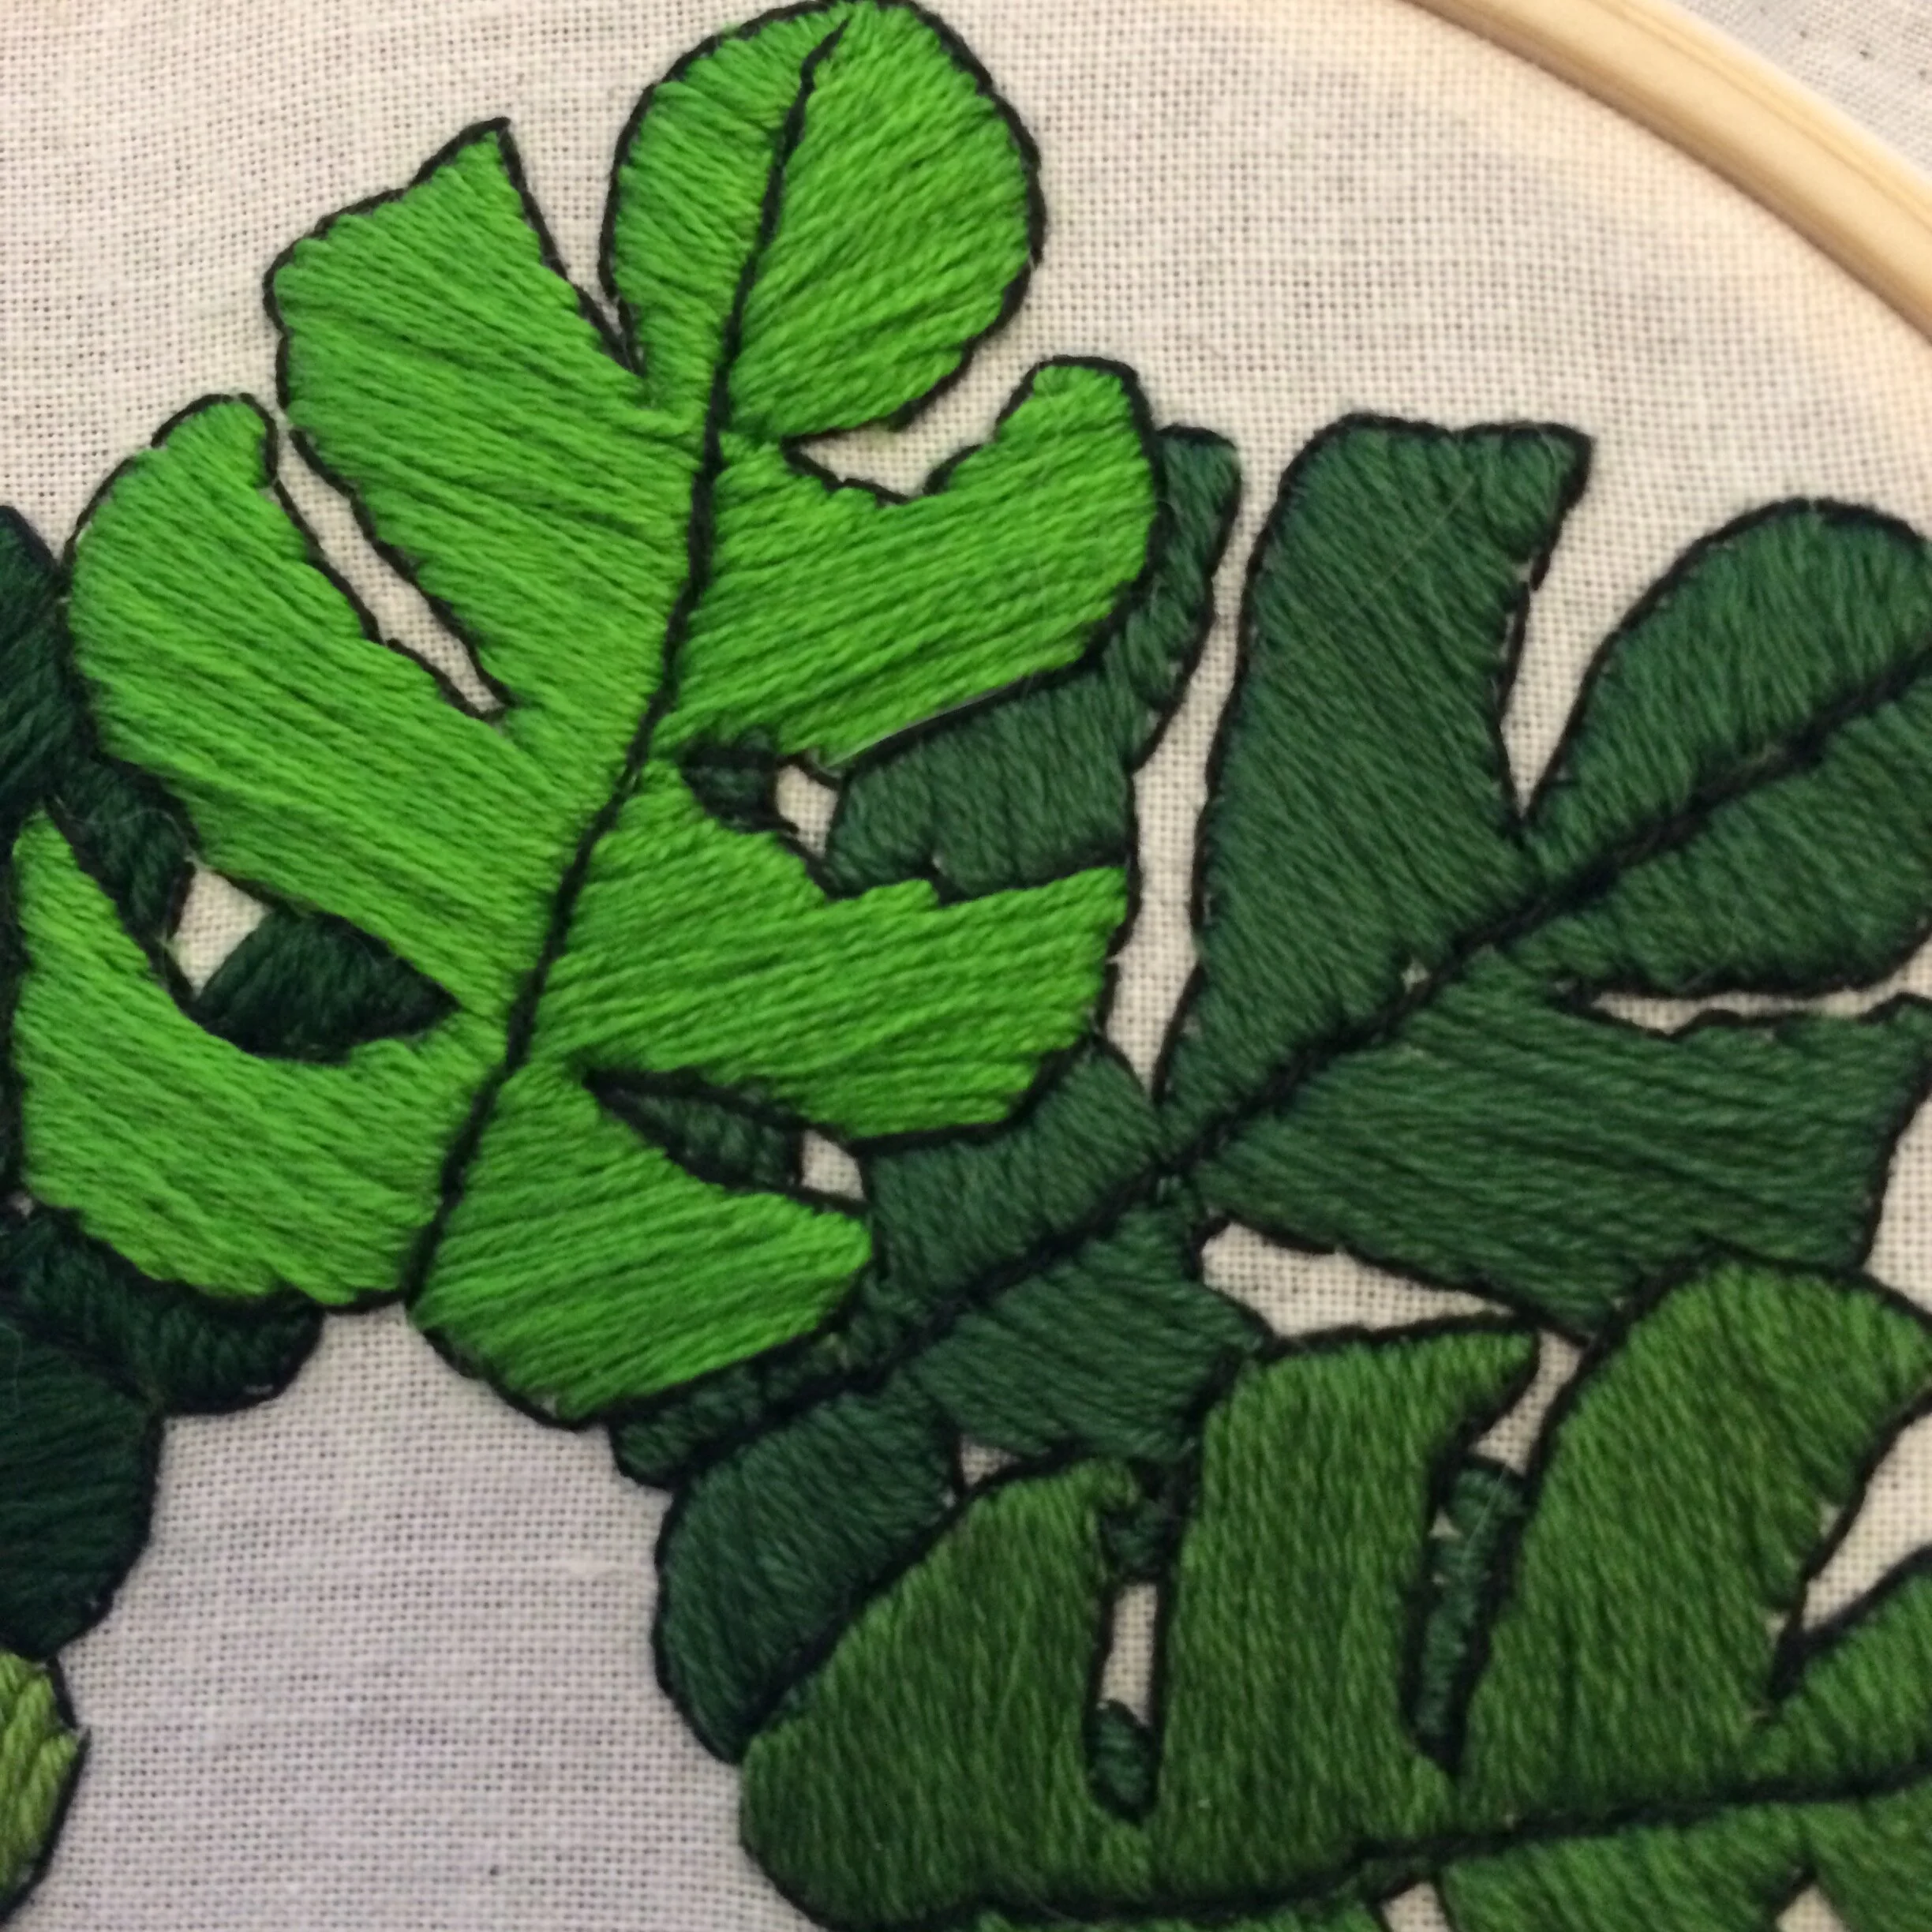
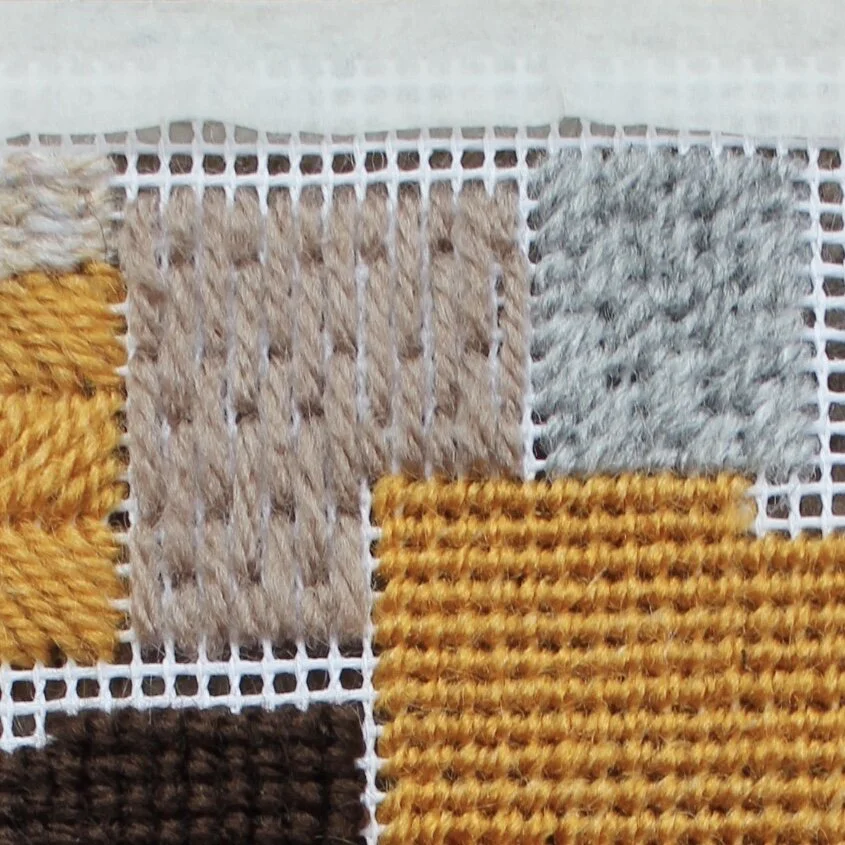
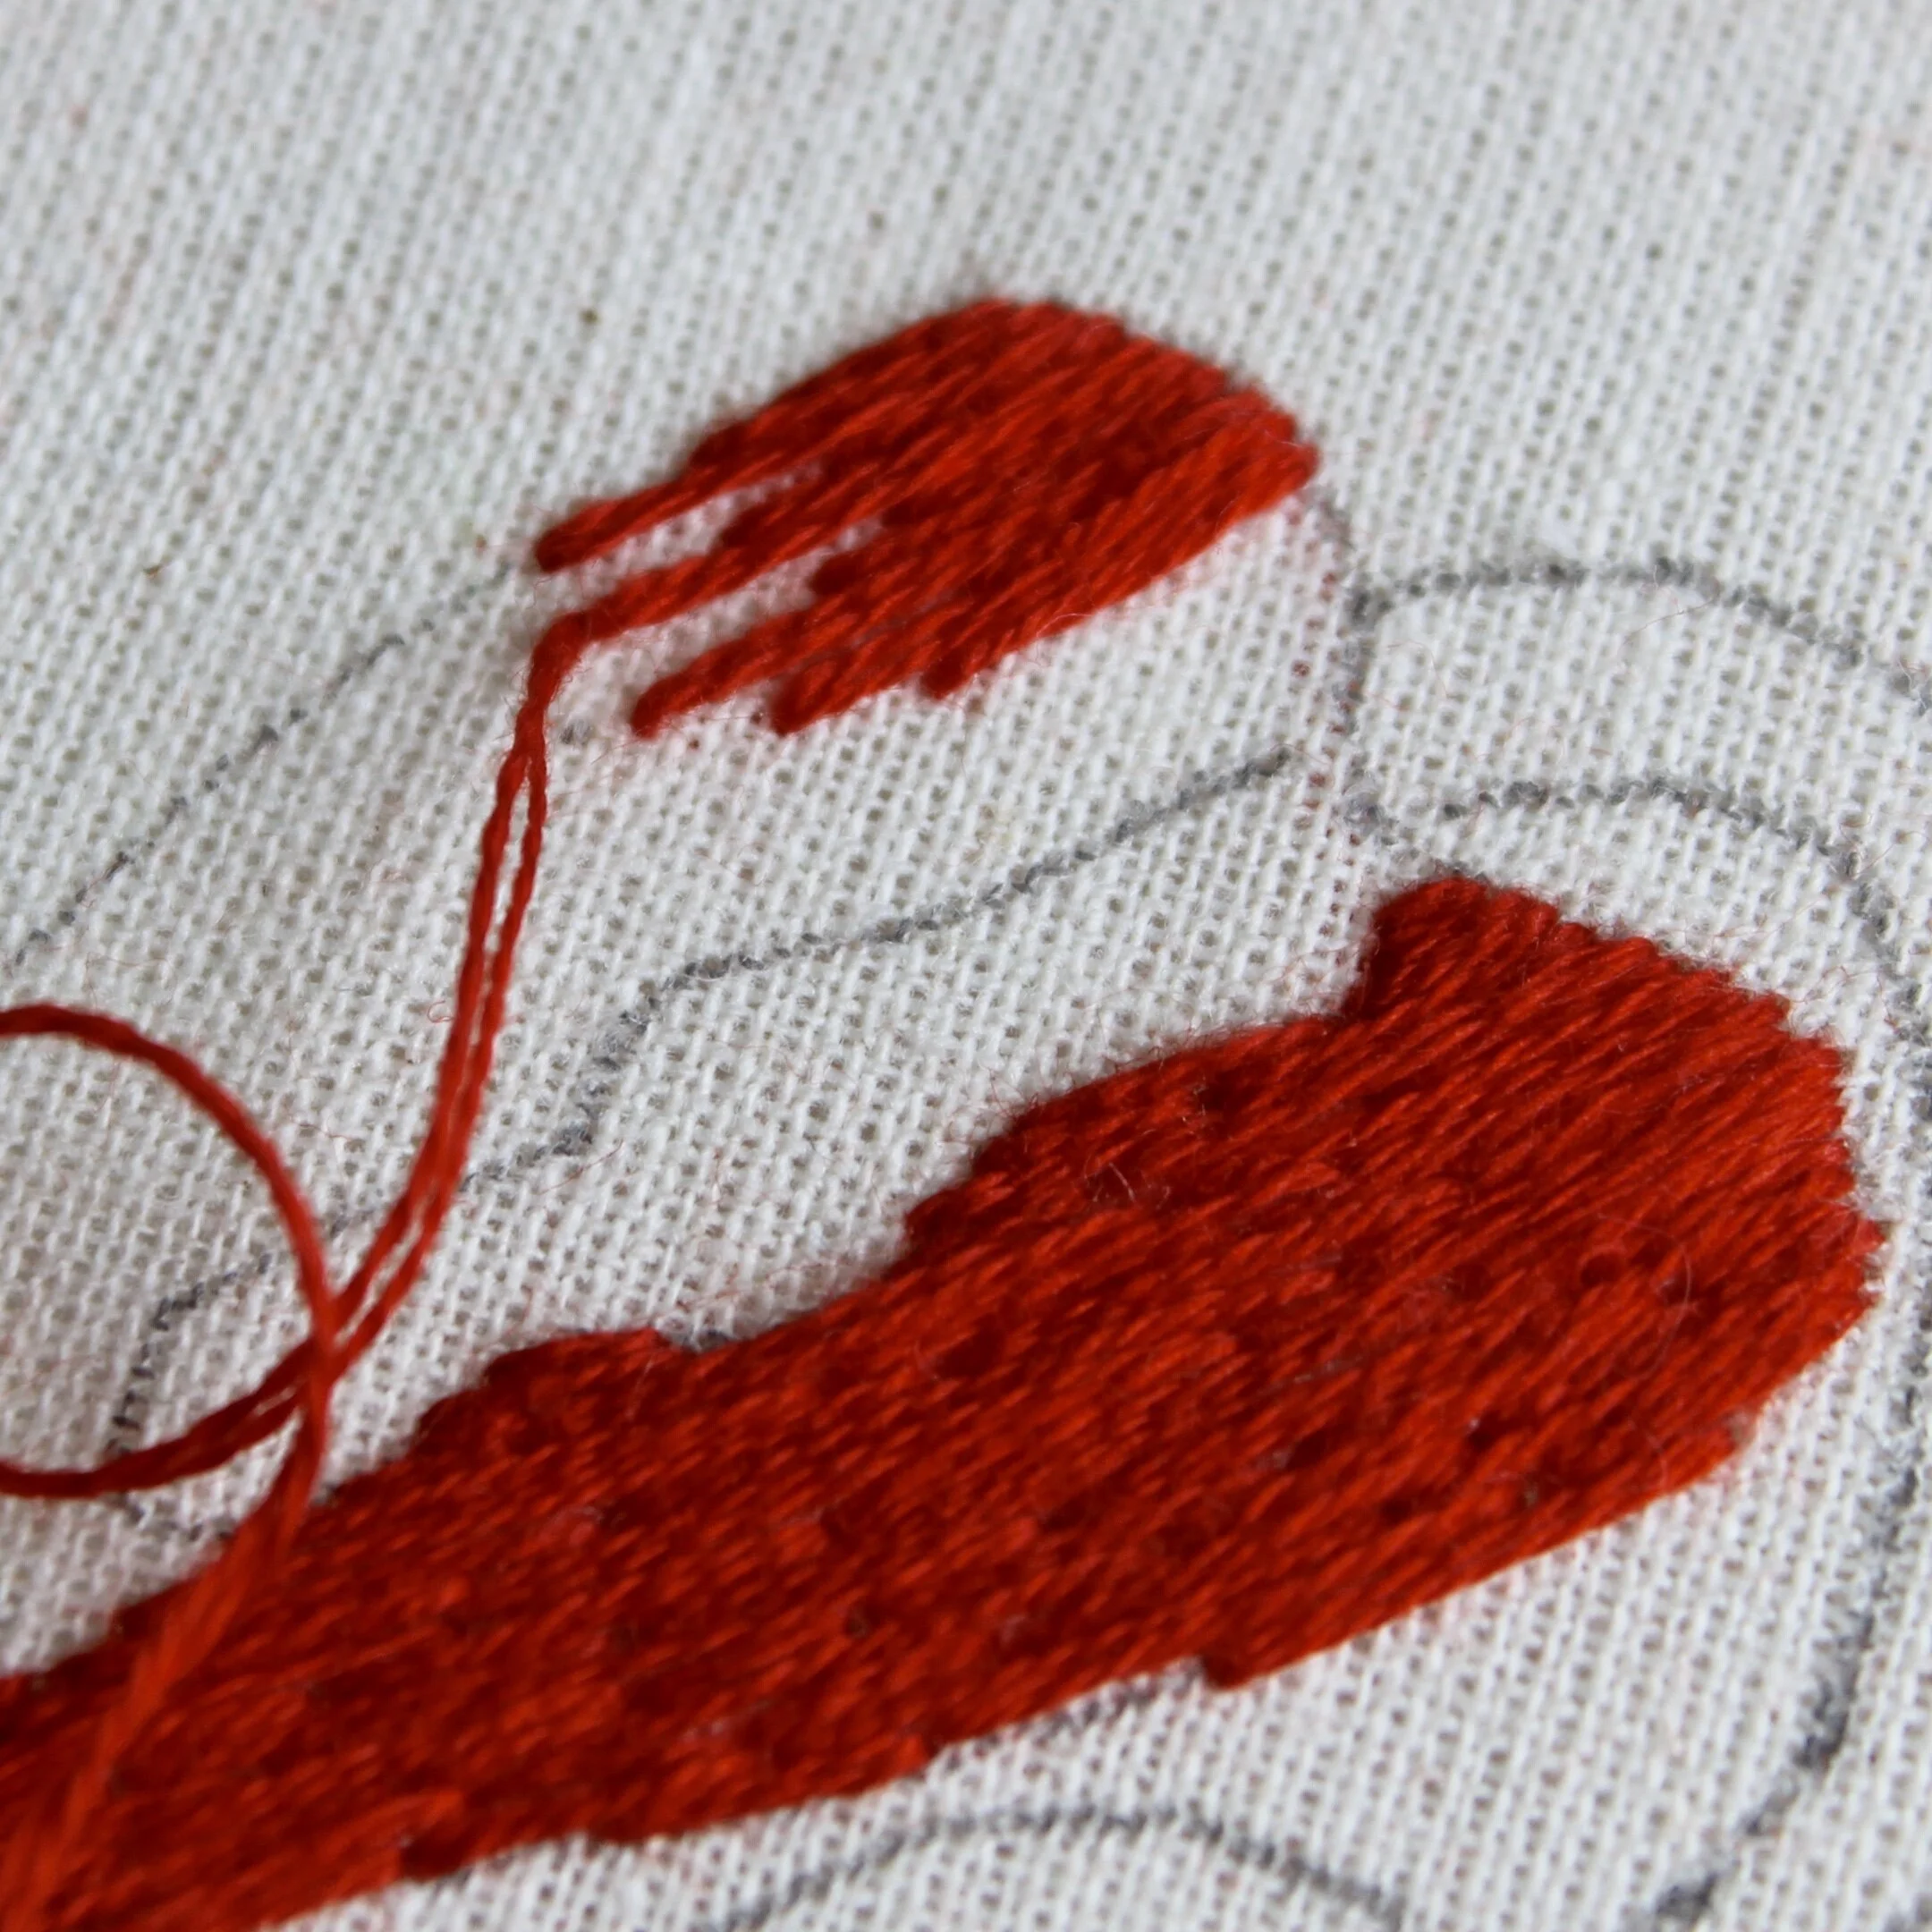
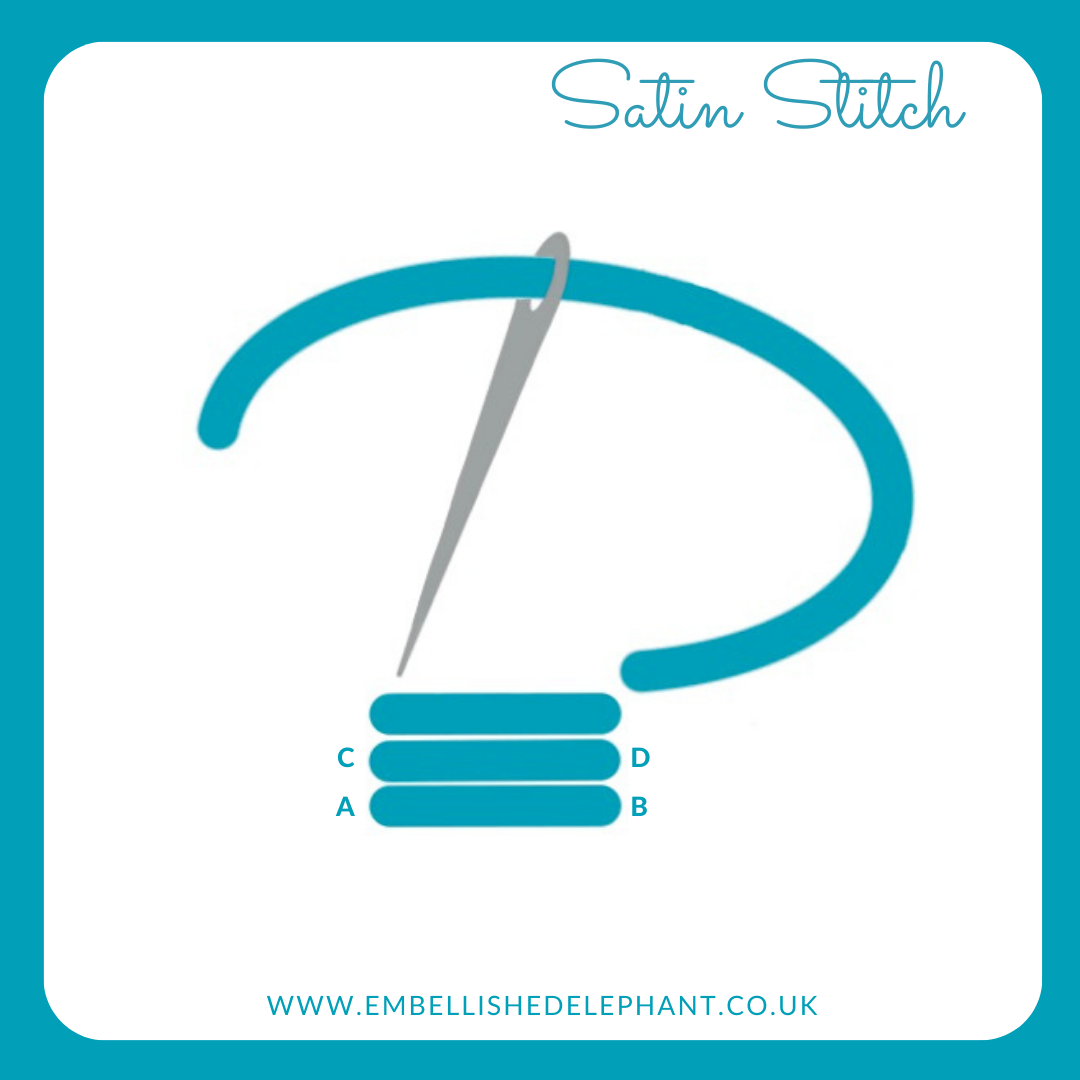
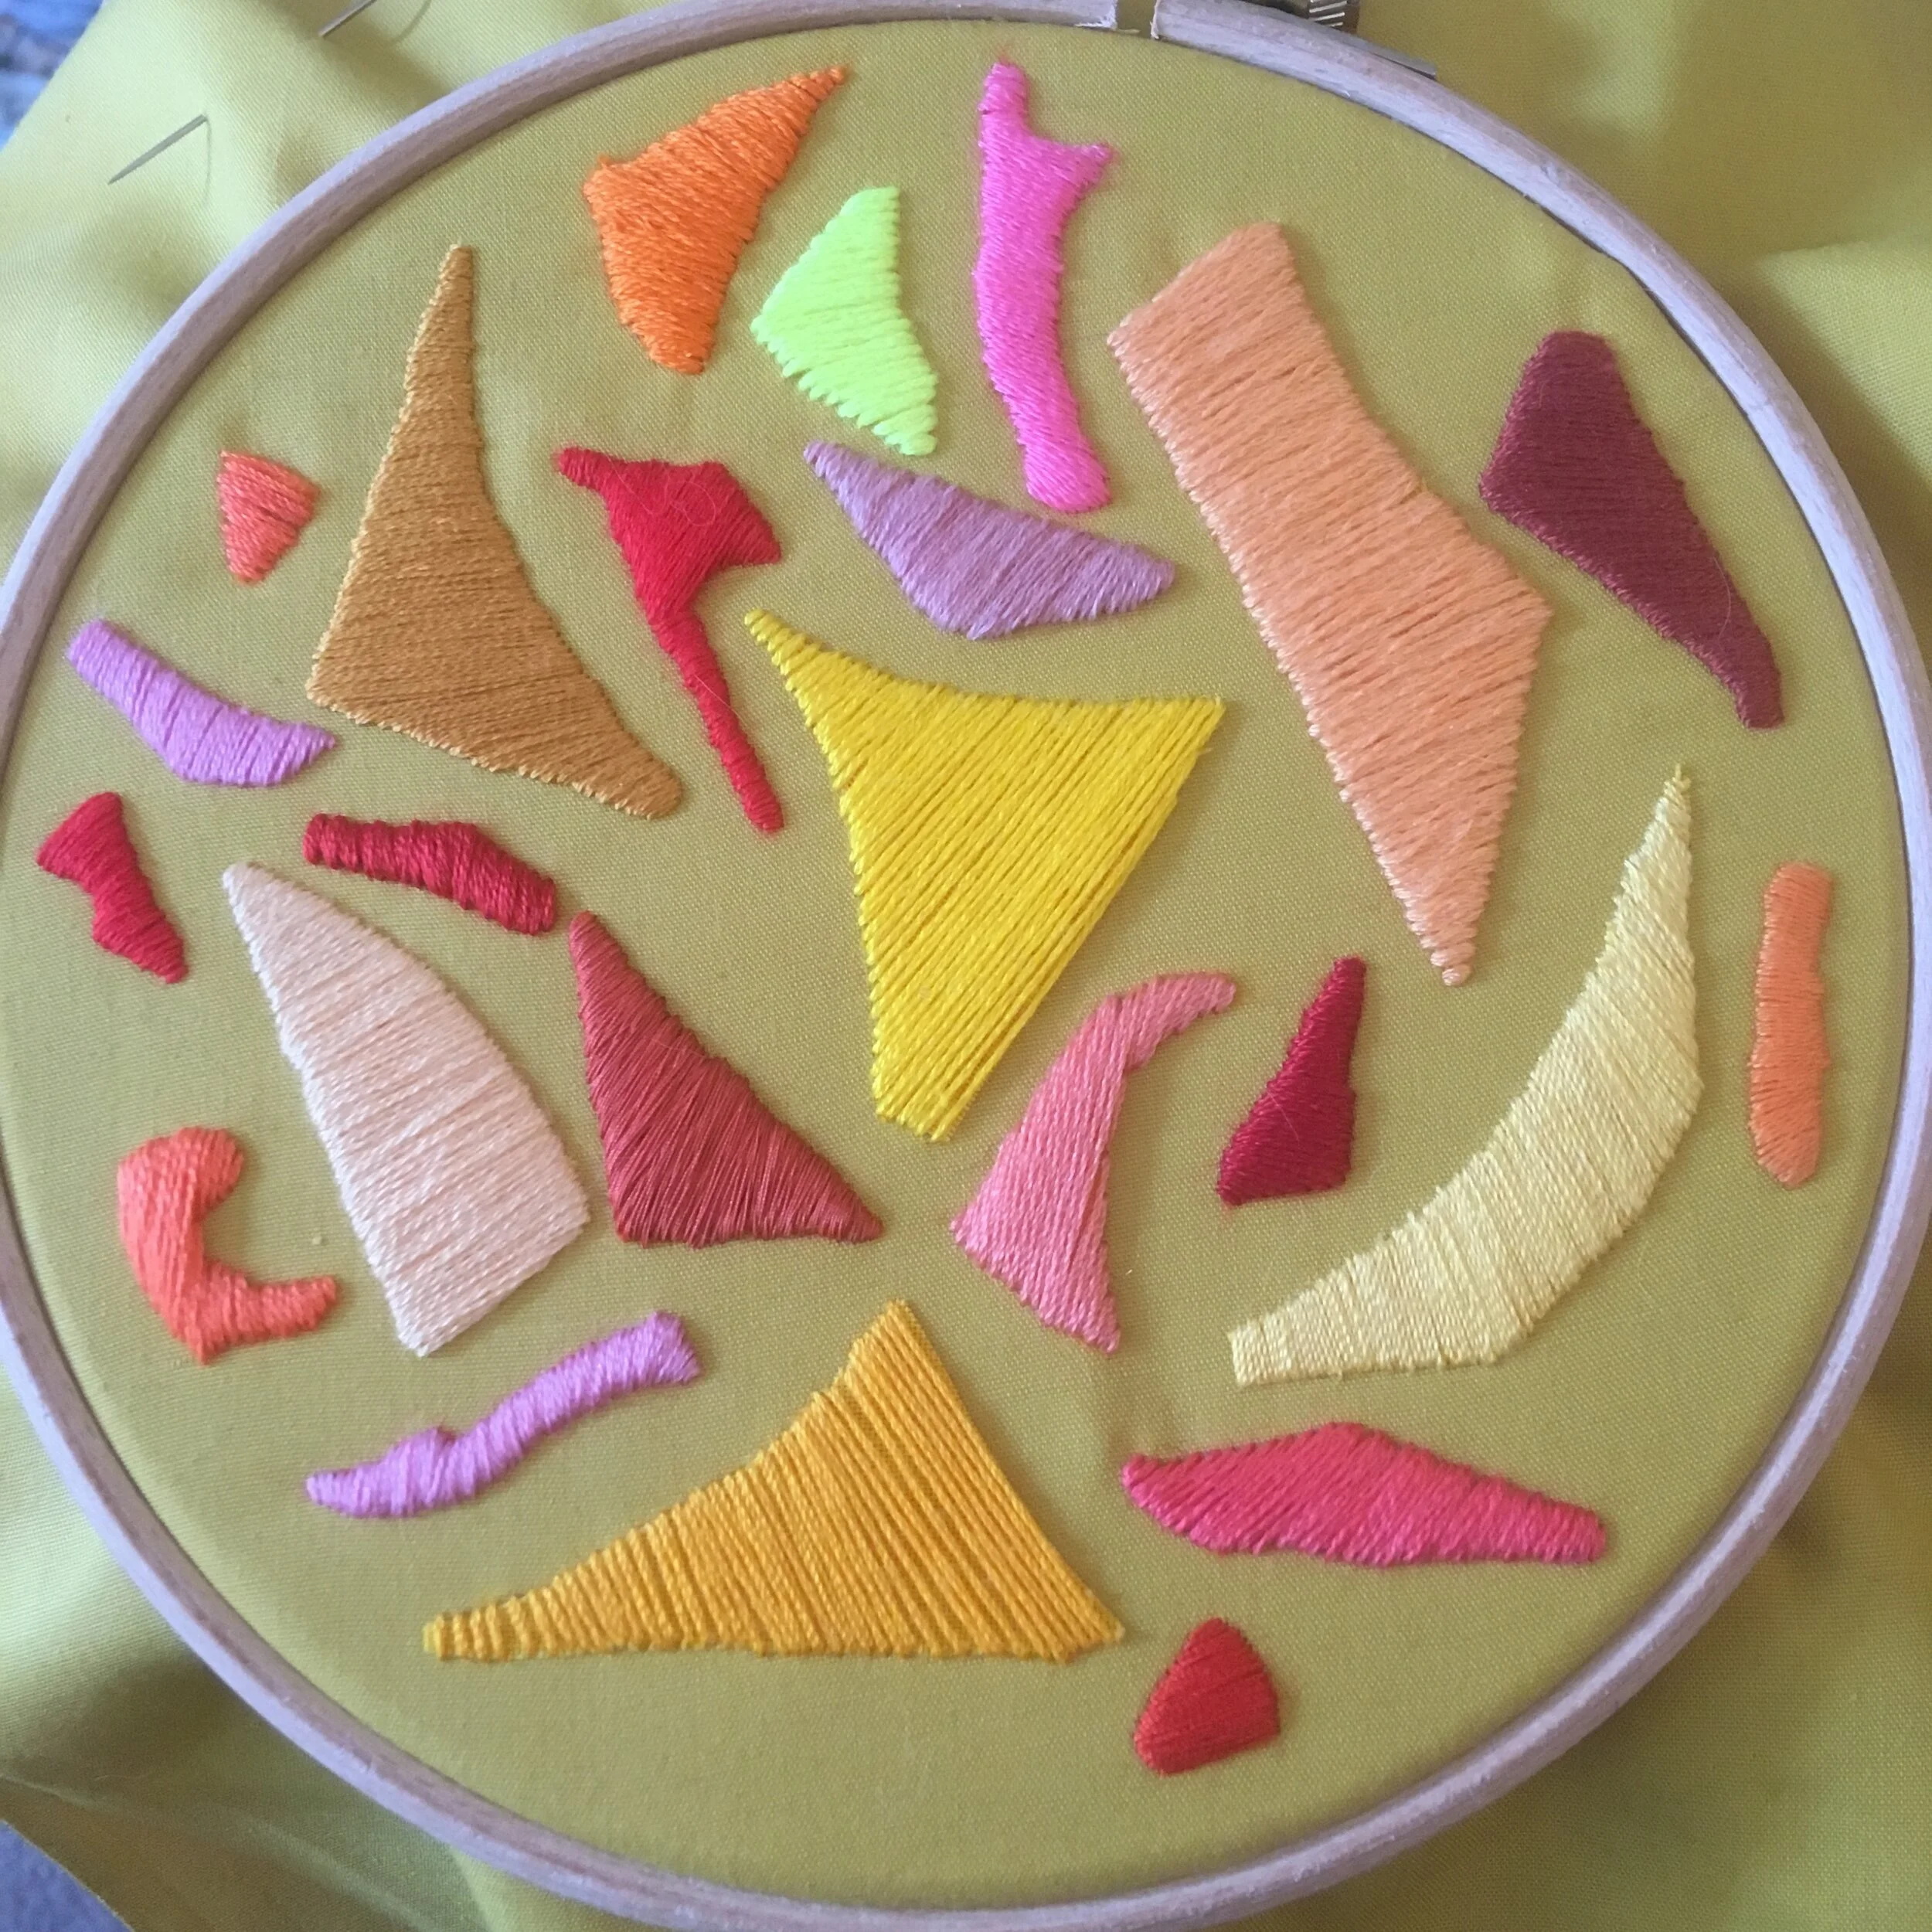
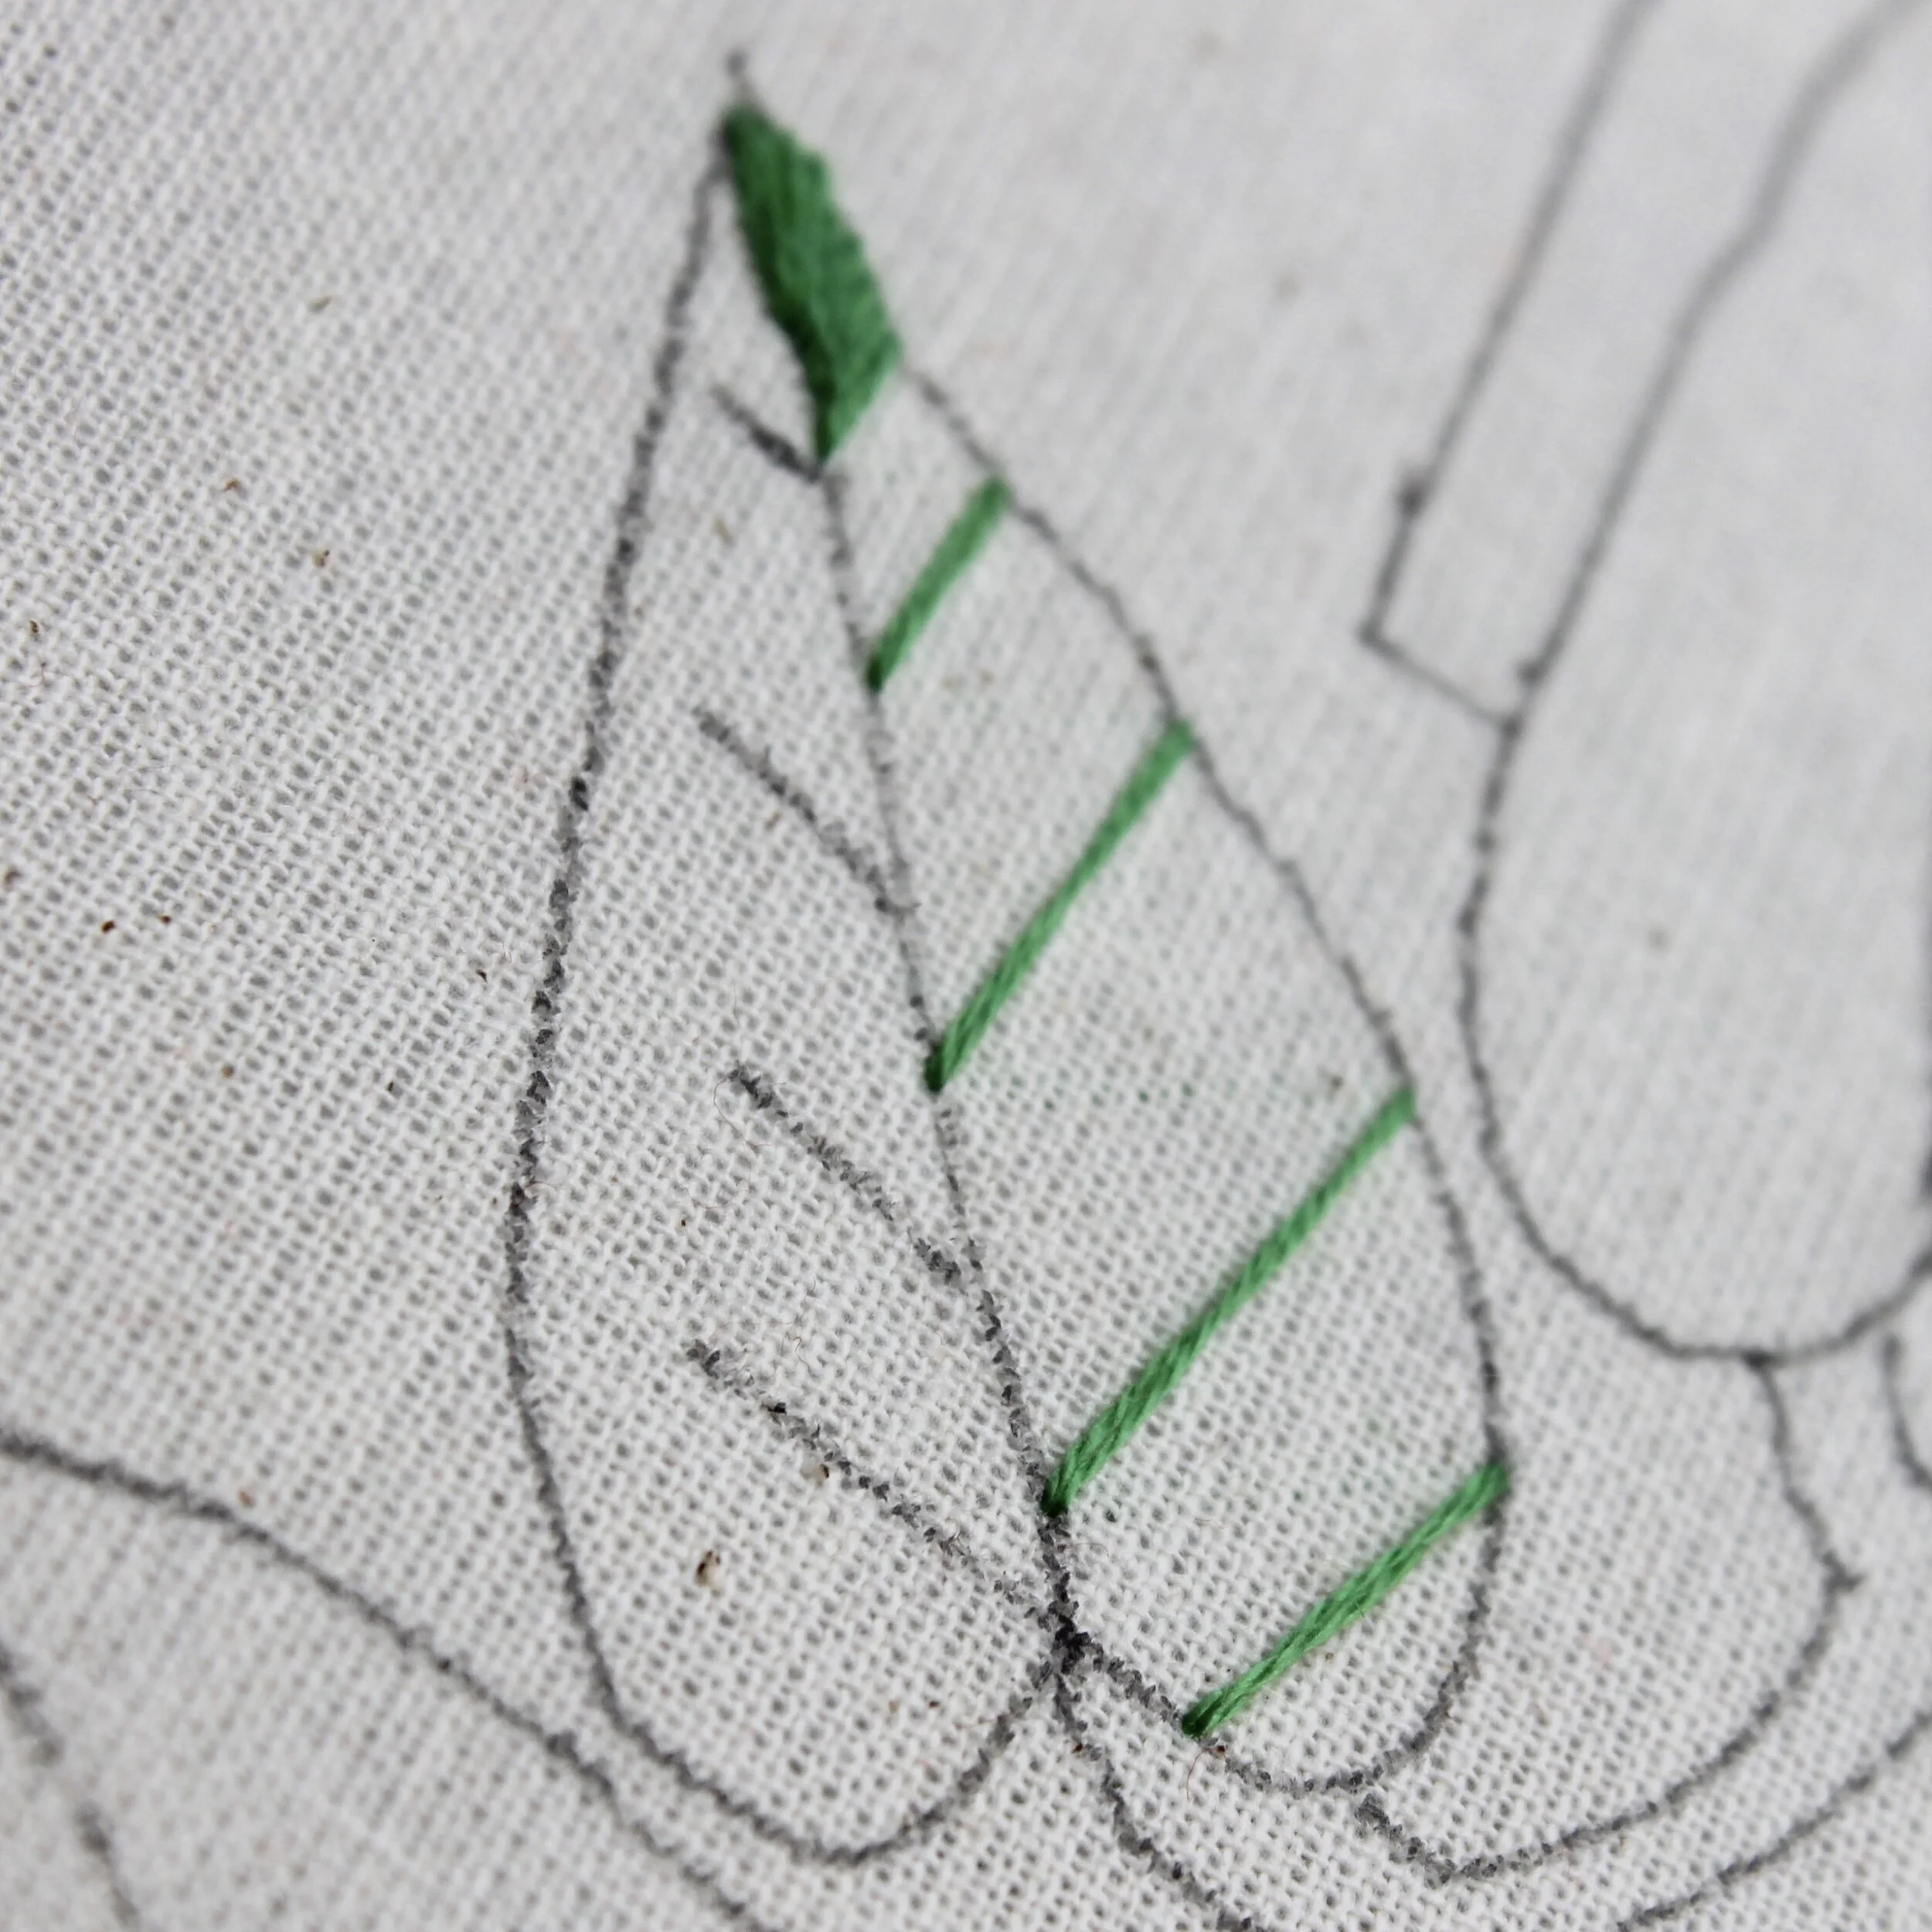
  • As with leaves, one of the most common stitches used for filling flower shapes is satin stitch

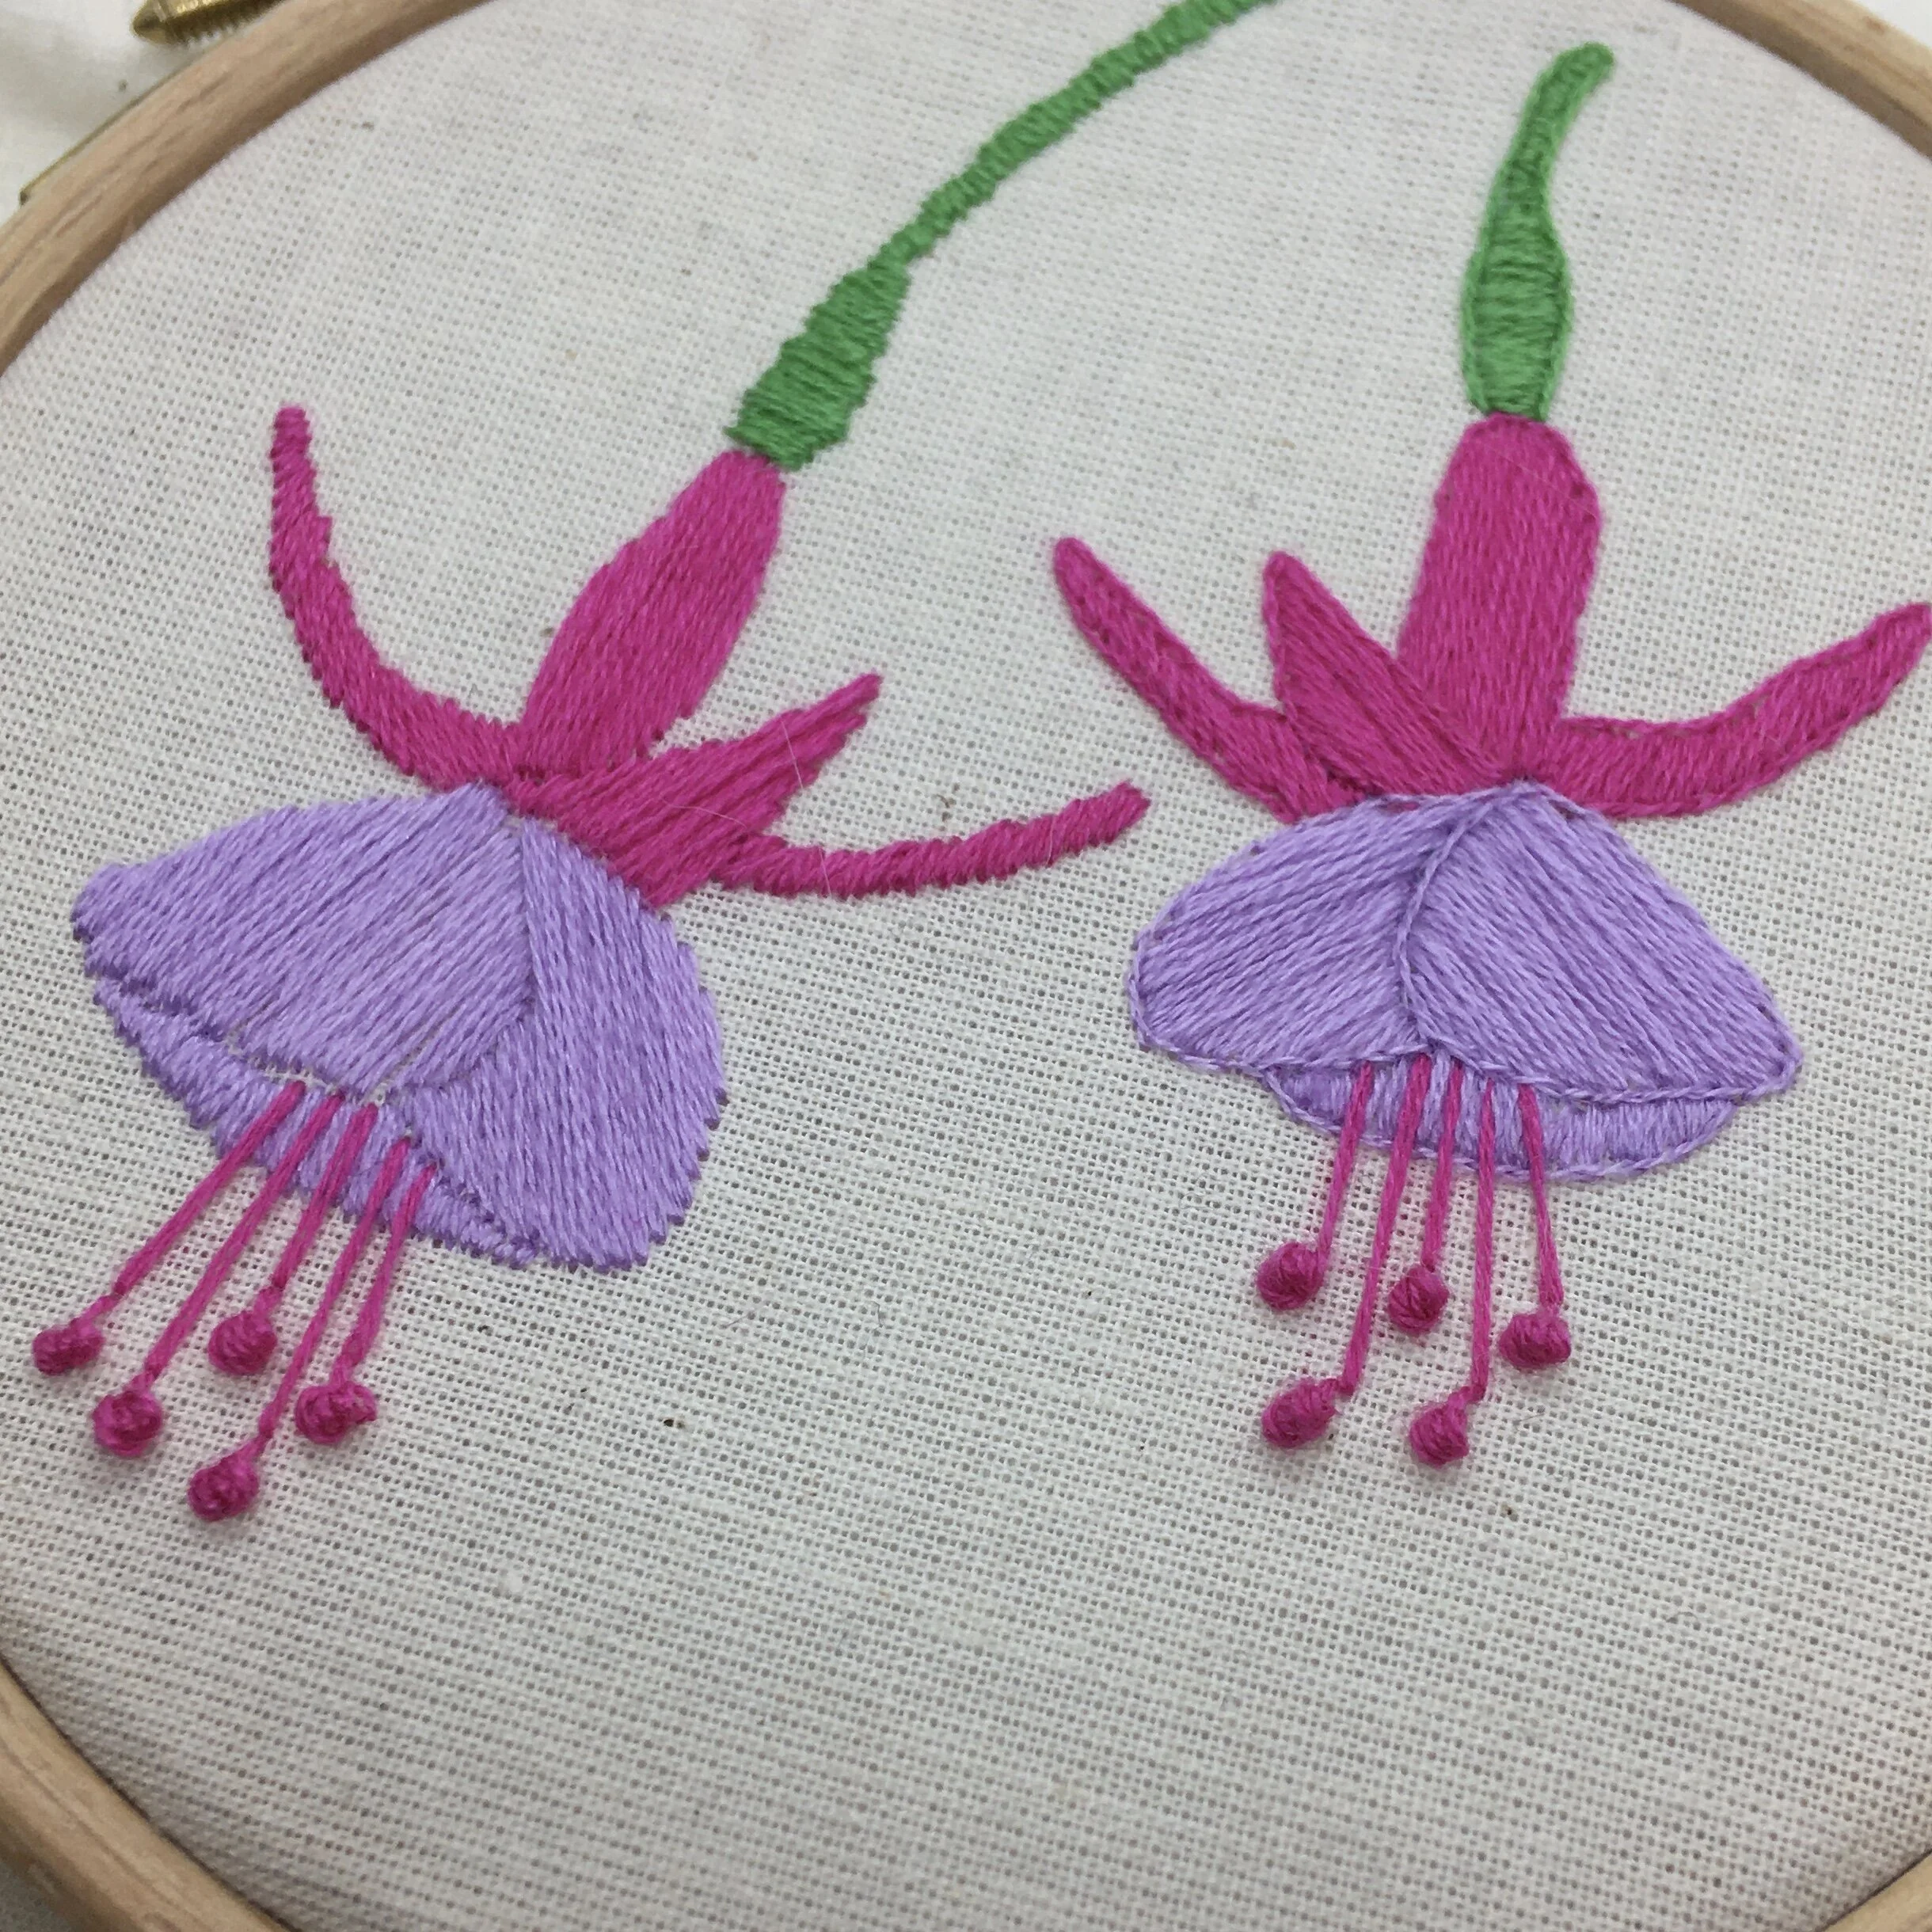
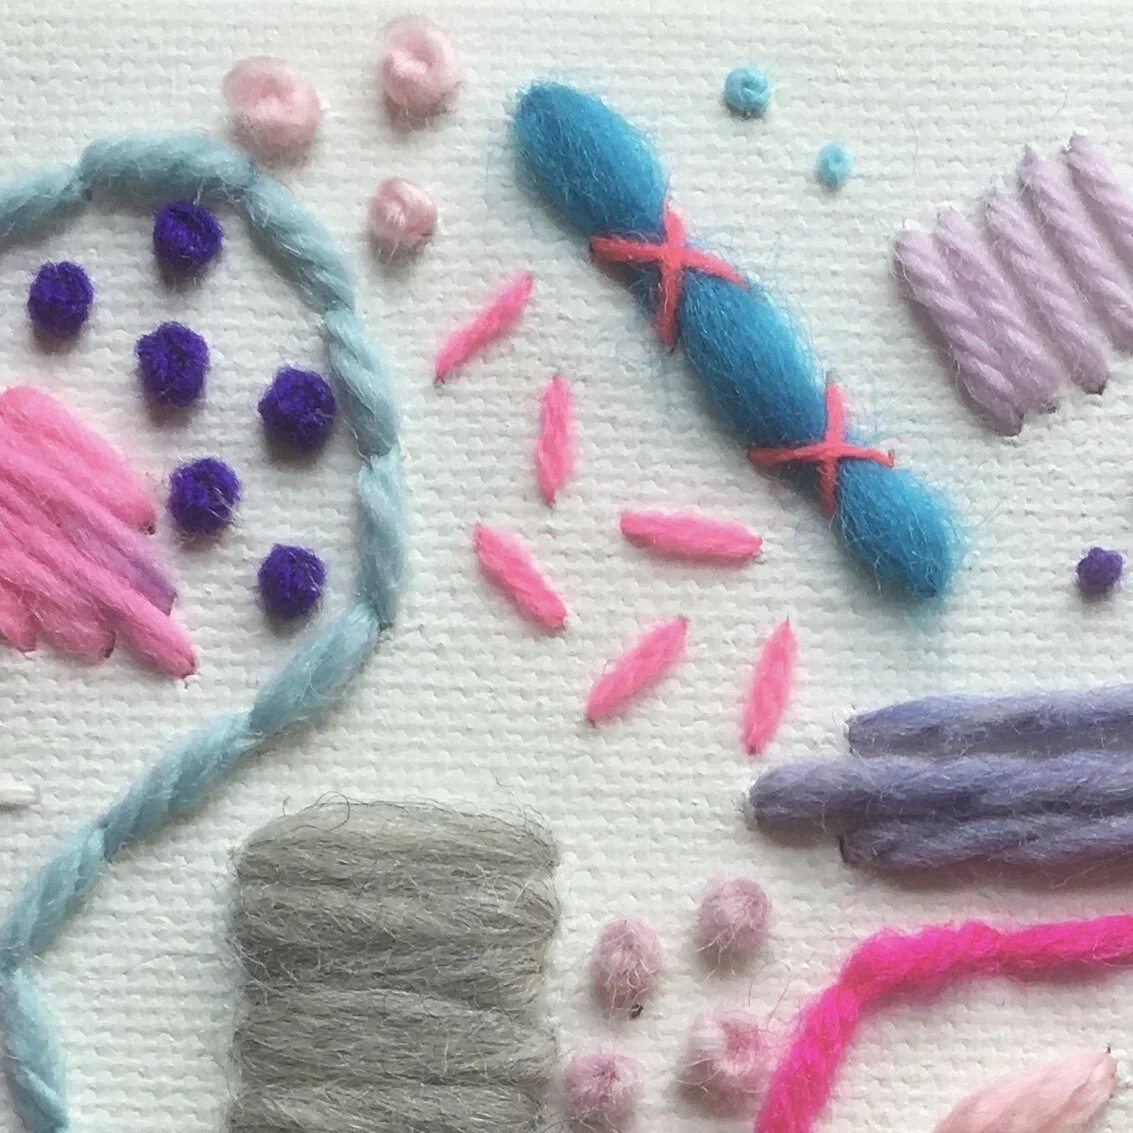
  • For the centre of flowers, I like to use French knots or a variation on this, pistil stitch.

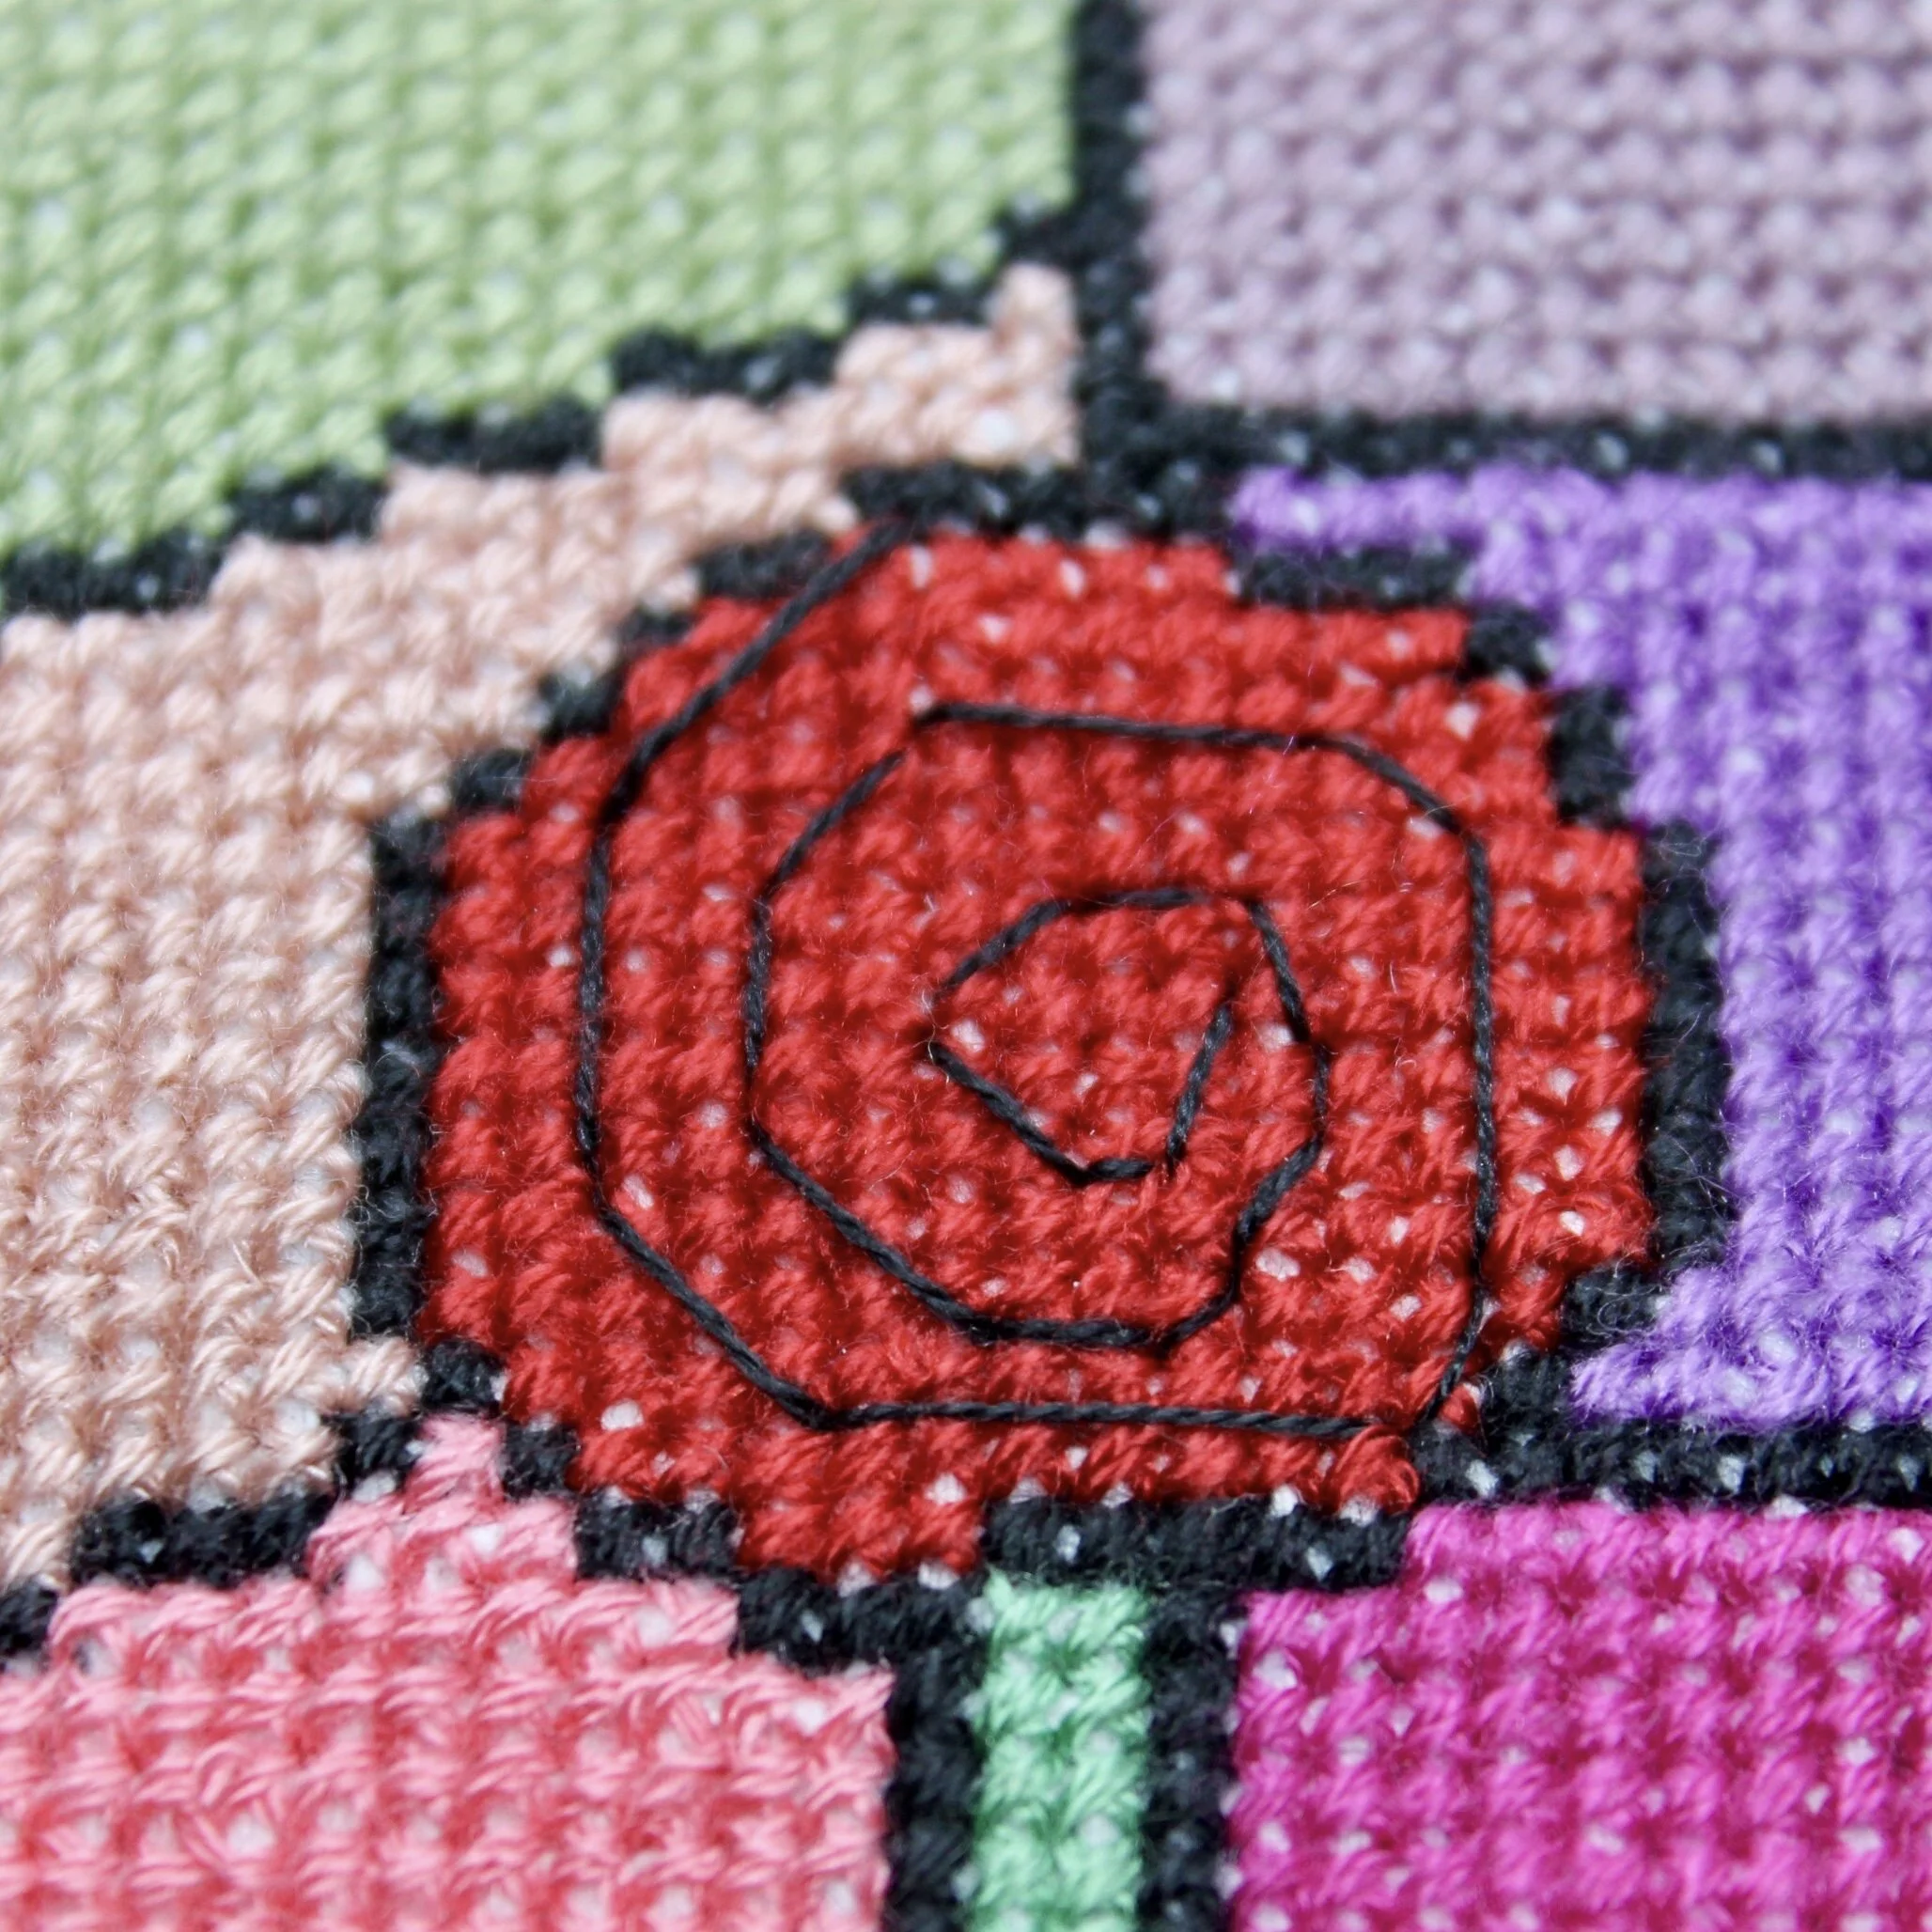
  • Woven wheels are great for a rose like flower shape and looks great when a few are stitched together.

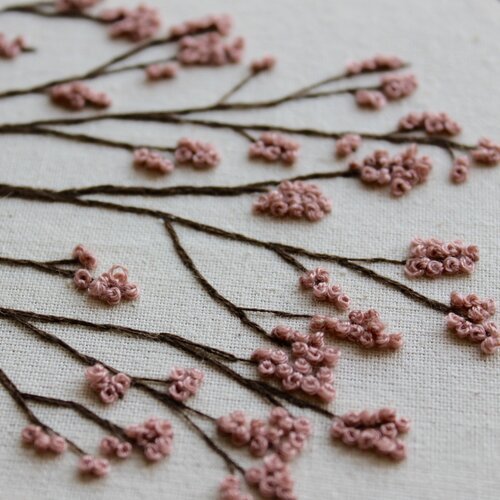
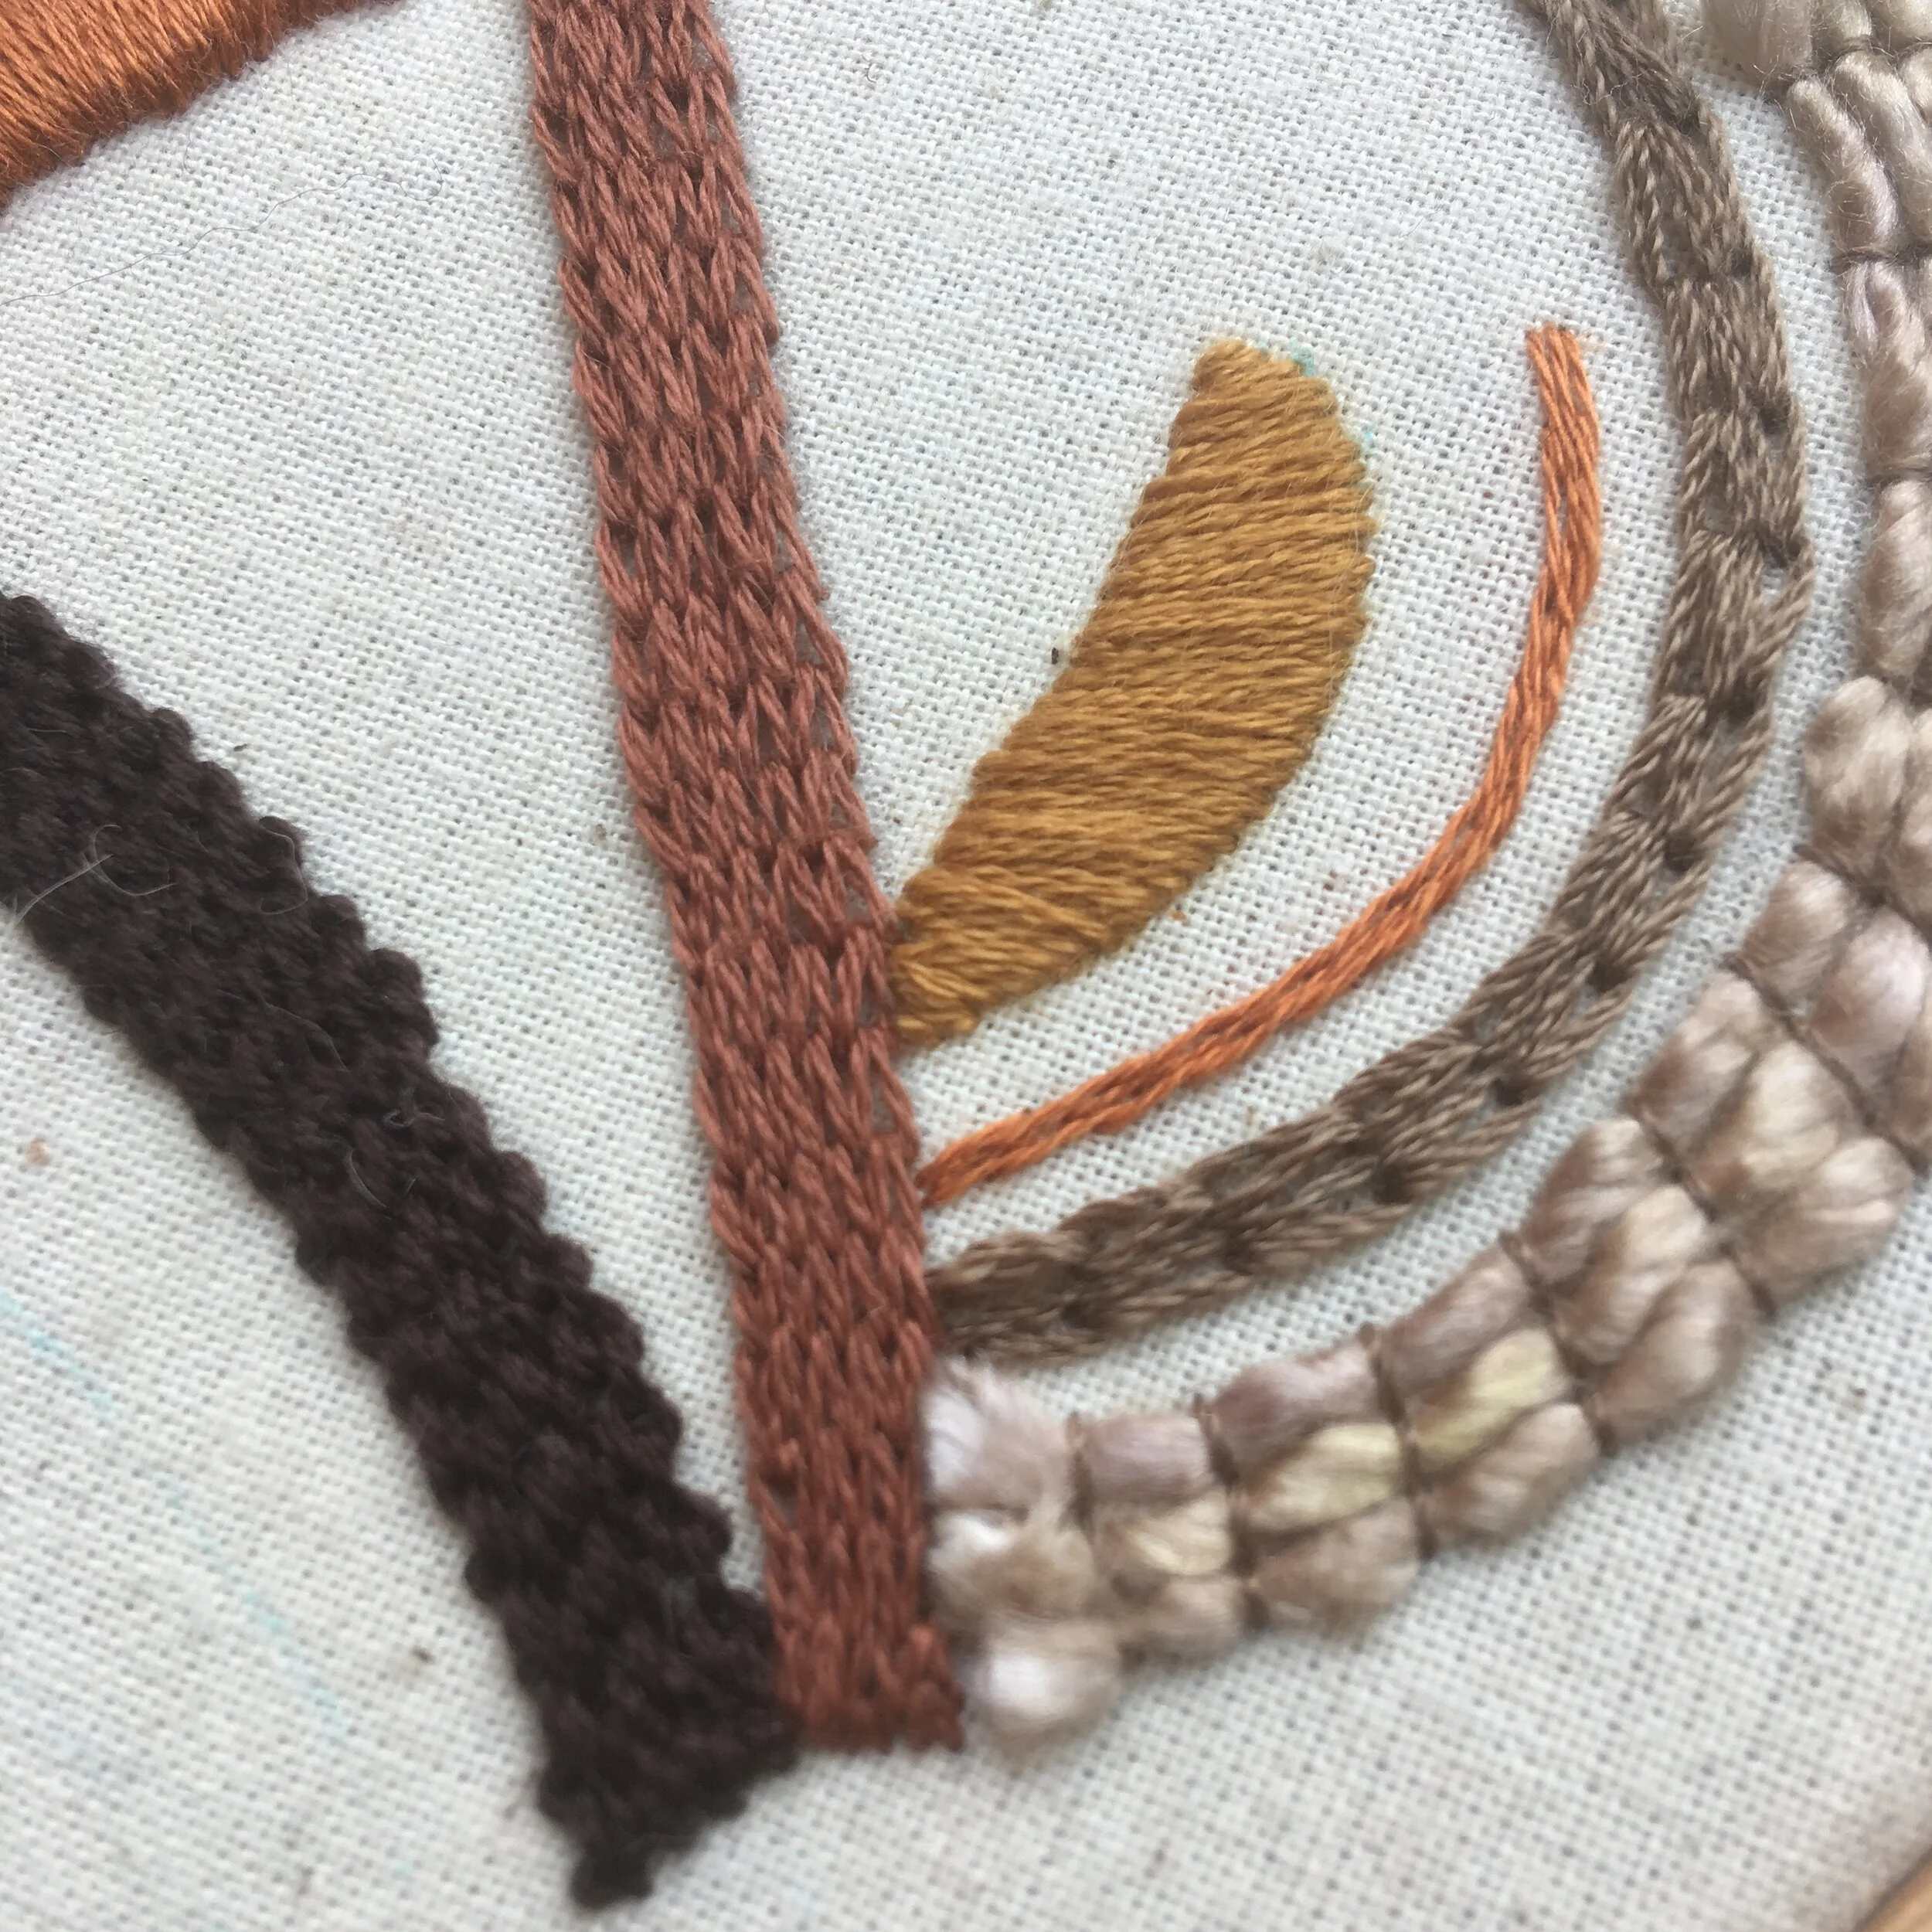
  • Plants with tiny flowers such as heather or lavender can be stitched using bullion knots or granitos stitch.

Enjoyed this blog post? I share embroidery tips and a free embroidery pattern in my monthly newsletter. Sign up here to receive the newsletter on the 1st of each the month.

In tips 4 Tags Filling Stitch
Comment
the background are monstera leaves printed in green and overlapping each other. Overlaid is a blue square with white text saying, hand embroider, a focus on stitches for leaves, www.embellishedelephant.co.uk

Focus on stitches for leaves

January 1, 2025

Many of my patterns feature leaves so I thought I'd share some different stitches that can be used to stitch leaves. They are all variations on satin stitch.

  • Leaf stitch is what I call satin stitch that is angled up each side of the leaf. This creates a ditch of stitching along the centre of the leaf much like a vein which can be covered up with line stitches such as stem stitch or split stitch.

  • Fishbone stitch (and raised fishbone stitch which is a bulkier version) are similar to leaf stitch but overlap in the centre of the leaf so there is no ditch. Open fishbone stitch is another variation where a bit of a gap is left between each stitch which I think looks like a leaf skeleton.

  • Long and short stitch is one of my favourite stitches. It is satin stitch broken up into sections so gives a much more textured look. Each section can be stitched in the same colour or different colours. This stitch  is used for a technique called thread painting.

Enjoyed this blog post? I share embroidery tips and a free embroidery pattern in my monthly newsletter. Sign up here to receive the newsletter on the 1st of each the month.

In tips 4 Tags Filling Stitch
Comment
A close up of some multi coloured embroidery stitches slightly out of focus. Overlaid is a blue square with white text saying - hand embroidery, how to decide which embroidery stitch to use, www.embellishedelephant.co.uk

How to decide which embroidery stitch to use?

February 22, 2023

There are hundreds of different embroidery stitches so how do you decide which ones to use in an embroidery project?

Most embroidery patterns will be made up of elements involving lines, areas and details. The type of stitch to pick will depend on the element that you are stitching.

A picture of a felt leaf with the veins of the leaf stitched using split stitch

Lines or outlines

You need to consider whether you want a basic look that you get from a stitch such as backstitch or something that makes a feature from the line stitch such as split stitch. I share some of my favourite line stitches here.

A picture of the edge of an embroidery hoop. In the hoop is green fabric and on the fabric is stitched a monstera leaf. The embroidery is in light green at the edge and darker green in the centre using long and short stitch

Areas that need filling

These require stitches that can cover the fabric. Satin stitch is a popular stitch for filling large areas but I really like long and short stitch which breaks up satin stitch into sections. You can see a selection of filling stitches here.

A close up of an embroidery on calico fabric. The embroidery is brown branches with pink french knot stitch to represent blossom

Details

There are a range of stitches that can be used to highlight a feature or add texture or detail. Texture stitches such as the ones I’ve selected here can add a 3-D feel to the embroidery. Isolated stitches are those that can be stitched on their own (or in groups) to highlight a feature for example the centre of a flower. A range of isolated stitches are listed here.

Enjoyed this blog post? I share embroidery tips and a free embroidery pattern in my monthly newsletter. Sign up here to receive the newsletter on the 1st of each the month.

In tips 4 Tags Isolated Stitch, Texture Stitch, Line Stitch, Filling Stitch
Comment
A picture of a close up of an embroidered leaf stitched in blue floss on calico. Overlaid is a blue square with the text - stitch showcase, open fishbone stitch, tutorials for embroidery stitches and ideas for ways to use them,

Stitch Showcase: Open Fishbone Stitch

December 22, 2021

There are a few different variations on the fishbone stitch, including open fishbone stitch and raised fishbone stitch.

  • At the top of the shape bring the needle up close to the centre top

  • Take the needle down through the fabric at a diagonal angle, completing the stitch just slightly to the other side of the centre of the shape

  • Bring the needle up through the fabric in line with the first stitch but on the other side of the centre line

  • Take the needle down through the fabric at a diagonal angle completing the stitch in line with the first one

  • Repeat all the way down the shape, alternating sides A to B then C to D.

  • Leave a small gap between each pair of stitches and aim to have the same sized gap all the way down the shape.

an illustration of how to create open fishbone stitch. The illustration is in blue on a white background

Enjoyed this blog post? I share embroidery tips and a free embroidery pattern in my monthly newsletter. Sign up here to receive the newsletter on the 1st of each the month.

In stitch showcase 2 Tags Stitch Showcase, Filling Stitch
Comment
an image of some embroidery leaves in close up. Overlaid is a blue square with text saying - stitch showcase, raised fishbone stitch, www.embellishedelephant.co.uk

Stitch Showcase: Raised Fishbone Stitch

December 15, 2021

I tend to use satin stitch or leaf stitch when filling in leaves but that stitch does tend to leave tiny gaps at the centre line of the leaf. Raised fishbone stitch is a great alternative as it creates a central line but as each stitch extends to the side of the leaf there are no gaps where the fabric shows through.

  • At the top of the shape bring the needle up close to the centre top

  • Take the needle down through the fabric at a diagonal angle at the edge of the shape

  • Bring the needle up through the fabric close to the start of the first stitch but on the other side of the centre line

  • Take the needle down through the fabric at a diagonal angle at the other side of the shape to the first stitch

  • Repeat all the way down the shape, alternating sides A to B then C to D.

An illustration of how to stitch raised fishbone stitch. The illustration is in blue on a white background

Enjoyed this blog post? I share embroidery tips and a free embroidery pattern in my monthly newsletter. Sign up here to receive the newsletter on the 1st of each the month.

In stitch showcase 2 Tags Filling Stitch
Comment
A close up image of an embroidery with bright pink flowers and green leaves. Overlaid is a blue square saying - hand embroidery, fishbone stitch, www.embellishedelephant.co.uk

Stitch Showcase: Fishbone Stitch

December 8, 2021

There are a few different variations on the fishbone stitch, including open fishbone stitch and raised fishbone stitch.

  • At the top of the shape bring the needle up close to the centre top

  • Start by creating a vertical line down the centre of the shape about 1cm long

  • Take the needle down through the fabric at a diagonal angle, completing the stitch just slightly to one side of the centre of the shape

  • Bring the needle up through the fabric in line with the first stitch but on the other side of the centre line

  • Take the needle down through the fabric at a diagonal angle completing the stitch in line with the first one

  • Repeat all the way down the shape, alternating sides A to B then C to D.

An illustration of how to create the fishbone embroidery stitch. The illustration is in blue on a white background.

Enjoyed this blog post? I share embroidery tips and a free embroidery pattern in my monthly newsletter. Sign up here to receive the newsletter on the 1st of each the month.

In stitch showcase 2 Tags Stitch Showcase, Filling Stitch
Comment
A picture of pink bead couching rows. Overlaid is a blue square with white text saying - stitch showcase, bead couching, www.embellishedelephant.co.uk

Stitch Showcase: Bead Couching

September 22, 2021

Beads were my first crafting love affair. One summer holiday I went to a workshop on bead weaving and was hooked. My first craft business was selling bead woven bracelets to classmates at school.

As my interest in beads developed I learned more about the techniques Native Americans used beads to decorate their belongings. One of the techniques used is bead couching.

Couching in embroidery is when small stitches are used to hold a thread on the surface of fabric. The principle with bead couching is very similar.

  • Bring the needle up through the fabric (A), thread on a small number of beads (between 3-6 is ideal)

  • Take the needle down through the fabric at the end of the row of beads (B) as close to the last bead as possible

  • Bring the needle up through the fabric about 2 or 3 beads along and make a tiny stitch over the string of beads to couch the string to the fabric.

An illustration of how to couch beads. The background is white and the illustration is shades of blue

An alternative method is:

  • Bring the needle up through the fabric (A), thread on a small number of beads (between 3-6 is ideal)

  • Take the needle down through the fabric and bring it up through the fabric about 2-3 beads along

  • Pass the needle through these two beads and then thread 3 or 4 beads onto the needle and repeat

This technique of passing the needle through the string of beads helps to make sure the beads sit flat to the fabric and there are no gaps between each bead.

A close up image of some native american beadwork in the shape of stars and flowers on leather

If you would like to have a go at bead couching, then why not take a look at my floral sampler kit where you can try this technique alongside a range of other stitches.

Sign up to my email newsletter to get a monthly free embroidery pattern and a round up of Stitch Showcase blogs.

In stitch showcase 2 Tags Stitch Showcase, Line Stitch, Filling Stitch
Comment
A picture of abstract embroidery shapes stitched in satin stitch in shades of yellow, orange, pink and red on a yellow background. Overlaid is a blue square with white text saying - hand embroidery, five filling stitches for embroidery,

5 filling stitches for embroidery

August 18, 2021

My default stitch for when I need to fill an area in an embroidery pattern is satin stitch but I don’t particularly enjoy stitching it so I’ve been enjoying trying out a range of different filling stitches.

A picture of waves stitched in satin stitch in different shades of blue with black lines between each wave and a beach at the bottom of the piece

Satin Stitch

The stitch that is used the most when areas need to be filled in. It is formed of long straight stitches laid close together.

A picture of a monstera leaf stitched in long and short stitch with light green floss at the edges and darker green floss filling the leaves

Long and Short Stitch

This is really just satin stitch split into different sections to fill an area. This gives a much more textured effect that satin stitch and is much better for filling larger areas.

An image of 3 sections of brick stitch in different types of blue thread.

Brick Stitch

Lines of backstitch next to each other and slightly offset to create a brick effect. This stitch just makes you want to touch the embroidery.

A picture of a plant in a basket with the basket stitched using rows of chain stitch close together

Chain Stitch

A chain stitch is a series of small loops and can be used to fill areas or in a line.

a close up of some long thin leaves stitched with leaf stitch

Leaf Stitch

This is a variation on satin stitch. The stitches are angled towards the centre of the leaf and the angle of the stitch is maintained along the length of the stitch.

Enjoyed this blog post? I share embroidery tips and a free embroidery pattern in my monthly newsletter. Sign up here to receive the newsletter on the 1st of each the month.

In tips 2 Tags Stitch Showcase, Filling Stitch
Comment
A picture of rose embroidery stitched in peach satin stitch with an outline in a slightly darker shade of peach. Overlaid is a blue square with white text saying - hand embroidery - do you outline satin stitch - www.embellishedelephant.co.uk

Do you outline satin stitch?

July 14, 2021

My short answer is ‘it depends’. Traditionally satin stitch is used to fill an area with long flat stitches and doesn’t have any outline.

But it can be tricky to get a smooth edge to the filled area of satin stitch whatever your level of embroidery skill or experience. This is because of the way the pattern is placed on the thin warp and weft threads of the fabric. Generally when you create an embroidery stitch the needle pokes through the fabric in the little hole between the warp and weft threads. However, if your transferred pattern means that the ideal placement for the end of the stitch isn’t in one of these gaps it can be tricky to get the stitch in the exact place you need it to be. As a result you may get small patches of the edge of satin stitch that aren’t in the smooth line you were hoping for.

Stitching very short satin stitches can be particularly difficult to stitch as well, often resulting in an uneven edge (see the stems of the fuchsias below!)

Using an outline stitch covers up some of this unevenness to give a smooth looking finish. You can see below two fuchsia flowers, one with no outline and one outlined using a single strand of floss and split stitch. Which of the two do you prefer?

A close up picture of an embroidery of two fuchsia flowers in pink and purple. Both flowers are stitched using sating stitch, but one is outlined with split stitch

I often also use outline stitches when I’ve got blocks of filled colour next to each other. The filling stitch helps the eye to separate these blocks. I also love using a slightly different shade to help with this definition. The rose you can see at the top of this page is stitched with a slightly darker shade of peach for the outline, that looks great at a distance and close up.

Any line stitch can be used to outline filled in areas. My personal preference is split stitch as you don’t get any gaps between each of the stitches which you sometimes get with backstitch. Couching is another way of outlining but the thread is couched down with tiny stitches which can sometimes distract the eye.

This is one of the very first pieces I embroidered and the outlines and stems are outlined with couching. (It also shows how you shouldn’t give up if you’re stitches aren’t perfect when you first start.)

An embroidery of a greenhouse with the outline of the greenhouse stitched in black couching stitch

I always decide whether to add an outline after I’ve completed the satin stitch. But there are some embroiderers who add the outline first and then fill in. I’ve tried this method but I find it tricky to get the satin stitches under rather than through the outline. I’d suggest you have a go and determine which method works best for you.

Enjoyed this blog post? I share embroidery tips and a free embroidery pattern in my monthly newsletter. Sign up here to receive the newsletter on the 1st of each the month.

In tips 2 Tags Stitch Showcase, Filling Stitch, Line Stitch
Comment
A picture of embroidered leaves. Overlaid is a blue square with white text saying - stitch showcase, leaf stitch, www.embellishedelephant.co.uk

Stitch Showcase: Leaf Stitch

March 10, 2021

This is a version of satin stitch used, not surprisingly, to fill in leaf shapes. It helps to draw guidelines for the shape of the leaf, the centre line and indicating the angle the stitches will follow working down the leaf.

  • To start make one stitch from the top point of the leaf to the centre of the leaf (A)

  • Work satin stitch into that same finishing point for a few stitches (B and C). The angles will gradually change until the stitches are at the angle to be used for the rest of the leaf

  • Continue working down the leaf. My preference is to alternate from one side to the other but this stitch could also be worked on one side first

  • Make sure that your stitches meet neatly in the middle (if they don't they can be covered up with some split stitches)

an illustration of leaf embroidery stitch. The illustration is in shades of blue on a white background

These are pictures from the first couple of embroidery projects that I stitched when I started to immerse myself in this wonderful craft.

On the greenhouse picture you can see that the outside edge of the leaves isn’t quite a smooth finish. On the Monstera leaf picture the angles of stitches are all over the place.

It was only after I stitched these that I learned about how much guidelines help with this stitch! Also a reminder to keep practicing and you will improve.

Want to try this stitch? It’s one I recommend using in my tulip kit.

Sign up to my email newsletter to get a monthly free embroidery pattern and a round up of Stitch Showcase blogs.

A picture of a greenhouse embroidery showing leaves stitched in green
A picture of a few monstera leaves stitched using angled satin stitch. The leaves are in different shades of green

Enjoyed this blog post? I share embroidery tips and a free embroidery pattern in my monthly newsletter. Sign up here to receive the newsletter on the 1st of each the month.

In stitch showcase 2 Tags Filling Stitch
Comment
A picture of a modern abstract embroidery in shades of grey and yellow. Overlaid is a blue square with white text saying - stitch showcase, turkey work, www.embellishedelephant.co.uk

Stitch Showcase: Turkey Work

February 10, 2021

Turkey work is a great stitch to add some texture to a piece of embroidery. This stitch works well with multiple strands are used together, they can be the same colour or strands of different shades

  • Bring the thread down through the fabric (B) from the top leaving a tail (A)

  • Push the needle up through the fabric close to the first hole (C)

  • Take the needle back down through the fabric but leaving a loop. A finger or a pen can be used to loop around to create loops of the same diameter

  • For the next stitch, create this so that it lies across the end of one loop (D) and the beginning of the next (E). pull the thread tight to the fabric ie don’t make a loop

  • Repeat creating a loop stitch followed by a standard stitch

An illustration of how to create the embroidery stitch called turkey work. The illustration is in shades of blue and grey on a white background
  • Each loop can be stitched in rows or randomly to fill an area

  • It might be necessary to hold the loops already made out of the way so they don’t get caught

  • Once all the loops have been made snip through them to give the ‘hairy’ texture

  • The strands can be trimmed down to the same length or left uneven depending on the style of the finished piece.

Modern embroidery artists such as Salt Stitches and Katy Biele use this stitch frequently in their work. This picture is of a Salt Stitches DIY kit that I embroidered.

Sign up to my email newsletter to get a monthly free embroidery pattern and a round up of Stitch Showcase blogs.

A close up picture of an embroider hoop with loops of thread being cut by scissors to create turkey work
A picture of a finished embroidery hoop stitched from a DIY kit by Salt Stitches. It is an abstract modern embroidery with a range of stitches and beads
In stitch showcase 1 Tags Stitch Showcase, Filling Stitch, Texture Stitch
Comment
An image of a grid of cross stitch in blue thread on white background. Overlaid is a blue square with white text saying - stitch showcase, cross stitch, www.embellishedelephant.co.uk

Stitch Showcase: Cross Stitch

December 23, 2020

Cross stitch is most commonly worked on Aida or even weave fabric which has an regular number of weft and warp threads to allow the creation of even sized stitching, however it can also be used in free form embroidery as well.

  • Bring the needle up at the top left of the stitch (A)

  • Make a stitch diagonally to the bottom right corner (B)

  • Bring the needle up at the top right (C)

  • Take it down through the fabric at the bottom left corner (D)

  • If you are stitching a panel of cross stitches you can stitch the first half of the stitch (A to B) for the whole area then work back over the area completing the crosses (C to D)

  • However you stitch make sure that you always work the first part of the stitch the same way to create a nice even finish.

A illustration of how to create cross stitch embroidery stitch. The illustration is in shades of blue and grey on a white background.

The first picture shows a traditional use of cross stitch - it fills an area and is worked on Aida. The second picture shows that as well as being used to fill areas, it can also be used as a single isolated stitch to couch other threads.

An image of a cross stitch rose surrounded by solid panels of colour with black outlines and details.
A modern embroidery showing how cross stitch can be used in other approaches such as in couching. The modern embroidery is on a white background with the stitches in shades of blue, pink and purple

Enjoyed this blog post? I share embroidery tips and a free embroidery pattern in my monthly newsletter. Sign up here to receive the newsletter on the 1st of each the month.

In stitch showcase 1 Tags Stitch Showcase, Filling Stitch
Comment
A picture of brick stitch in three different blue threads. Overlaid is a blue square with white text saying - stitch showcase, brick stitch, www.embellishedelephant.co.uk

Stitch Showcase: Brick Stitch

December 9, 2020

Brick stitch is simply rows of back stitch next to each other and staggered, like bricks in the wall.

  • Start by creating a row of backstitch (see here for a tutorial on backstitch)

  • To create the next row, start the stitch about half way along the first (B)

  • Complete the stitch, making sure the length of the stitch is consistent with the previous row (A)

  • Create the next stitch again about halfway along the row above (C) and complete the stitch (B)

An illustration showing how to create brick stitch. The illustration is in blue on a white background.

This canvas work sampler shows tow different examples of brick stitches, the light brown shows a block of bricks using longer stitches. Whilst the grey section the bricks are stitched in a diagonal direction.

The close up of one of my intuitive embroidery pieces shows two further examples of brick stitch. Can you spot them? A light green section in the centre of the photo shows three long, thin rows, whilst just below this there is a mustard coloured triangular section where brick stitch is used more as a filling stitch.

Want to try this stitch? It’s one I suggest as part of my monstera kit.

Sign up to my email newsletter to get a monthly free embroidery pattern and a round up of Stitch Showcase blogs.

A picture of a canvas work stitch sampler showing different canvas work stitches in shades of brown and yellow yarn
A close up image of a modern embroidery in autumnal tones using a range of embroidery stitches
In stitch showcase 1 Tags Stitch Showcase, Line Stitch, Filling Stitch
Comment
An image of blue thread woven tightly in a grid. Overlaid is a blue square with white text saying - stitch showcase, needle weaving, www.embellishedelephant.co.uk

Stitch Showcase: Needle Weaving

November 25, 2020

If you’ve ever woven with a loom then needle weaving is a version of this just on a much smaller scale. It’s also the same technique you’ll use if you need to darn a sock or jumper.

  • To start you need to create the warp threads, these should be long, parallel stitches in one direction (A to B).

  • The steps for satin stitch here can be used for creating the warp threads

  • The warp threads don’t have to be laid tightly together, but if they are spaced, make sure the spacing is even

  • The weaving can be done in the same thread or a different one, the weft thread is passed over and under the warp threads (C to D)

  • On the next row it is passed under and over ie the opposite way.

  • Different textures can be created by passing over or under different numbers of threads or using the same pattern on multiple rows.

An illustration of how to create needle weaving embroidery stitch. The illustration is in shades of blue and grey on a white background.

Normally all the weaving is done above the surface, but I’ve found that I maintain tension better and don’t get a pulling effect if I anchor the end of each row with a tiny stitch through the fabric.

The blue sampler shown in the header picture uses two different thicknesses of thread with the weft thread the thicker one, this creates a much tighter weave and didn’t need to anchor at the end of each row because of this.

Want to try this stitch? It’s one I suggest using in my elephant ear plant kit.

Sign up to my email newsletter to get a monthly free embroidery pattern and a round up of Stitch Showcase blogs.

In stitch showcase 1 Tags Stitch Showcase, Filling Stitch
Comment
An image of a monstera leaf stitched in long and short stitch with two different shades of green. Overlaid is a blue square with white text saying - stitch showcase, long and short stitch, www.embellishedelephant.co.uk

Stitch Showcase: Long and Short Stitch

November 4, 2020

Long and short stitch is a great way to fill large areas if satin stitch isn’t suitable or you want a more textured look. It is a variation on satin stitch, where the area is covered using one long stitch, but instead of covering the whole area with one stitch you are breaking that one stitch up into several sections of random lengths. It is the different lengths that add the texture.

  • Starting at one edge make stitches of varying lengths (A to B).The aim is to make sure that stitches next to each other don't start and finish in line.

  • Once one side of the area has been stitched then move on to fill the next section (C to B)

  • It is easiest to work long and short stitch in sections. Try to divide the area to be filled into two or three sections. The header picture is stitched in two sections, the light green and the dark green

  • If stitching in three sections then stitch the outer and inner edges first before filling in the middle.

An illustration of how to create long and short stitch. The illustration is in blue and grey on a white background.

The picture below shows long and short stitch in progress and shows the texture that can be created when using one solid colour.

Lucy Freeman uses a lot of long and short stitch in her colourful botanical embroideries. This is a piece I stitched from one of her kits. It is stitched with all 6 strands of embroidery floss using long and short stitch. The green outer edge and light pink inner edge are stitched first before the central bright pink.

Want to try this stitch? It is one that I recommend using in my crocus embroidery kit.

Sign up to my email newsletter to get a monthly free embroidery pattern and a round up of Stitch Showcase blogs.

An image of a flower being stitched using long and short stitch. Red thread on calico gives a textured look to the stitching
An image of a pink and green monstera leaf on pink fabric. The monstera leaf is stitched using long and short stitch with green to the edge of the leaves, light pink at the centre and dark pink inbetween
In stitch showcase 1 Tags Stitch Showcase, Filling Stitch
Comment
An image of chain stitch used to create a basket effect in light brown thread. Overlaid is a blue square with white text saying - stitch showcase, chain stitch, www.embellishedelephant.co.uk

Stitch Showcase: Chain Stitch

October 14, 2020

Chain stitch is one of my favourite embroidery stitches as it can add some wonderful texture to a piece of work. It can be stitched in a single row or closer together to create a basket effect. A single chain stitch on its own is know as a lazy daisy stitch.

  • Bring the needle up through the fabric (A) then back down as close as possible to the original hole (B)

  • Gently pull the thread until there is a small loop - don't pull fully tight

  • Push the needle up through the fabric where the stitch should end (C) when pushing the needle back up make sure it goes through the centre of the loop

  • Gently pull the needle all the way through so that the loop ends up the same length as the stitch and lies flat

  • To create the next stitch push the needle back down as close as possible to the spot it came up (D), this should be inside the stitch just created

  • Repeat until the chain is the desired length

  • At the end of the chain, secure the final chain by stitching the last stitch over the end of the loop rather than inside it (E & F)

An illustration of the steps required to create chain stitch. The illustration is in blue and grey on a white background.

Chain stitch can be used as a filling stitch and looks great when several rows are stitched together, each row in the opposite direction.

It can also be stitched as a single chain to create an outline such as in this free kit from Mollie Makes designed by Zeena Shah. In this example, I also filled the chain stitches with a straight stitch in a contrasting colour to fill the centre of the chains.

Want to try this stitch? It’s a stitch I suggest using in my flamingo flower kit.

Enjoyed this blog post? I share embroidery tips and a free embroidery pattern in my monthly newsletter. Sign up here to receive the newsletter on the 1st of each the month.

A picture of an autumnal abstract embroidery showing elements stitched in chain stitch
A picture of a floral embroidery in a heart shape border stitched in chain stitch
In stitch showcase 1 Tags Stitch Showcase, Filling Stitch, Line Stitch
Comment
A picture of an embroidery of a tree branch with pink blossoms created from french knots. Overlaid is a blue square with white text saying - stitch showcase, french knot, www.embellishedelephant.co.uk

Stitch Showcase: French Knot

October 7, 2020

I think French knots are my all time favourite embroidery stitch. I know that some people can’t stand them but a little practice goes a long way with this one if this is one you haven’t tried before or don’t like I would recommend practicing on a scrap piece of fabric until you are comfortable with the motion of this stitch.

  • Push the needle up through the fabric in the place you want your knot to approximately sit (A)

  • Wrap the thread around the needle (the number of wraps affects the size of the knot) I tend to use three wraps

  • Take the tip of the needle back through the fabric as close to the original hole as possible (B). If the same hole is used then the knot can be pulled all the way through to the back of the fabric

  • Use your thumb over the thread wraps and gently pull the thread through, being careful of tangles.

An illustration of how to do french knot embroidery stitch. The illustration is in blue and grey on a white background.

Commonly French knots are used in isolation or in groups as in the blossom embroidery in the header picture, but can also be used to fill areas, such as in this negative space word art. (You need to REALLY love French knots if you are going to attempt a piece like this.)

They can also be used effectively as a counter point to more linear stitches such as in this blue piece of intuitive embroidery (where they also fill small gaps between the linear stitches.)

Want to try this stitch? It’s one I suggest using in my heart stitch sampler kit, flamingo flower plant kit, floral sampler kit and spring blossom kit.

Enjoyed this blog post? I share embroidery tips and a free embroidery pattern in my monthly newsletter. Sign up here to receive the newsletter on the 1st of each the month.

A picture of an embroidery hoop with yellow fabric and the word sunshine stitched in negative space style with the outline of the letters stitched in yellow french knots
A close up image of an abstract embroidery stitched in shades of blue yarn featuring a range of stitches including french knots
In stitch showcase 1 Tags Stitch Showcase, Filling Stitch, Isolated Stitch
Comment
A picture of a sea-scape stitched in satin stich in blues and yellows. Overlaid is a blue square with with text saying - stitch showcase, satin stitch, www.embellishedelephant.co.uk

Stitch Showcase: Satin Stitch

September 23, 2020

Satin stitch is commonly used to fill in large spaces and there are contemporary embroidery artists such as Sarah K Benning and Salt Stitches who use it extensively in their work. The stitch is created by laying lengths of thread as close as possible on the surface of the fabric.

  • Bring the needle up through the fabric at the appropriate starting point (A)

  • Take it down through the fabric at the end point (B)

  • Bring the needle back up right next to the first point you brought it through (C).

  • Take it down through the fabric next to the end of the first stitch (D)

  • The gap between each stitch will depend on the thickness of the thread being used

  • Each stitch should start from the same side each time. This should mean that the back of the work work looks similar to the front (just not as neat)

  • It may seem like a waste of thread to have such long stitches on the back of the work, but it does help to maintain the tension over such a large area.

  • If you are short of thread or are working a smaller area you could bring the needle up right next to the point it went down (on the same side of the area) rather than go back to the other side but beware this may cause fabric wrinkles.

An illustration of how to stitch satin stitch on a white background with blue and grey images.

Satin stitch can be made using a range of numbers of threads, this is a sampler I made exploring this, the yellow shape at the bottom is stitched with all 6 strands at once while the pale yellow on the right hand side is stitched with just one strand.

One of the most difficult things with covering a large area with satin stitch is to keep the stitches all at the same angle. You can draw guidelines to follow, but I like to create guidelines with stitches, these smaller areas can then be filled in bit by bit and it’s easier to maintain the direction of the stitches.

Want to try this stitch? It’s one I recommend using in my snowdrop kit and my floral sampler kit.

Enjoyed this blog post? I share embroidery tips and a free embroidery pattern in my monthly newsletter. Sign up here to receive the newsletter on the 1st of each the month.

A picture of abstract shapes of satin stitch in shades of yellow, purple and pinks on a mustard fabric background.
A picture of satin stitch covering a leaf showing thread and pen guidelines
In stitch showcase 1 Tags Stitch Showcase, Filling Stitch
Comment

Tags

  • About me
  • Artists/Designers
  • Basics
  • Christmas
  • colour
  • Couching Stitch
  • Fabric
  • Filling Stitch
  • Finishing
  • Hoops
  • Isolated Stitch
  • Line Stitch
  • London
  • My Makes
  • Needles
  • Stitch Showcase
  • Texture Stitch
  • Thread
  • Transfer
  • Travel

Latest Posts

Featured
May 1, 2025
How to manage your backlog of craft projects
May 1, 2025
May 1, 2025
Apr 1, 2025
What to do if you don't like what you've stitched
Apr 1, 2025
Apr 1, 2025
Feb 15, 2025
How to decide which embroidery stitch to use
Feb 15, 2025
Feb 15, 2025
Feb 1, 2025
Focus on stitches for flowers
Feb 1, 2025
Feb 1, 2025
Jan 1, 2025
Focus on stitches for leaves
Jan 1, 2025
Jan 1, 2025
Nov 1, 2024
Stitch Showcase: Six-pointed star stitch
Nov 1, 2024
Nov 1, 2024
Oct 1, 2024
Focus on transferring or tracing patterns
Oct 1, 2024
Oct 1, 2024
Sep 1, 2024
Focus on hoops
Sep 1, 2024
Sep 1, 2024
Aug 1, 2024
A focus on needles
Aug 1, 2024
Aug 1, 2024
Jul 1, 2024
Focus on threads
Jul 1, 2024
Jul 1, 2024

Home — Shop — Stockists — Wholesale — Portfolio — Contact — Reviews — Policies — FAQs