• Home
  • Shop
  • Stitch Showcase
  • Embroidery tips
  • Freebies
  • About
  • Contact
Menu

Embellished Elephant

  • Home
  • Shop
  • Stitch Showcase
  • Embroidery tips
  • Freebies
  • About
  • Contact
A picture of an embroidery on white cotton with lots of small blue stitches. Overlaid is a blue square with white text saying - hand embroidery, three tips to care for your finished embroidery, www.embellishedelephant.co.uk

Three tips to care for your finished embroidery

September 21, 2022

If you finish an embroidery you probably want to put in on display straight away. This post has a few ideas about where you can display your embroidery but how do you care for your finished piece of embroidery?

Here are my three top tips:

Keep it flat

Even if you plan on displaying it in another way ie in a frame or adding it to a quilt then I recommend keeping the finished piece as flat as possible.

I’ve learned this the hard way. I have a drawer where I keep finished samples so I can make use of the hoop for another project. They are laid nice and flat in the drawer, except when I go rummaging for a particular sample and in a rush don’t make sure everything is put back perfectly flat.

Crumpled fabric with embroidery on it is really difficult to get creases out of as ironing embroidery, even on the back and with protective clothes really has an impact.
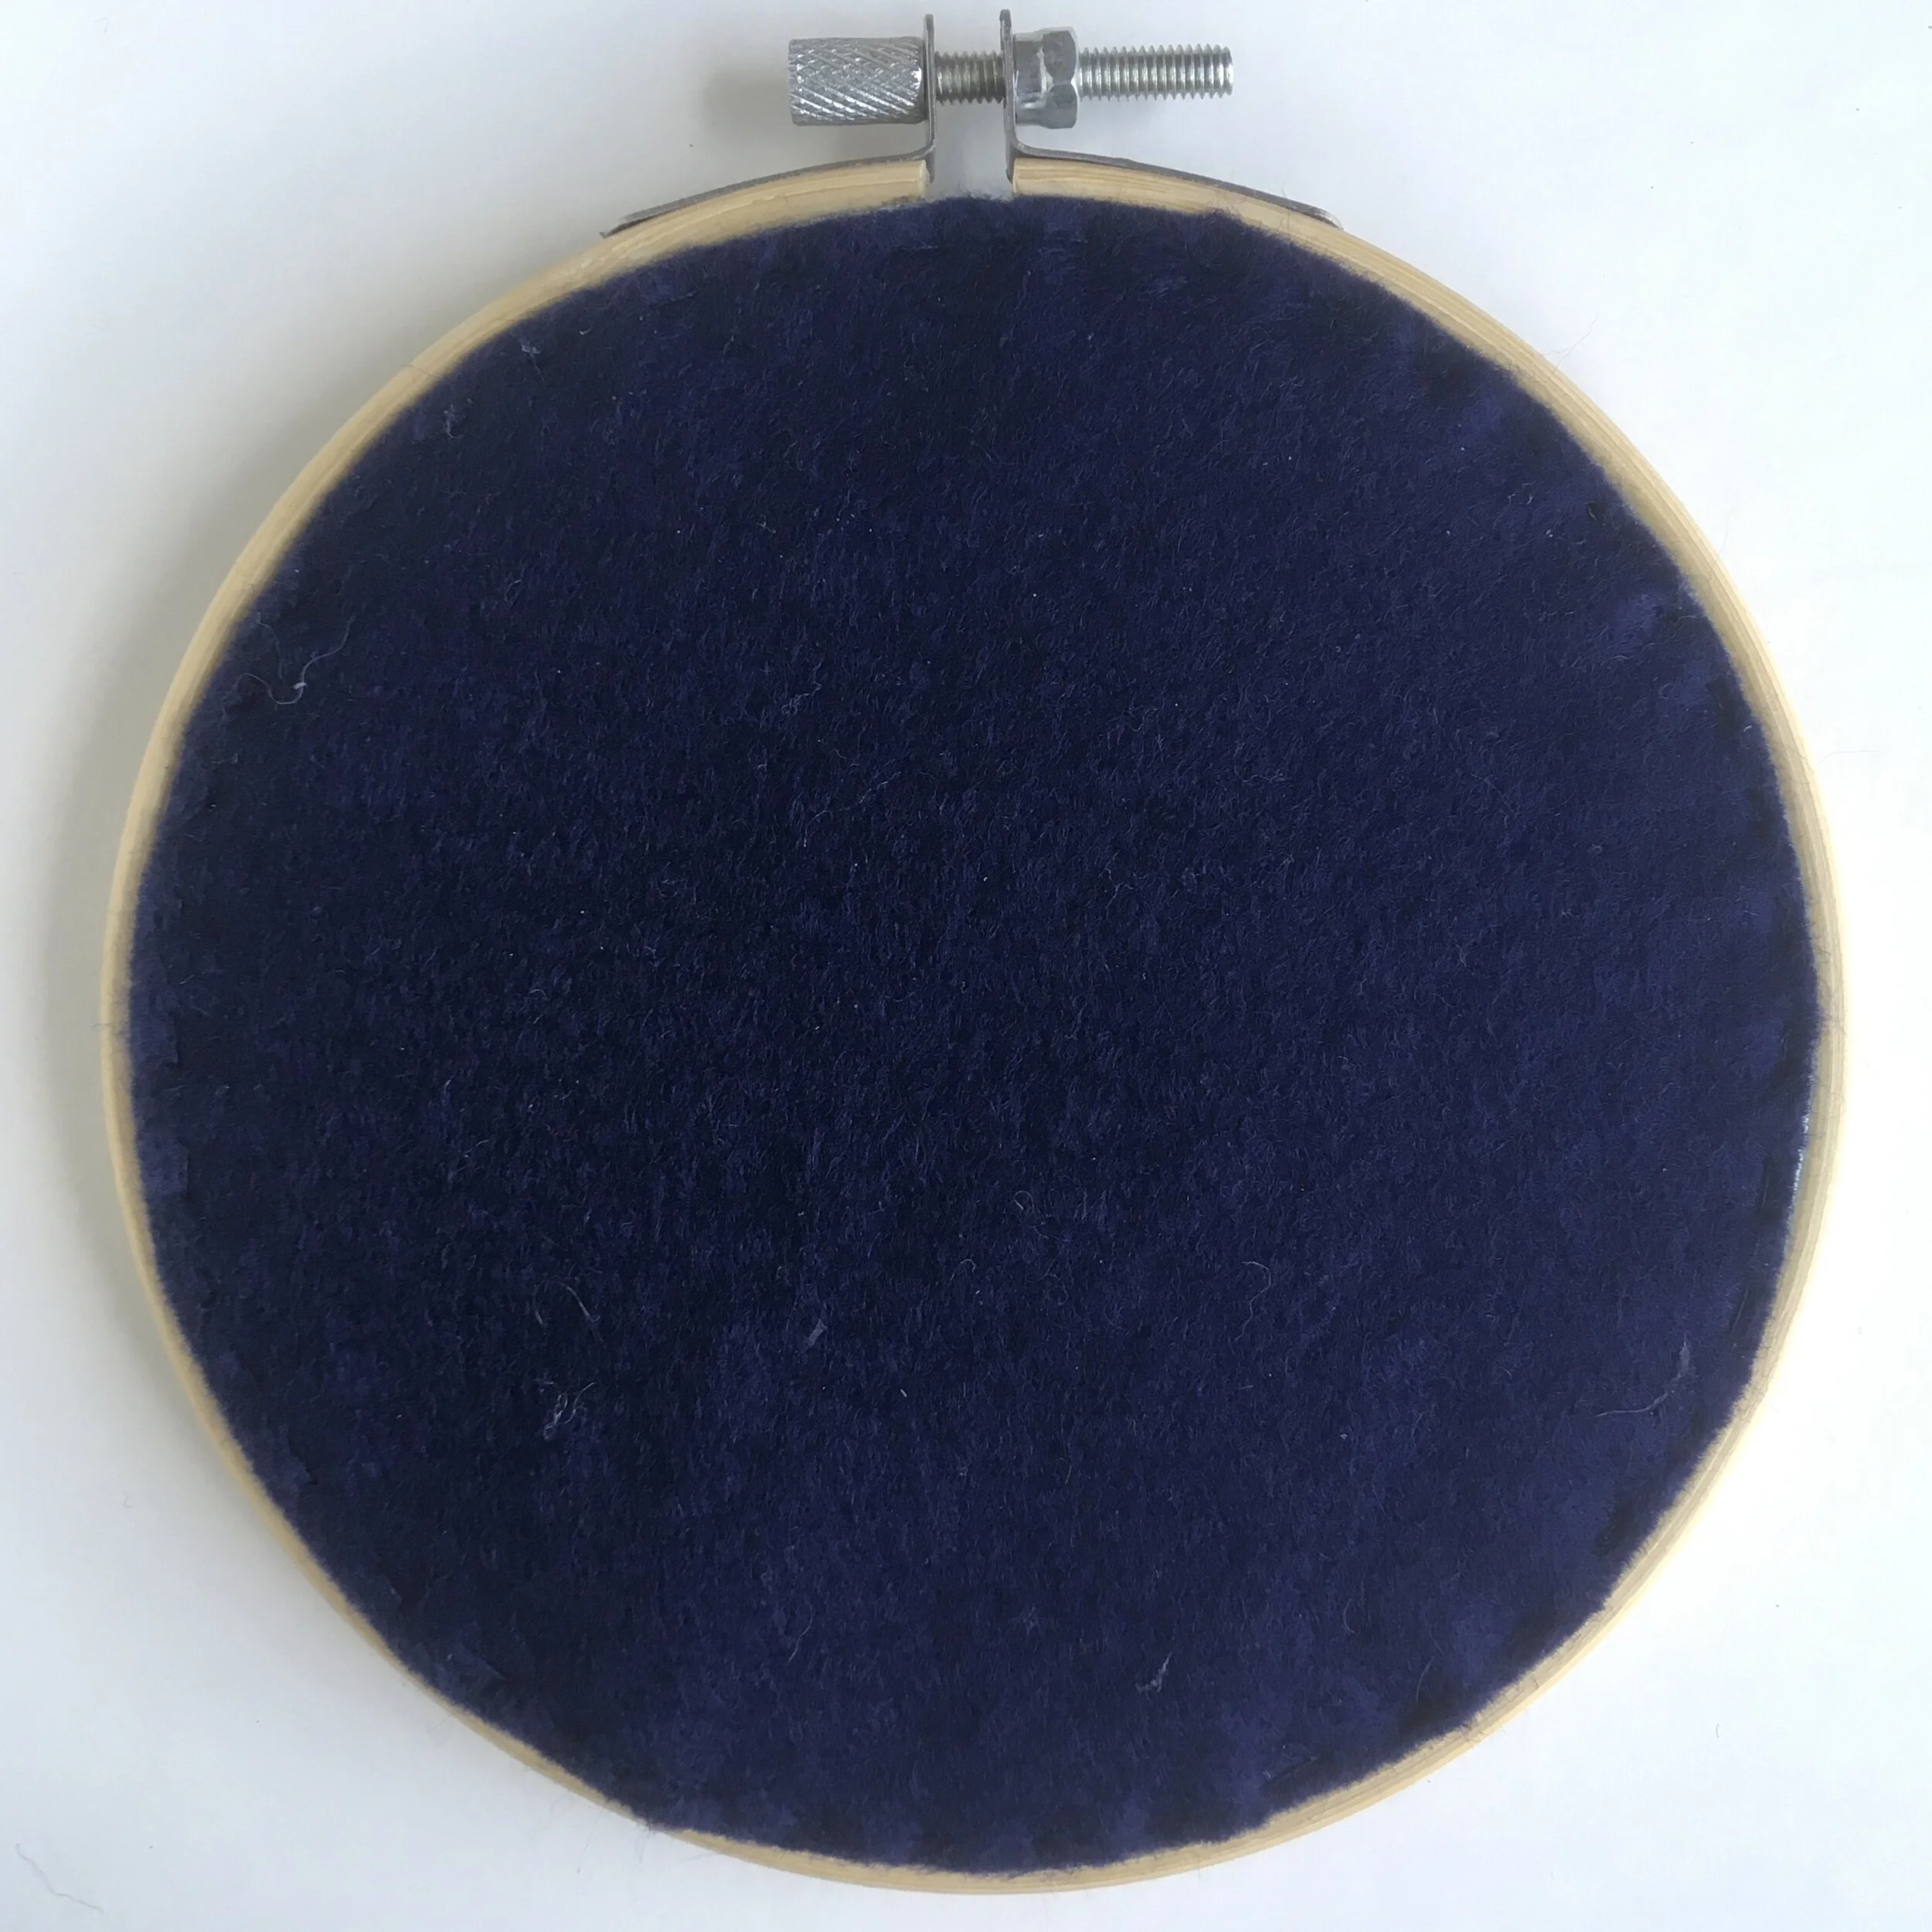
Keep the dust off

Your hoop will collect dust over time. You can either find a way to frame it behind glass or from time to time take it down and check it over for dust.

A quick blow might dislodge some dust but there are lots of tiny crevasses between threads that the dust can then land in. My preferred method is taking a bit of sellotape and gently dabbing it on to the fabric to pick up any loose particles.

This is also a great tip for removing any fluff attached to fabric in the creation process, for example from felt shapes.

Keep out of direct sunlight

My father-in-law had some pictures of the Rolling Stones in his living room and to protect them he’d have the blinds closed all the time meaning he was sitting there in the dark for much of the day. You don’t quite need to go to those extremes, but think about where you are displaying your finished embroidery and try to avoid putting it directly opposite a window. If you have no choice, then make sure that there is nothing else in front of it that could cause it to fade unevenly.

Enjoyed this blog post? I share embroidery tips and a free embroidery pattern in my monthly newsletter. Sign up here to receive the newsletter on the 1st of each the month.

In tips 3 Tags Finishing
Comment
A picture of a magnolia wall, on it are hanging 6 embroidery hoops on clear plastic hooks. Overlaid is a blue square with white text saying - hand embroidery, five ways to display your finished hoops, www.embellishedelephant.co.uk

Five ways to display your finished embroidery hoops

June 30, 2021

So you’ve finished your embroidery and want to proudly show it off? Here are five easy ways to display hour embroidery in your home.

A picture of an embroidery hoop, the screw fitting is resting on a small nail in a wall

Nail in the wall

This is a quick way to hang up your hoops but if you want to move your hoops somewhere else then those little holes will need fixing! I have a few nails that stay in place and I just switch the hoops that I hand on them.

A picture of an embroidery hoop held up on a wall by a clear plastic hook and some clear beading thread

Removable hooks

These hooks are a bit of magic. You can stick them to your wall and then reportedly you can remove them without them leaving any marks.

I’ve used the hooks and they are so simple to put up but I’ve not tried removing any as yet as I’m happy where they are at the moment!

These are the hooks I recommend.

(Note: This is an affiliate link which means that I get a small amount of money if you buy using this link.)

A picture of an embroidered banner saying 'crafting is good for the soul'. It is displayed hanging from a shelf via some tape to the hanging thread.

Tape

I have to admit this isn’t my favourite - I just can’t get the hoops to stay on the way with tape alone. But I have had success with lighter items such as this banner.

If you are going to try this method with a hoop, you need to add a hanging thread through the screw. I’d also recommend adding a knot to the end of that hanging thread as I’ve found that without a knot the weight of the hoop means it just slides straight through the tape.

A picture of a colourful embroidery in a hoop resting on a mini easel

Mini easel (or plate stand)

I spotted this mini easel in Flying Tiger (complete with a canvas) and thought it would work really well to display embroidery hoops on a shelf and I think it looks great. It also means that it’s super simple to switch the hoops around .

A picture of a colourful embroidery hoop displayed next to a small succulent in a pot on a shelf

On a shelf/picture shelf

Many of my hoops are simply propped up on a shelf. It the quickest and easiest way to get your hoop on display (providing you don’t have to put the shelf up first!) but it does take a knack to get them to sit upright.

Enjoyed this blog post? I share embroidery tips and a free embroidery pattern in my monthly newsletter. Sign up here to receive the newsletter on the 1st of each the month.

In tips 2 Tags Finishing, Hoops
Comment
A picture of the back of an embroidery hoop where the fabric has been glued to the hoop. Overlaid is a blue square with white text saying - hand embroidery, four ways to finish the back of a hoop, www.embellishedelephant.co.uk

4 ways to finish the back of embroidery hoops

December 12, 2020

You’ve stitched your piece and you want to proudly hang it in a hoop on the wall. But for it to lie flat on the wall you need to finish off the back of the hoop.

There are several different ways to do this:

A picture of an embroidery hoop with fabric glued to the hoop to finish the back of the hoop

1. Glue

This is great if you know you don’t want to use the hoop for another purpose at a later date and perfect if you’ve not got enough fabric to gather. Just get your glue gun out and work round the hoop section by section

A picture showing an embroidery hoop by finished by gathering fabric using running stitches

2. Gathering

The easiest non-permanent way to finish a hoop by stitching around the edge of the fabric at the back of the hoop and gently pulling the threads to tighten the edges. Just use a large running stitch round the edge of the fabric and gently pul until the fabric has gathered. You can get an even flatter finish if you criss-cross the threads at tension across the back of the hoop as well.

A picture of an embroidery hoop finished using a cardboard circle

3. Cardboard

This is my current favourite as it is so simple, works best if you’ve already gathered the lose fabric although you can sometimes get away with not having done this. Just draw round the inner hoop on a bit of cardboard and cut it out inside the line, trimming by a small amount if the card board still doesn’t fit

A picture of the back of an embroidery hoop finished off by stitching fabric over the back of the hoop

4. Felt

This gives the most professional finish again you need to gather the fabric first before carefully stitching the felt on to the fabric. Draw round the inner hoop on the felt and then attach with either running stitch or blanket stitch

Enjoyed this blog post? I share embroidery tips and a free embroidery pattern in my monthly newsletter. Sign up here to receive the newsletter on the 1st of each the month.

In tips 2 Tags Hoops, Finishing, Basics
Comment

Tags

  • About me
  • Artists/Designers
  • Basics
  • Christmas
  • colour
  • Couching Stitch
  • Fabric
  • Filling Stitch
  • Finishing
  • Hoops
  • Isolated Stitch
  • Line Stitch
  • London
  • My Makes
  • Needles
  • Stitch Showcase
  • Texture Stitch
  • Thread
  • Transfer
  • Travel

Latest Posts

Featured
May 1, 2025
How to manage your backlog of craft projects
May 1, 2025
May 1, 2025
Apr 1, 2025
What to do if you don't like what you've stitched
Apr 1, 2025
Apr 1, 2025
Feb 15, 2025
How to decide which embroidery stitch to use
Feb 15, 2025
Feb 15, 2025
Feb 1, 2025
Focus on stitches for flowers
Feb 1, 2025
Feb 1, 2025
Jan 1, 2025
Focus on stitches for leaves
Jan 1, 2025
Jan 1, 2025
Nov 1, 2024
Stitch Showcase: Six-pointed star stitch
Nov 1, 2024
Nov 1, 2024
Oct 1, 2024
Focus on transferring or tracing patterns
Oct 1, 2024
Oct 1, 2024
Sep 1, 2024
Focus on hoops
Sep 1, 2024
Sep 1, 2024
Aug 1, 2024
A focus on needles
Aug 1, 2024
Aug 1, 2024
Jul 1, 2024
Focus on threads
Jul 1, 2024
Jul 1, 2024

Home — Shop — Stockists — Wholesale — Portfolio — Contact — Reviews — Policies — FAQs