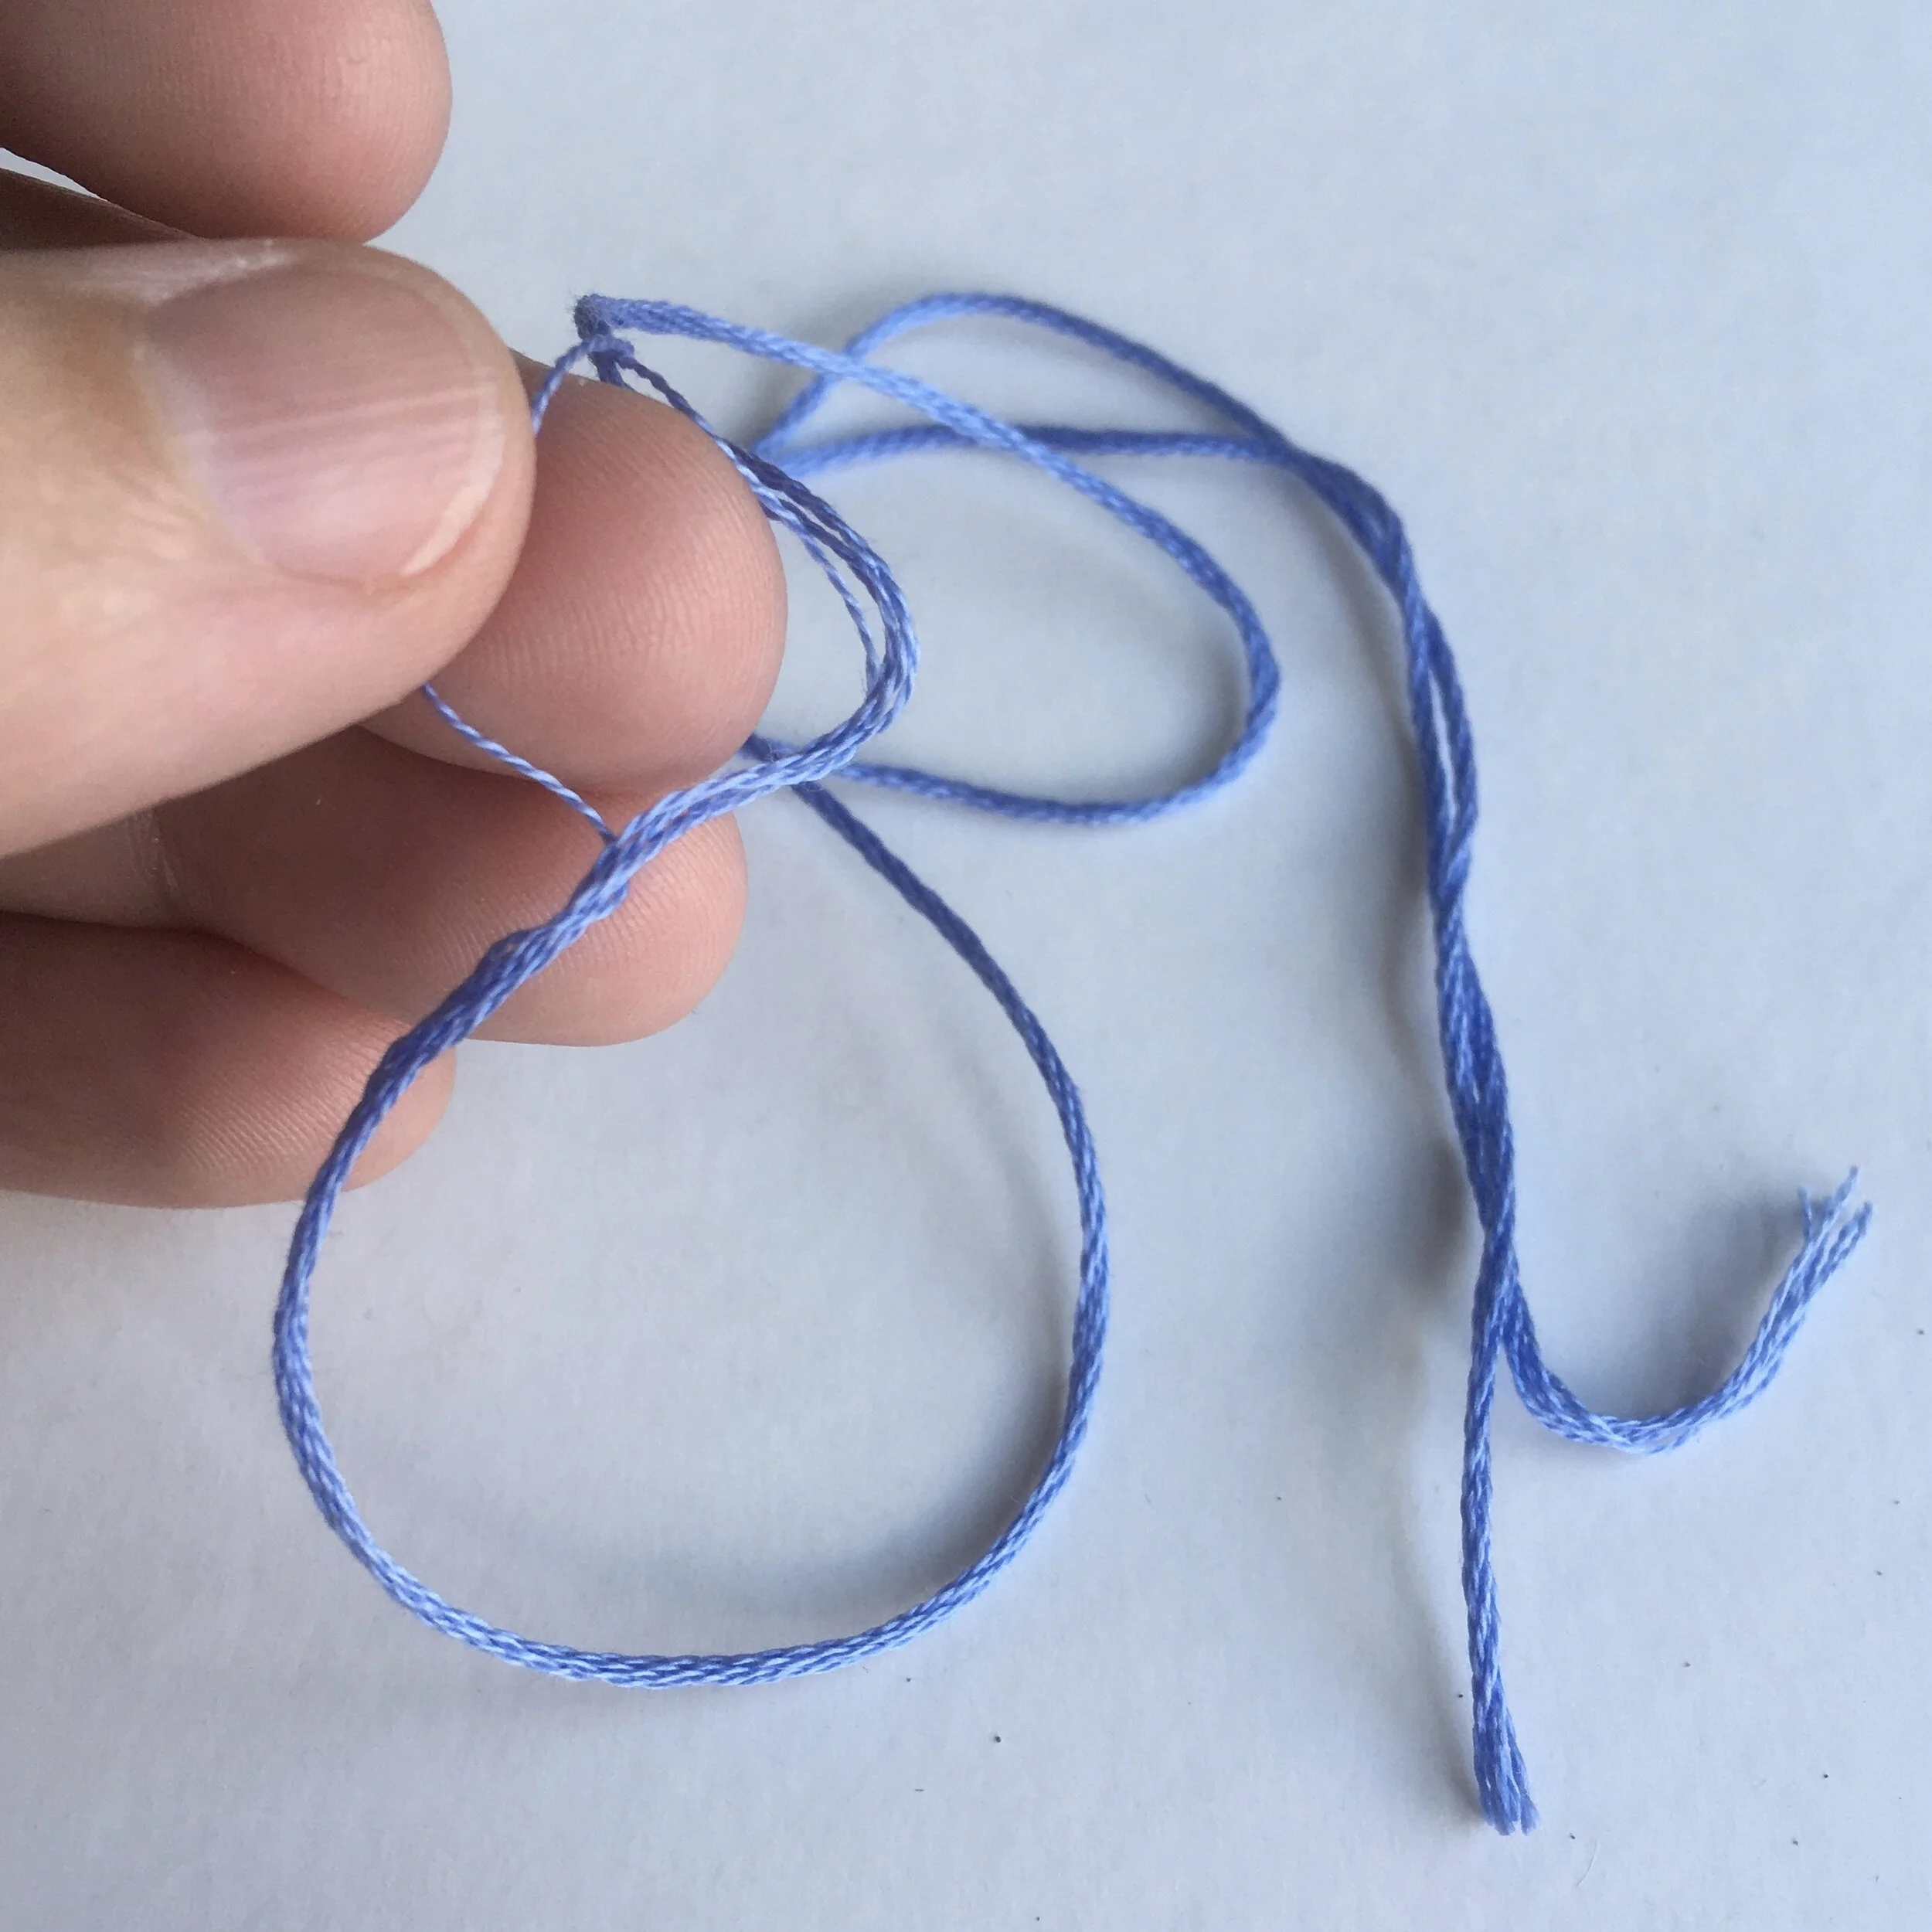
I’m conscious that in my patterns I regularly refer to the number of strands of thread that I recommend using for different elements of a pattern. But if you are just getting started with embroidery you may be wondering what is meant when a ‘strand’ is referred to.
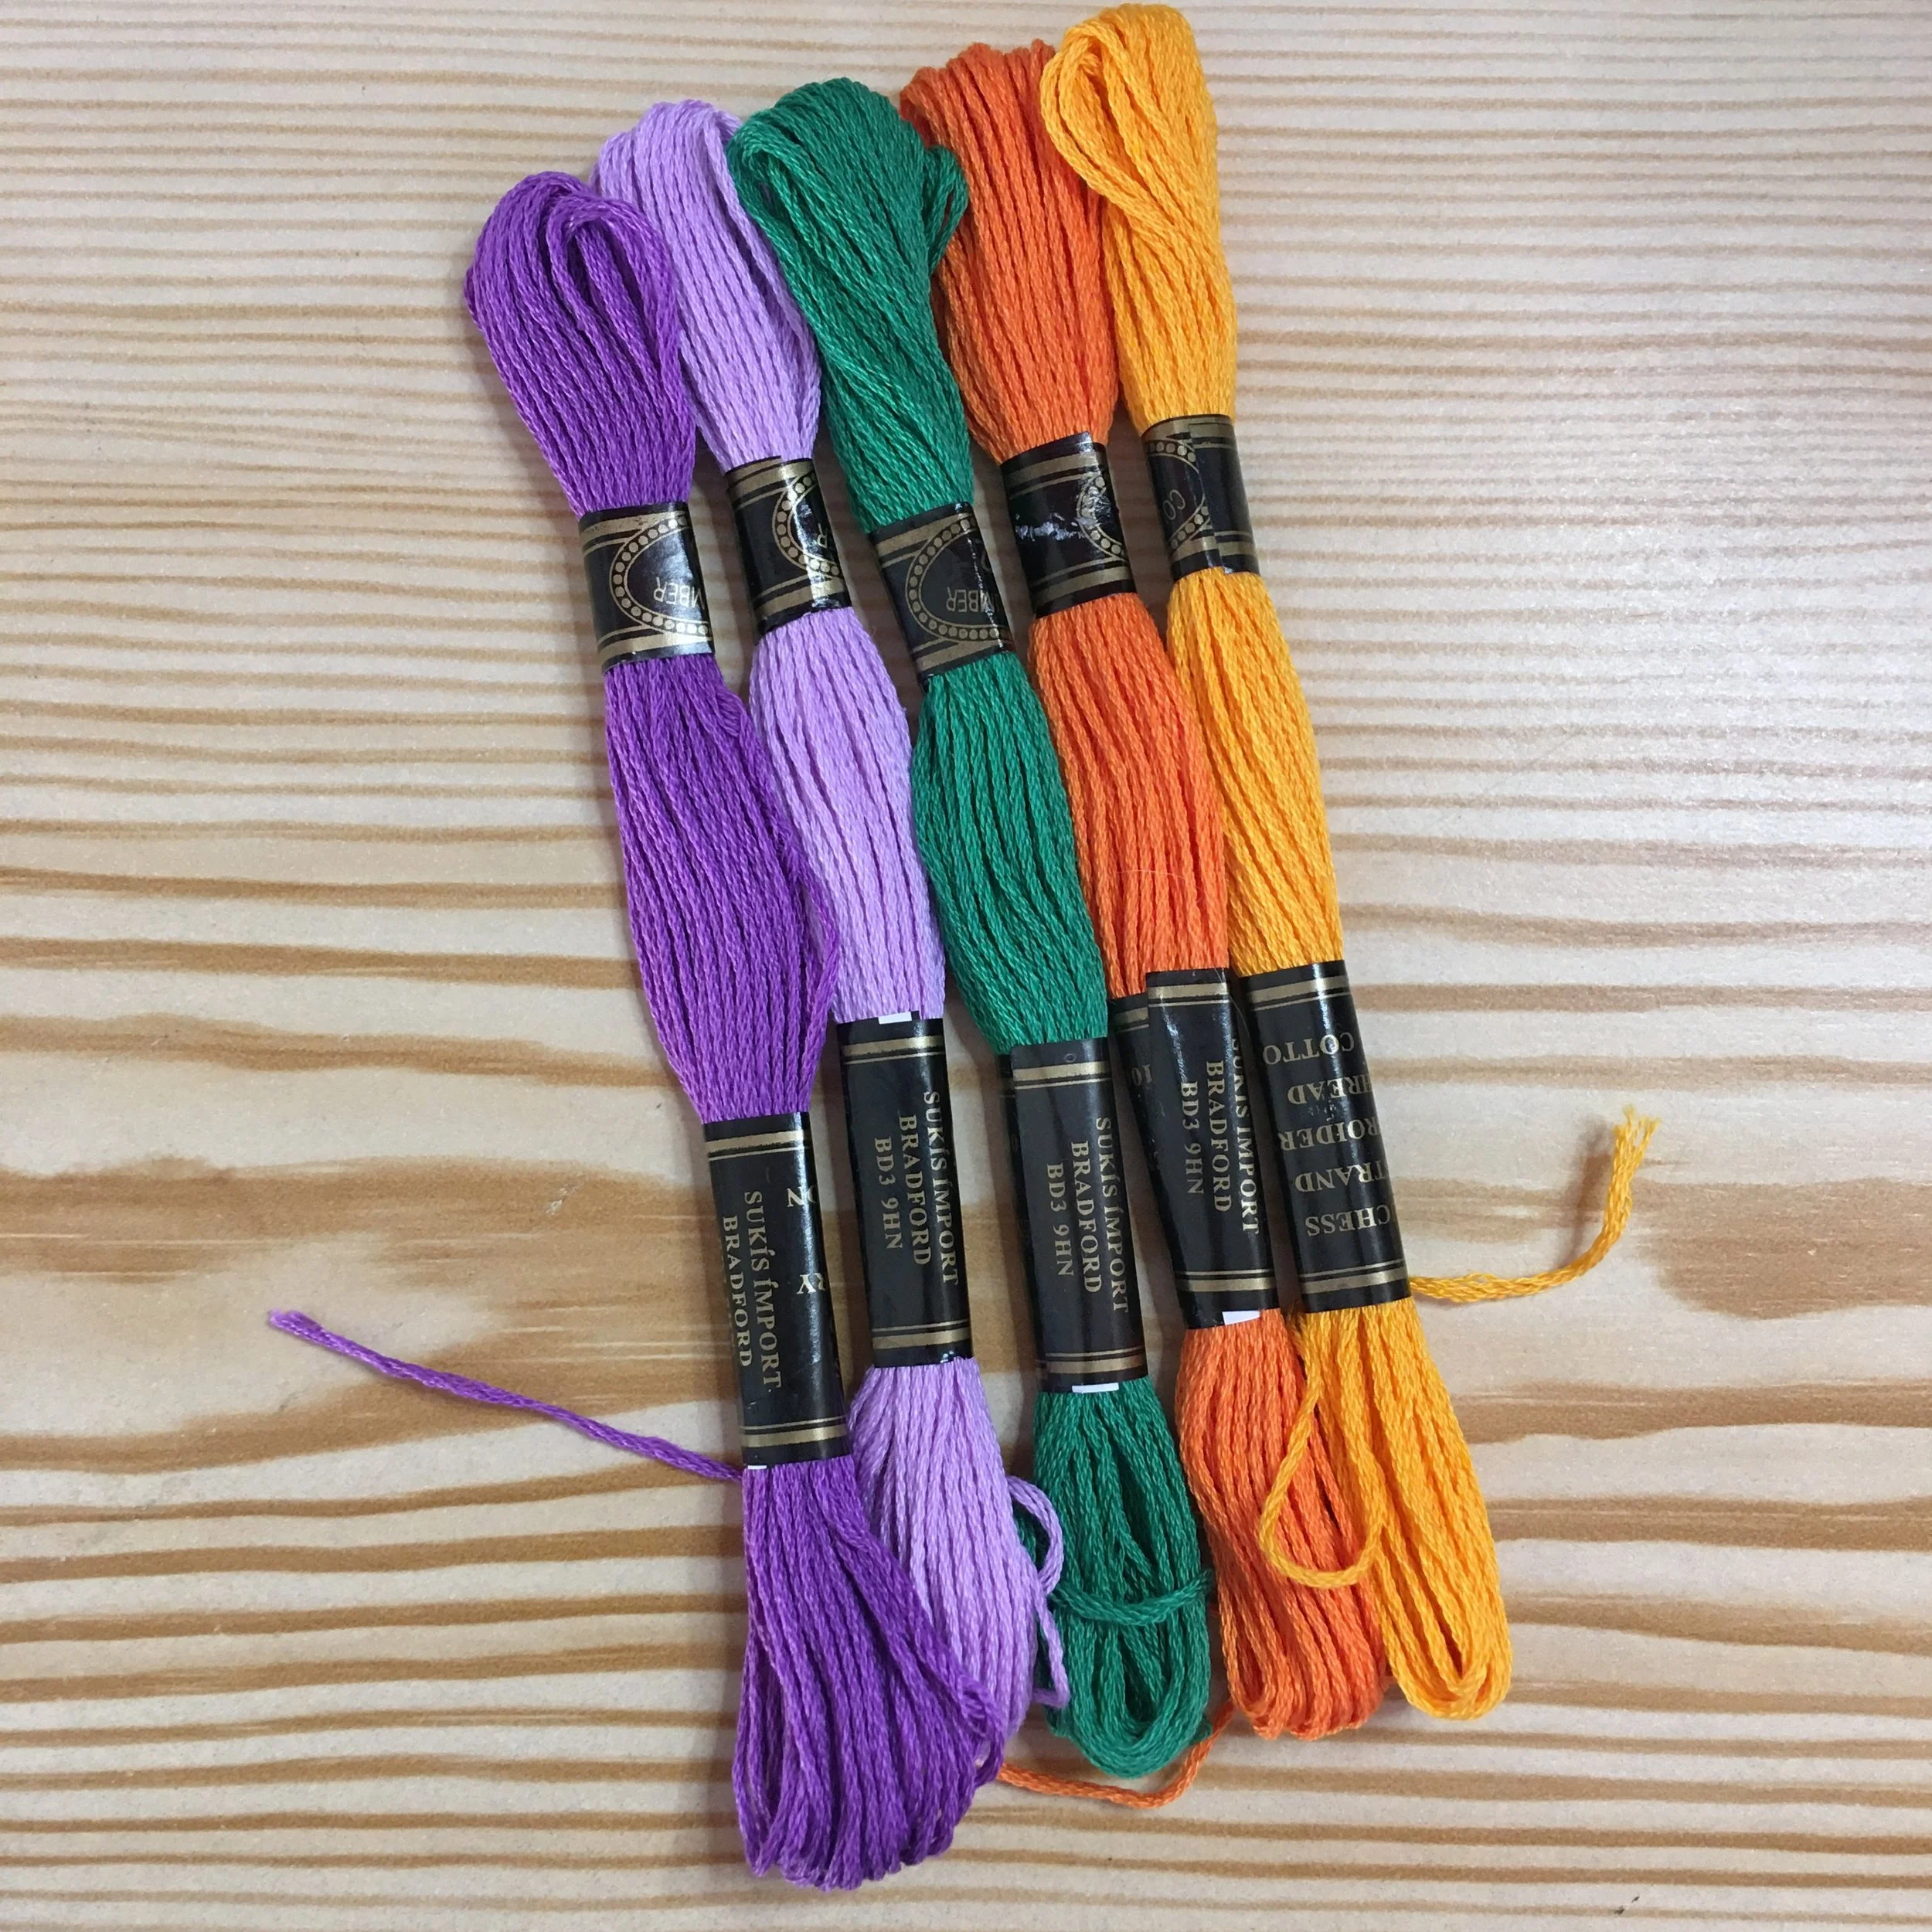
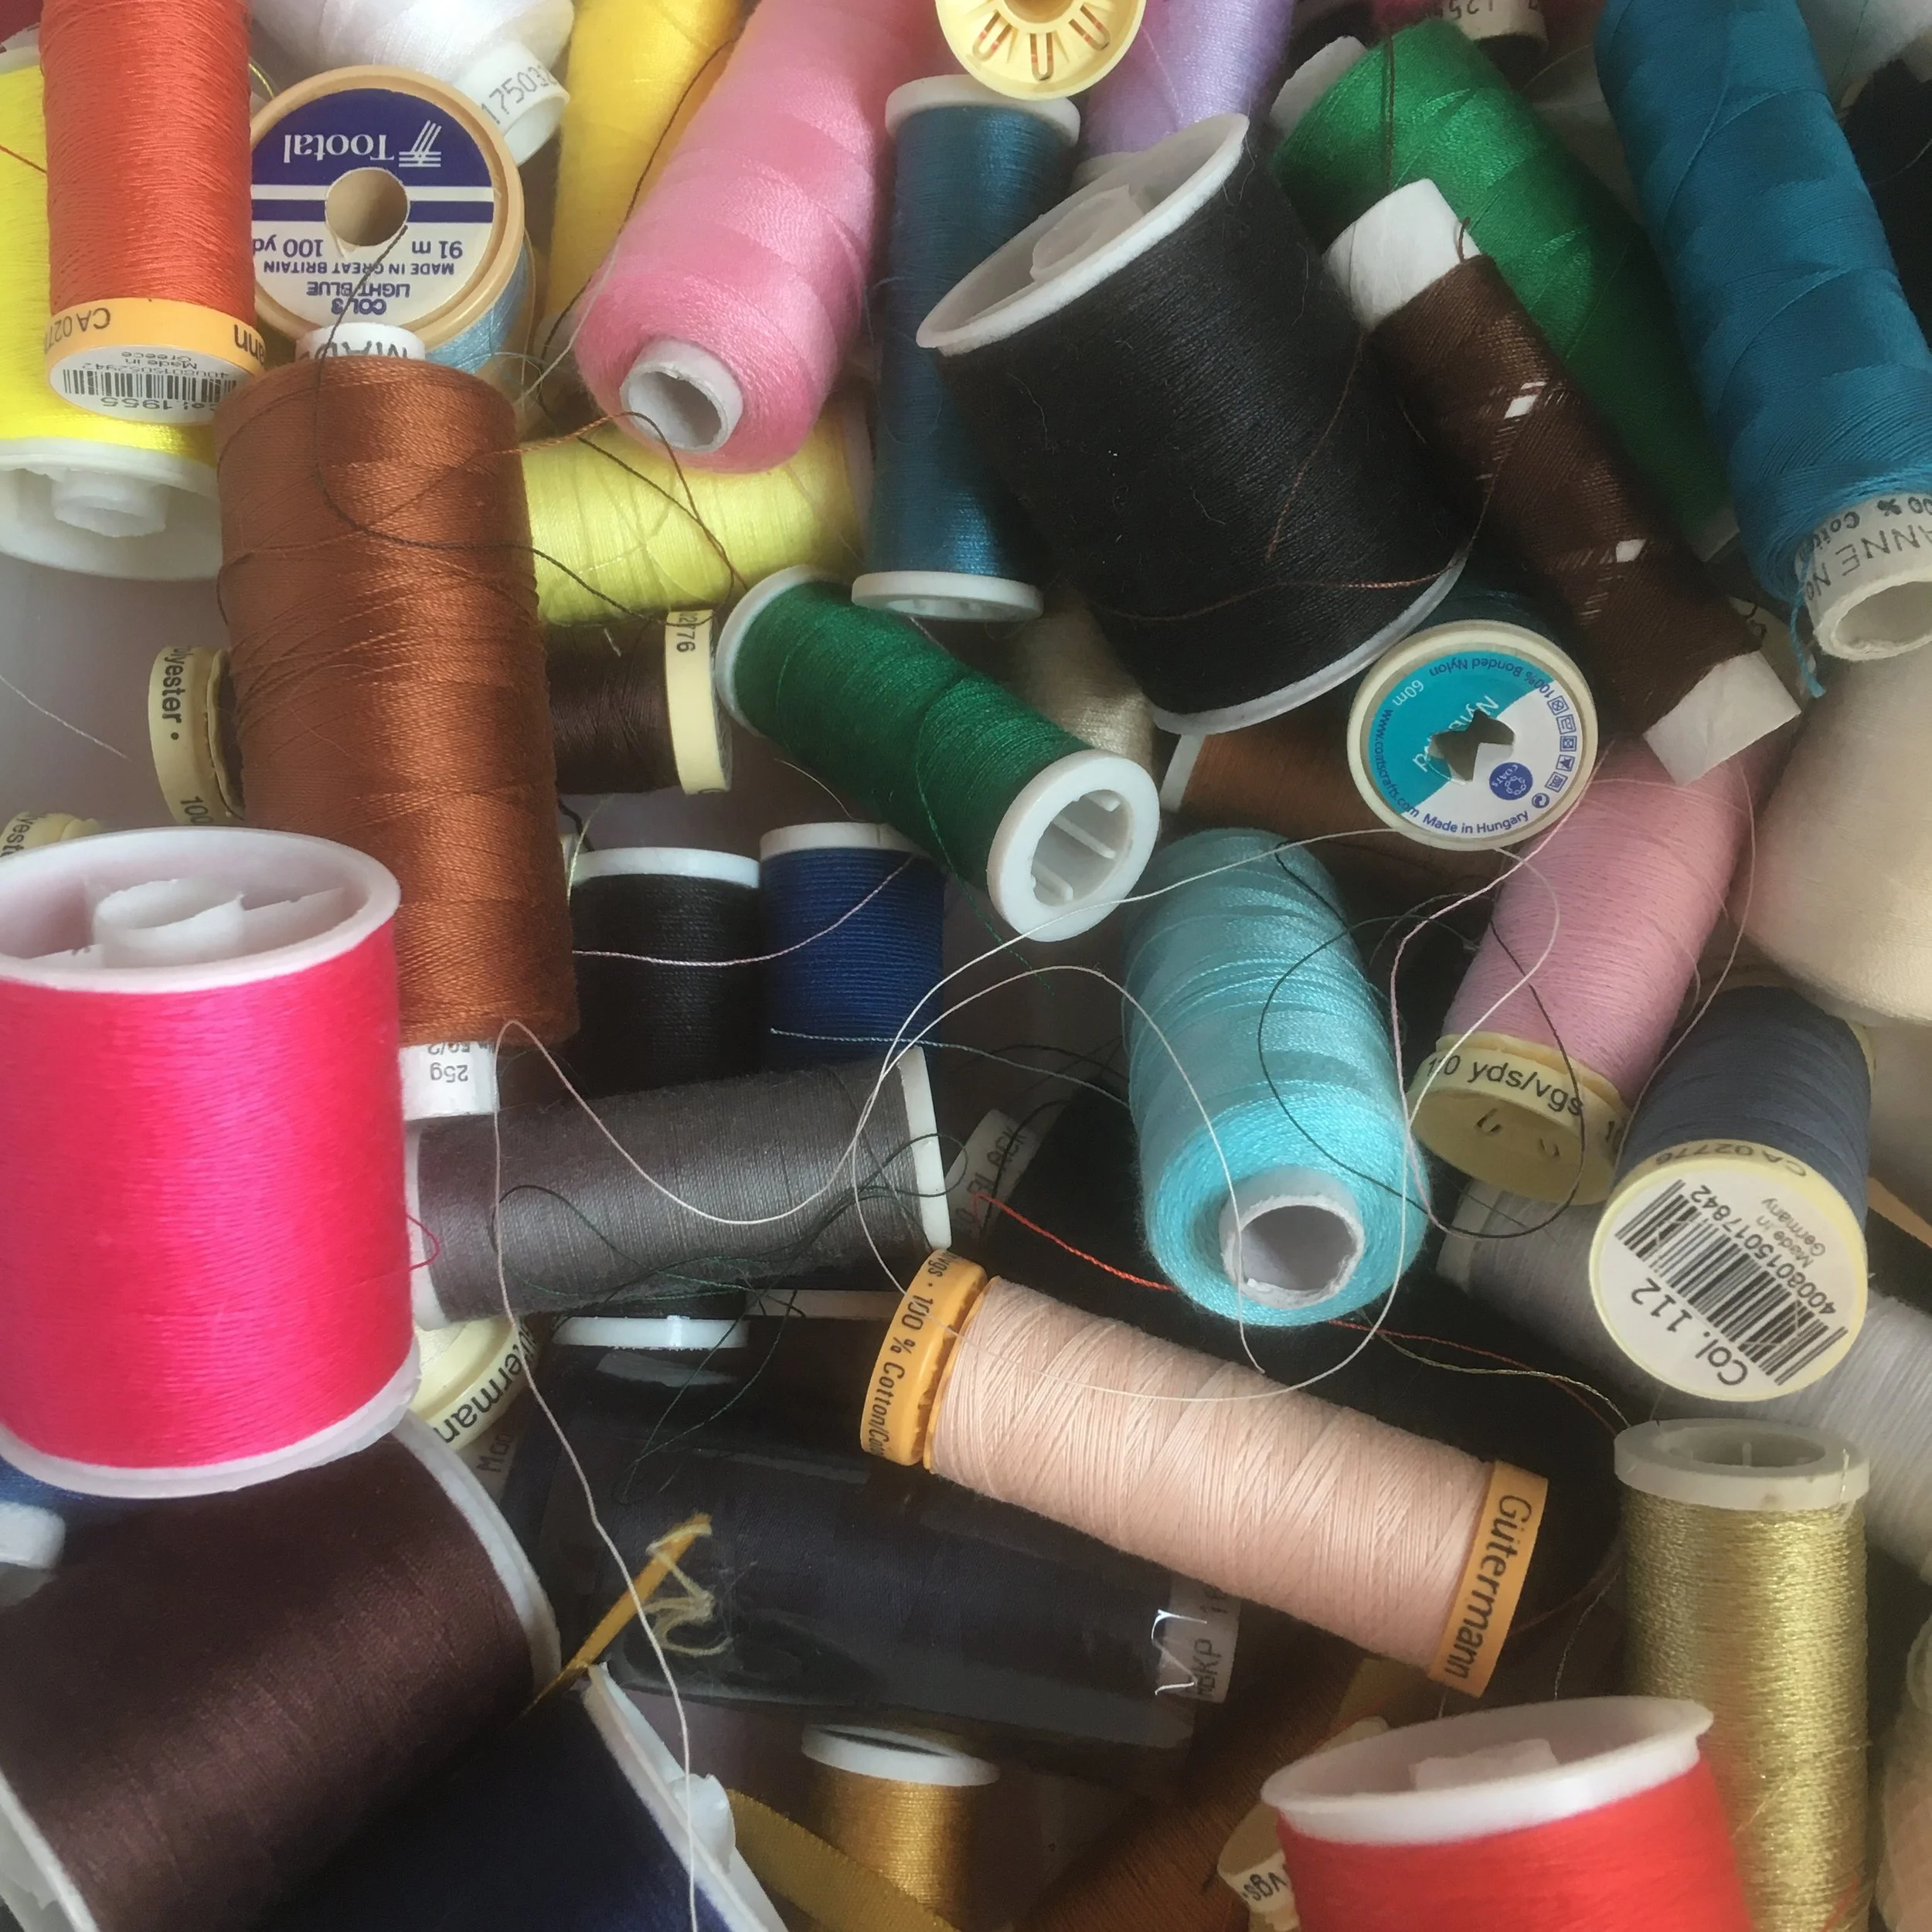
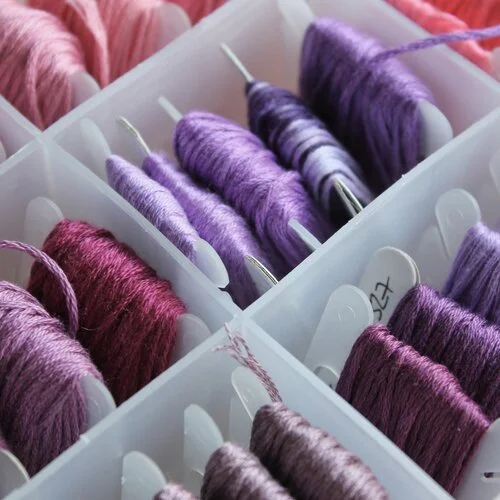
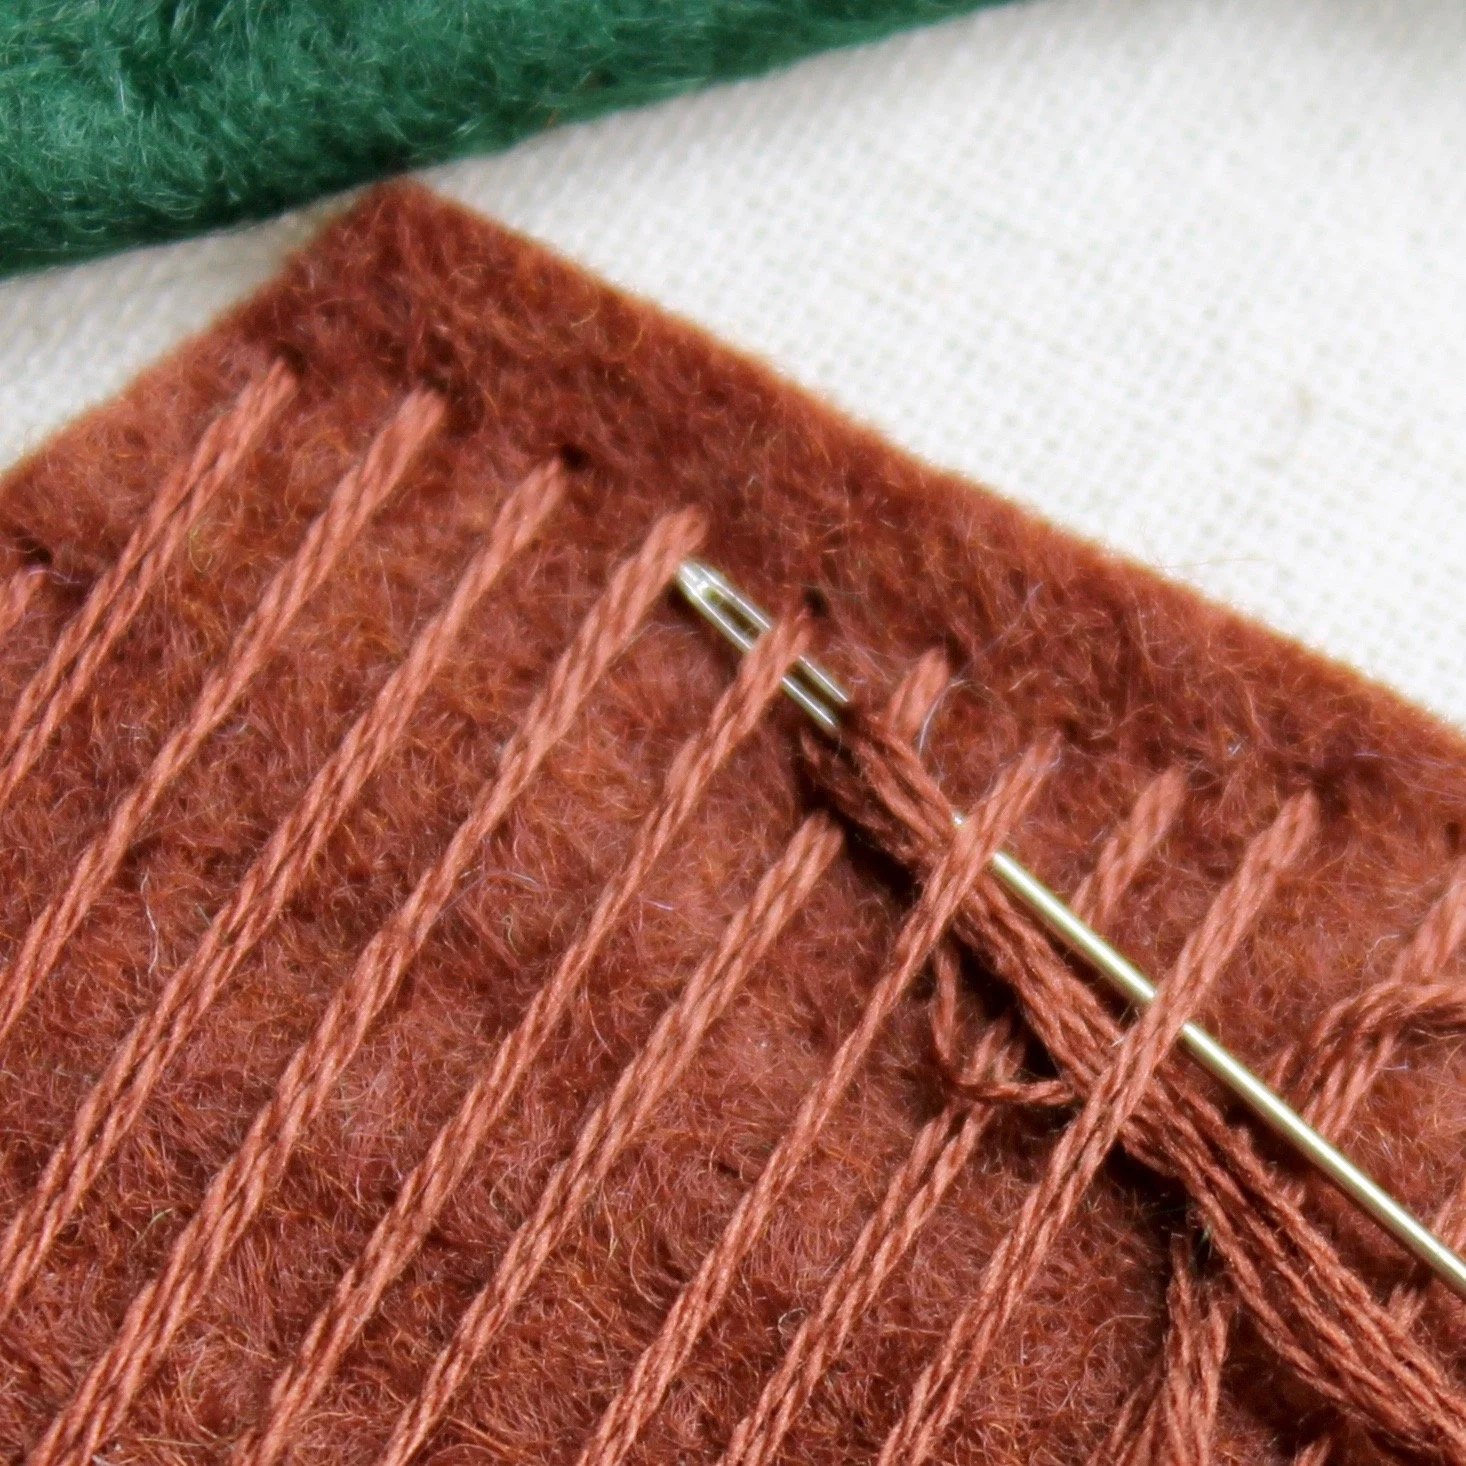
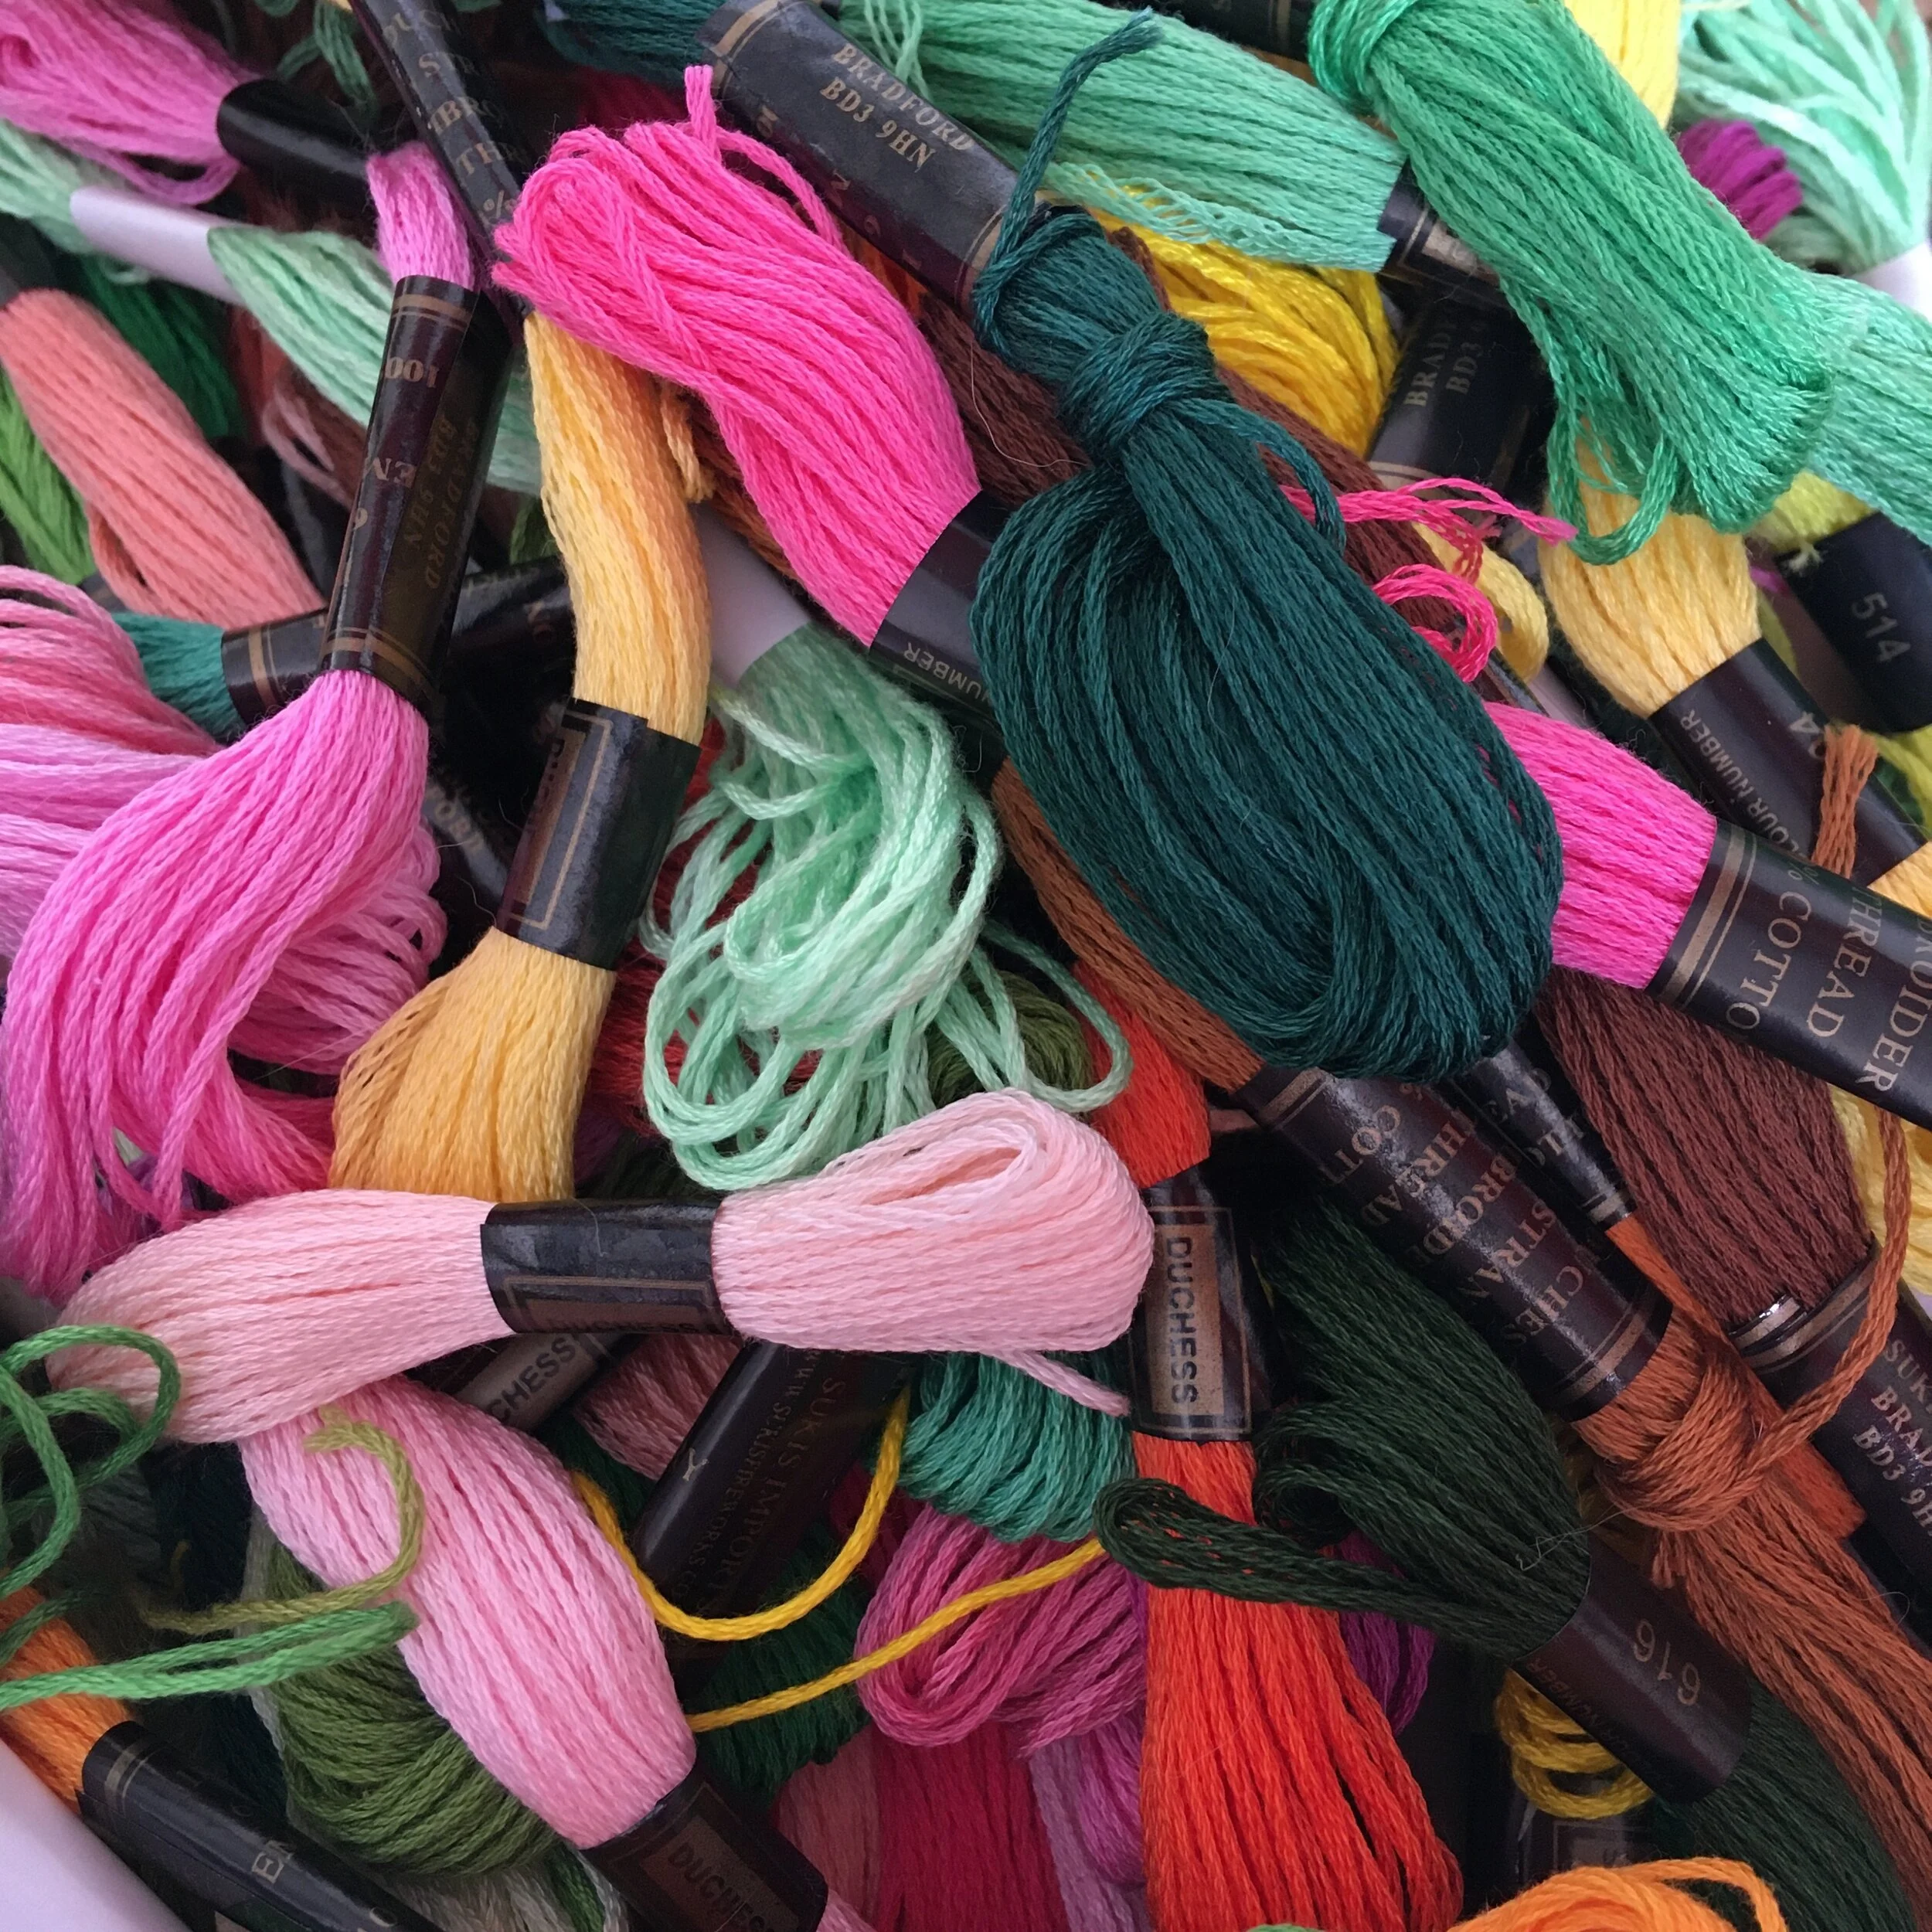
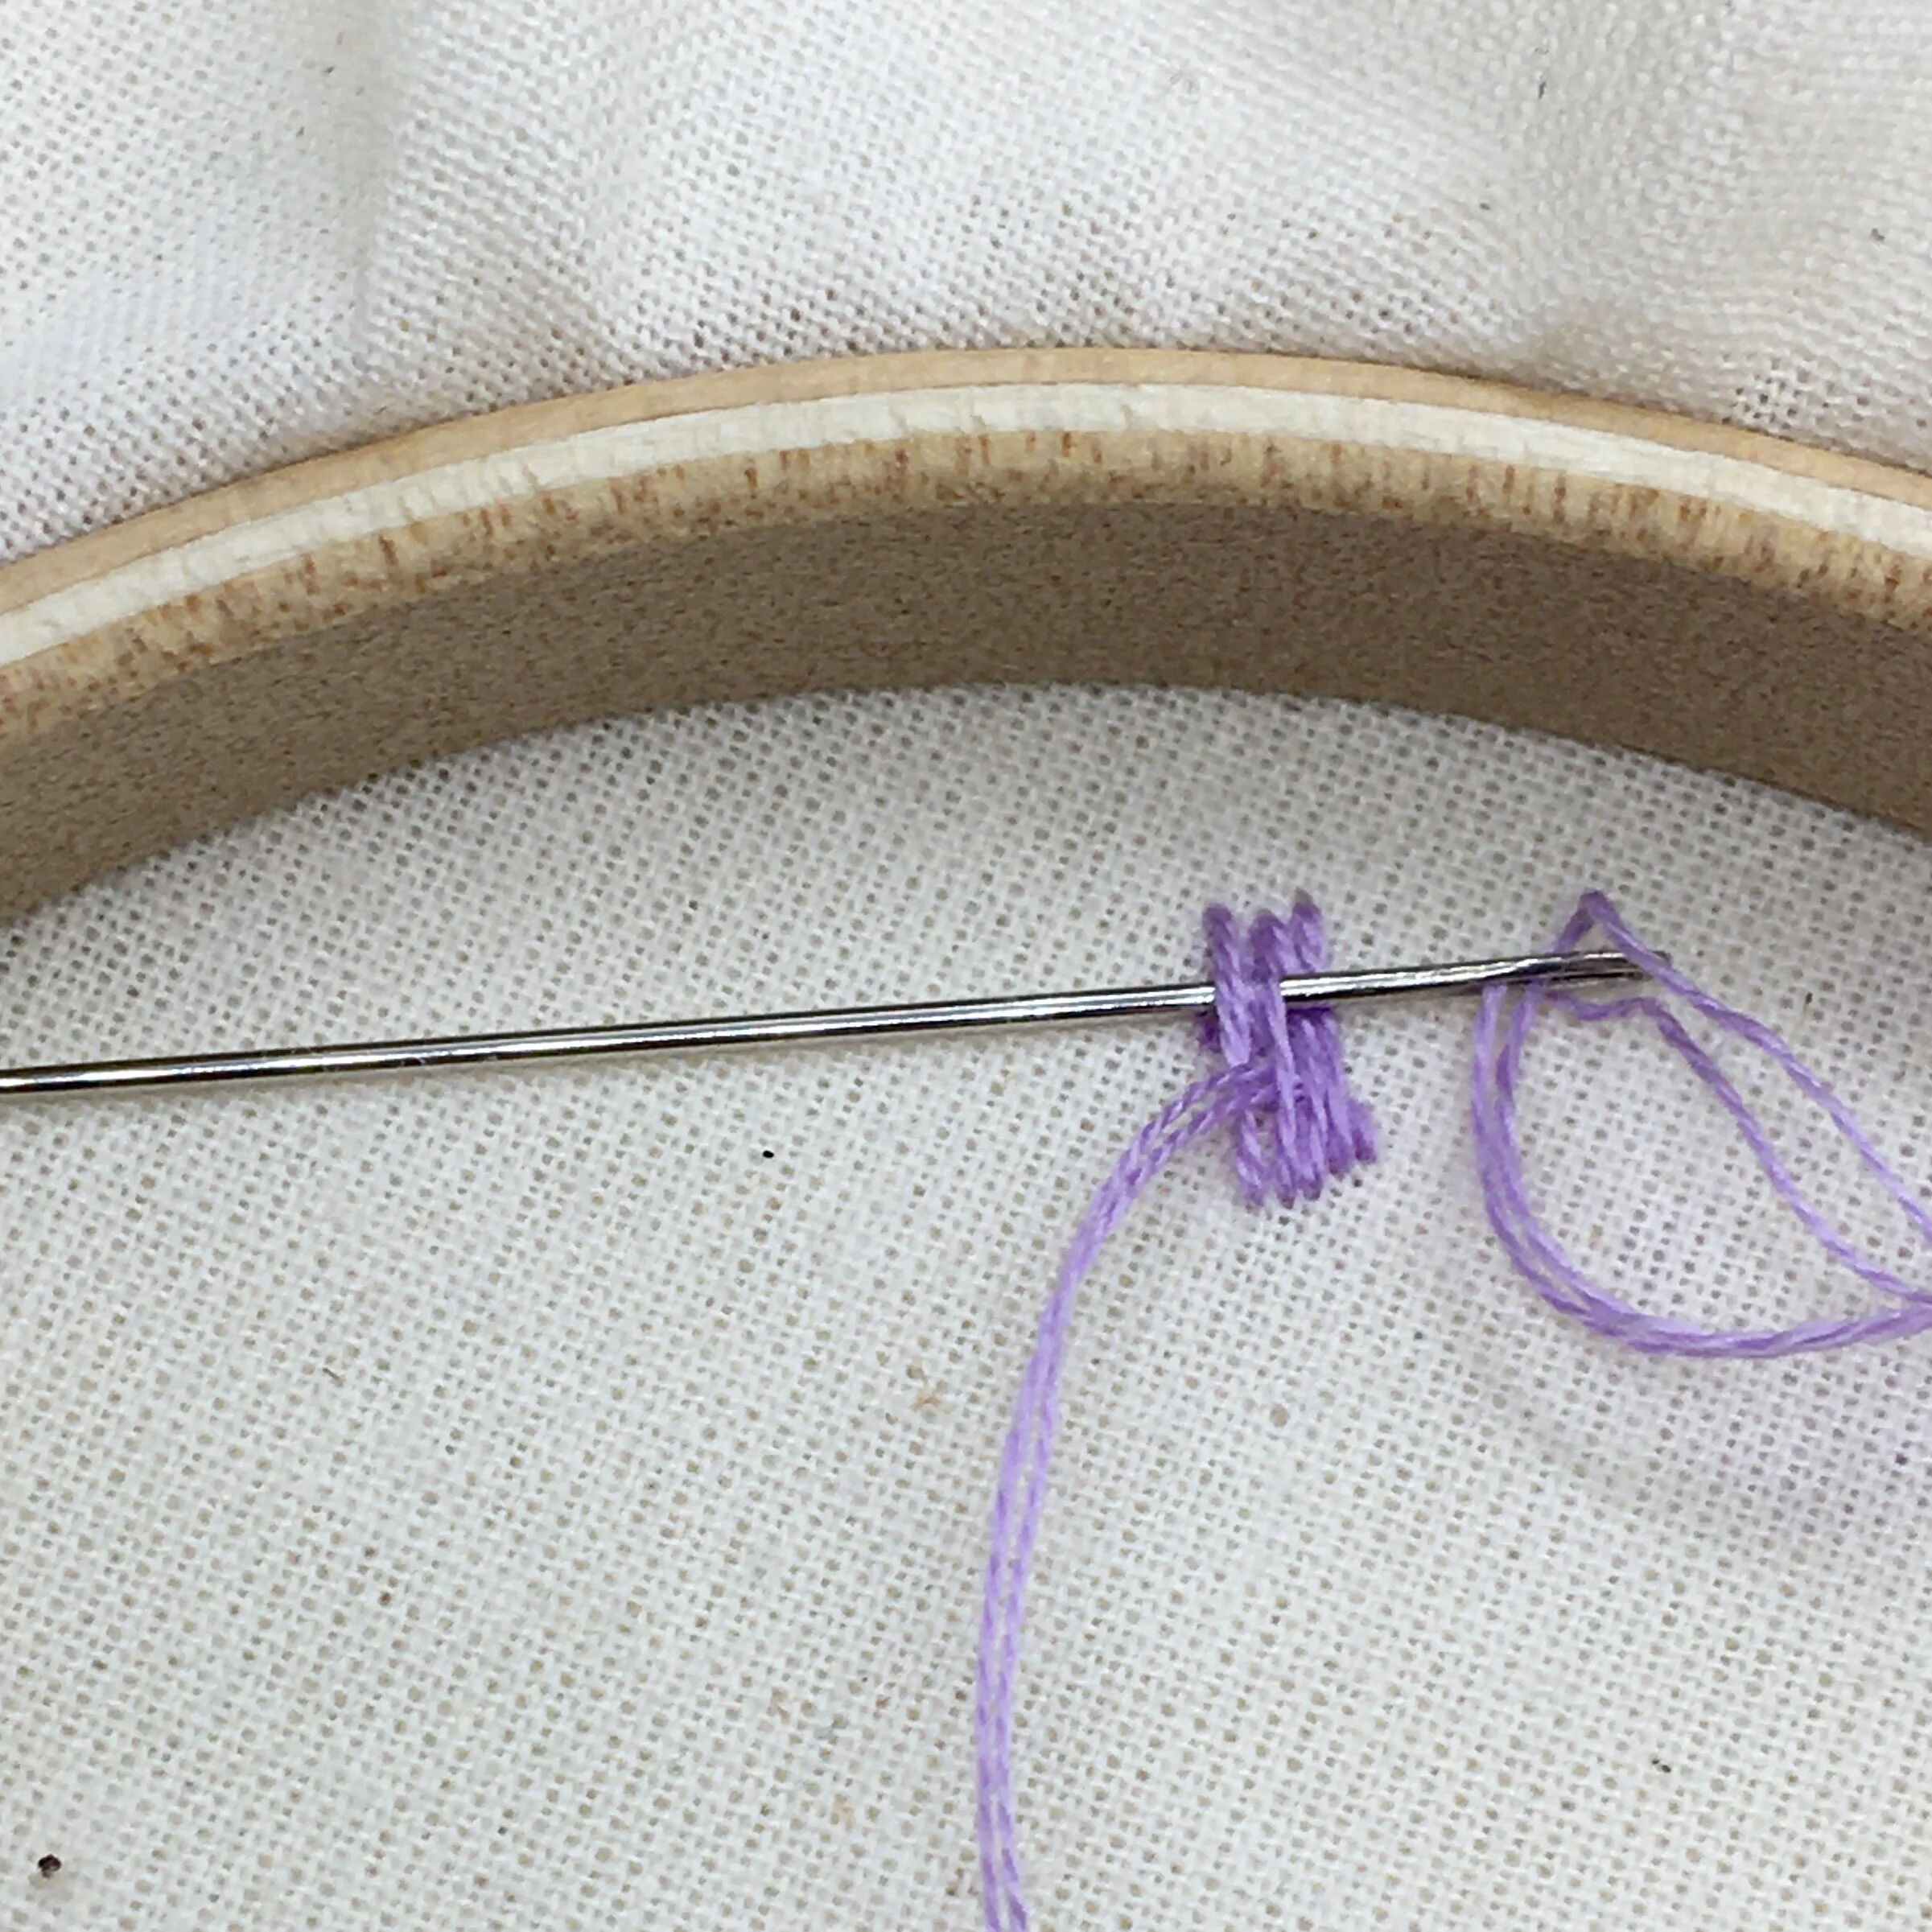
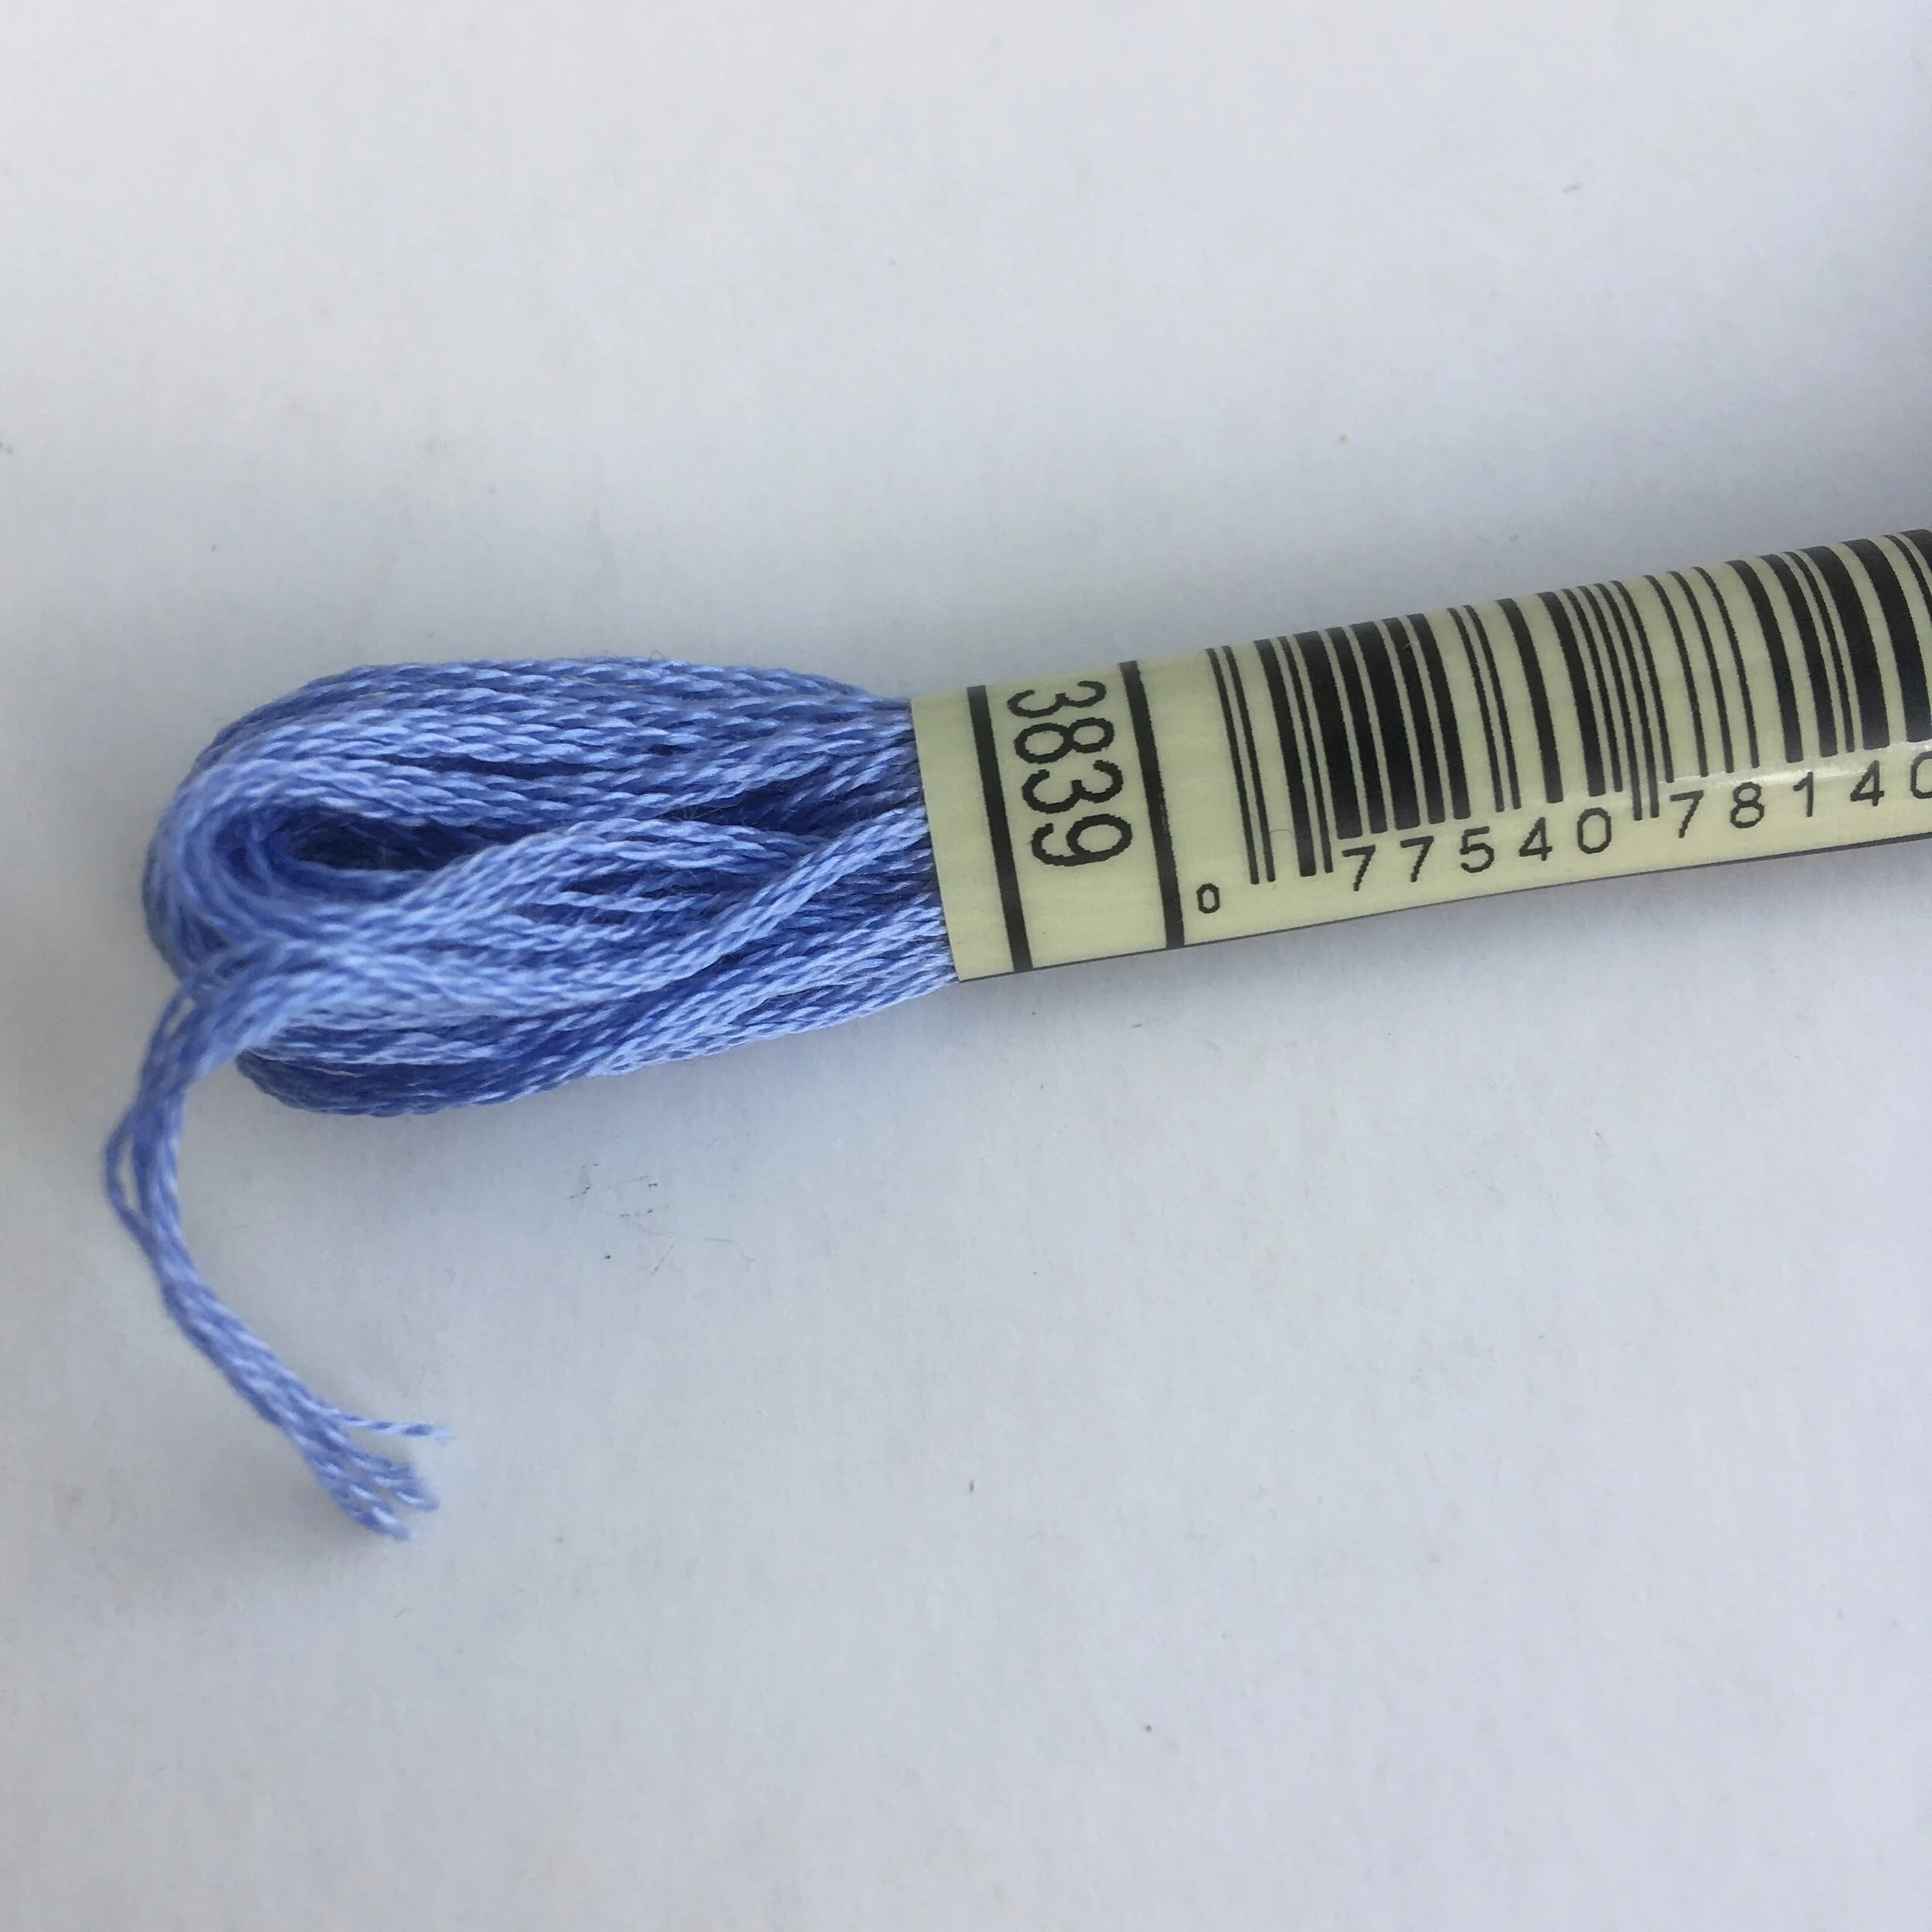
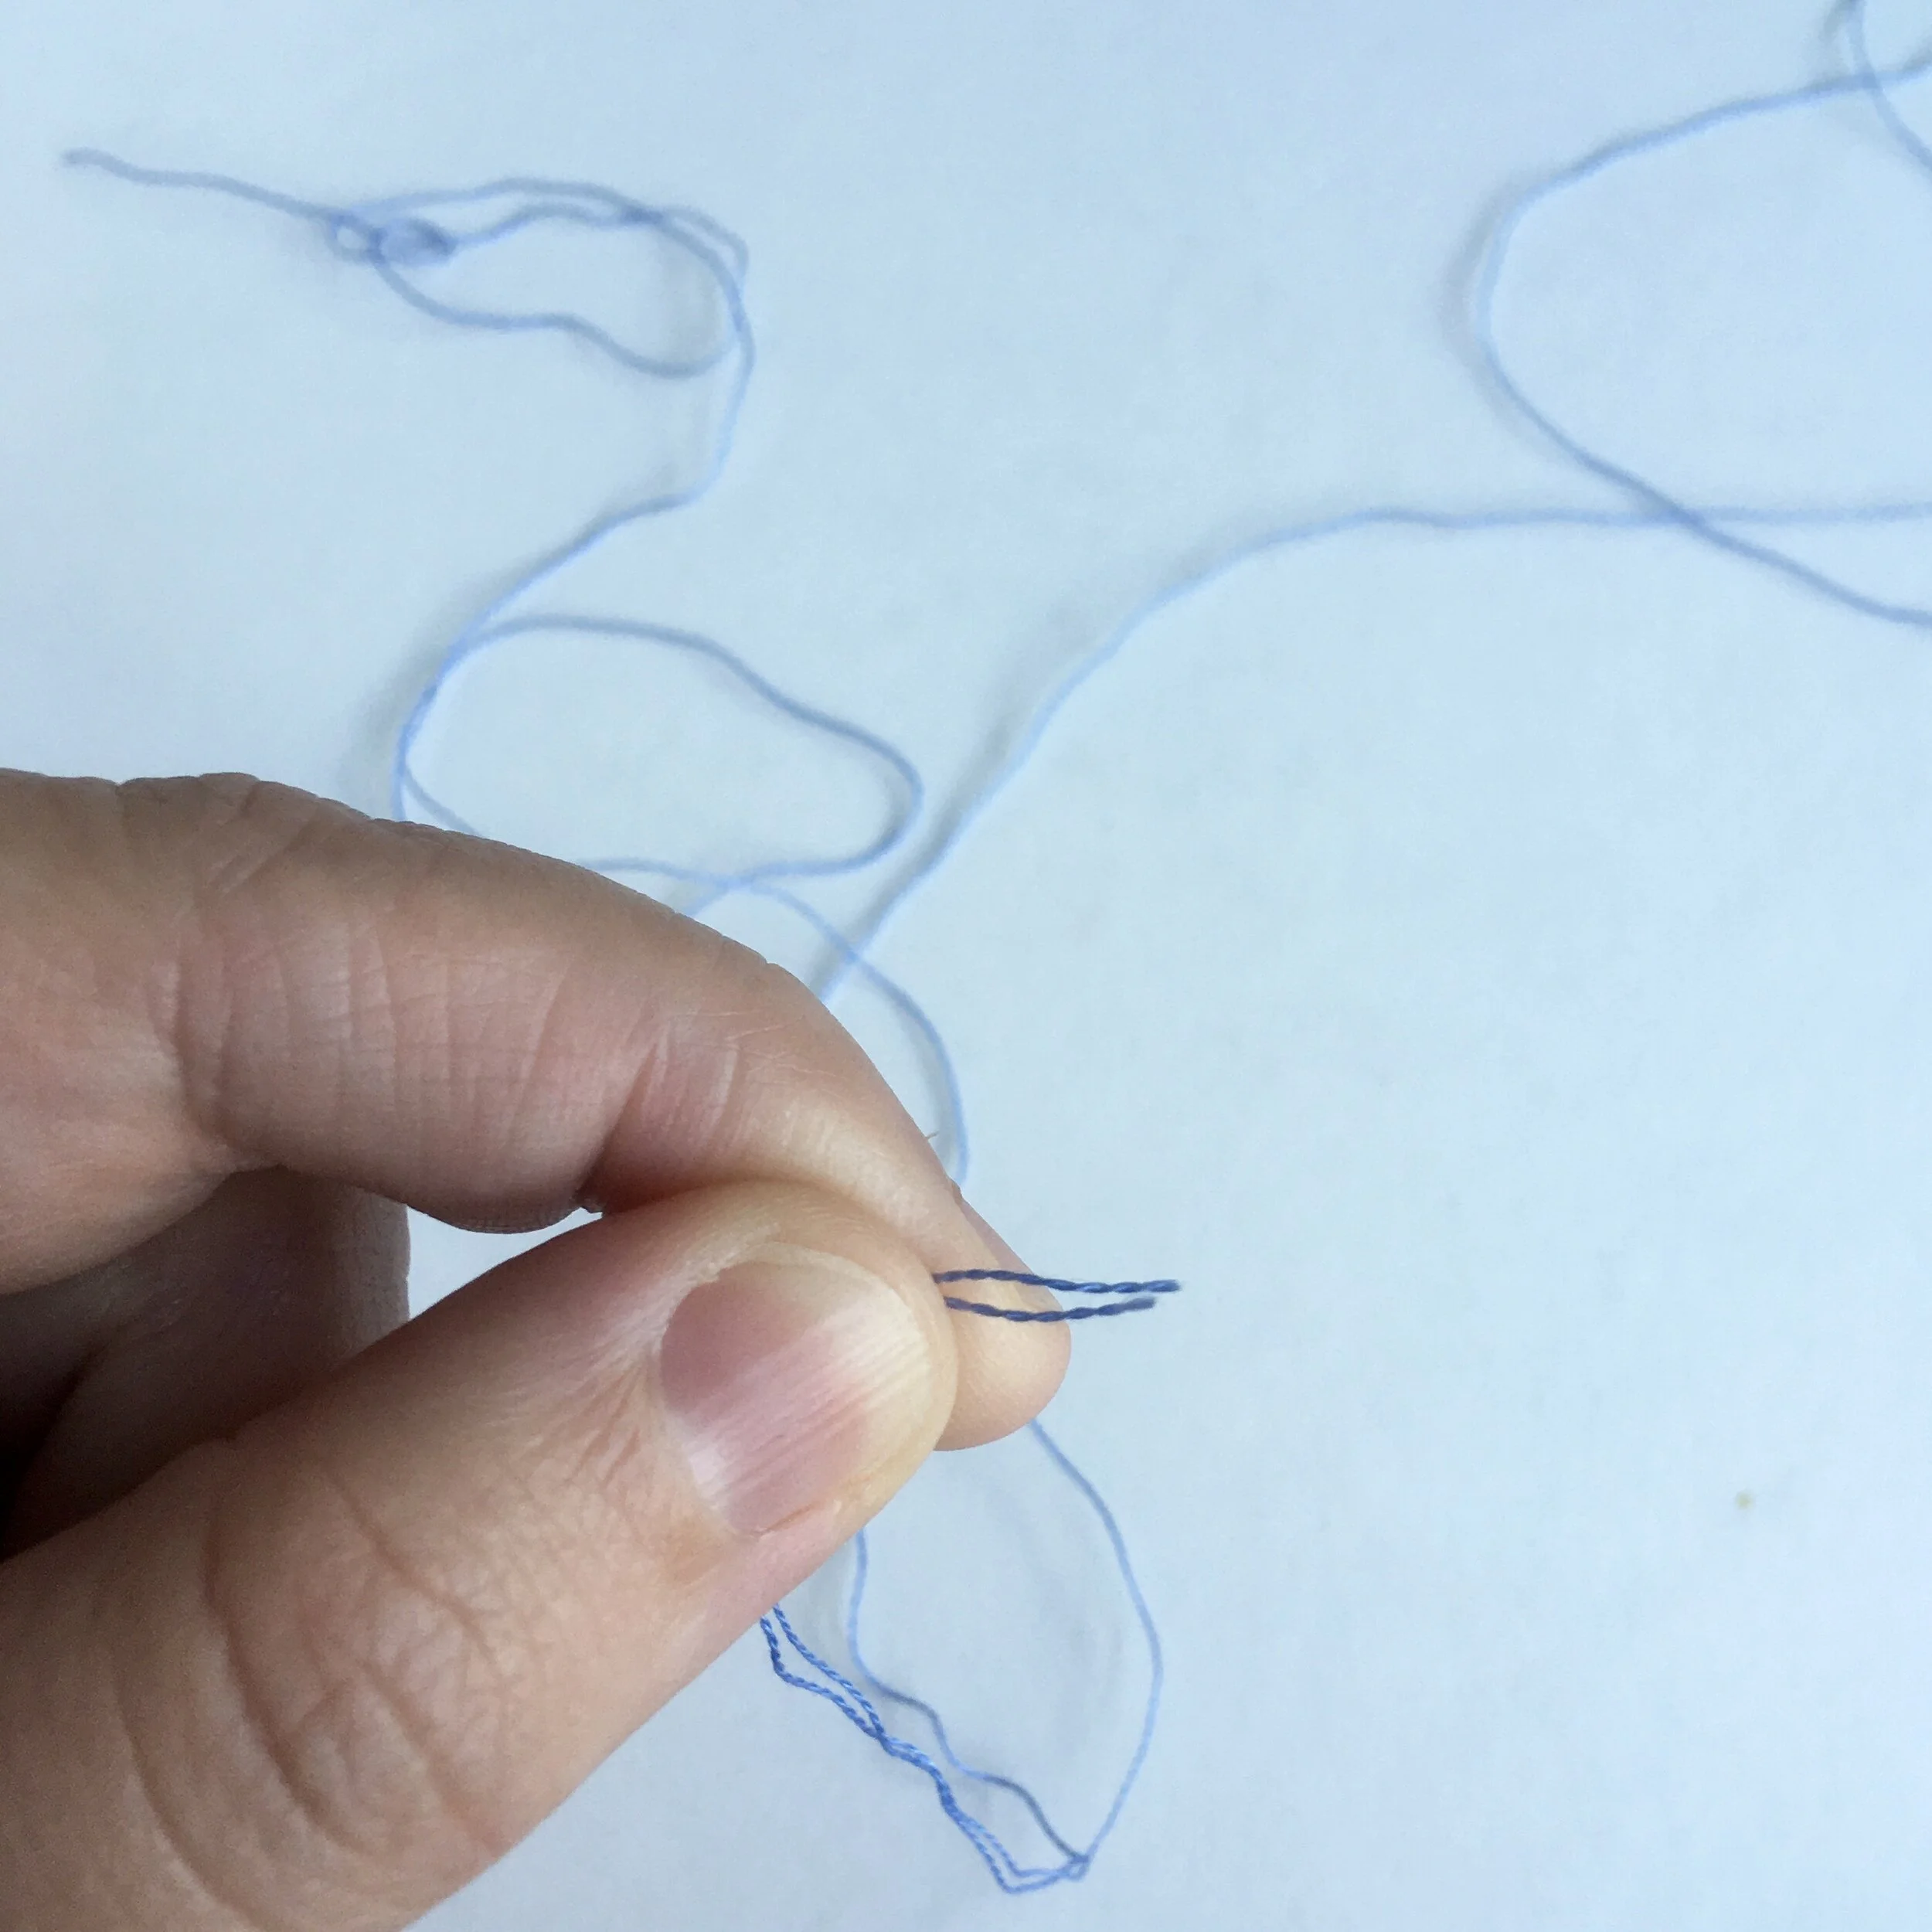
Stranded embroidery thread, often referred to as floss, is a type of thread commonly used in hand embroidery. Unlike solid threads, stranded thread is made up of multiple fine strands that can be separated and used individually, offering flexibility over the thickness and detail of the stitching. The most well-known brand of stranded embroidery thread is DMC, but many other brands offer similar products.
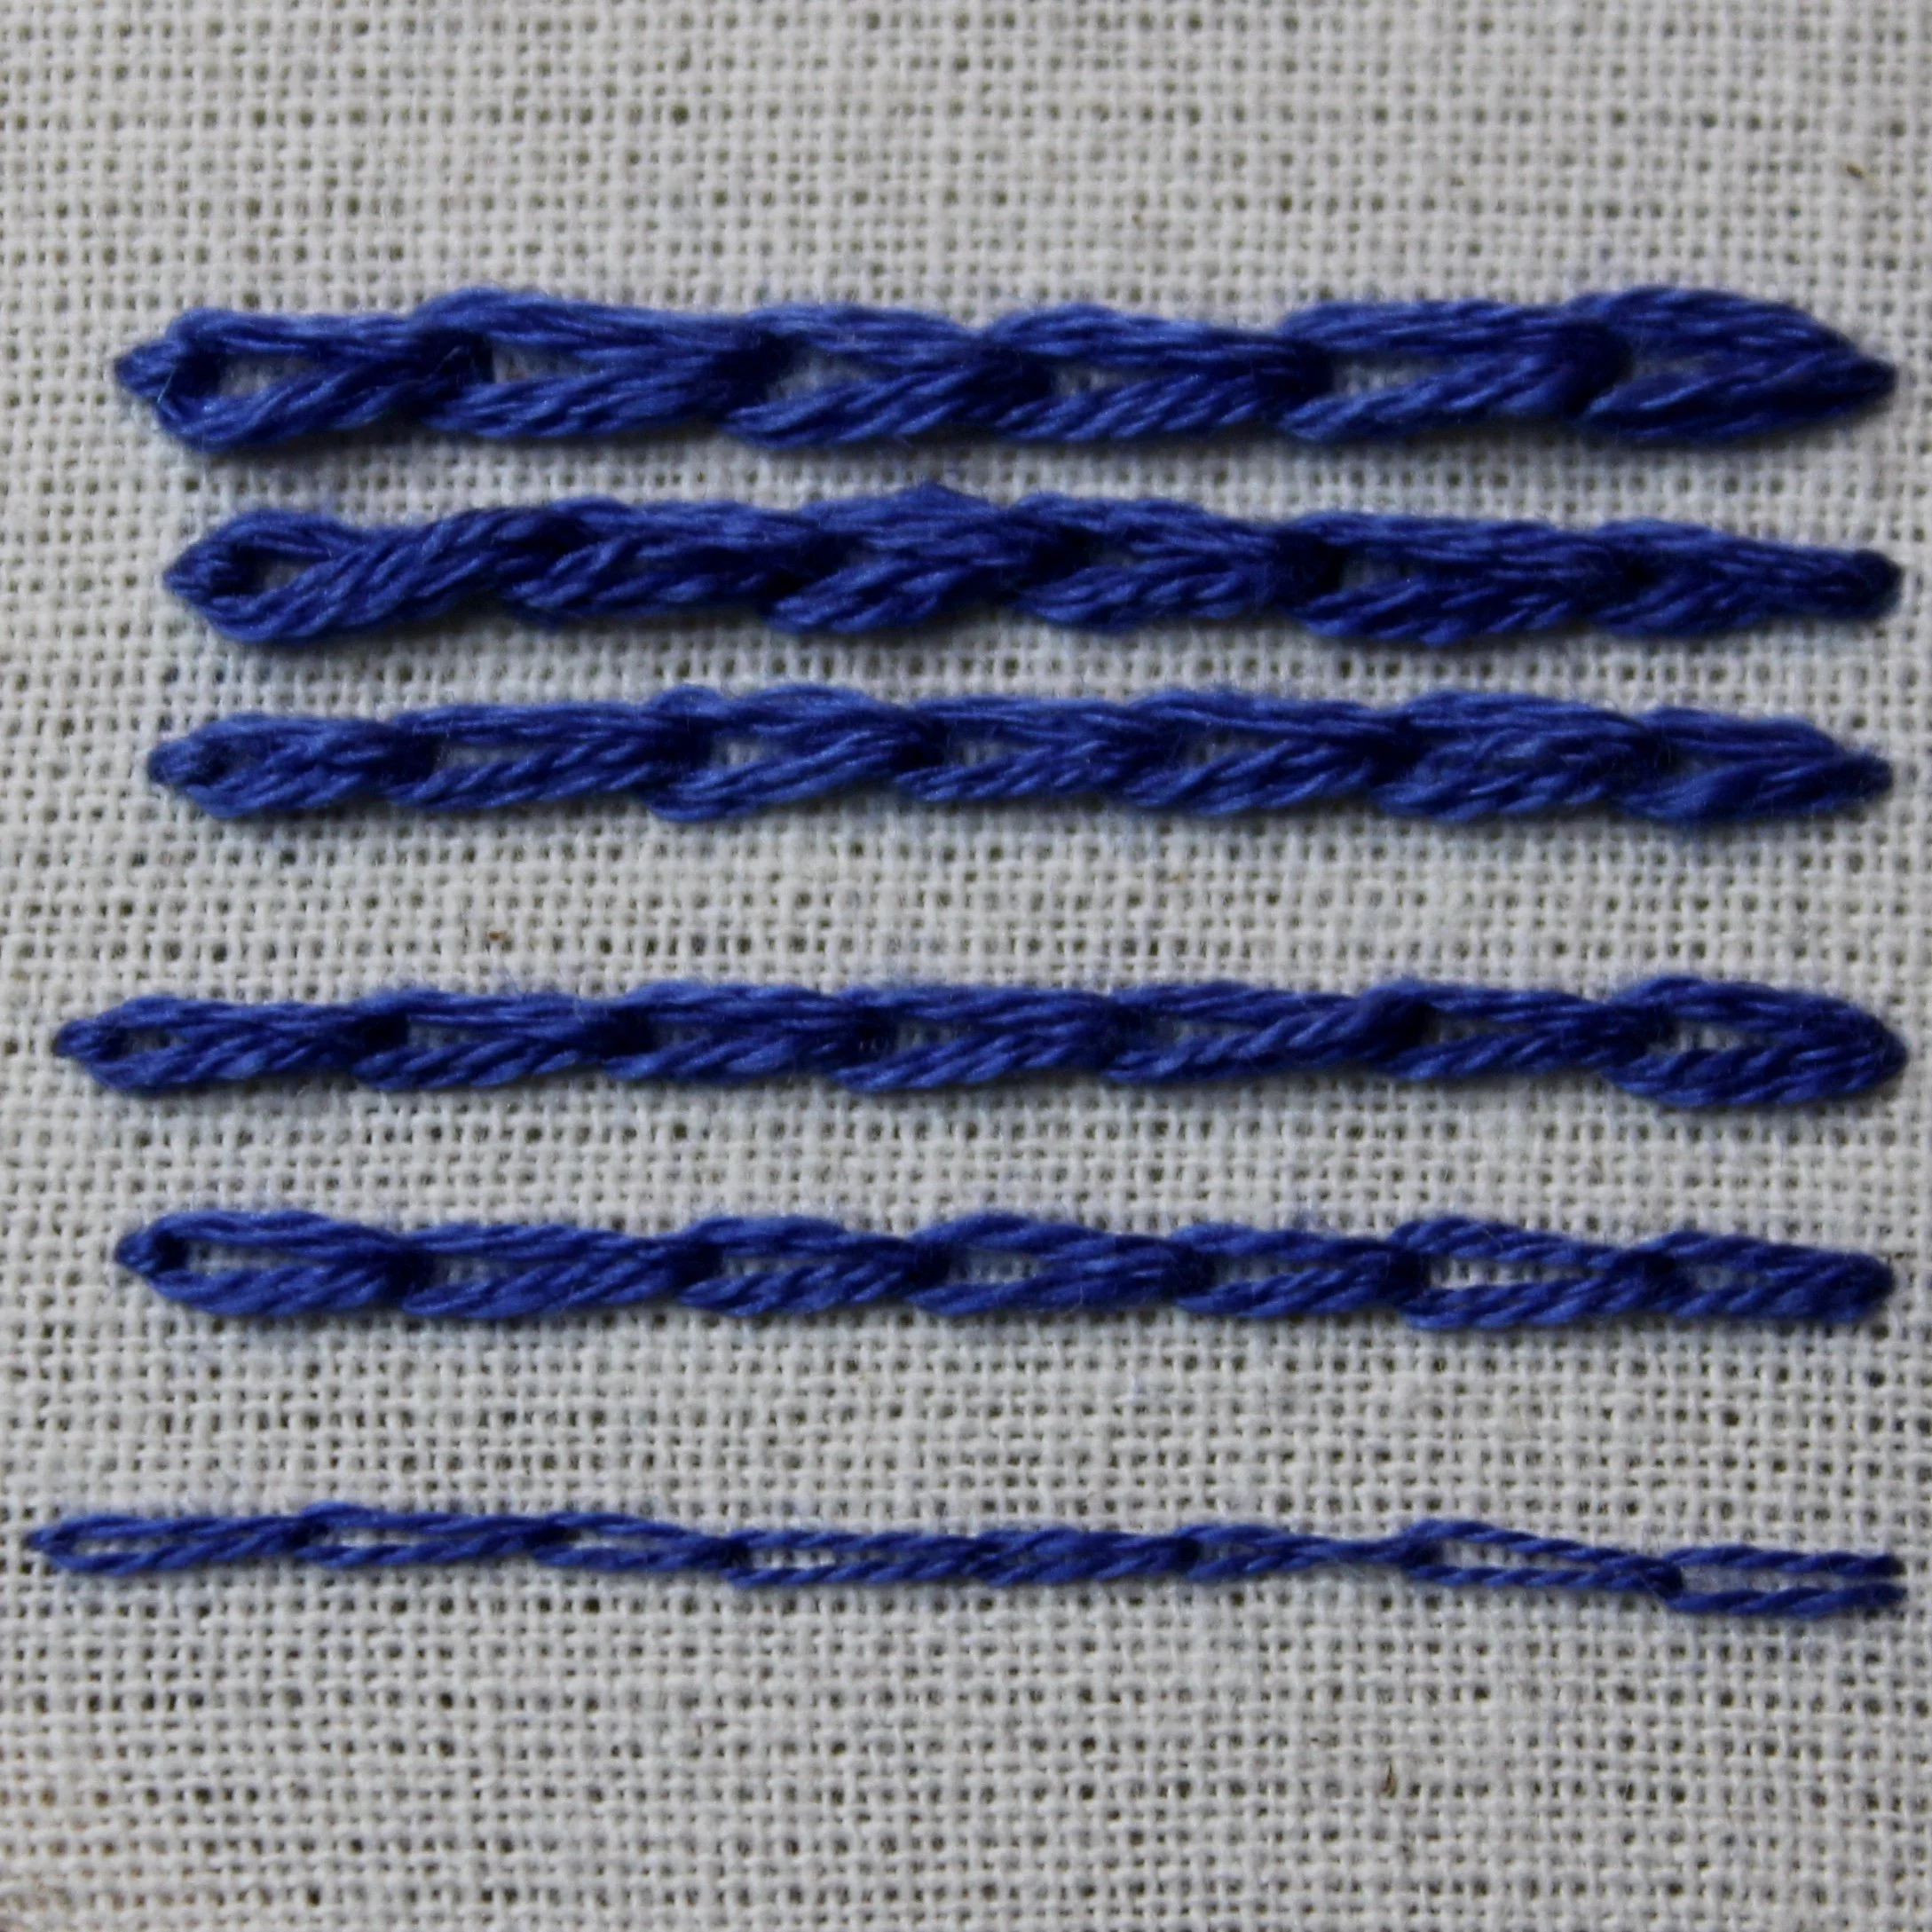
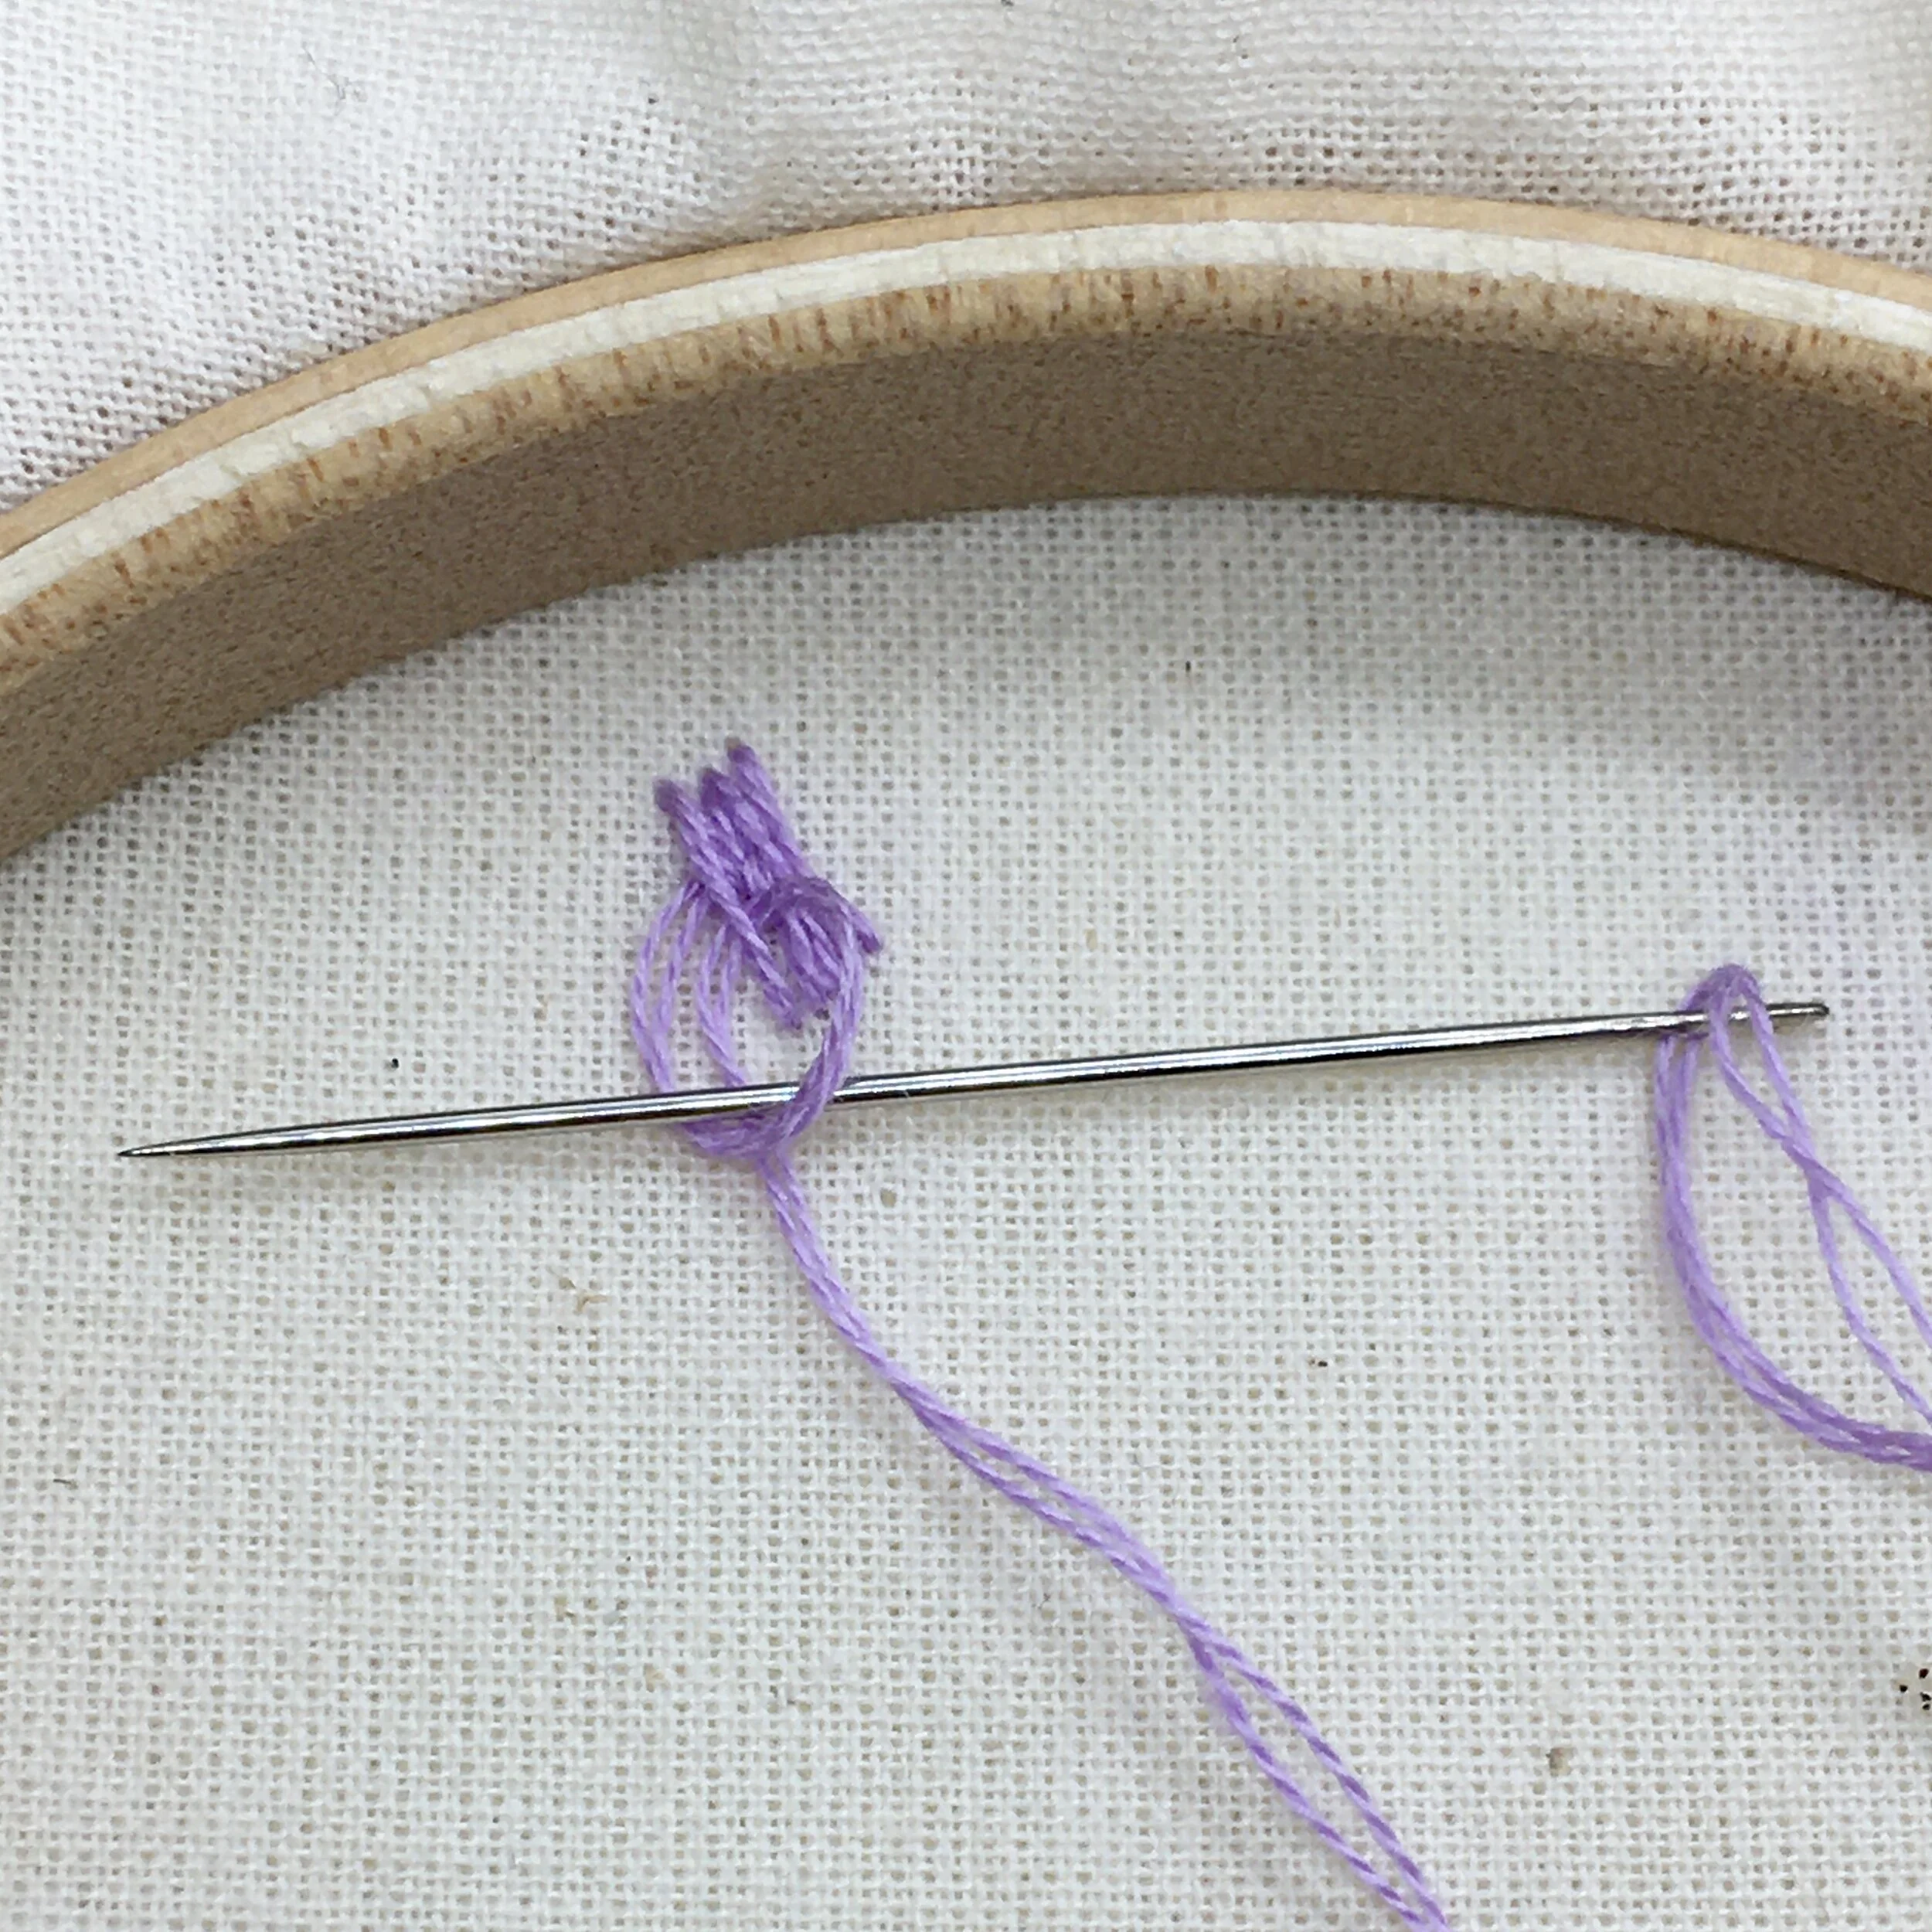
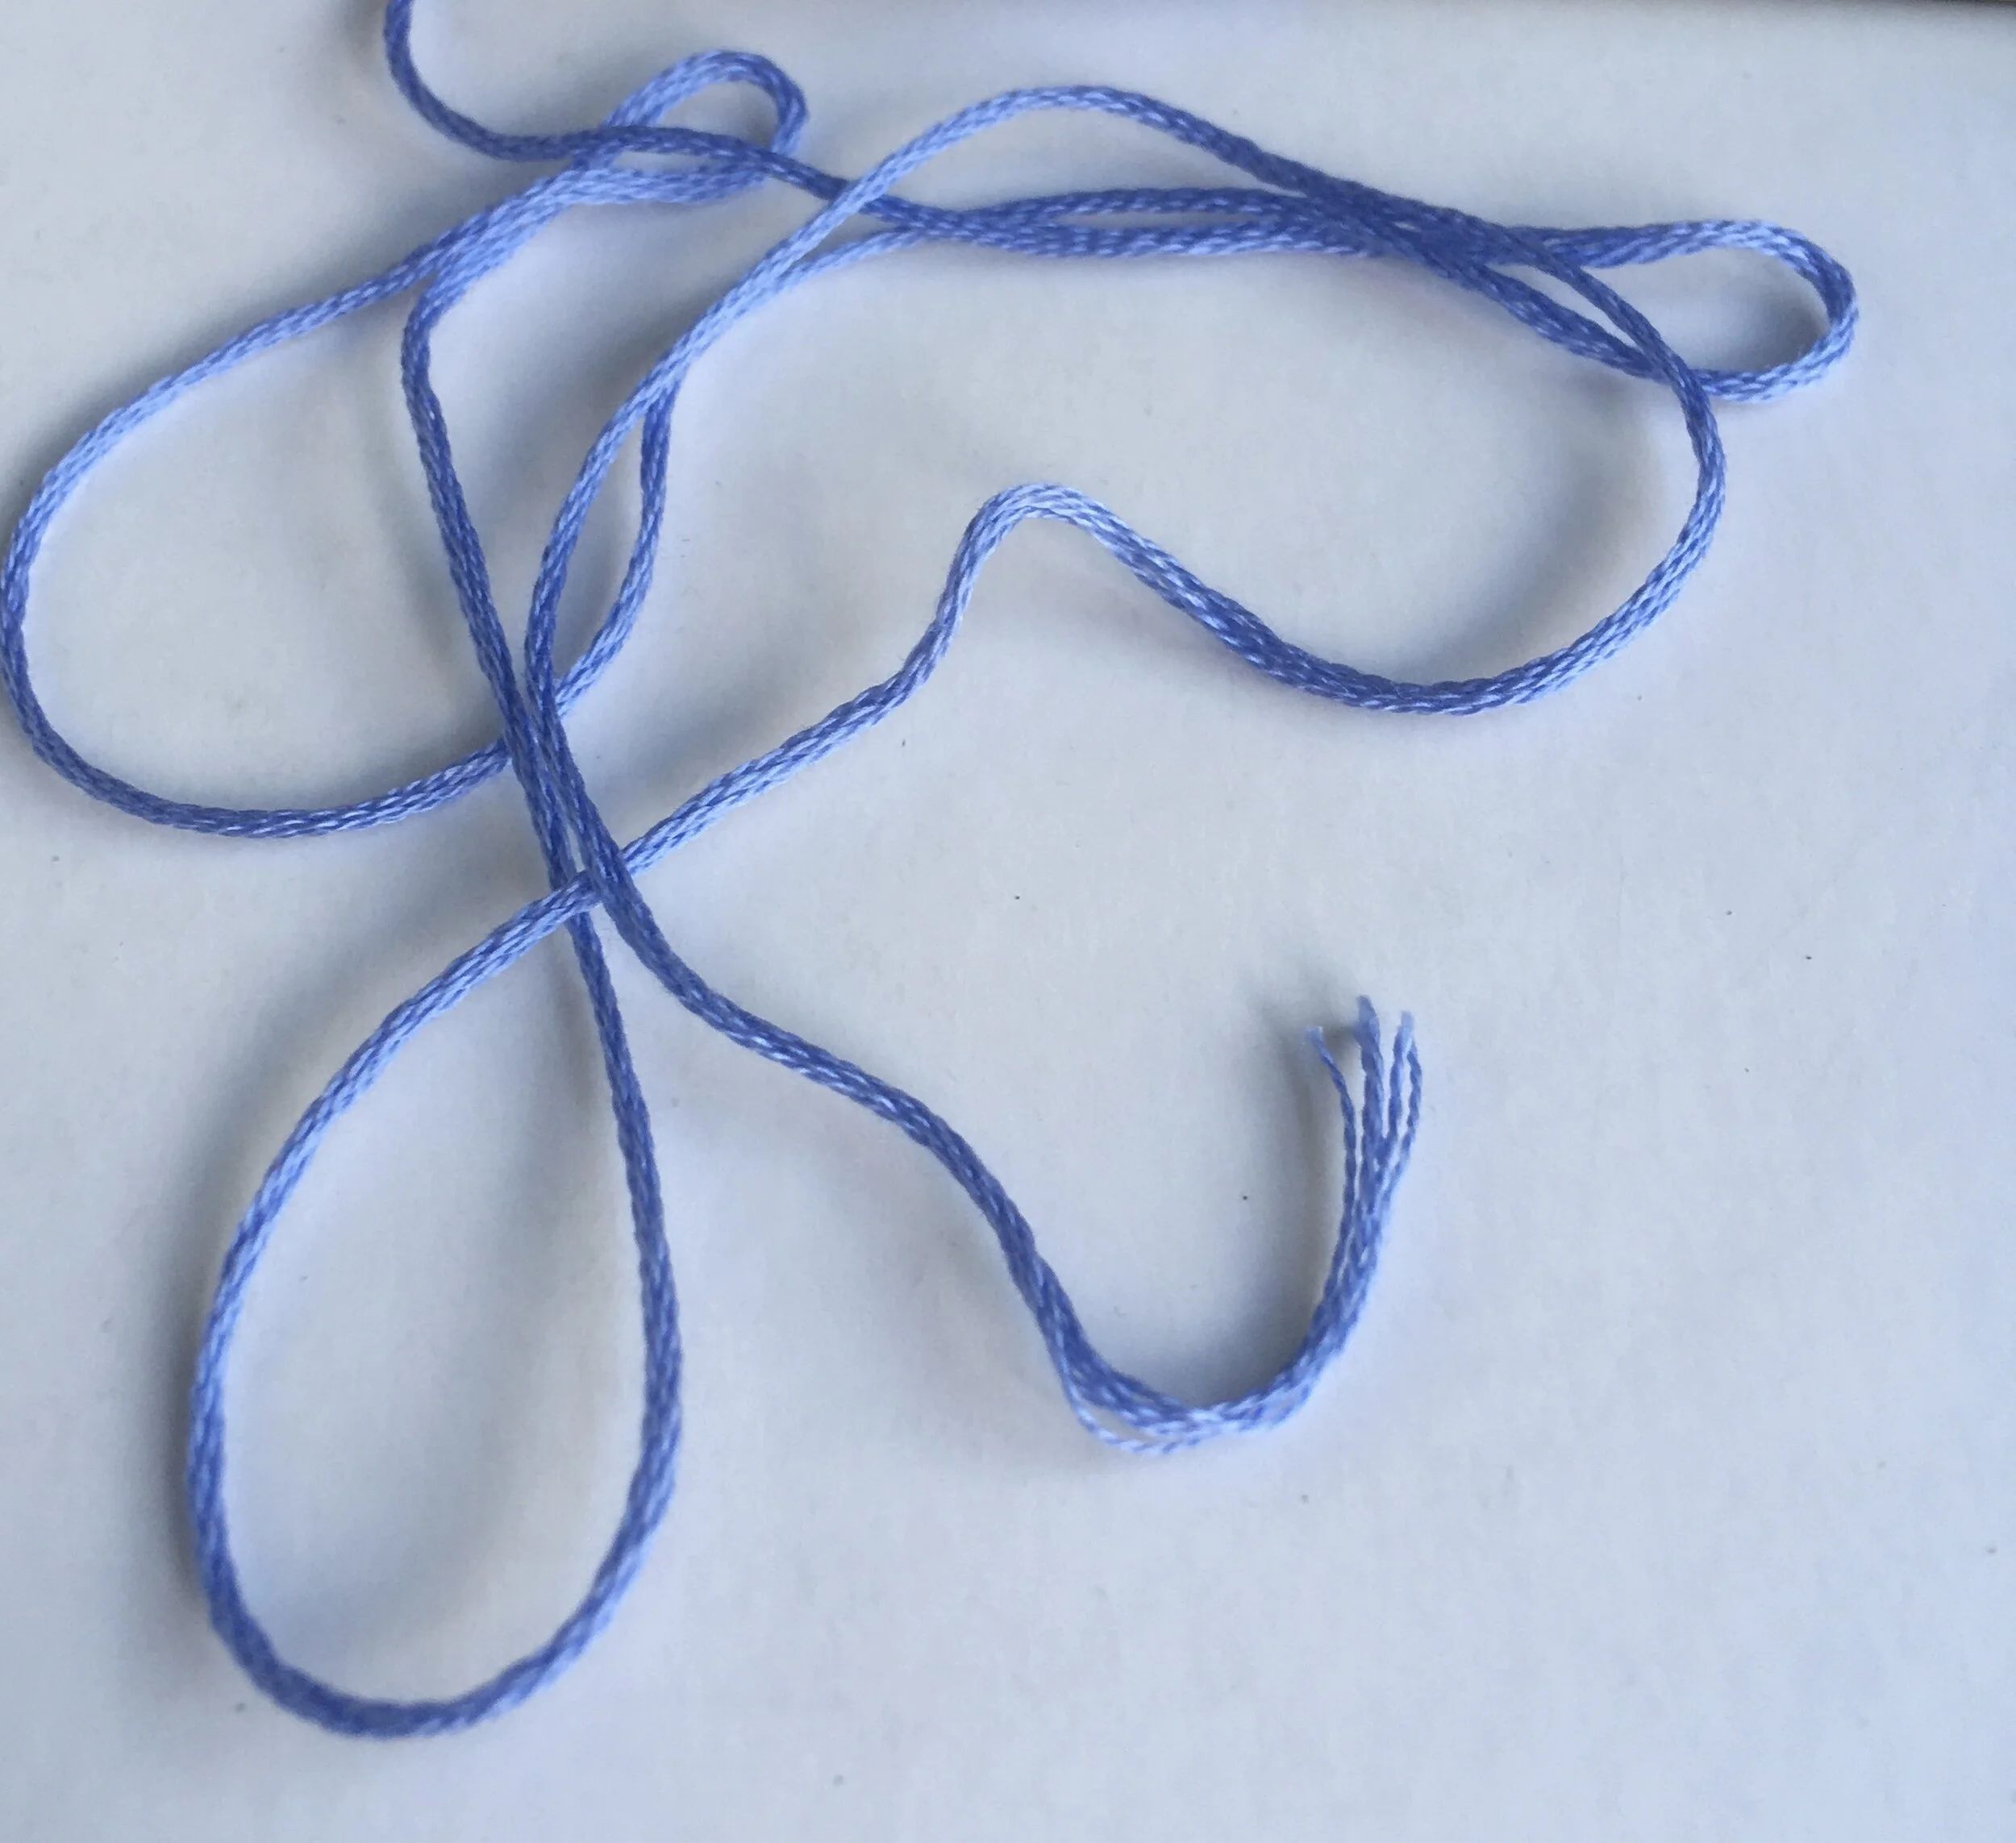
Typically, a skein of stranded thread is made from cotton and contains six individual strands. You can choose to work with all six or separate them and use whichever number suits your project. This ability to break down the thread into smaller strands is what makes it so versatile for embroidery.
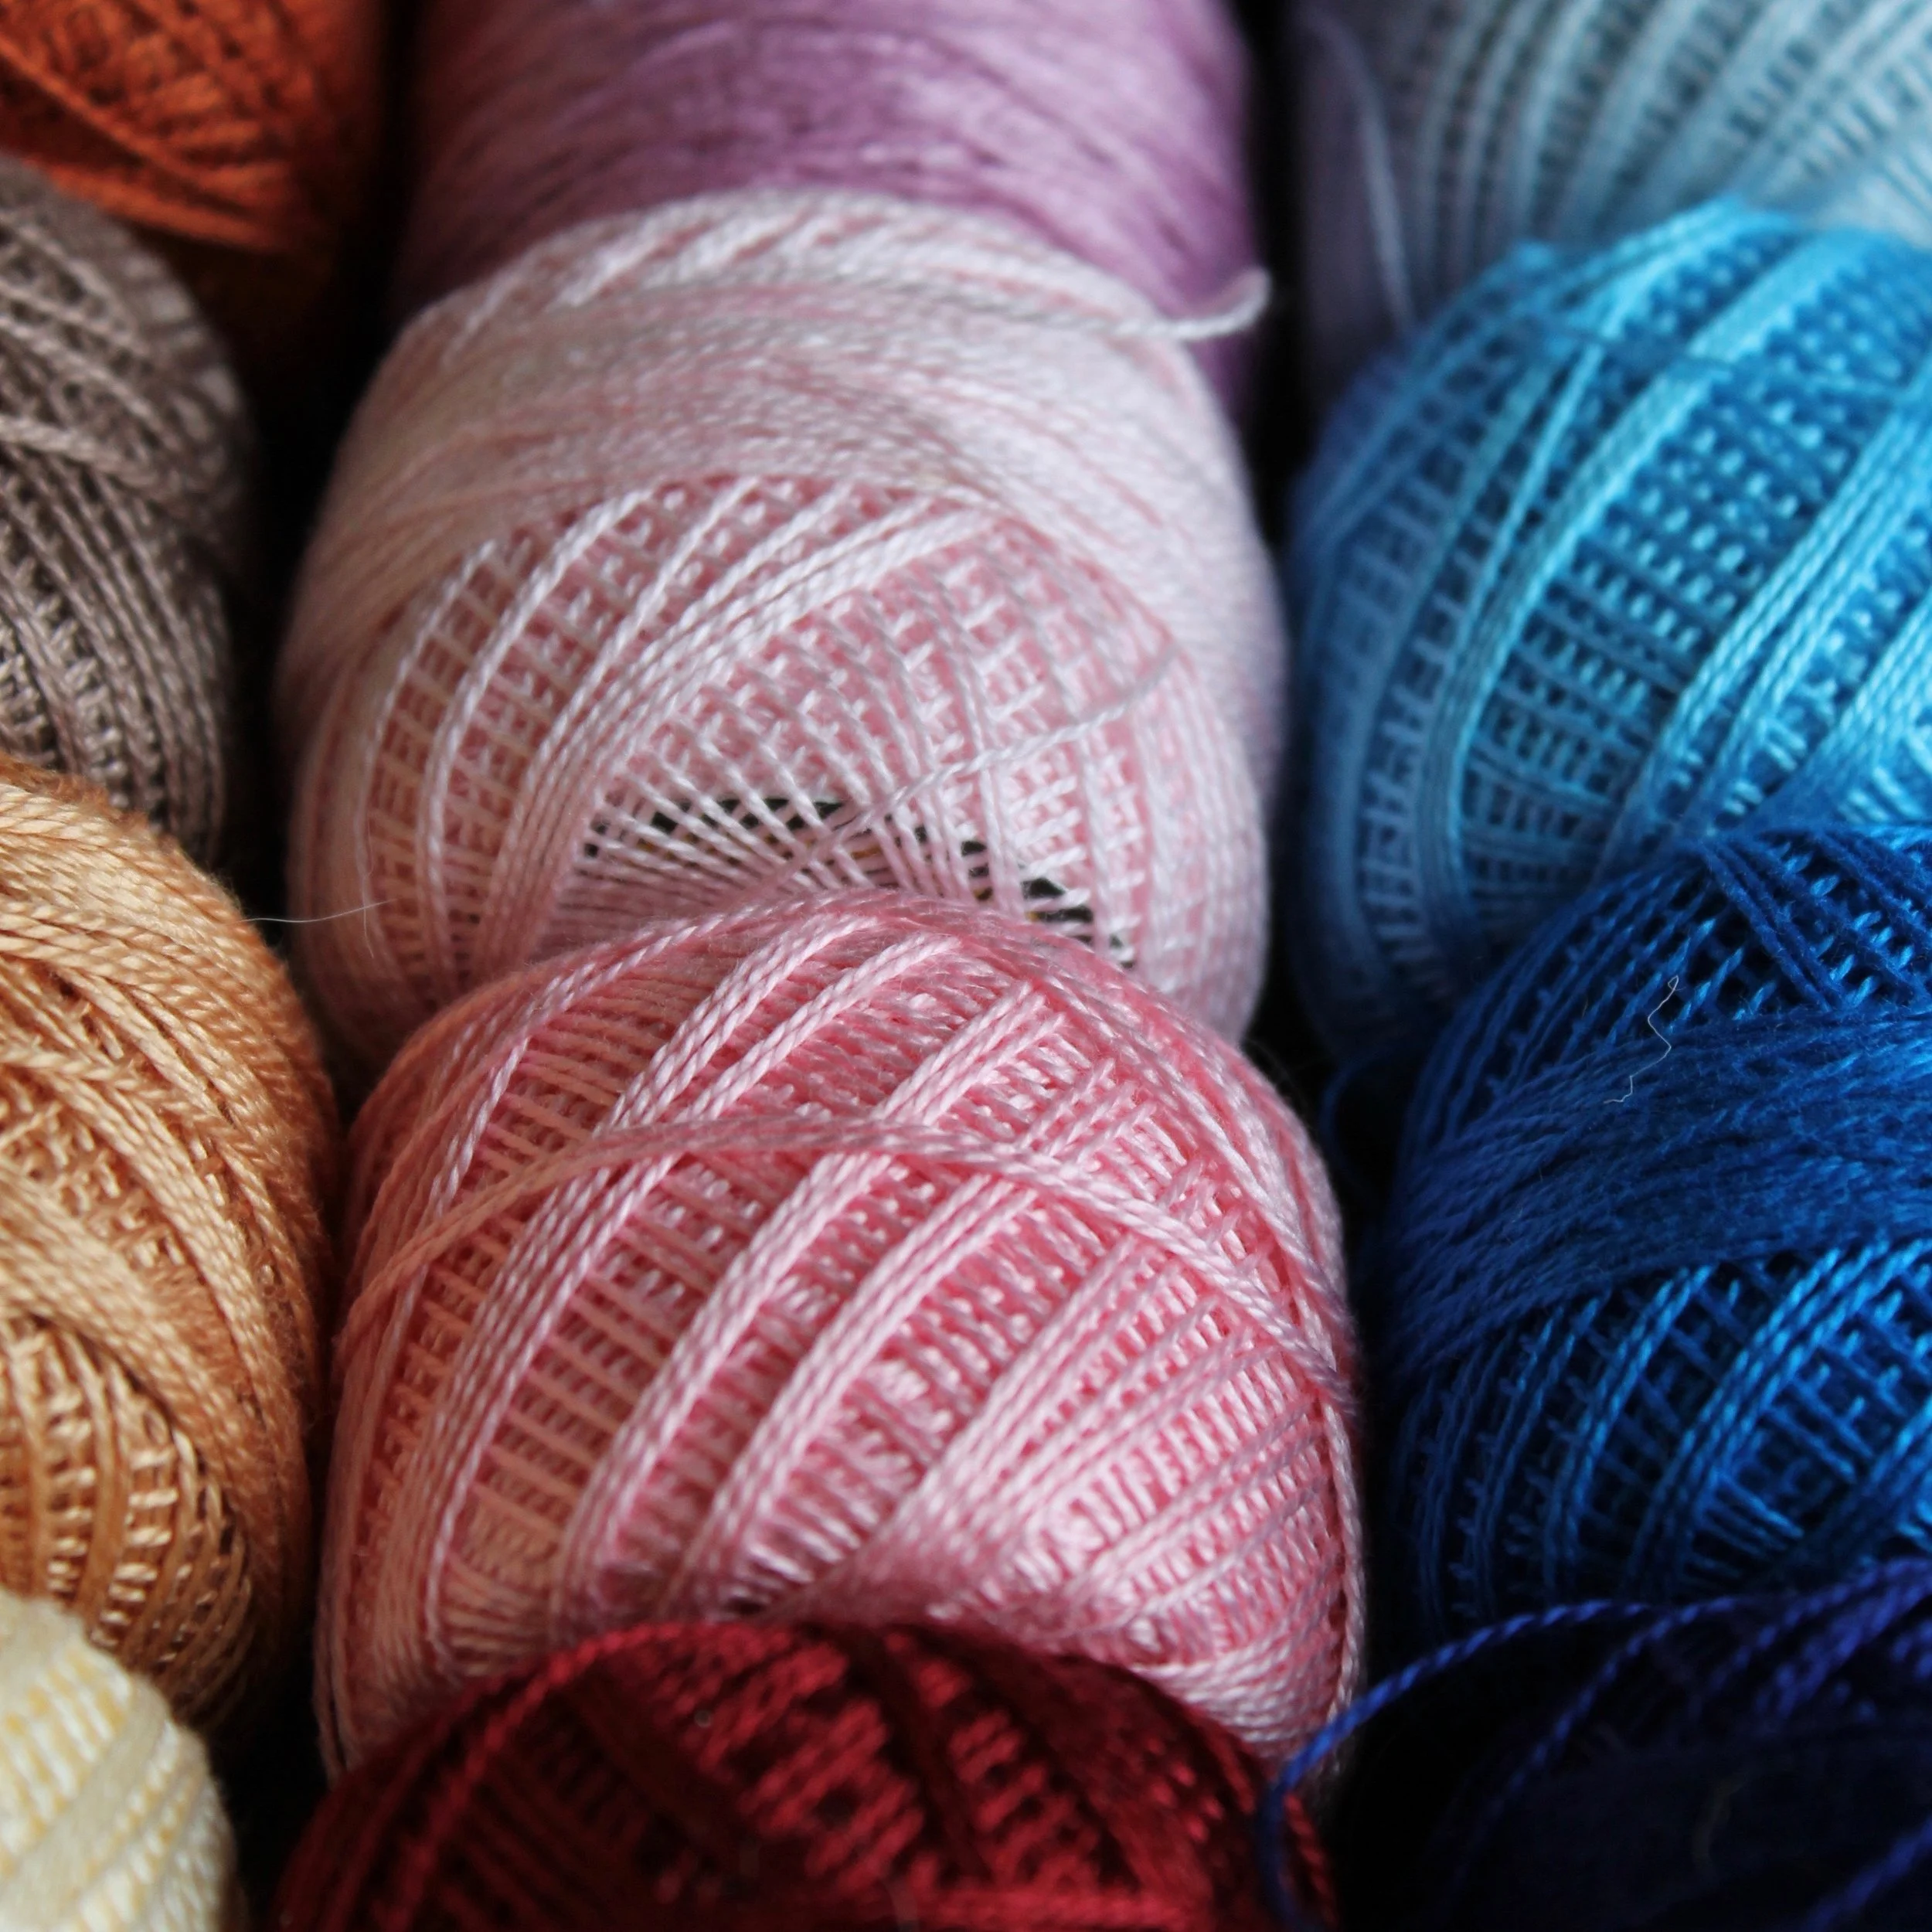
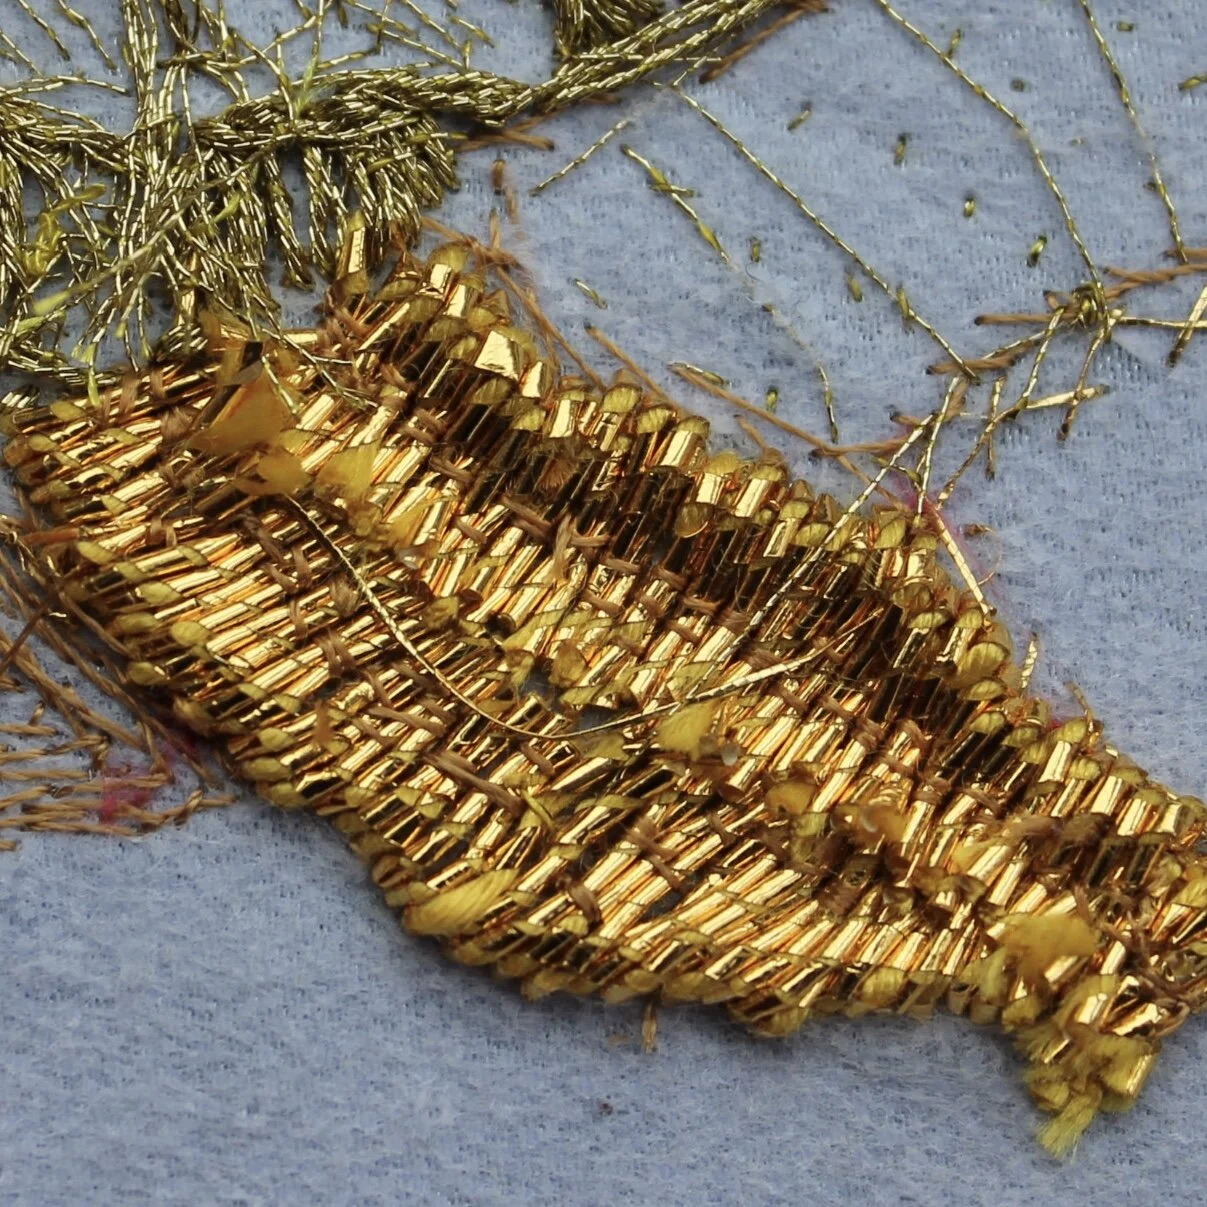
Most commonly stranded thread is made from cotton, but you can also get stranded thread made from silk or wool.
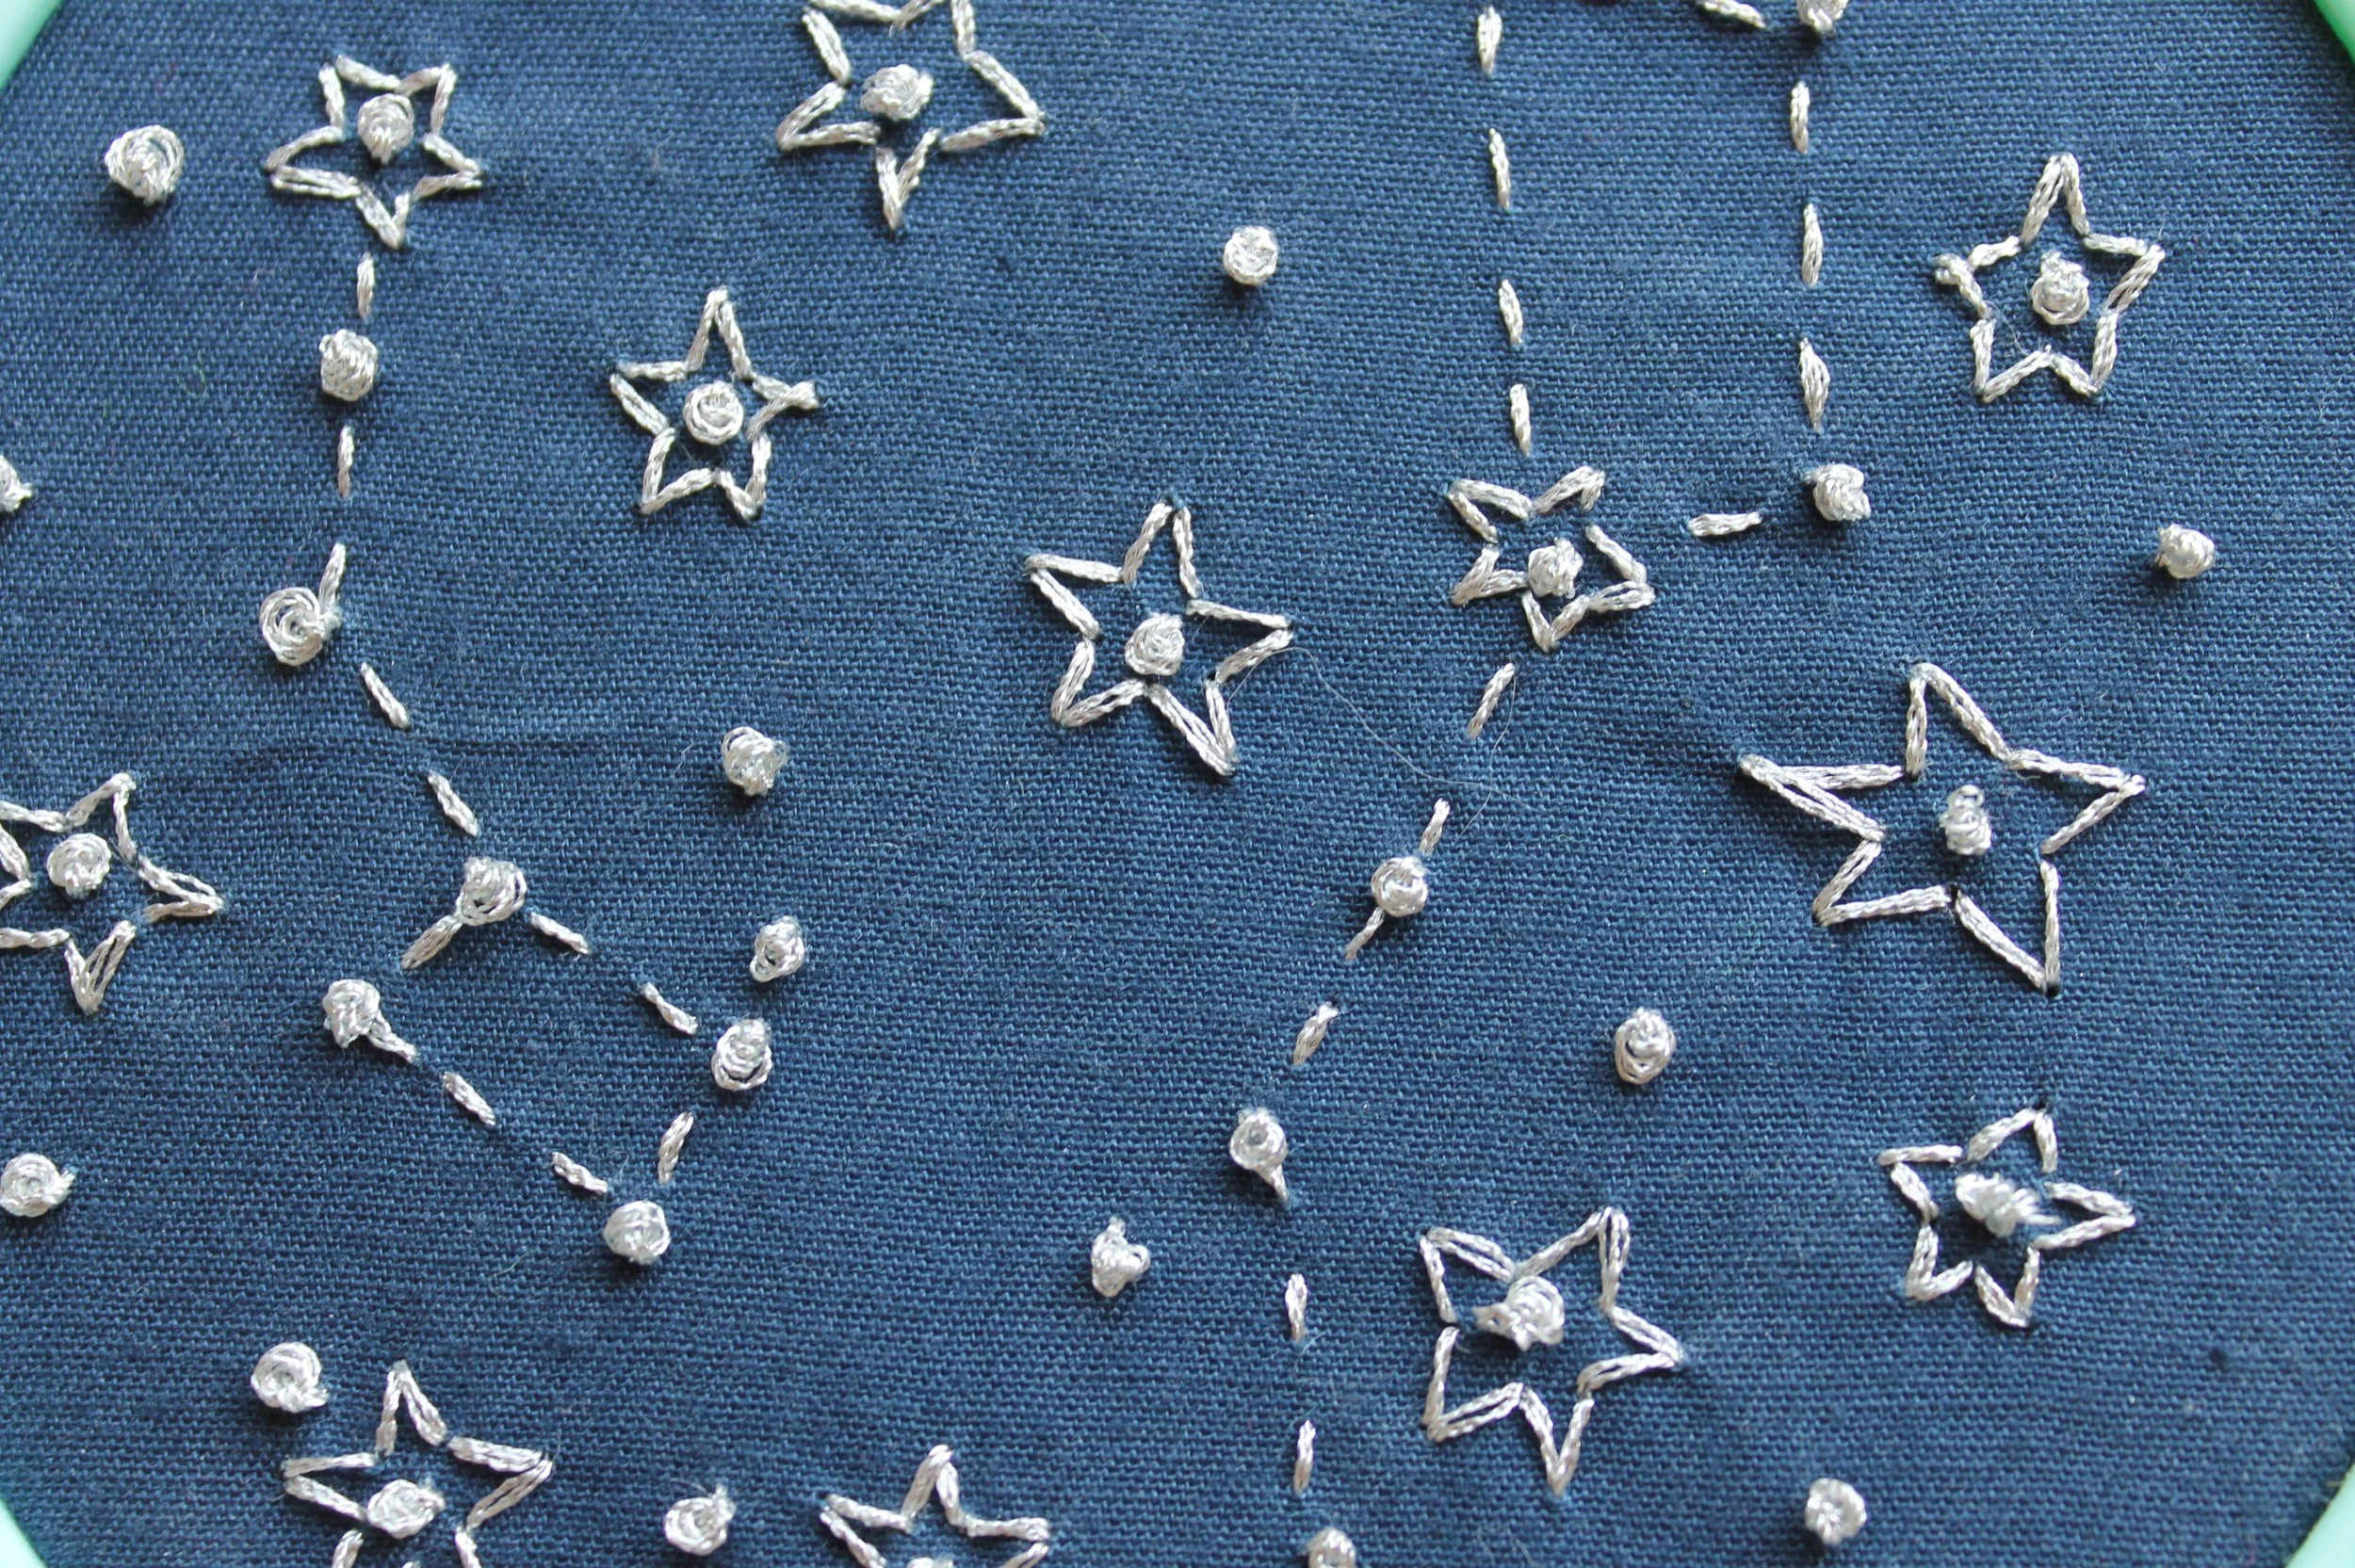
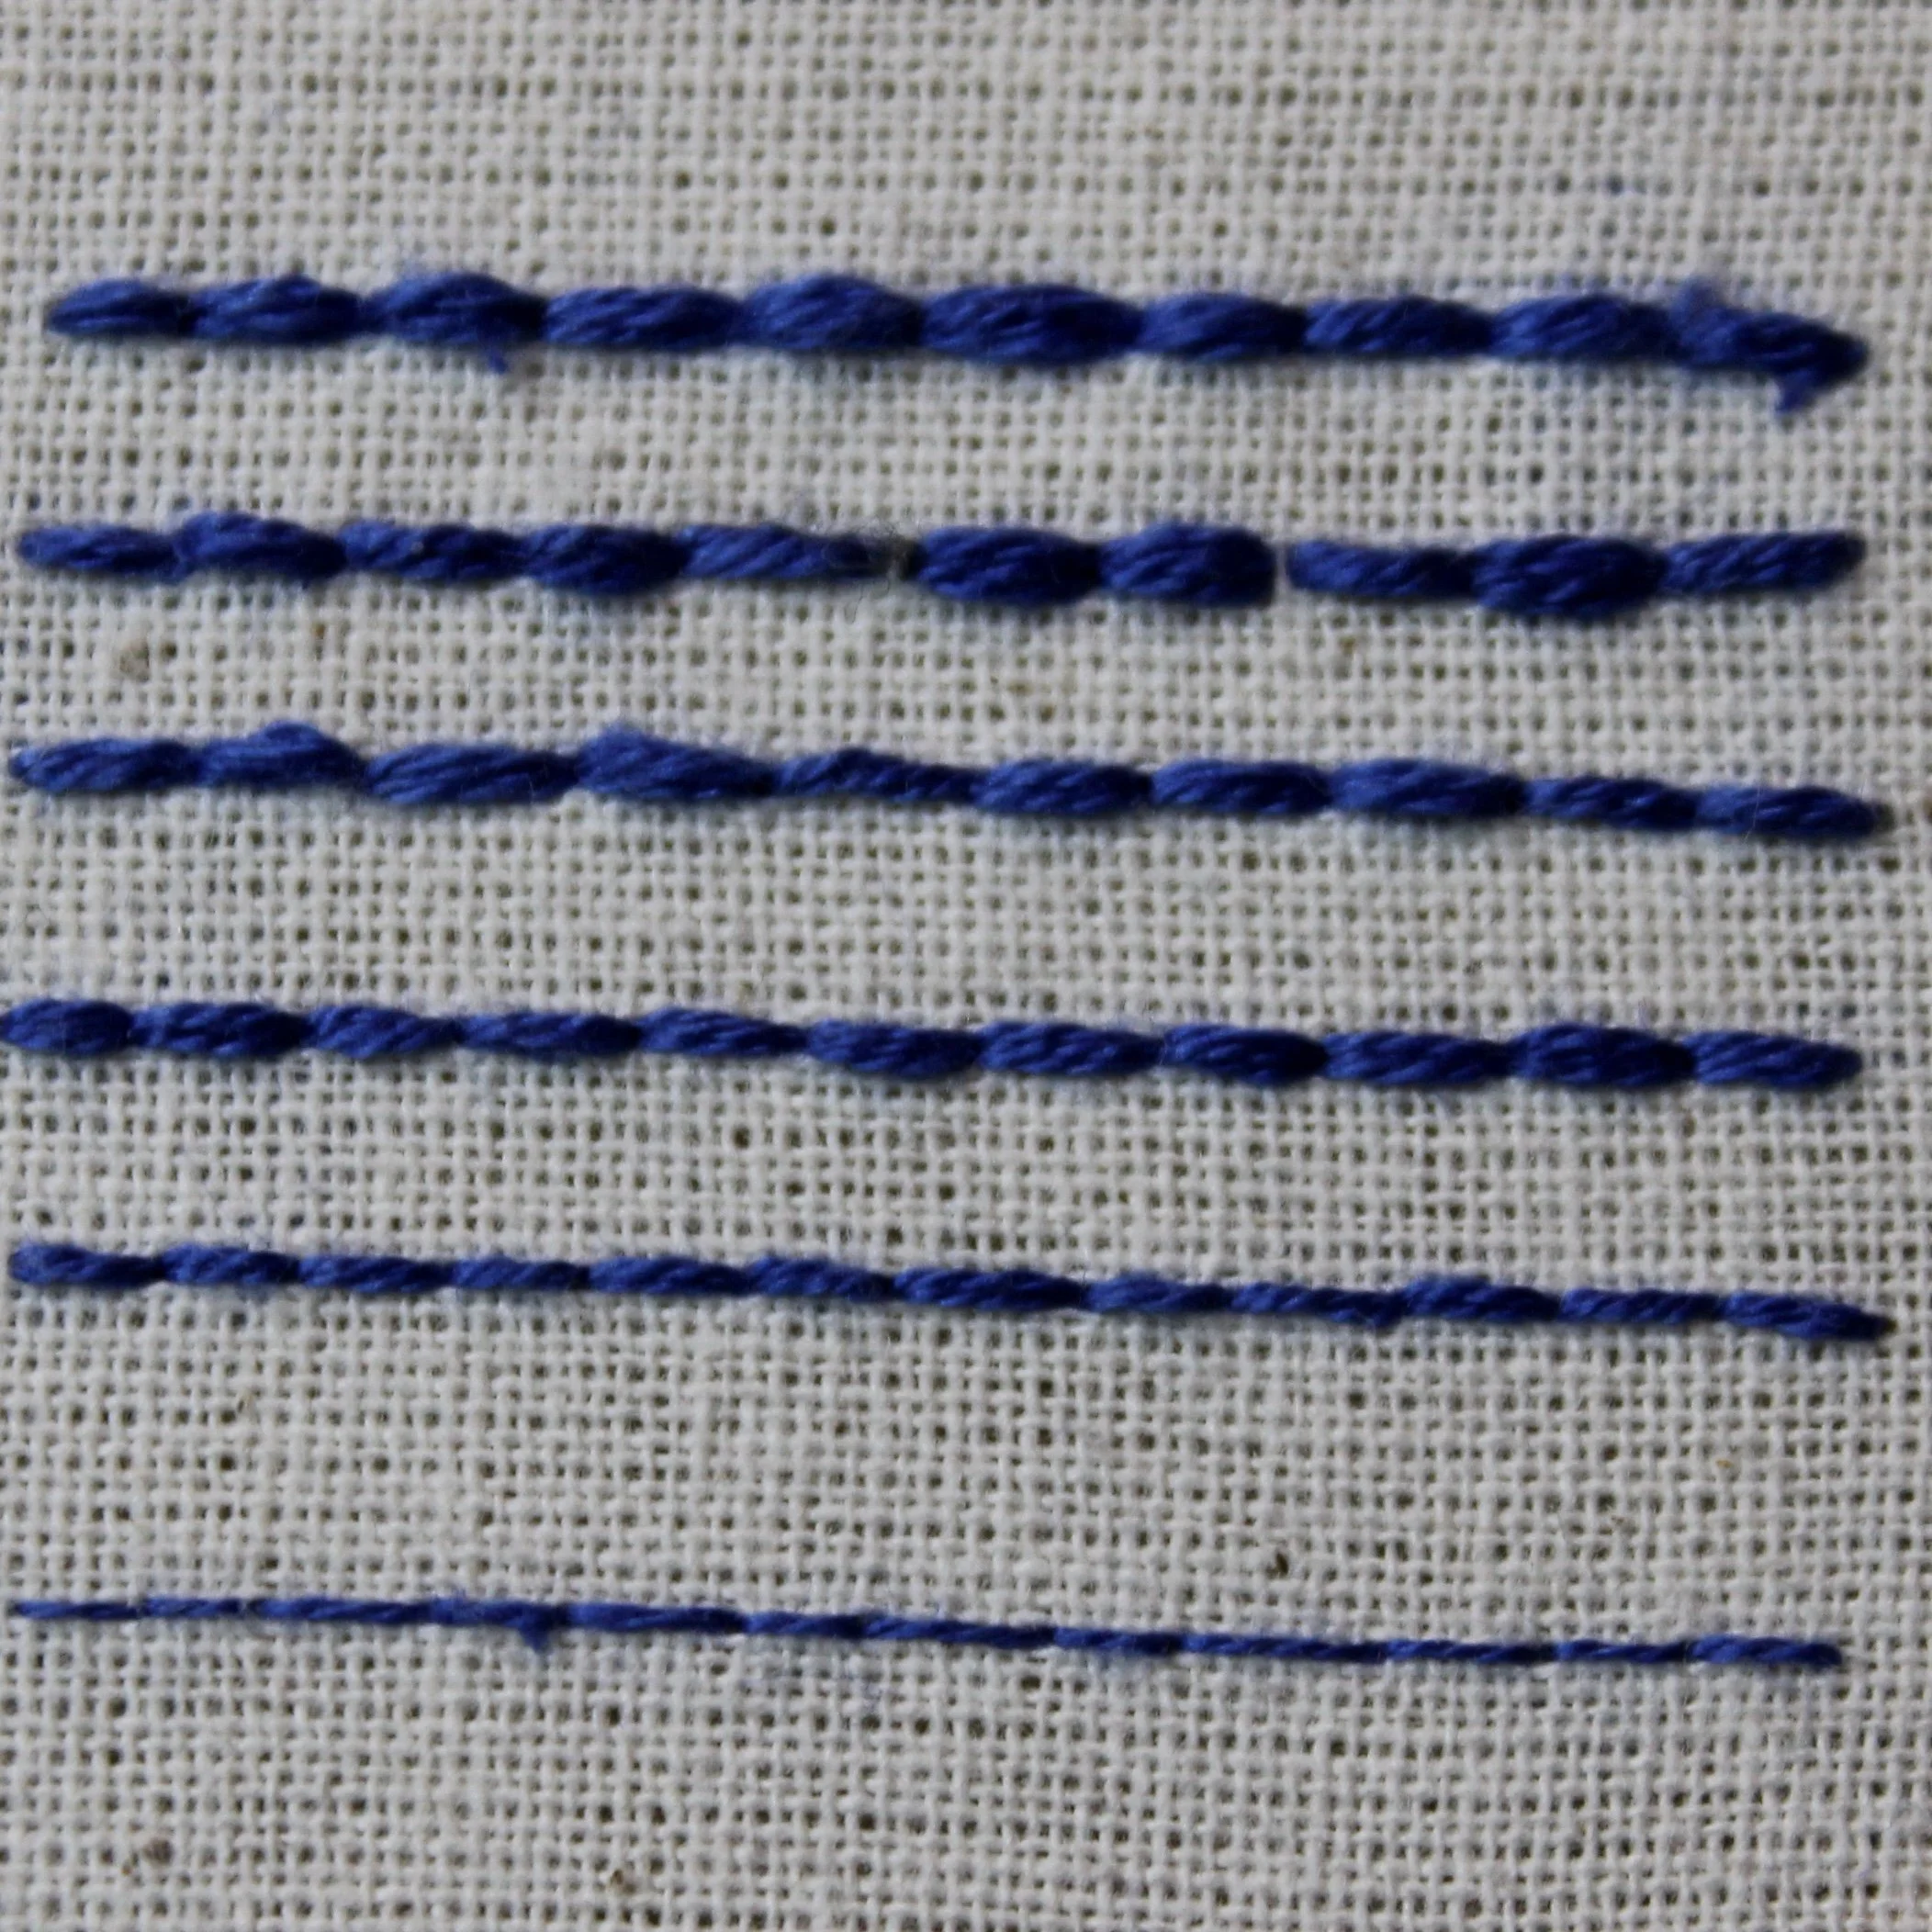
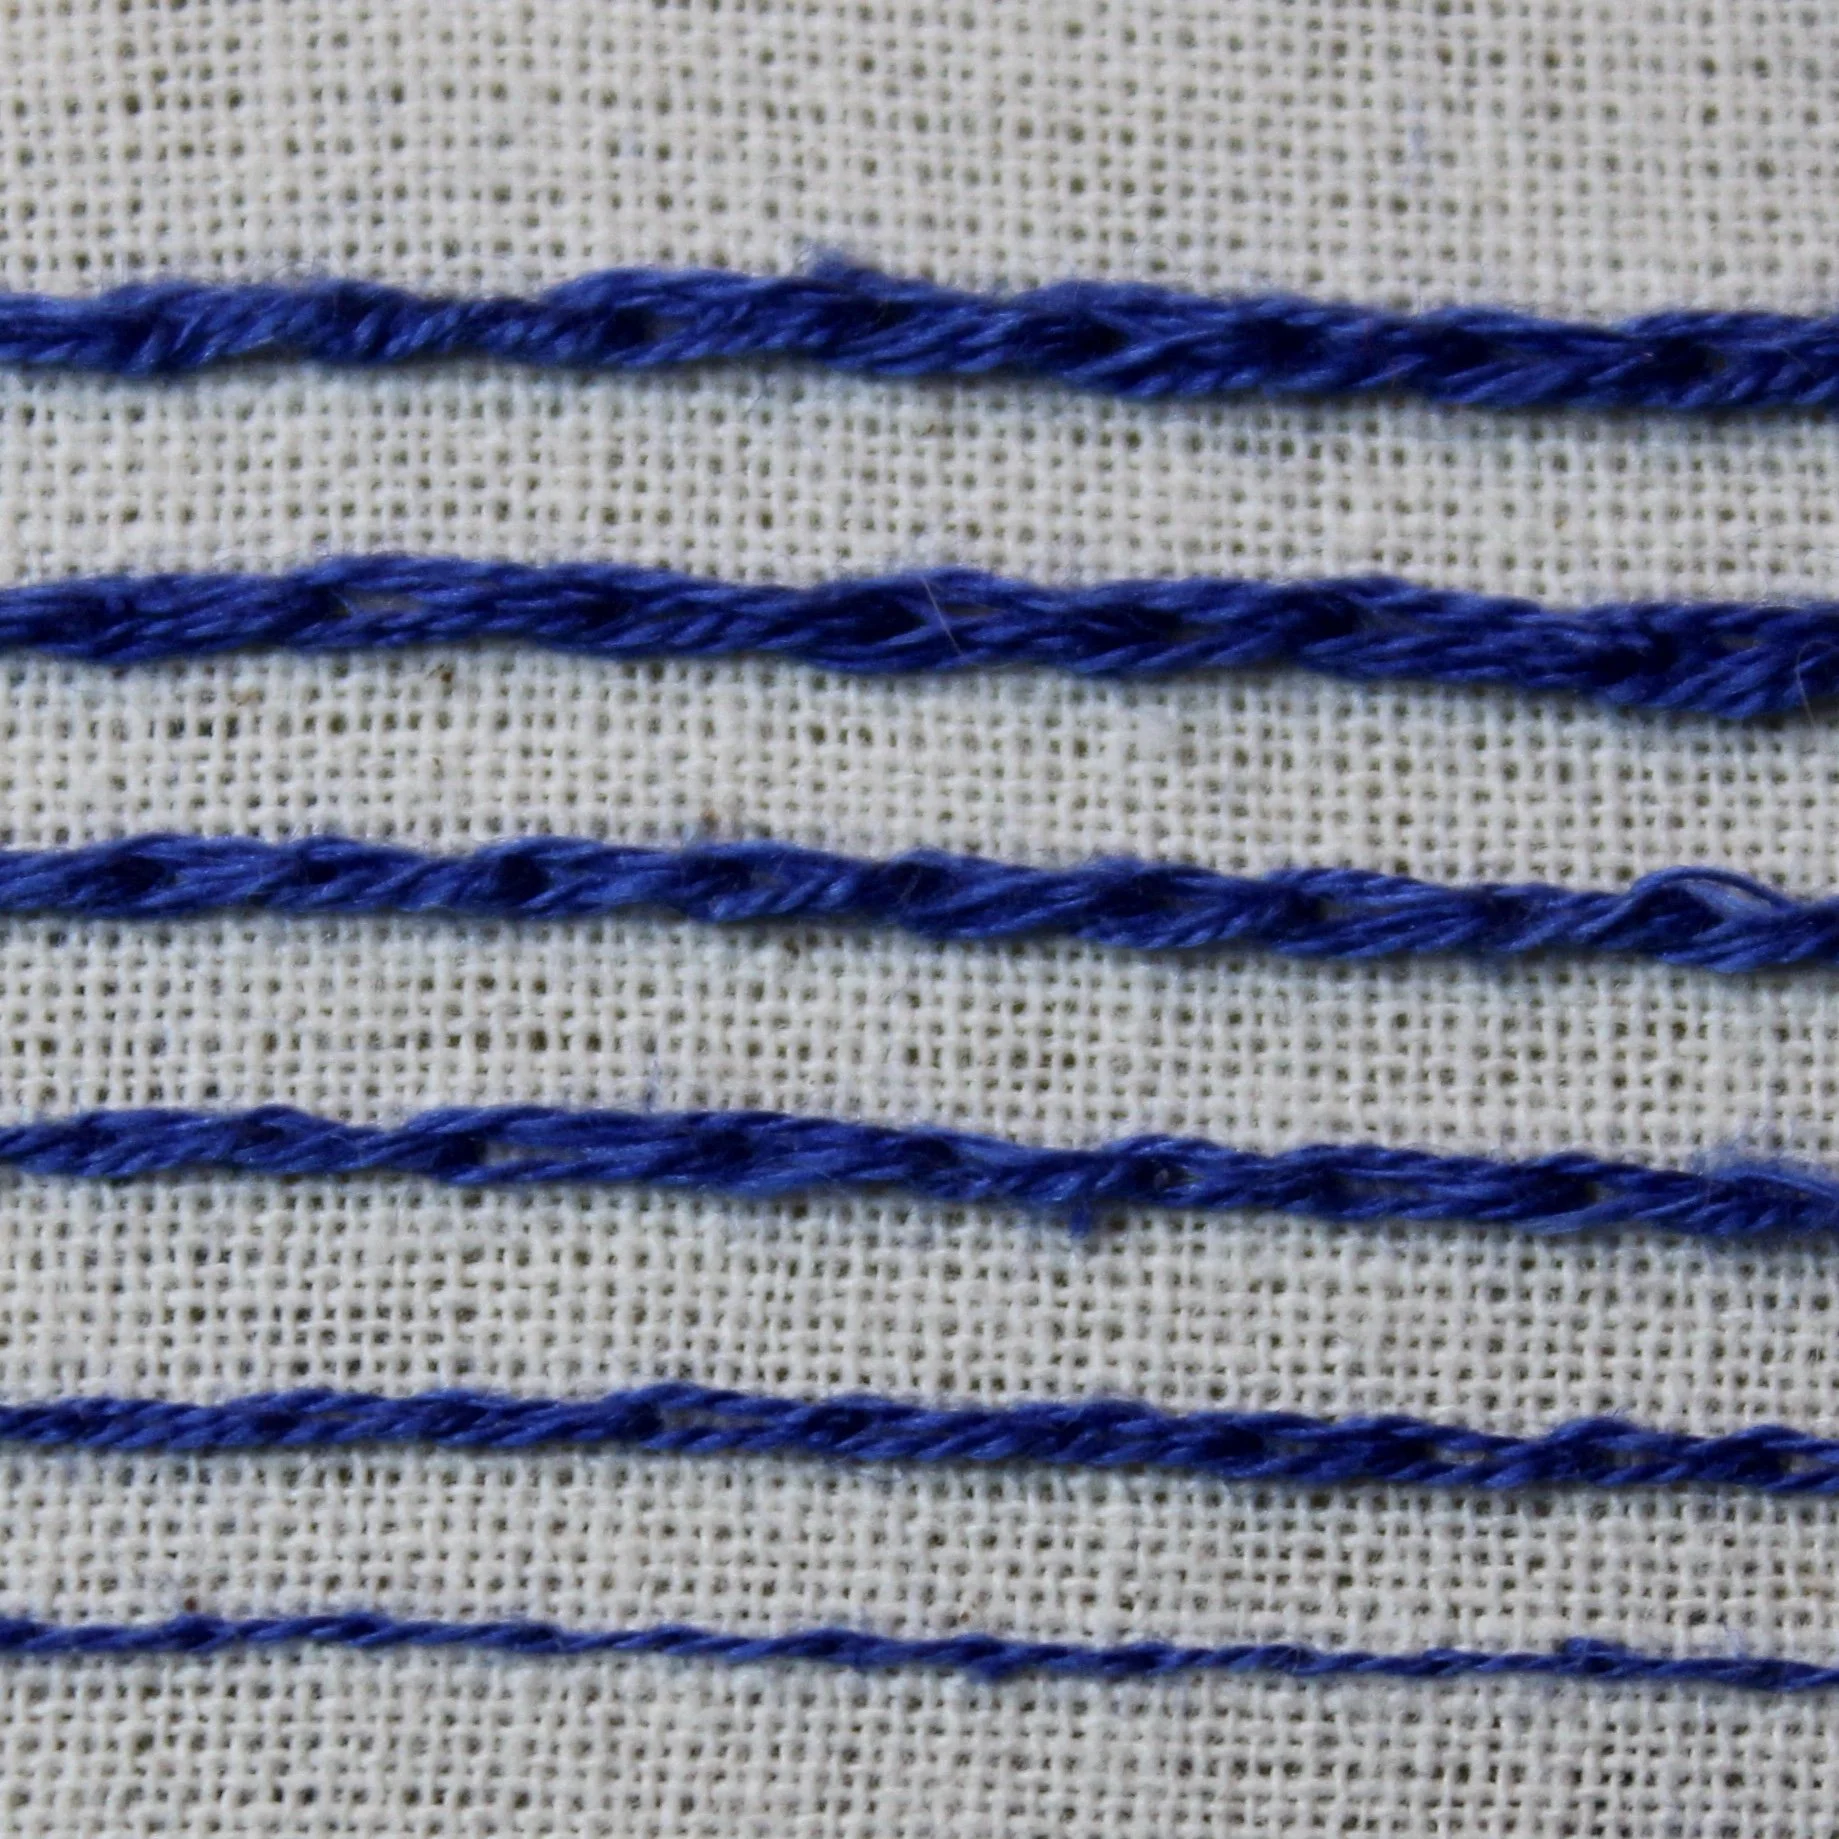
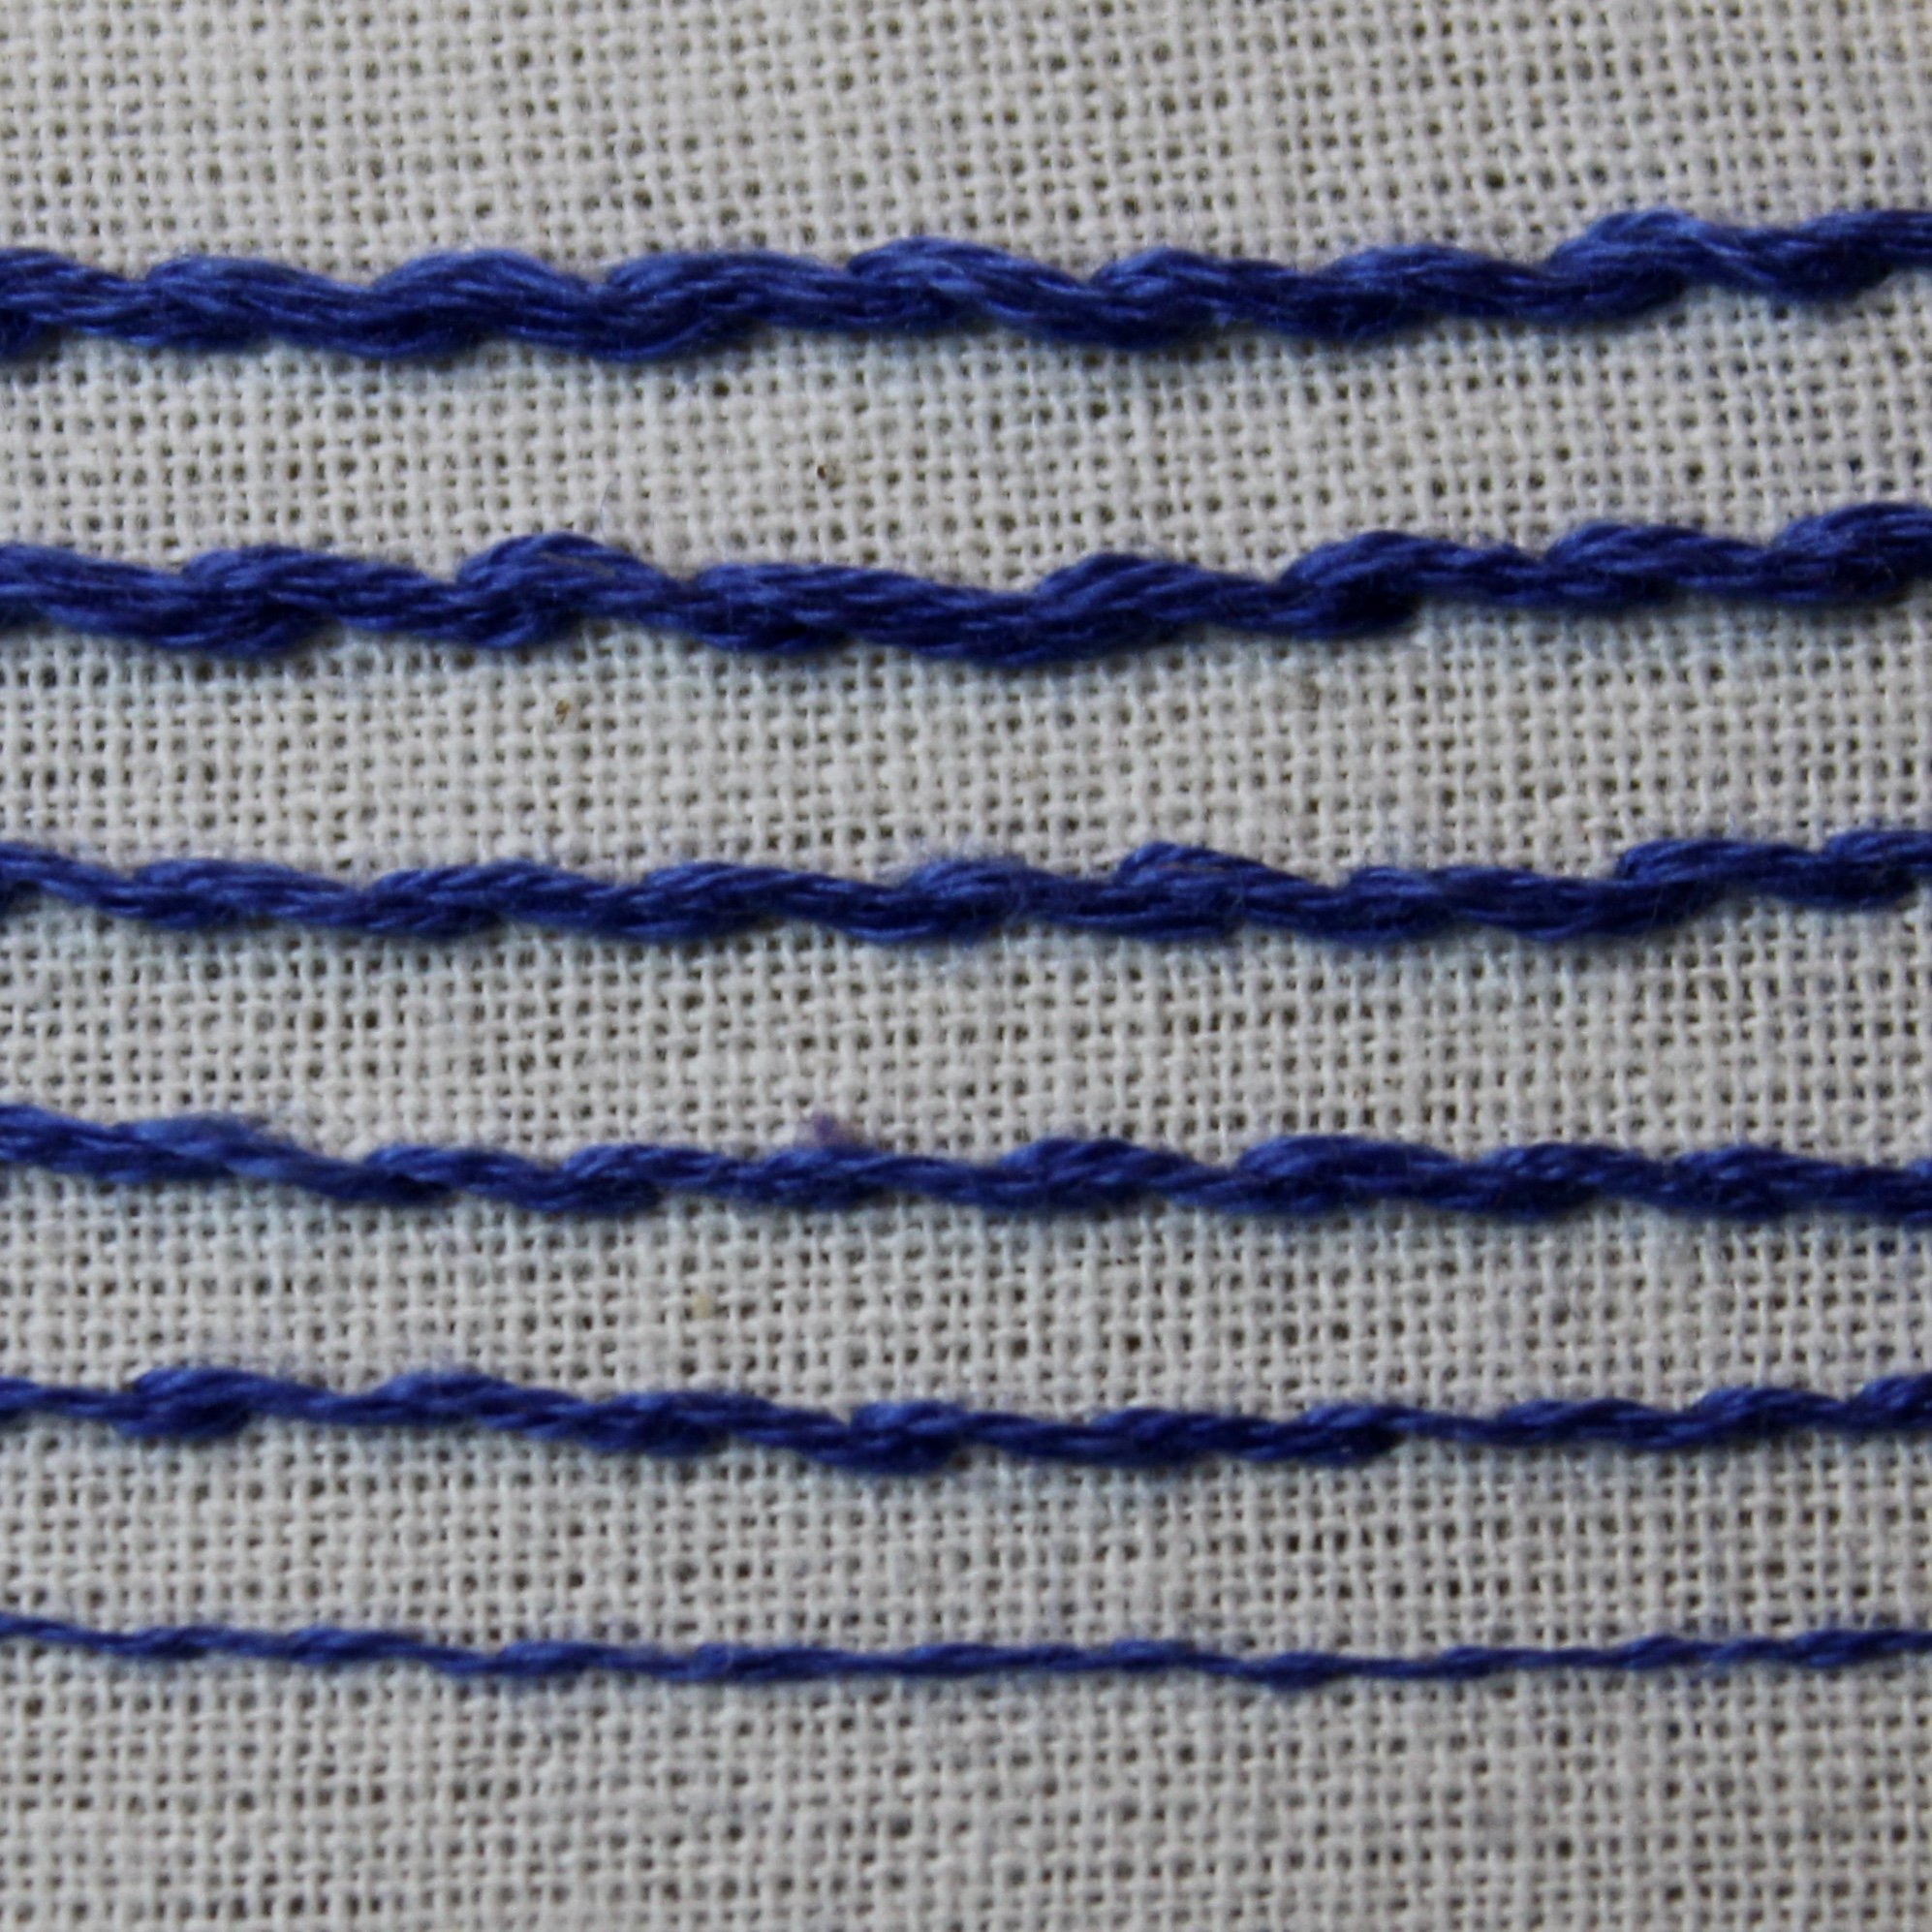
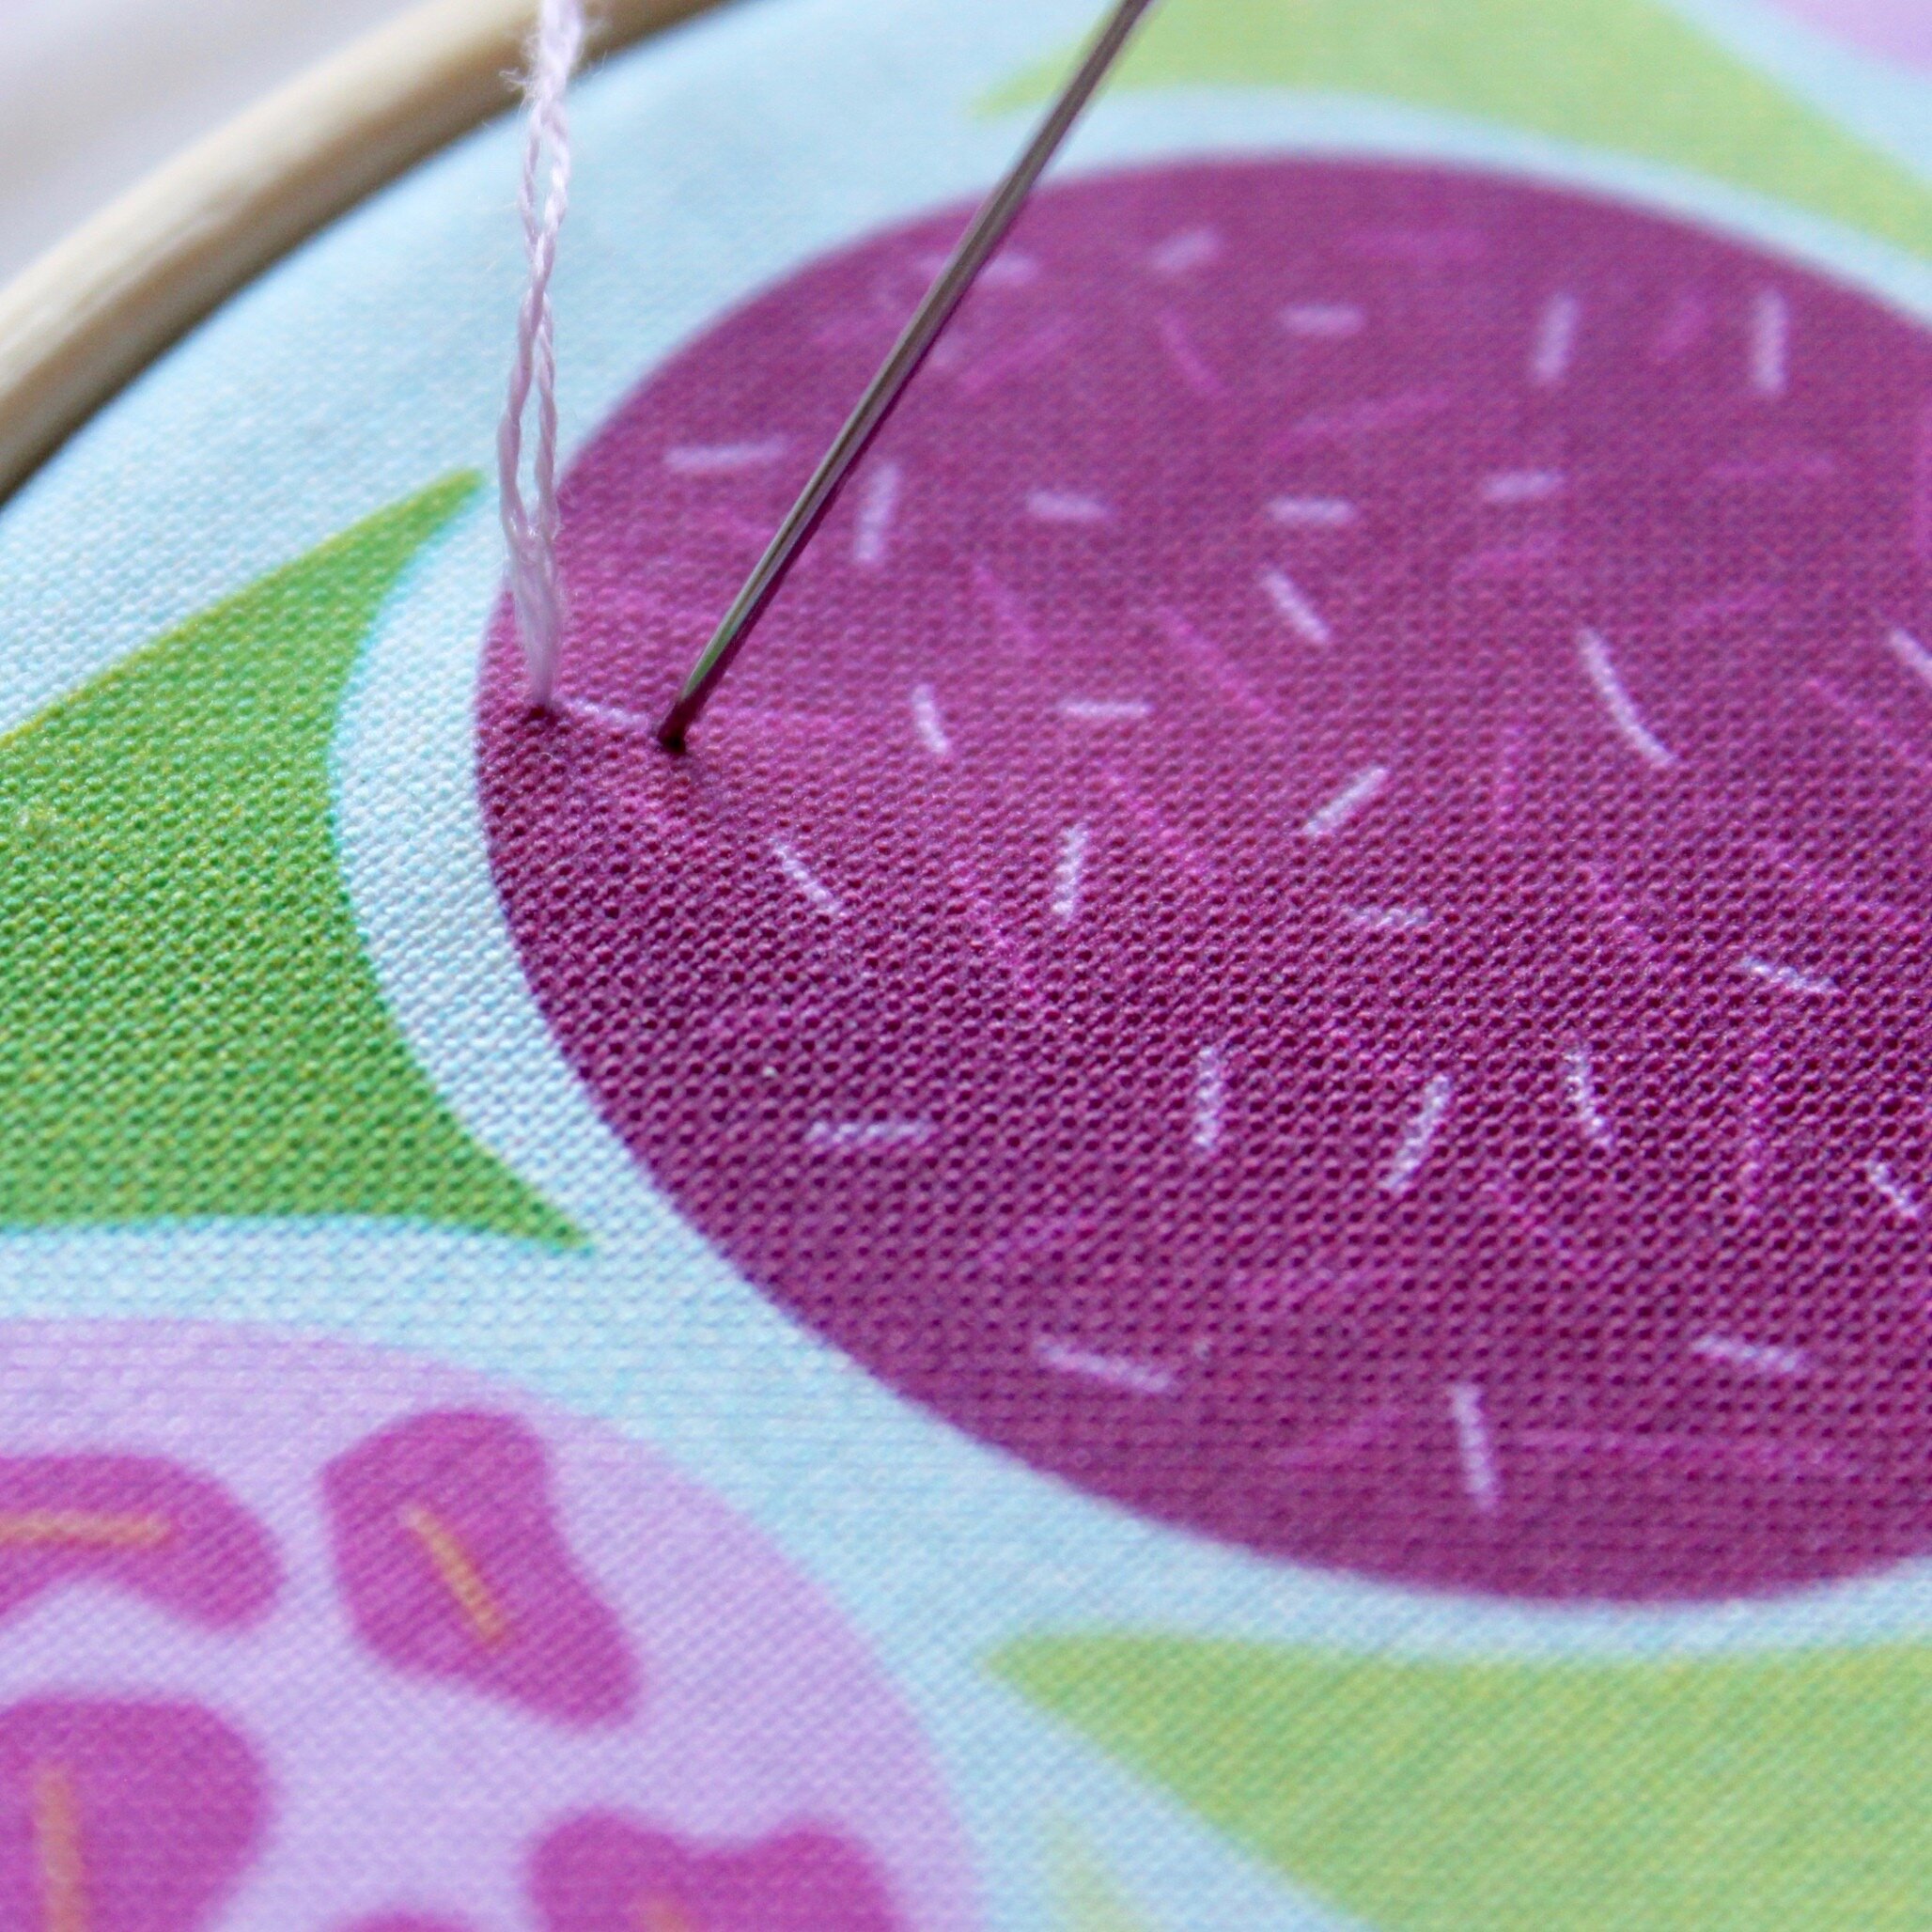
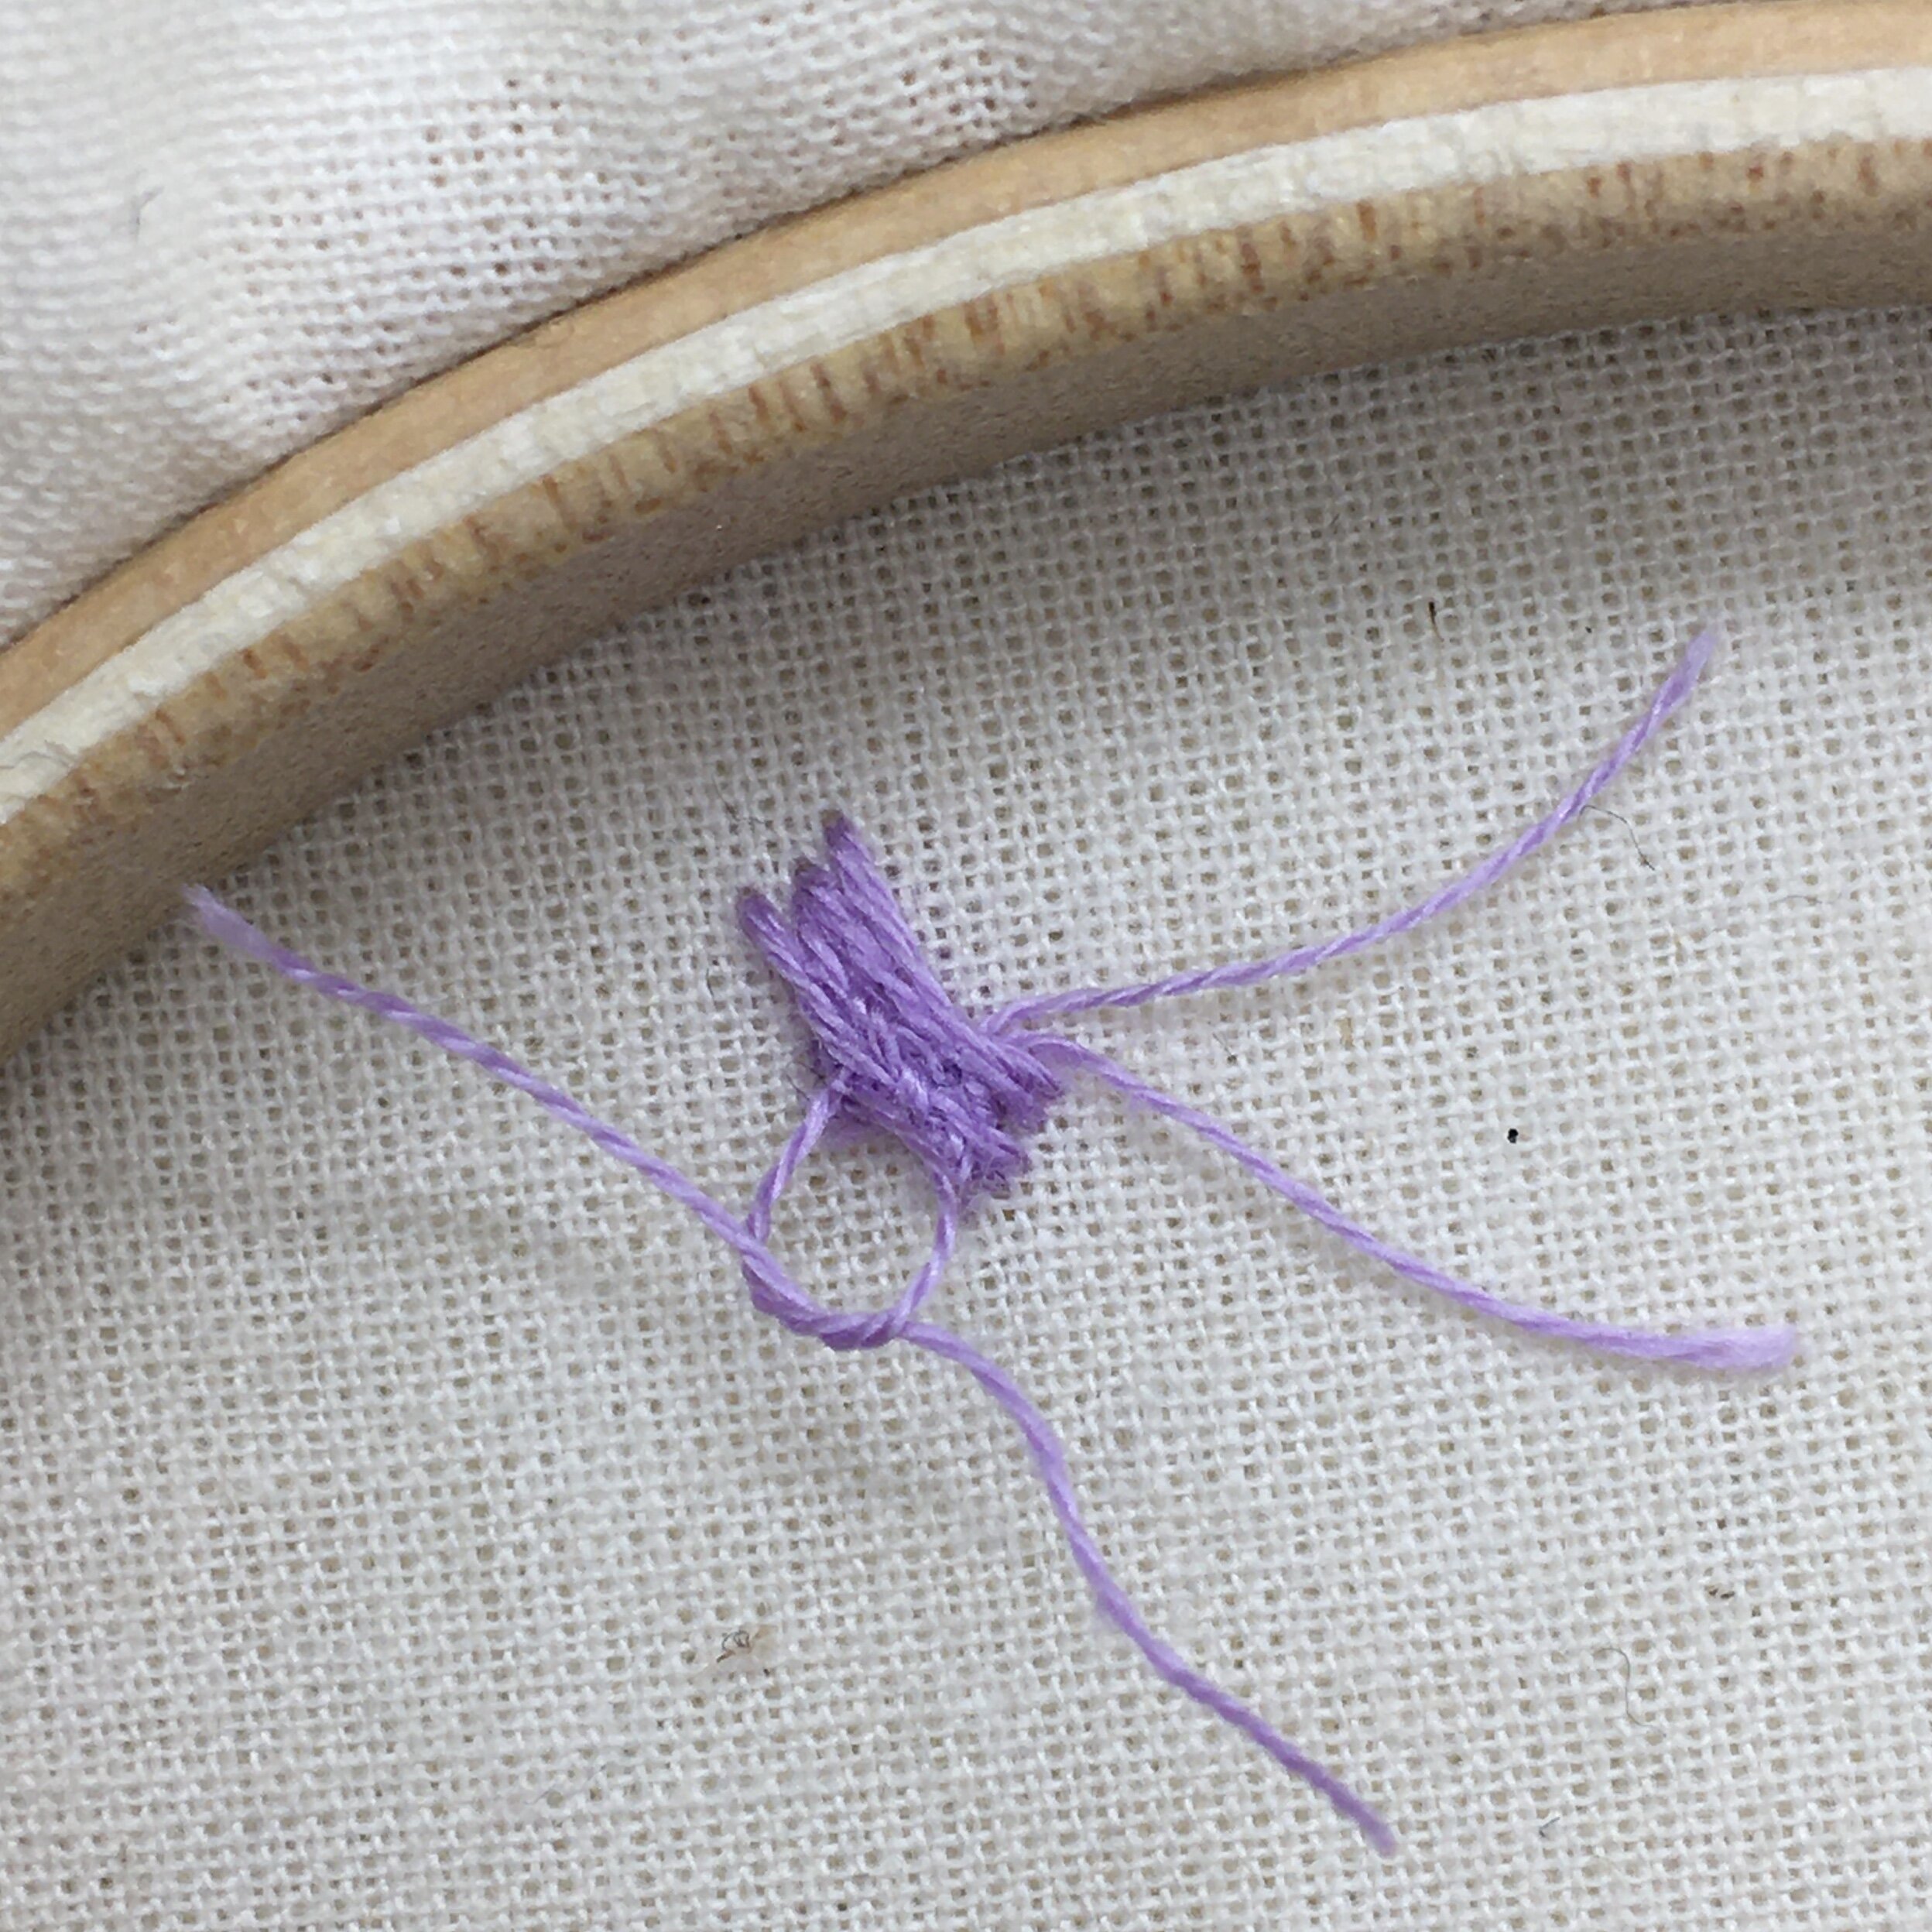
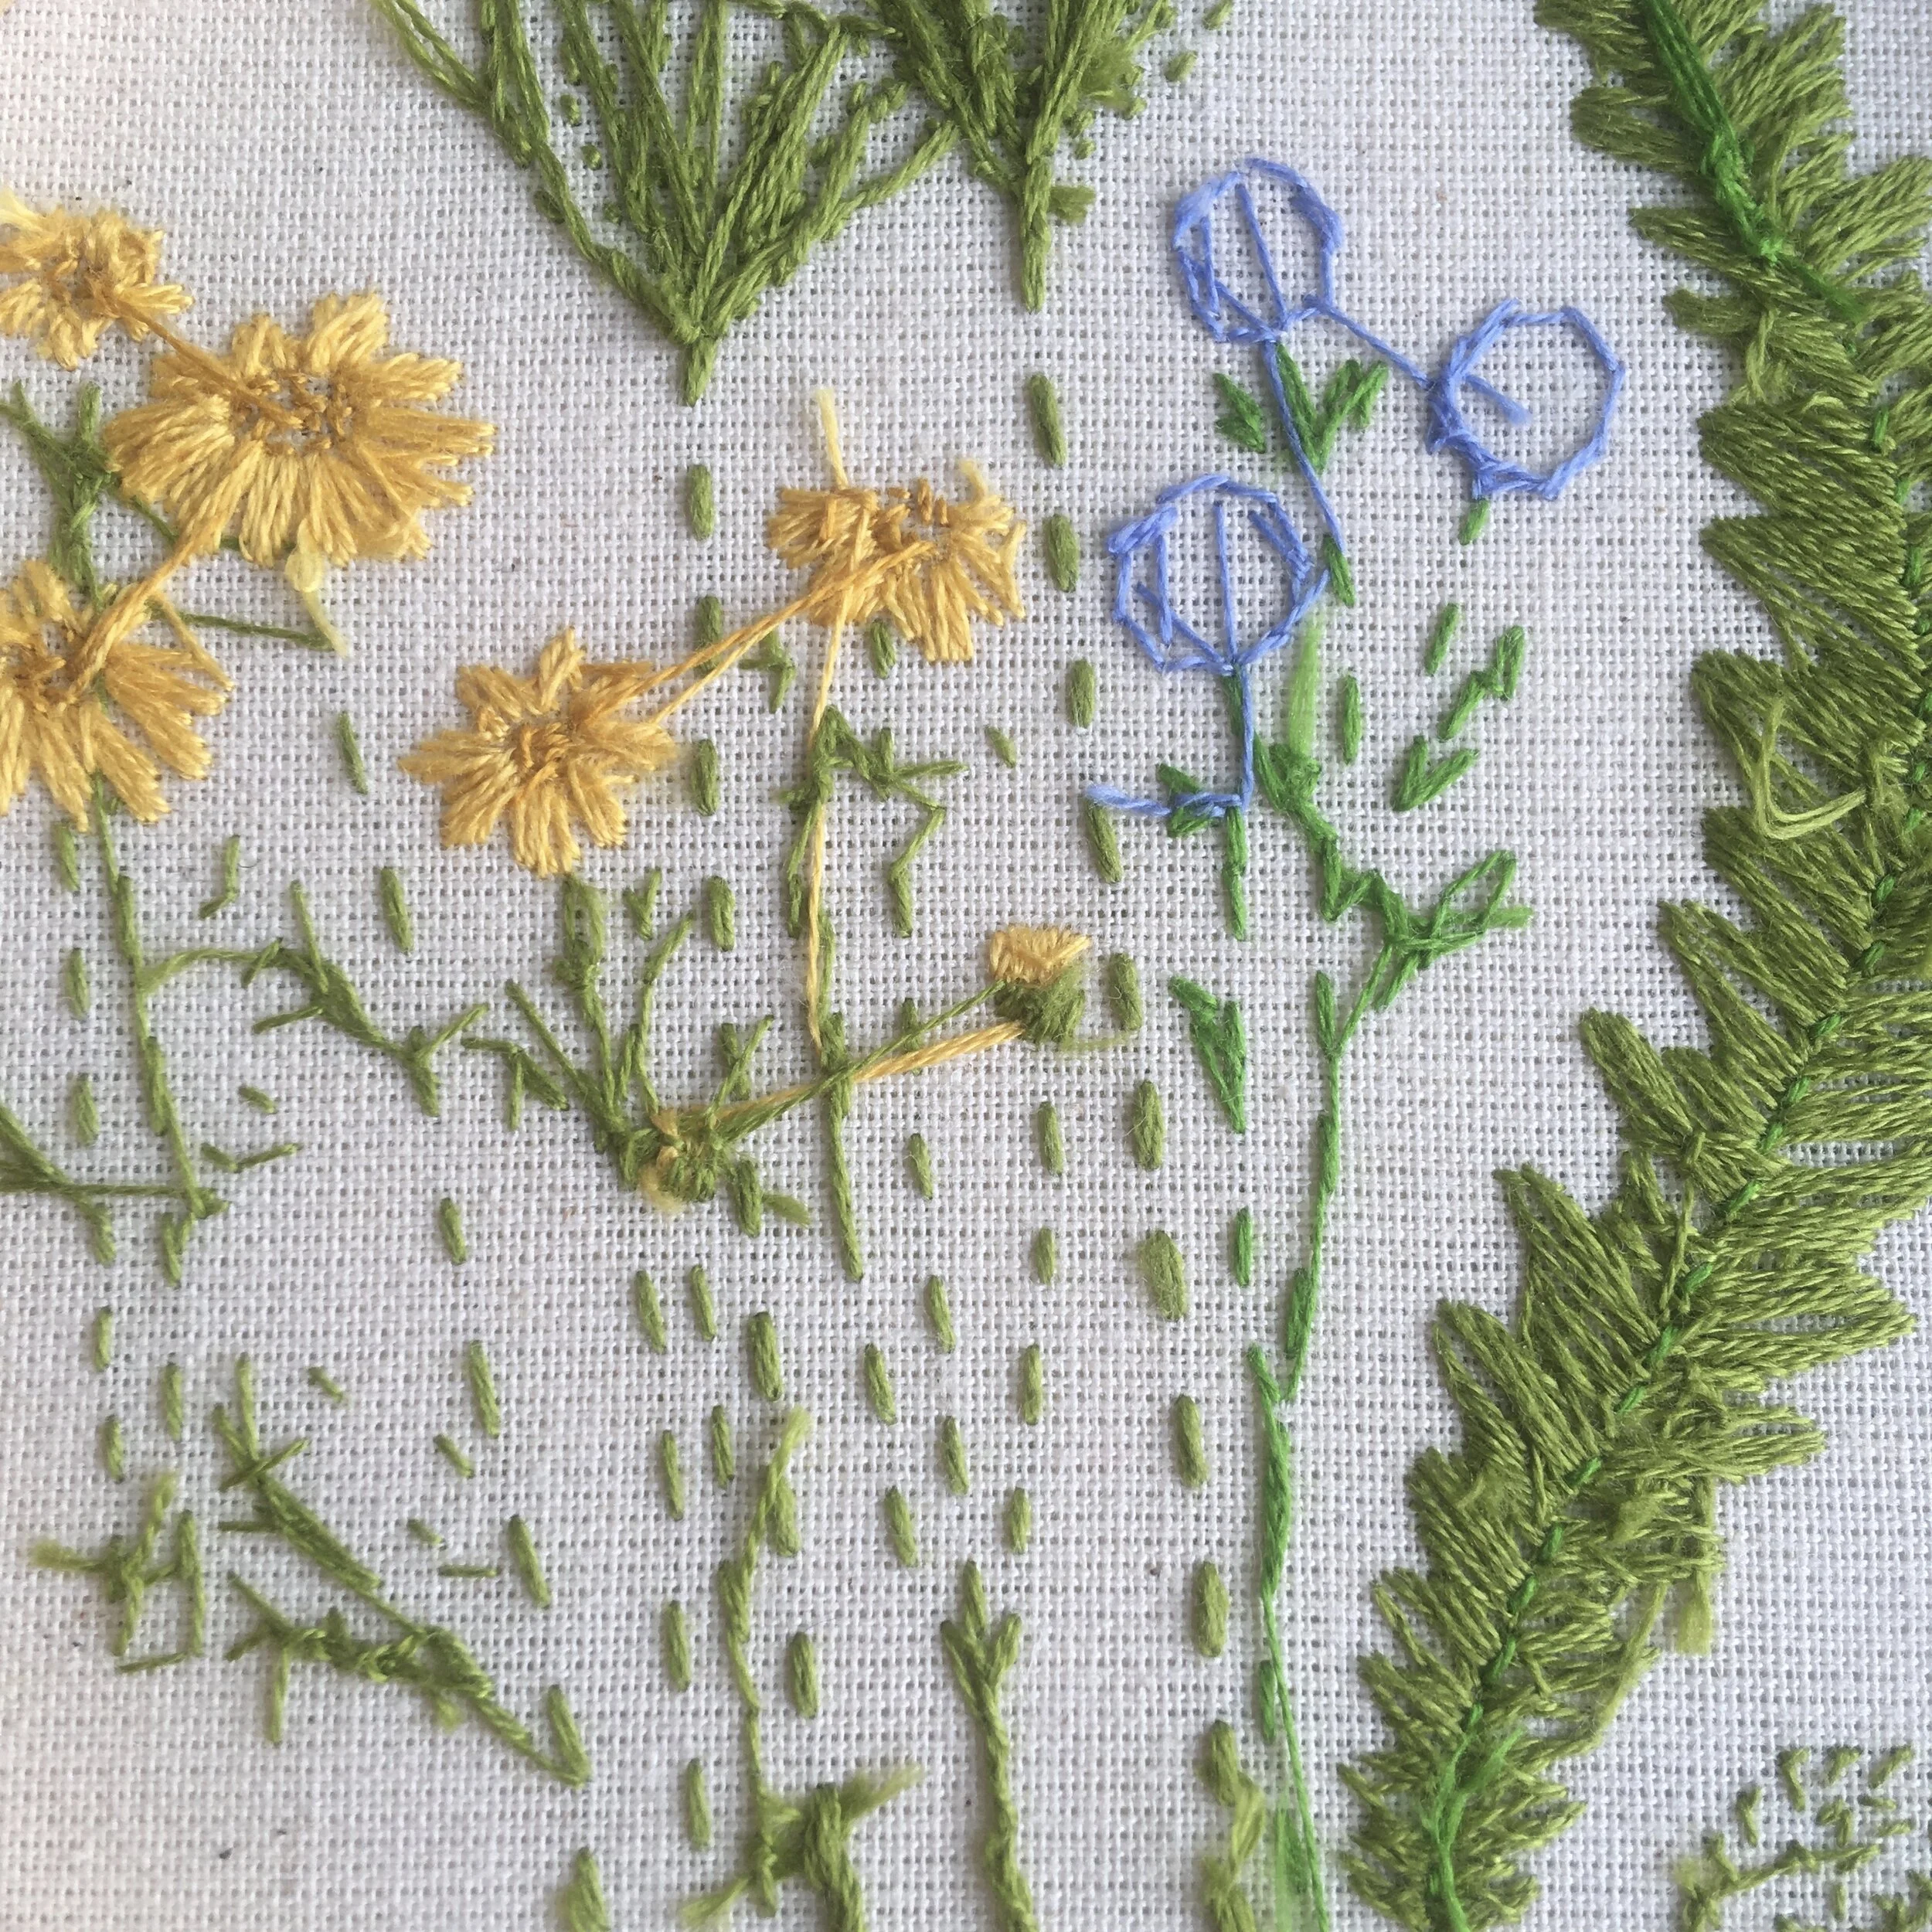
Most projects I create I stitch with 2 strands of floss, or 1 strand if I want finer detail.
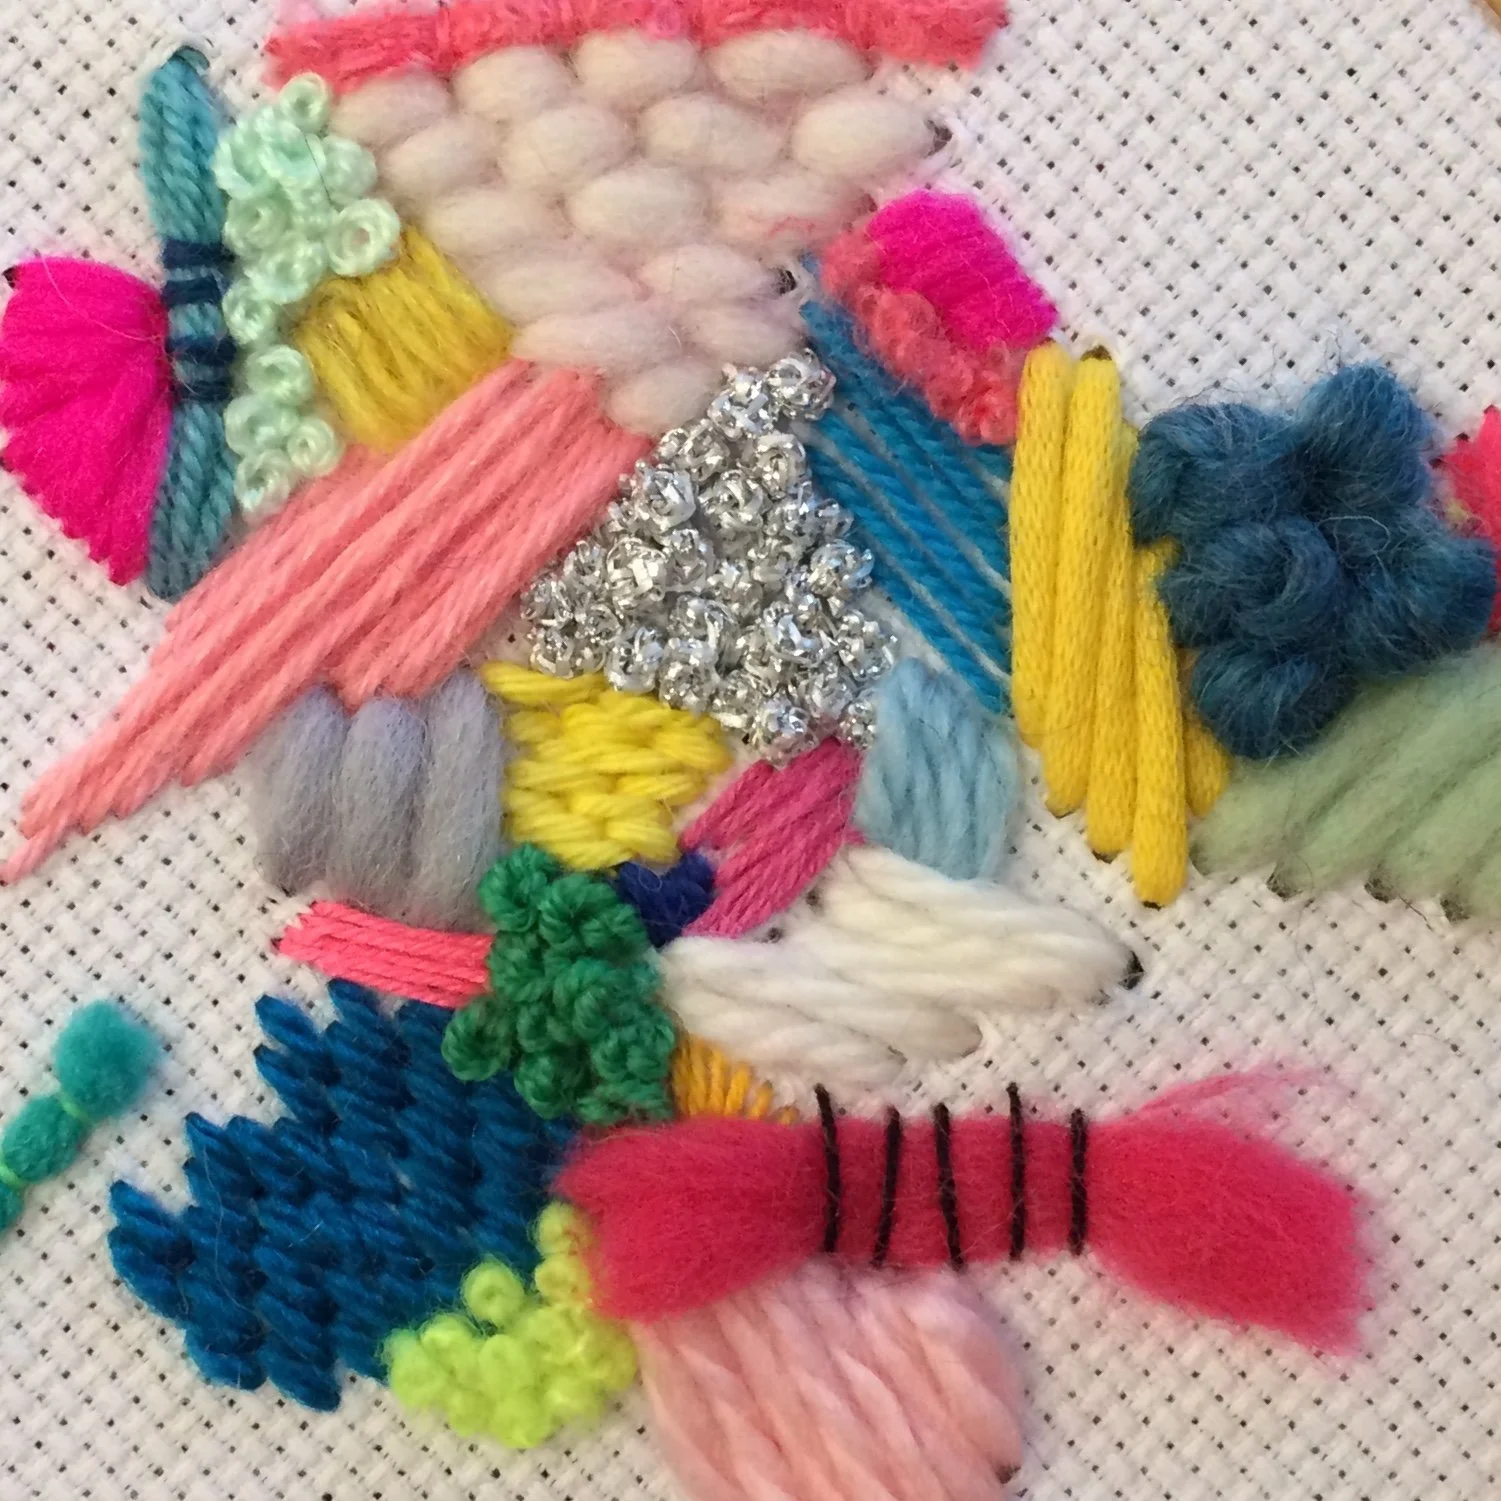
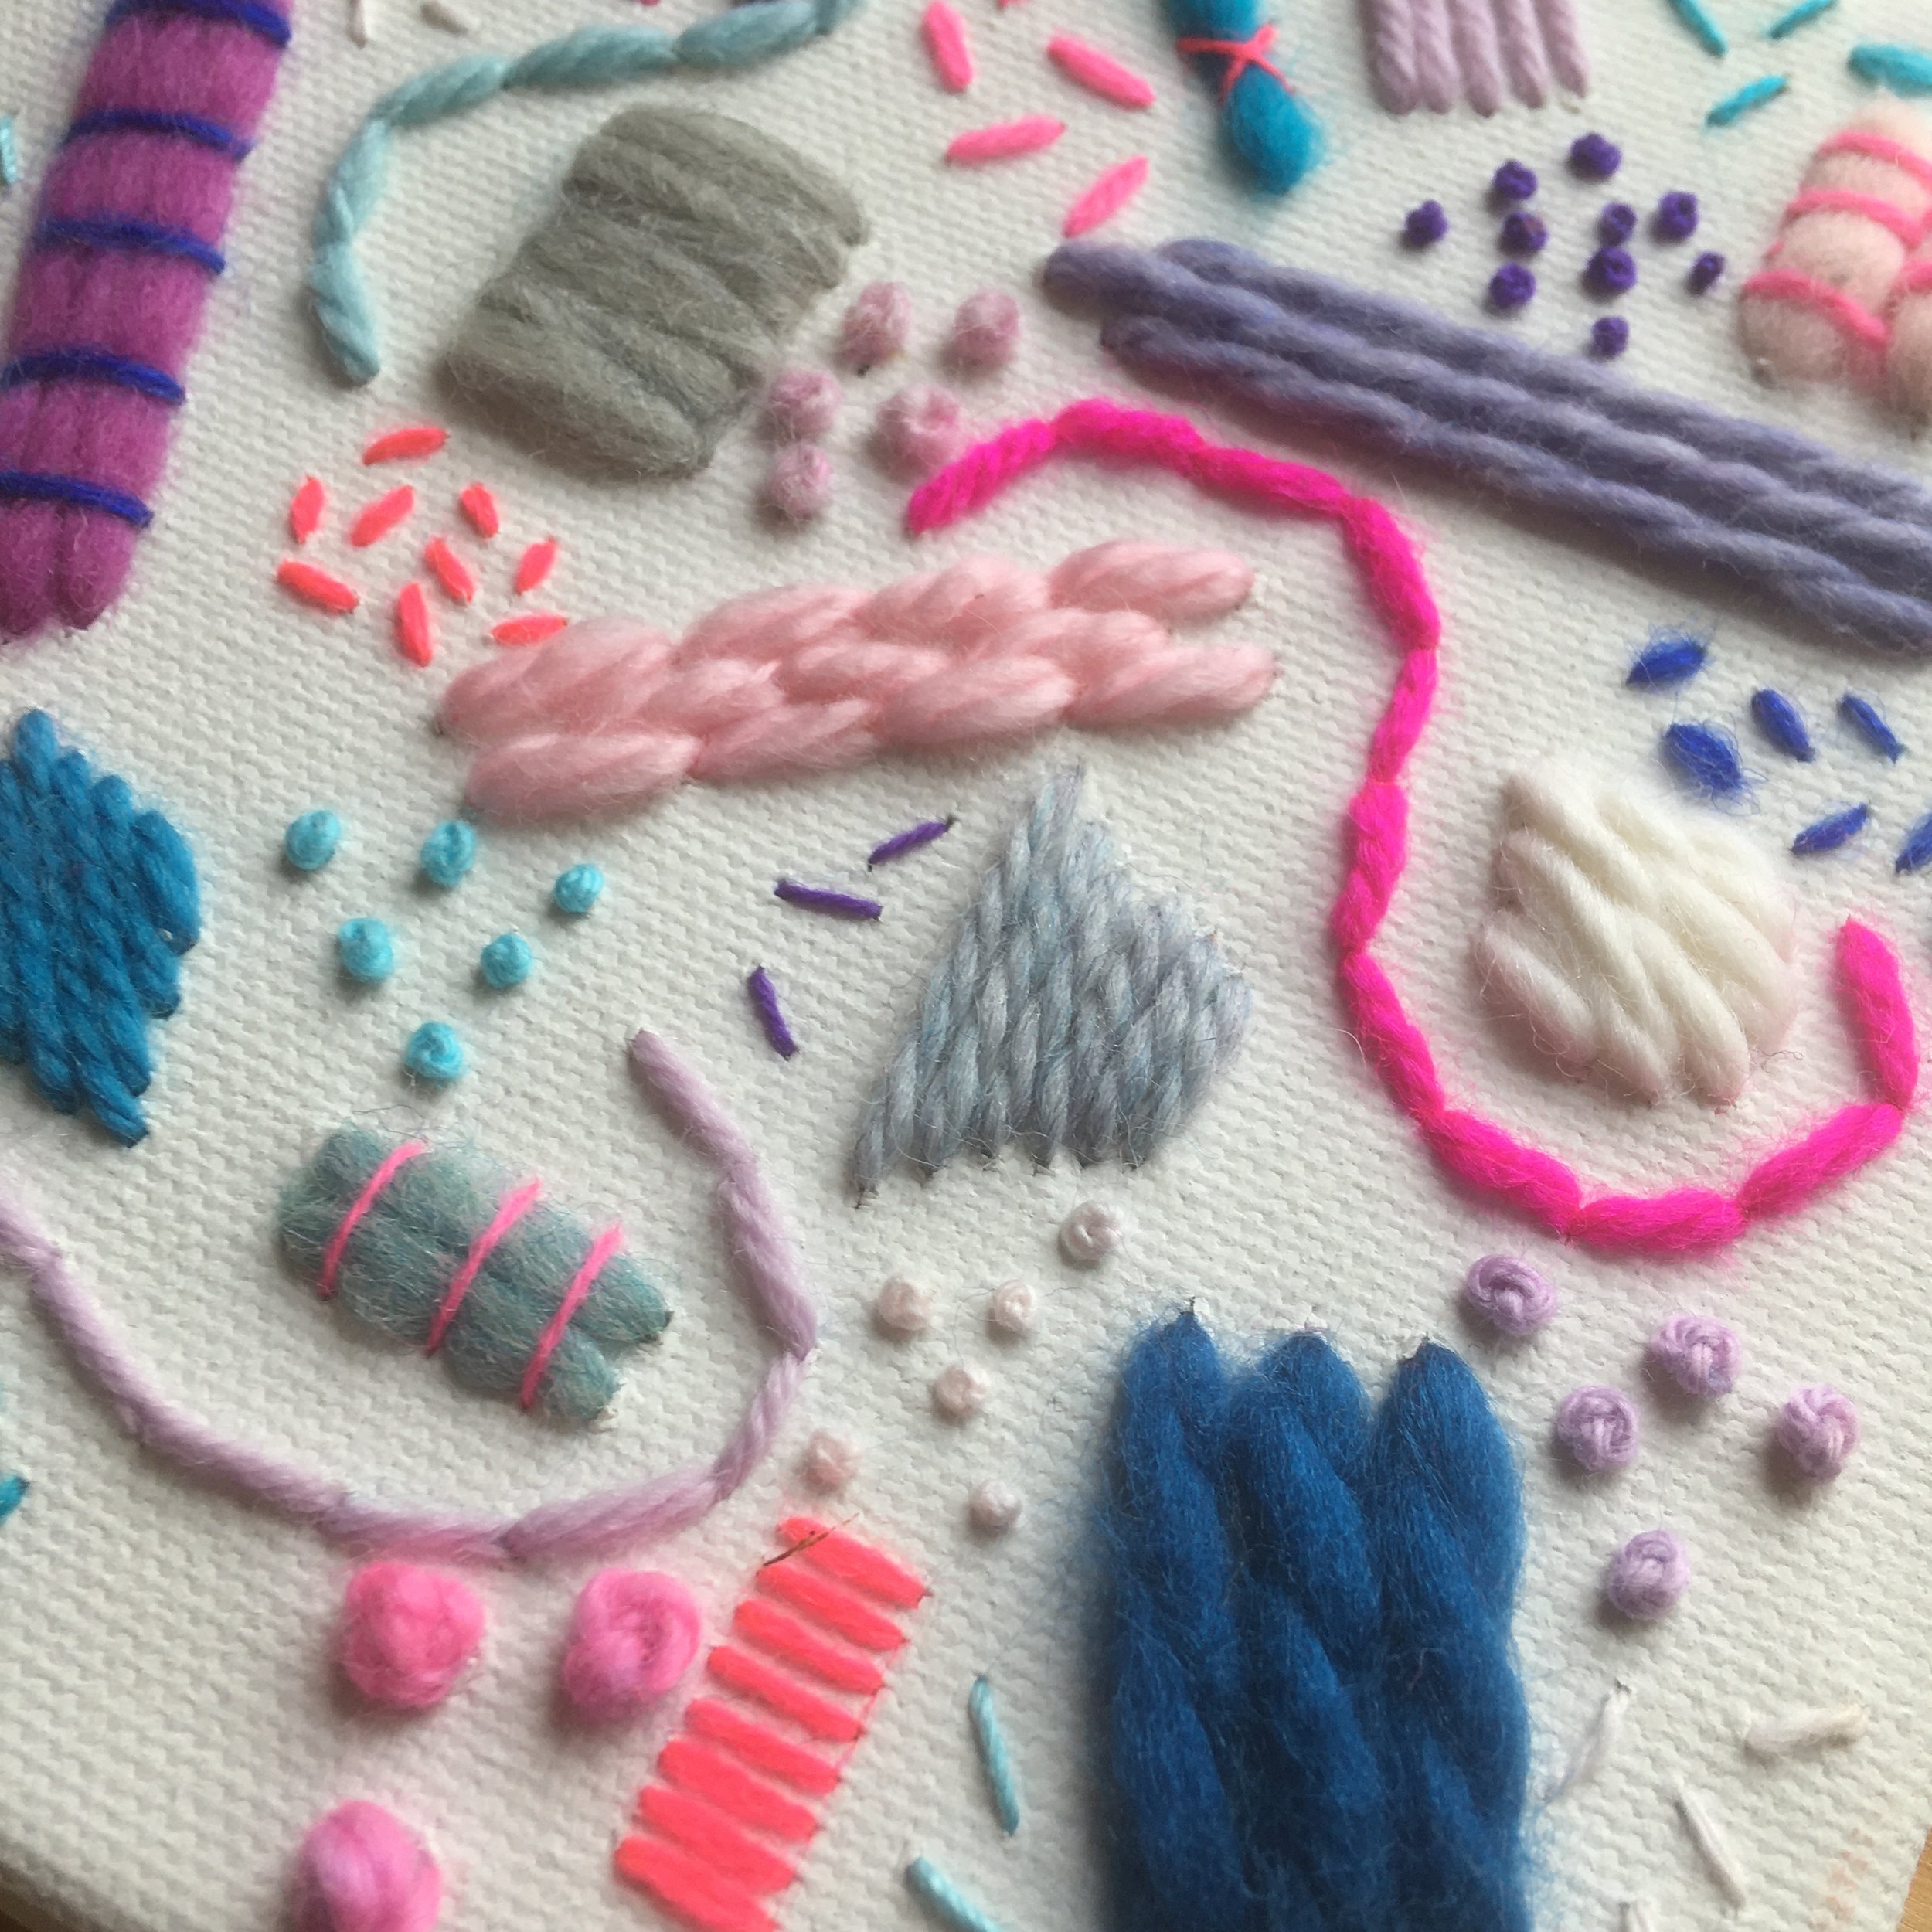
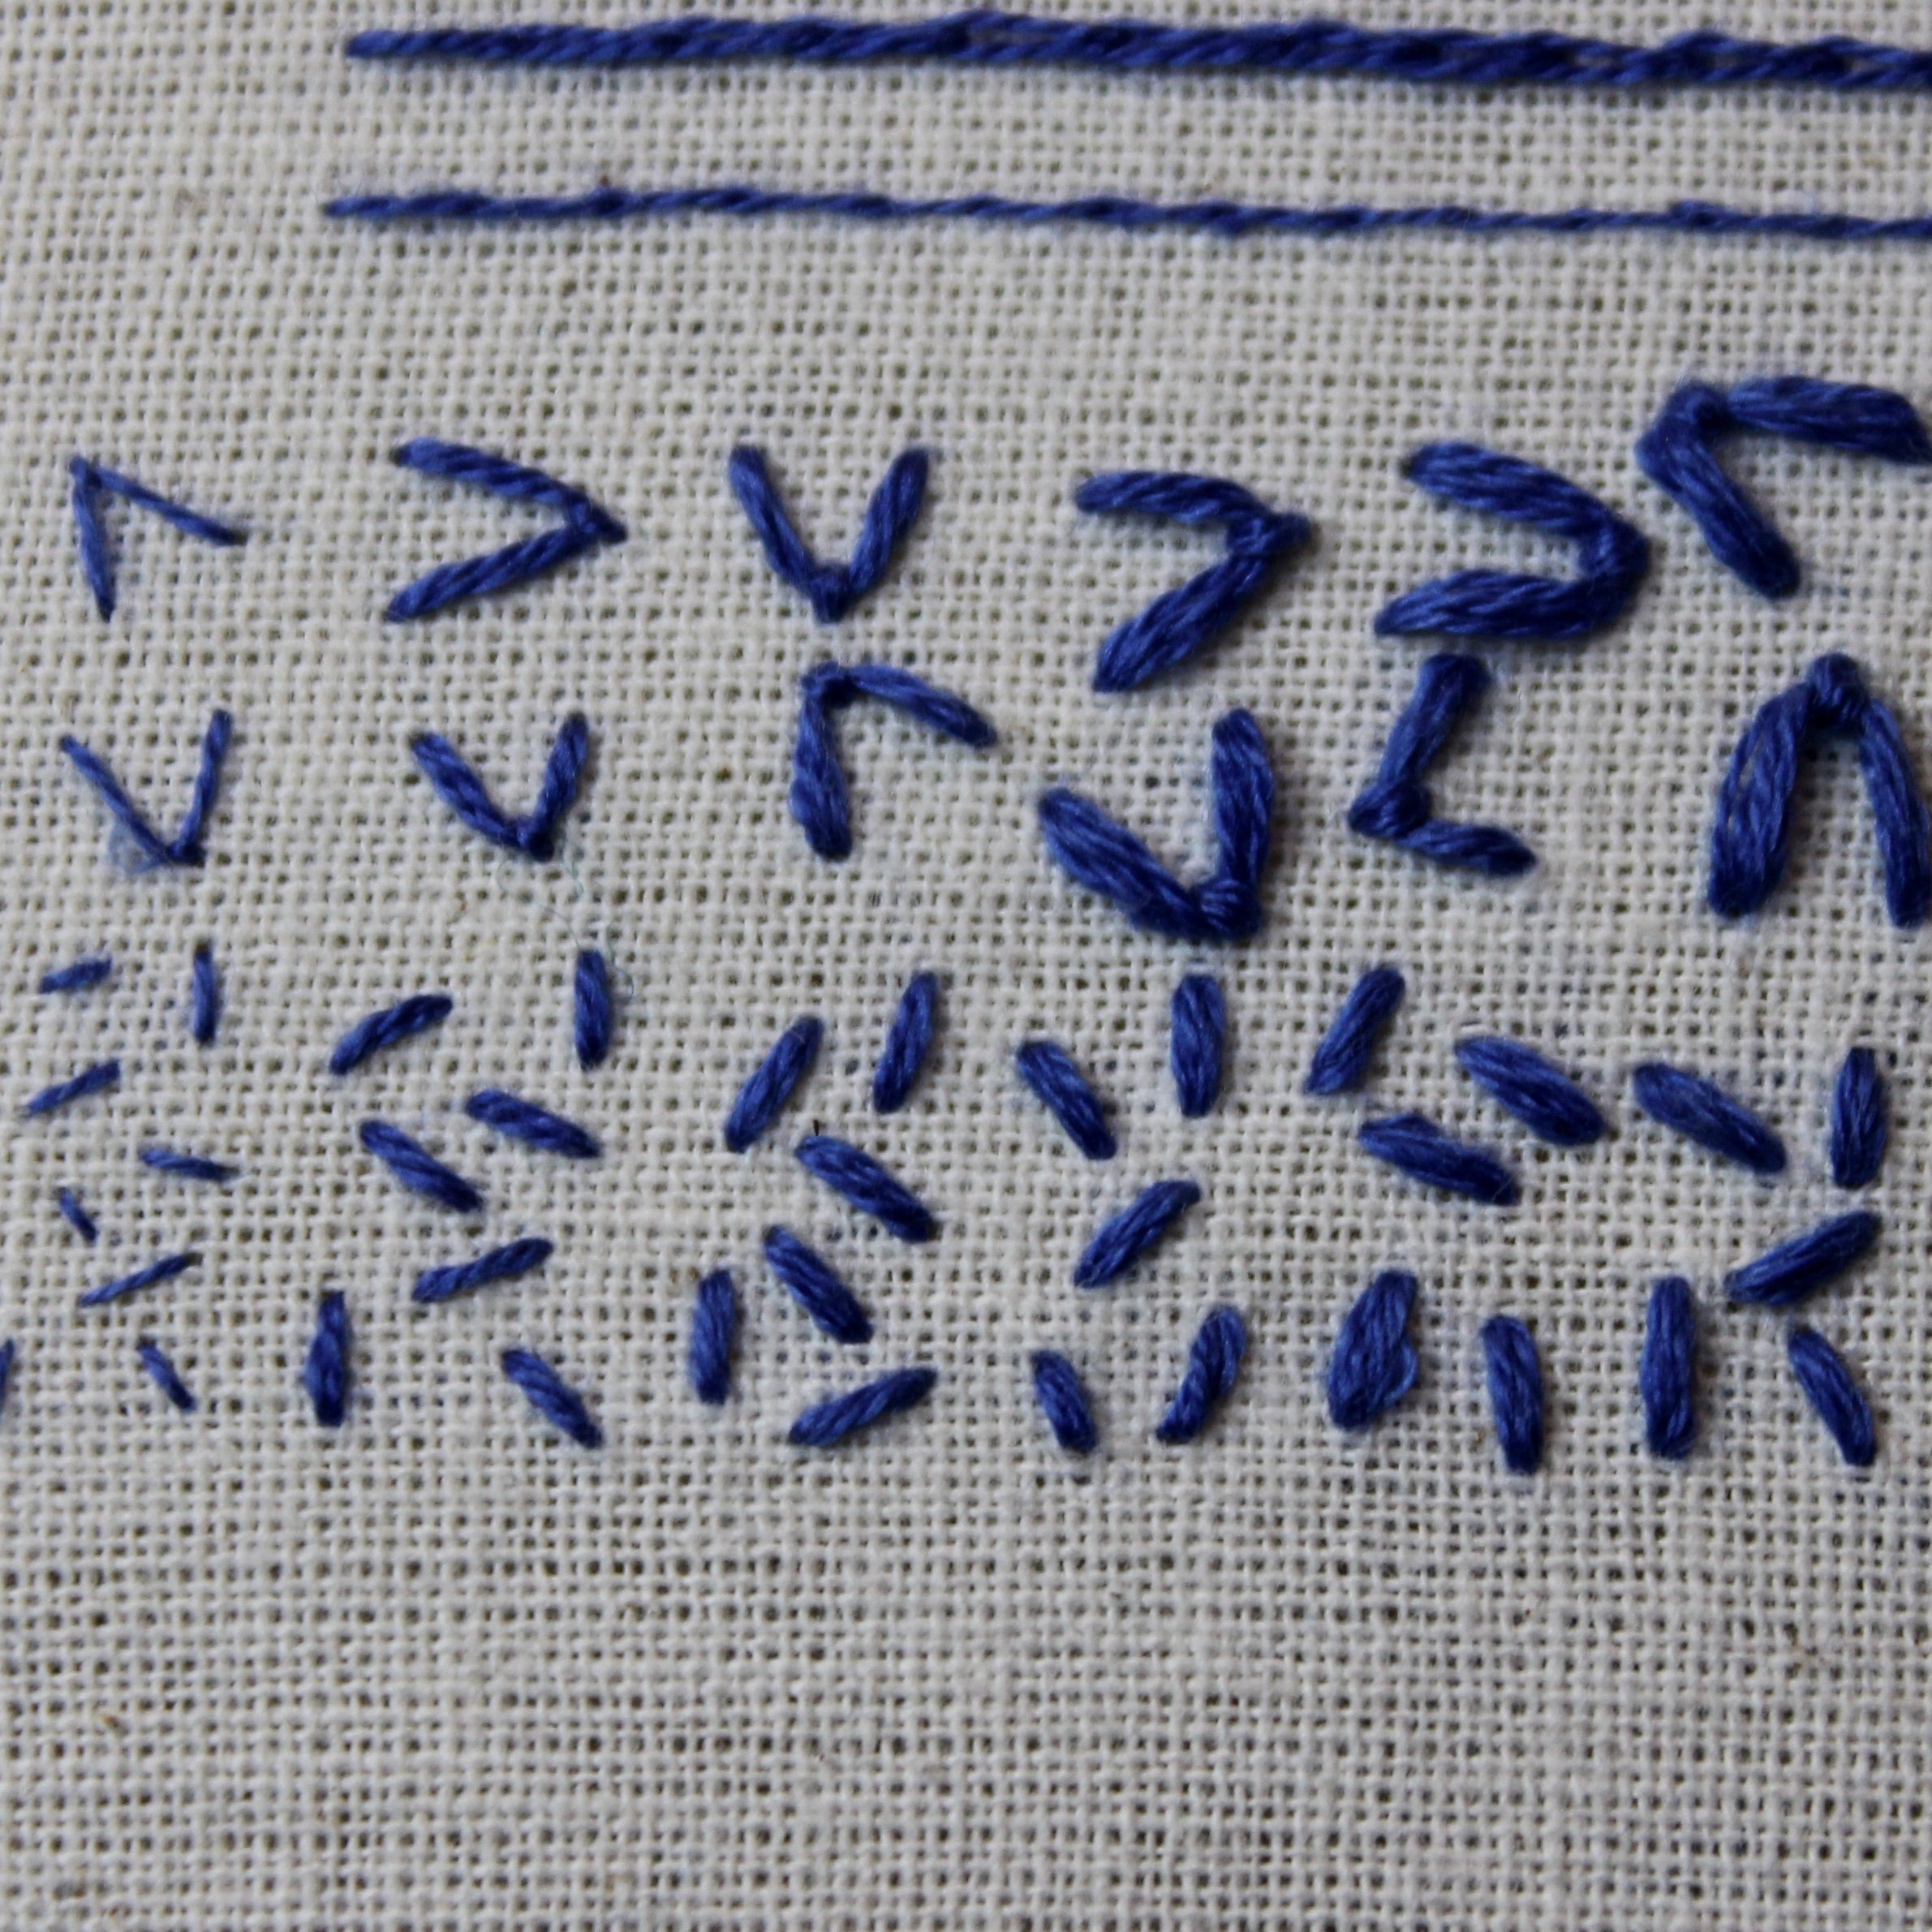
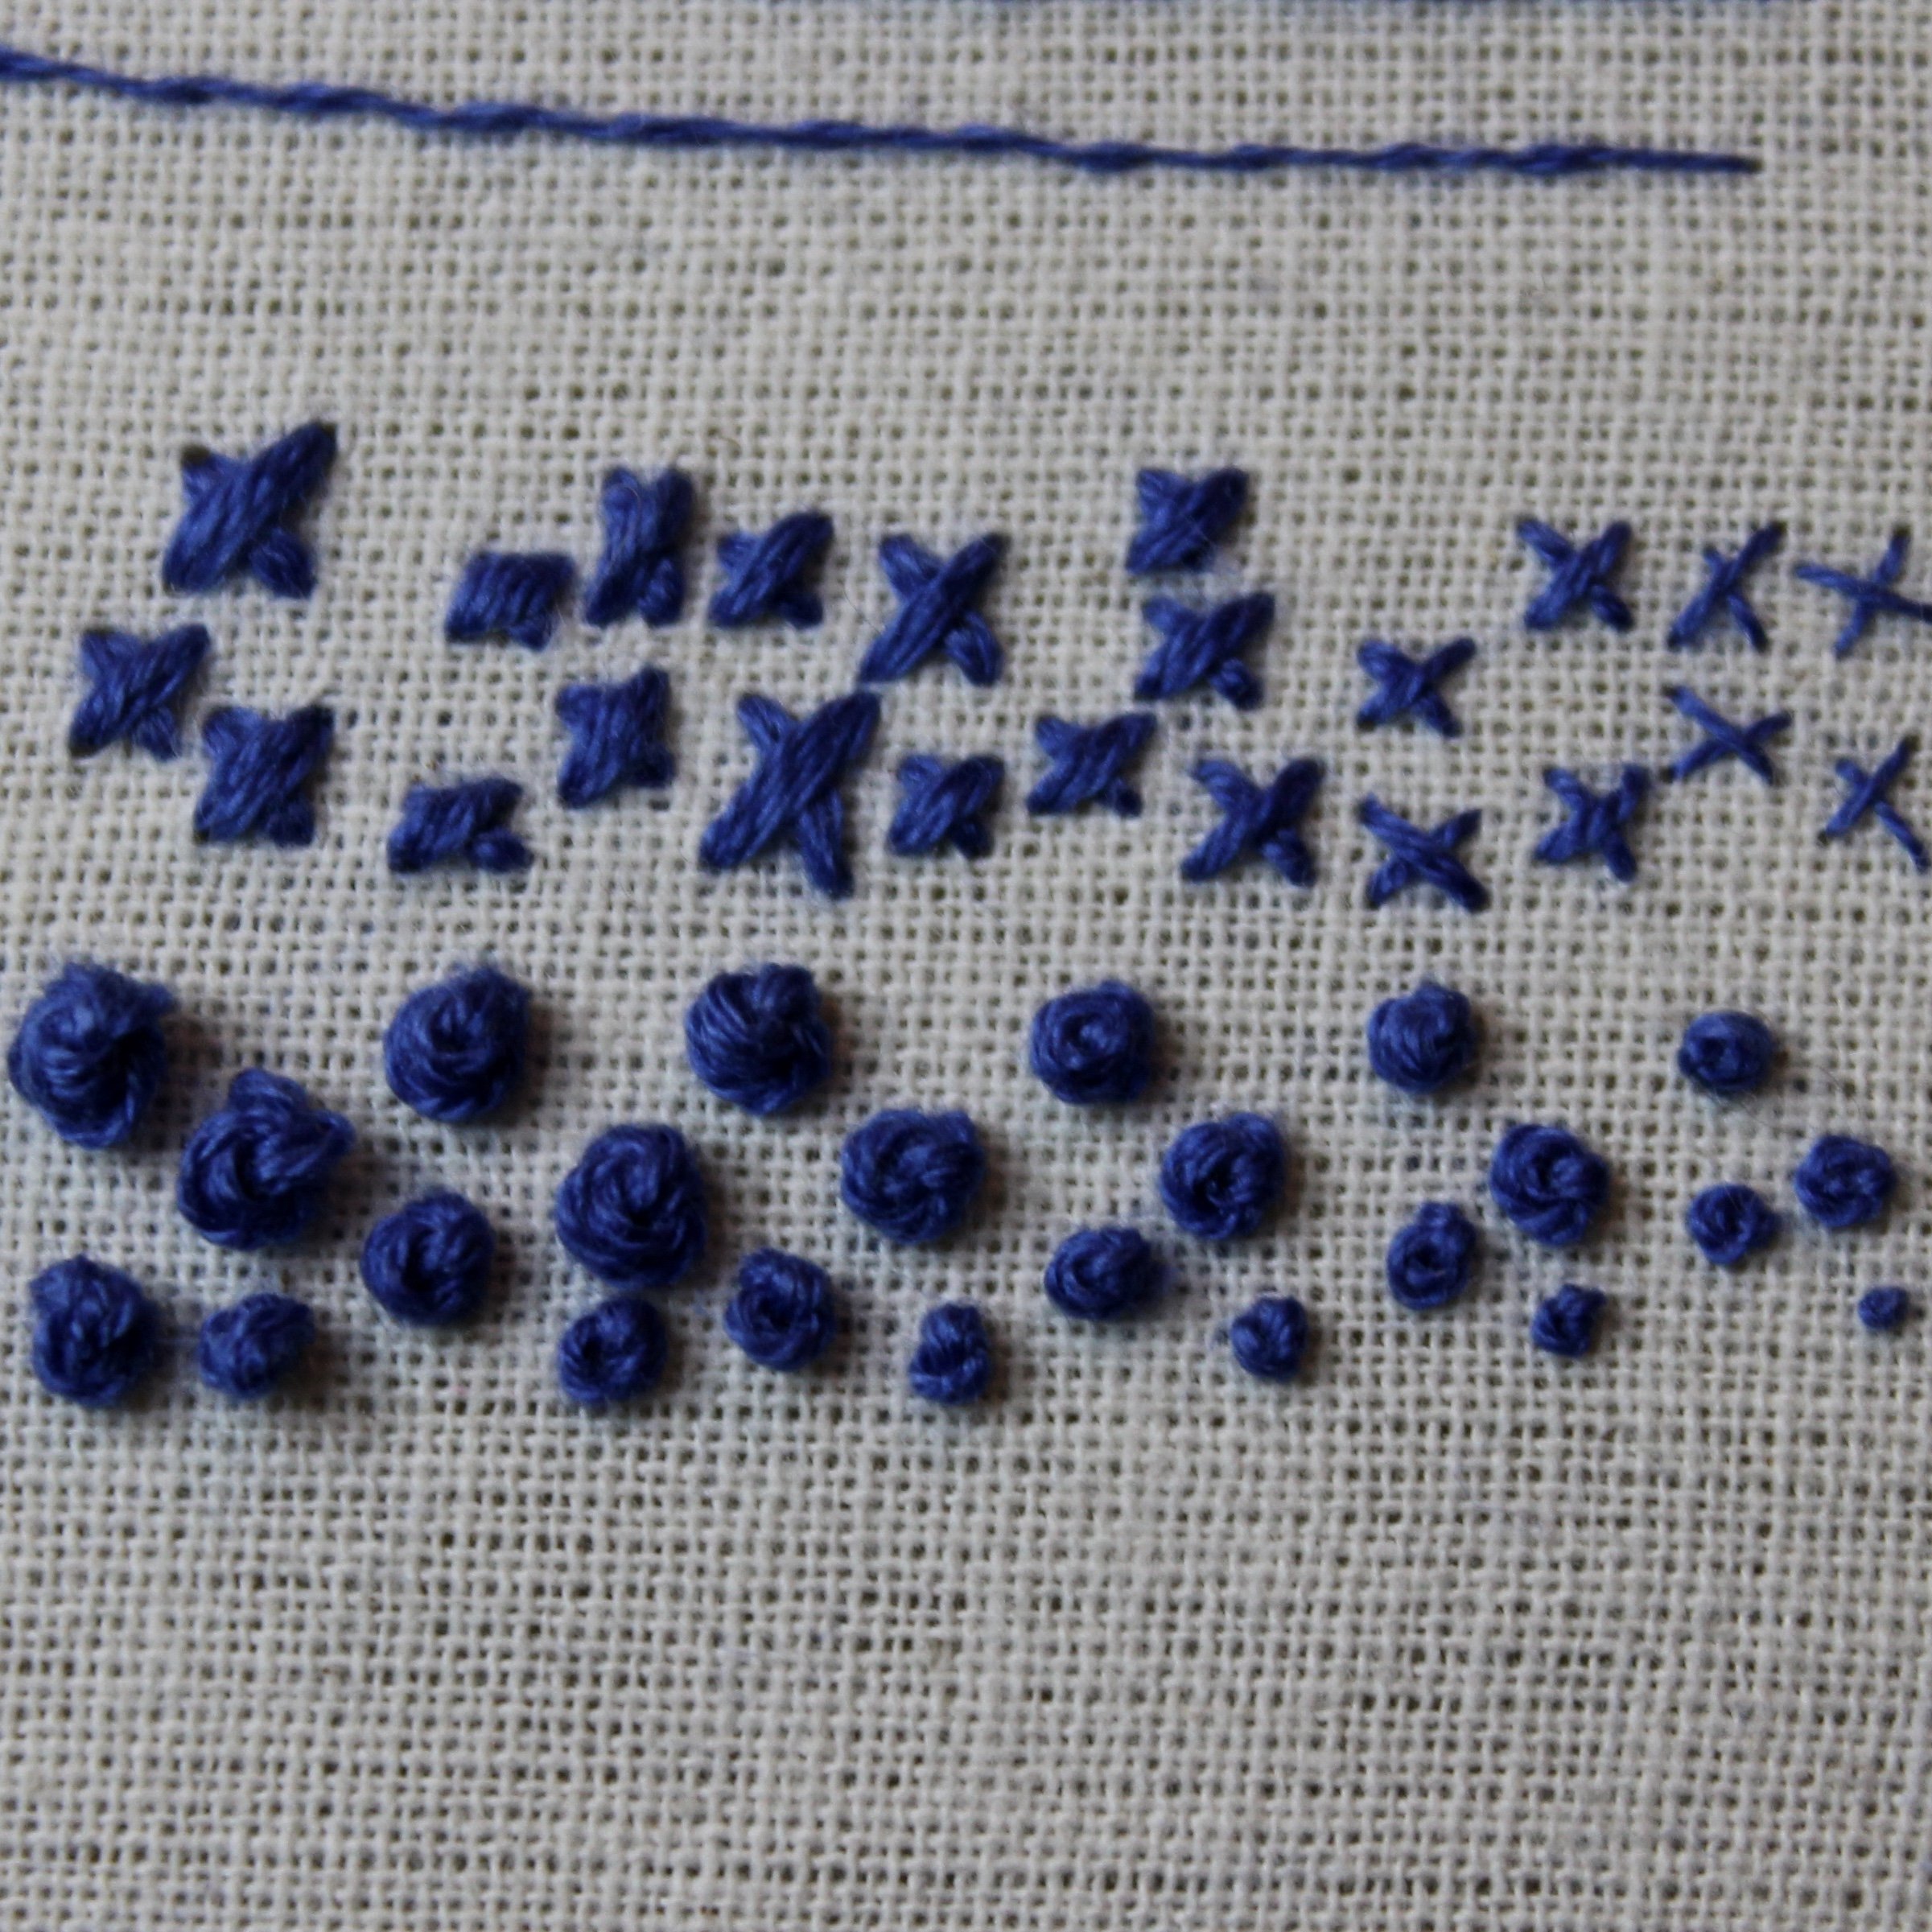
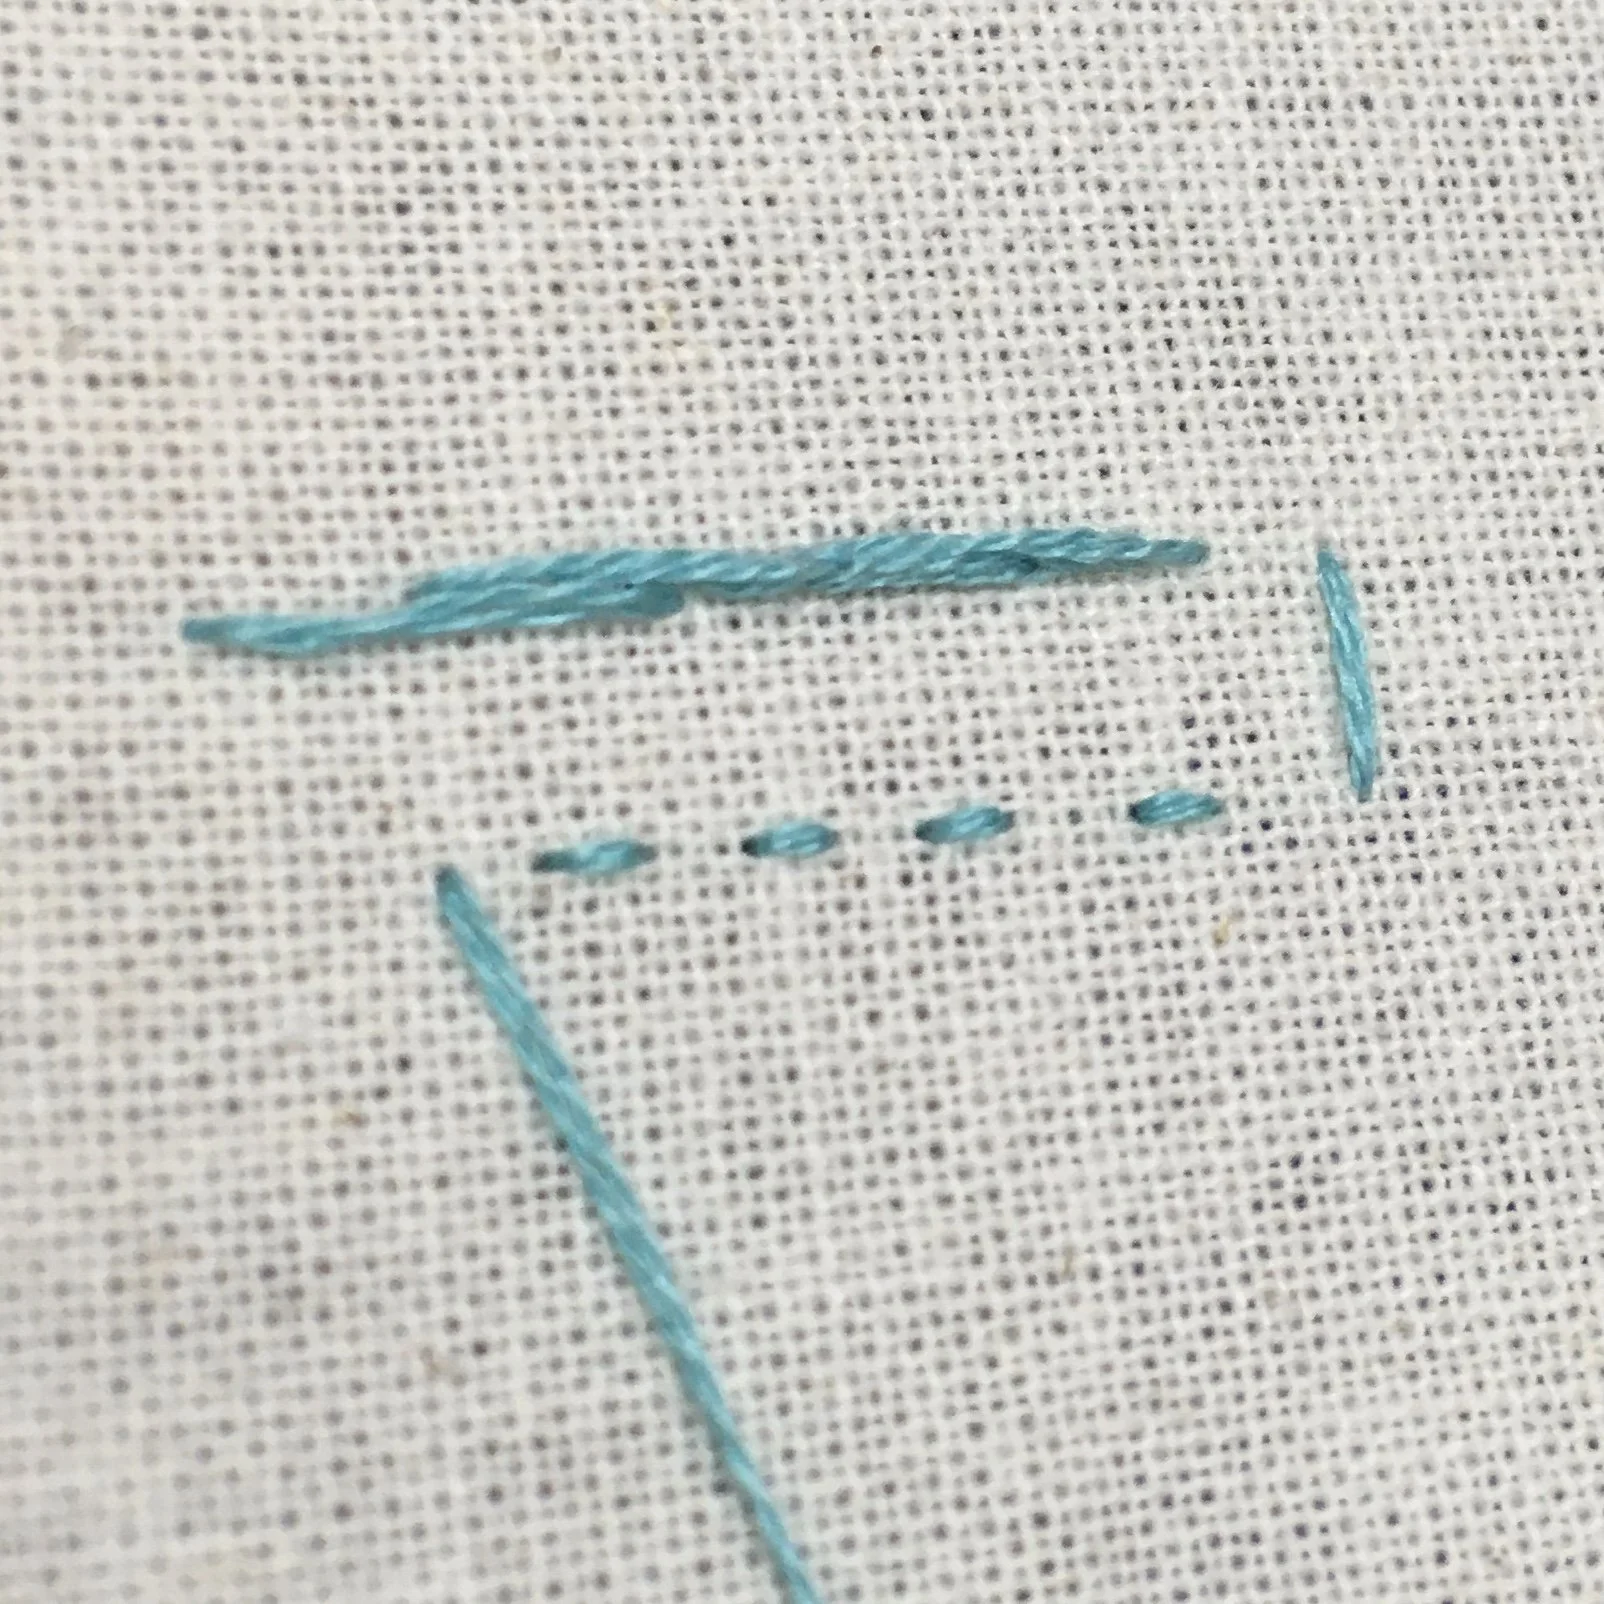
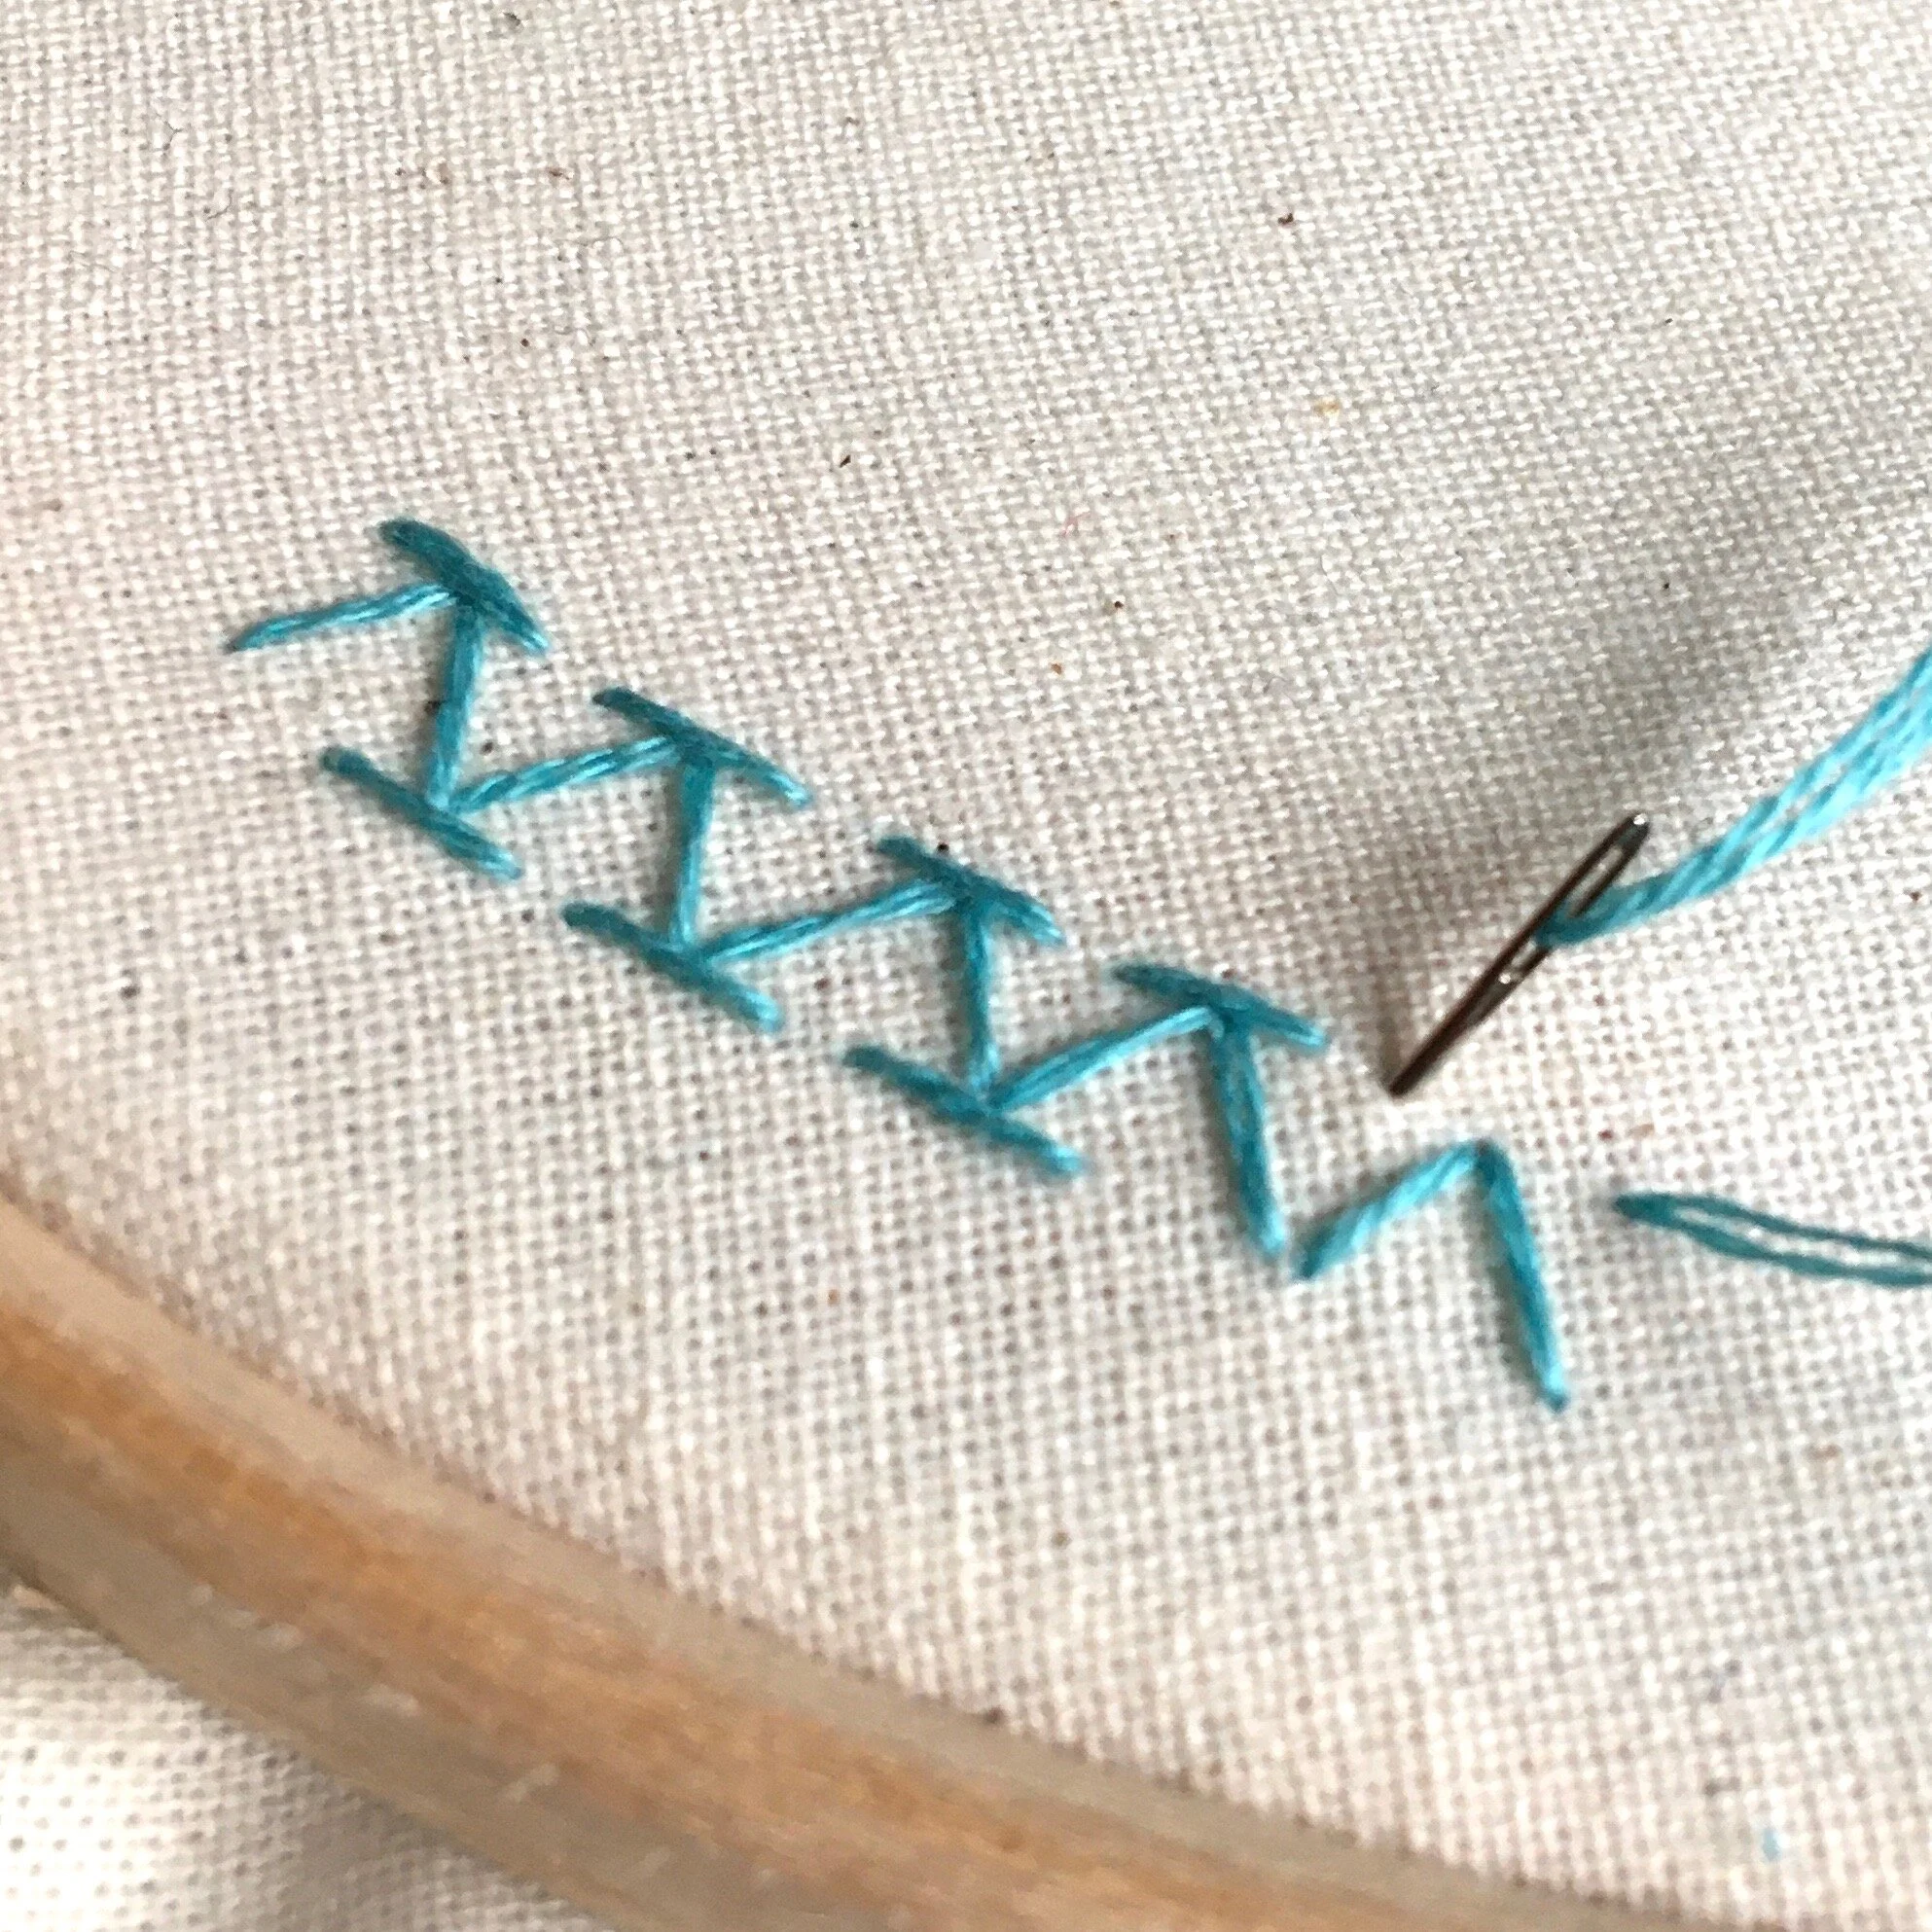
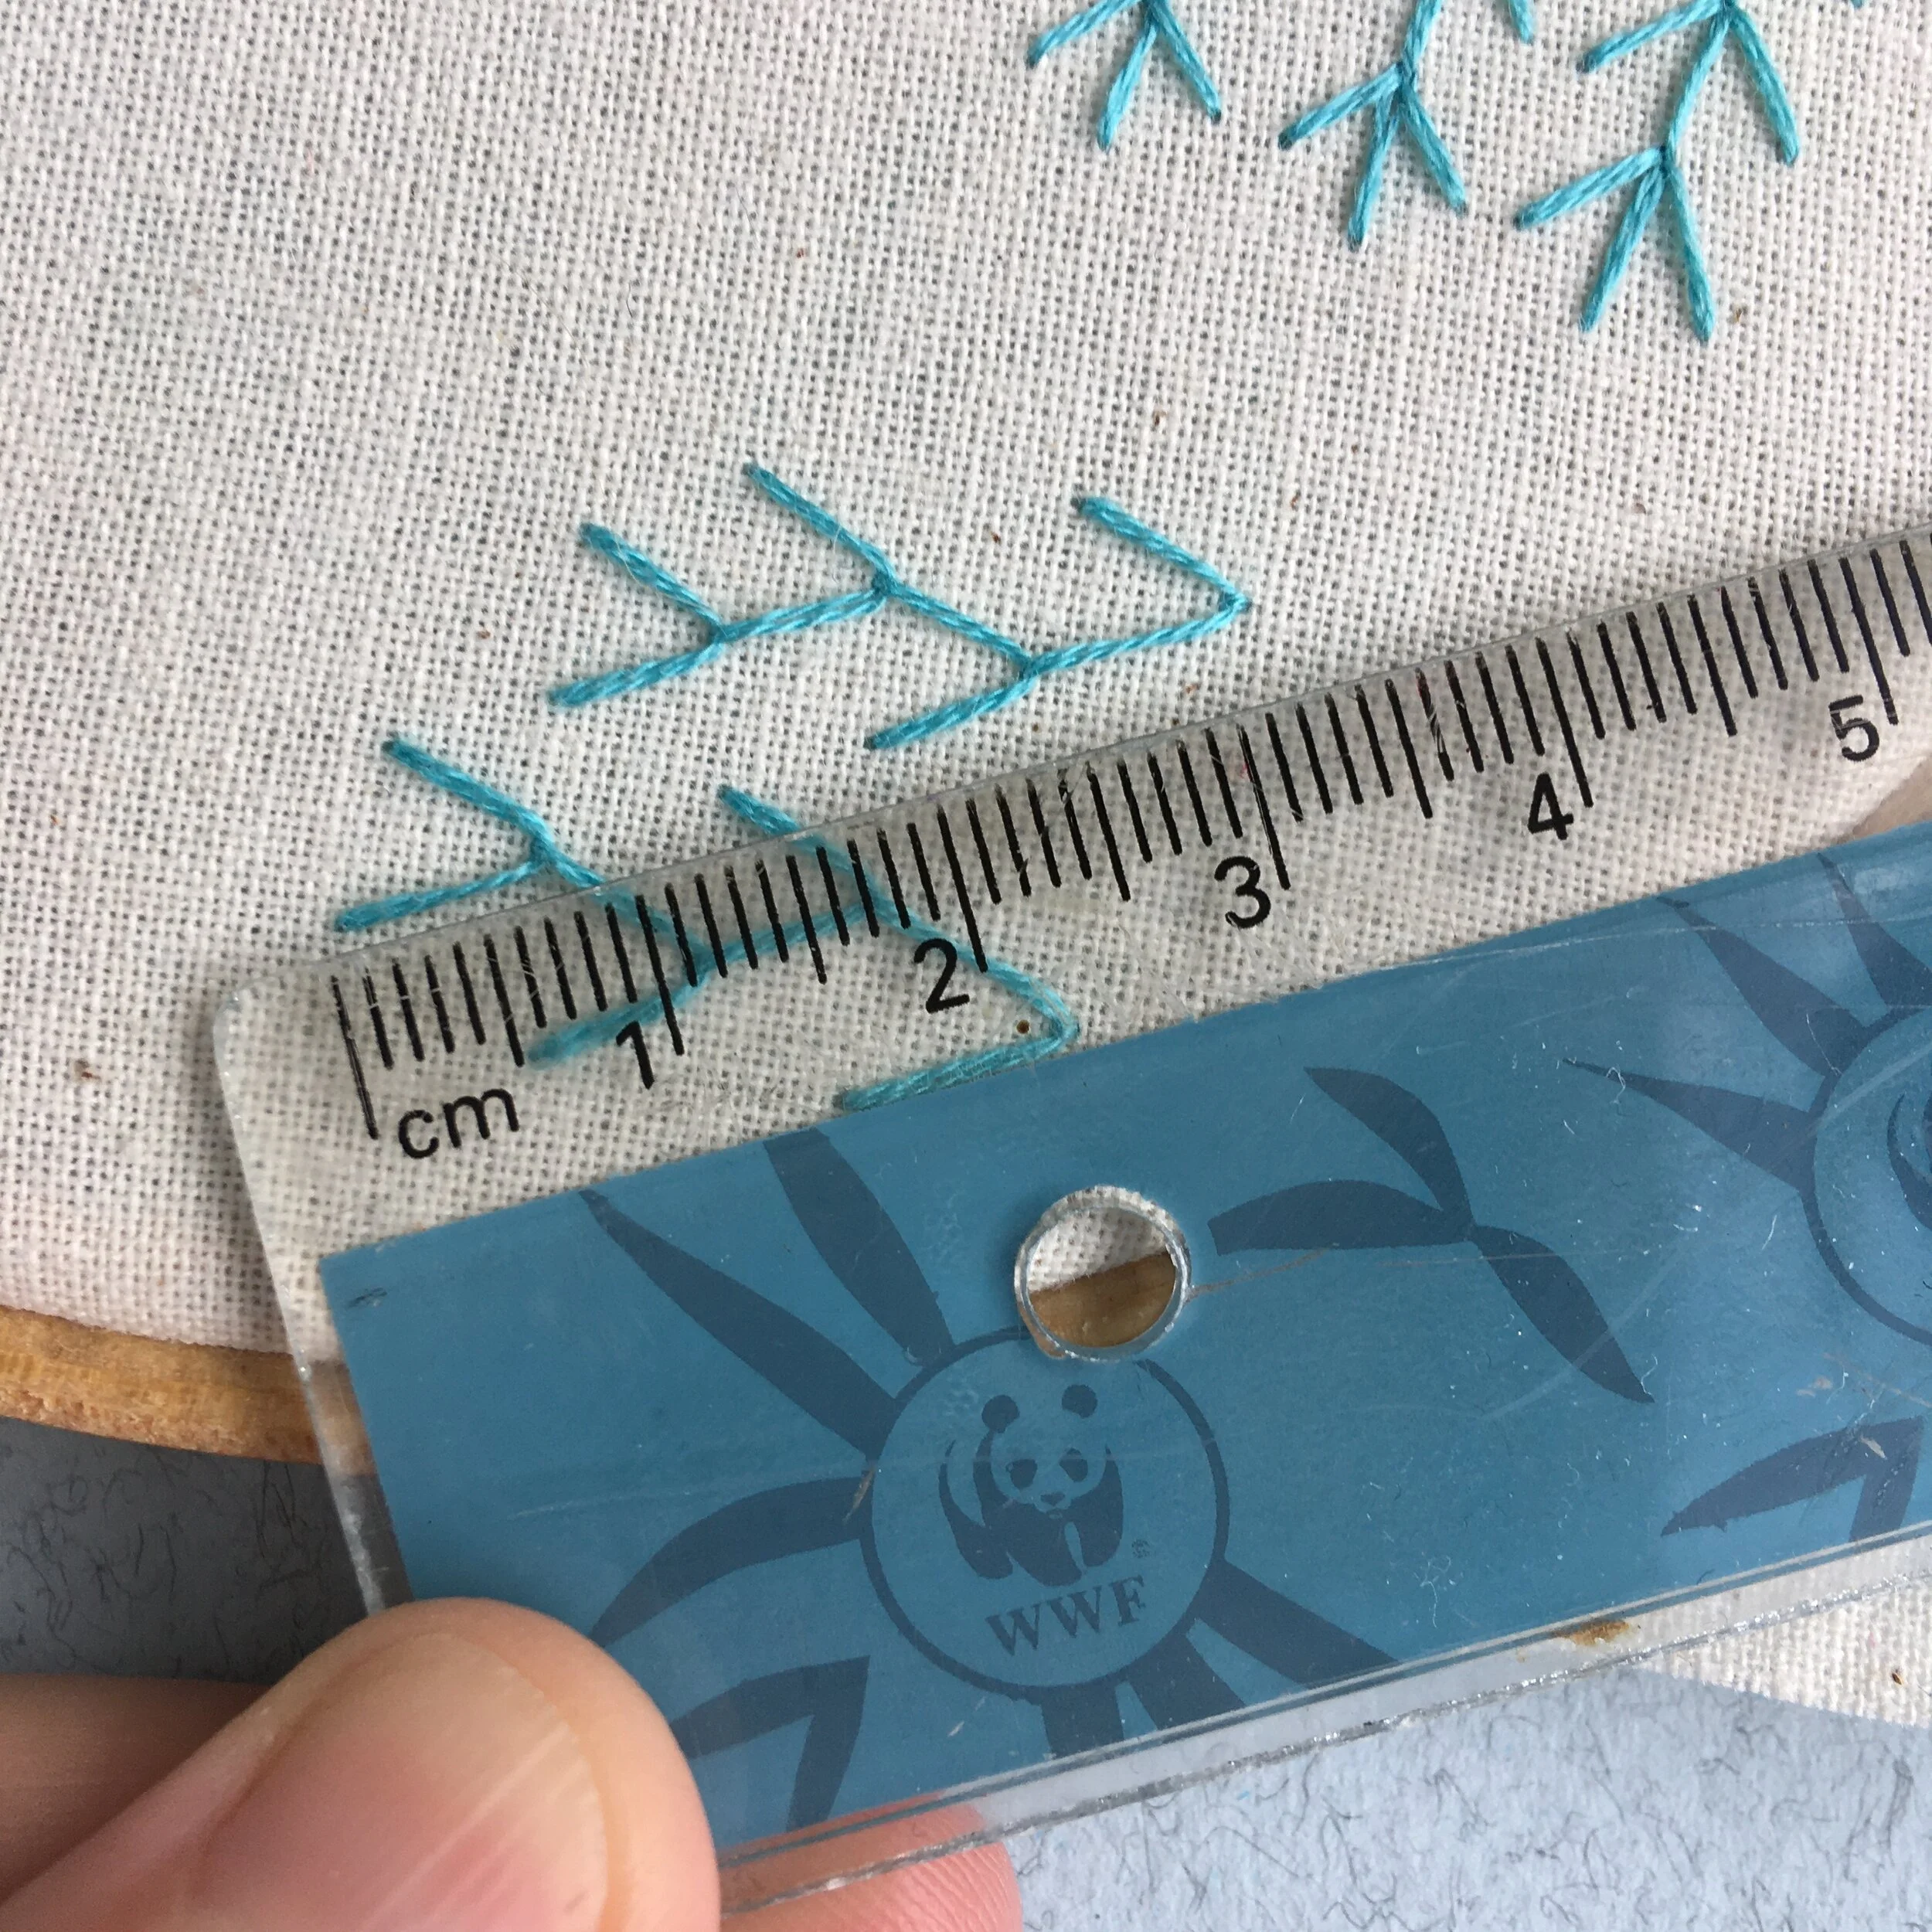
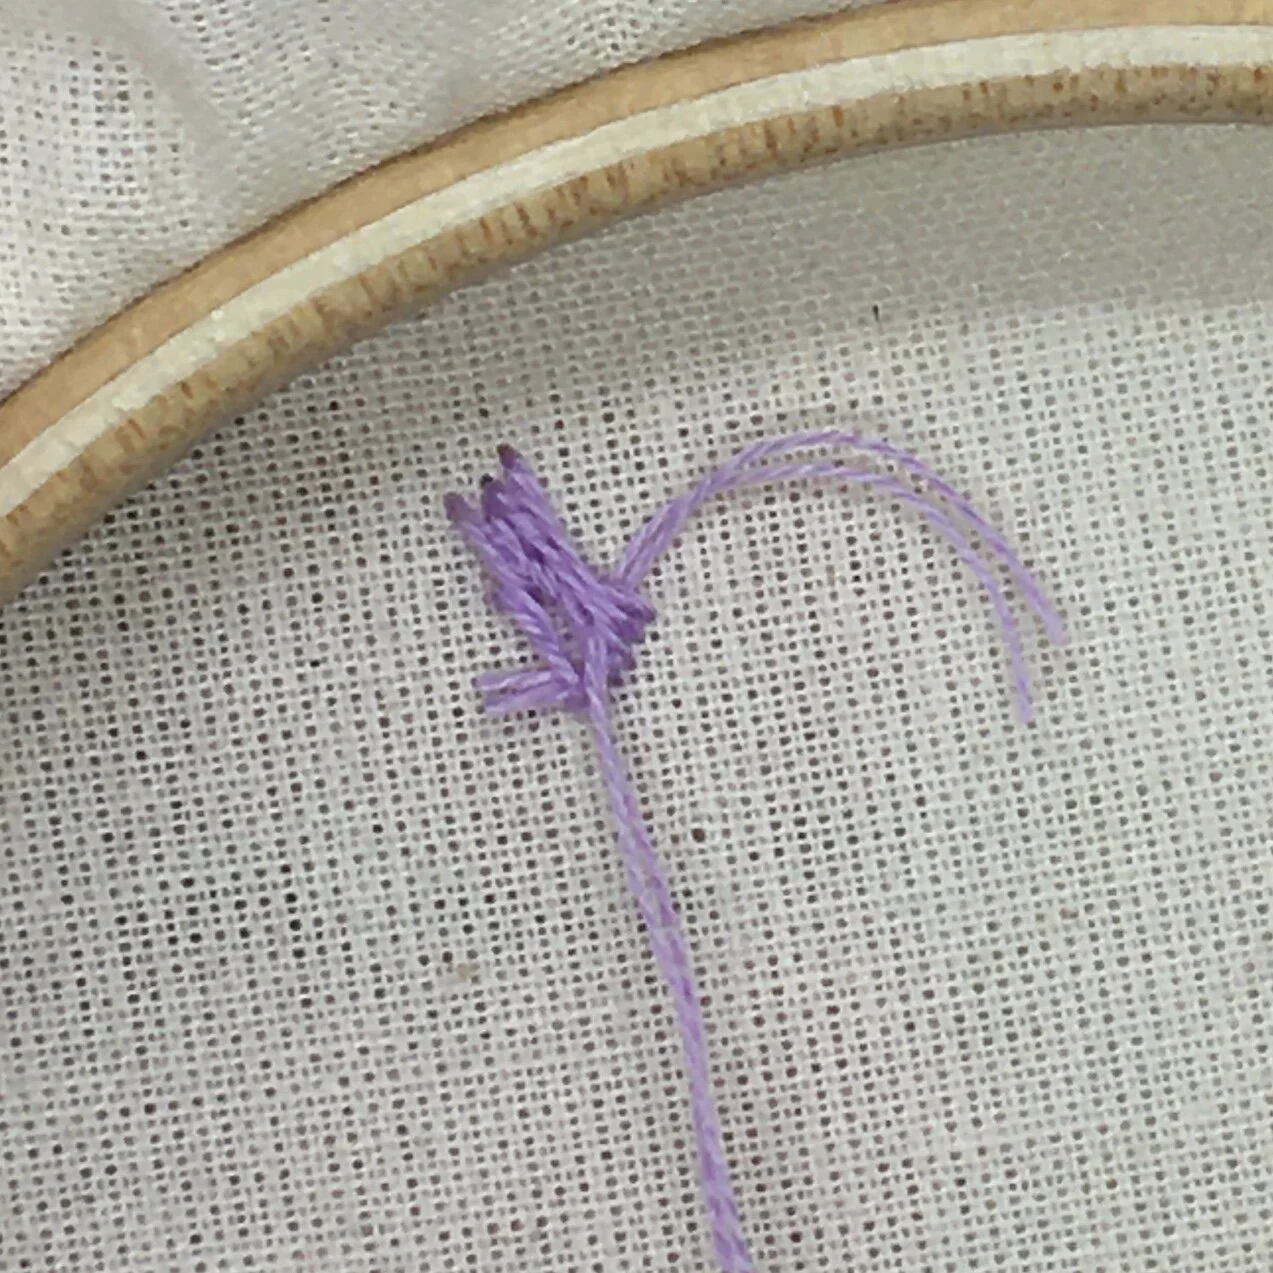
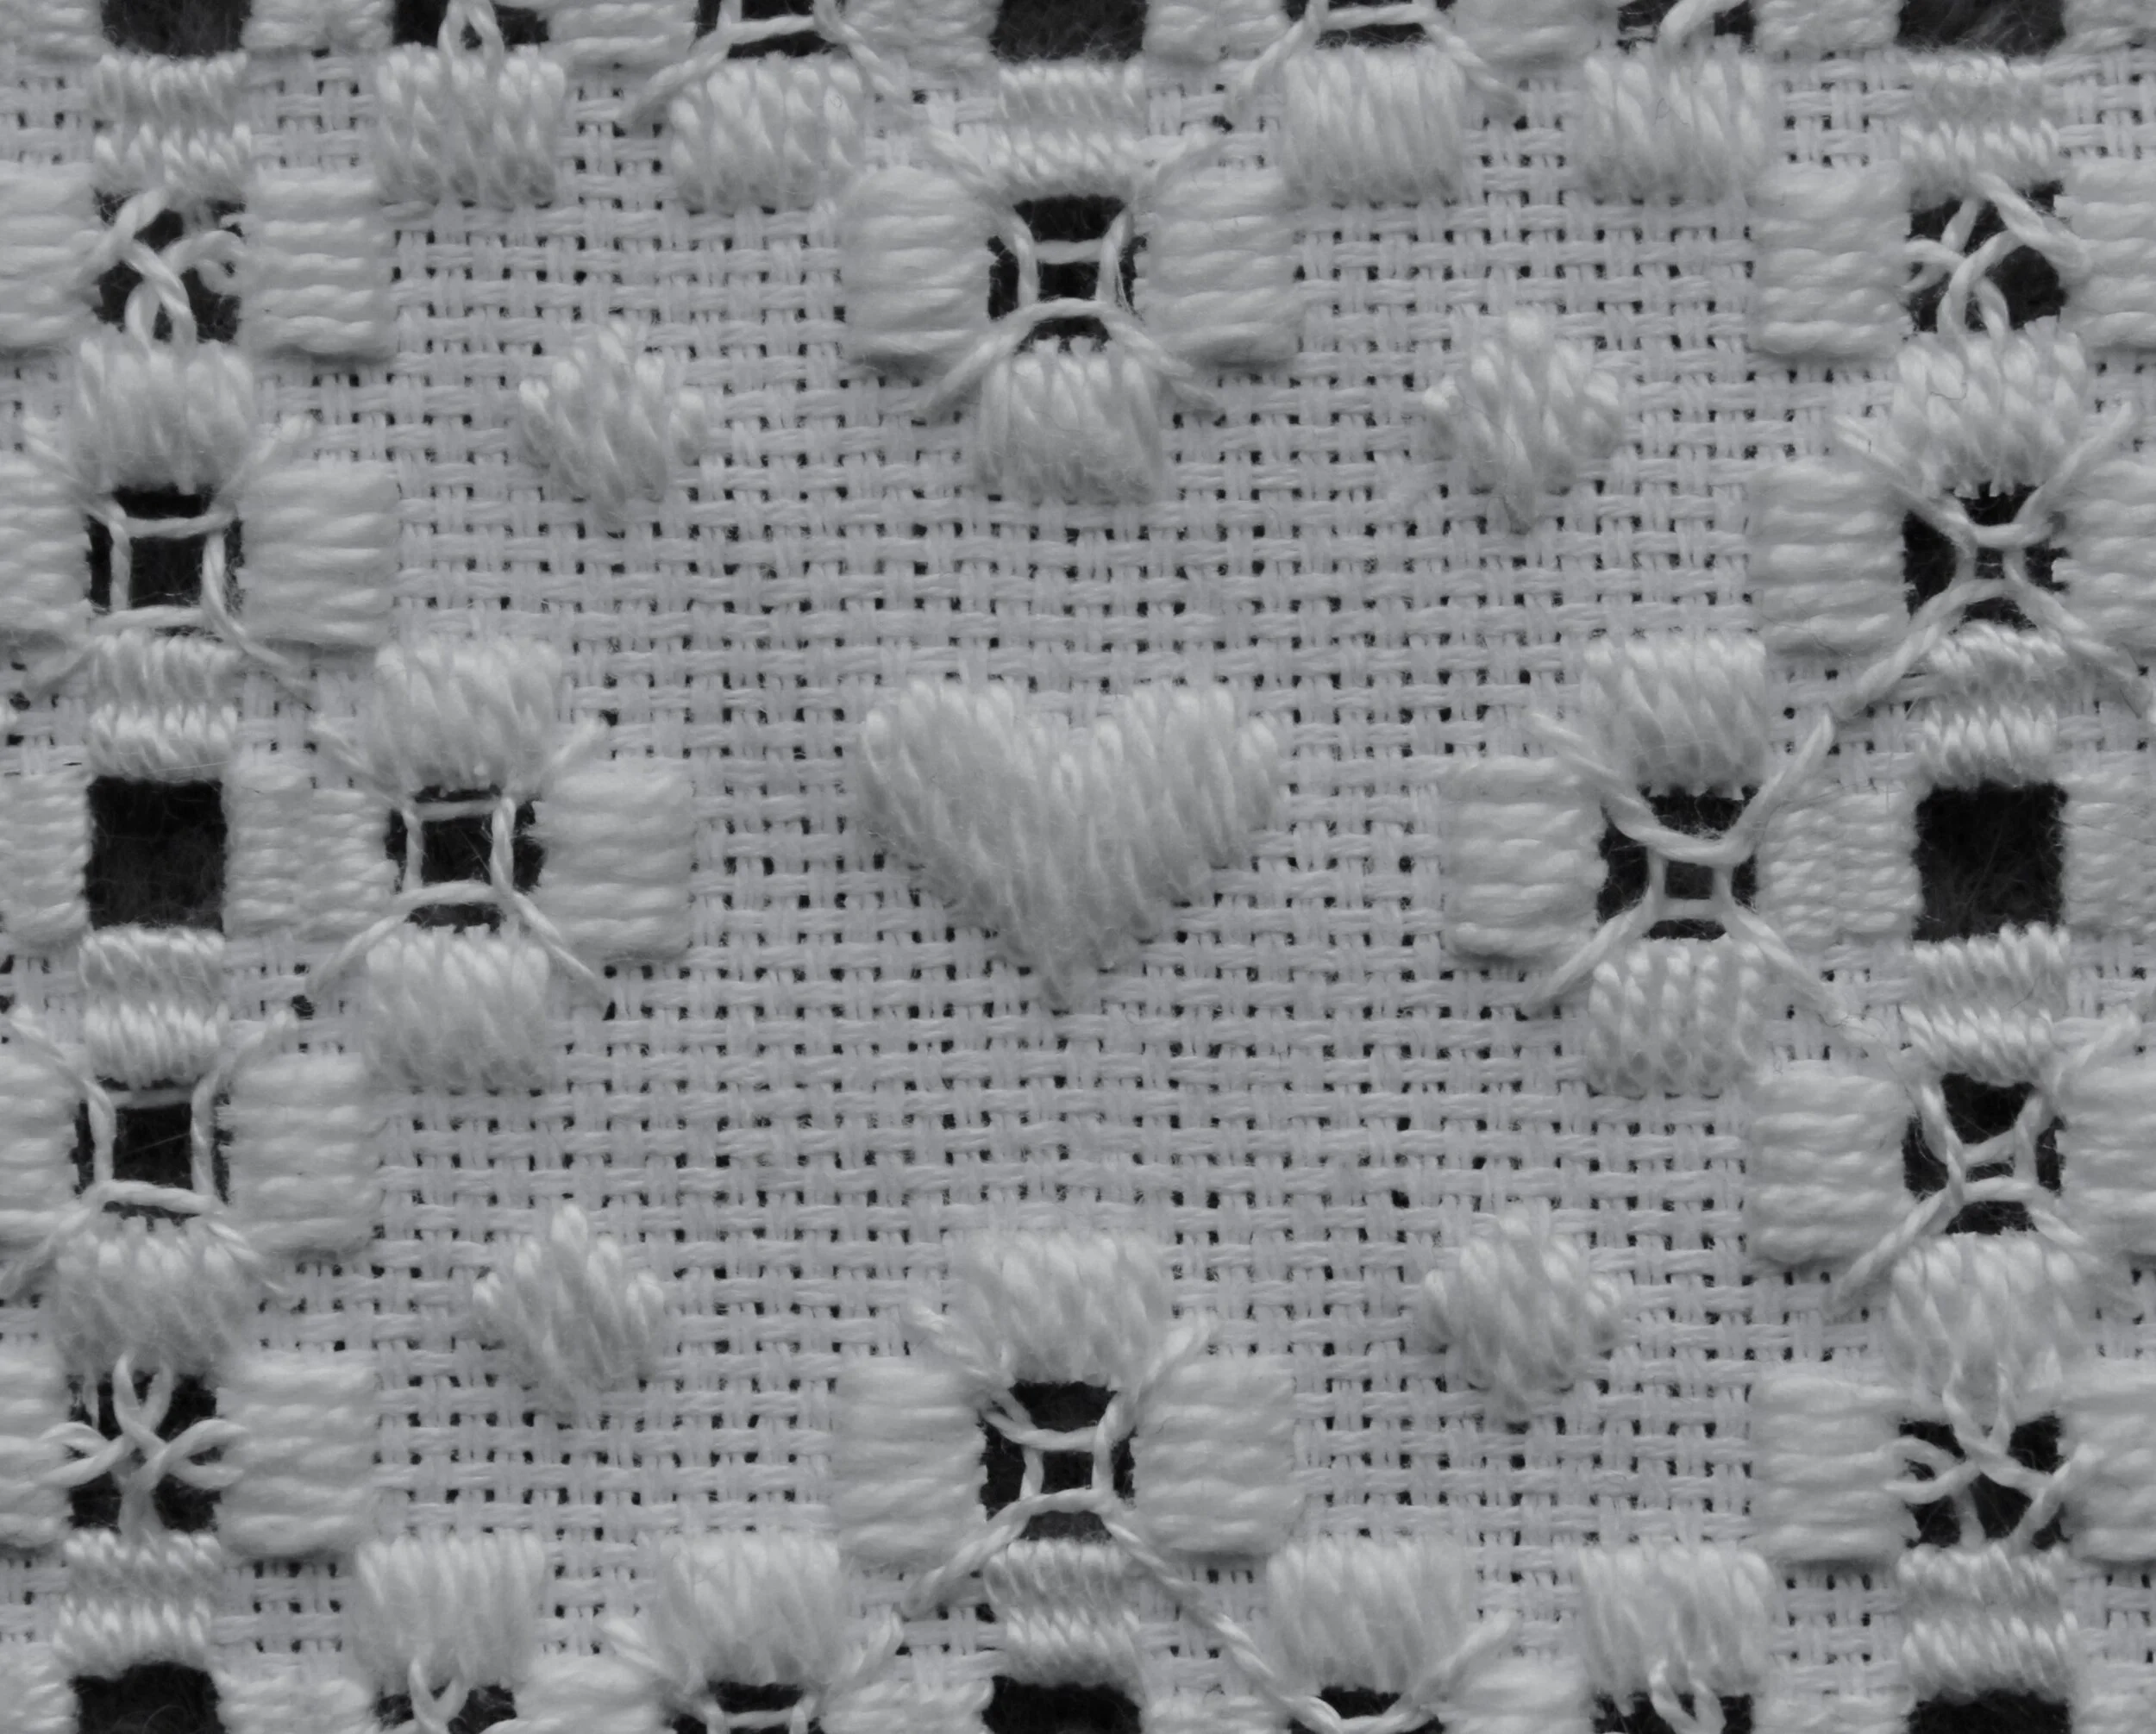
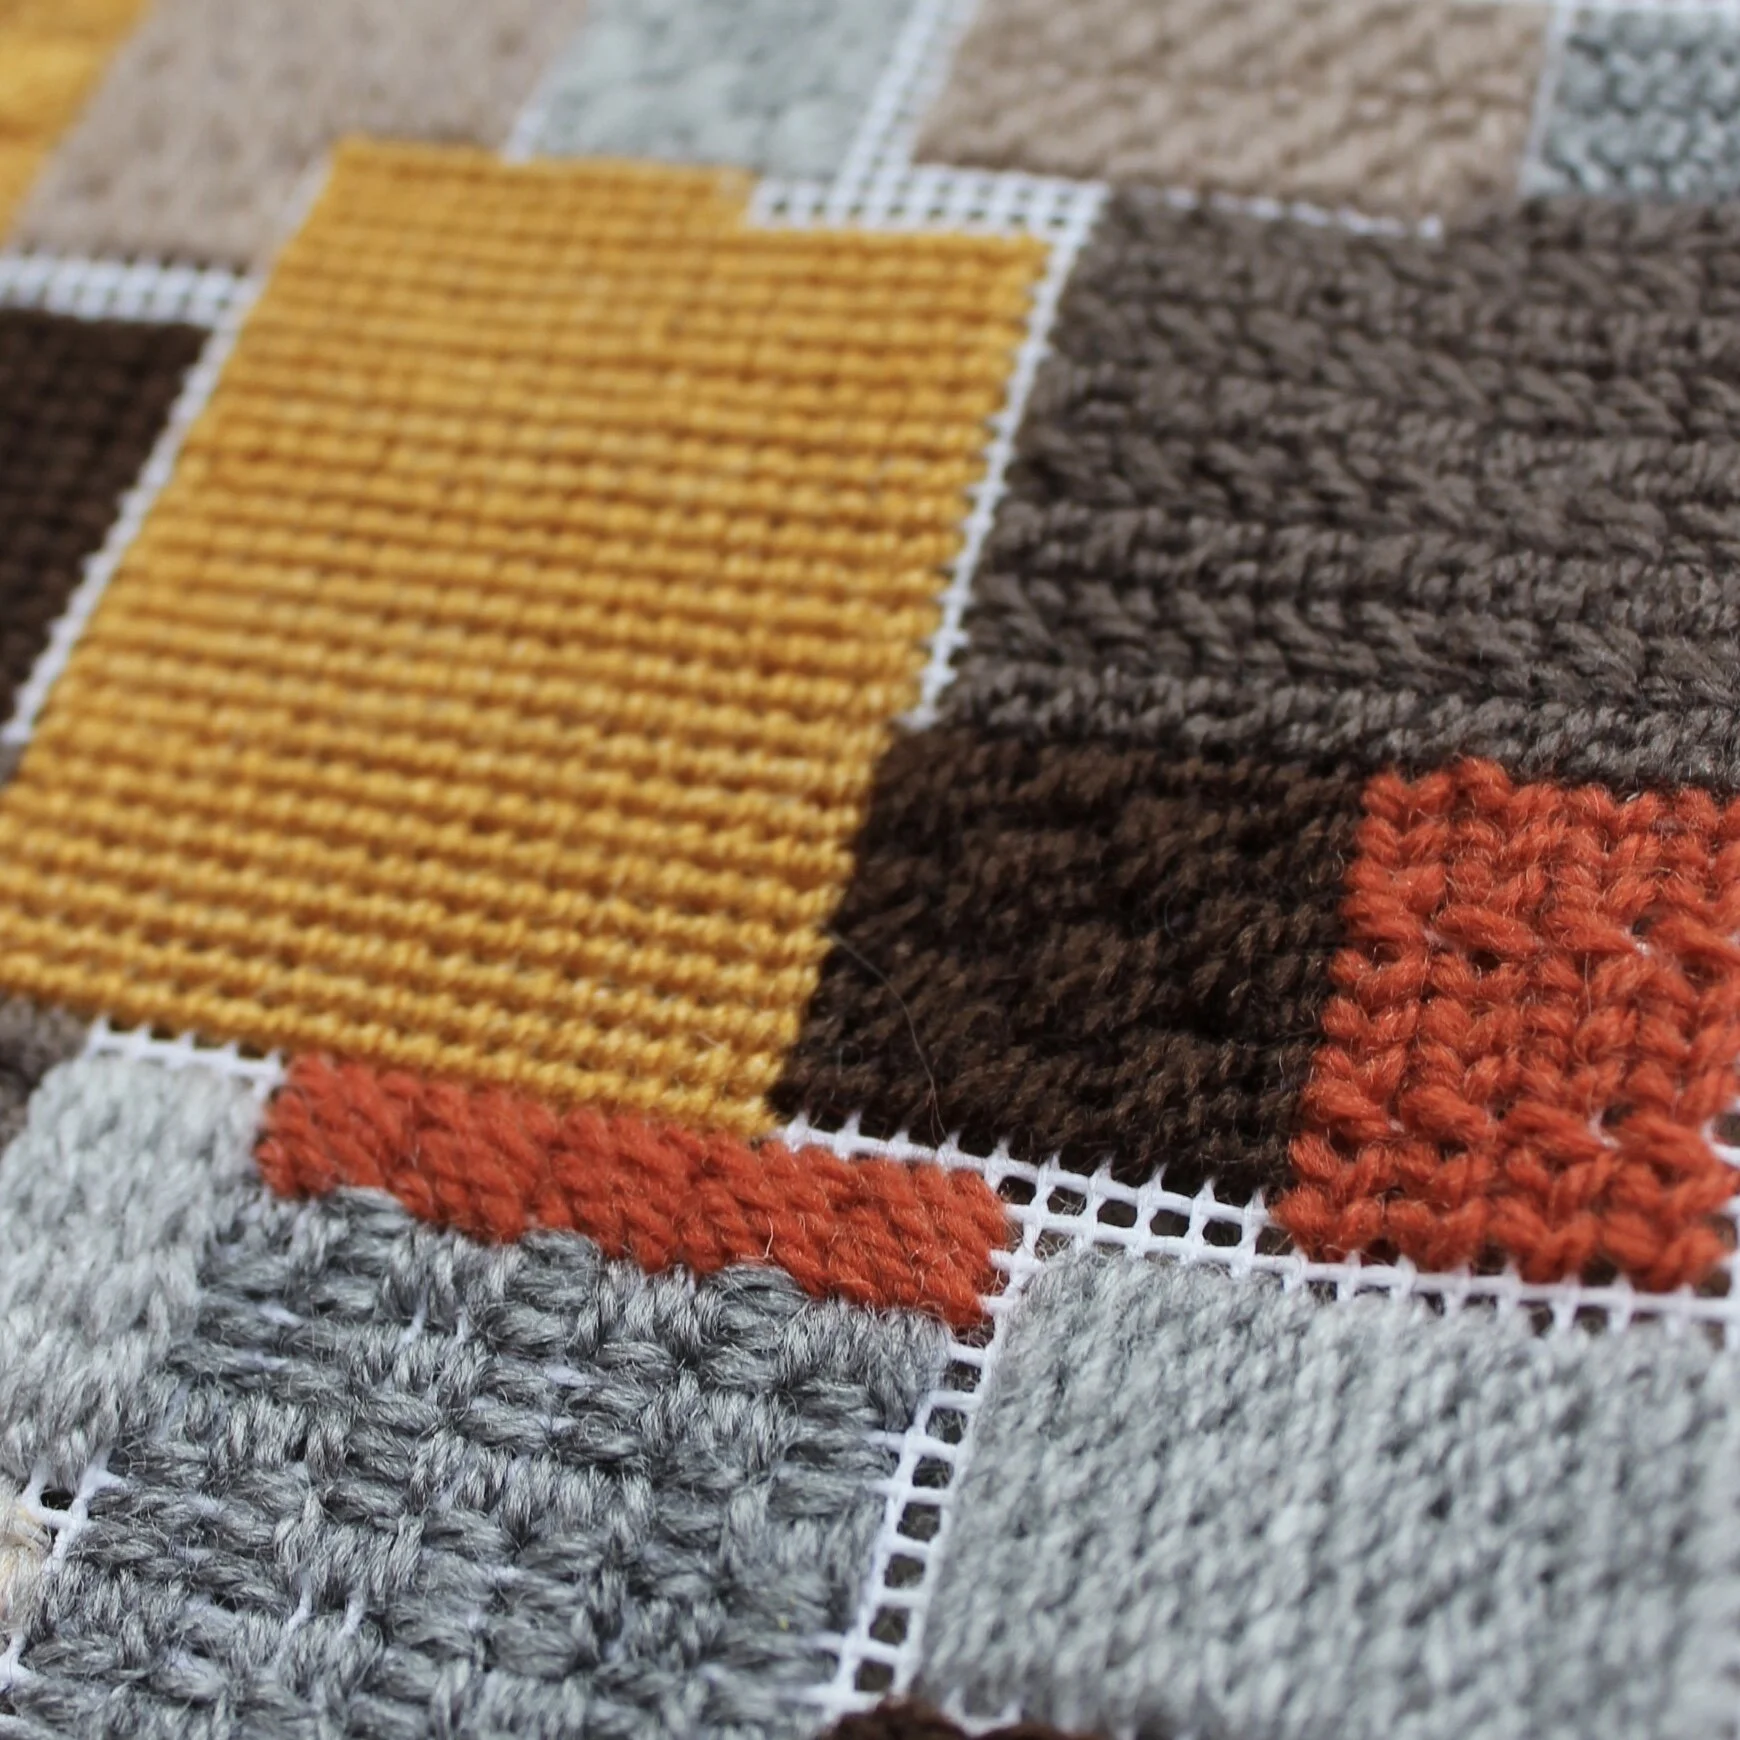
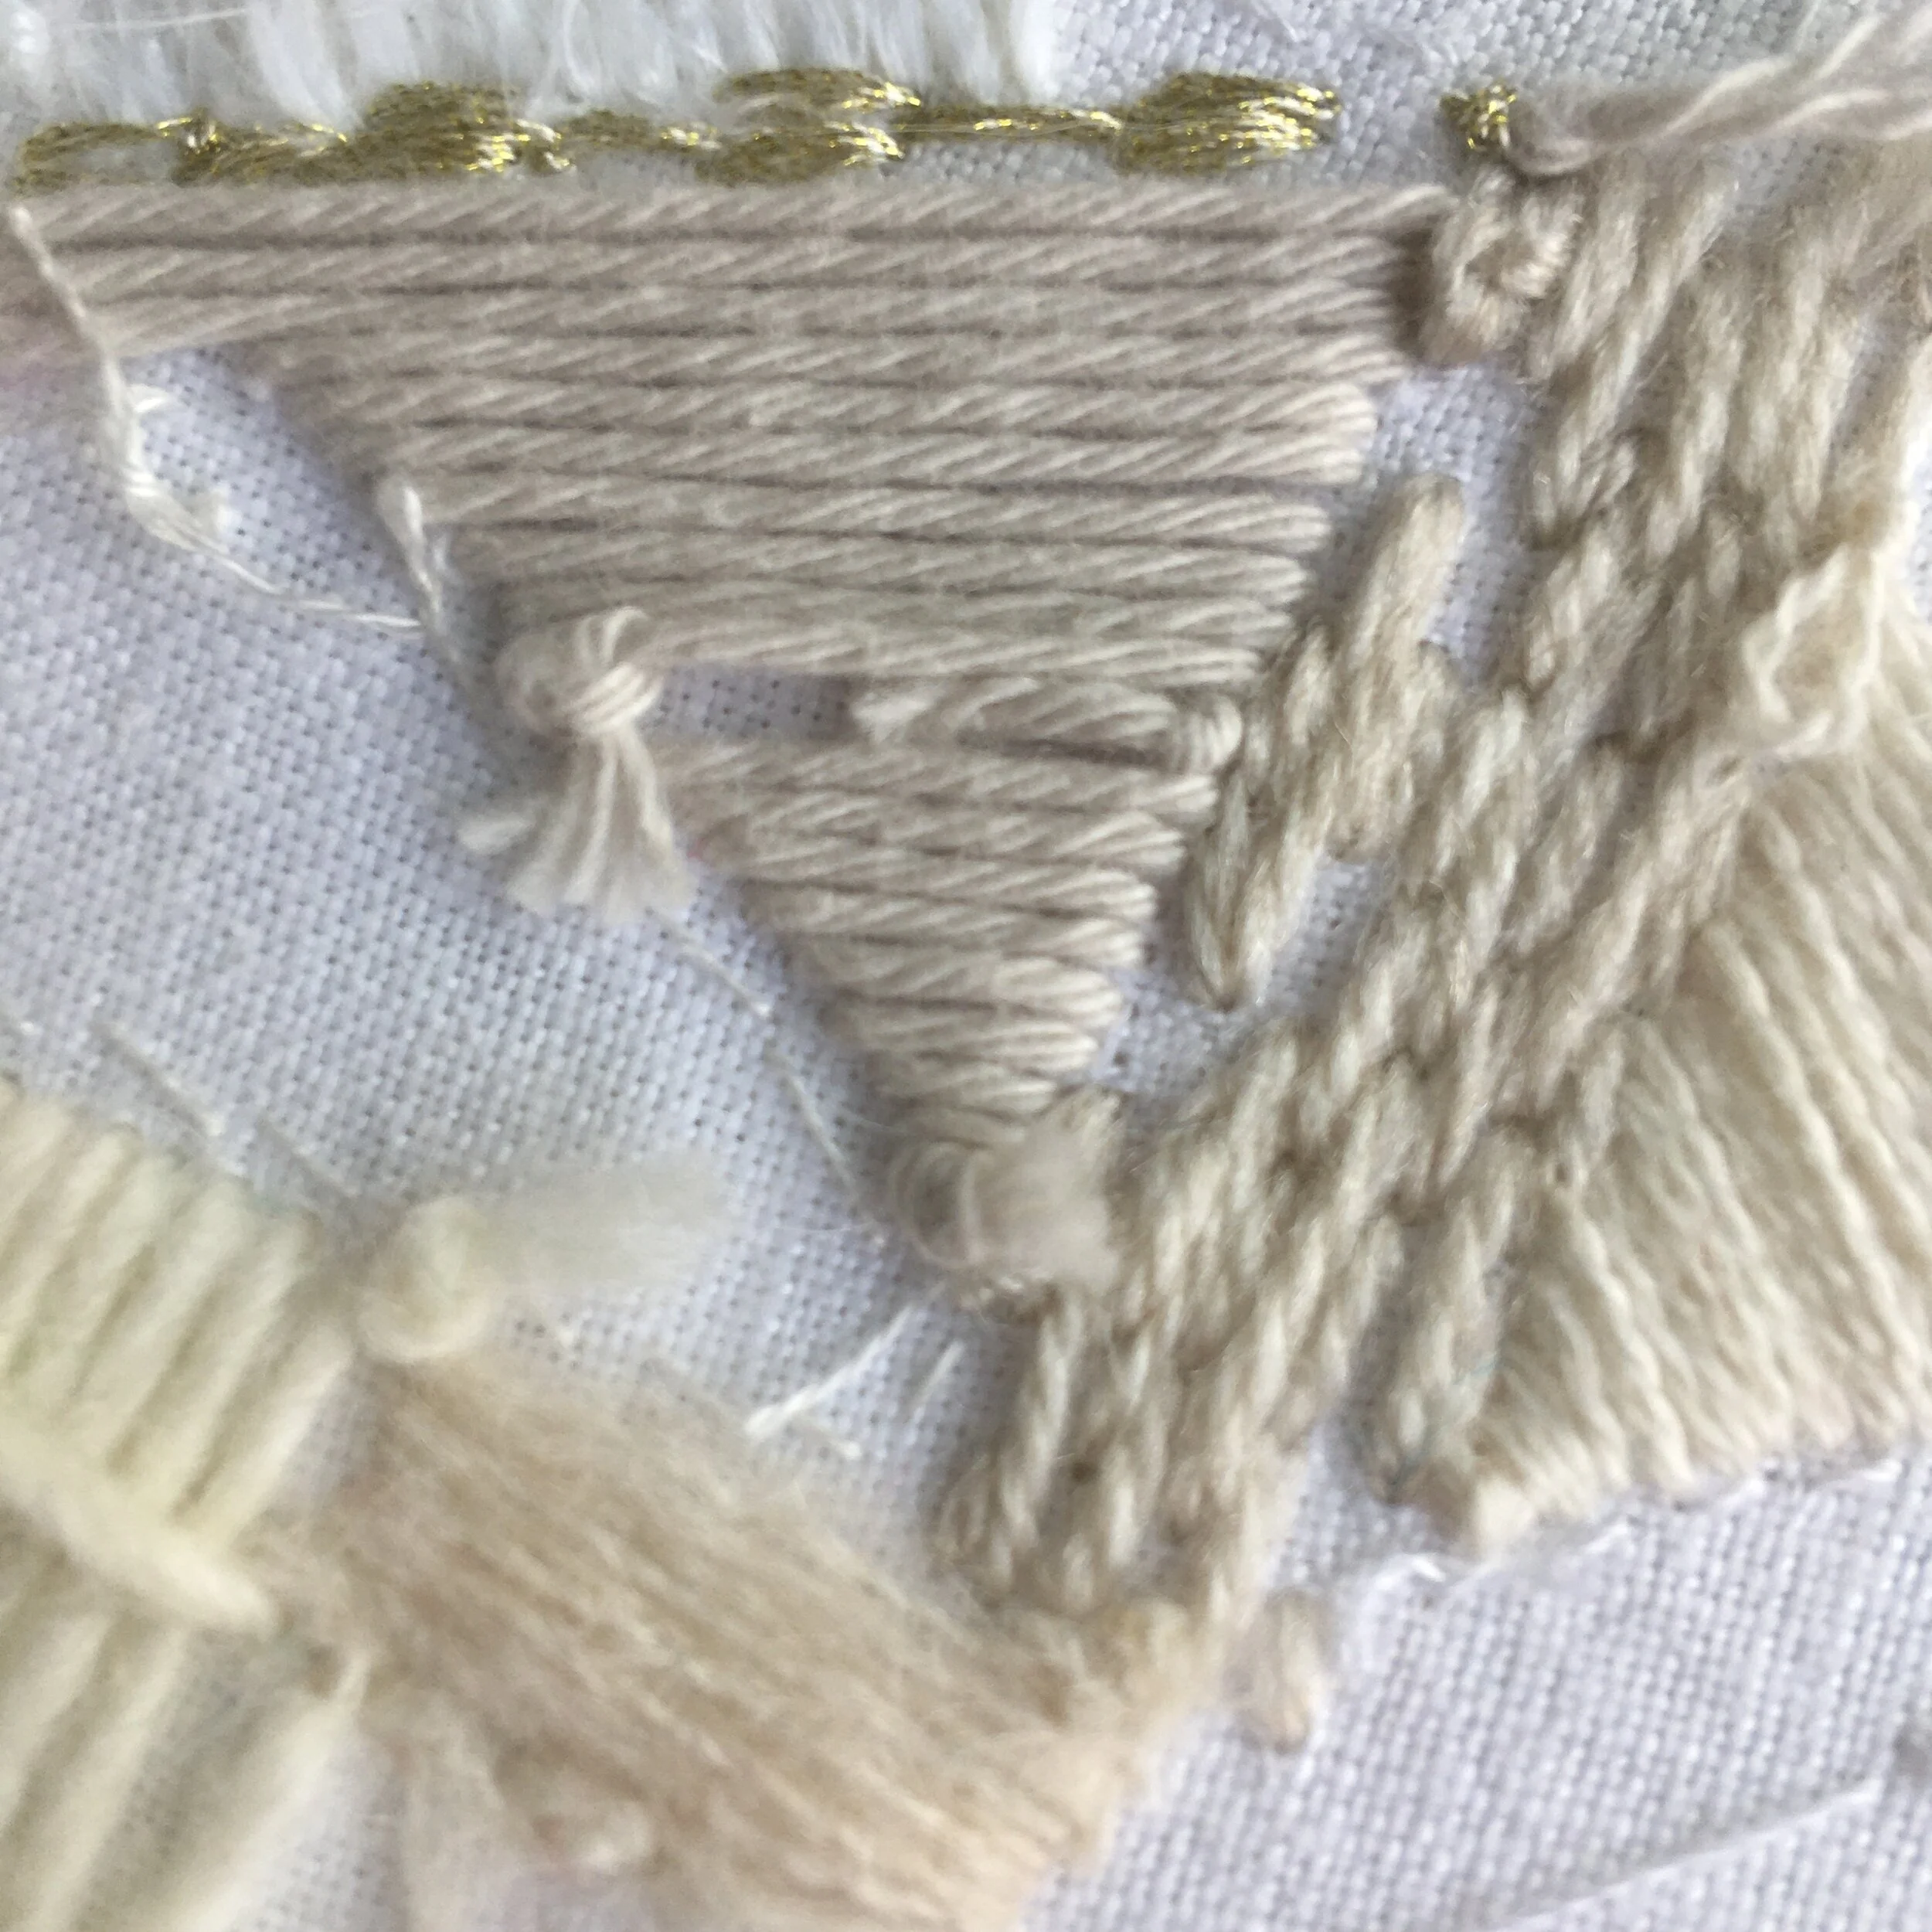
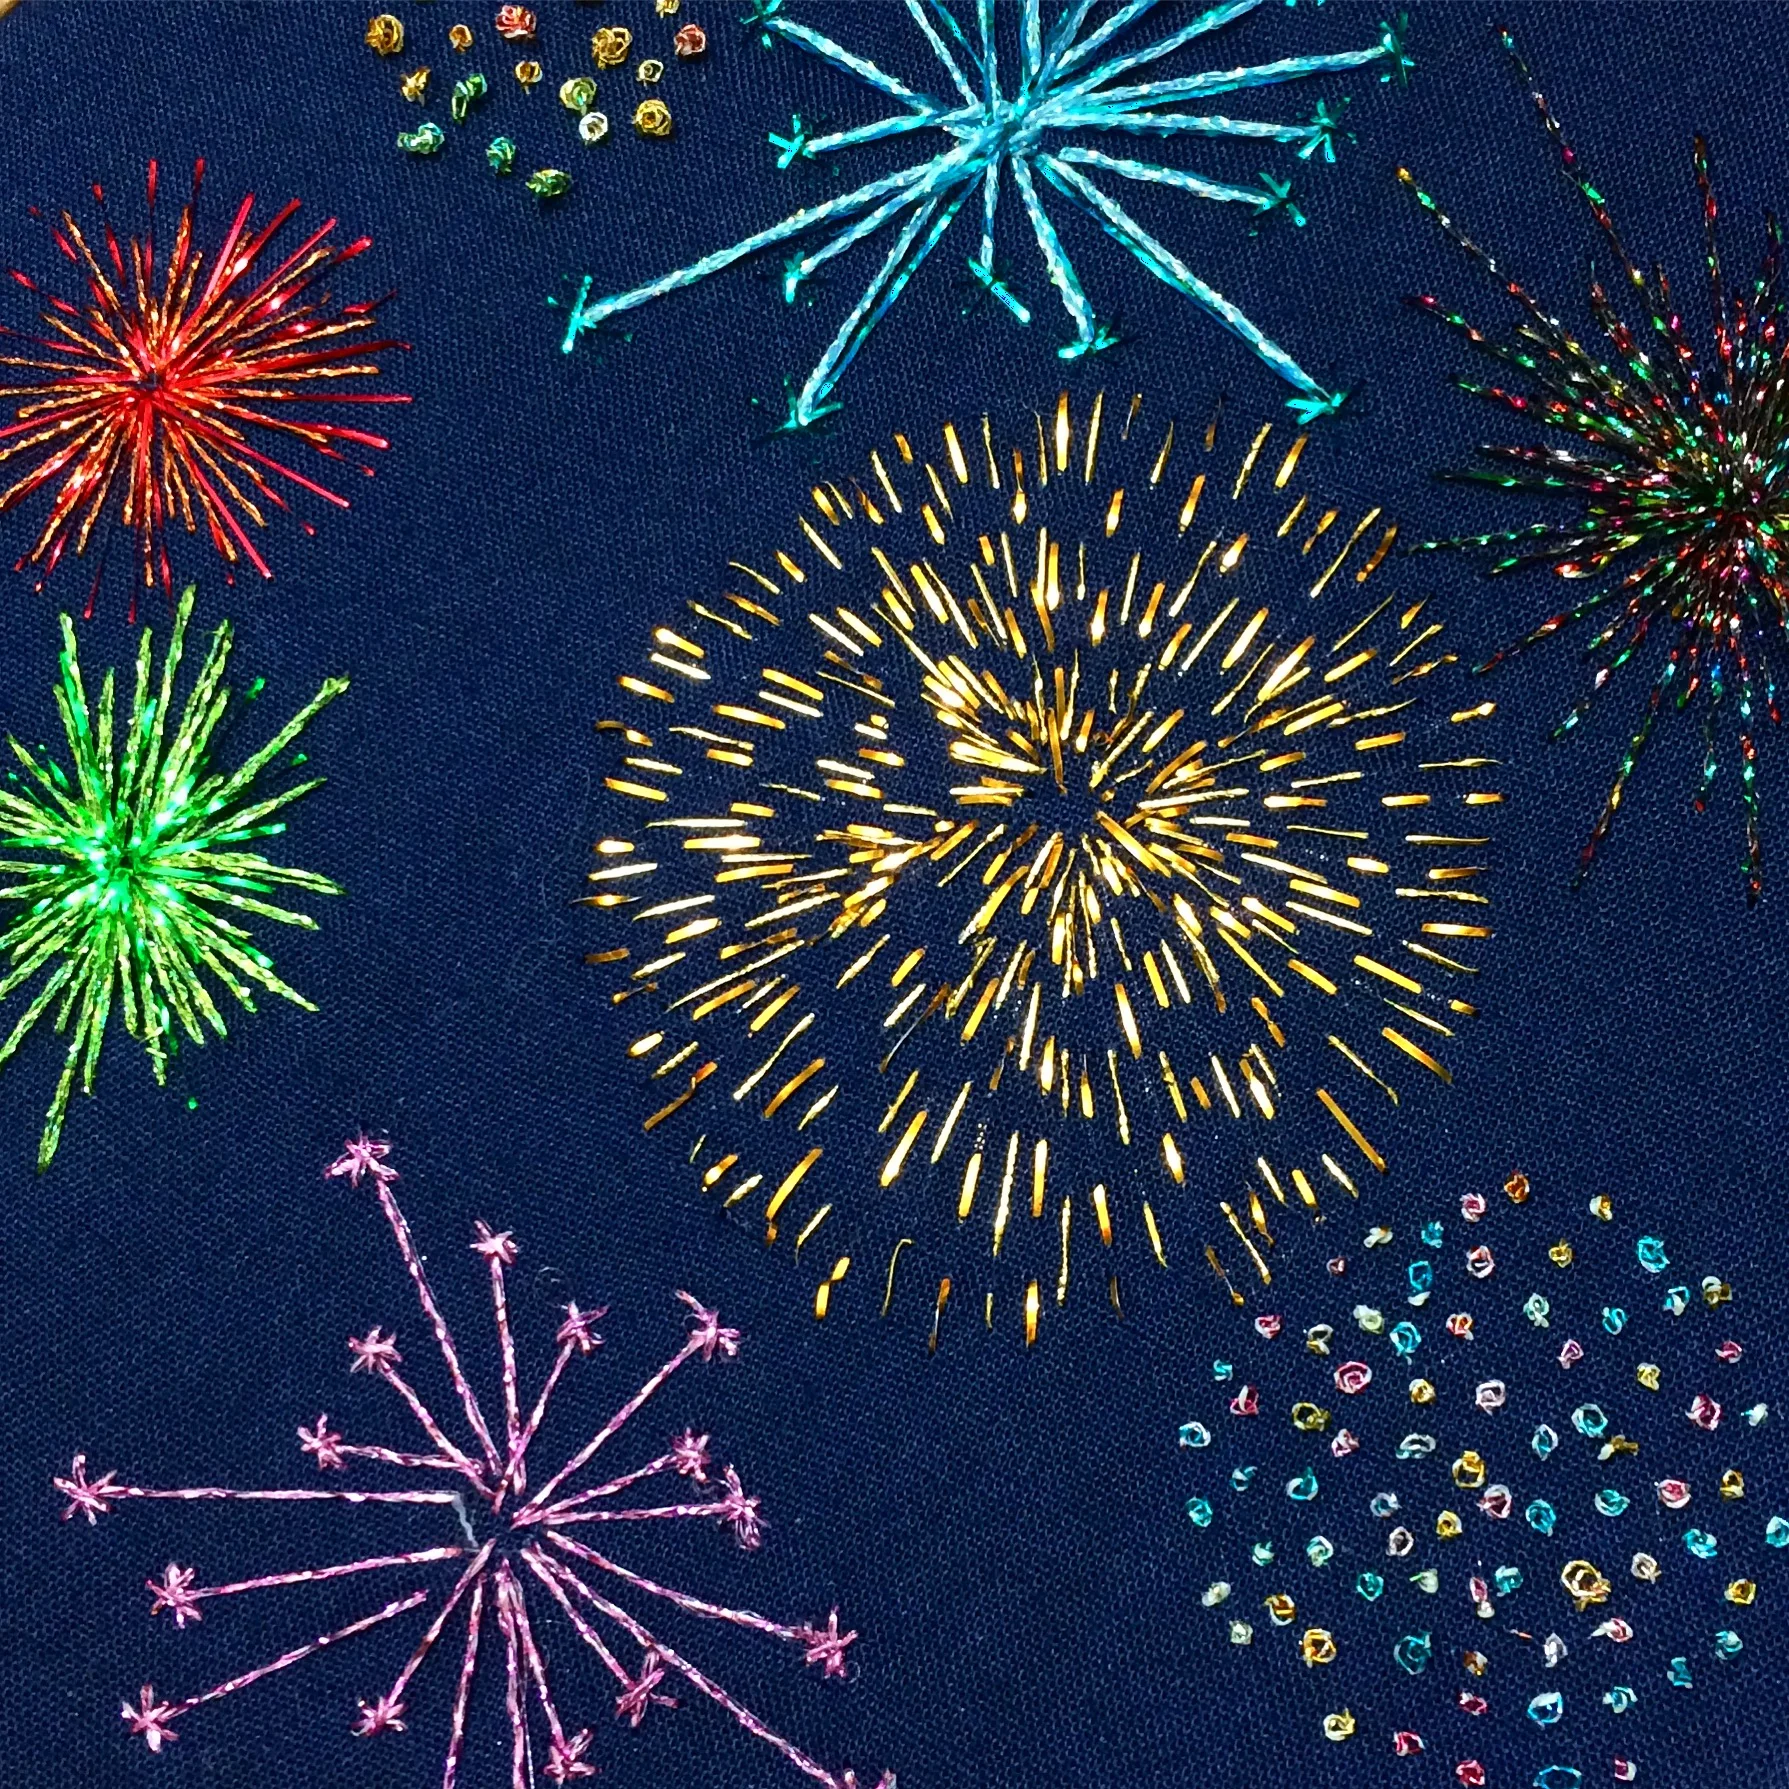
This blog post shows how using different numbers of strands with a range of stitches can affect the finished look.
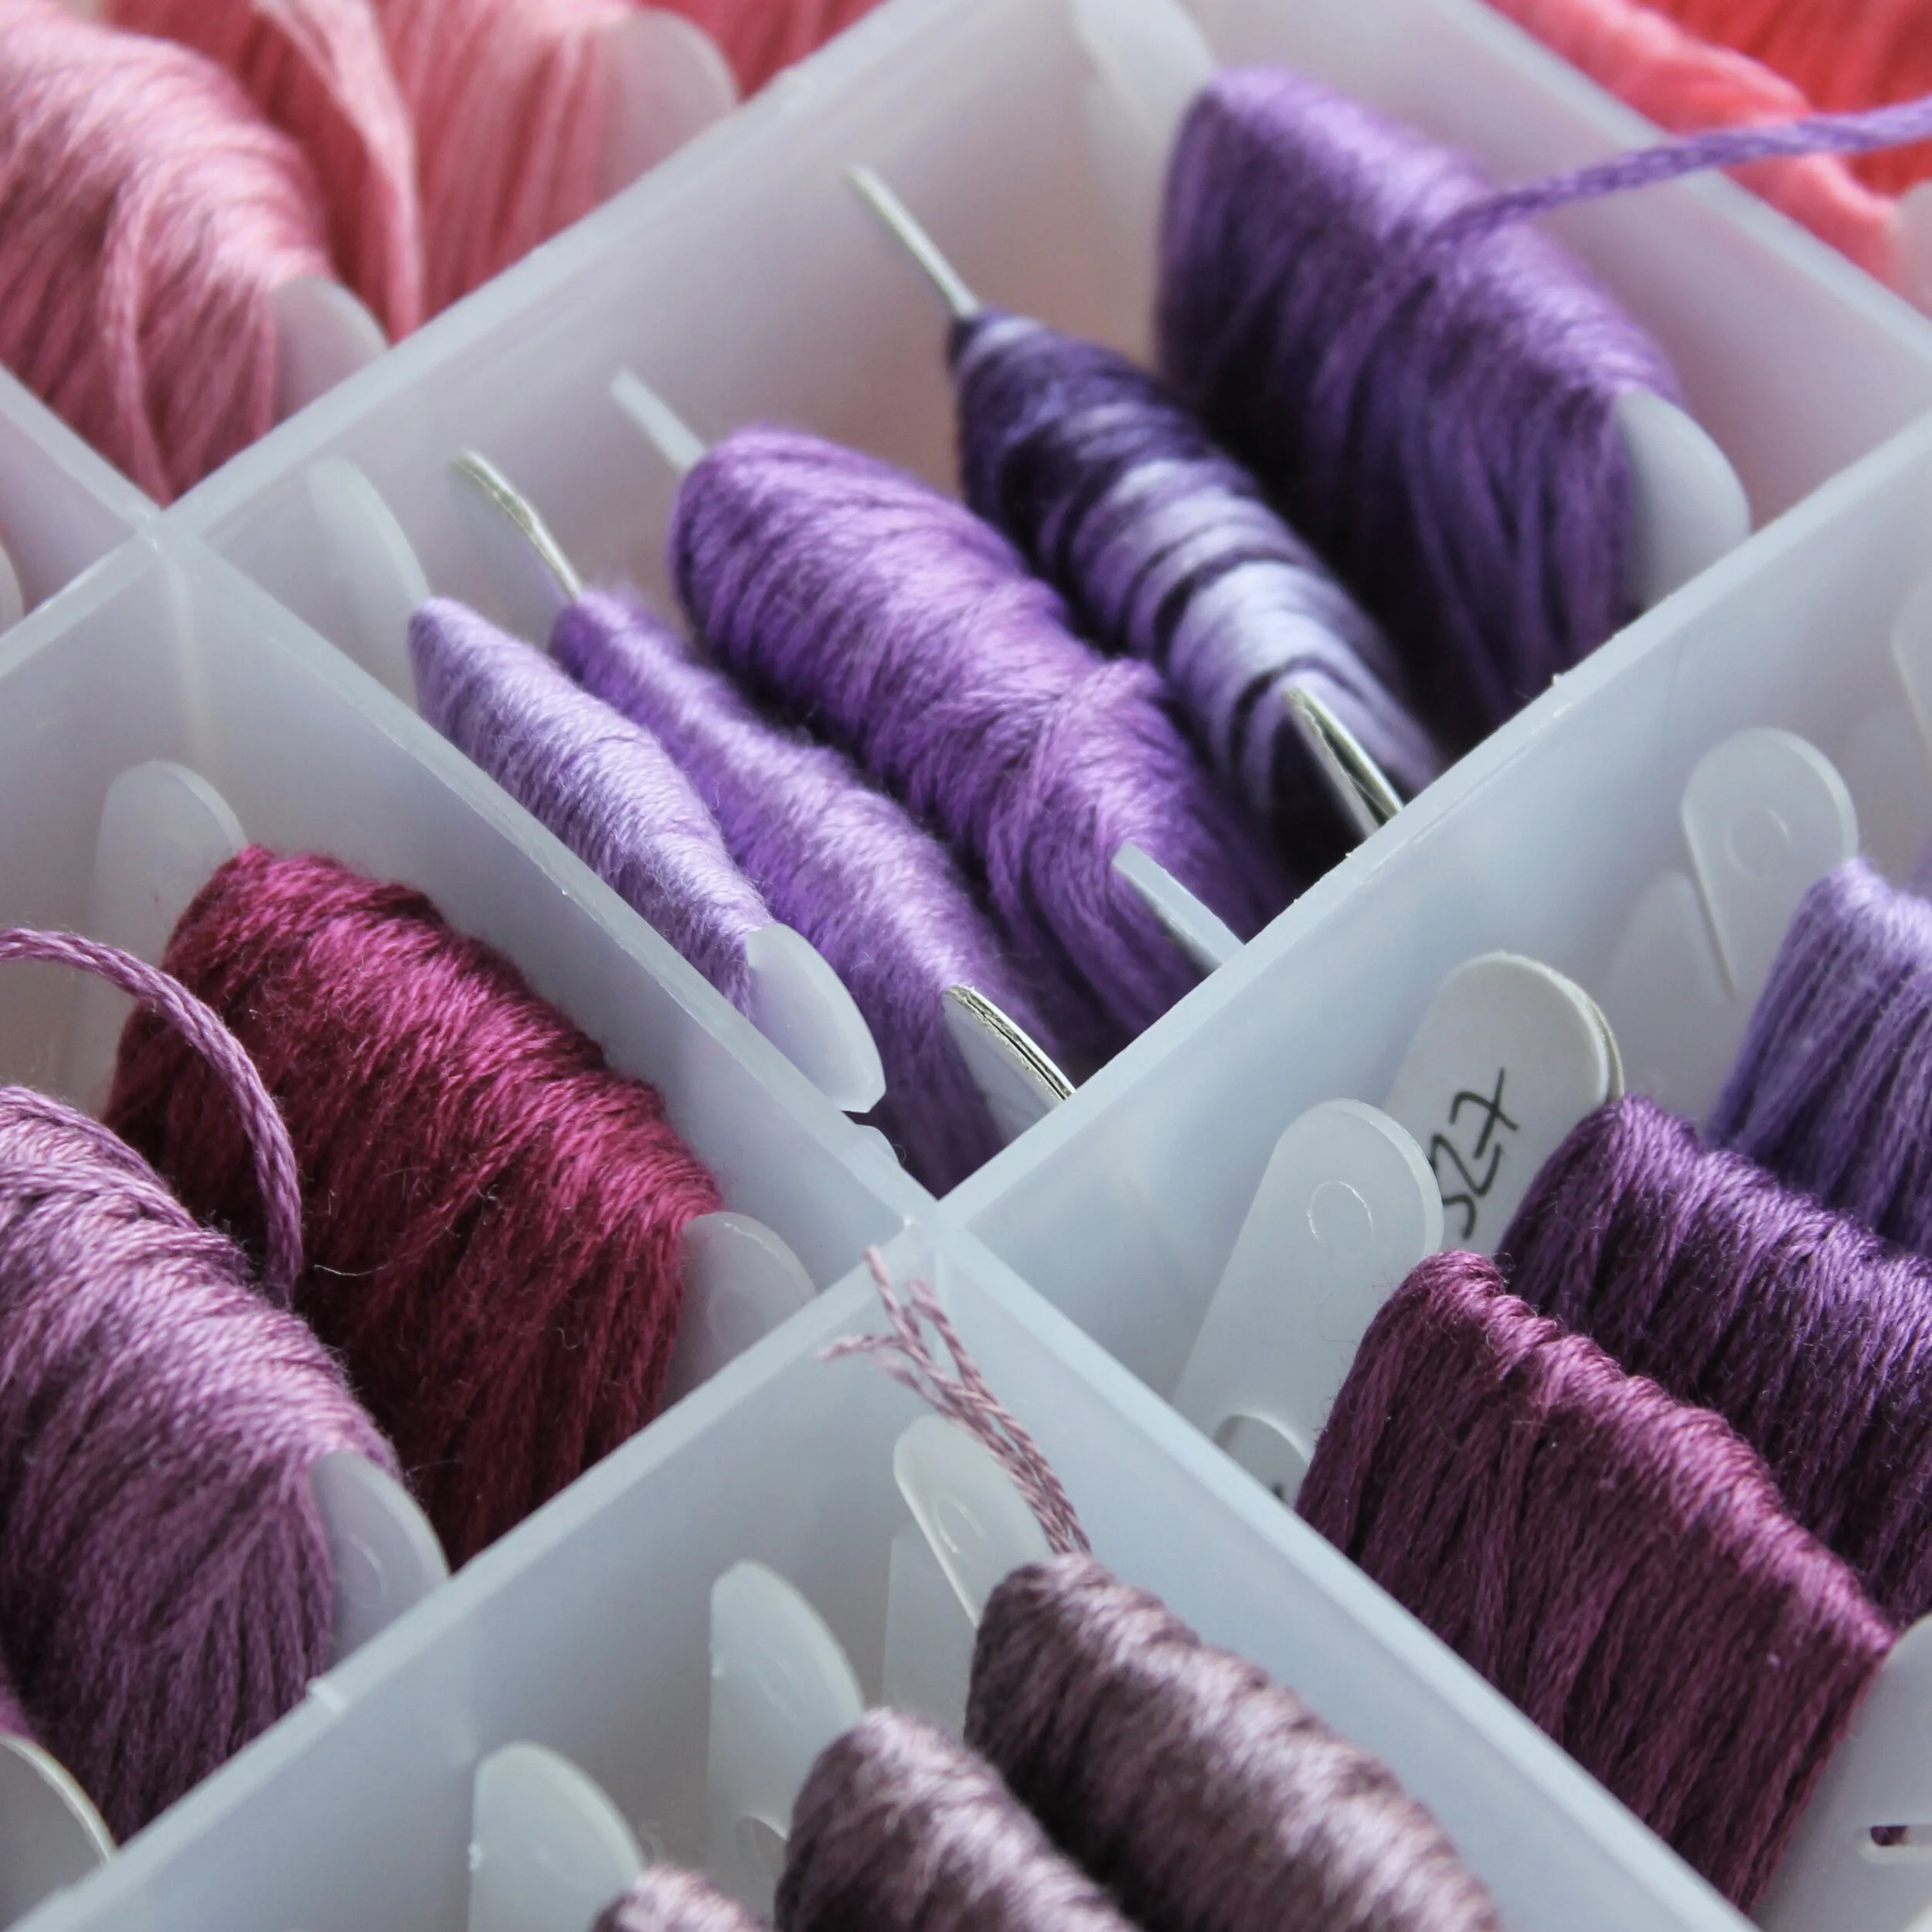
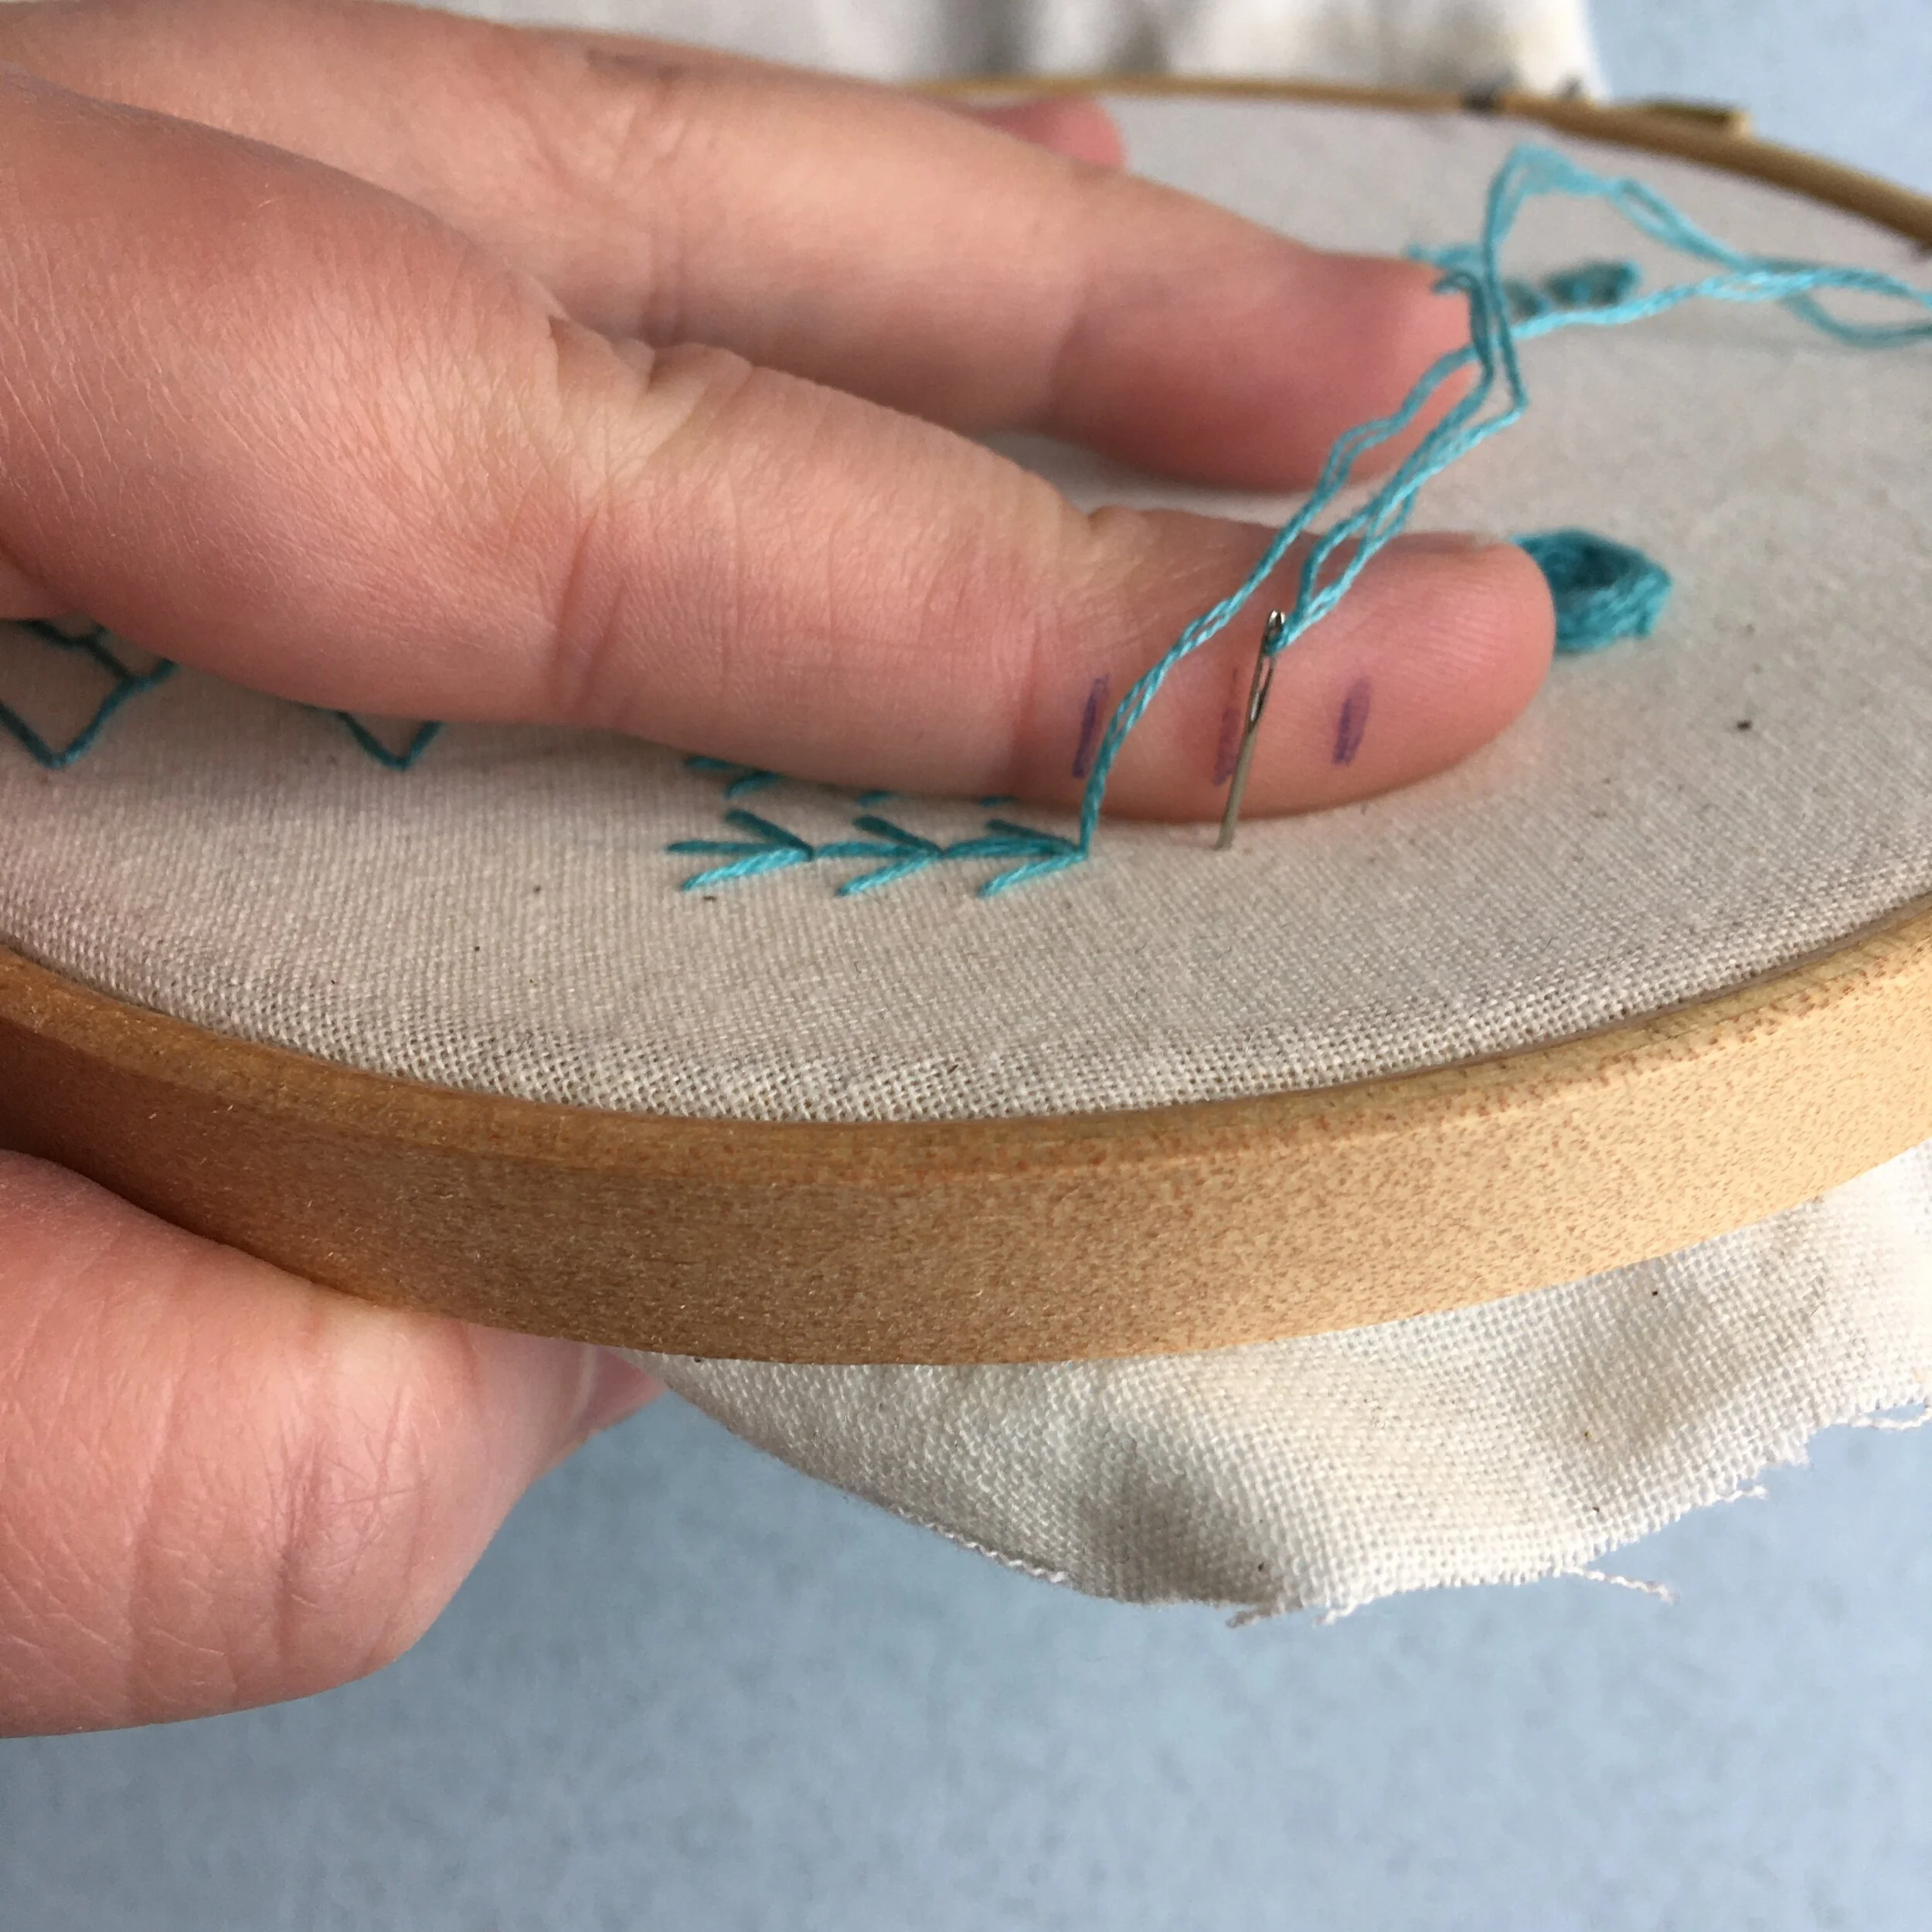
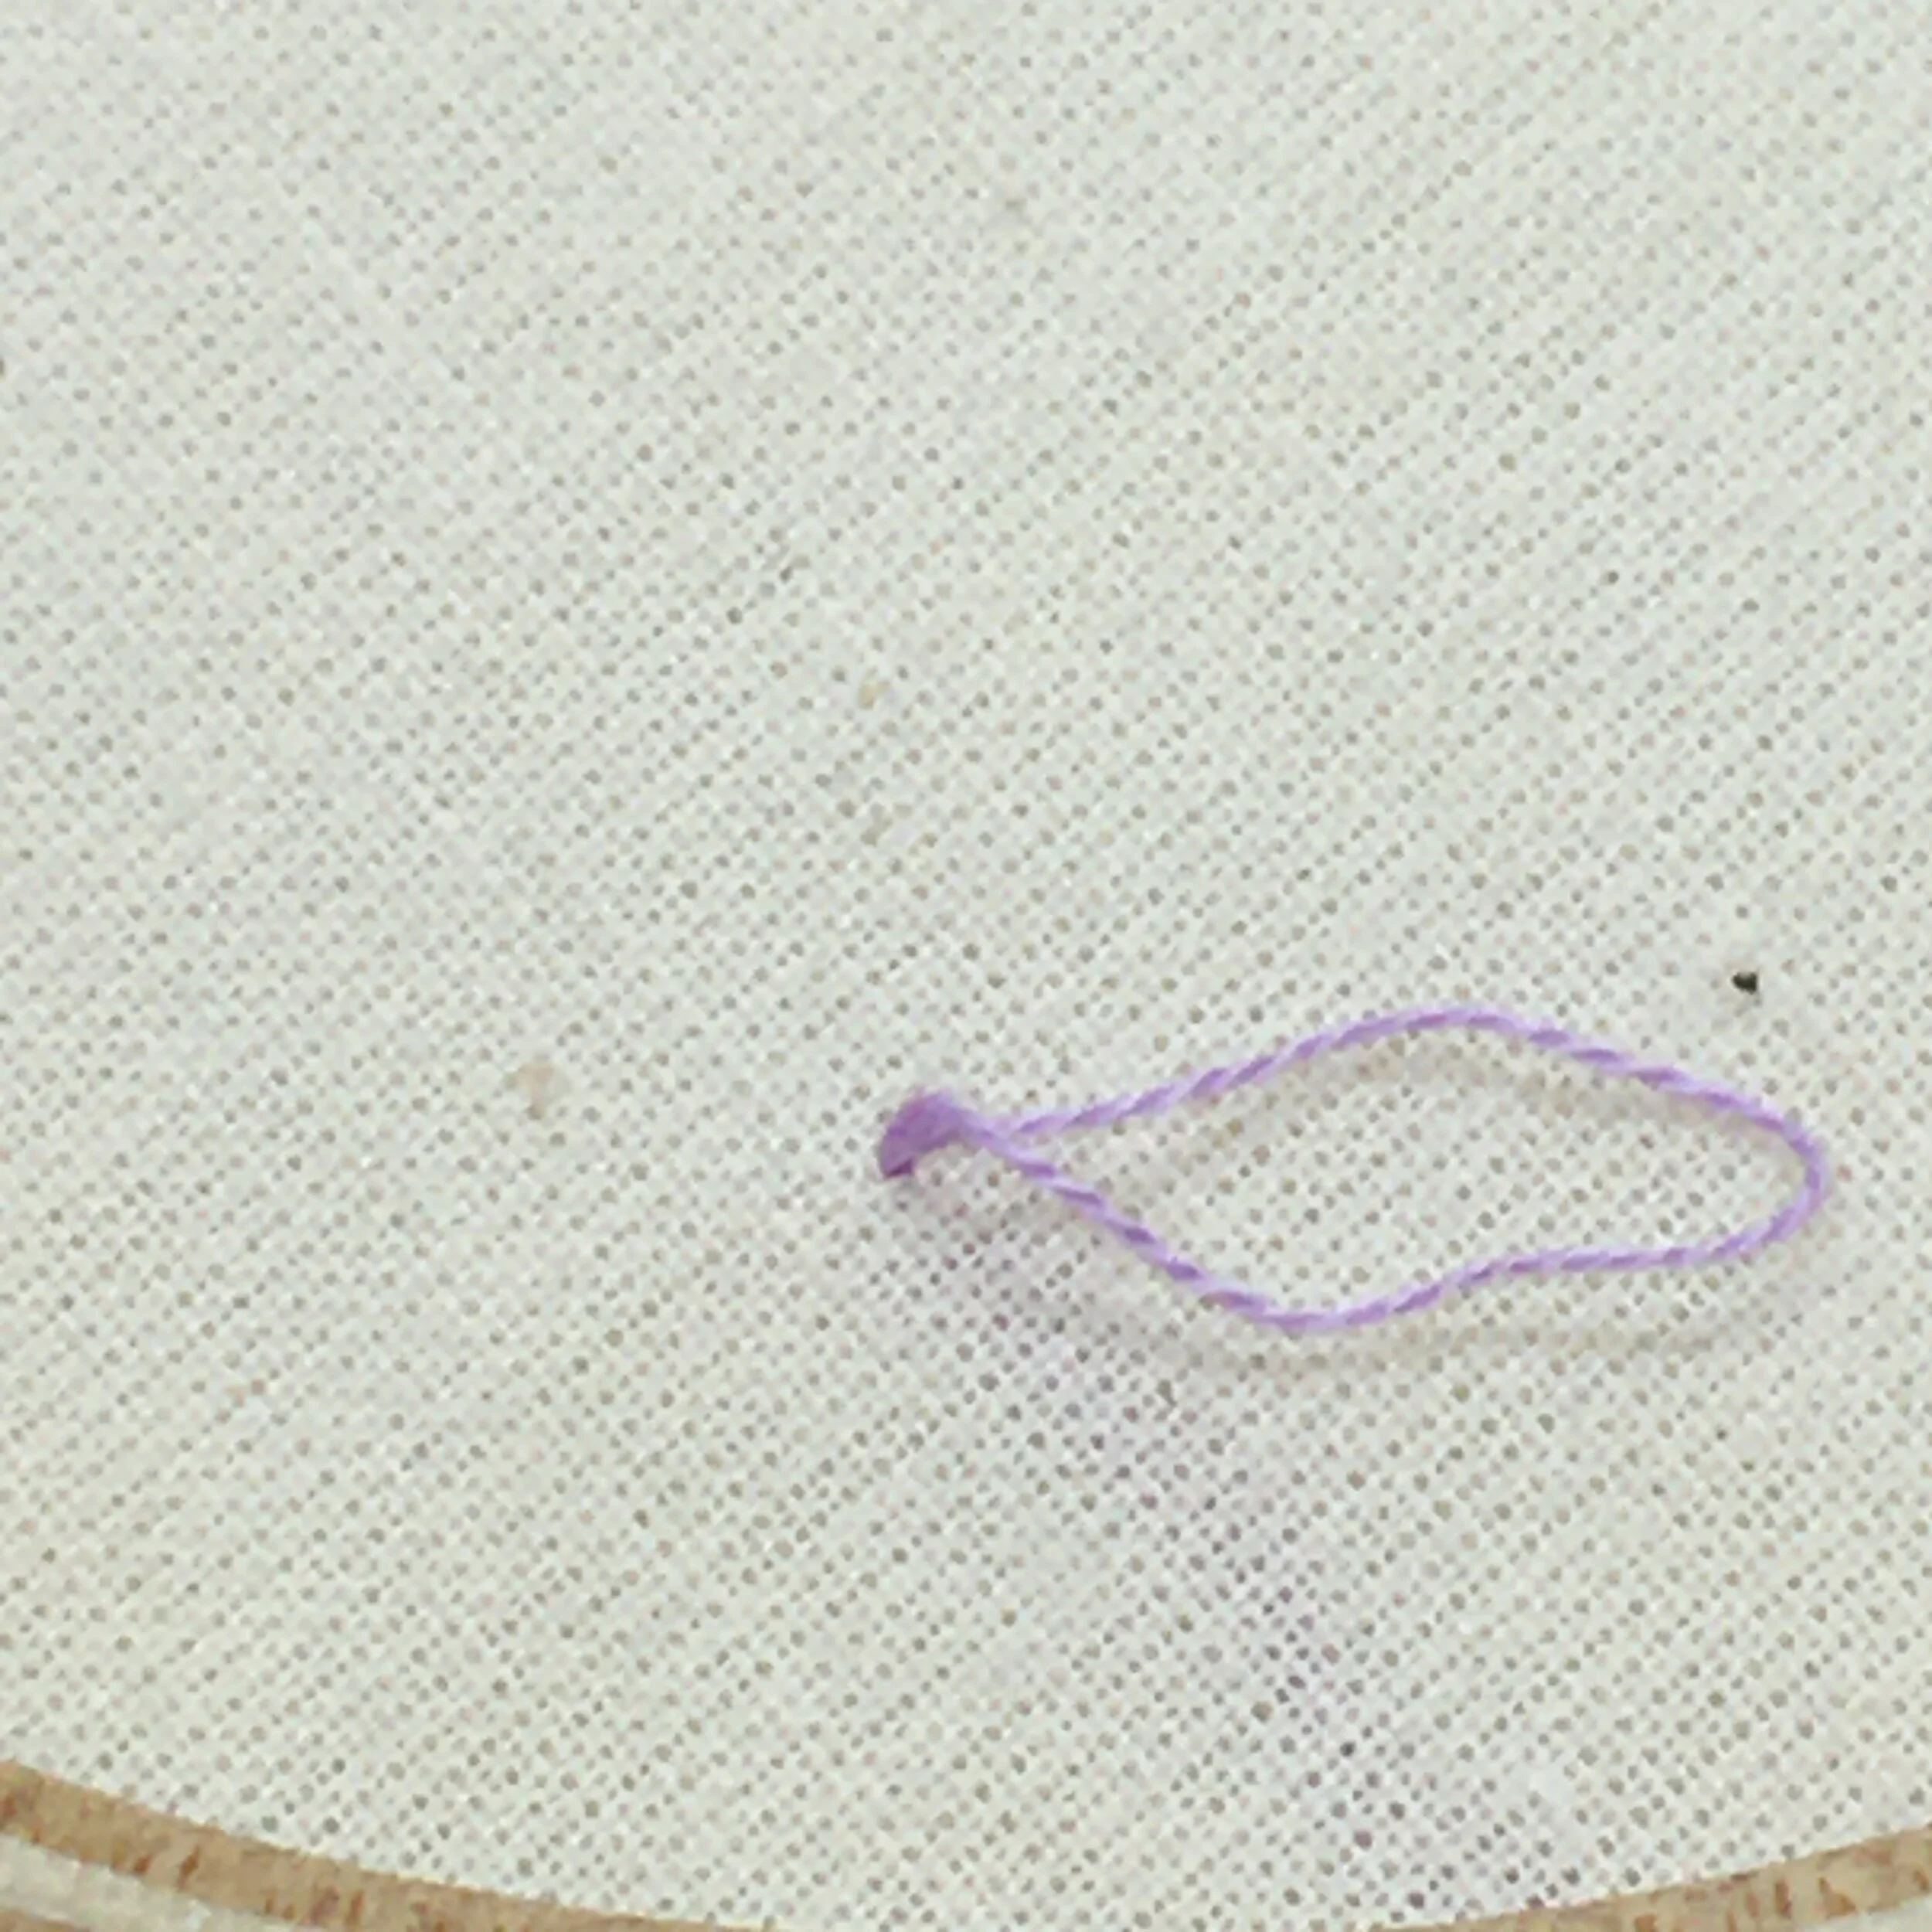
And in this blog post I share my tips for preventing tangles when working with strands of thread.
Enjoyed this blog post? I share embroidery tips and a free embroidery pattern in my monthly newsletter. Sign up here to receive the newsletter on the 1st of each the month.