

Satin stitch is commonly used to fill in large spaces and there are contemporary embroidery artists such as Sarah K Benning and Salt Stitches who use it extensively in their work. The stitch is created by laying lengths of thread as close as possible on the surface of the fabric.
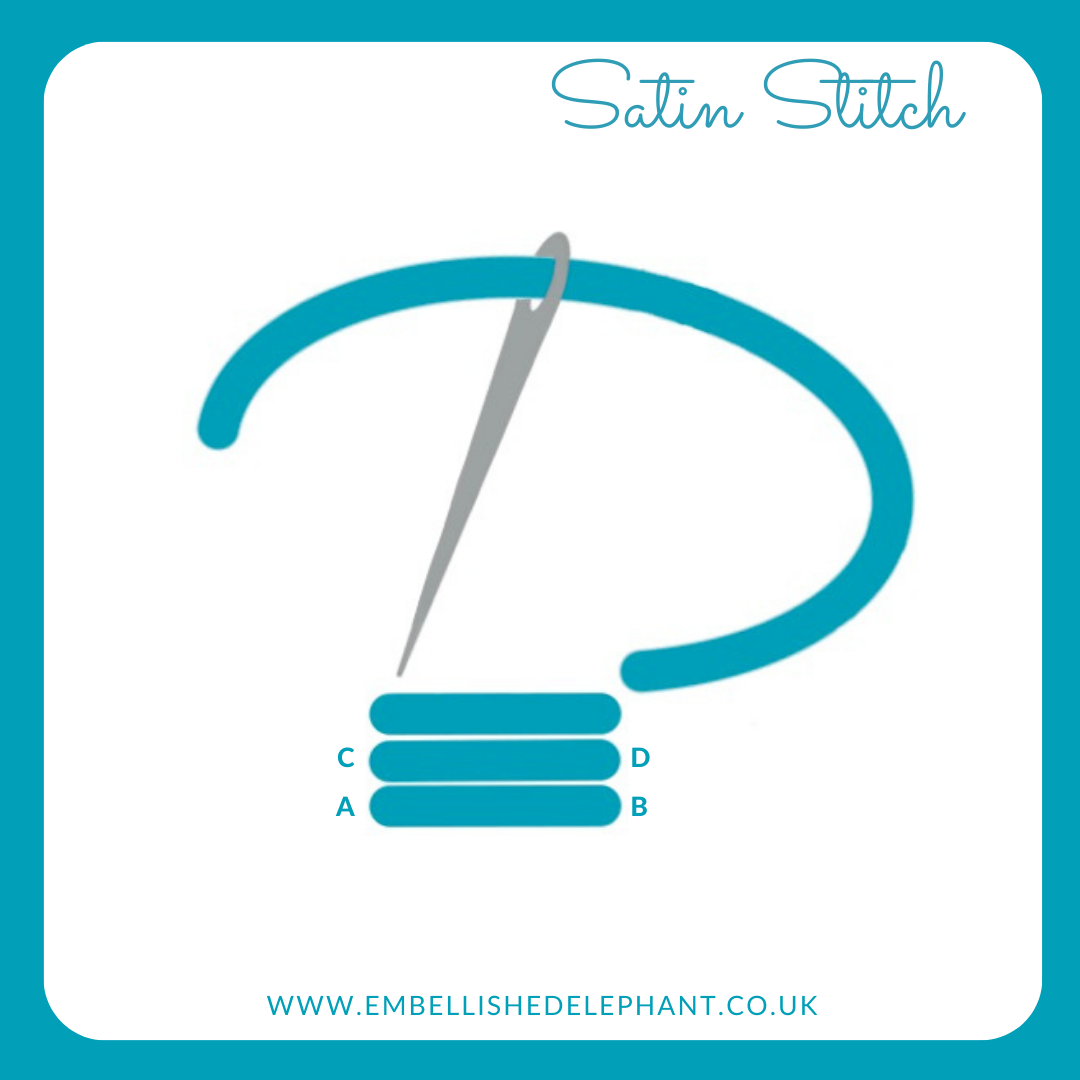
Bring the needle up through the fabric at the appropriate starting point (A)
Take it down through the fabric at the end point (B)
Bring the needle back up right next to the first point you brought it through (C).
Take it down through the fabric next to the end of the first stitch (D)
The gap between each stitch will depend on the thickness of the thread being used
Each stitch should start from the same side each time. This should mean that the back of the work work looks similar to the front (just not as neat)
It may seem like a waste of thread to have such long stitches on the back of the work, but it does help to maintain the tension over such a large area.
If you are short of thread or are working a smaller area you could bring the needle up right next to the point it went down (on the same side of the area) rather than go back to the other side but beware this may cause fabric wrinkles.
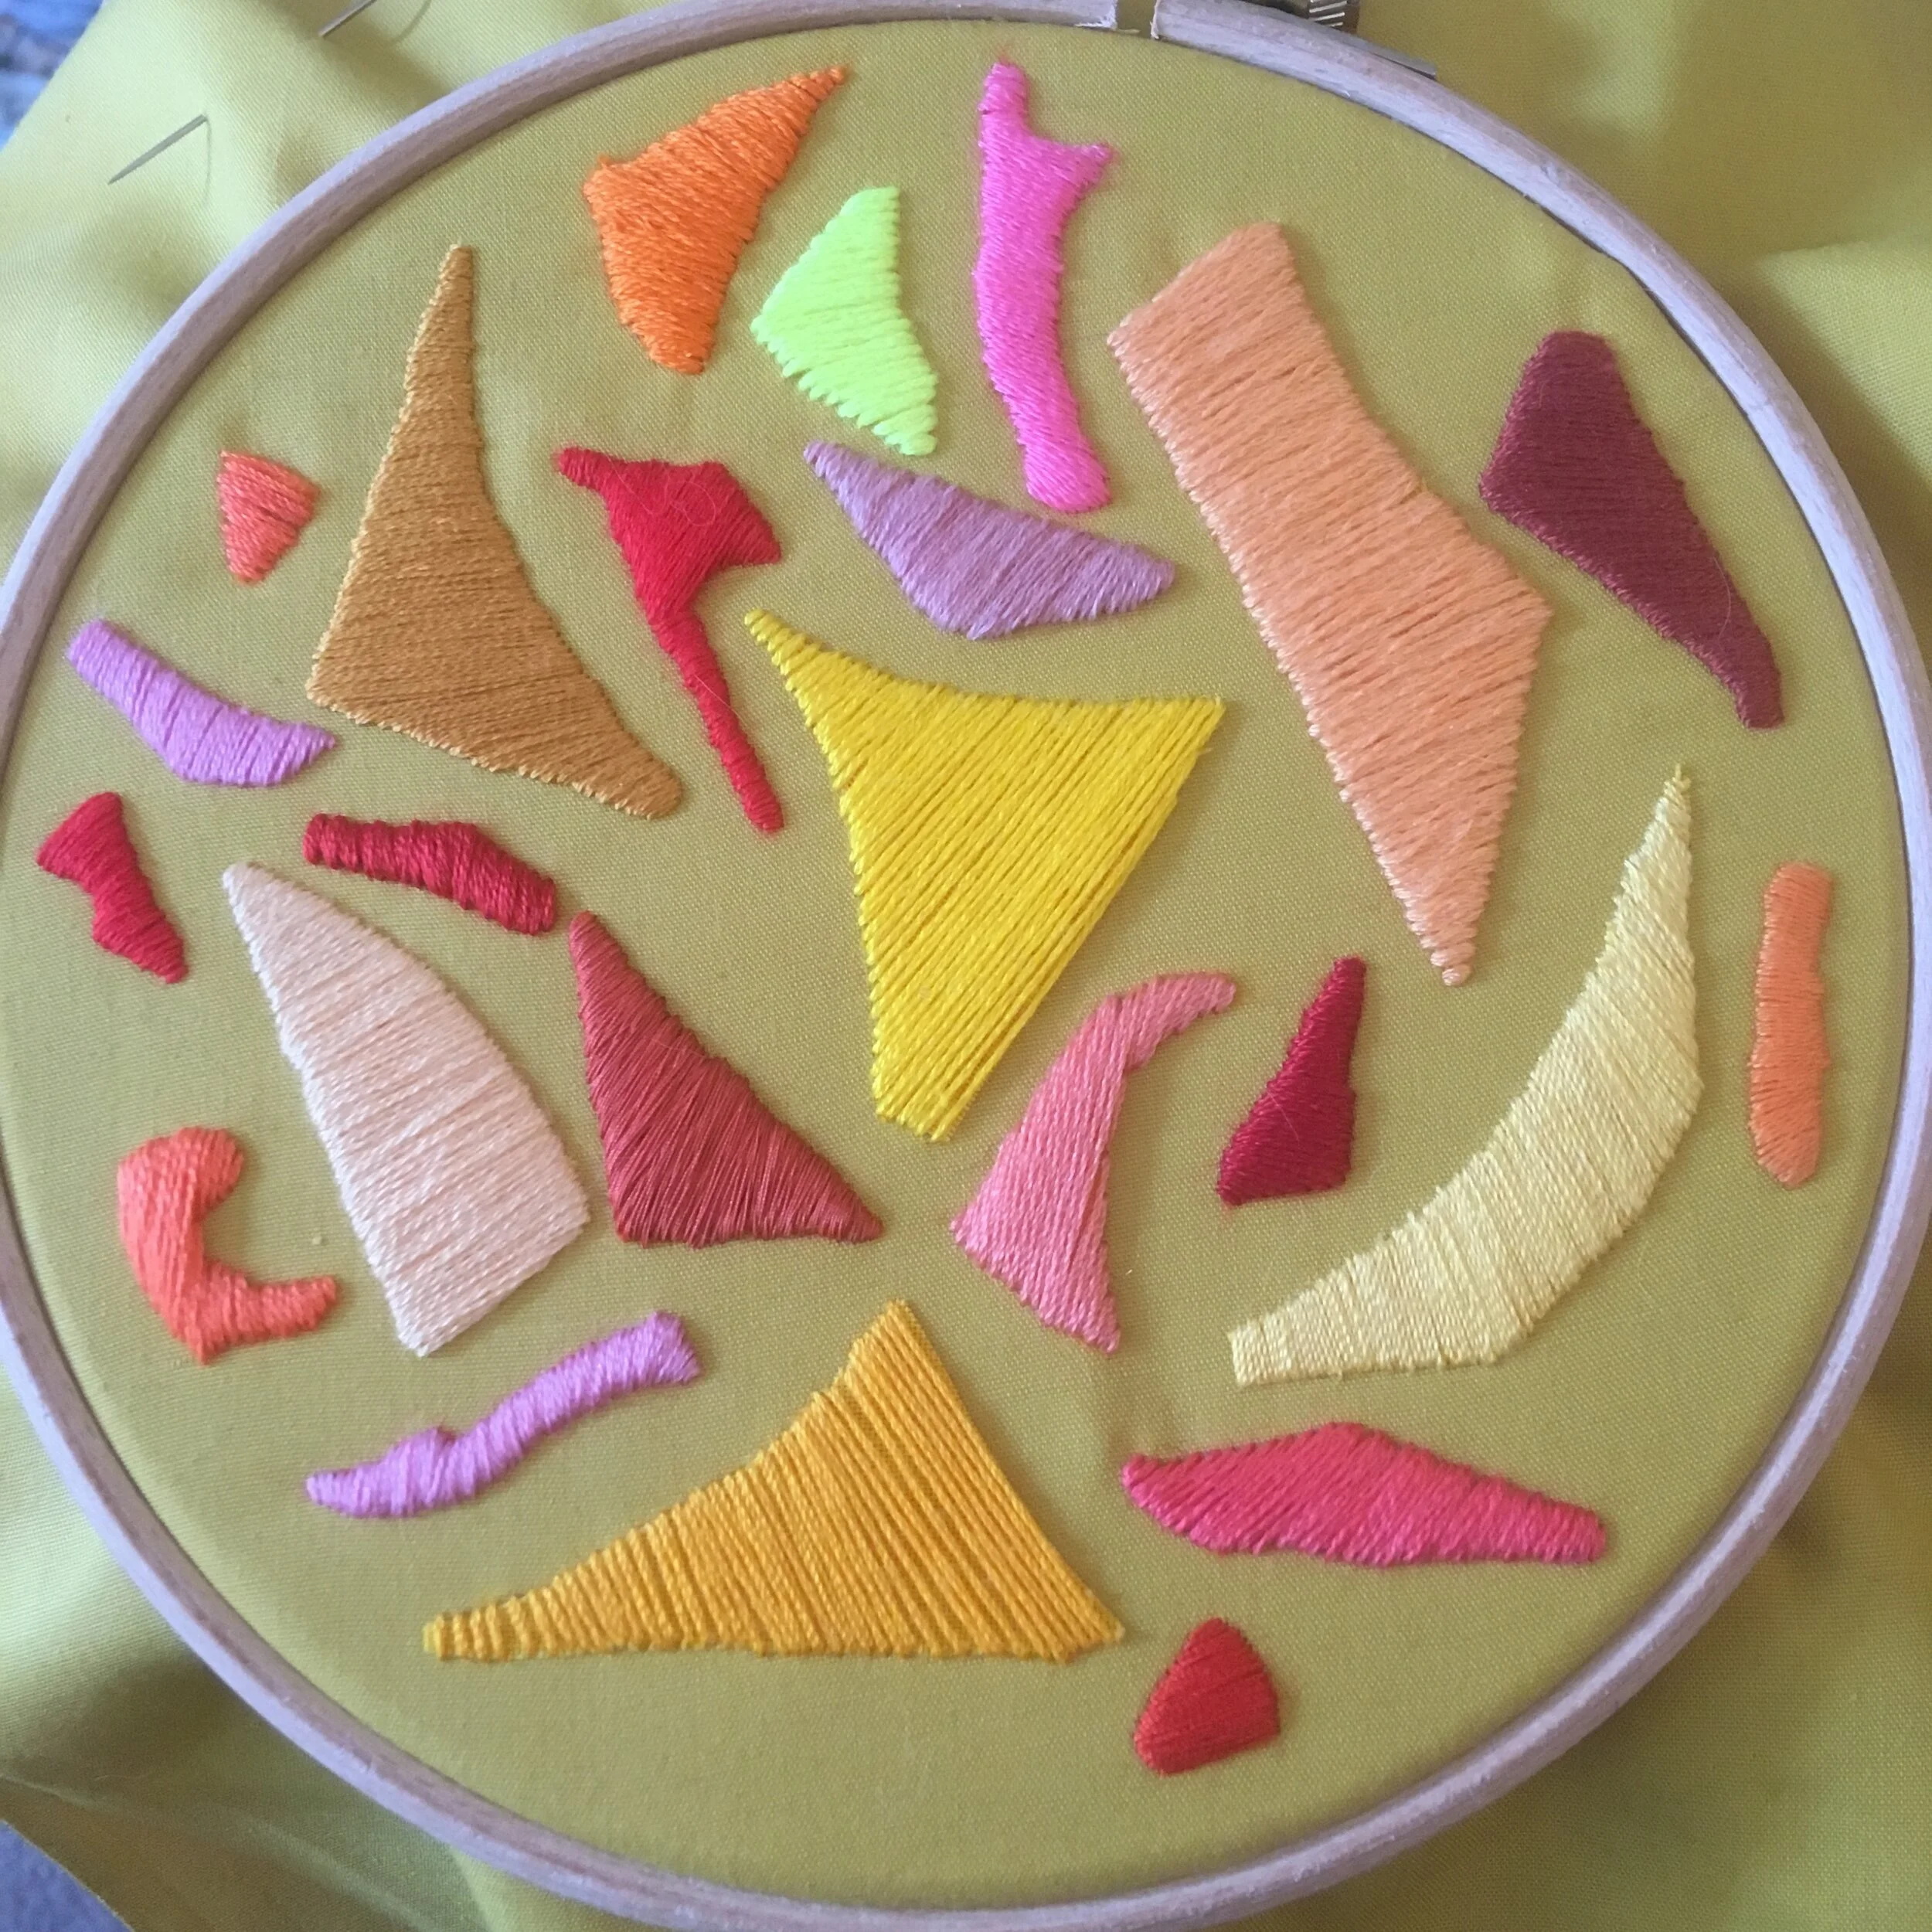
Satin stitch can be made using a range of numbers of threads, this is a sampler I made exploring this, the yellow shape at the bottom is stitched with all 6 strands at once while the pale yellow on the right hand side is stitched with just one strand.
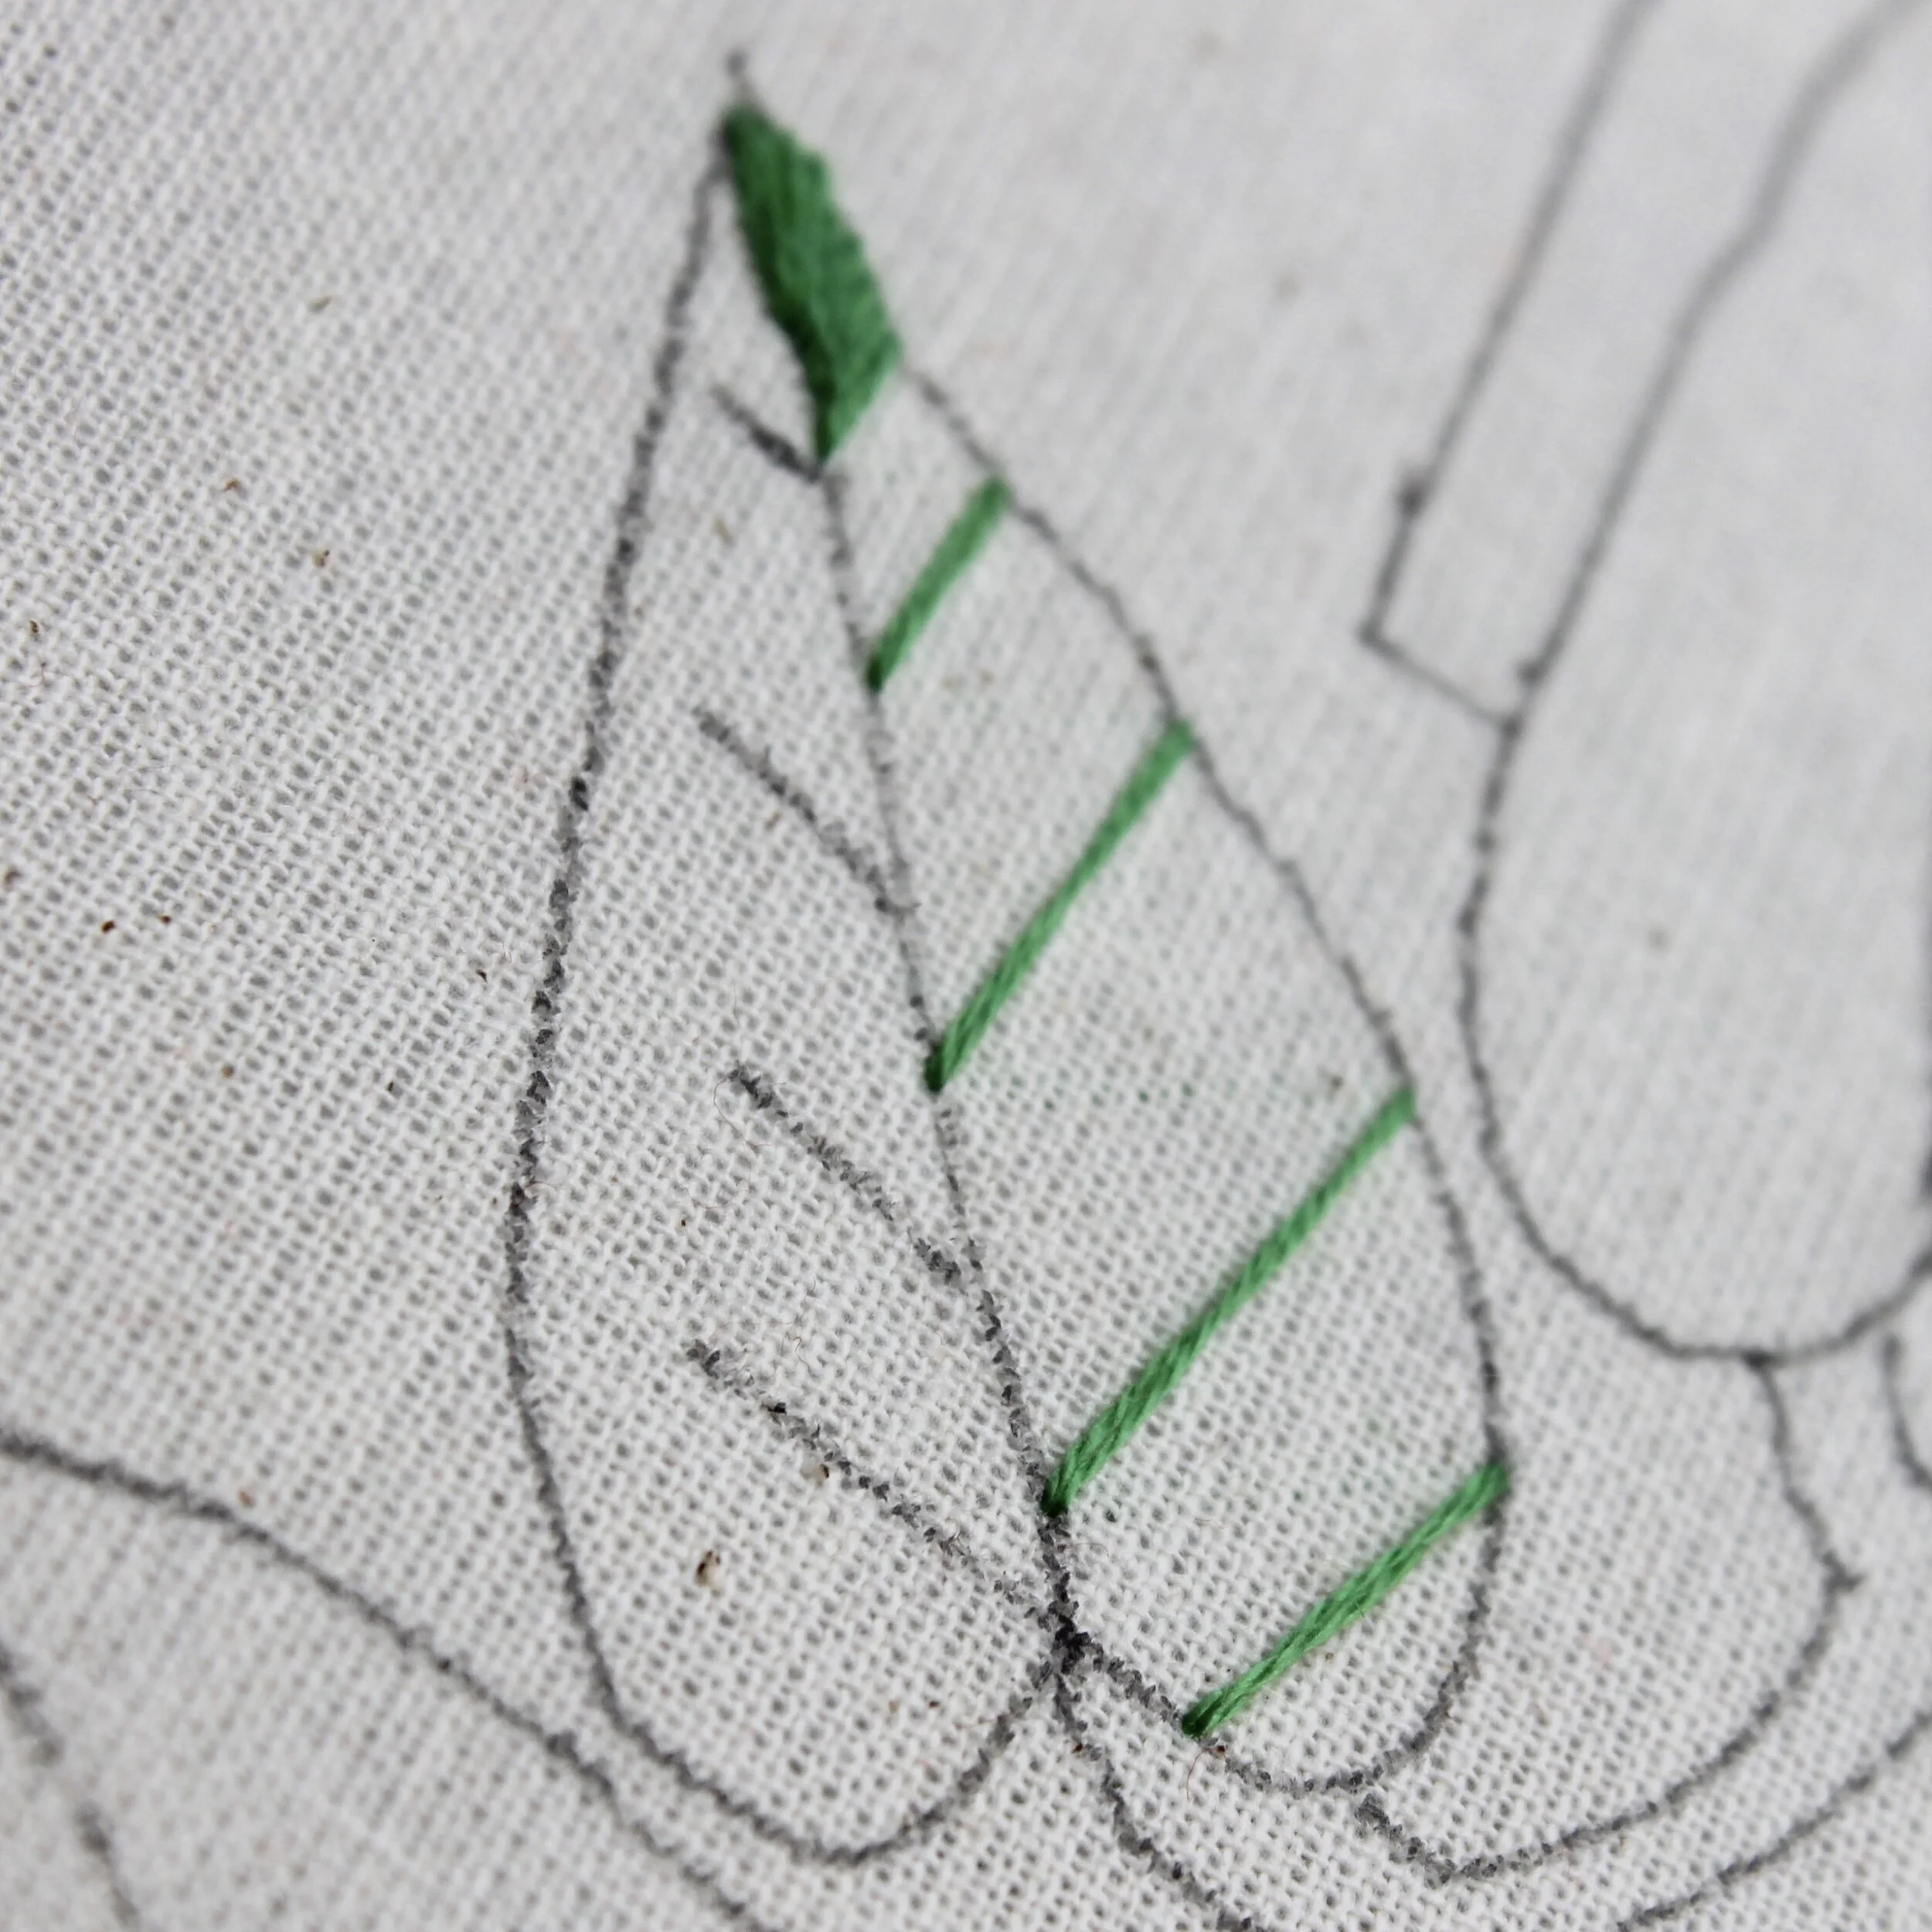
One of the most difficult things with covering a large area with satin stitch is to keep the stitches all at the same angle. You can draw guidelines to follow, but I like to create guidelines with stitches, these smaller areas can then be filled in bit by bit and it’s easier to maintain the direction of the stitches.
Want to try this stitch? It’s one I recommend using in my snowdrop kit and my floral sampler kit.
Enjoyed this blog post? I share embroidery tips and a free embroidery pattern in my monthly newsletter. Sign up here to receive the newsletter on the 1st of each the month.