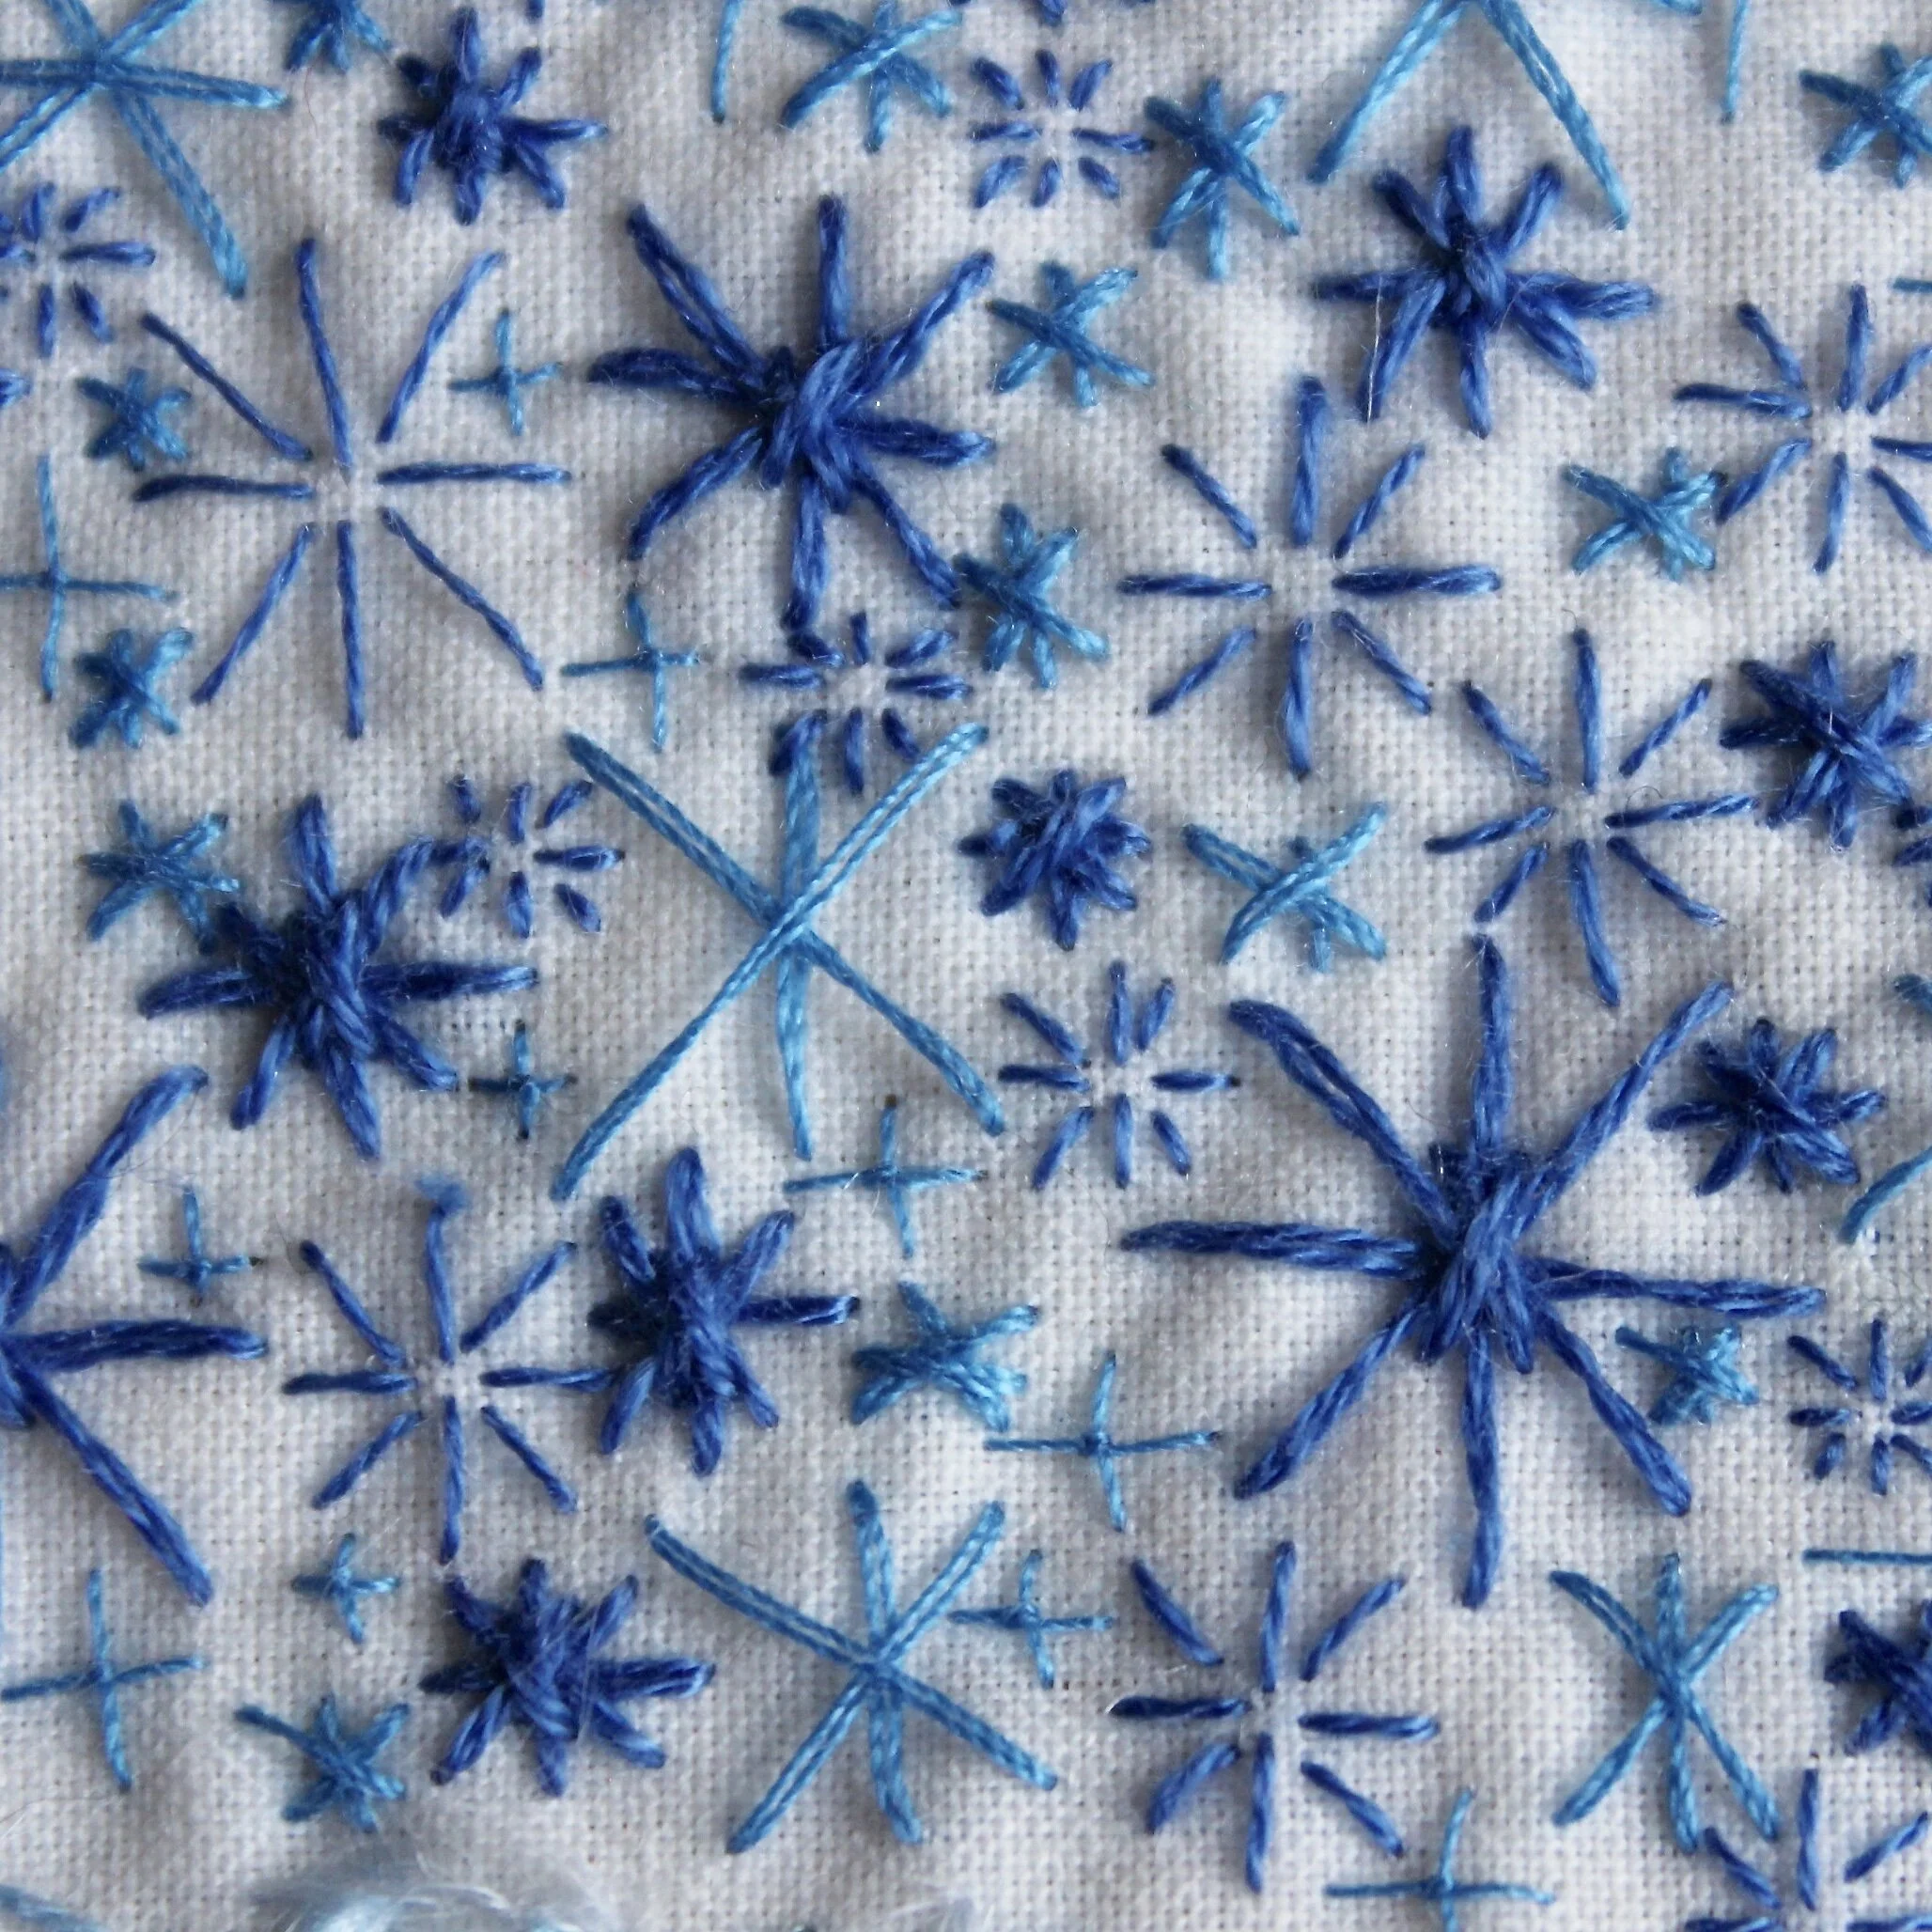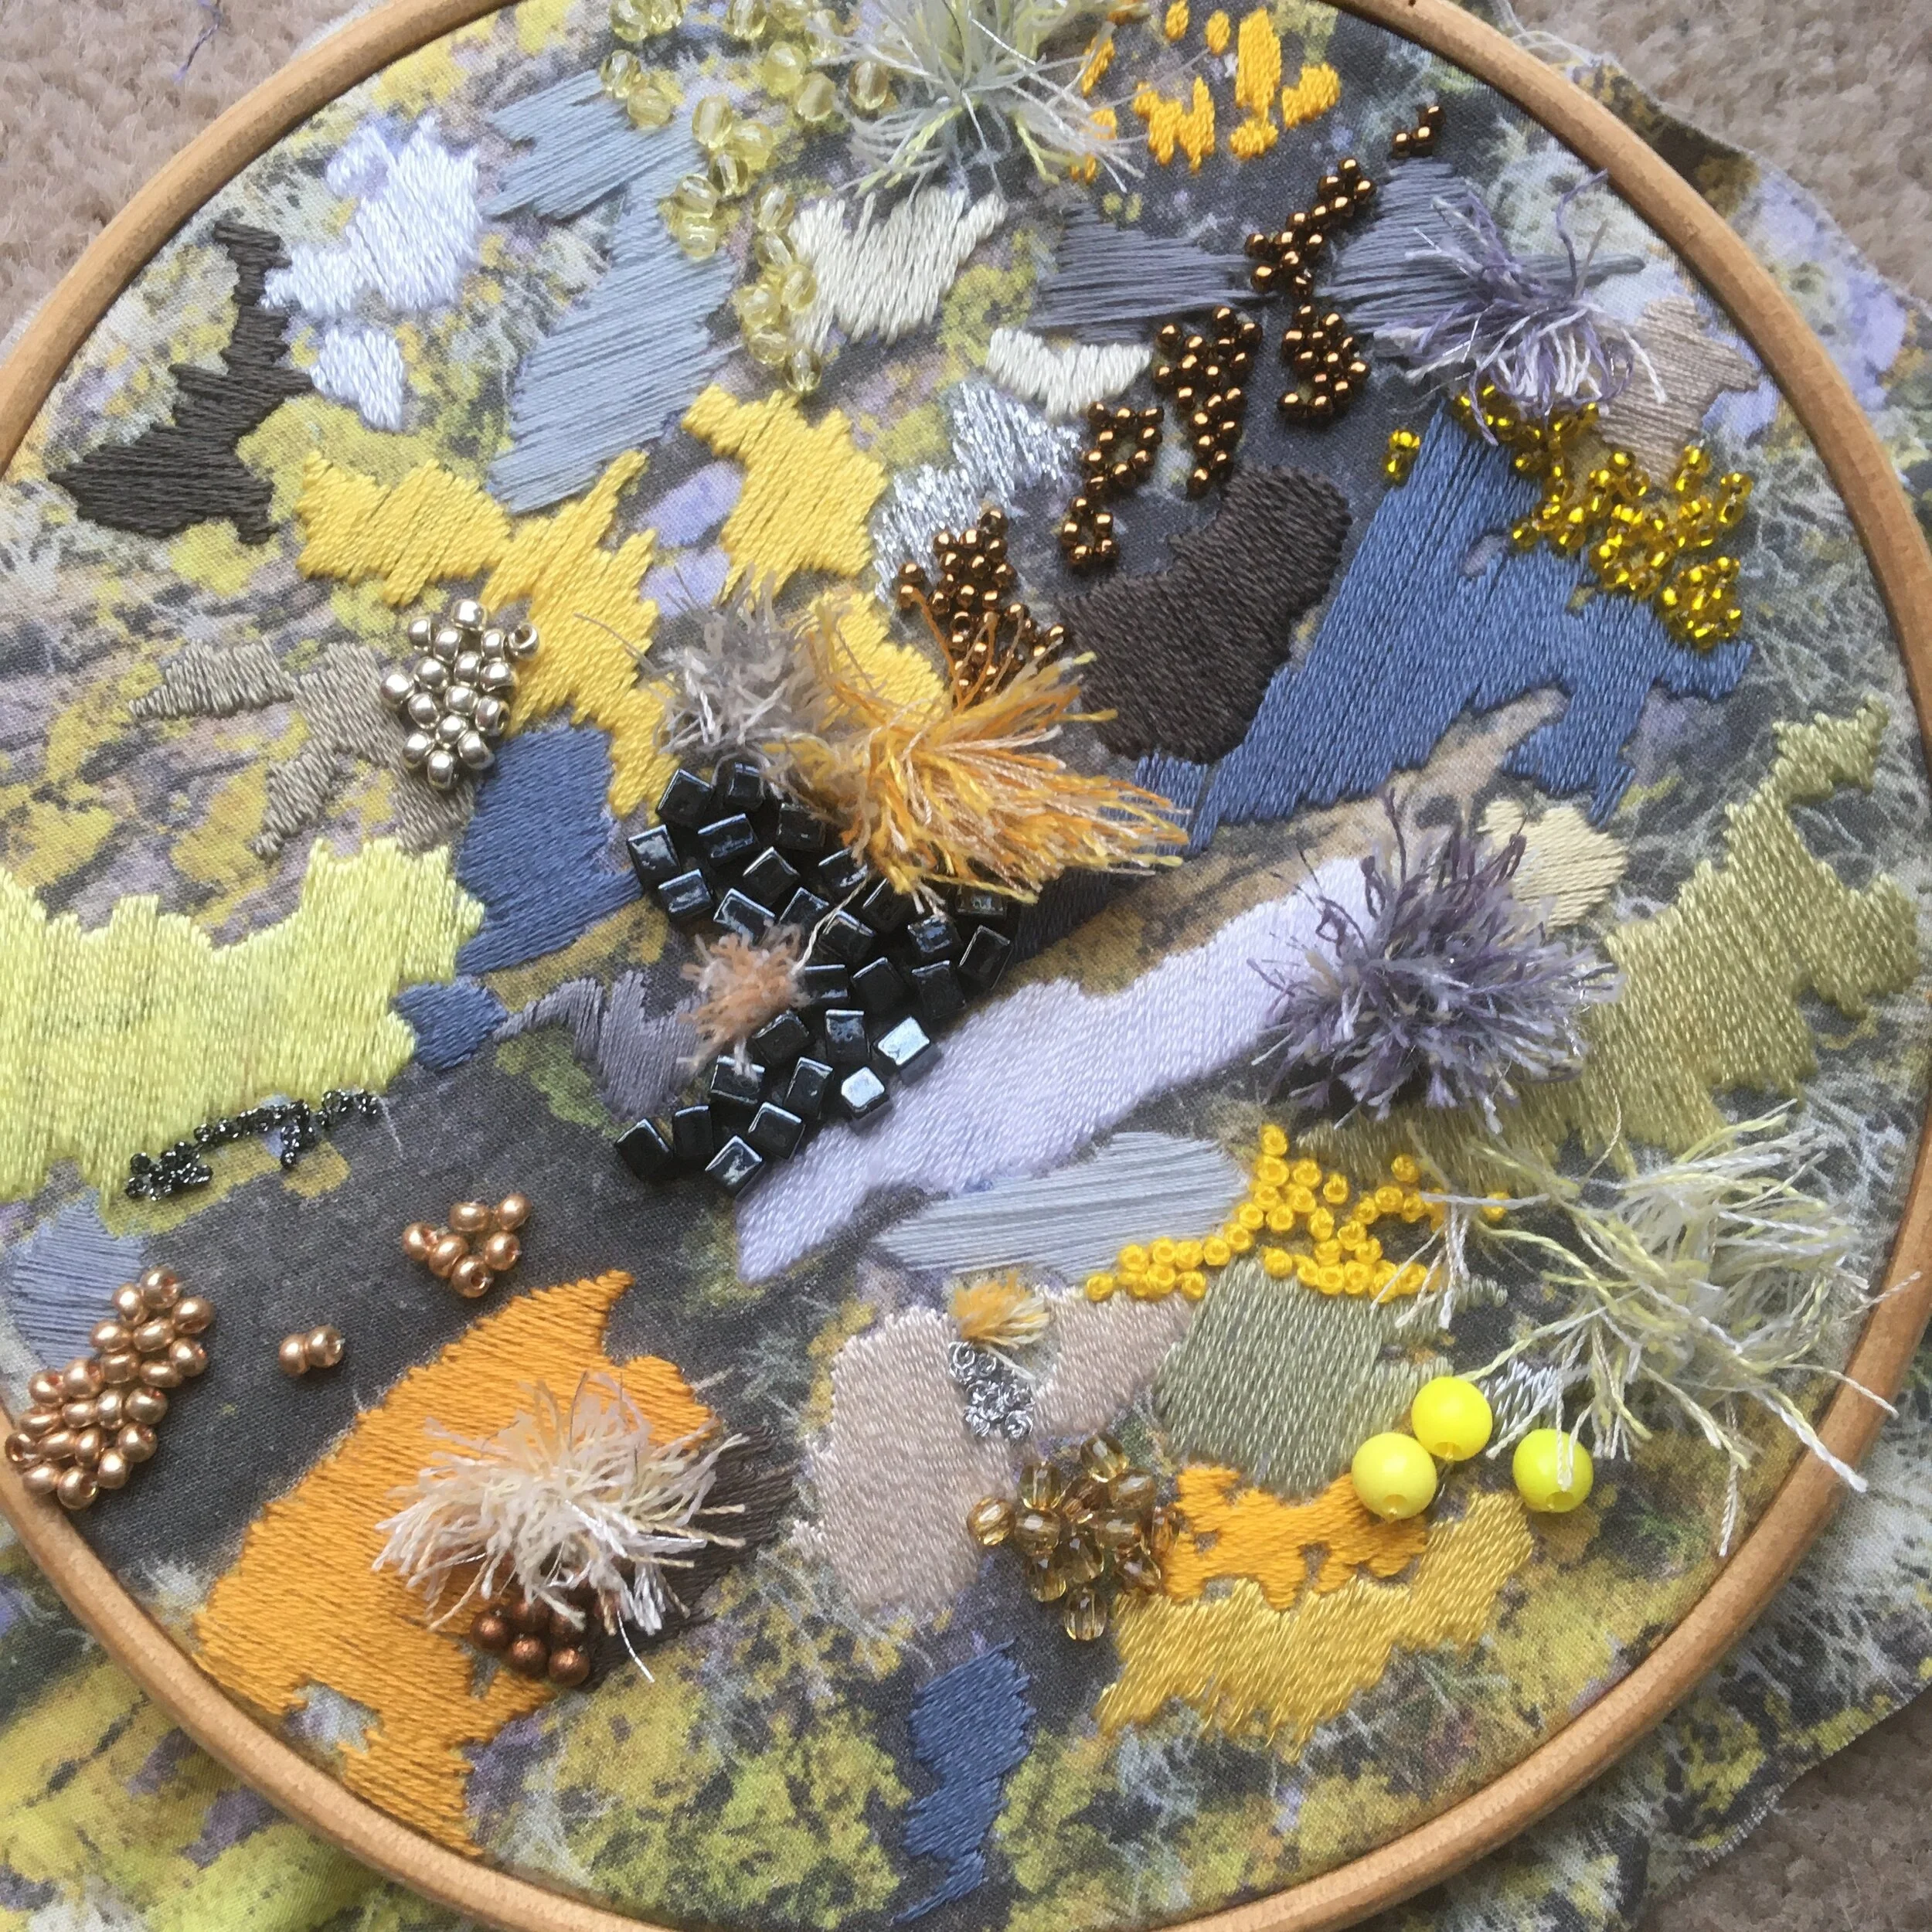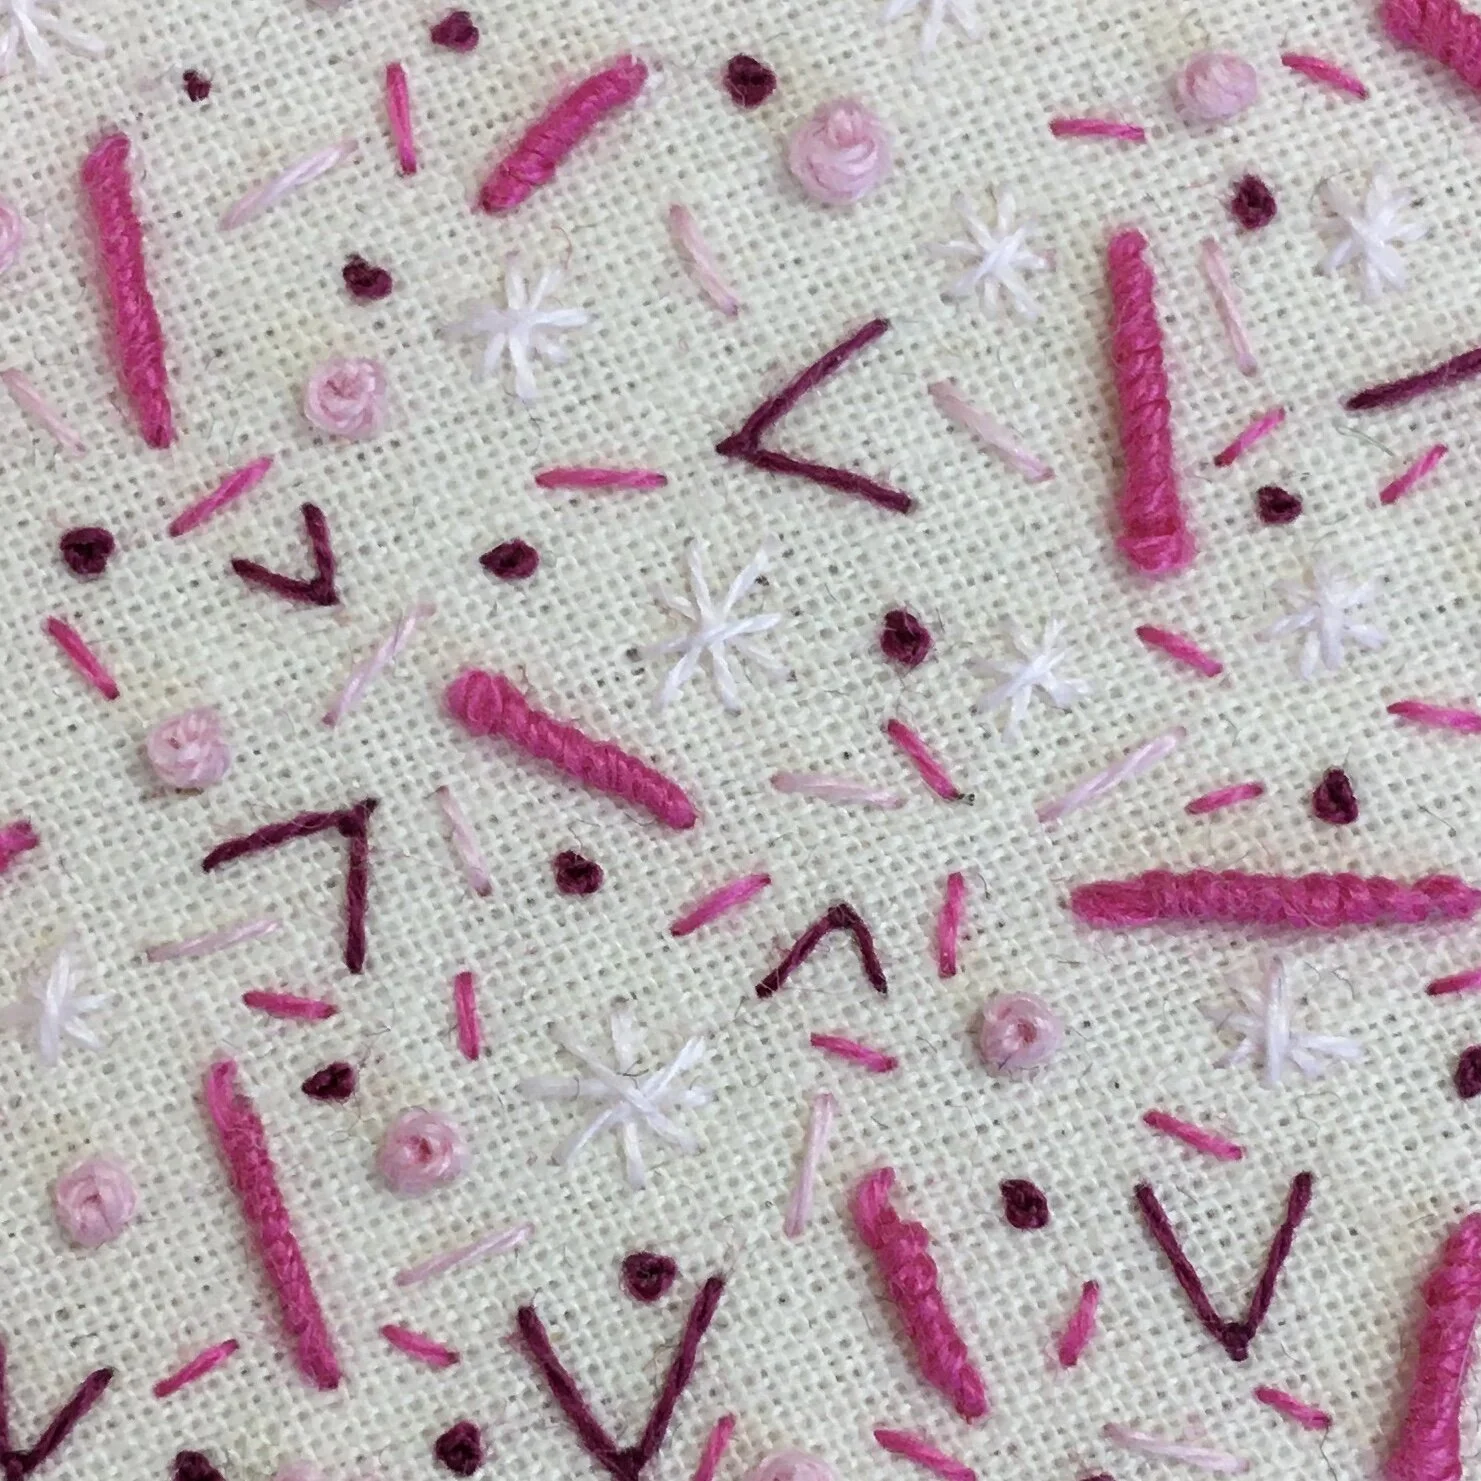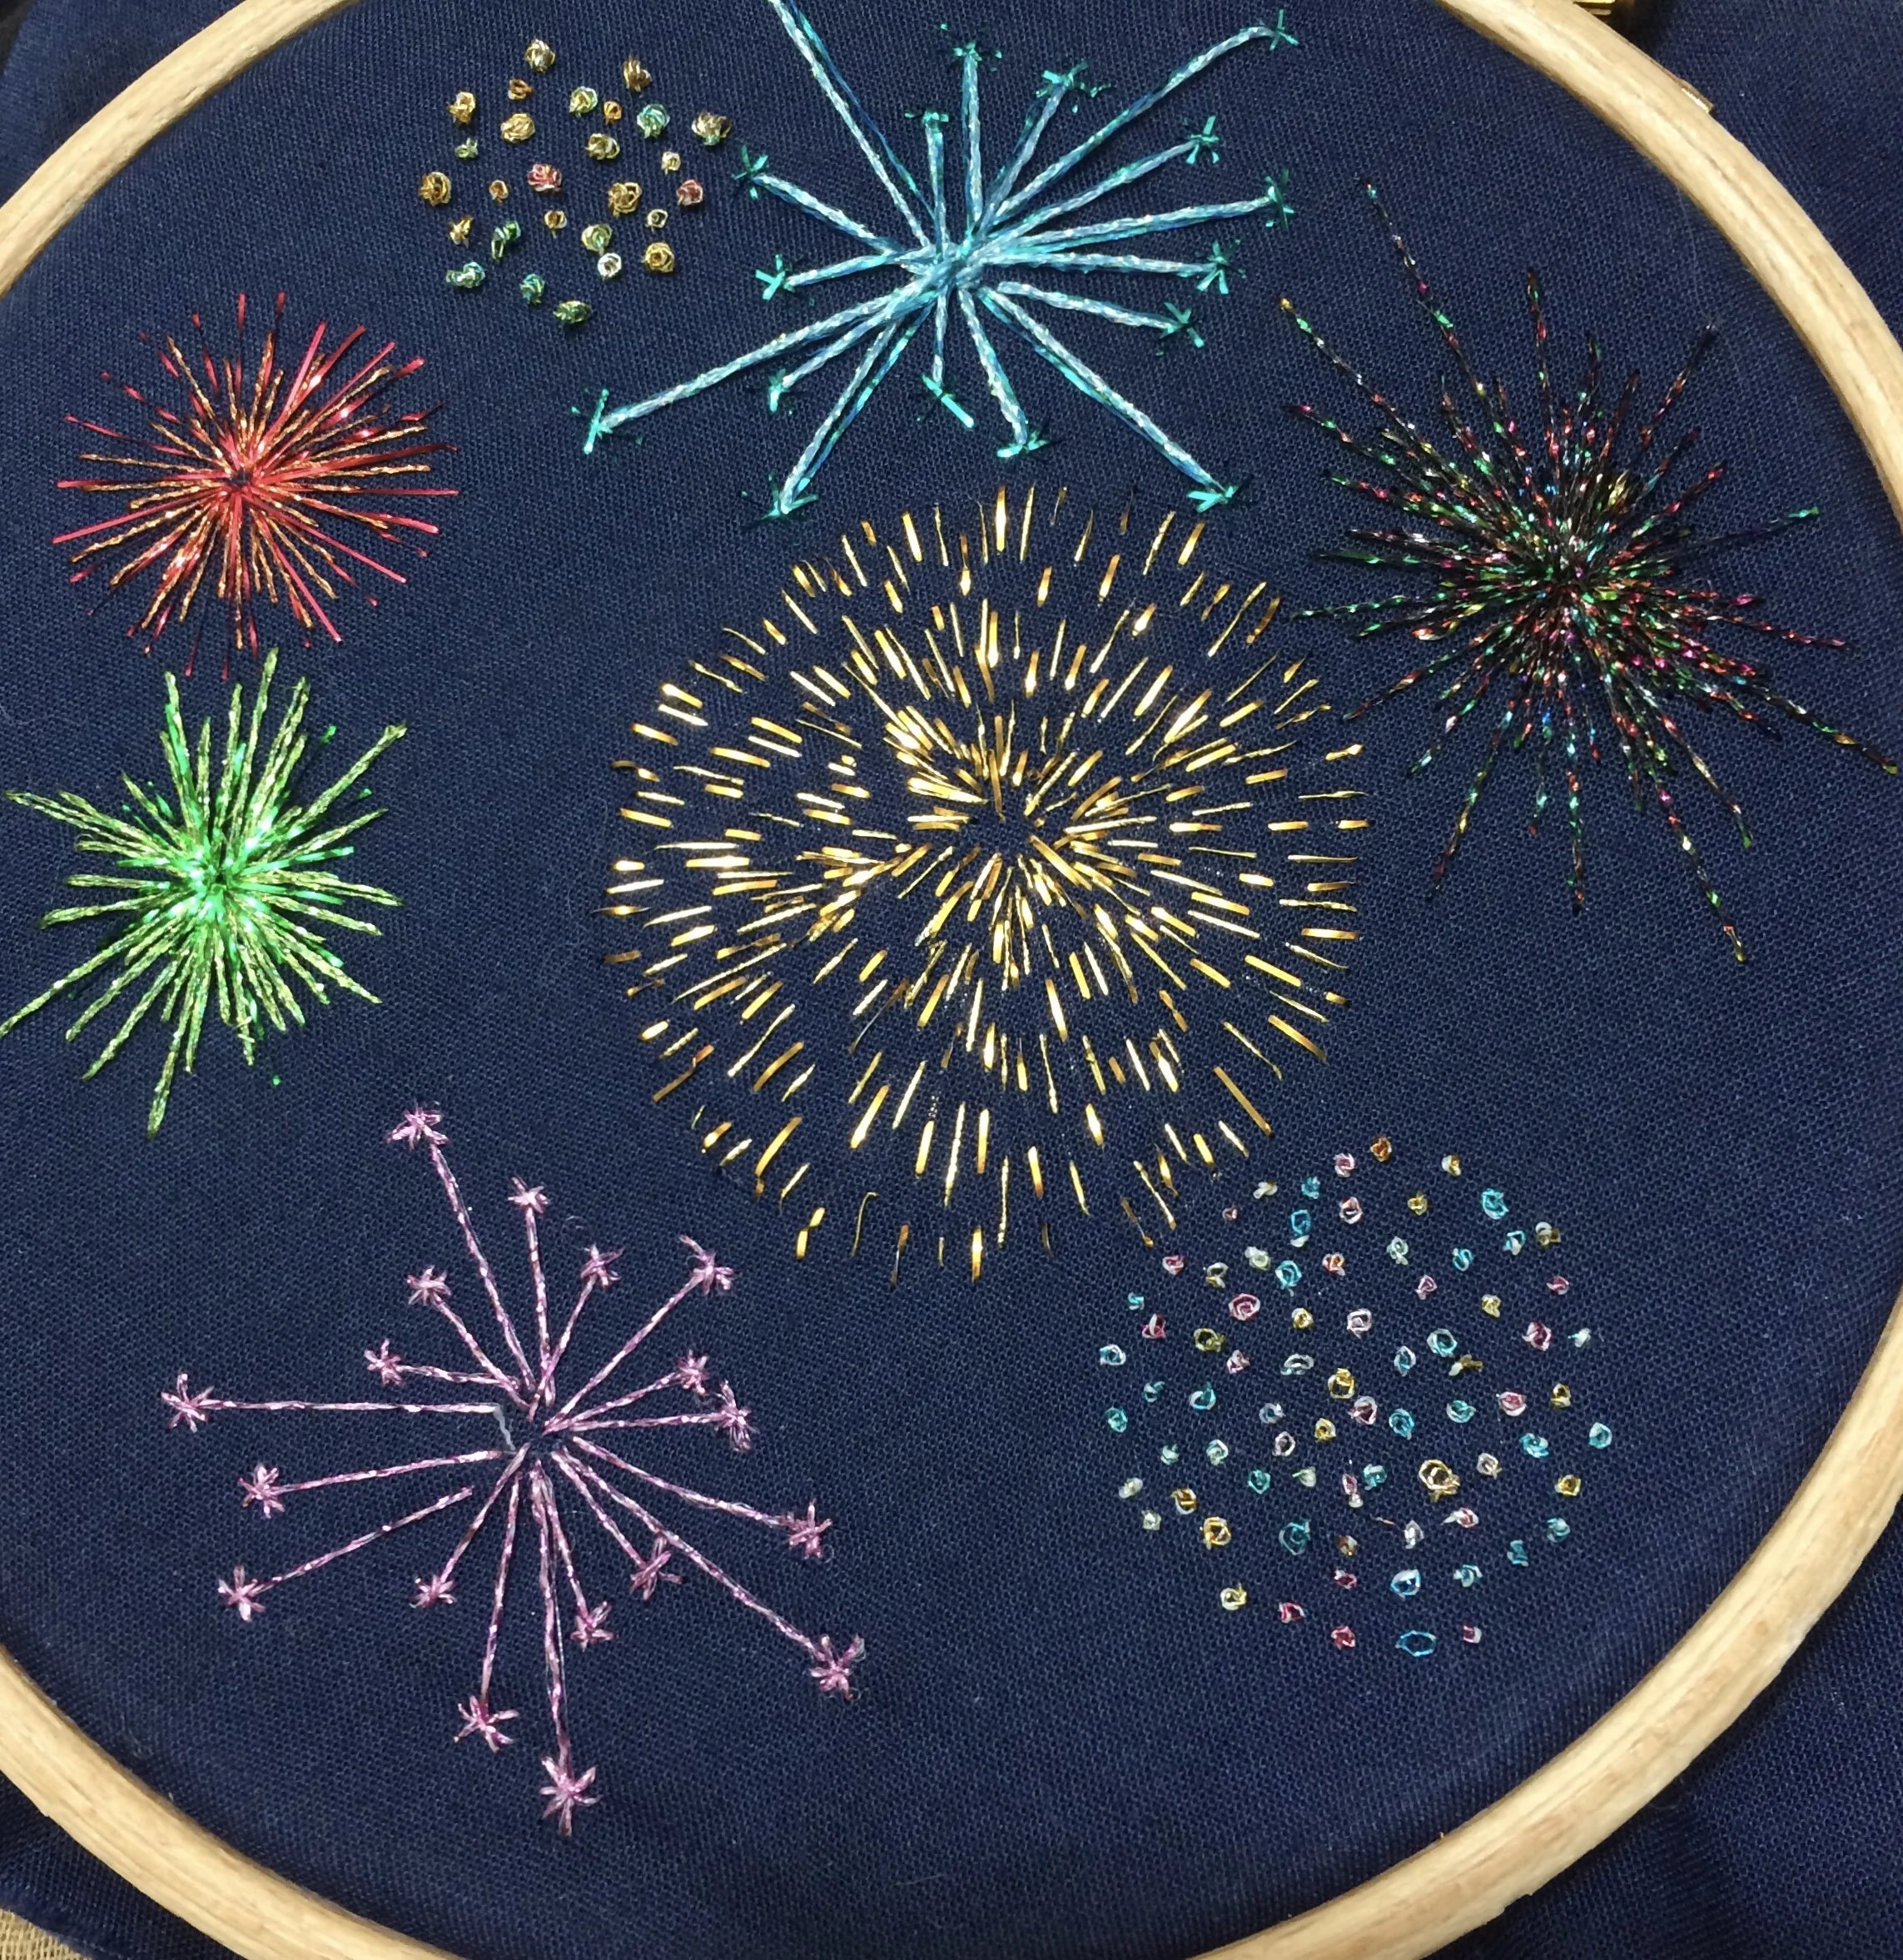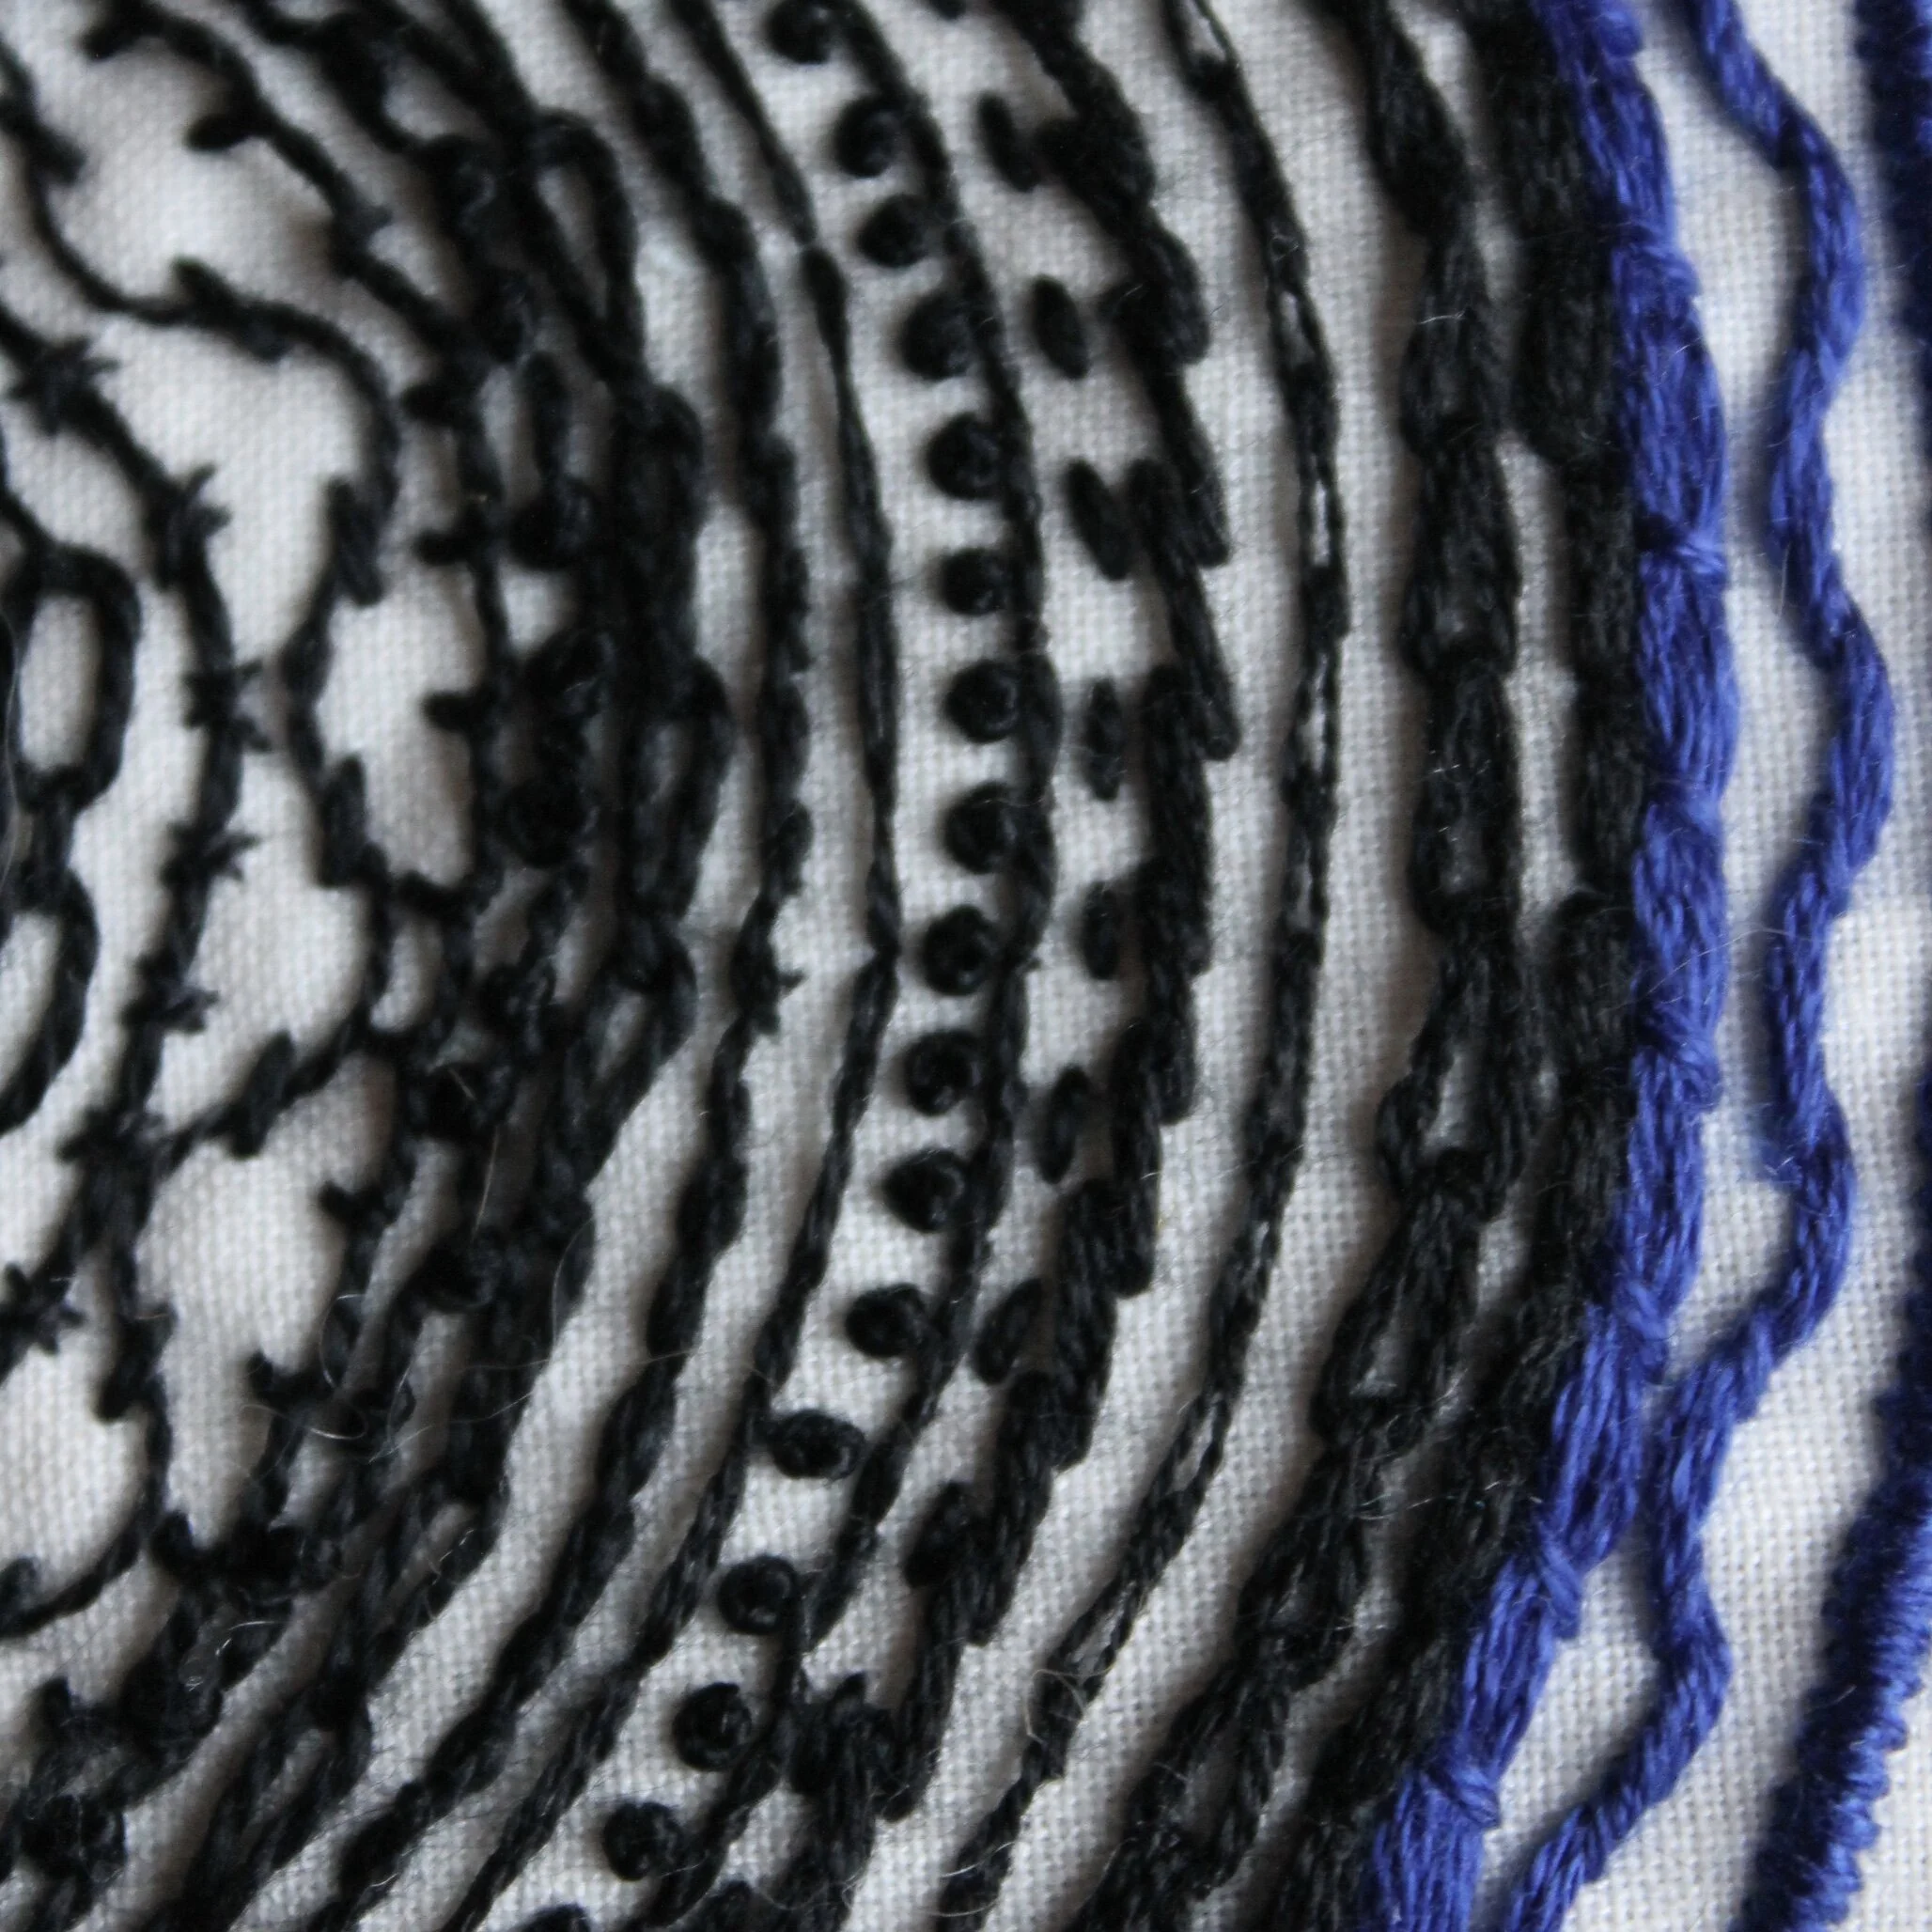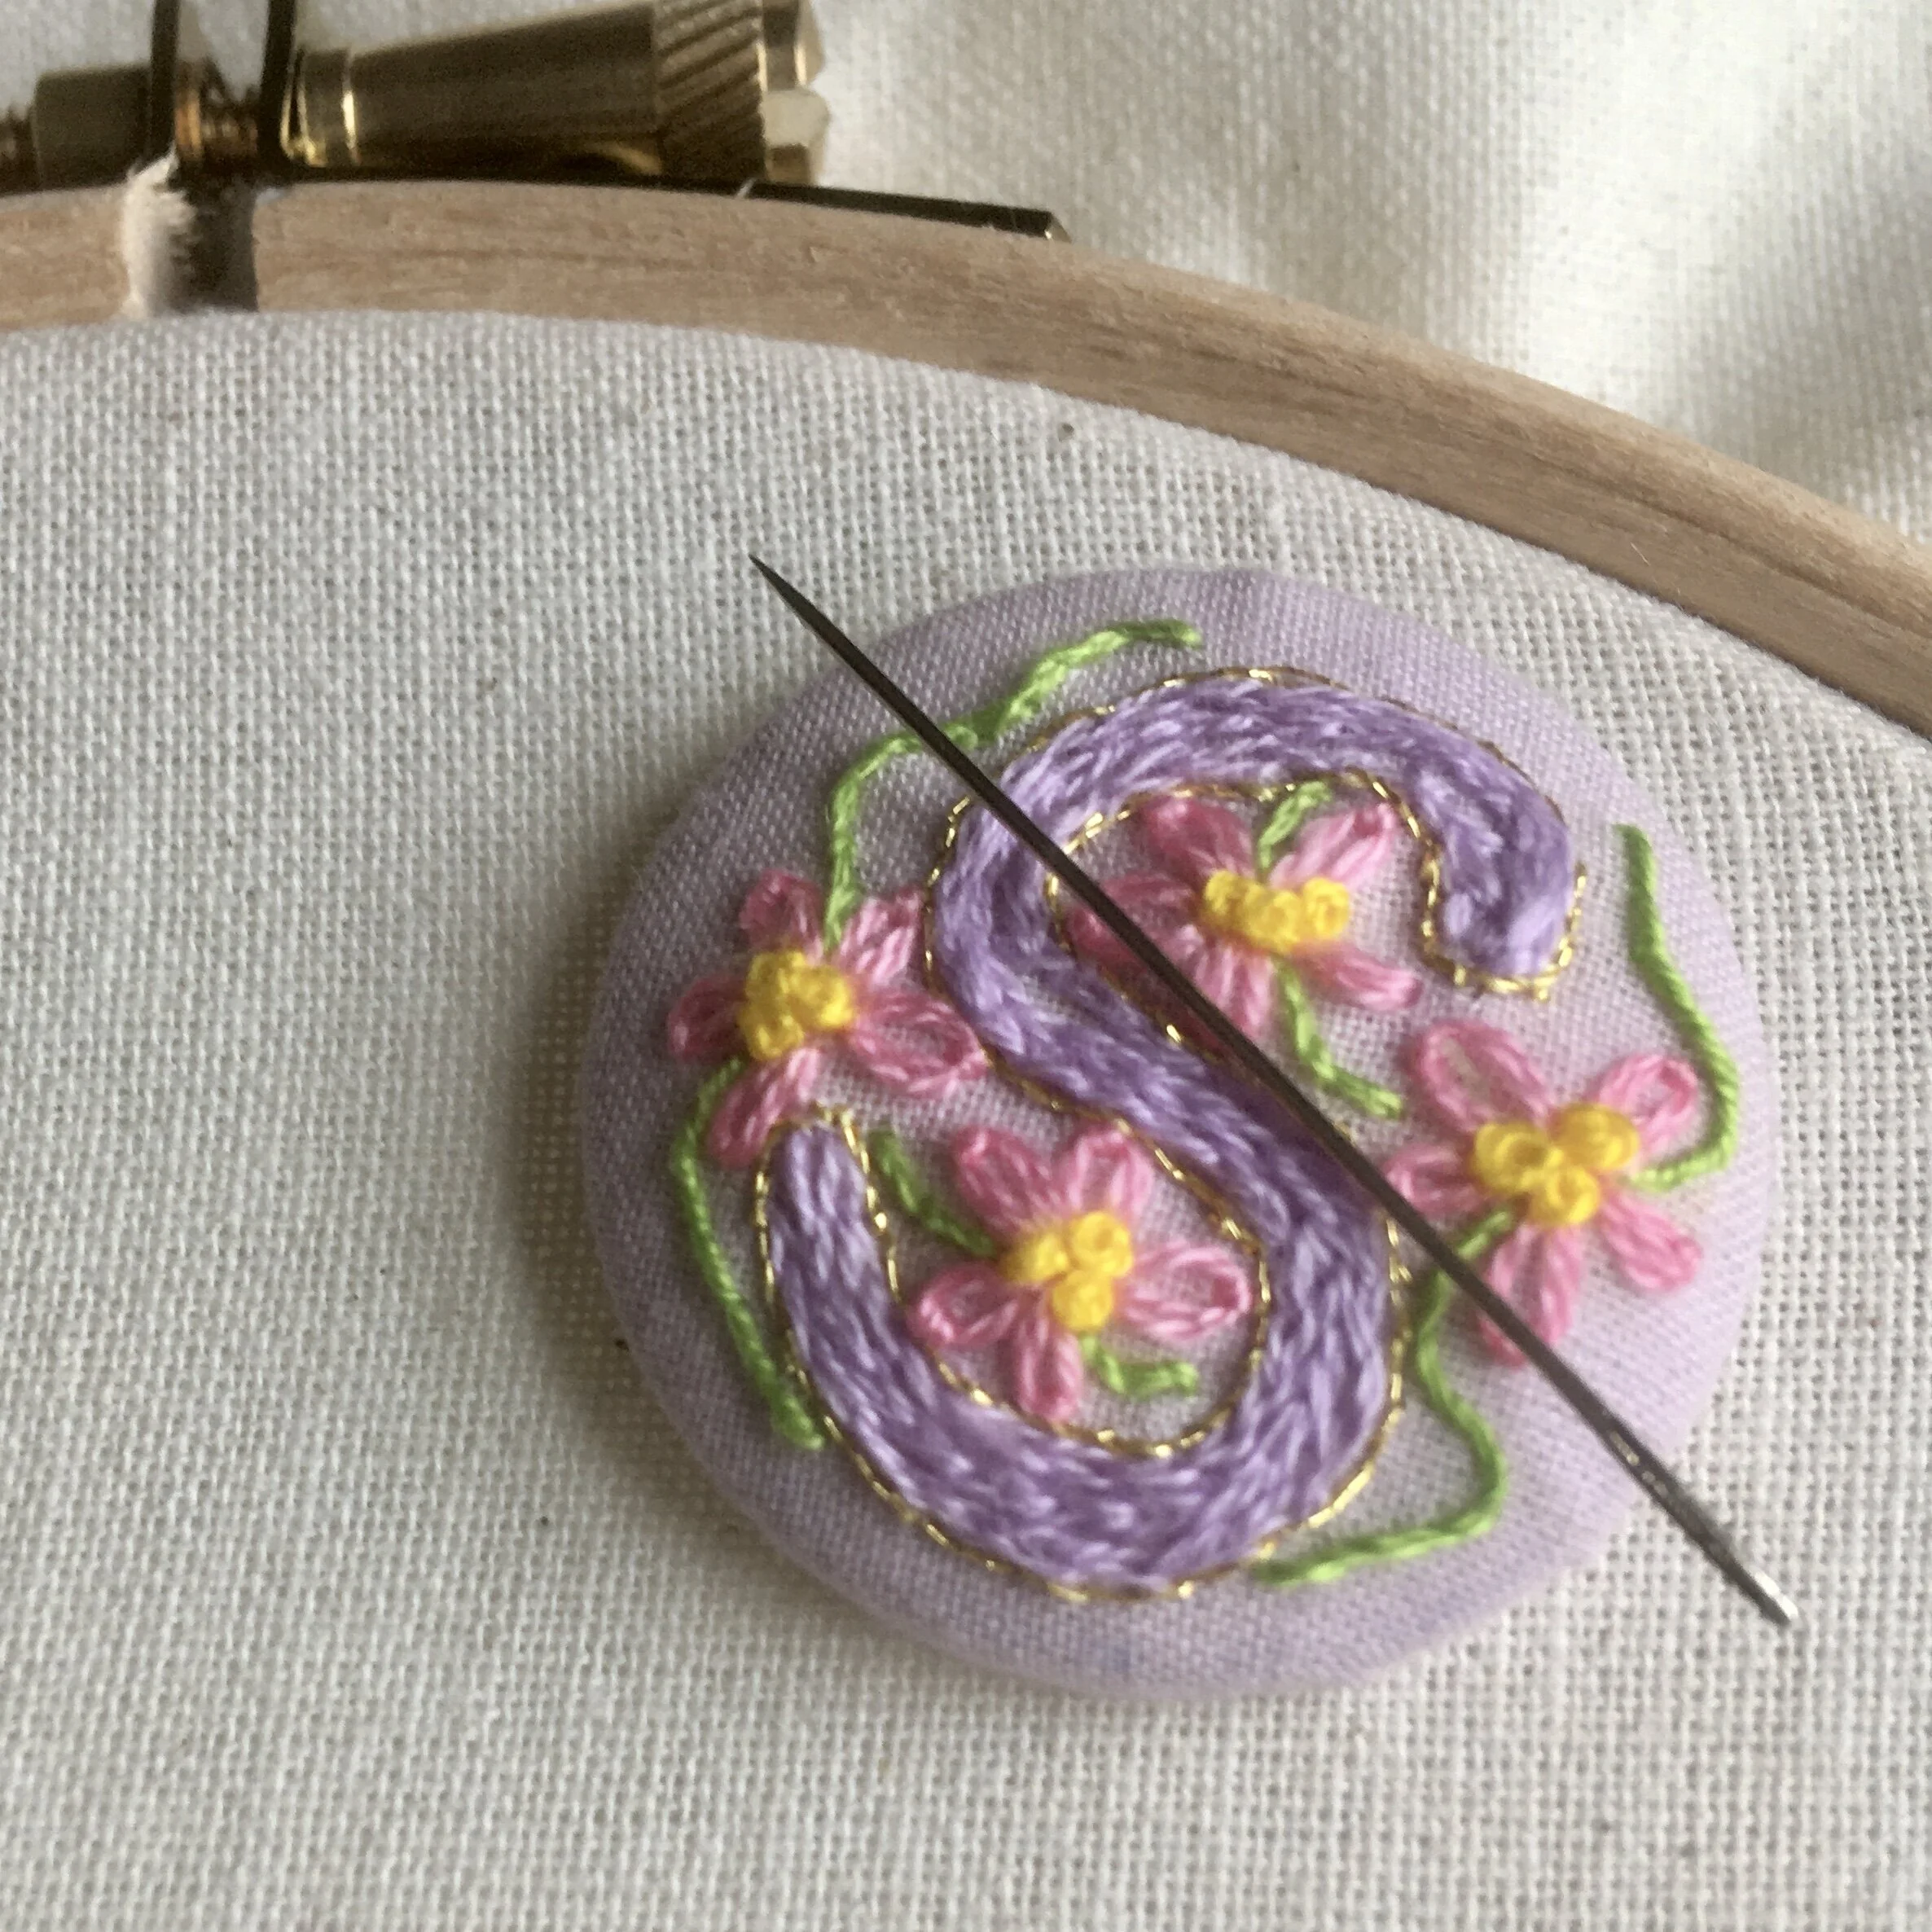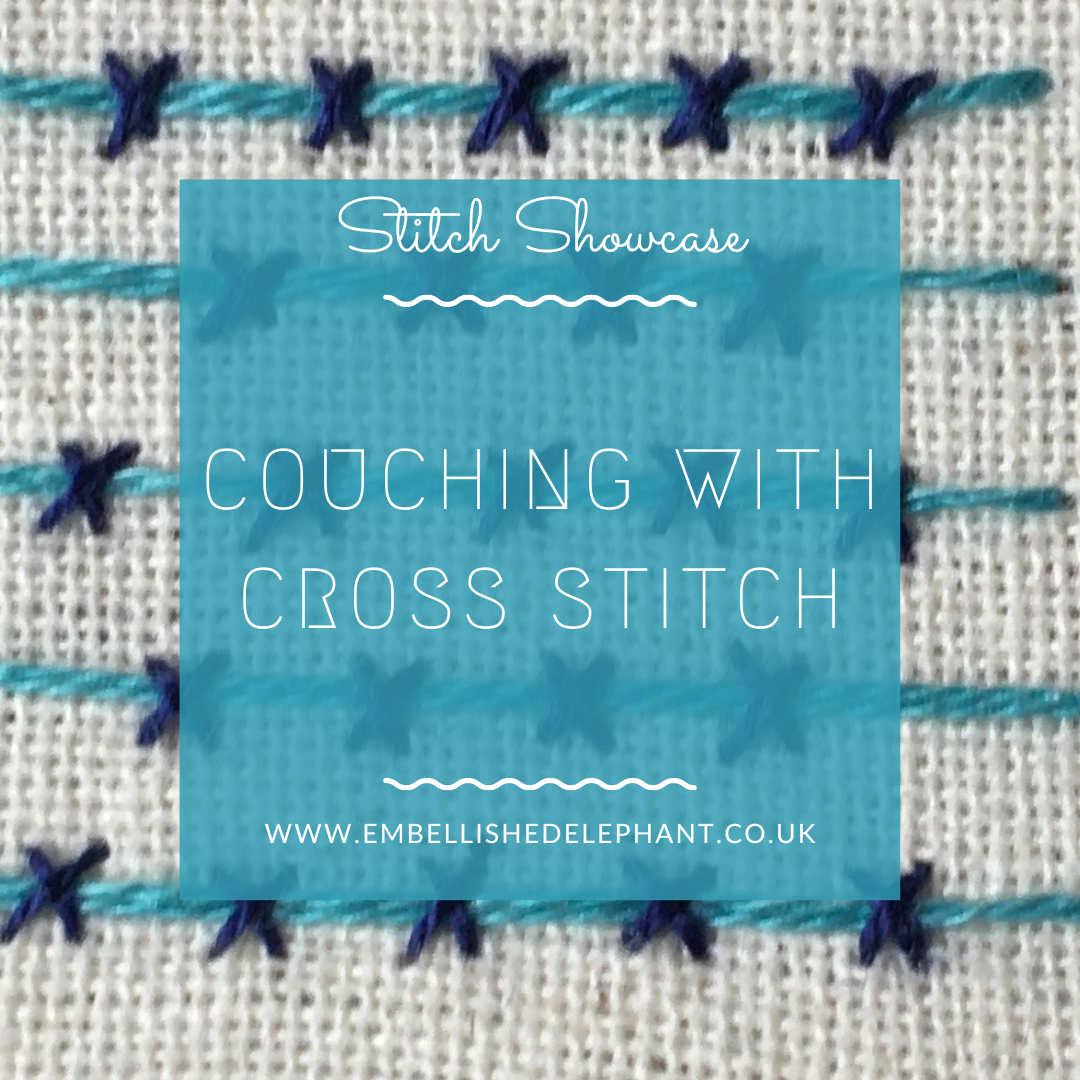
Couching with cross stitch is a variation on both couching stitch and Jacobean couching. I like to use it in more modern style embroidery pieces I create contrasting thinner and thicker yarns I am stitching with.
Two different needles might be needed if working with two very different threads
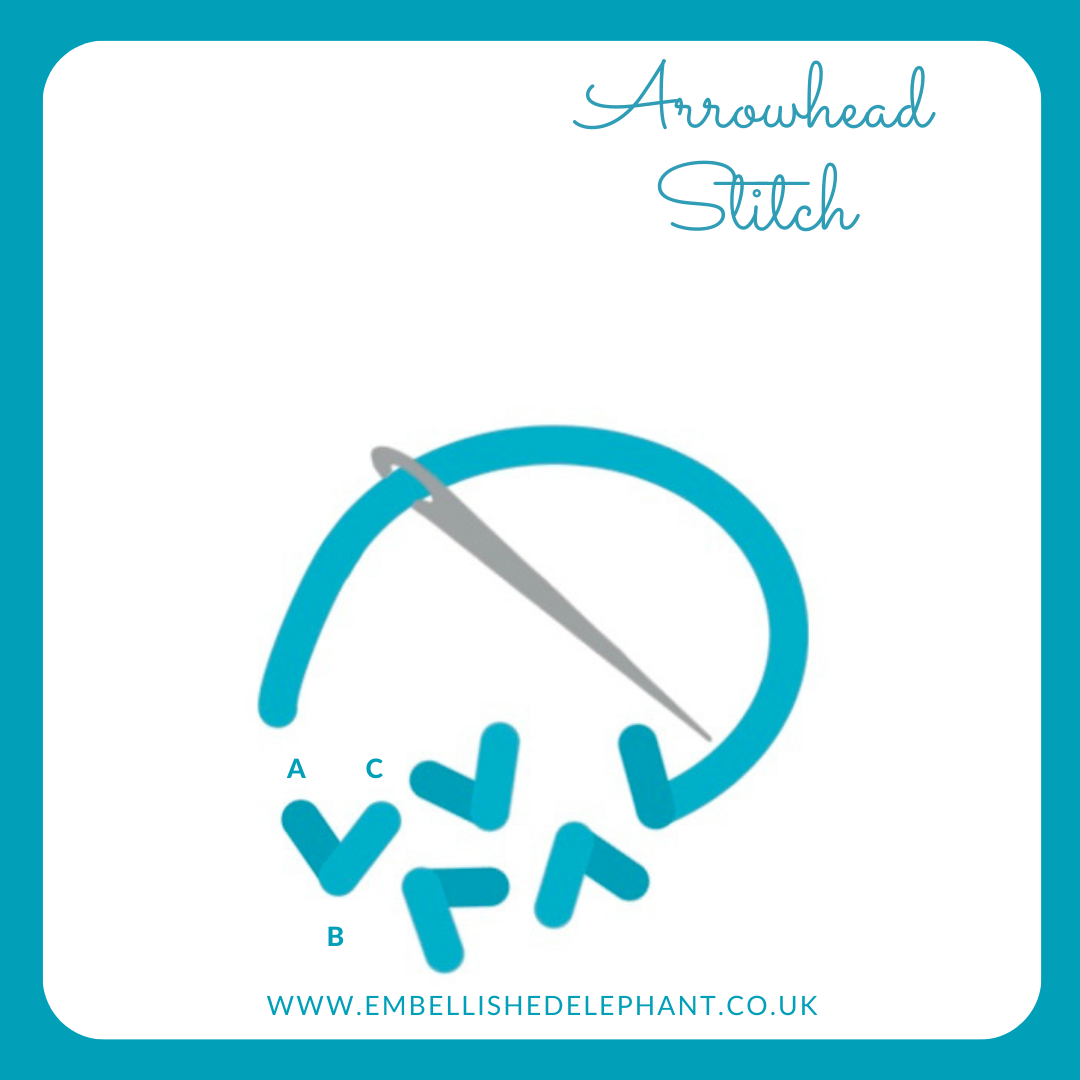
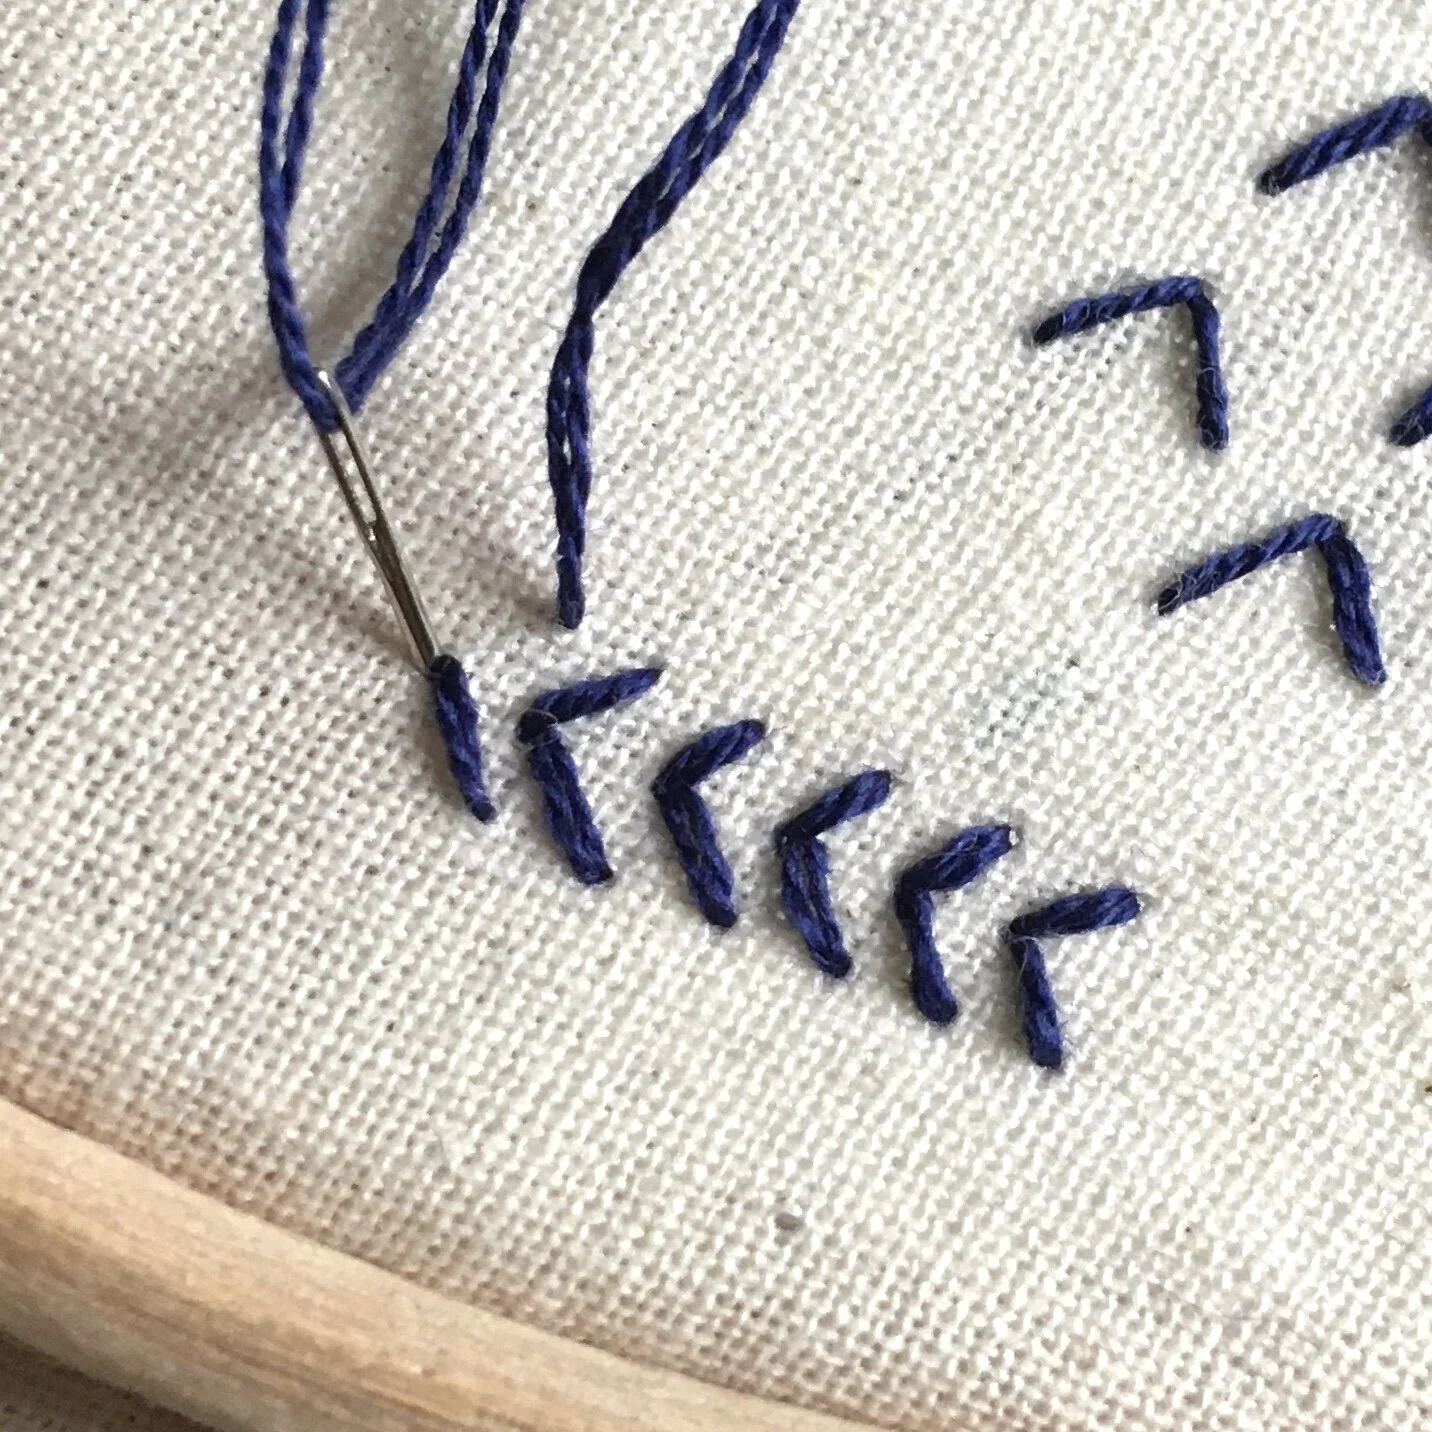
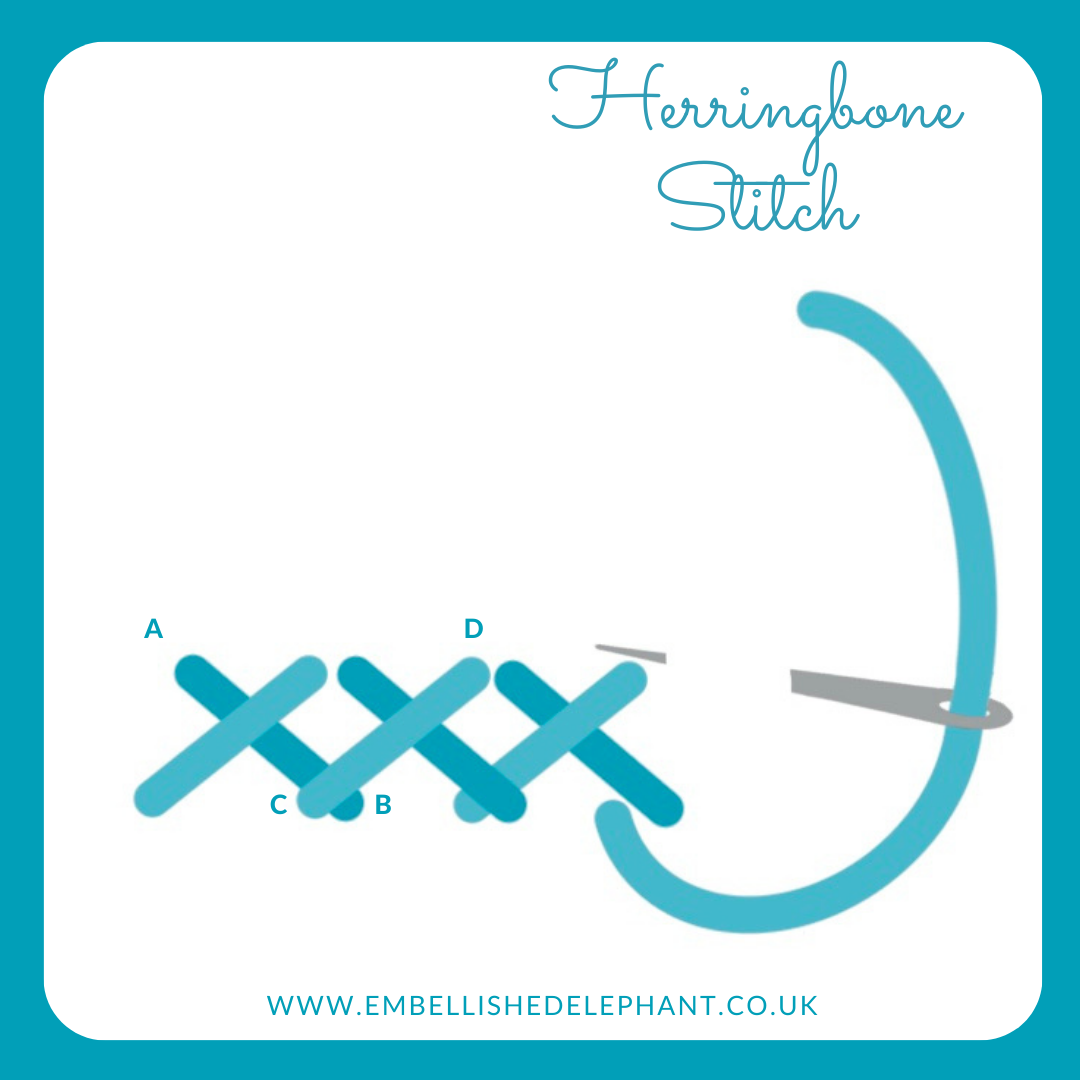
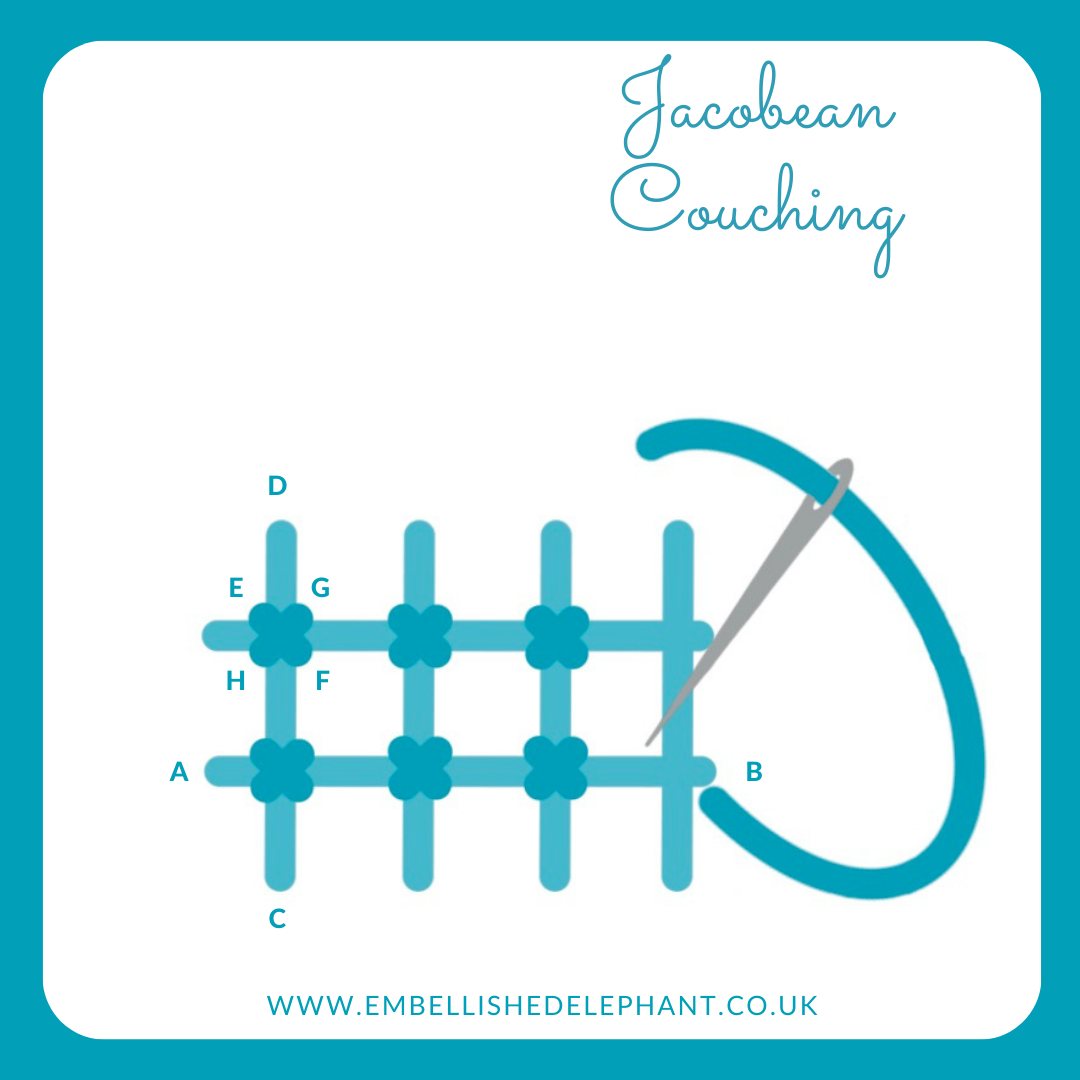
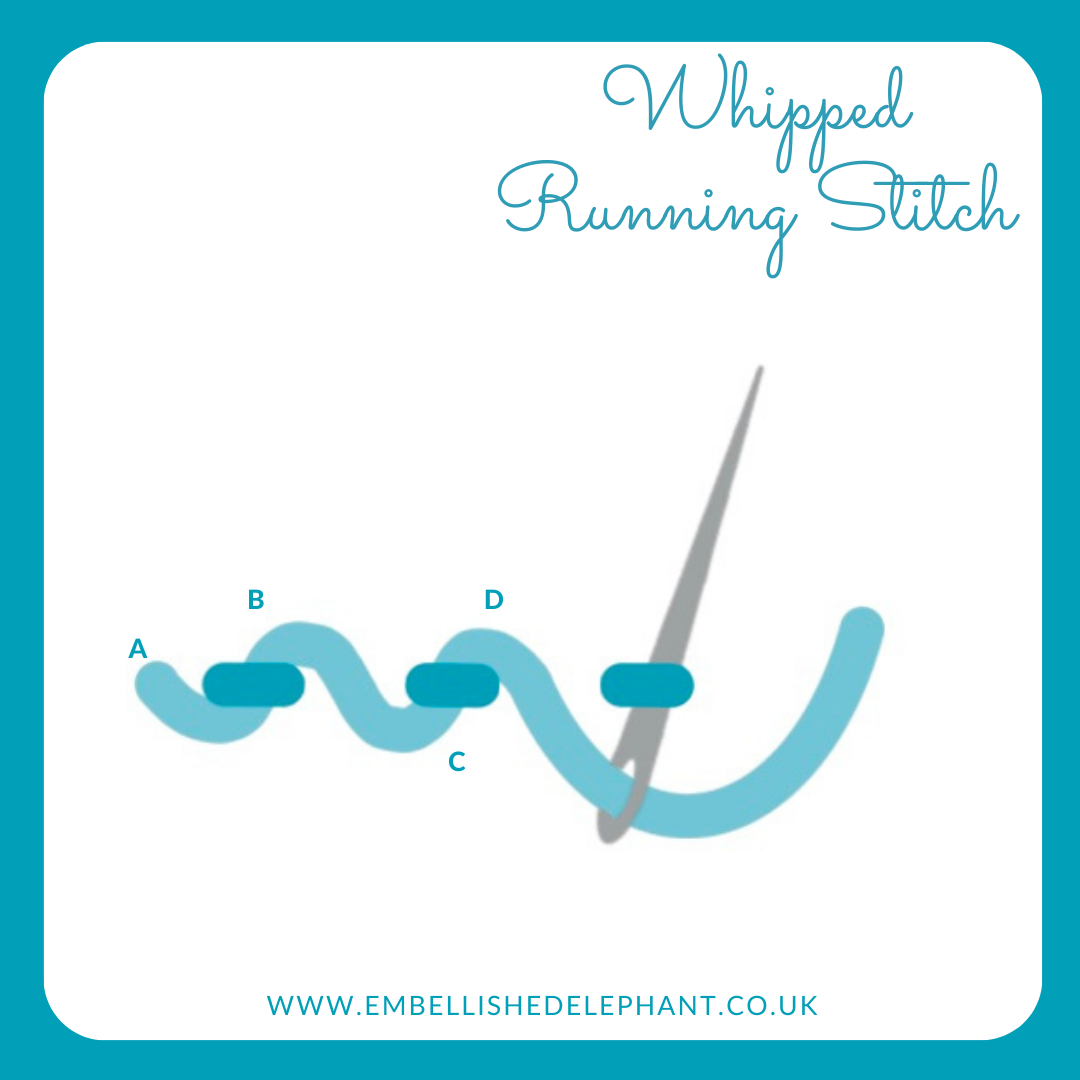
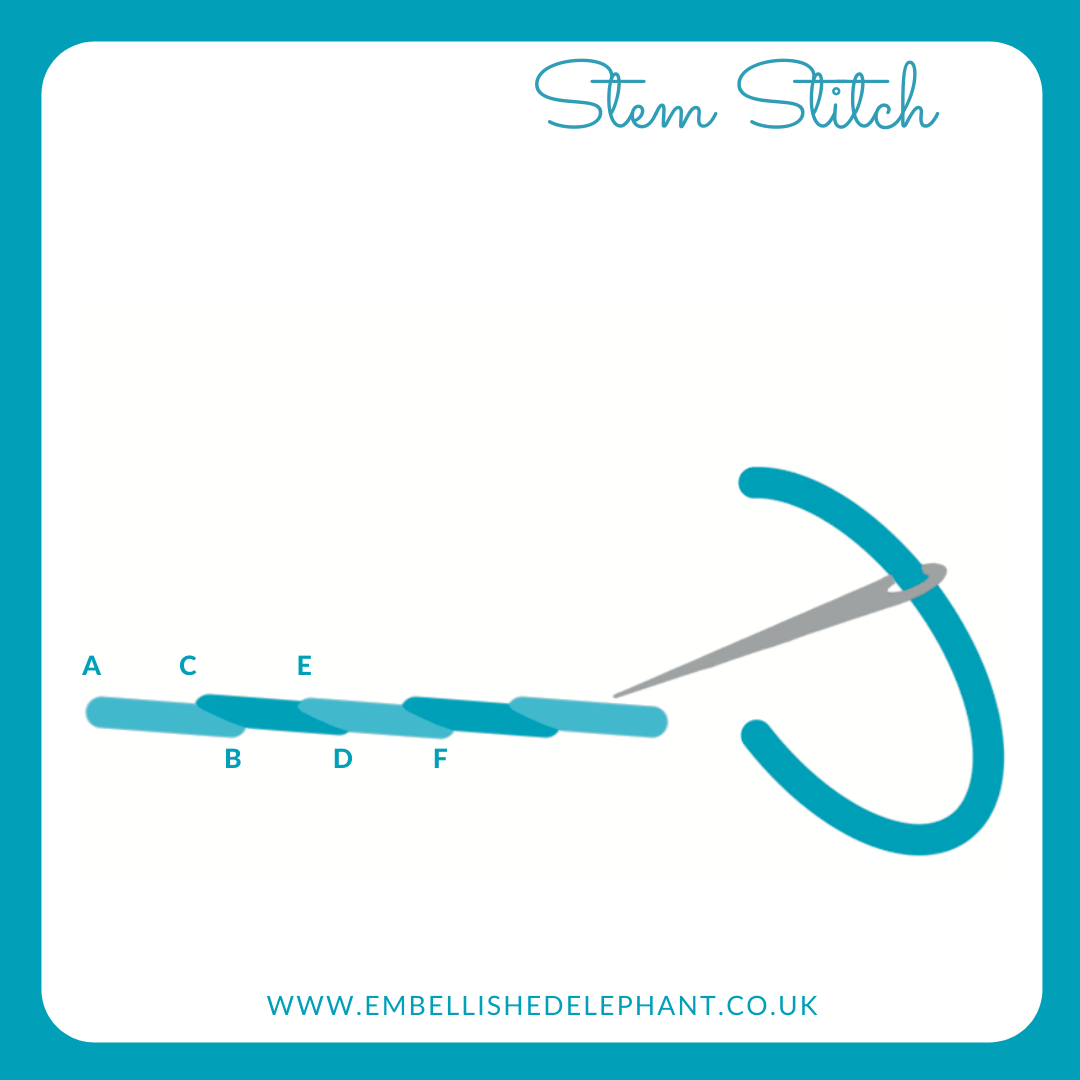
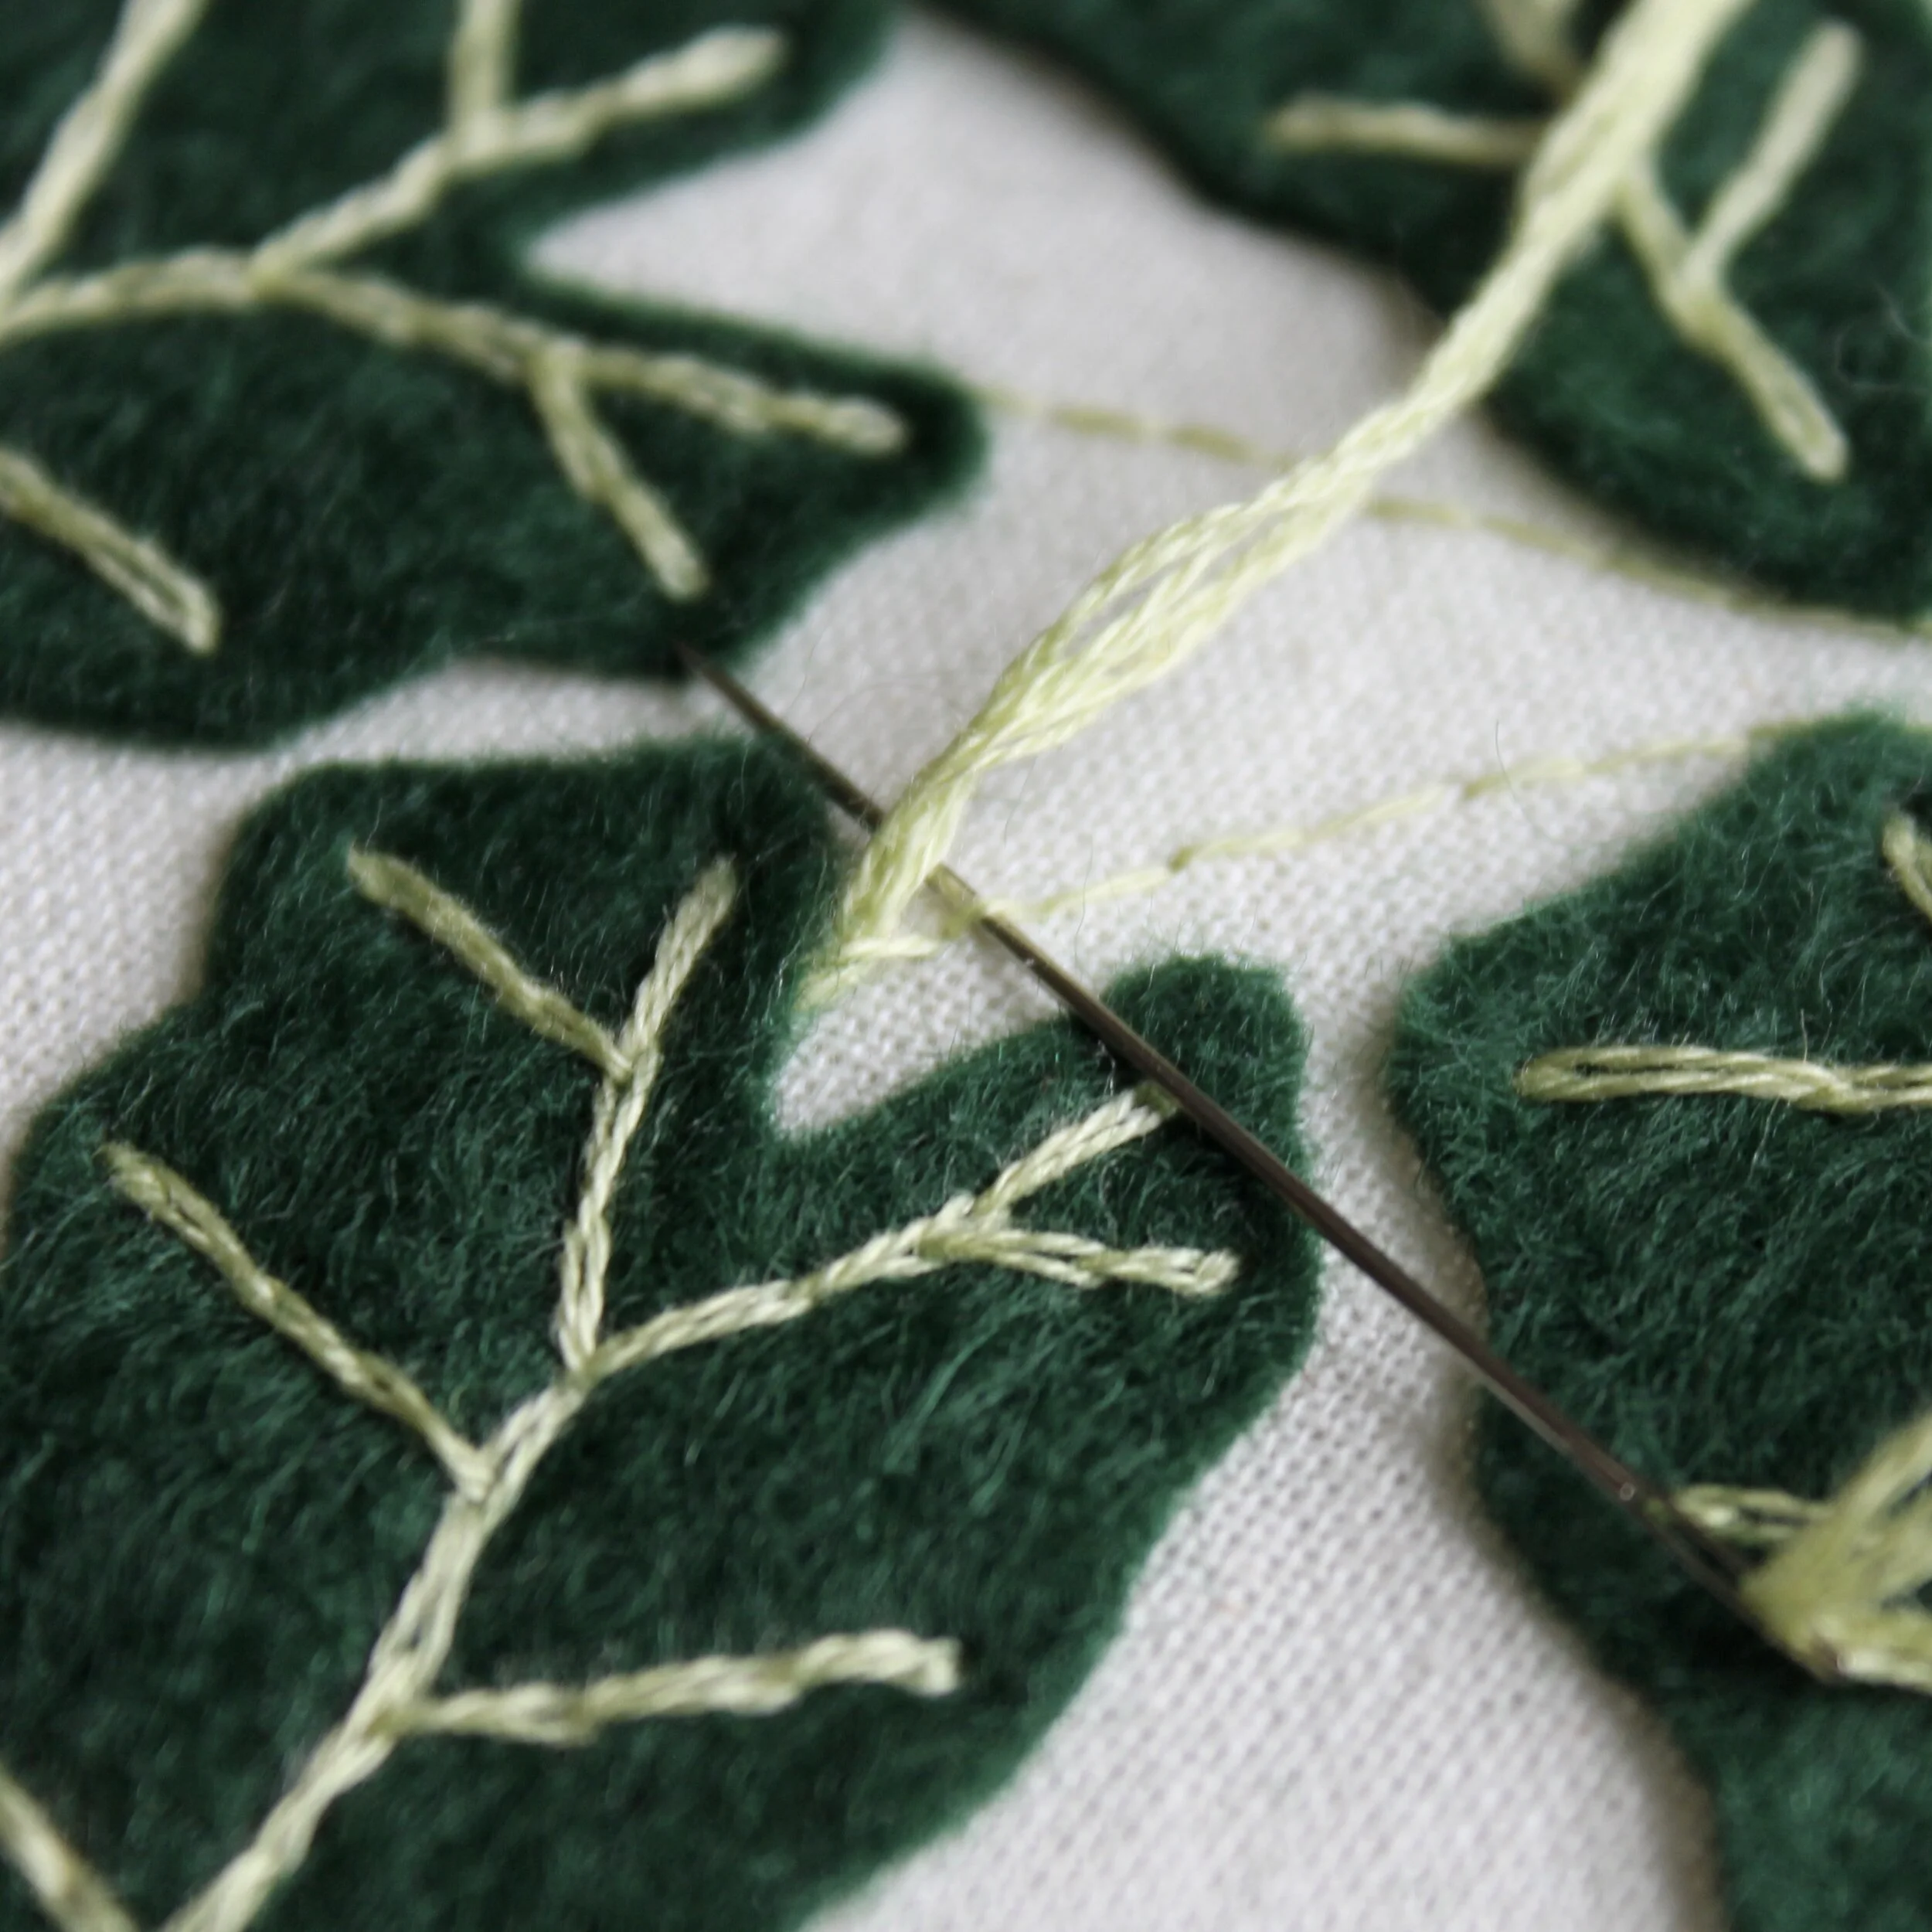
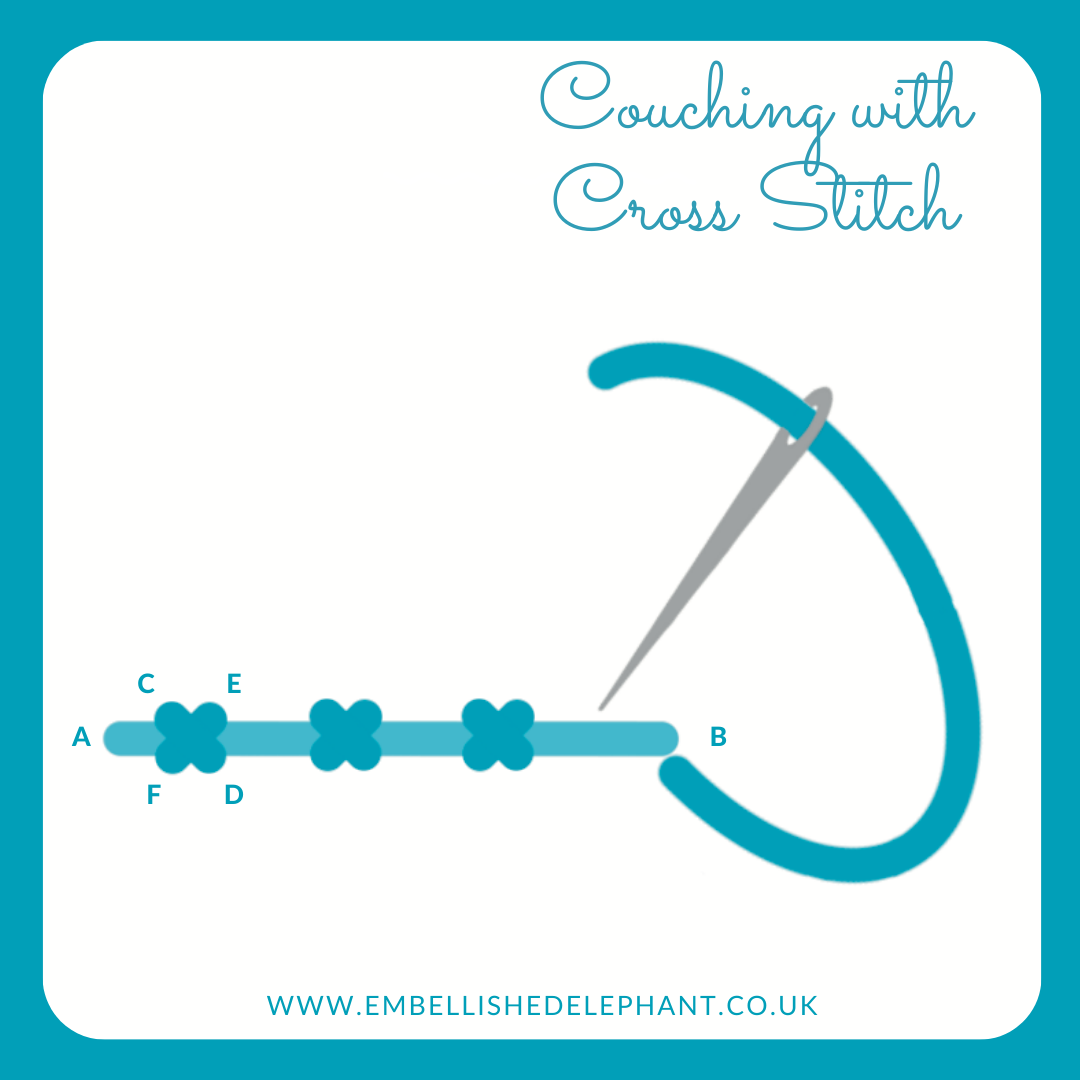
Lay down the thread to be couched (A to B), essentially this is a long straight stitch
Take the second thread and work out how far apart the couching stitches will be. I find it useful to consider this before I start stitching to make sure I don’t get to the end find the only solution is to have uneven spacing there.
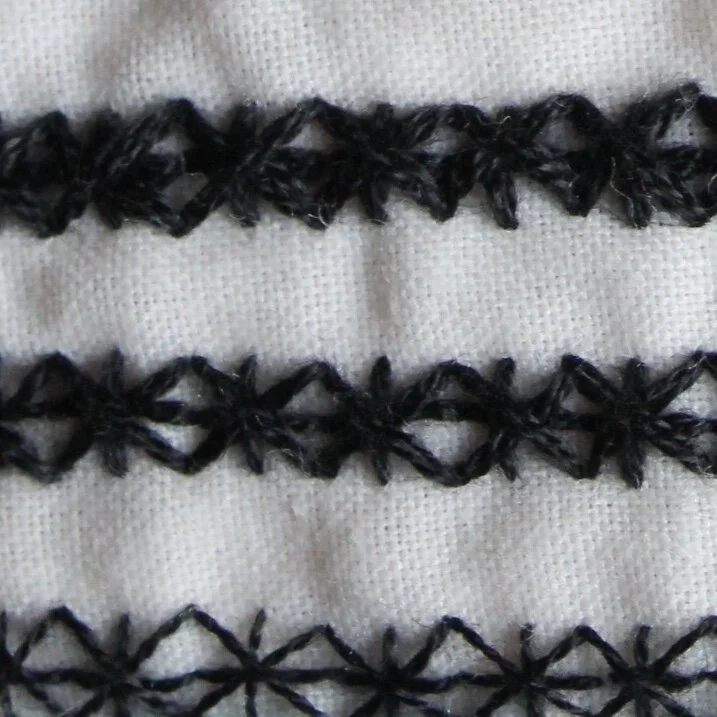
To stitch the cross, create a diagonal line at about 45 degree angle from the couched thread (C to D). The second part of the cross is at a 90 degree angle from the first part of the cross (E to F)
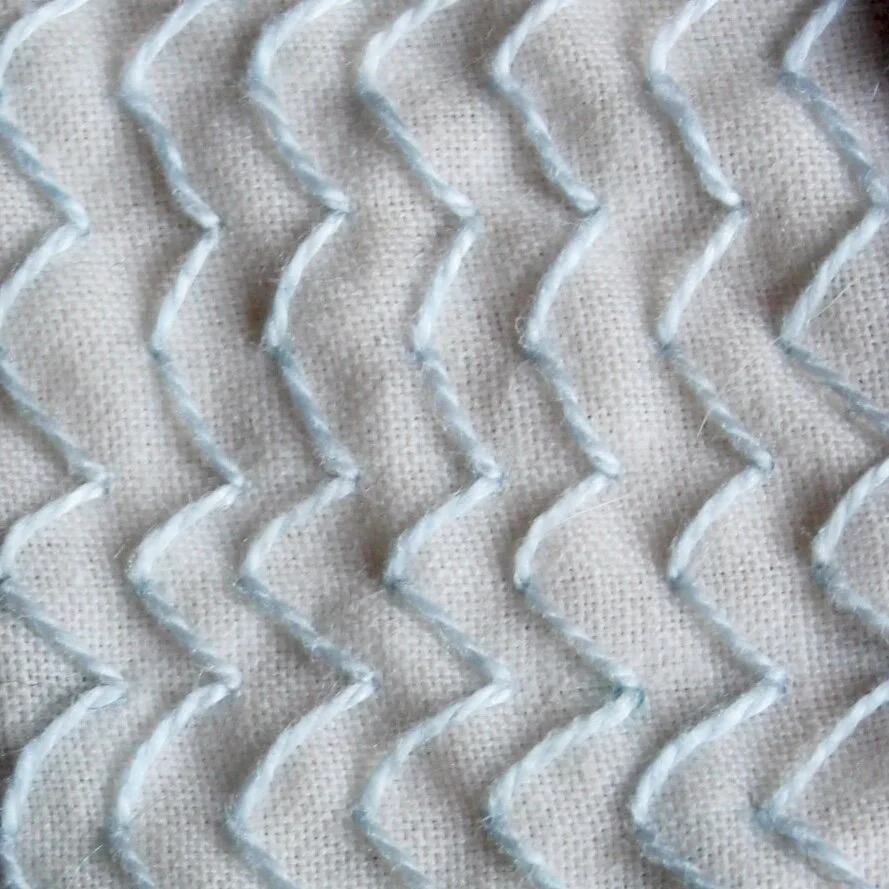
Another method is to lay down the cross stitches first and then thread the couched thread through the crosses, but this technique works best for threads of similar thickness
It may be easier to stitch the first diagonal of the cross stitch all the way along first before returning and completing the crosses as this will secure the thread being couched. However, I prefer to stitch each cross in turn before moving on so I can control how the crosses look
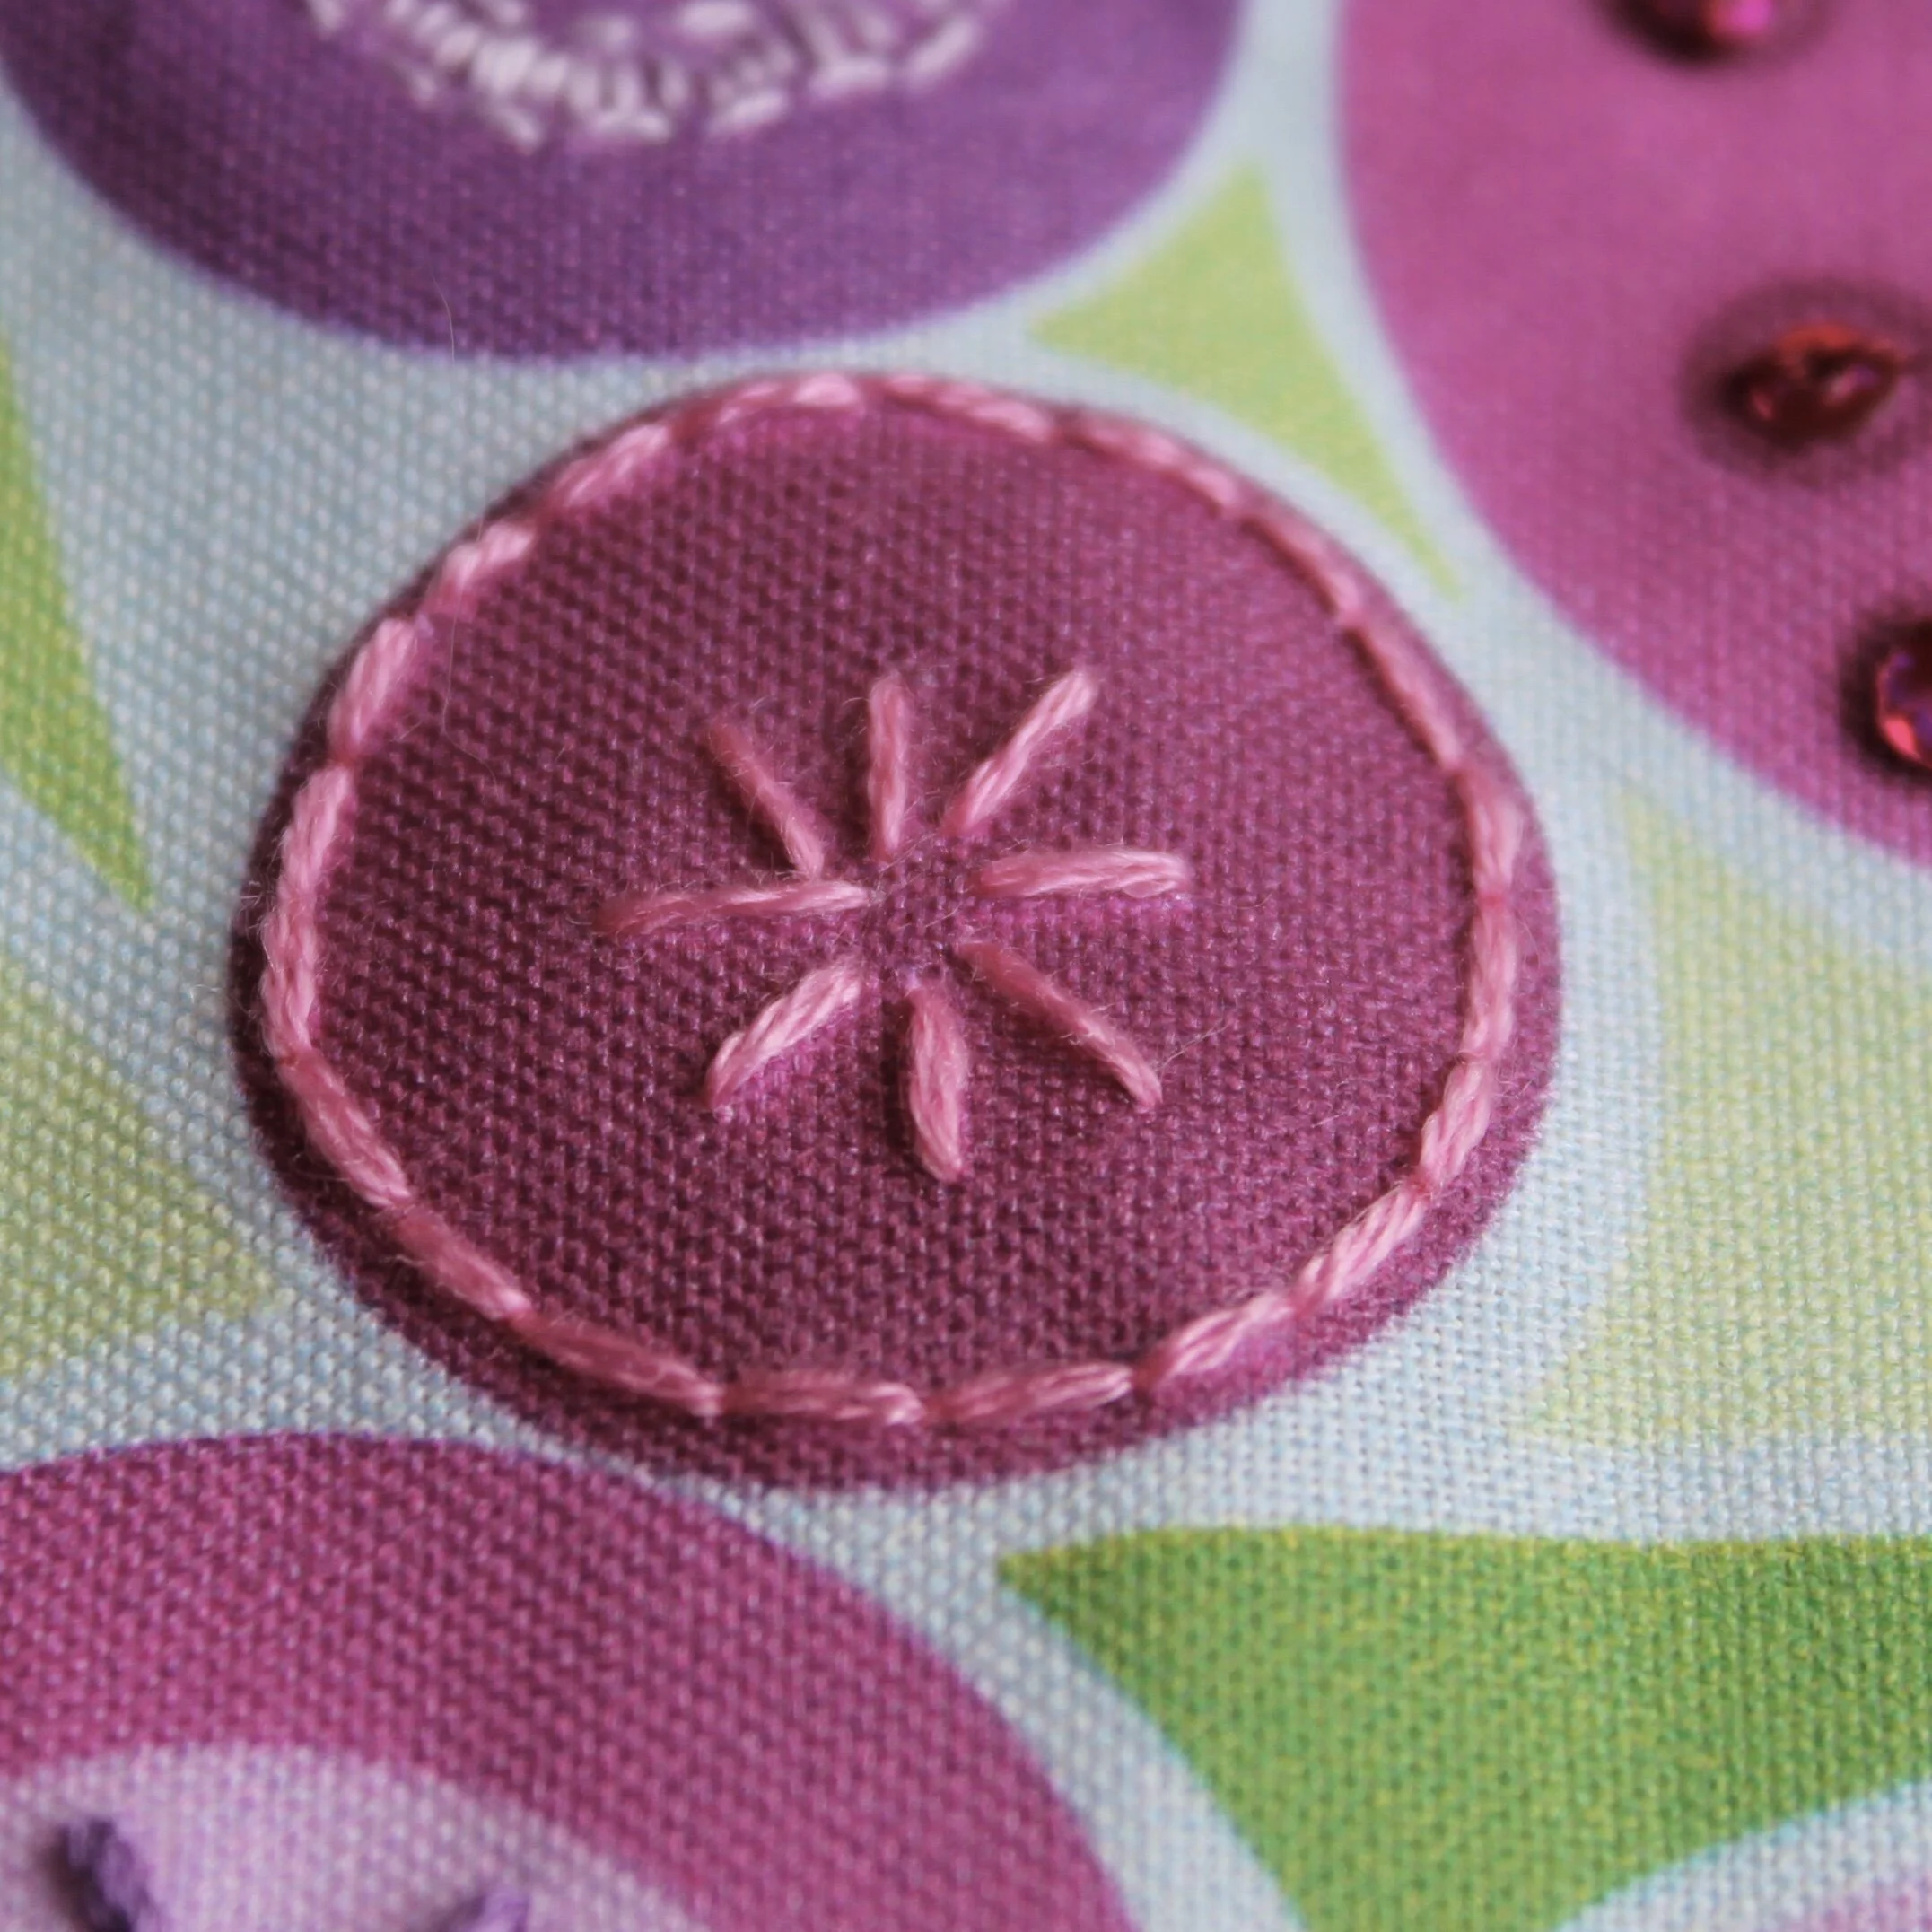
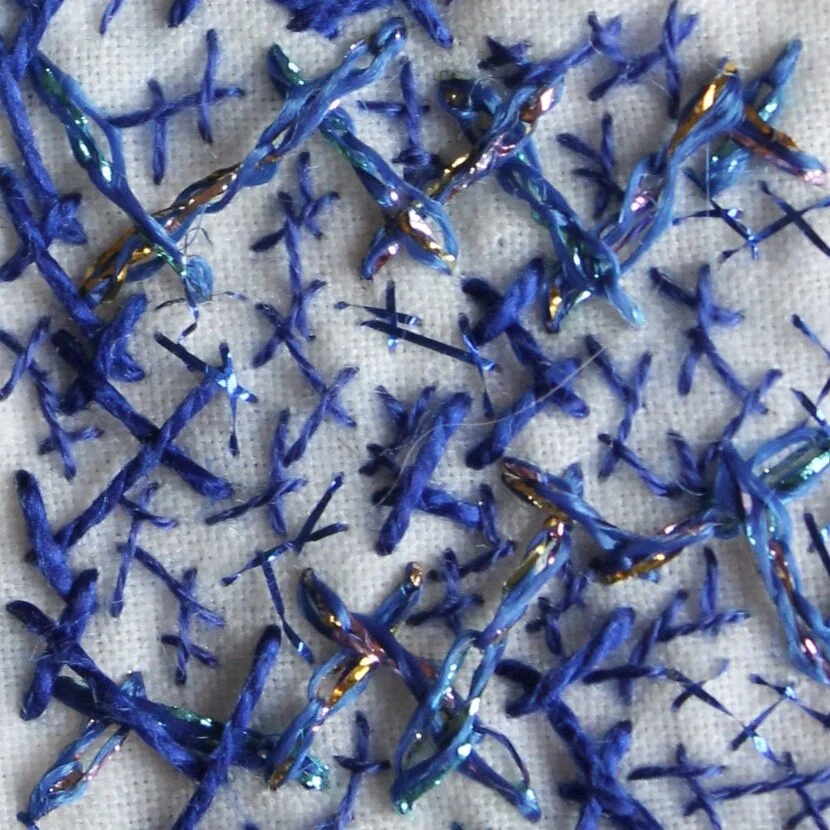
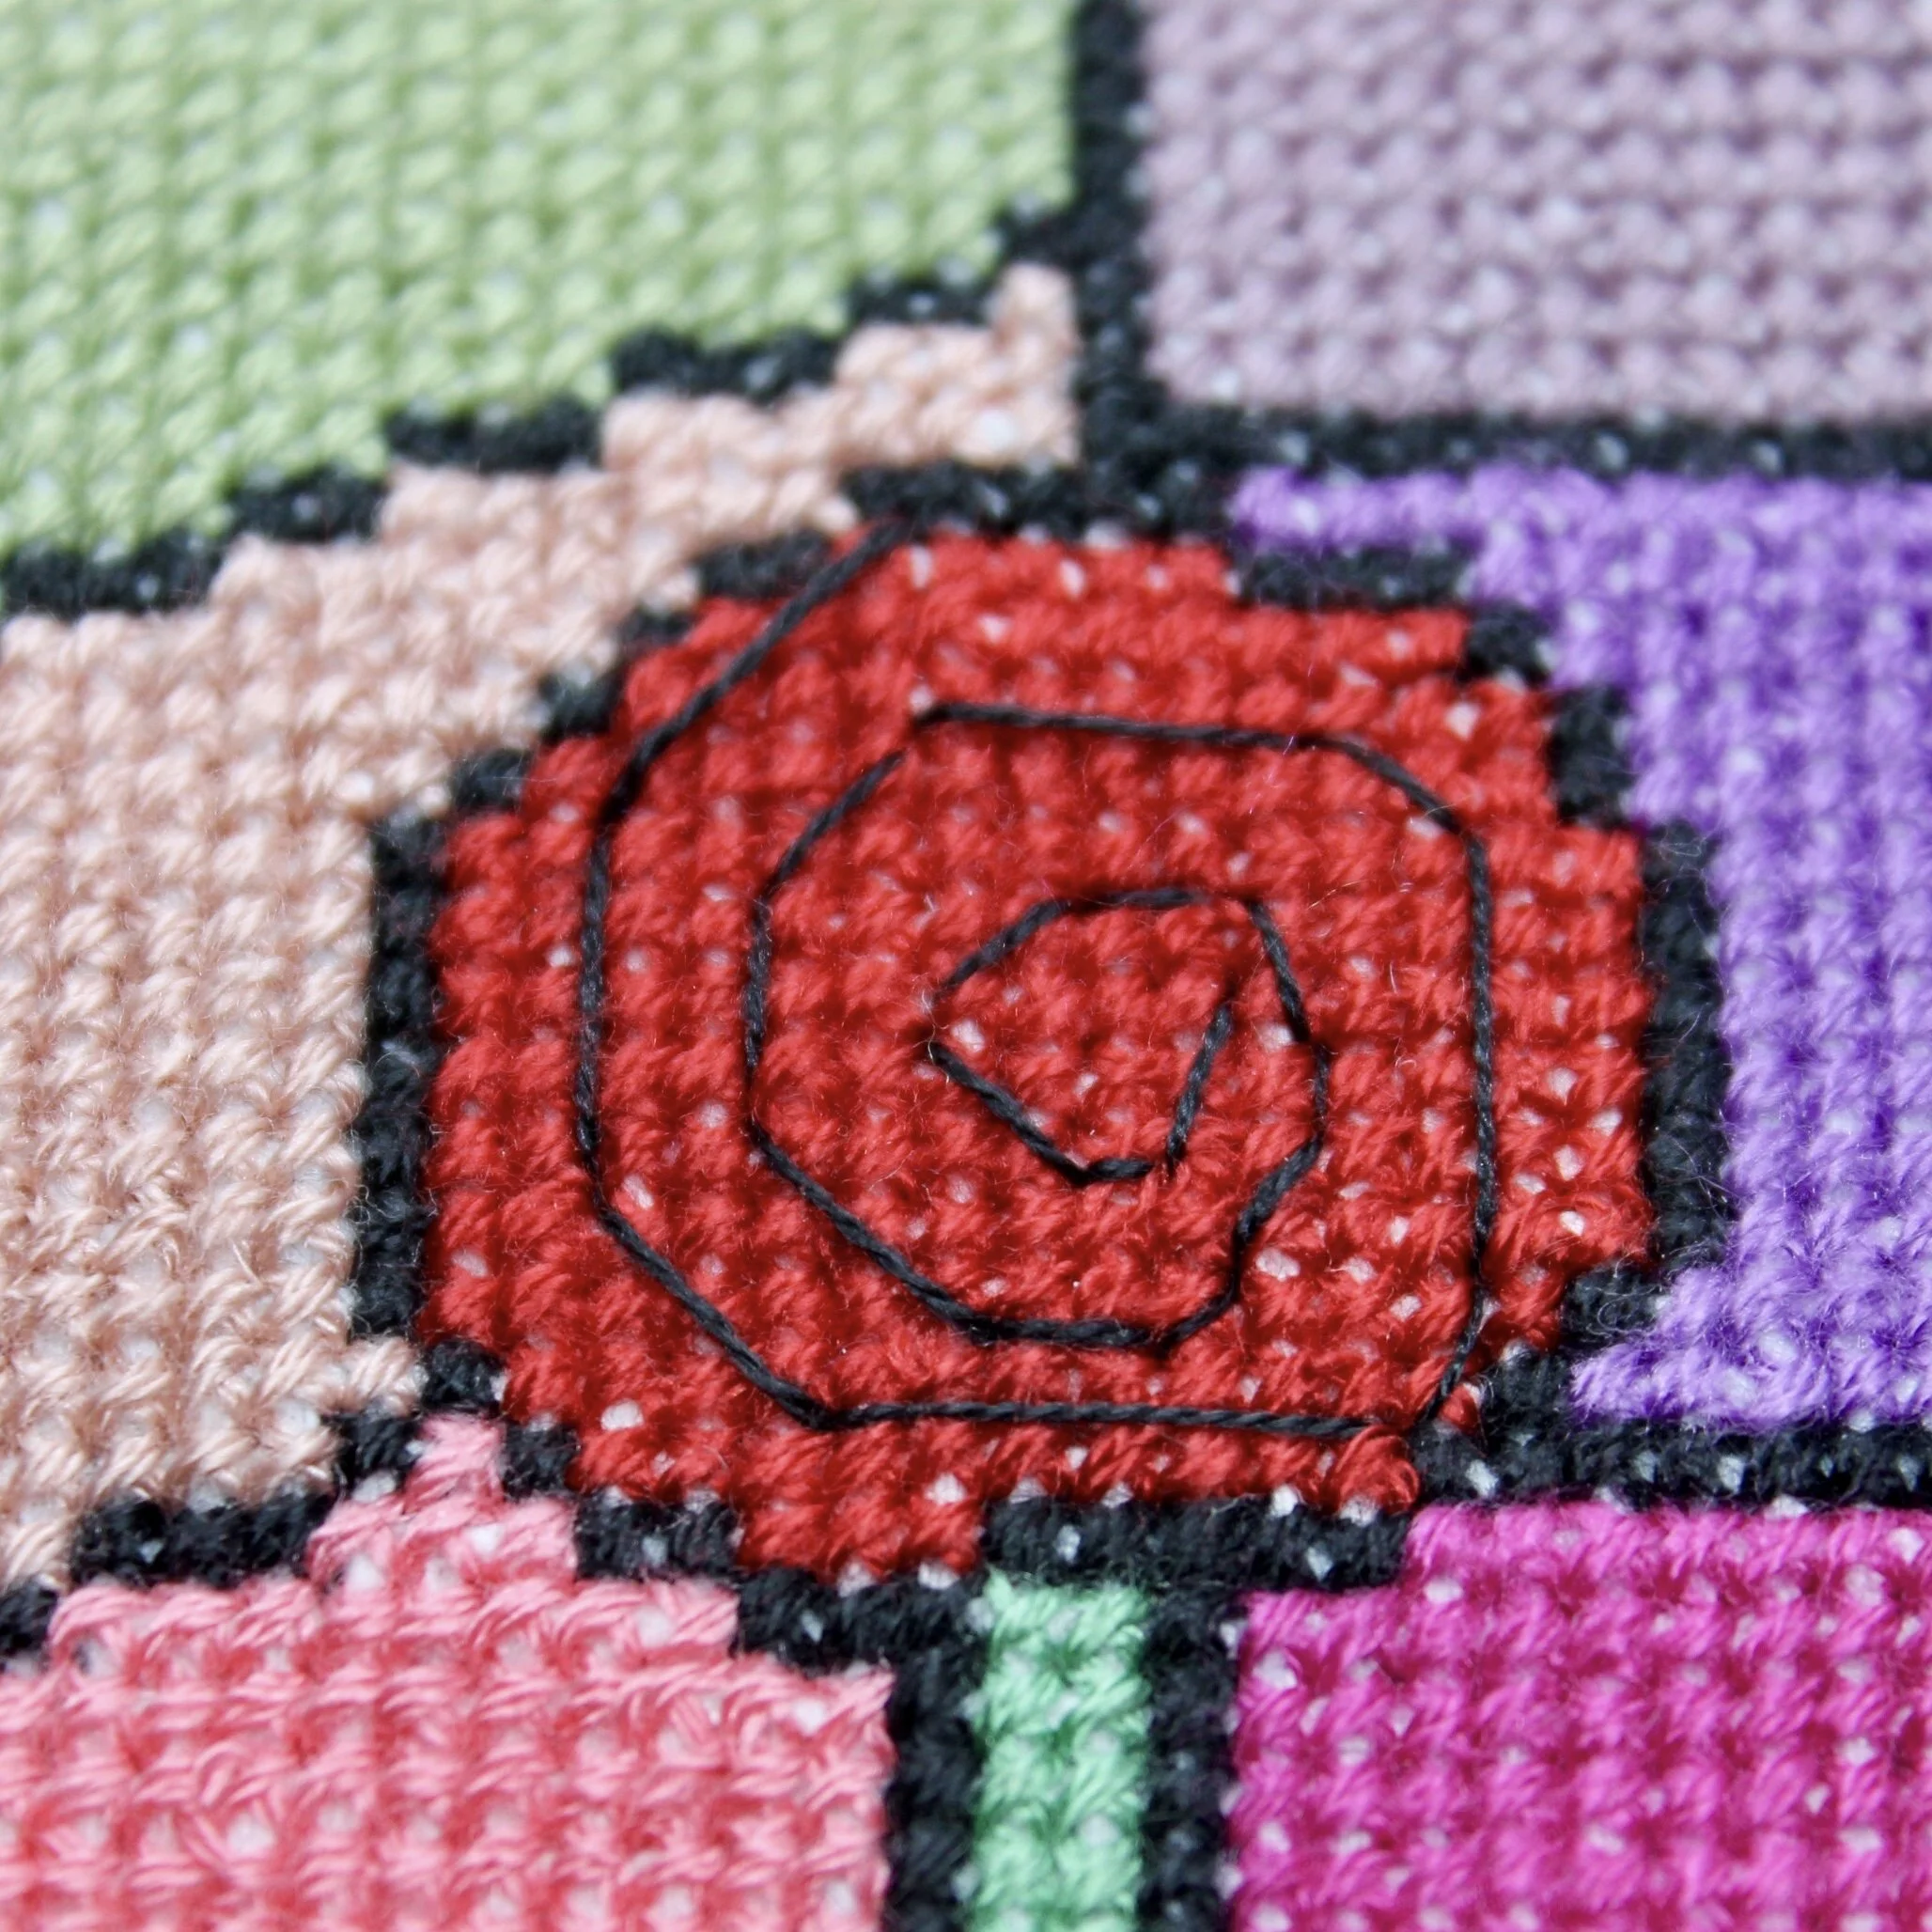
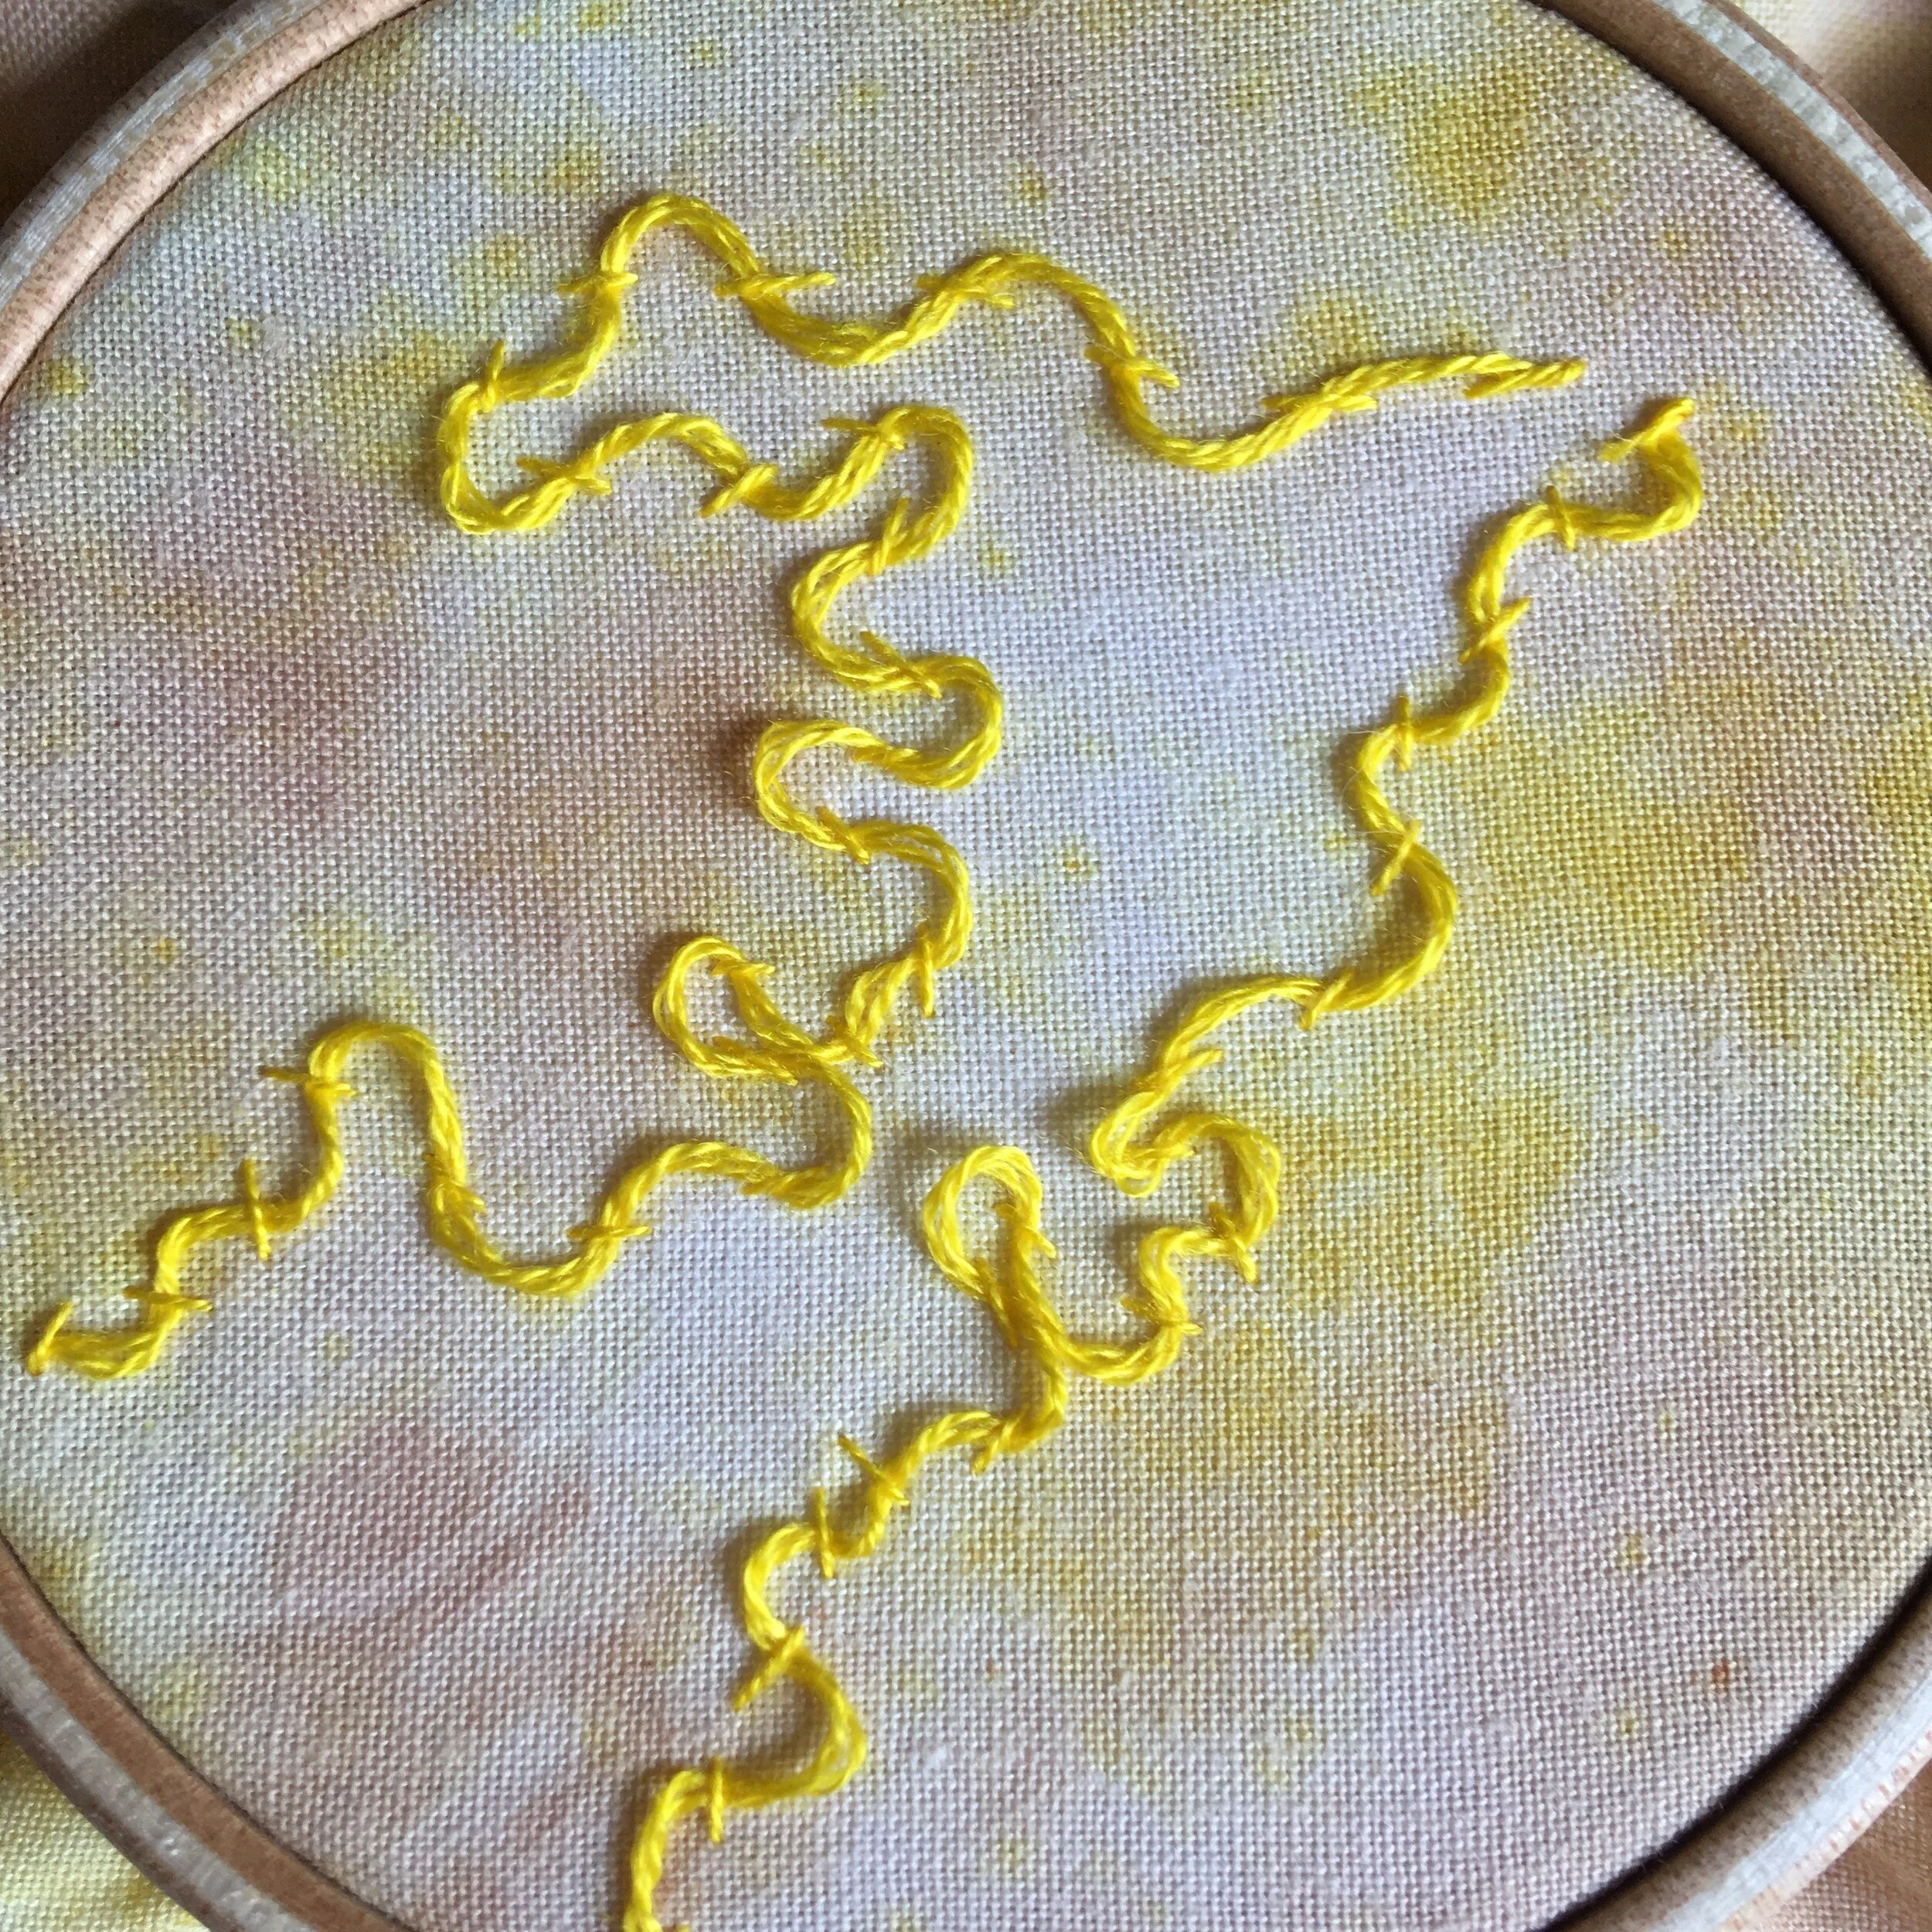
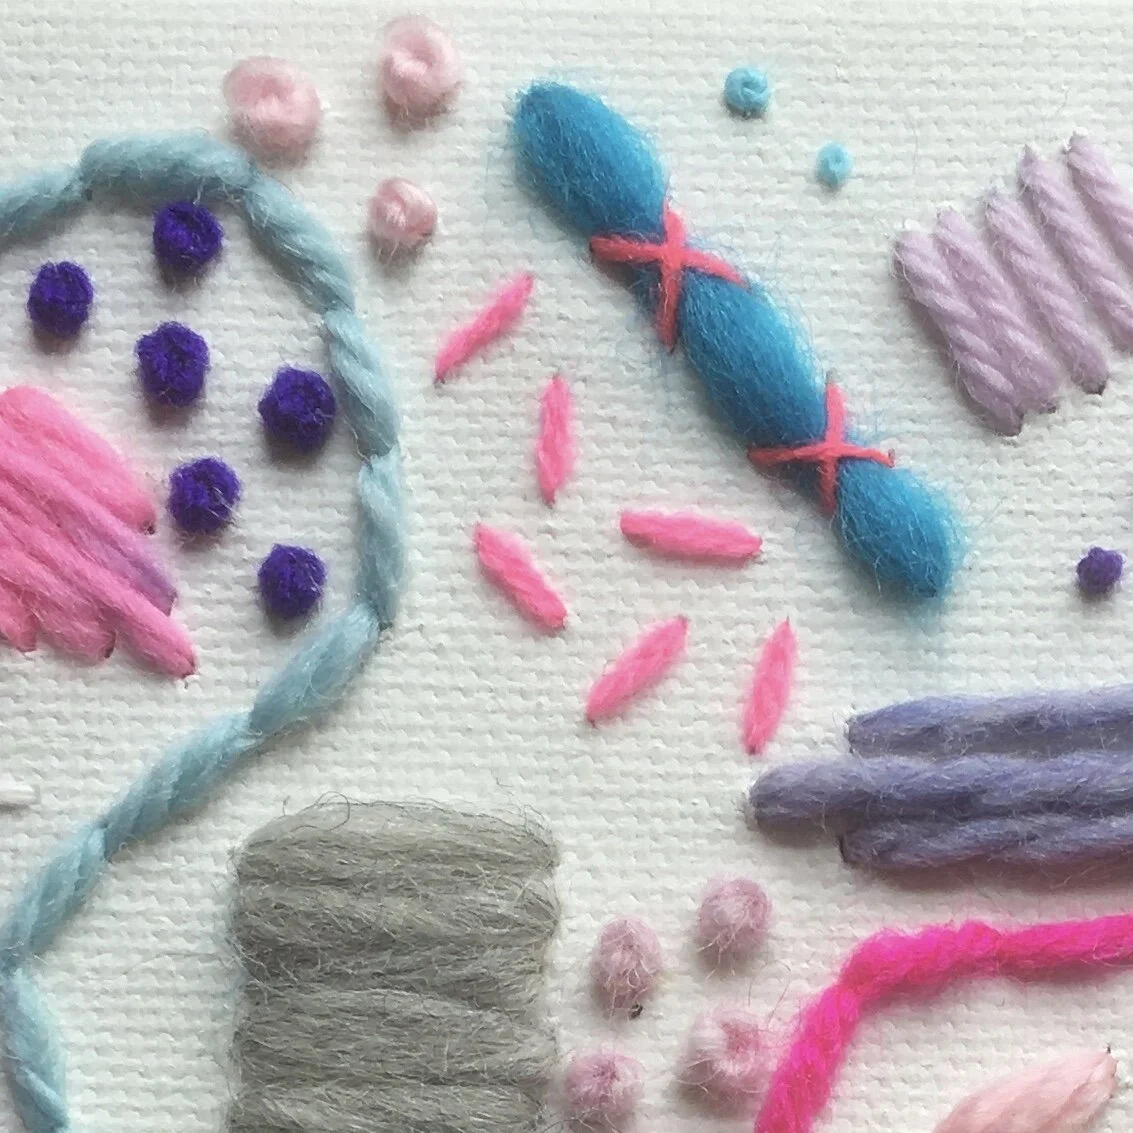
I like using couching with cross stitch in my more modern pieces of embroidery. In this example I’ve couched some thicker yarn with some thinner yarn and used crosses to hold it in place.
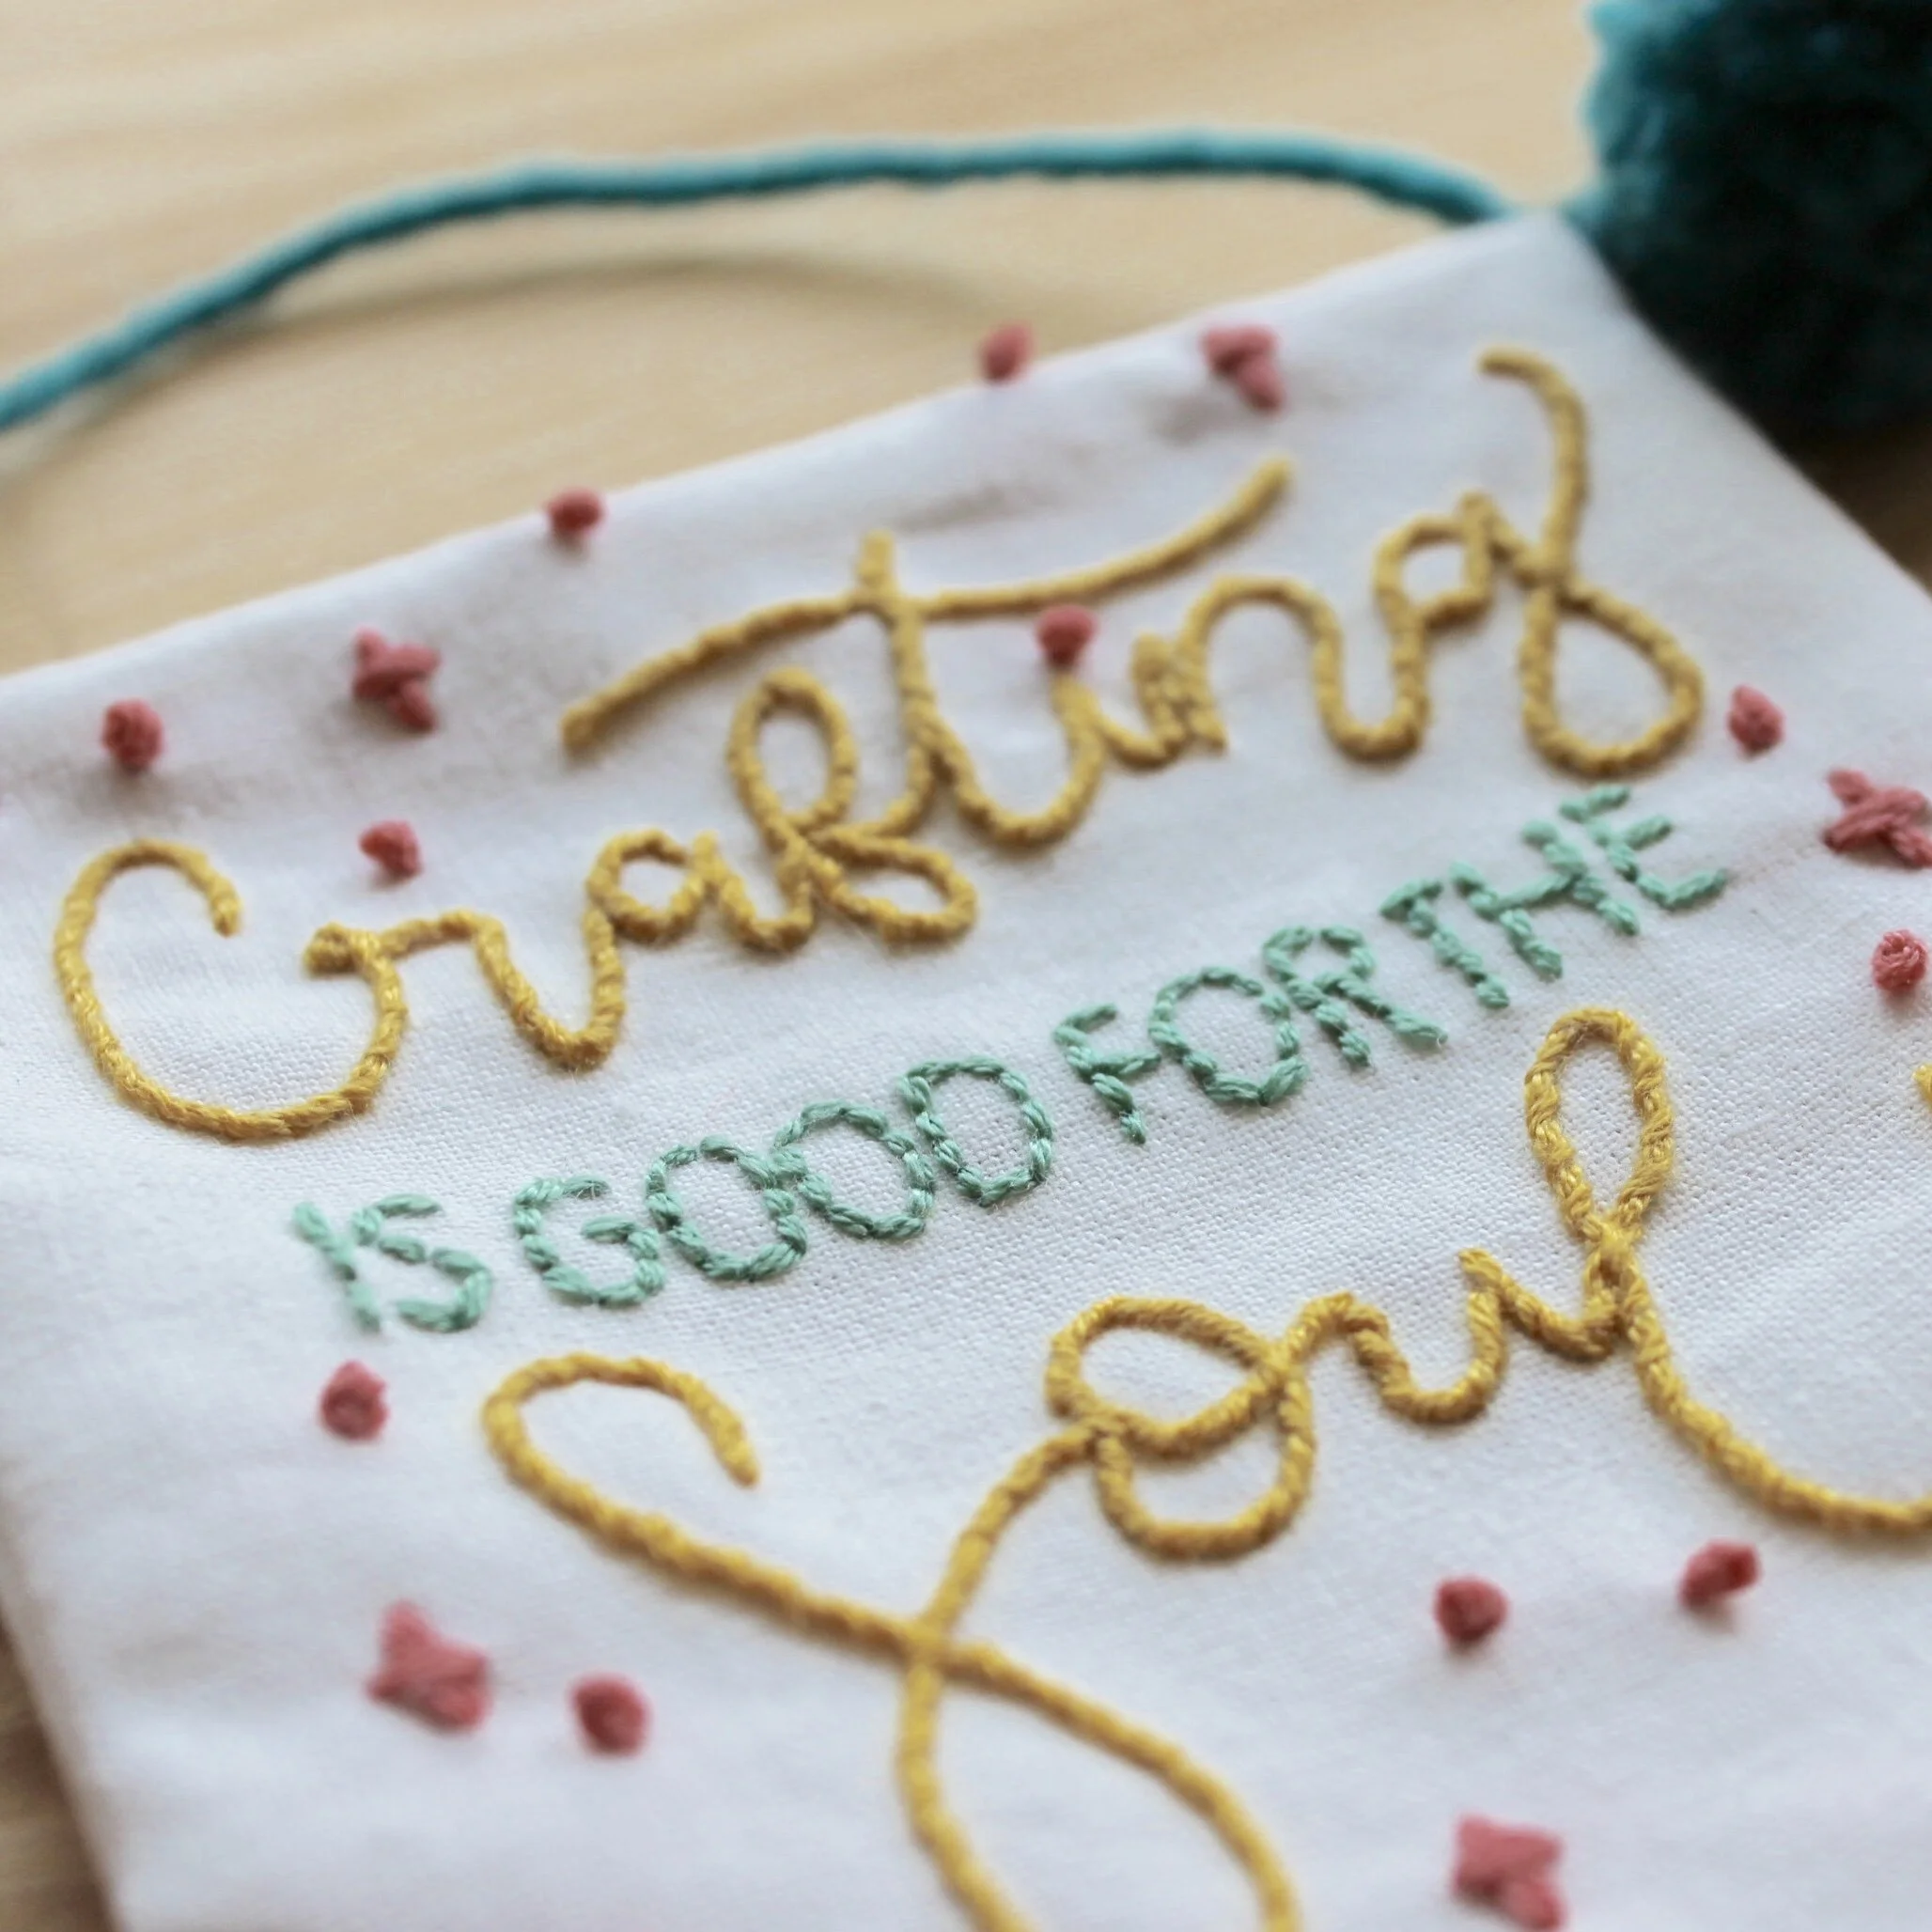
Enjoyed this blog post? I share embroidery tips and a free embroidery pattern in my monthly newsletter. Sign up here to receive the newsletter on the 1st of each the month.