• Home
  • Shop
  • Stitch Showcase
  • Embroidery tips
  • Freebies
  • About
  • Contact
Menu

Embellished Elephant

  • Home
  • Shop
  • Stitch Showcase
  • Embroidery tips
  • Freebies
  • About
  • Contact
A picture of abstract embroidery shapes stitched in satin stitch in shades of yellow, orange, pink and red on a yellow background. Overlaid is a blue square with white text saying - hand embroidery, five filling stitches for embroidery,

5 filling stitches for embroidery

August 18, 2021

My default stitch for when I need to fill an area in an embroidery pattern is satin stitch but I don’t particularly enjoy stitching it so I’ve been enjoying trying out a range of different filling stitches.

A picture of waves stitched in satin stitch in different shades of blue with black lines between each wave and a beach at the bottom of the piece

Satin Stitch

The stitch that is used the most when areas need to be filled in. It is formed of long straight stitches laid close together.

A picture of a monstera leaf stitched in long and short stitch with light green floss at the edges and darker green floss filling the leaves

Long and Short Stitch

This is really just satin stitch split into different sections to fill an area. This gives a much more textured effect that satin stitch and is much better for filling larger areas.

An image of 3 sections of brick stitch in different types of blue thread.

Brick Stitch

Lines of backstitch next to each other and slightly offset to create a brick effect. This stitch just makes you want to touch the embroidery.

A picture of a plant in a basket with the basket stitched using rows of chain stitch close together

Chain Stitch

A chain stitch is a series of small loops and can be used to fill areas or in a line.

a close up of some long thin leaves stitched with leaf stitch

Leaf Stitch

This is a variation on satin stitch. The stitches are angled towards the centre of the leaf and the angle of the stitch is maintained along the length of the stitch.

Enjoyed this blog post? I share embroidery tips and a free embroidery pattern in my monthly newsletter. Sign up here to receive the newsletter on the 1st of each the month.

In tips 2 Tags Stitch Showcase, Filling Stitch
Comment
A picture of small single stitches in different colours stitched on pink dyed fabric. Overlaid is a blue square with white text saying - hand embroidery - five isolated embroidery stitches  - www.embellishedelephant.co.uk

Five isolated stitches for embroidery

August 11, 2021

I love working with isolated stitches, just picking a colour and placing a stitch where I think it will look great. My heart embroidery kit is designed to work in this way. Here are some of my favourites:

A picture of seed stitch in black thread on calico - this is lots of different small stitches in different directions

Seed Stitch

A series of straight stitches placed at different angles to create a scattered seed effect. The seeds can be the same length or varied. They can even be overalapped.

An embroidery on calico with thin brown stitches creating branches. At the end of each branch are clusters of pink french knots

French Knot

One of my favourite stitches, it is unlike any other on this list and is great for bringing texture to embroidery but it does take a little bit of practice!

A close up on a purple circle with bullion knots stitched in a random way in purple floss

Bullion Knot

If you think French Knot is hard, then beware of bullion stitch. I’ve been stitching it as much as I can lately as practice really helps. And it is worth the wait as it looks great when you’ve perfected it.


A picture of lavender embroidery stitched using lazy daisy stitch in different shades of purple

Lazy Daisy Stitch

Lazy daisy is just a single chain stitch. It is a series of small loops secured by a tiny straight stitch. It’s great for floral embroidery.

An image of calico background with blue embroidery stitches in the shape of an arrow. The needle is halfway through the fabric in creating the second part of an arrowhead stitch

Arrowhead stitch

A simple V shaped stitch which can also be worked in a line of stitches.

The angle of the V can be varied and the addition of a small straight stitch can create a flock of birds!

Enjoyed this blog post? I share embroidery tips and a free embroidery pattern in my monthly newsletter. Sign up here to receive the newsletter on the 1st of each the month.

In tips 2 Tags Stitch Showcase, Isolated Stitch
Comment
A picture of lines of embroidery stitches in a curved shape, black stitches on calico. Overlaid is a blue square with white text saying - hand embroidery, five line embroidery stitches, www.embellishedlephant.co.uk

Five line stitches for embroidery

July 28, 2021

Of the many and varied embroidery stitches available this group do exactly what they say, they are stitched in a line.

Line stitches are great for borders, outlines and lettering. Below are five types of line stitches that are great for beginners.

A picture of a purple blob appliqued on a pink checked background. Around the blob is running stitch in purple.

Running stitch

A line of stitches with gaps between each stitch. It’s really useful for gathering the fabric at the back of the hoop. It can also be used on the front of the fabric!

On a brown greetings card is stitched concentric circles in back stitch in a heart shape. The outer most heart is in a Burgundy colour with the inner most heart a light pink

Backstitch

This is probably the stitch you learnt if you did any sewing at school. It’s simply a line of straight stitches.

It is a classic embroidery stitch but I prefer the variation on this - whipped backstitch.

A picture of a felt monstera leaf with a needle coming up through to create a row of stem stitch

Stem Stitch

As the name suggests, this stitch it is often used for stems but can also be great for lettering. It creates a rope like effect.

A picture of a leave with the stem and veins stitched using split stitch

Split Stitch

Great for outlining stitching or as an alternative to backstitch. The needle pierces through the thread and ‘splits’ it.

A picture of rows of couched blue threads showing different methods of couching

Couching

Couching is when a thread or cord is attached to the fabric using small stitches to hold it in place. The couching stitches can be really close together or much further apart depending on the desired effect.

Enjoyed this blog post? I share embroidery tips and a free embroidery pattern in my monthly newsletter. Sign up here to receive the newsletter on the 1st of each the month.

In tips 2 Tags Line Stitch, Stitch Showcase
Comment
A picture of applique and quilting sampler in shades of purple. Overlaid is a blue square with white text saying - hand embroidery - ten embroidery stitches for beginners - www.embellishedelephant.co.uk

Ten embroidery stitches for beginners

July 21, 2021

There are lots of different styles of embroidery and hundreds of stitches. Here I’m focussing on 10 stitches that I use the most and that I think are most handy to know the majority of projects that you come across. For guidance on how to create each stitch click the link to read more. There are guides to plenty more stitches on the Stitch Showcase series on my blog.

A picture of a greetings card with concentric hearts stitched in backstitch in shades of burgundy to light pink

Back Stitch

This is probably the stitch you learnt if you did any sewing at school. It’s simply a line of straight stitches.

An applique purple blog on a pink checked background. Around the blob is rows of running stitches

Running Stitch

A line of stitches with gaps between each stitch. It’s really useful for gathering the fabric at the back of the hoop.

A sampler of seed stitch in black floss on calico fabric.

Seed Stitch

A series of straight stitches placed at different angles to create a scattered seed effect.

A picture of rows of brick stitch in three sections, each section is stitched using a different blue thread

Brick Stitch

Lines of backstitch next to each other and slightly offset to create a brick effect.

A picture of waves stitched using satin stitch. At the top is darker blue and the bottom is a beach

Satin Stitch

The stitch that is used the most when areas need to be filled in. It is formed of long straight stitches laid close together.

A picture of lavender embroidery stitched using lazy daisy stitch in purple thread with light green stems on light pink fabric

Lazy Daisy & Chain Stitch

I’ve included both of these together as lazy daisy is just a single chain stitch. A chain stitch is a series of small loops and can be used to fill areas or in a line. It's a great stitch for creating flowers too.

An embroidered monstera leaf in long and short stitch. On the edges a light green is used with the rest filled with a darker green floss.

Long and Short Stitch

This is really just satin stitch split into different sections to fill an area.

A left shape in felt with stems and veins stitched in split stitch

Split Stitch

Great for outlining stitching or as an alternative to backstitch. The needle pierces through the thread and ‘splits’ it.

A green felt monstera leaf. The needle is poking upwards through to complete the next stem stitch in a row in green

Stem Stitch

As the name suggests, this stitch it is often used for stems but can also be great for lettering. It creates a rope like effect.

On calico fabric are stitch branches in a brown floss. At the end of each branch are clusters of pink french knots representing blossoms

French Knot

One of my favourite stitches, it is unlike any other on this list and is great for bringing texture to embroidery but it does take a little bit of practice!

Enjoyed this blog post? I share embroidery tips and a free embroidery pattern in my monthly newsletter. Sign up here to receive the newsletter on the 1st of each the month.

In tips 2 Tags Stitch Showcase
Comment
A picture of rose embroidery stitched in peach satin stitch with an outline in a slightly darker shade of peach. Overlaid is a blue square with white text saying - hand embroidery - do you outline satin stitch - www.embellishedelephant.co.uk

Do you outline satin stitch?

July 14, 2021

My short answer is ‘it depends’. Traditionally satin stitch is used to fill an area with long flat stitches and doesn’t have any outline.

But it can be tricky to get a smooth edge to the filled area of satin stitch whatever your level of embroidery skill or experience. This is because of the way the pattern is placed on the thin warp and weft threads of the fabric. Generally when you create an embroidery stitch the needle pokes through the fabric in the little hole between the warp and weft threads. However, if your transferred pattern means that the ideal placement for the end of the stitch isn’t in one of these gaps it can be tricky to get the stitch in the exact place you need it to be. As a result you may get small patches of the edge of satin stitch that aren’t in the smooth line you were hoping for.

Stitching very short satin stitches can be particularly difficult to stitch as well, often resulting in an uneven edge (see the stems of the fuchsias below!)

Using an outline stitch covers up some of this unevenness to give a smooth looking finish. You can see below two fuchsia flowers, one with no outline and one outlined using a single strand of floss and split stitch. Which of the two do you prefer?

A close up picture of an embroidery of two fuchsia flowers in pink and purple. Both flowers are stitched using sating stitch, but one is outlined with split stitch

I often also use outline stitches when I’ve got blocks of filled colour next to each other. The filling stitch helps the eye to separate these blocks. I also love using a slightly different shade to help with this definition. The rose you can see at the top of this page is stitched with a slightly darker shade of peach for the outline, that looks great at a distance and close up.

Any line stitch can be used to outline filled in areas. My personal preference is split stitch as you don’t get any gaps between each of the stitches which you sometimes get with backstitch. Couching is another way of outlining but the thread is couched down with tiny stitches which can sometimes distract the eye.

This is one of the very first pieces I embroidered and the outlines and stems are outlined with couching. (It also shows how you shouldn’t give up if you’re stitches aren’t perfect when you first start.)

An embroidery of a greenhouse with the outline of the greenhouse stitched in black couching stitch

I always decide whether to add an outline after I’ve completed the satin stitch. But there are some embroiderers who add the outline first and then fill in. I’ve tried this method but I find it tricky to get the satin stitches under rather than through the outline. I’d suggest you have a go and determine which method works best for you.

Enjoyed this blog post? I share embroidery tips and a free embroidery pattern in my monthly newsletter. Sign up here to receive the newsletter on the 1st of each the month.

In tips 2 Tags Stitch Showcase, Filling Stitch, Line Stitch
Comment
A picture of a magnolia wall, on it are hanging 6 embroidery hoops on clear plastic hooks. Overlaid is a blue square with white text saying - hand embroidery, five ways to display your finished hoops, www.embellishedelephant.co.uk

Five ways to display your finished embroidery hoops

June 30, 2021

So you’ve finished your embroidery and want to proudly show it off? Here are five easy ways to display hour embroidery in your home.

A picture of an embroidery hoop, the screw fitting is resting on a small nail in a wall

Nail in the wall

This is a quick way to hang up your hoops but if you want to move your hoops somewhere else then those little holes will need fixing! I have a few nails that stay in place and I just switch the hoops that I hand on them.

A picture of an embroidery hoop held up on a wall by a clear plastic hook and some clear beading thread

Removable hooks

These hooks are a bit of magic. You can stick them to your wall and then reportedly you can remove them without them leaving any marks.

I’ve used the hooks and they are so simple to put up but I’ve not tried removing any as yet as I’m happy where they are at the moment!

These are the hooks I recommend.

(Note: This is an affiliate link which means that I get a small amount of money if you buy using this link.)

A picture of an embroidered banner saying 'crafting is good for the soul'. It is displayed hanging from a shelf via some tape to the hanging thread.

Tape

I have to admit this isn’t my favourite - I just can’t get the hoops to stay on the way with tape alone. But I have had success with lighter items such as this banner.

If you are going to try this method with a hoop, you need to add a hanging thread through the screw. I’d also recommend adding a knot to the end of that hanging thread as I’ve found that without a knot the weight of the hoop means it just slides straight through the tape.

A picture of a colourful embroidery in a hoop resting on a mini easel

Mini easel (or plate stand)

I spotted this mini easel in Flying Tiger (complete with a canvas) and thought it would work really well to display embroidery hoops on a shelf and I think it looks great. It also means that it’s super simple to switch the hoops around .

A picture of a colourful embroidery hoop displayed next to a small succulent in a pot on a shelf

On a shelf/picture shelf

Many of my hoops are simply propped up on a shelf. It the quickest and easiest way to get your hoop on display (providing you don’t have to put the shelf up first!) but it does take a knack to get them to sit upright.

Enjoyed this blog post? I share embroidery tips and a free embroidery pattern in my monthly newsletter. Sign up here to receive the newsletter on the 1st of each the month.

In tips 2 Tags Finishing, Hoops
Comment
A picture of an embroidery hoop with a monstera plant stitched on it. Overlaid is a blue square with white text saying- hand embroidery, how to add the wow factor to a finished embroidery hoop, www.embellishedelephant.co.uk

How to add the wow factor to a finished embroidery hoop

June 23, 2021

The most popular way of displaying a finished piece of embroidery is to leave it in the hoop it was stitched in. A standard bamboo hoop looks great without any added effort, but here are five simple ways to add a wow factor to your finished hoop.

A picture of an abstract embroidery in browns, yellows and greens. It is displayed without the outer embroidery hoop

Remove the outer hoop

This is my current favourite, it gives a great clean edge to the piece and I think it makes the embroidery look more like a work of art than an craft project.

All you need to do is make sure the fabric is secured as tight as possible at the back by gathering it. Once you are happy with the tension then just unscrew the outer hoop and remove it.

A picture of a cross stitch bird. The outer hoop is wrapped in yellow yarn.

Wrapping the outer hoop

If you do any sewing projects such as dressmaking or patchwork you will probably have strips of fabric off cuts, these can be carefully wrapped around the outer hoop to change up the finished loop of the hoop.

Ribbon can also be used to wrap round the hoop as can yarn.

A glue gun can be used to secure the start and end of the material used, but when wrapping this hoop with yarn I used a needle to secure the ends and keep everything in place.

A picture of a blue abstract embroidery. The embroidery hoop it is displayed in is painted blue.

Painting/staining

Changing up the colour of the outer hoop can really alter how the finished piece looks.

Acrylic paint works well for this but you could use any paint you have around even some emulsion from that last decorating job!

A picture of a felt holly leaf wreath with felt holly leaves attached to the outer embroidery hoop. holl

Sewing on felt shapes

For this holly wreath, the felt leaves are stitched onto the outer hoop as a feature of the finished piece. You don’t have to cover the whole hoop. A few flowers on one part of the hoop with just some plain fabric would look fantastic.

A picture of a colourful embroidery. Around the hoop is a crochet edging in bright pink.

Crocheting around the edge

Picking the right edging stitch can make a great frame and create a soft edge.

The crochet is around the outer edge of the hoop and different stitches will create different effects. A shell stitch is a great one to use if you want a scalloped effect.

A picture of a kit from the make arcade, the embroidery hoop is decorated with black mini pompom trim

Adding pompom trim (or other embellished edging)

I think this works especially well for colourful projects such as cross stitch. I’ve not tried this myself but this picture from The Make Arcade shows how fantastic it can look.

Enjoyed this blog post? I share embroidery tips and a free embroidery pattern in my monthly newsletter. Sign up here to receive the newsletter on the 1st of each the month.

In tips 2 Tags Hoops, Basics
Comment
A picture of a stack of neatly folded fabrics in all kinds of patterns and colours. Overlaid is a blue square with white text saying - hand embroidery, what fabrics can i use for embroidery, www.embellishedelephant.co.uk

What fabrics can I use for embroidery?

June 16, 2021

You can embroider on so many different types of fabric, it really depends on the project you are working on and the effect you are trying to create. All of the fabrics below are woven rather than knit (stretchy fabrics) as stitching on stretch fabrics requires some different techniques.

Here are some of the woven fabrics that I’ve tried and tested.

A picture of calico fabric used as a base for embroidery and felt applique

Calico

I use calico for many of my kits. It’s a fabric with a bit of weight to it meaning it can hold the weight of the stitches.

A picture of an embroidery hoop on a yellow background. In the hoop is cotton fabric hand dyed in blue and purple shades with the word dream stitched in the centre of the fabric

Cotton

When I’m not stitching on calico, cotton is my next fabric of choice. I most often stitch on old shirts or offcuts from dress making that are in my stash.

The benefit of cotton is that you can get some great patterned fabric that you can use. This fabric is an old white shirt that I dyed and then embroidered on.

But cotton fabric comes in different weights - very lightweight fabric such as cotton lawn won’t hold the weight of the stitches on their own. Using a second layer of fabric under the first layer helps solve this problem.

A picture of a section of blackwork embroidery stitched on evenweave fabric

Evenweave

The clue is in the name - this type of fabric has an even number of warp and weft threads per inch. It means that if you stitch is five holes in length you can count this number of holes for every stitch you make to get stitches of identical length. It’s the fabric used for techniques such as blackwork and hardanger but you can also use high count evenweave fabrics for standard embroidery too (higher count means more warp/weft threads per inch and smaller gaps in between).

A picture of some mustard coloured linen fabric in an embroidery hoop with some long green stems and small white flowers stitched on the fabric

Linen

Much like calico, linen can take the weight of the stitches on their own.

However, linen creases and frays quite a lot so you need to be prepared to deal with that when stitching on linen.

A picture of a modern embroidery of geometric shapes in white, grey and black yarn stitched on hessian fabric

Hessian

I’ve been experimenting more and more with hessian recently and much like evenweave there are a set number of warp and weft threads per inch but the weave of the fabric is very open.

It’s great if you want to stitch with yarn as the holes are large enough to fit the yarn through without too much tugging needed.

A picture of a round embroidery on brown felt. Stitched onto the felt are long straight stitches in autumnal colours to represent autumn leaves

Felt

Felt can be great to embroider on as it doesn’t fray so it great for projects that may have a raw edge like decorations or brooches. I’ve also used it for larger pieces as it can hold the weight of stitches.

The thickness of the felt means that if you are using an embroidery hoop you’ll probably have to loosen the screw much more than you are used to to accommodate the extra bulk.

A close up image of some flowers embroidered on denim. The flowers are stitched using yarn and are in bright colours

Denim

I’ve had a few pairs of jeans that are no longer wearable and not suitable for the charity shop which I’ve cut up and are in my stash, but you can also embroider on still intact garments!

I’ve experimented a couple of times with stitching on denim. I love the finished look but it is a tough fabric to work with because of the thickness and close weave. In this sample I stitched with yarn which was tough going on the fingers.

I’d also recommend checking whether there is any stretch to your denim and putting any sections with stretch to one side for now.

A picture of some isolated stitches in shades of pink purple and blue embroidered in a modern style on a white canvas background.

Canvas

I’ve picked up a few of these pre-stretched canvases from the local pound shop. You can embroider on them as is (I’ve also removed the fabric and used the frame to stretch my own fabric over). The main thing to consider with these canvasses is the width of the frame meaning that it is difficult to stitch right up to the edge so that has to be taken into account in your design.

Enjoyed this blog post? I share embroidery tips and a free embroidery pattern in my monthly newsletter. Sign up here to receive the newsletter on the 1st of each the month.

In tips 2 Tags Fabric
Comment
An image of a ruler measuring some embroidery stitches on fabric. Overlayed is a blue square with the text hand embroidery, how to get your stitches the same size, www.embellishedelephant.co.uk

How to get your stitches the same size

June 9, 2021

There are some designs where you want stitches to be an identical size to give a polished finished. But how do you achieve this? Here are five techniques that might help.

A picture of  some fabric in an embroidery hoop. On it is being stitched a row chevron stitches in blue thread

By eye

I have to admit this is normally the method I use. I feel fairly confident about judging small distances. I tend to stitch slowly and make sure that with each stitch I’m happy with the position of the needle before I complete a stitch. I also look back at the past few stitches to check I’m happy with the consistency and unpick if anything looks out of place.

For slightly longer stitches I use the needle and my finger to help judge the length of the stitch.

A picture of a ruler next to some embroidery, measuring the size of stitches

Use a ruler

This can really help with getting the right stitch length but you still need to make sure the position of the needle is accurate.

Working with a ruler can also be a bit cumbersome (even if it is my trusty WWF ruler I’ve had for 25 years).

A close up picture of a design printed onto fabric for embroidery

Draw guidelines

This is a great alternative to to ruler especially if you are able to remove or stitch over the guidelines that you make. It means you don’t need to keep picking up/putting down the ruler with each stitch.

The type of guideline you use will depend on the stitch you are making but if I use this method I tend to use tiny dots rather than full lines as these are easier to stitch over.

In this picture the guidelines are pre-printed onto the fabric which makes it even easier!

A picture of a hand holding an embroidery hoop. Marked on the index finger of the left hand are three pen marks showing the stitch length needed

Marks on your finger

I saw this ingenious method on Instagram as a tip for stitching blanket stitch. I’ve not tried it myself yet but in taking this photo I did find that I had to hold the hoop a bit funny to get the markings to be where I needed them. A bit of trial and error might be needed for this one!

a picture of hardanger embroidery in white on evenweave fabric

Evenweave fabric

The clue is in the name - this type of fabric has an even number of warp and weft threads per inch. It means that if you stitch is five holes in length you can count this number of holes for every stitch you make to get stitches of identical length. It’s the fabric used for techniques such as blackwork and hardanger but you can also use high count evenweave fabrics for standard embroidery too (higher count means more warp/weft threads per inch and smaller gaps inbetween).

Enjoyed this blog post? I share embroidery tips and a free embroidery pattern in my monthly newsletter. Sign up here to receive the newsletter on the 1st of each the month.

In tips 2 Tags Fabric, Thread, Stitch Showcase
Comment
A picture of the back of an embroidery sampler. Overlaid is a blue square with white text saying - hand embroidery, four ways to tie off a thread, www.embellishedelephant.co.uk

Four ways to tie off an embroidery thread

May 26, 2021

This is one of those things that isn’t really explained much, I know I’ve written ‘and tie off your thread’ in kit guidance a few times.

Most of people will have one preferred way to finish off, secure or tie off a thread when you’ve come to the end of the length or have finished stitching with that colour.

Over my years of stitching I’ve come across a few different methods for tying off a thread. I’ve tried them all and I do have a preference but it’s good to know the different methods as there are circumstances where one may be a better option than your normal methods.

A picture of the back of a piece of embroidery, the needle is passing through the thread trails

Weaving in

Traditionally embroidered pieces didn’t have any knots to secure threads and the ends were woven under other stitches on the back of the work to secure them and stop them unravelling.

This method works really well if you have a lot of stitching visible on the back of the piece. The more stitches you can weave under the more secure the finishing.

To finish in this way, complete your last stitch and flip your hoop over so you are looking at the back of the work. Find a patch of stitches close to where the thread has come back through the fabric and pass the needle under and over this patch (without piercing the fabric) a few times.

A picture of the back of an embroidery. The thread is in a loop which the needle is passing through to secure the thread

Loop and knot

This is the method I use most of the time as it’s nice and quick and simple way to knot the thread.

To finish in this way, complete your last stitch and flip over your hoop so you are looking at the back of the work. Find some stitches close to where the thread has come back through the fabric and pass the needle under the patch (it doesn’t have to be a big patch it could be just one stitch). Create a loop and pass the needle through the loop. Pull the thread tight to create the knot. You can repeat this again to create a double knot or weave the end in a bit before trimming the end.

Try not to knot around the last stitch that was completed as this can sometimes make this stitch a bit loose on the front of the work.

A picture of the back of an embroidery. There are two short thread ends that are being tied together in a knot

Tie ends together

I use this method most often when stitching with yarn. I start my stitches by leaving a longish end and using my thumb to stop pulling this through. If when I finish my stitching the end is near to a loose end then I will secure the threads by tying the two ends together. You can tie the tails of two different threads together too.

I’ve sometimes used this method too when stitching with multiple strands of floss where other methods are not an option. I just split the thread and tie the ends together a couple of times (as one knot could pull through the fabric).

A picture of the back of some goldwork embroidery. It shows that the ends of the goldwork threads have been couched down

Sew in place

I learnt this method when practising gold work as the gold work threads can’t easily be woven or knotted.

To secure threads like this you take a thinner sewing thread and gently work from side to side catching the fabric and looping over the thread you are securing. Because you need to catch the fabric you need to be aware of what is showing on the front of the embroidery.

Enjoyed this blog post? I share embroidery tips and a free embroidery pattern in my monthly newsletter. Sign up here to receive the newsletter on the 1st of each the month.

In tips 2 Tags Thread
Comment
A picture of a flat lay of various craft materials all materials and the background are in shades of green. Overlaid is a blue square with white text saying - hand embroidery, three embroidery tools it is worth getting right

Three embroidery tools it's worth getting right

May 19, 2021

I’m an advocate for re-using and recycling materials for my crafting. And when there is something I need for a project I’ll often head for the local pound shops to see if they have something I can use.

But embroidery requires a degree of precision so there are some tools where it is worth investing a little money to get great quality items.

A pile of embroidery needles scattered as if someone has played kerplunk with them

Needles

I once made the mistake of buying some needles from the pound shop. They were terrible. The shaft of the needle wasn’t smooth so they caught in the fabric. The eye of the needle was also rough and frayed the thread after just a few stitches. One needle in the batch even had a completely square eye end!

There are some brand names that I’ve had a similar experience with. All the needles I use in my kits are from Prym and they’re great. I’ve also used John James needles that I’ve been impressed by.

A picture of 8 different craft and embroidery scissors arranged in a circle

Scissors

For embroidery the two crucial features of scissors are sharp and pointy. You don’t want to be hacking away at your thread of fabric, you want a nice clean cut.

These are all the scissors I have sitting in a jar on my craft table. Of these the gold stork scissors and little silver pair are my go-to’s. They both have the pointiest points and a good ‘snip’.

I’ve accumulated these pairs over time as gifts or as part of kits so don’t have any recommendations of where to buy a good pair at the moment.

a picture of an embroidery hoop where there is clearly a gap between the inner and outer hoop for only part of the circumference

Hoop

A wonky hoop won’t hold your fabric tight enough to give you enough tension to create great stitches. I’ve learned this the hard way. I went on holiday for 2 weeks with plenty of embroidery to keep me busy but only one hoop. I didn’t check that hoop before packing it and spent the whole holiday cursing that hoop!

Can you see that gap on the left of the hoop in the picture? That’s a big no-no with hoops - you shouldn’t be able to see any gap with a good hoop.

Elbesee are UK made hoops with a great reputation. I also have found a great supplier of hoops and you’ll be able to buy these hoops in my shop soon.

Enjoyed this blog post? I share embroidery tips and a free embroidery pattern in my monthly newsletter. Sign up here to receive the newsletter on the 1st of each the month.

In tips 2 Tags Needles, Hoops, Scissors
Comment
A picture of a pink abstract embroidery. Overlaid is a blue square with white text saying - hand embroidery, the four main groups of embroidery stitches, www.embellishedelephant.co.uk

The four main groups of embroidery stitches

May 12, 2021

Ever felt a bit overwhelmed by all the different embroidery stitches and their different names?

Sometimes it’s easier to identify the group a stitch belongs to rather than remember the name of the specific stitch.

A picture of curved lines of embroidery stitches in black thread on white fabric

1) Line stitches

Most commonly these are stitched in a line, but they can also include border stitches.

Examples include backstitch, running stitch, stem stitch and split stitch.

A picture of lots of different isolated embroidery stitches in shades of pink on calico fabric

2) Isolated stitches

These are stitches that can be stitched on their own, or combined in groups.

Examples include seed stitch, French knots, bullion knots and lazy daisy stitch.

A close up of an abstract embroidery in shades of pink, yellow and green showing a range of different embroidery stitches that can be used for filling space

3) Filling stitches

If you need to fill an area then these are the stitches to use. It doesn’t mean you can’t use others, but these stitches work best.

Examples include satin stitch, long and short stitch, brick stitch.

A picture of a Salt Stitches DIY kit demonstrating a range of texture stitches

4) Texture stitches

These stitches are used to add texture or a bit of wow factor to a piece of embroidery .

Examples include needle weaving, woven wheels, woven picots, turkey work.

If you can’t find the stitch that you want, have a browse of my stitch showcase blogs until you see one you like.

Enjoyed this blog post? I share embroidery tips and a free embroidery pattern in my monthly newsletter. Sign up here to receive the newsletter on the 1st of each the month.

In tips 2 Tags Stitch Showcase
Comment
a picture of lots of colourful threads all mixed together in a messy pile. Overlaid is a blue square with whit text saying - hand embroidery, starting a thread, www.embellishedelephant.co.uk

Six ways to start off a thread

April 28, 2021

If you’ve stitched or sewn anything by hand before you probably have a method that you use to start off your thread. My go-to is a simple knot, but there are some other methods that you may find easier or may be particularly useful for the type of project you are working on.

A picture of two hands, one holding the needle the other the thread. The purple thread is wrapped around the needle

Knot

I always knot the tail end of the thread. There are a few exceptions that I cover here, but most of the time a knot is fine to prevent your thread going all the way through the fabric.

Juts a note on knots. I always use a quilters knot which I like to think of a bit like a French knot just without the fabric! Take the end of the thread (furthest from the needle) and wrap it round the needle a few times. Then carefully move the wraps down the needle and to the end of the thread. You should find you have a nice neat little knot. There is a step by step tutorial from Craftsy here.

A picture showing calico fabric in an embroidery hoop, on it is one straight stitch in purple thread and to the right of it is a knot and tail of thread on the surface of the fabric

Waste knot

This is a little different because you start the thread from the right side. Once you’ve created your knot, bring the needle down through the fabric away from where you are going to start stitching.

Make a few stitches and then gently snip the knot away and make sure the tail is pulled through to the wrong side.

A hand is holding an embroidery hoop. The thumb is holding down the end of some purple thread, the embroidery needle is pushed part way through the fabric

Hold in place

This is the one that puts you most at risk of frustration. You need to concentrate or you end up pulling the thread all the way through.

Pull the needle through the fabric and leave a 1-2cm tail on the wrong side. Use your thumb from your non-stitching hand to hold the thread in place while you make a few stitches. Be careful not to pull the thread too hard until you are a few stitches in otherwise the tail will pull through.

A picture of an embroidery hoop. On the calico fabric a needle threaded with purple floss is pushed part way through the fabric, in almost the same hole the thread came up through

Anchor stitches

This is very similar method to the ‘hold in place’ method except you are consciously making a couple of tiny stitches that you will then cover up. In the previous method you are stitching as normal.

A picture of the back of an embroidery, the tail of the thread has been passed under previous stitches

Weave in

If you have a lot of stitches already on the back of your work you can weave in the tail so that you have a secure base and can start stitching with confidence

A picture of calico fabric in an embroidery hoop. On the surface of the fabric is a loop of purple thread

Loop

Sometimes I’ll cut a metre length of thread and then fold it in half to stitch with two strands. When doing this it opens up the option of securing the thread using the looped end.

Bring the needle up through the fabric being careful not to pull it all the way through. Complete the first stitch and pass the needle through the loop. Pull the first stitch tight and continue stitching as normal.

Enjoyed this blog post? I share embroidery tips and a free embroidery pattern in my monthly newsletter. Sign up here to receive the newsletter on the 1st of each the month.

In tips 2 Tags Thread
Comment
A picture of an embroidery hoop with pink fabric. Overlaid is a blue square with white text saying - hand embroidery, five tips for getting fabric taut in an embroidery hoop, www.embellishedelephant.co.uk

Five tips for getting fabric taut in an embroidery hoop

April 21, 2021

An embroidery hoop is crucial to creating a beautiful finished piece of embroidery. Most of the projects that you’ll stitch you’ll need the fabric really taut so you can drum your fingers on it and get a sound. (There are some exceptions to this but that’s for another blog post).

Here are my tips for getting your fabric as taut as you can in your hoop.

1) pick a hoop with a bit of grip

Hoops are normally made from wood, bamboo or plastic. Personally I avoid stitching with plastic hoops as I in my experience they are too slippery and don’t grip the fabric well enough. I prefer wood or bamboo hoops which give some added grip and help to maintain the tension. However, I know that others swear by plastic hoops - find what works best for you.

2) make sure that the inner and outer hoop fit snuggly together

Some hoops aren’t perfectly round so the inner and outer hoop may have some gaps between them. Try rotating the inner hoop around before adding the fabric to find the best fit. You can mark the edge of the inner and outer hoop so you can align them back up when you’ve added the fabric. But at the end of the day if the hoop is misshapen it’s best to put it to one side and pick another hoop.

3) pull the EDges of the fabric to create tension

Working around the hoop and pulling the edge of the fabric after you’ve tightened the hoop can make sure that the fabric in the centre of the hoop is taut. Then tighten the screw one last time to secure the fabric in place. You may find that you need to do this a few times as you stitch the project.

4) use tools to tighten the screw

I only learned fairly recently that the screw on some hoops has a slot for a flat head or philips head screwdriver. Using a screwdriver really works - you can turn the screw much further than with your fingers alone. And if your hoop doesn’t have this slot then you could use some pilers instead (although these may mark the metal so be careful!)

5) use a second layer of fabric

For some hoops you get to the limit of how far you can tighten the screw before you’ve reached the tension you need. Bulking out your fabric by using an extra layer can help give you that extra turn of the screw and get your fabric super taut. Alternatively you can bind the inner hoop with some fabric tape to get the same effect.


Enjoyed this blog post? I share embroidery tips and a free embroidery pattern in my monthly newsletter. Sign up here to receive the newsletter on the 1st of each the month.

In tips 2 Tags Fabric, Hoops
On a pale blue background, a pile of embroidery needles are scattered like a game of kerplunk. Overlaid is a blue square with white text saying - hand embroidery, how to thread a needle, www.embellishedelephant.co.uk

How to thread a needle

April 14, 2021

I’ve had 25+ years of practice of threading a needle and to me it is second nature, but if you are just starting out it can be very frustrating if you spend more time threading the needle than stitching.

Here are my top tips for you to try to improve your needle threading experience.

five different hand sewing and embroidery needles are laid in parallel on calico fabric

Pick the right needle

If you struggle with threading a needle then have a look at the needle you are using. It may be that the eye of the needle is super small making it really difficult for you.

You don’t necessarily need to pick a thicker needle, just a slightly different type with a bigger eye. This post shows some of the different types you might come across.

A picture of the end of embroidery thread being cut by scissors

Trim the end of your thread

Snipping the end to create a blunt flat starting point makes it a lot easier to thread a needle.

This is a really important step if you are re-threading a needle that you’ve been stitching with already as the end of the thread frays slightly as you work. If you are stitching with multiple strands snipping them so they are all the same length also really helps.

A picture of a left hand, between the thumb and first finger is the end of a blue embroidery thread

Moisten and squeeze

I don’t know if there is any scientific backing to this tip but it has always worked for me! I pop the end of the thread in my mouth to moisten it slightly. I then squeeze the end between my thumb and forefinger so that the end sticks up no more than a millimetre.

A picture of two hands, the left hand is holding a blue thread, the right hand is holding an embroidery needle , the thread is just poking through the eye of the needle

Take the needle to the thread

Whilst you are squeezing the thread with your non-dominant hand, pick up the needle in your sewing hand and take it towards the thread. Push the needle down and gently release more of the thread as you move the needle down. As soon as there are a few millimetres through the eye grab the needle with your non-sewing hand and grab the end of the thread with your sewing hand and pull the thread through so you have a decent length tail.

A picture of two hands, in the left a needle is held. In the right is a metal needle threader. The needle threader is through the eye of the needle and through the loop of the needle threader is a length of blue thread

A needle threader is an option

I don’t include a needle threader in my kits as I believe most people can learn to thread a needle.

But if you are really having trouble threading a needle then a needle threader is always an option.

Enjoyed this blog post? I share embroidery tips and a free embroidery pattern in my monthly newsletter. Sign up here to receive the newsletter on the 1st of each the month.

In tips 2 Tags Needles
Comment
A picture of an embroidery hoop on a cream background. Overlaid is a blue square with white text saying - hand embroidery, The anatomy of an embroidery hoop, www.embellishedelephant.co.uk

The anatomy of an embroidery hoop

April 3, 2021

An embroidery hoop is the one piece of equipment you need to get started with embroidery. So understanding a bit about the hoop helps (but isn’t essential).

There are three main parts to an embroidery hoop that it is useful to recognise. The inner hoop, the outer hoop and the screw fitting. The materials the hoop is made from and the size are also important considerations

A picture of a green plastic embroidery hoop. There are 3 text labels in blue with white text and a wiggly line pointing to the part of the embroidery hoop. The labels say, screw fitting, inner hoop, outer hoop

Inner & outer hoop

An embroidery hoop has two parts, an inner hoop and an outer hoop. The inner hoop fits snuggly inside the outer hoop (if it doesn’t then you will have problems when stitching). The inner hoop is fully circular, you shouldn’t be able to see any joins! The outer hoop has a screw fitting and isn’t fully circular.

I recommend that you embroider with the fabric laid over the inner hoop and the outer hoop pressed on top. This will mean that there will be a few millimetres right at the edge of the embroidery hoop where you can’t stitch but it is easy to embroider this way up than flipping the hoop over and having the inner hoop on top.

Screw fitting

The screw fitting is there to tighten the hoop to create tension in the fabric. You can fully unscrew the screw but normally this isn’t needed.

On some hoops if you look at the end of the screw you’ll see an indent that you can use a screwdriver with. Most of the time you can tighten the screw tight enough with your fingers but if you need that little extra grip then for this style of hoop you can use a screwdriver.

Materials

Embroidery hoops are most commonly made from wood, bamboo or plastic.

My preference is to use a wooden hoop as I find that these type of hoop grips the fabric really well creating great tension. I use wooden hoops in all of my kits for this reason.

Bamboo hoops are also great for the same reason but I’ve found that some of the bamboo hoops I’ve bought (especially from eBay) are mis-shapen. When a hoop isn’t perfectly round then it doesn’t hold the fabric tight and causes problems with stitching.

I’ve also found two different types of plastic hoops - those that have a screw (like the wooden/bamboo hoops) and those that have some flex. Personally I find that when I stitch in plastic hoops the fabric slips around too much. I am also trying to reduce the amount of plastic in my life so am not buying any more of this type of hoop. Any that I have left in my stash I'm using just for framing finished pieces.

Size

Embroidery hoops come in different sizes and will be measure by diameter so a 6 inch hoop will be that measurement across (not around). Some designs work best in certain sized hoops. In addition sometimes it can be better to stitch a design in a slightly larger hoop than you will display the finished work in (so you can stitch right to the edge of the available space.


Enjoyed this blog post? I share embroidery tips and a free embroidery pattern in my monthly newsletter. Sign up here to receive the newsletter on the 1st of each the month.

In tips 2 Tags Hoops, Basics
Comment
A picture of a heart embroidery in shades of pink thread on calico fabric. Overlaid is a blue square with white text saying - hand embroidery, crafting as self care framework vs freedom

Crafting as self care - Framework vs Freedom

March 20, 2021

I've been thinking a lot about the topic of self care during the past year of lockdowns.

I’ve come to realise that I’ve always practiced self care via crafting. It provides me a point of focus away from everything else going on and as an introvert it is an activity that I can do alone to recharge my batteries. I find that if I don’t have a craft project on the go I feel a little lost.

Craft is known to have a positive impact on wellbeing and there is starting to be some scientific research to back this up. For some it is the rhythm and repetition, whereas for others it is working on something where there will be a tangible outcome (within our control).

This Craft Council blog explores some of these reasons. And this article is an interesting read on author’s reflection on the calming effects of needlecraft in their life.

But crafting projects frequently come with imposed or self-imposed ‘rules’, which for some can be a help or hinderance when using craft as self care. Are these familiar?

You must use these materials

You can only make this stitch using this technique

To achieve this look you must do 10 of these and 5 of these

Over the past few years I’ve learned that my personality type is one which thrives when there are rules or boundaries to work within (maybe that is why I’m drawn to certain crafts?). Combined with that, I lean strongly towards my head (thinking) being in control. But I am consciously trying to bring in my heart (feeling) more into my everyday life.

But even I, directed by ‘rules’ and my head, love the freedoms and choices that we can make even within those ‘rules’.

For example, with a crochet or knitting pattern, if you don’t follow the ‘rules’ closely you won’t get the right size & shape. But you don’t have to use the exact colour (or even the exact yarn) shown in the pattern.

I try to build in a combination of framework and freedom into the kits that I design. I know that sometimes I need a project that I can pick up and just be guided how to stitch something exactly like in the picture. Other times I crave total creative freedom to turn a bunch of materials into something unique. A lot of the time I need something in-between - an idea that I can broadly follow but add my own twist to.

One of my favourite ways to craft that fulfils that ‘in-between’ is intuitive embroidery. I find it a particularly mindful embroidery practice with no constraints, no fixed pattern and no plan. Each stitch starts by selecting a thread colour, seeing where that colour fits best and stitching in whatever form seems right. No stitch is a mistake. Occasionally one stitch may look out of place, but adding other stitches around it tends resolve the unease to create something beautiful.

I've been working on some kits that use this intuitive embroidery technique and the first of these that I’ve released is this heart design. It's stitched using isolated stitches. These are stitches that you can place anywhere. They don't need to be connected to any other stitches, which make them perfect for this technique.


Enjoyed this blog post? I share embroidery tips and a free embroidery pattern in my monthly newsletter. Sign up here to receive the newsletter on the 1st of each the month.

In tips 2 Tags About me
Comment
A picture of some fabric, scissors, needle, embroidery floss and hoop laid on a table. Overlaid is a blue square with white text saying - hand embroidery, what you need to get started with hand embroidery, wwww.embellishedelephant.co.uk

What you need to get started with embroidery

March 6, 2021

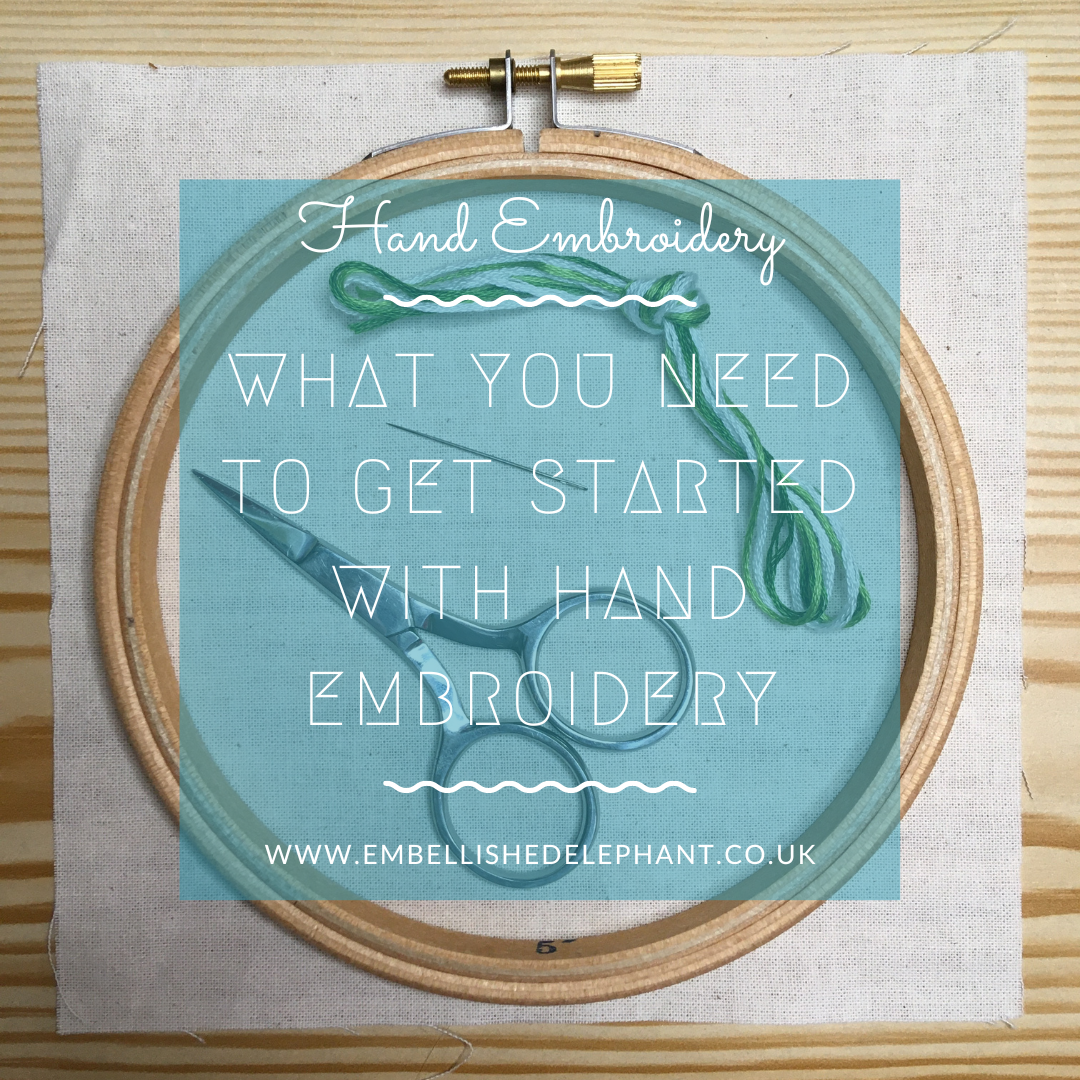
Embroidery is a great craft to try as you don’t need much equipment to get started. But if you want to start stitching what do you need?

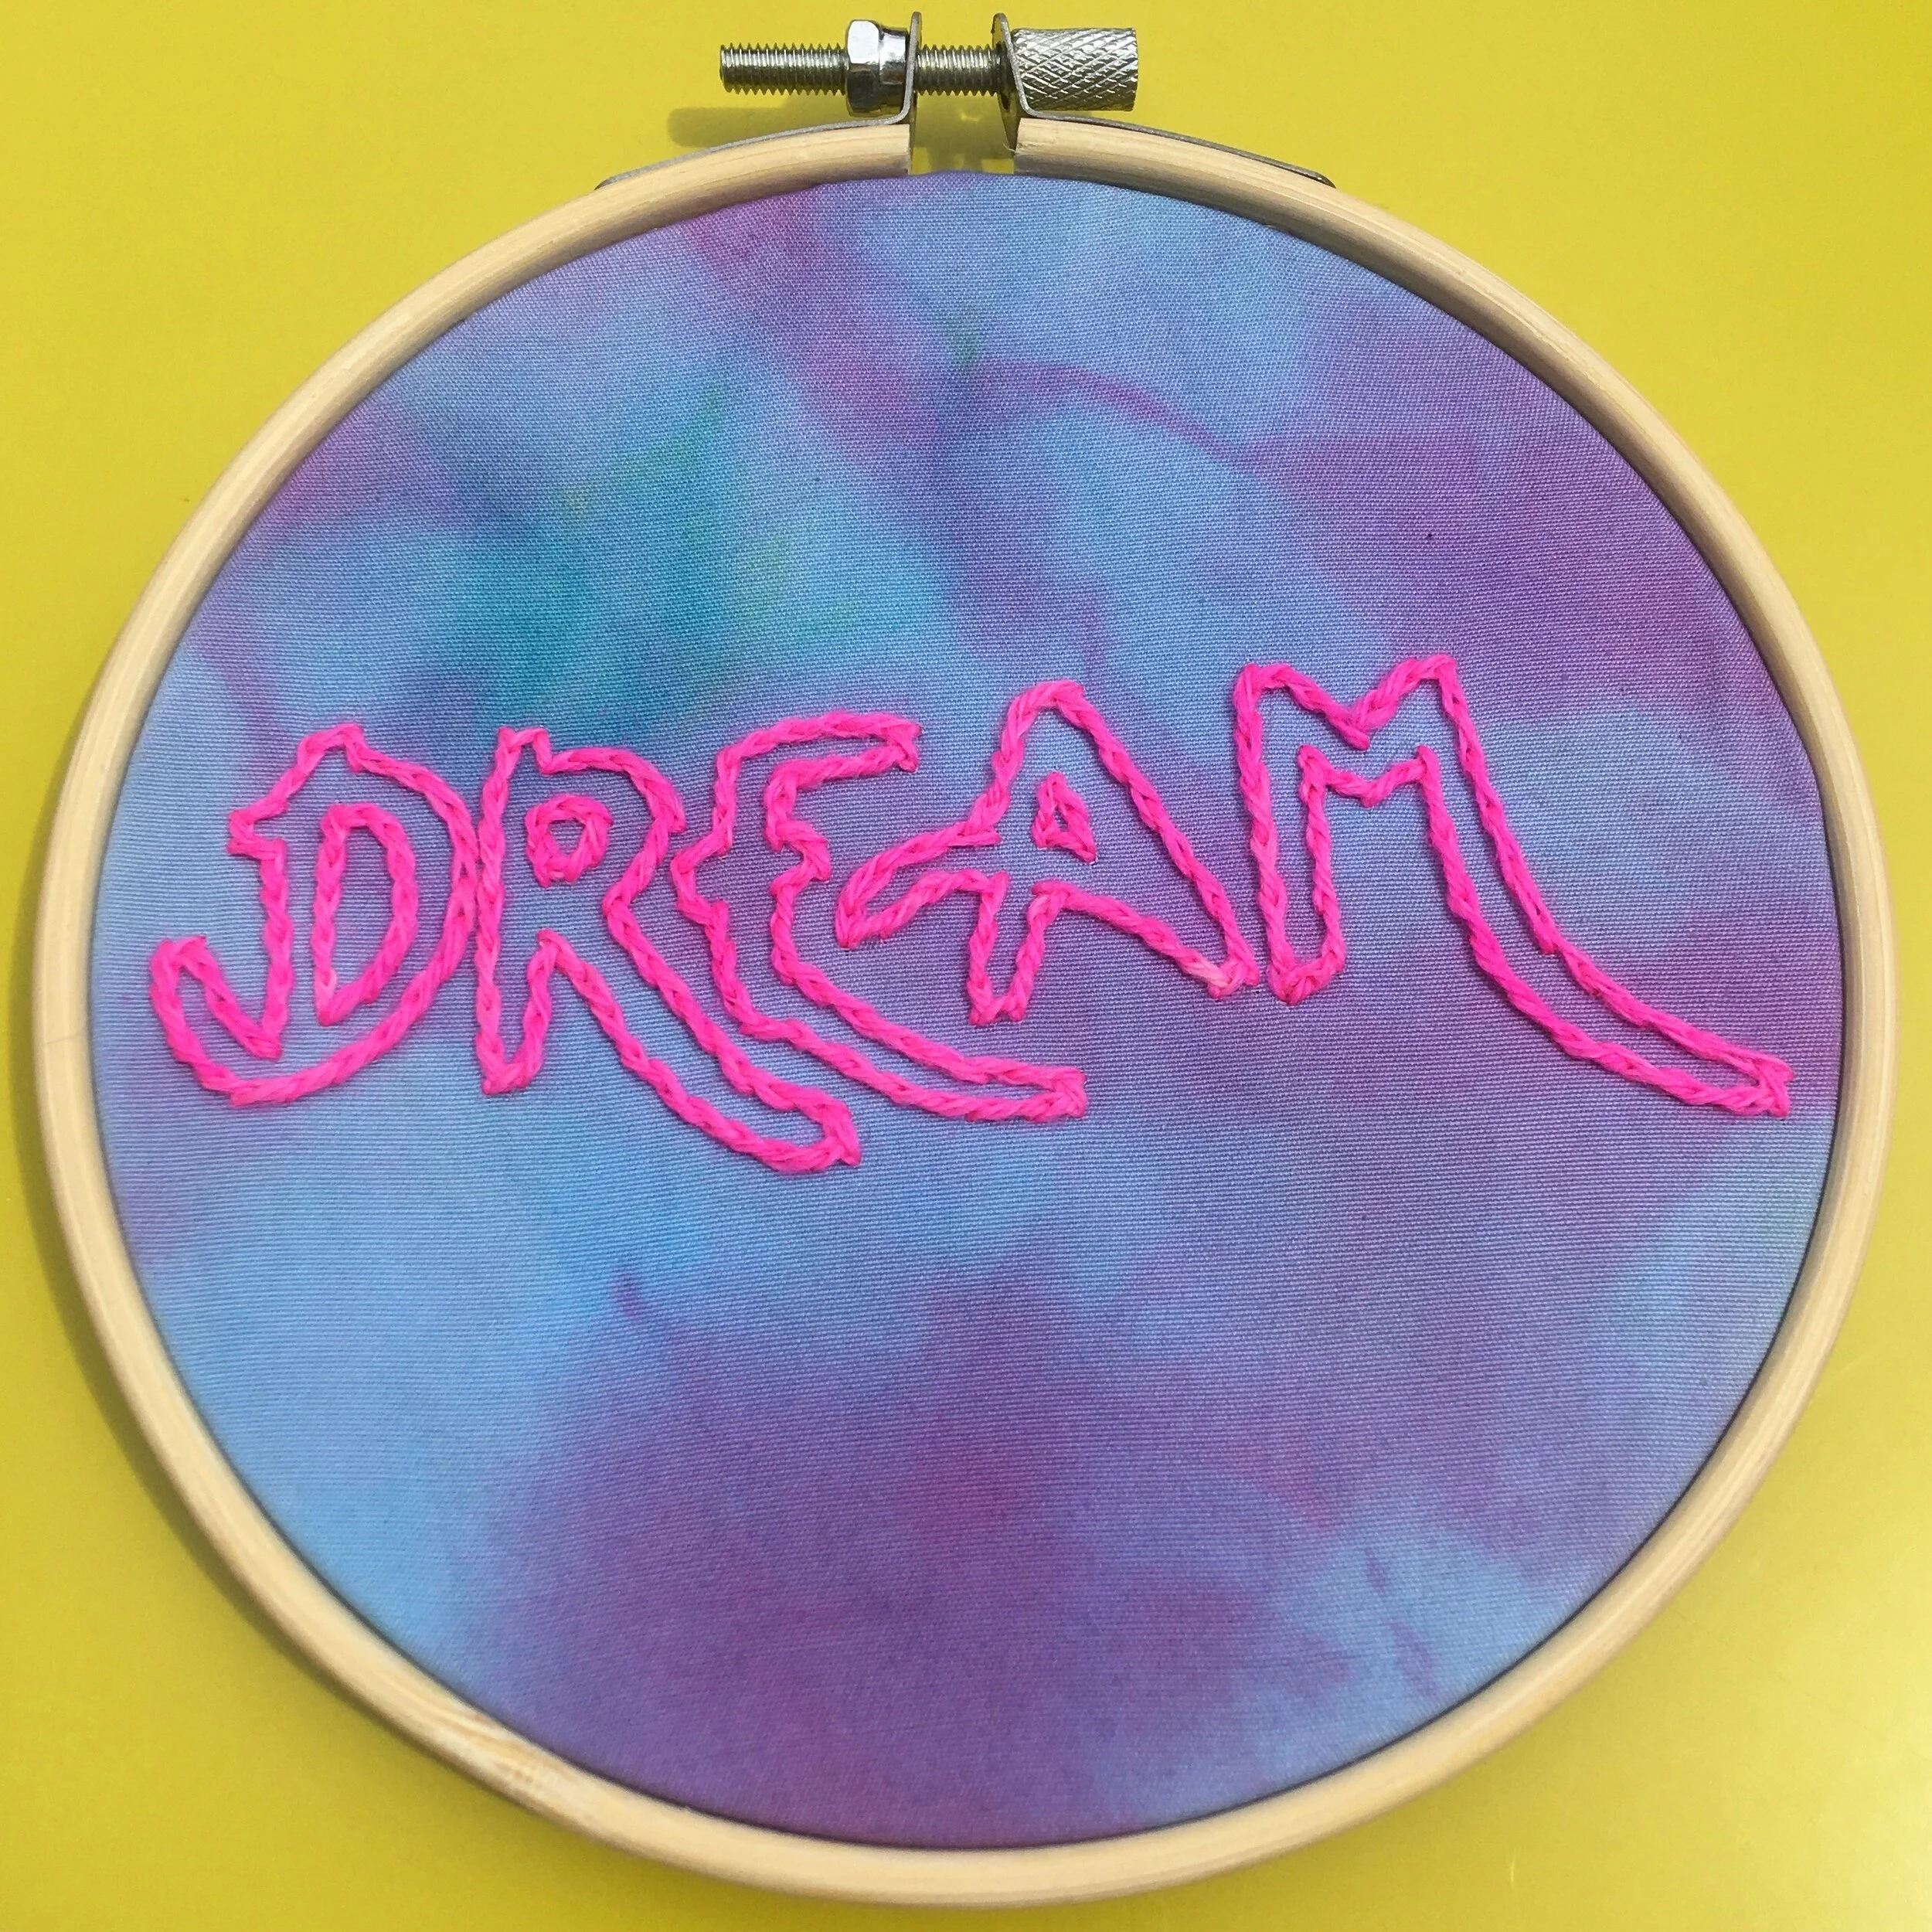
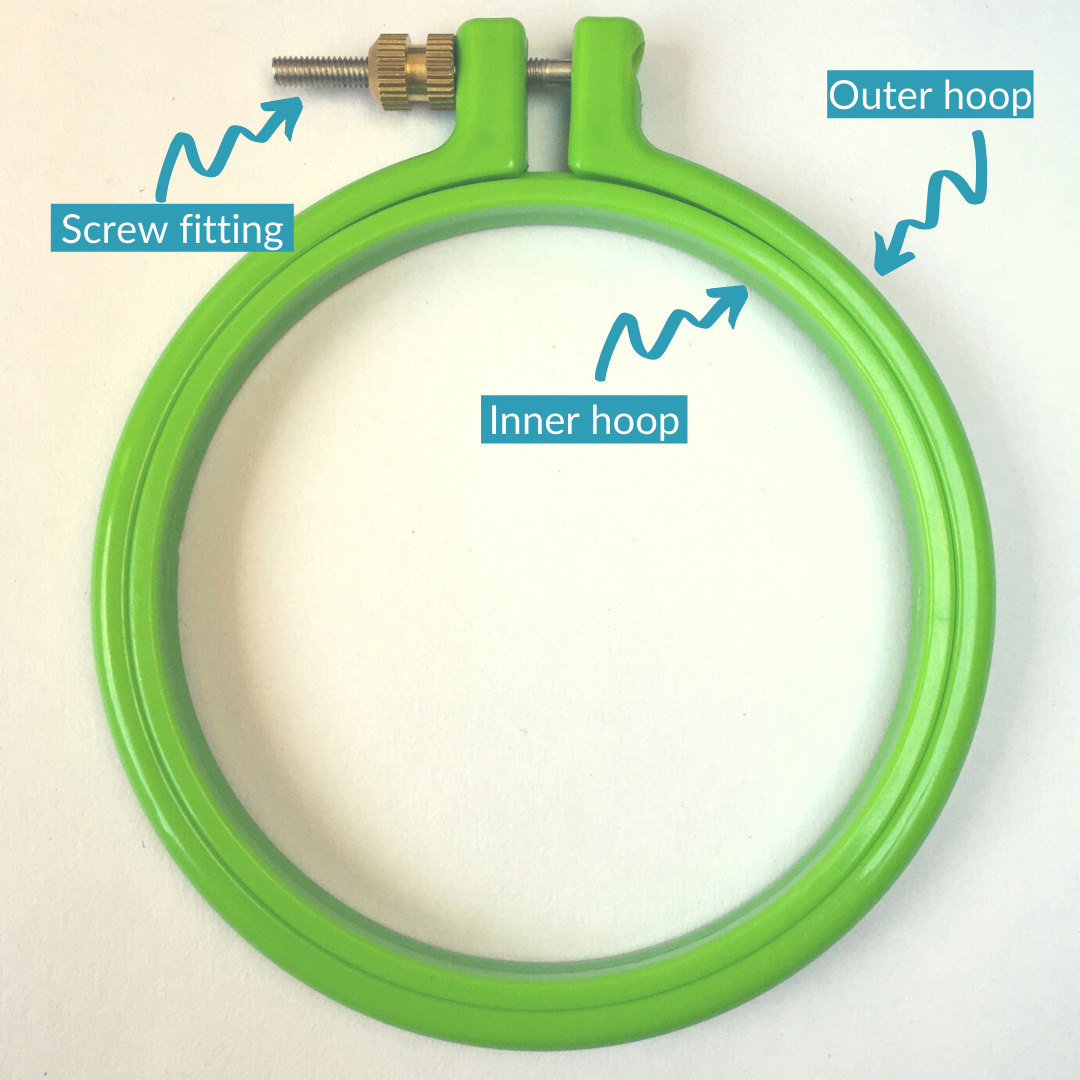
1. An embroidery hoop

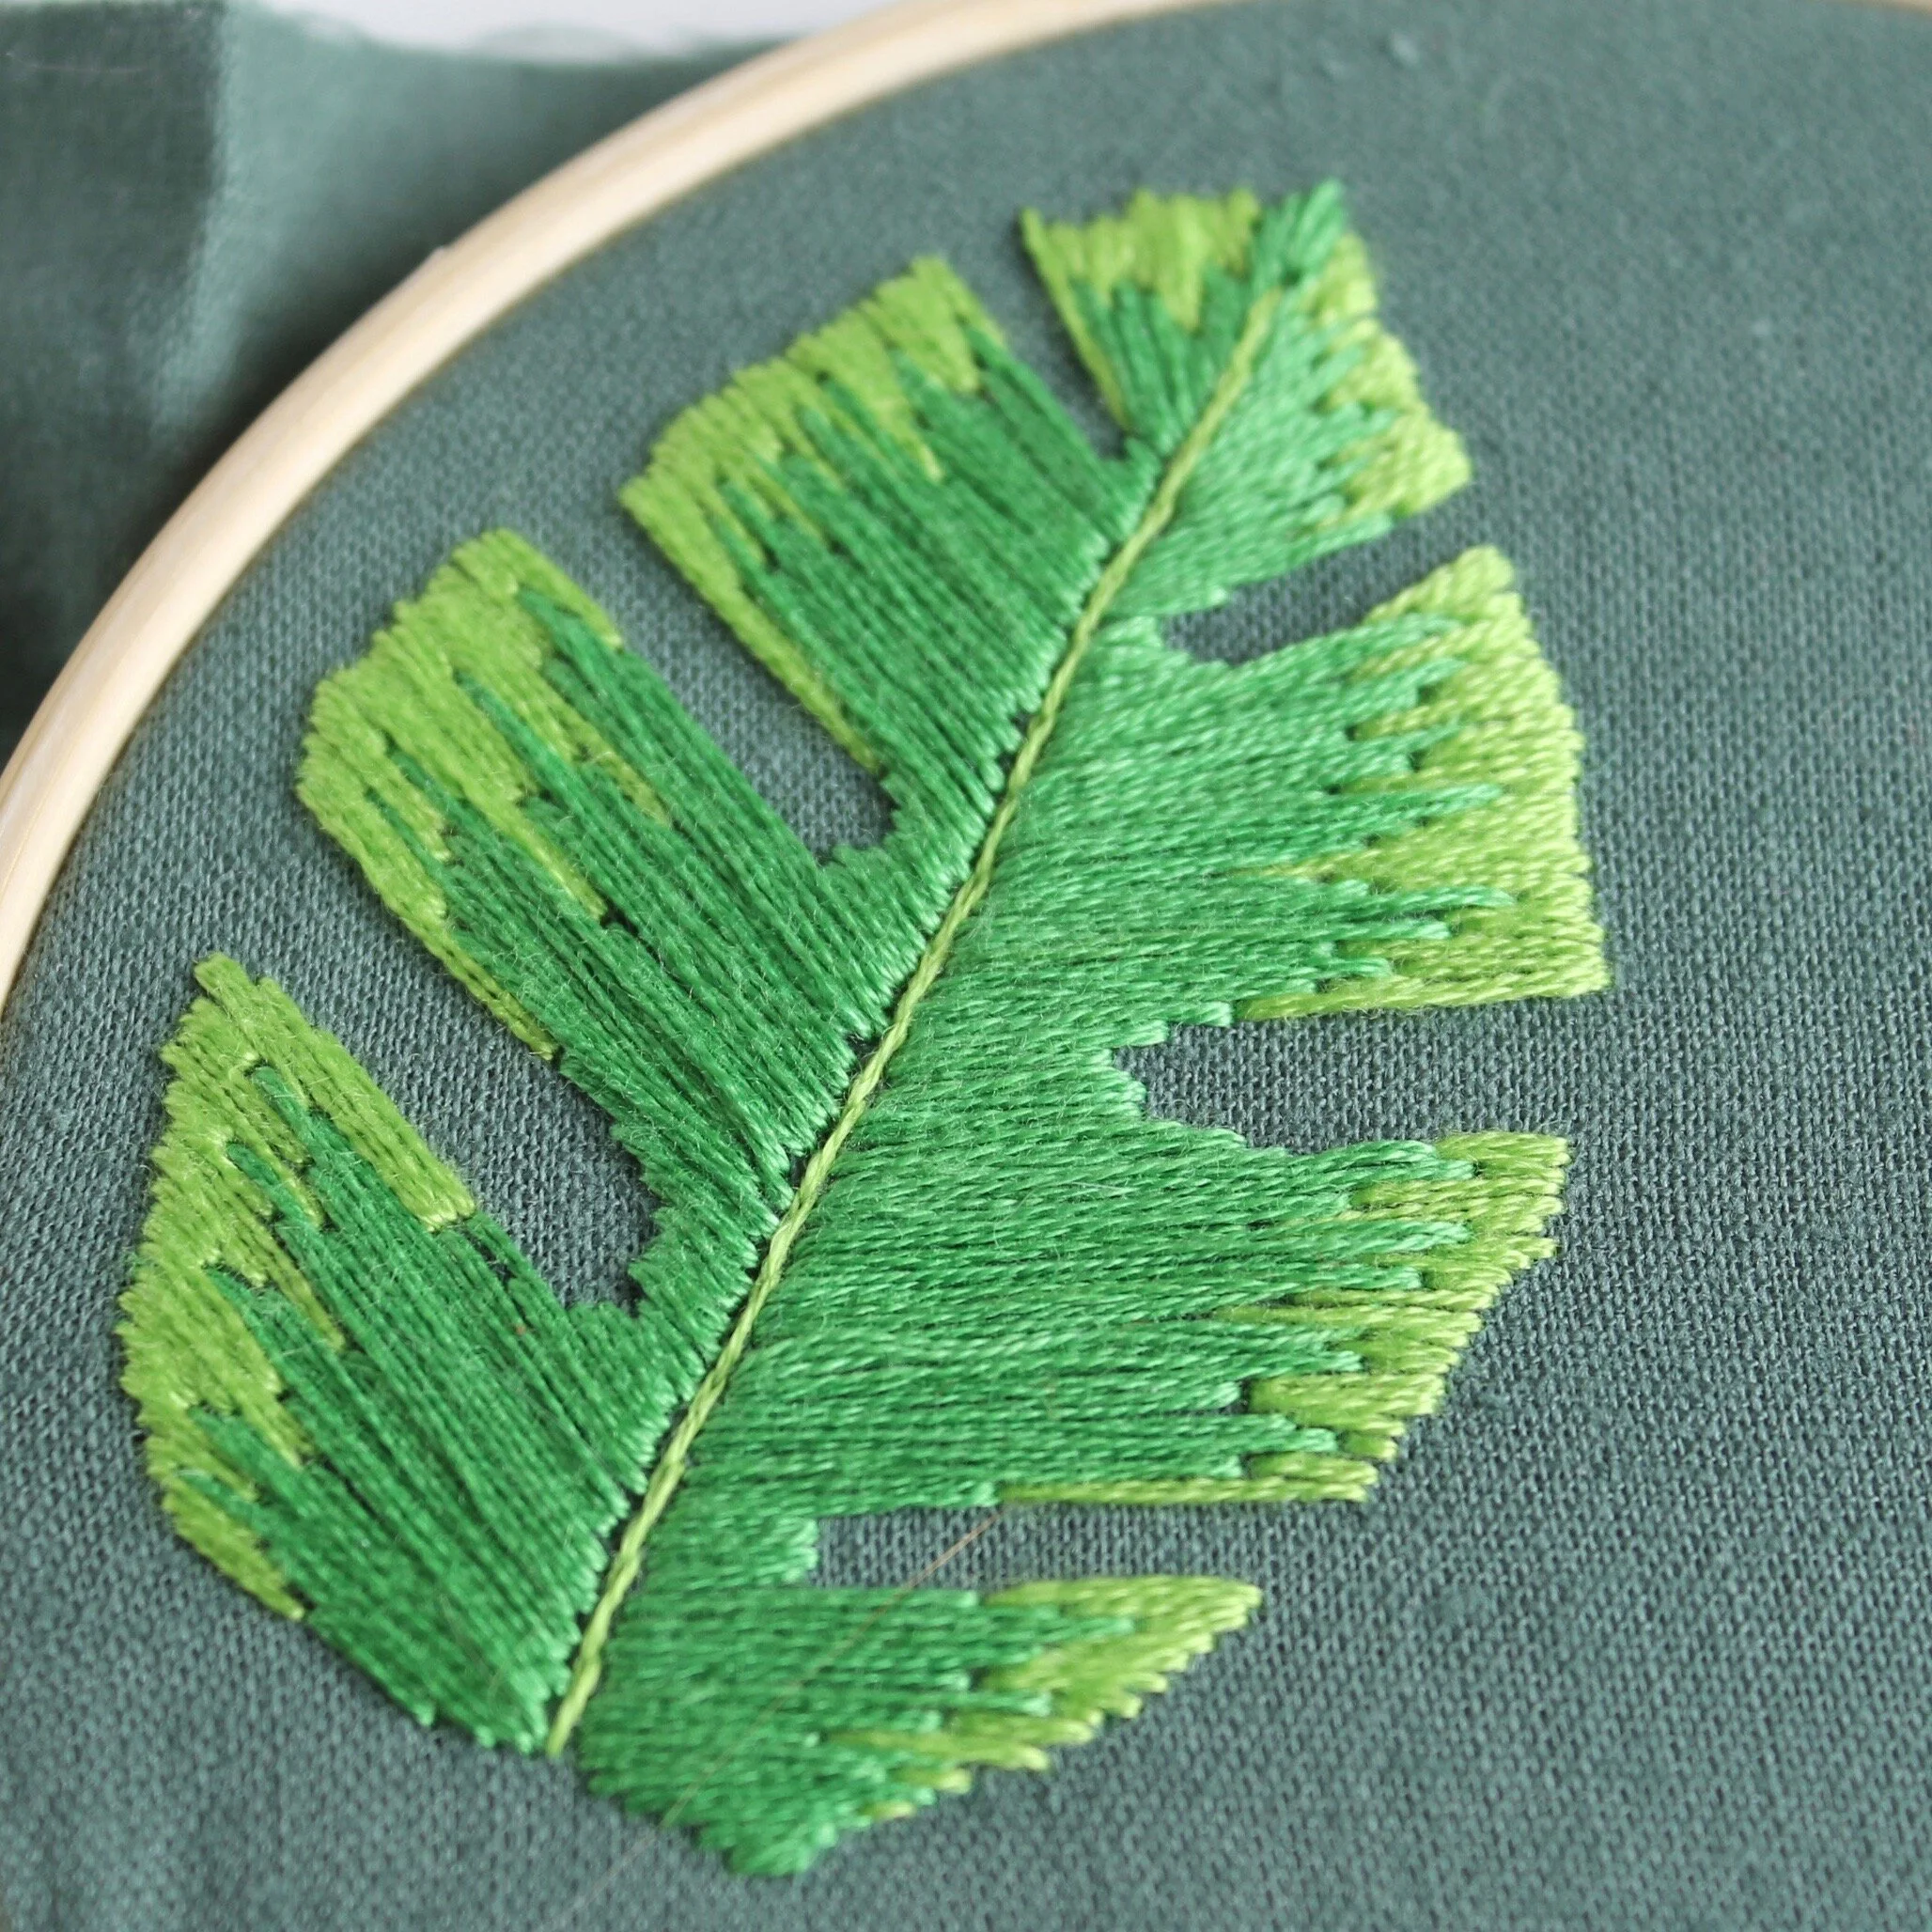
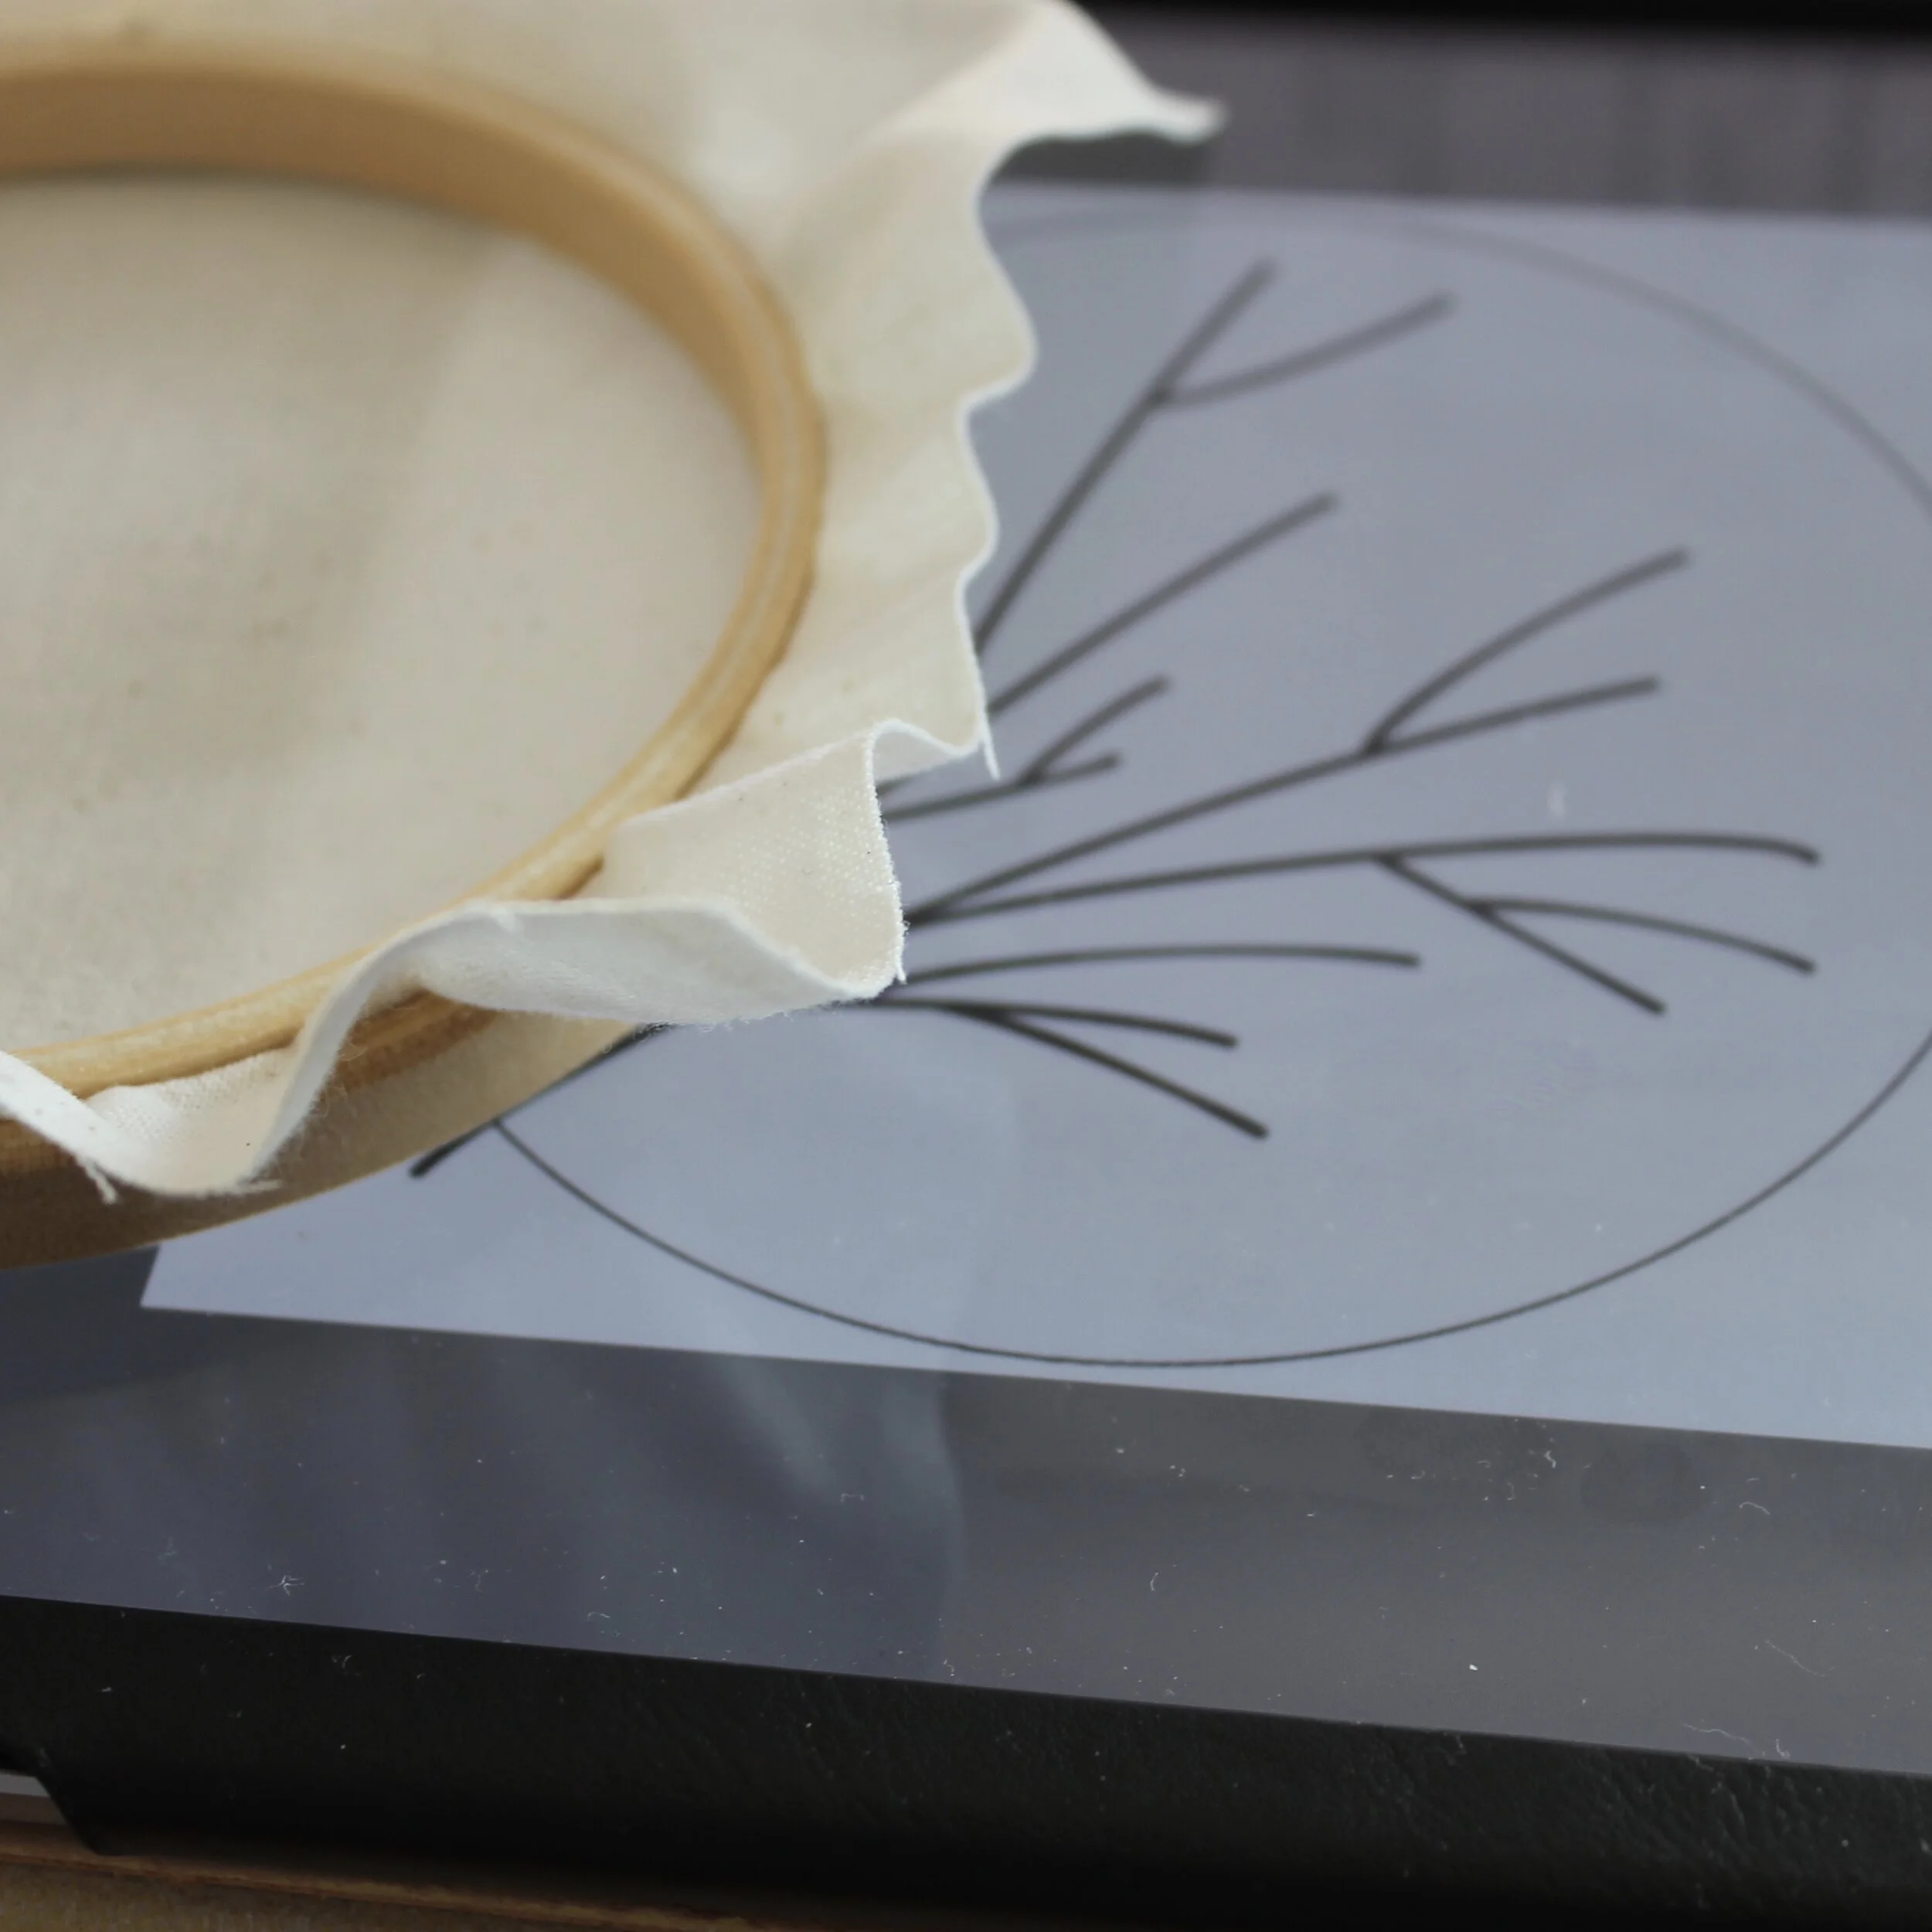
For pretty much every embroidery project you will stitch (especially as a beginner) you will need an embroidery hoop. The hoop keeps the fabric taut meaning when you take your finished piece out of the the hoop the stitches will lie flat and the fabric won’t pucker.
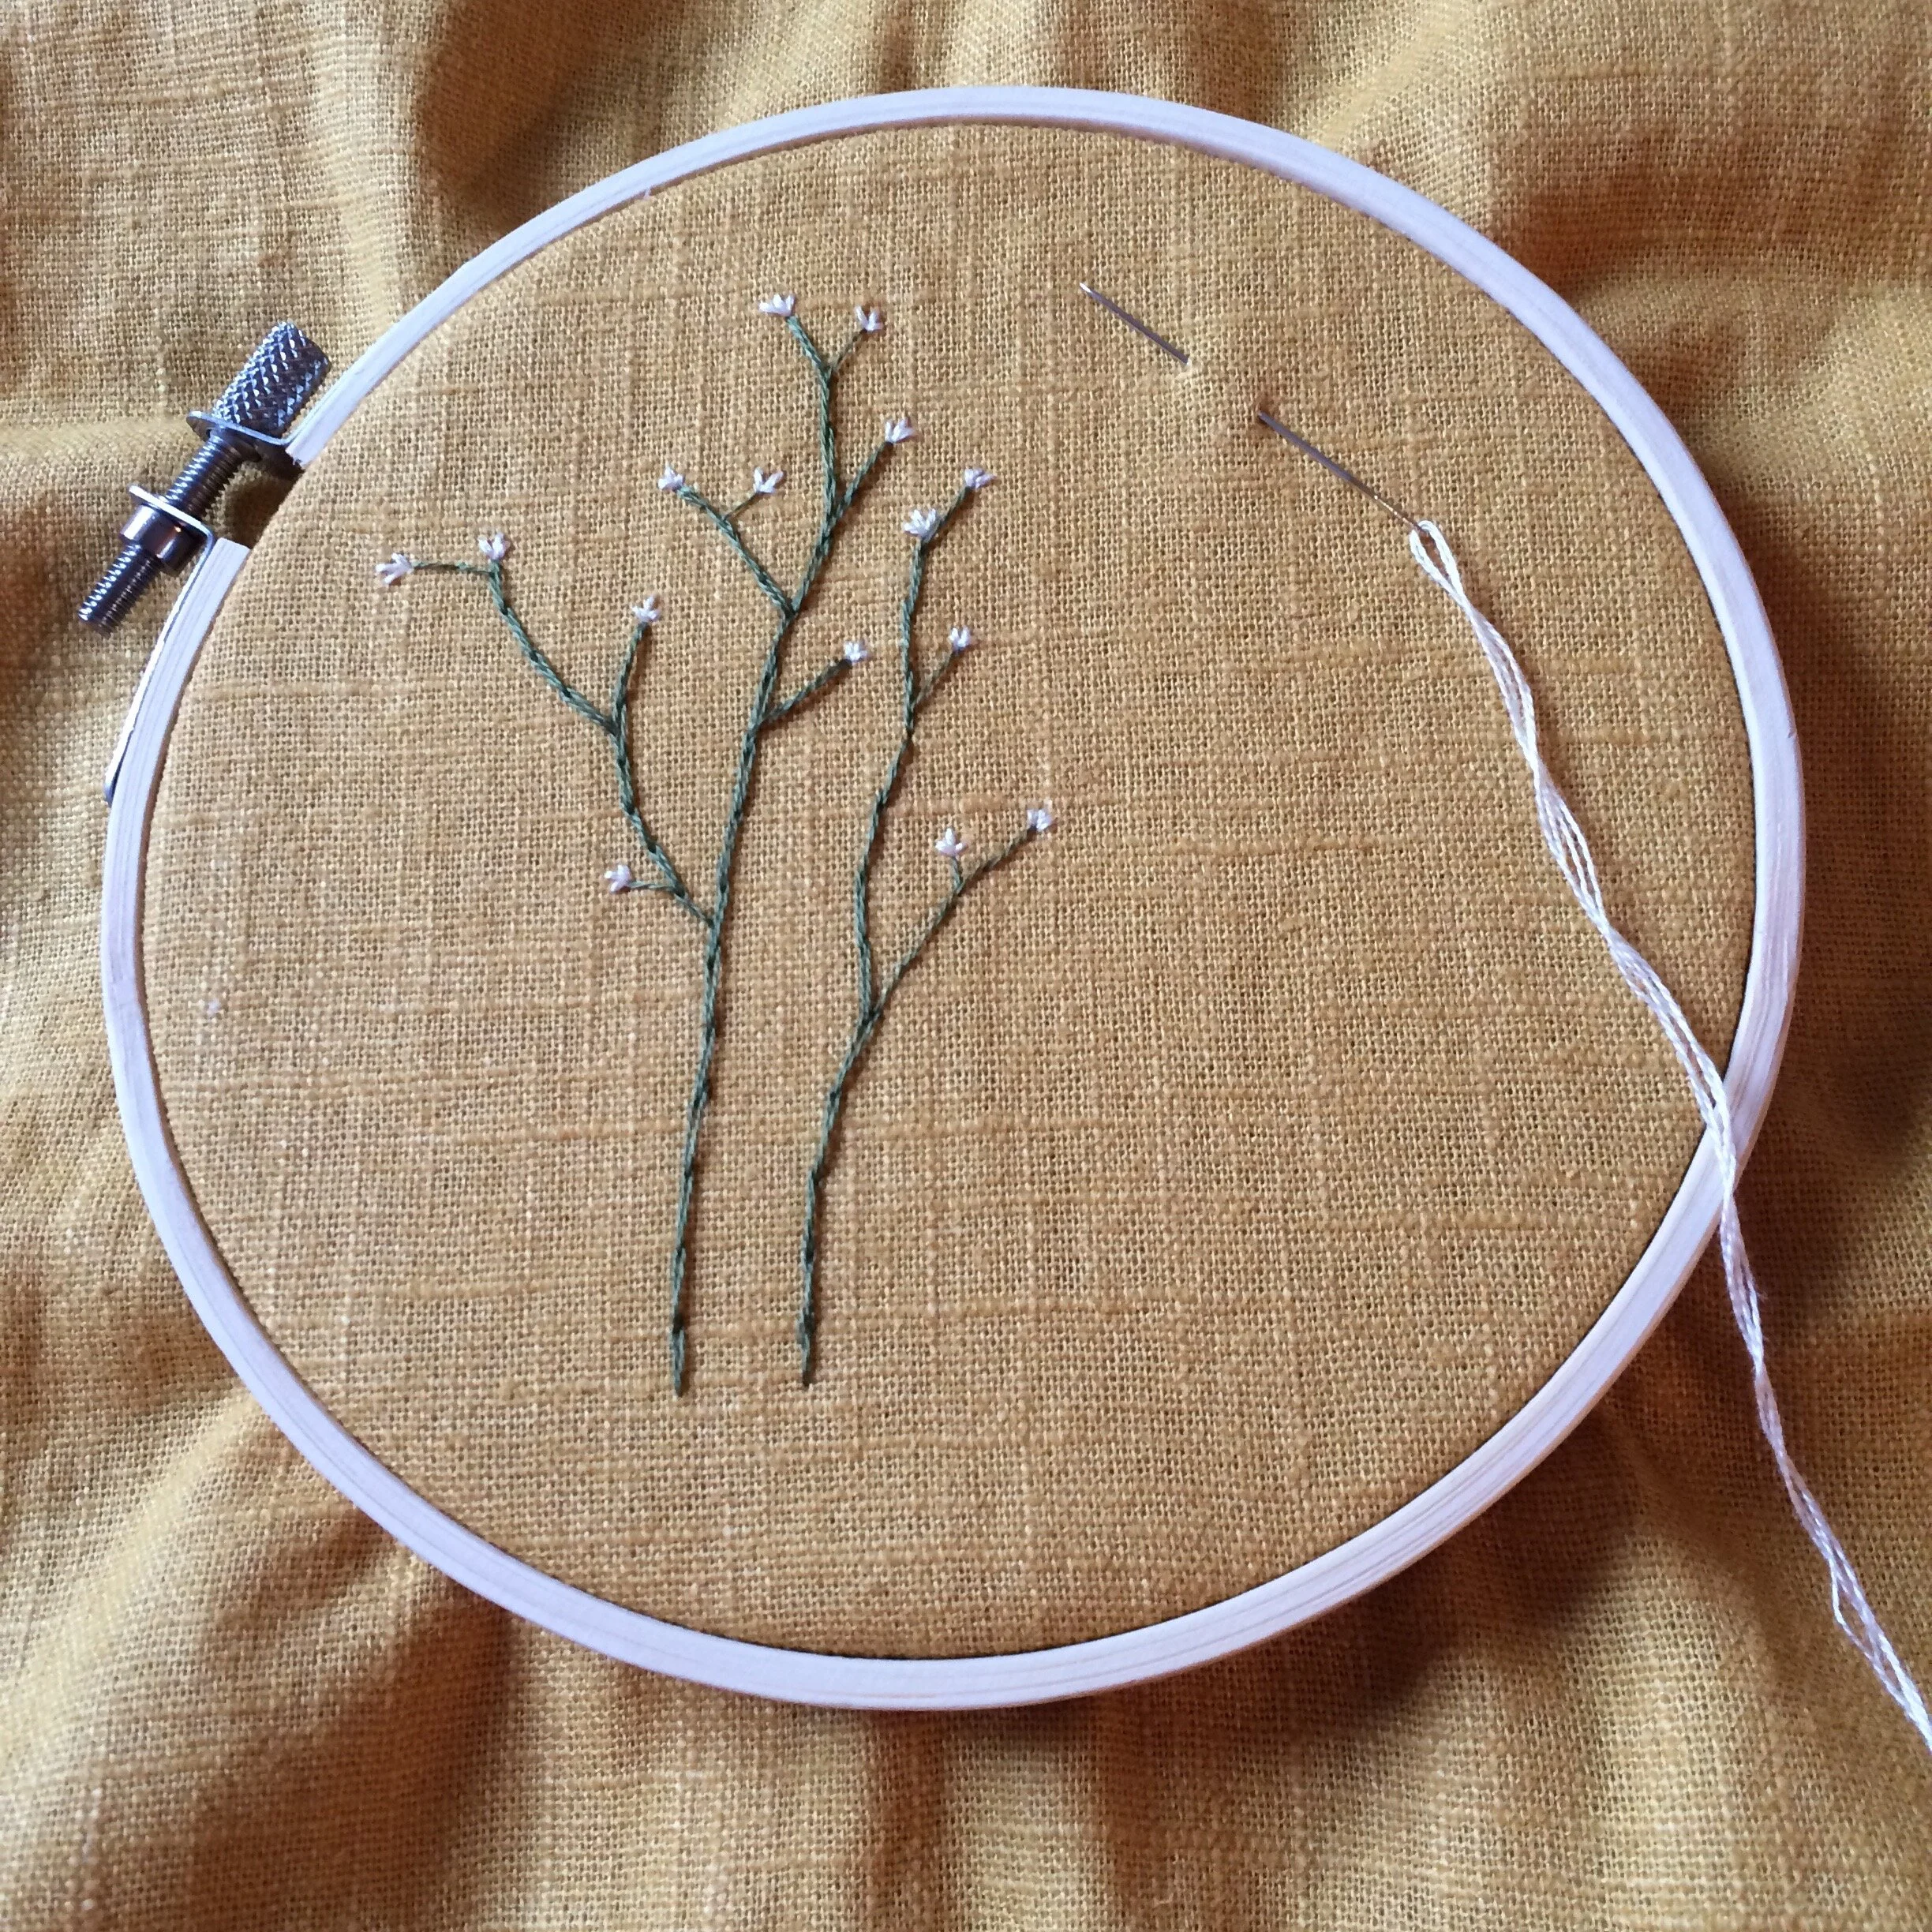
2. Fabric

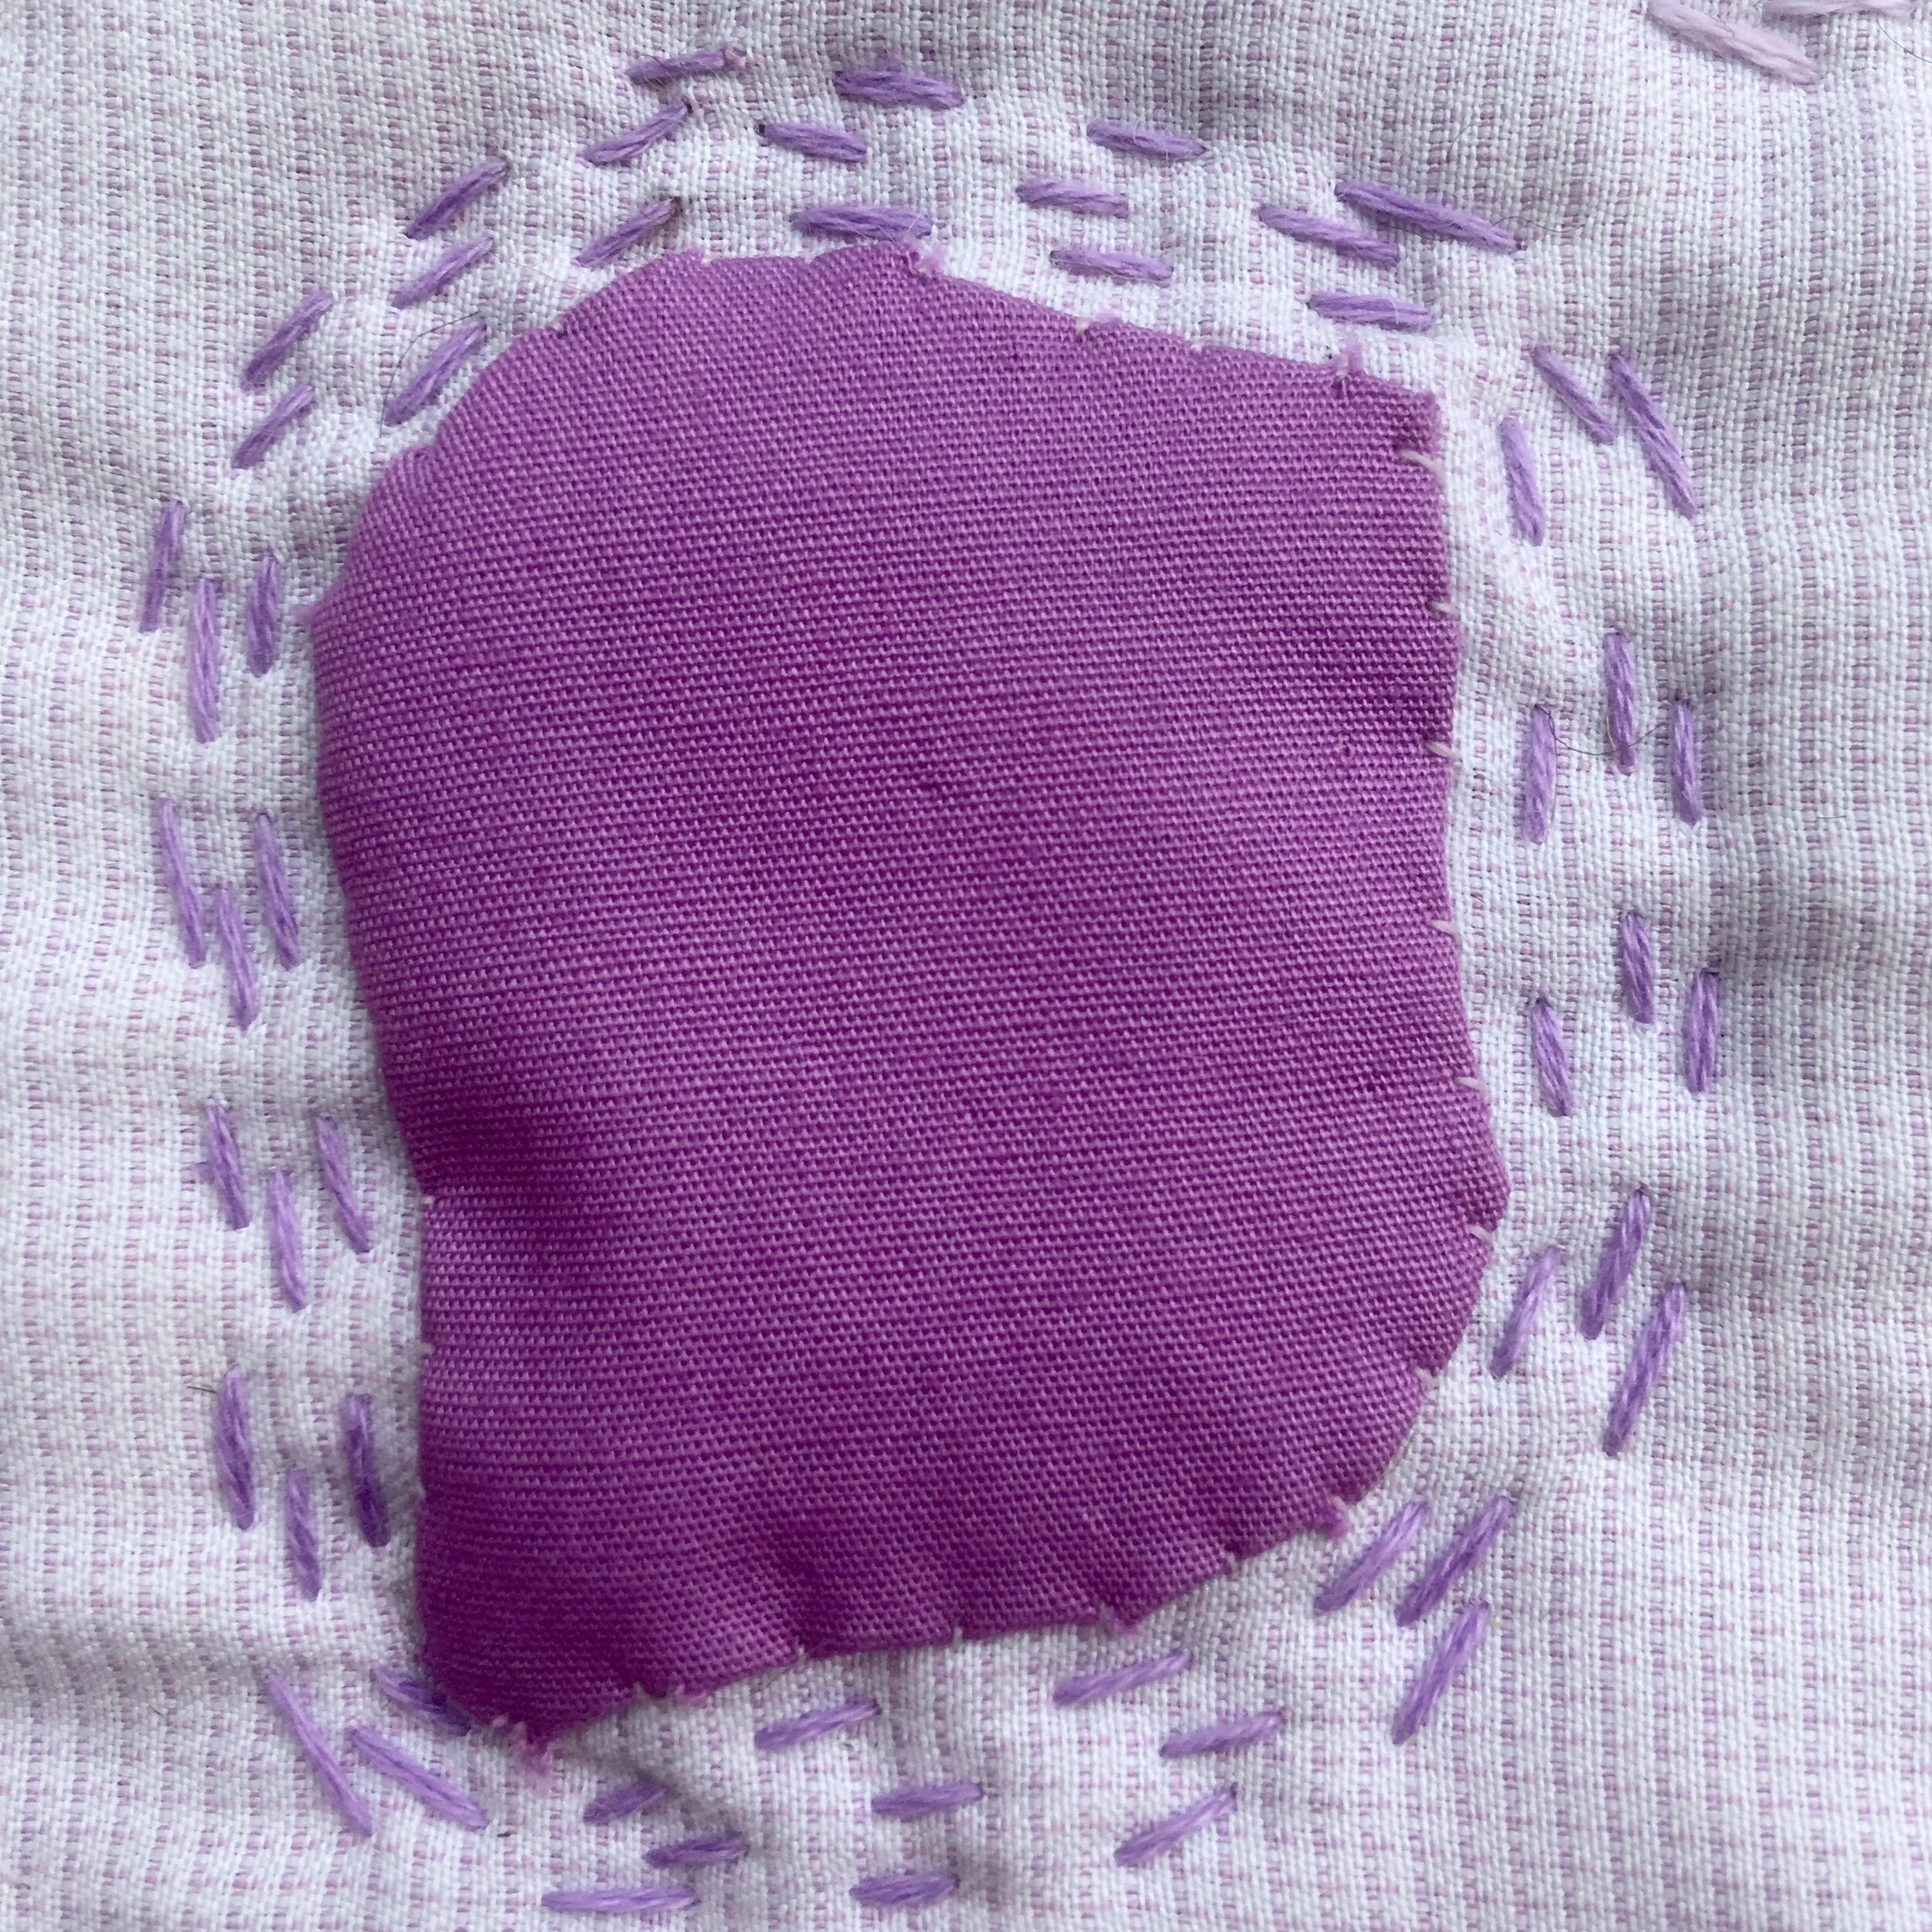
You need something to stitch onto. Woven fabrics are best to use as a beginner (rather than stretchy knit fabrics). If you are buying fabric then look for types such as cotton, calico. I started my embroidery journey stitching onto some cut up old shirts. You don’t have to stitch to neutral colours - pick any colour that makes you want to stitch, you could even stitch onto patterned fabric.

My favourite fabric to stitch onto is lightweight calico as it has a bit of stability to it and the needle slips easily through.

3. A pattern

You don’t necessarily need a pattern to start embroidering, you could just create a stitch sampler to try out different embroidery stitches.

I recommend for beginners to start with a pattern that you love and just have a go. There are so many embroidery patterns out there both free and paid for. I started embroidery when I saw a pattern from Sarah K. Benning and loved it so much I just had to stitch it. I paid for that pattern and I encourage you to support embroidery artists by buying patterns from them if you can. The benefit of a paid pattern is that they tend to come with stitch guides and other support.

But there are plenty of free patterns available - take a look at my free patterns. Also DMC (makers of embroidery floss) have a huge archive of free patterns as well.

So pick some that you like and download them and see if they give you the support you need.

4. A pencil or air/heat/water erasable pen

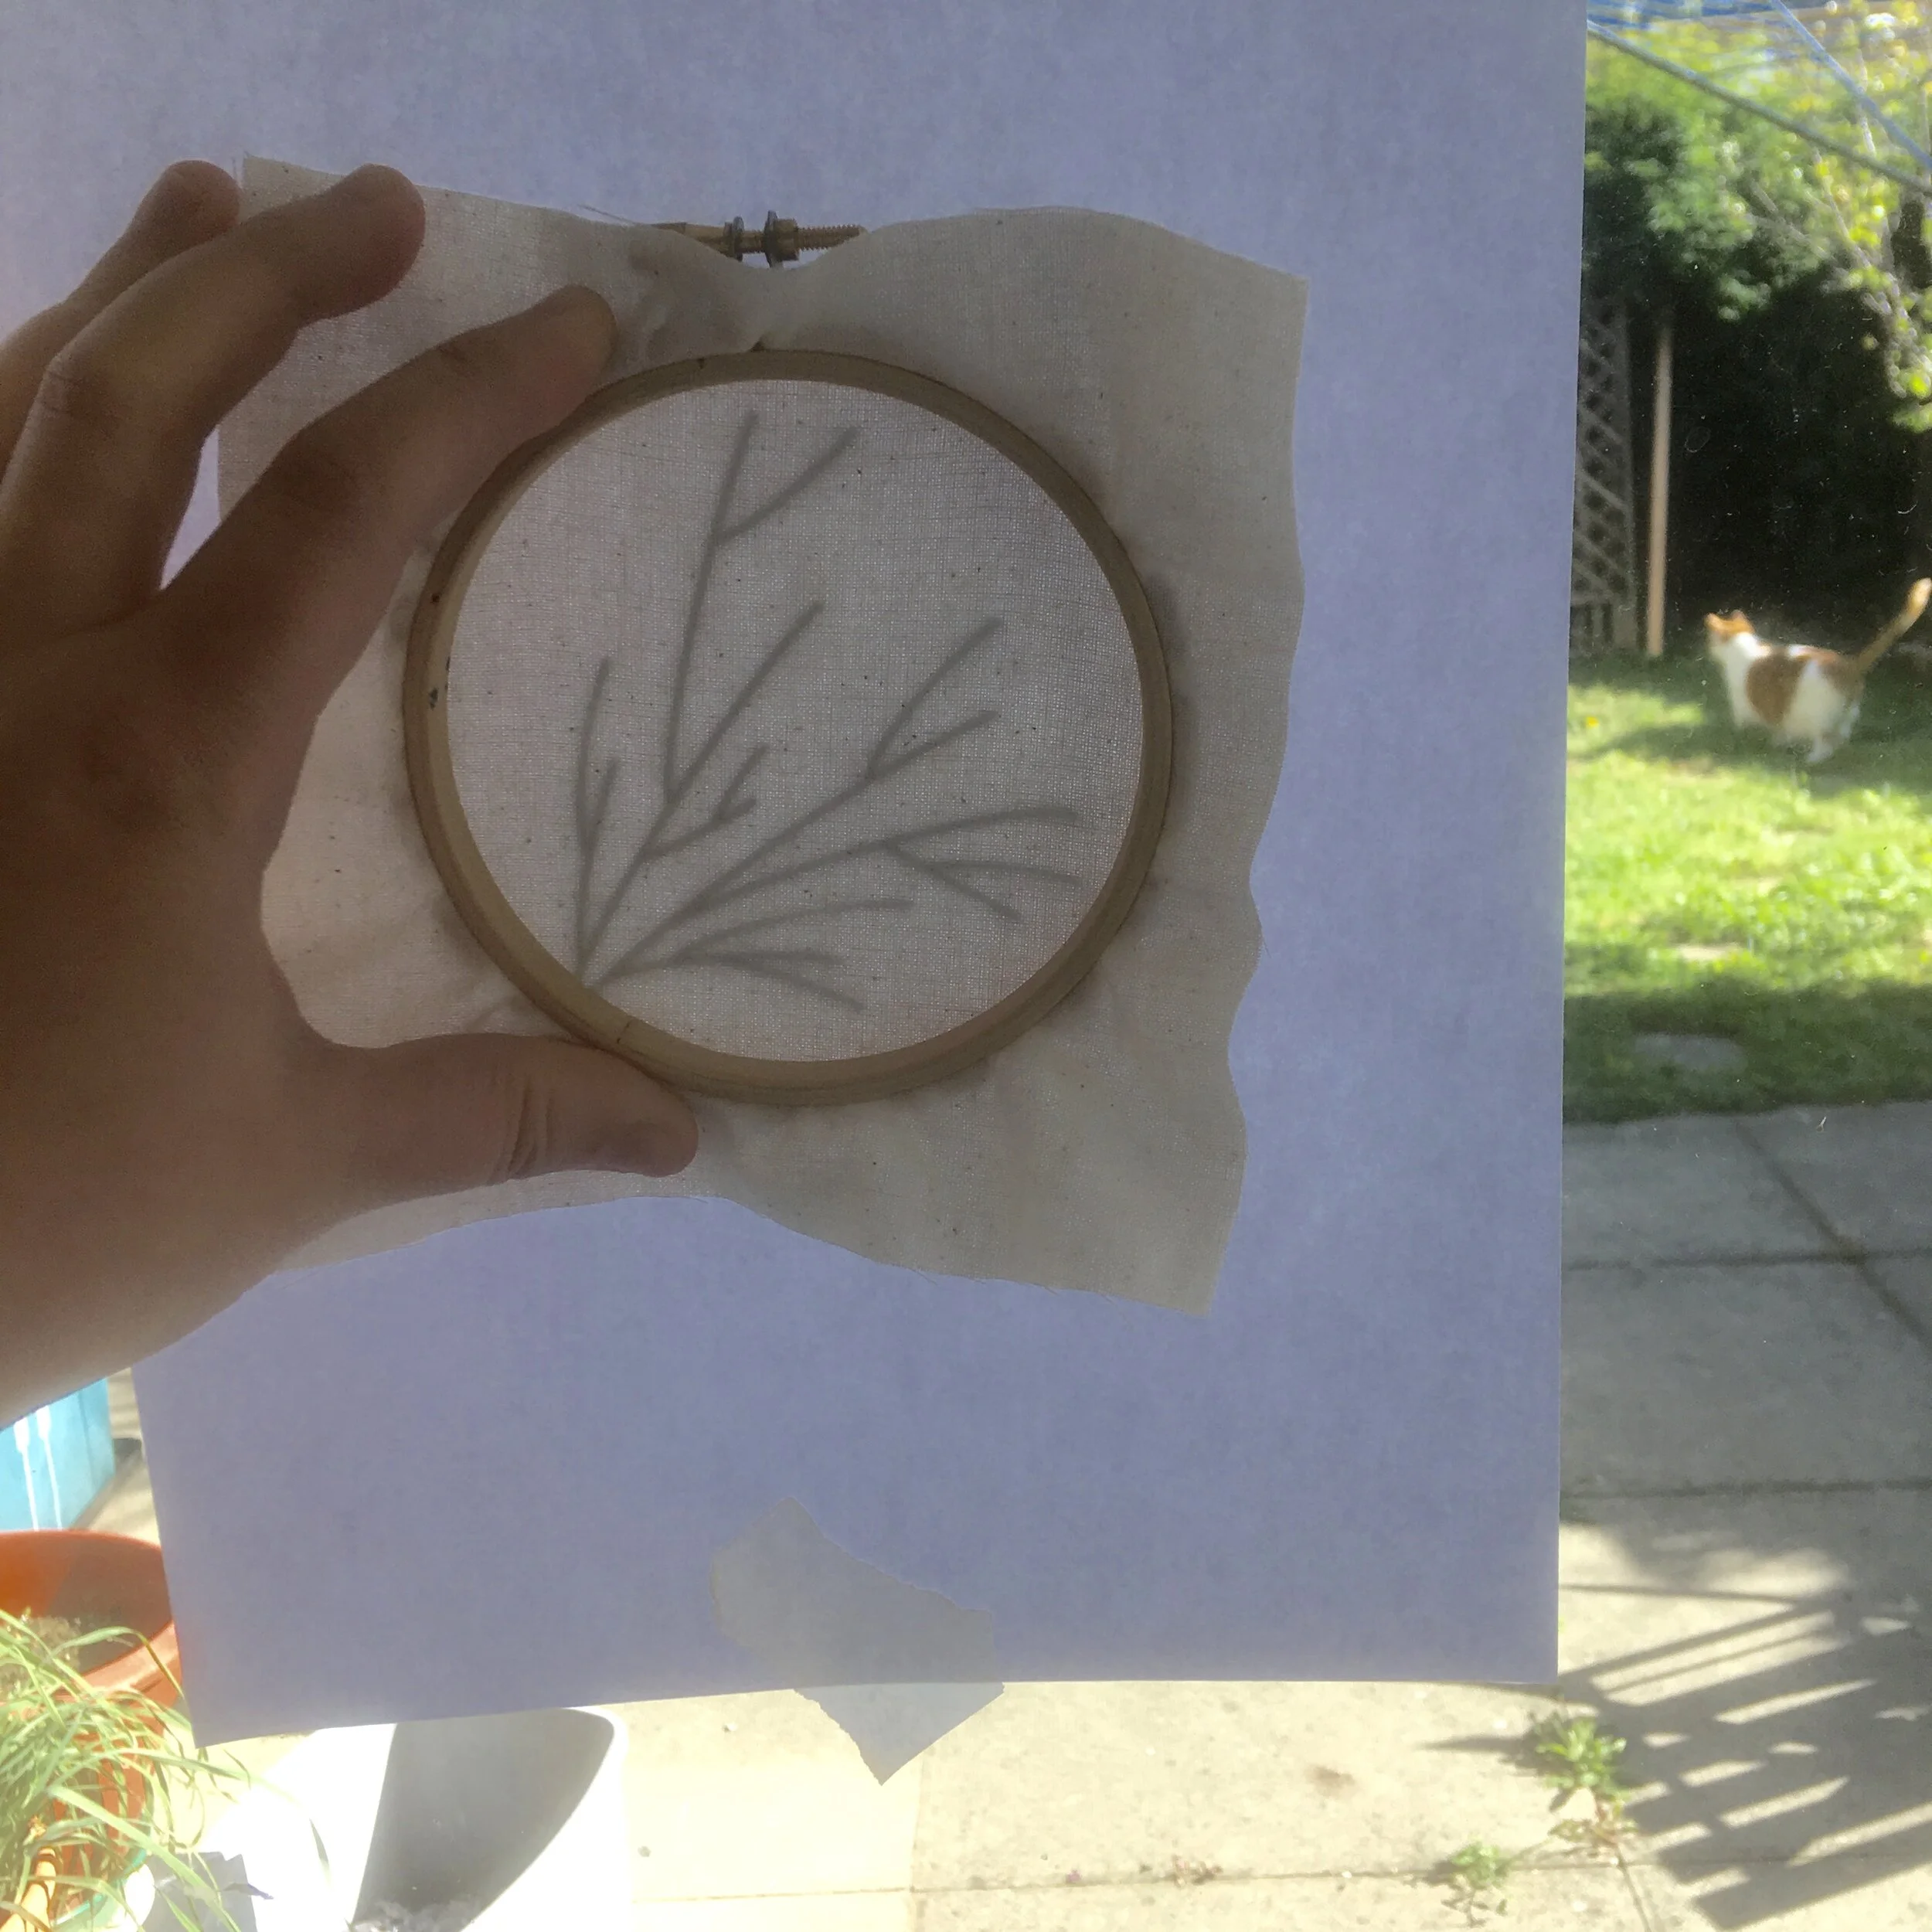
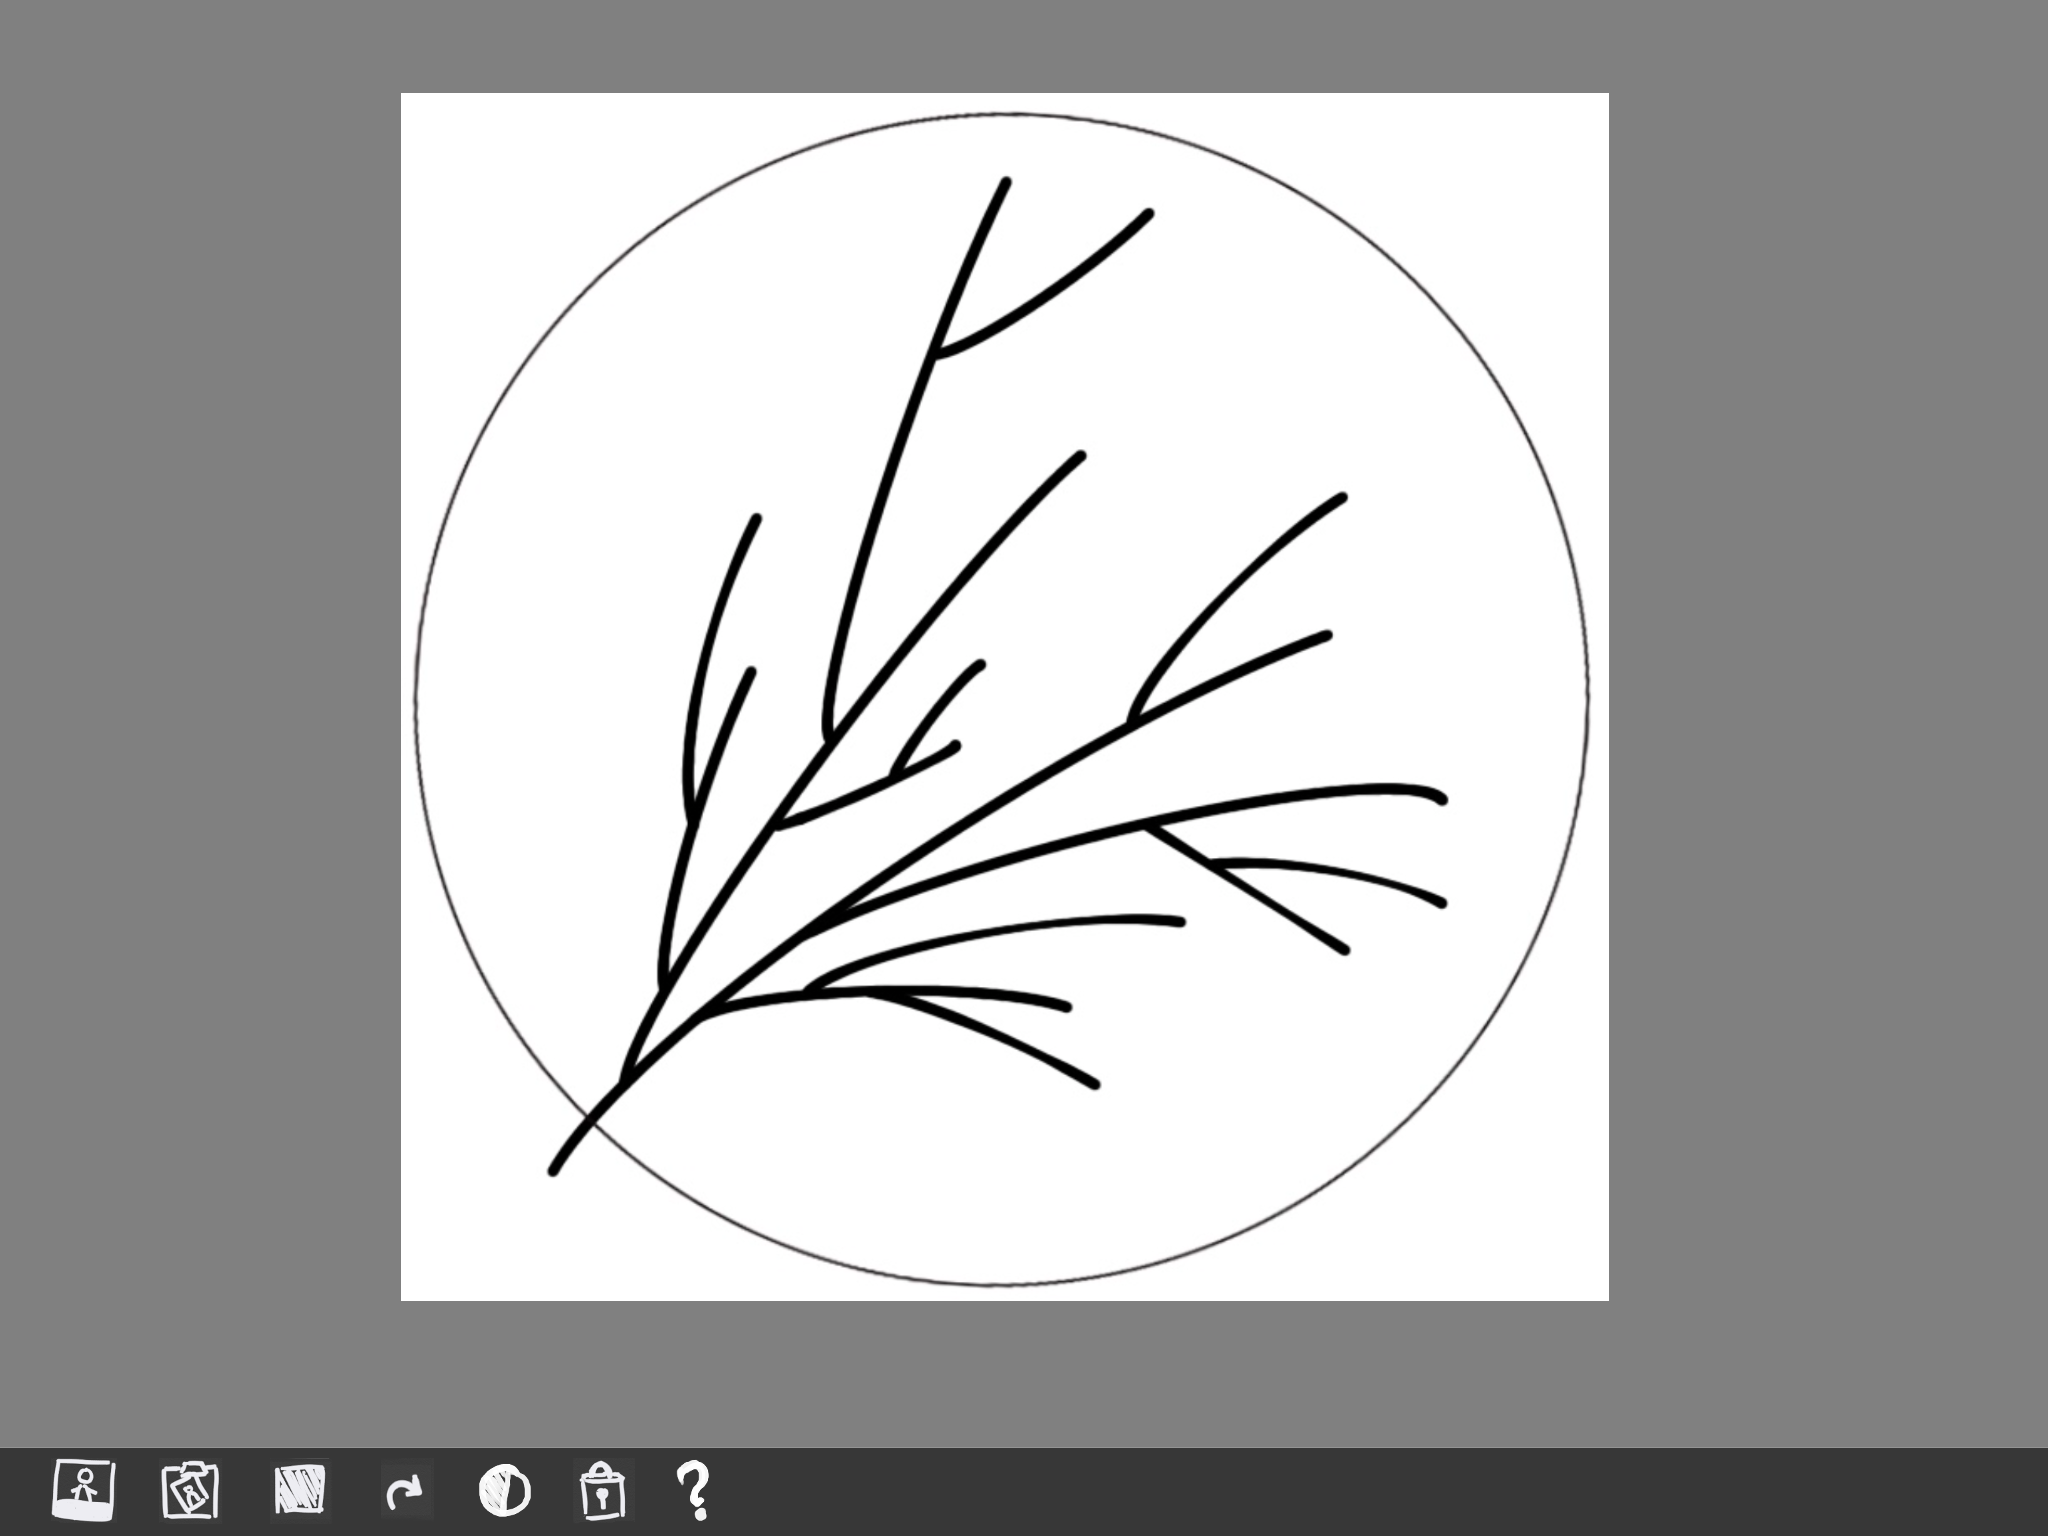
To start stitching your chosen pattern you need to transfer your design onto your fabric. It isn’t as complicated as it seems and I have a couple of blog posts to help you transfer a digital pattern and to transfer a paper pattern. If this part fills you with fear then take a look at my floral and sunflower kits as the pattern is printed directly onto the fabric.
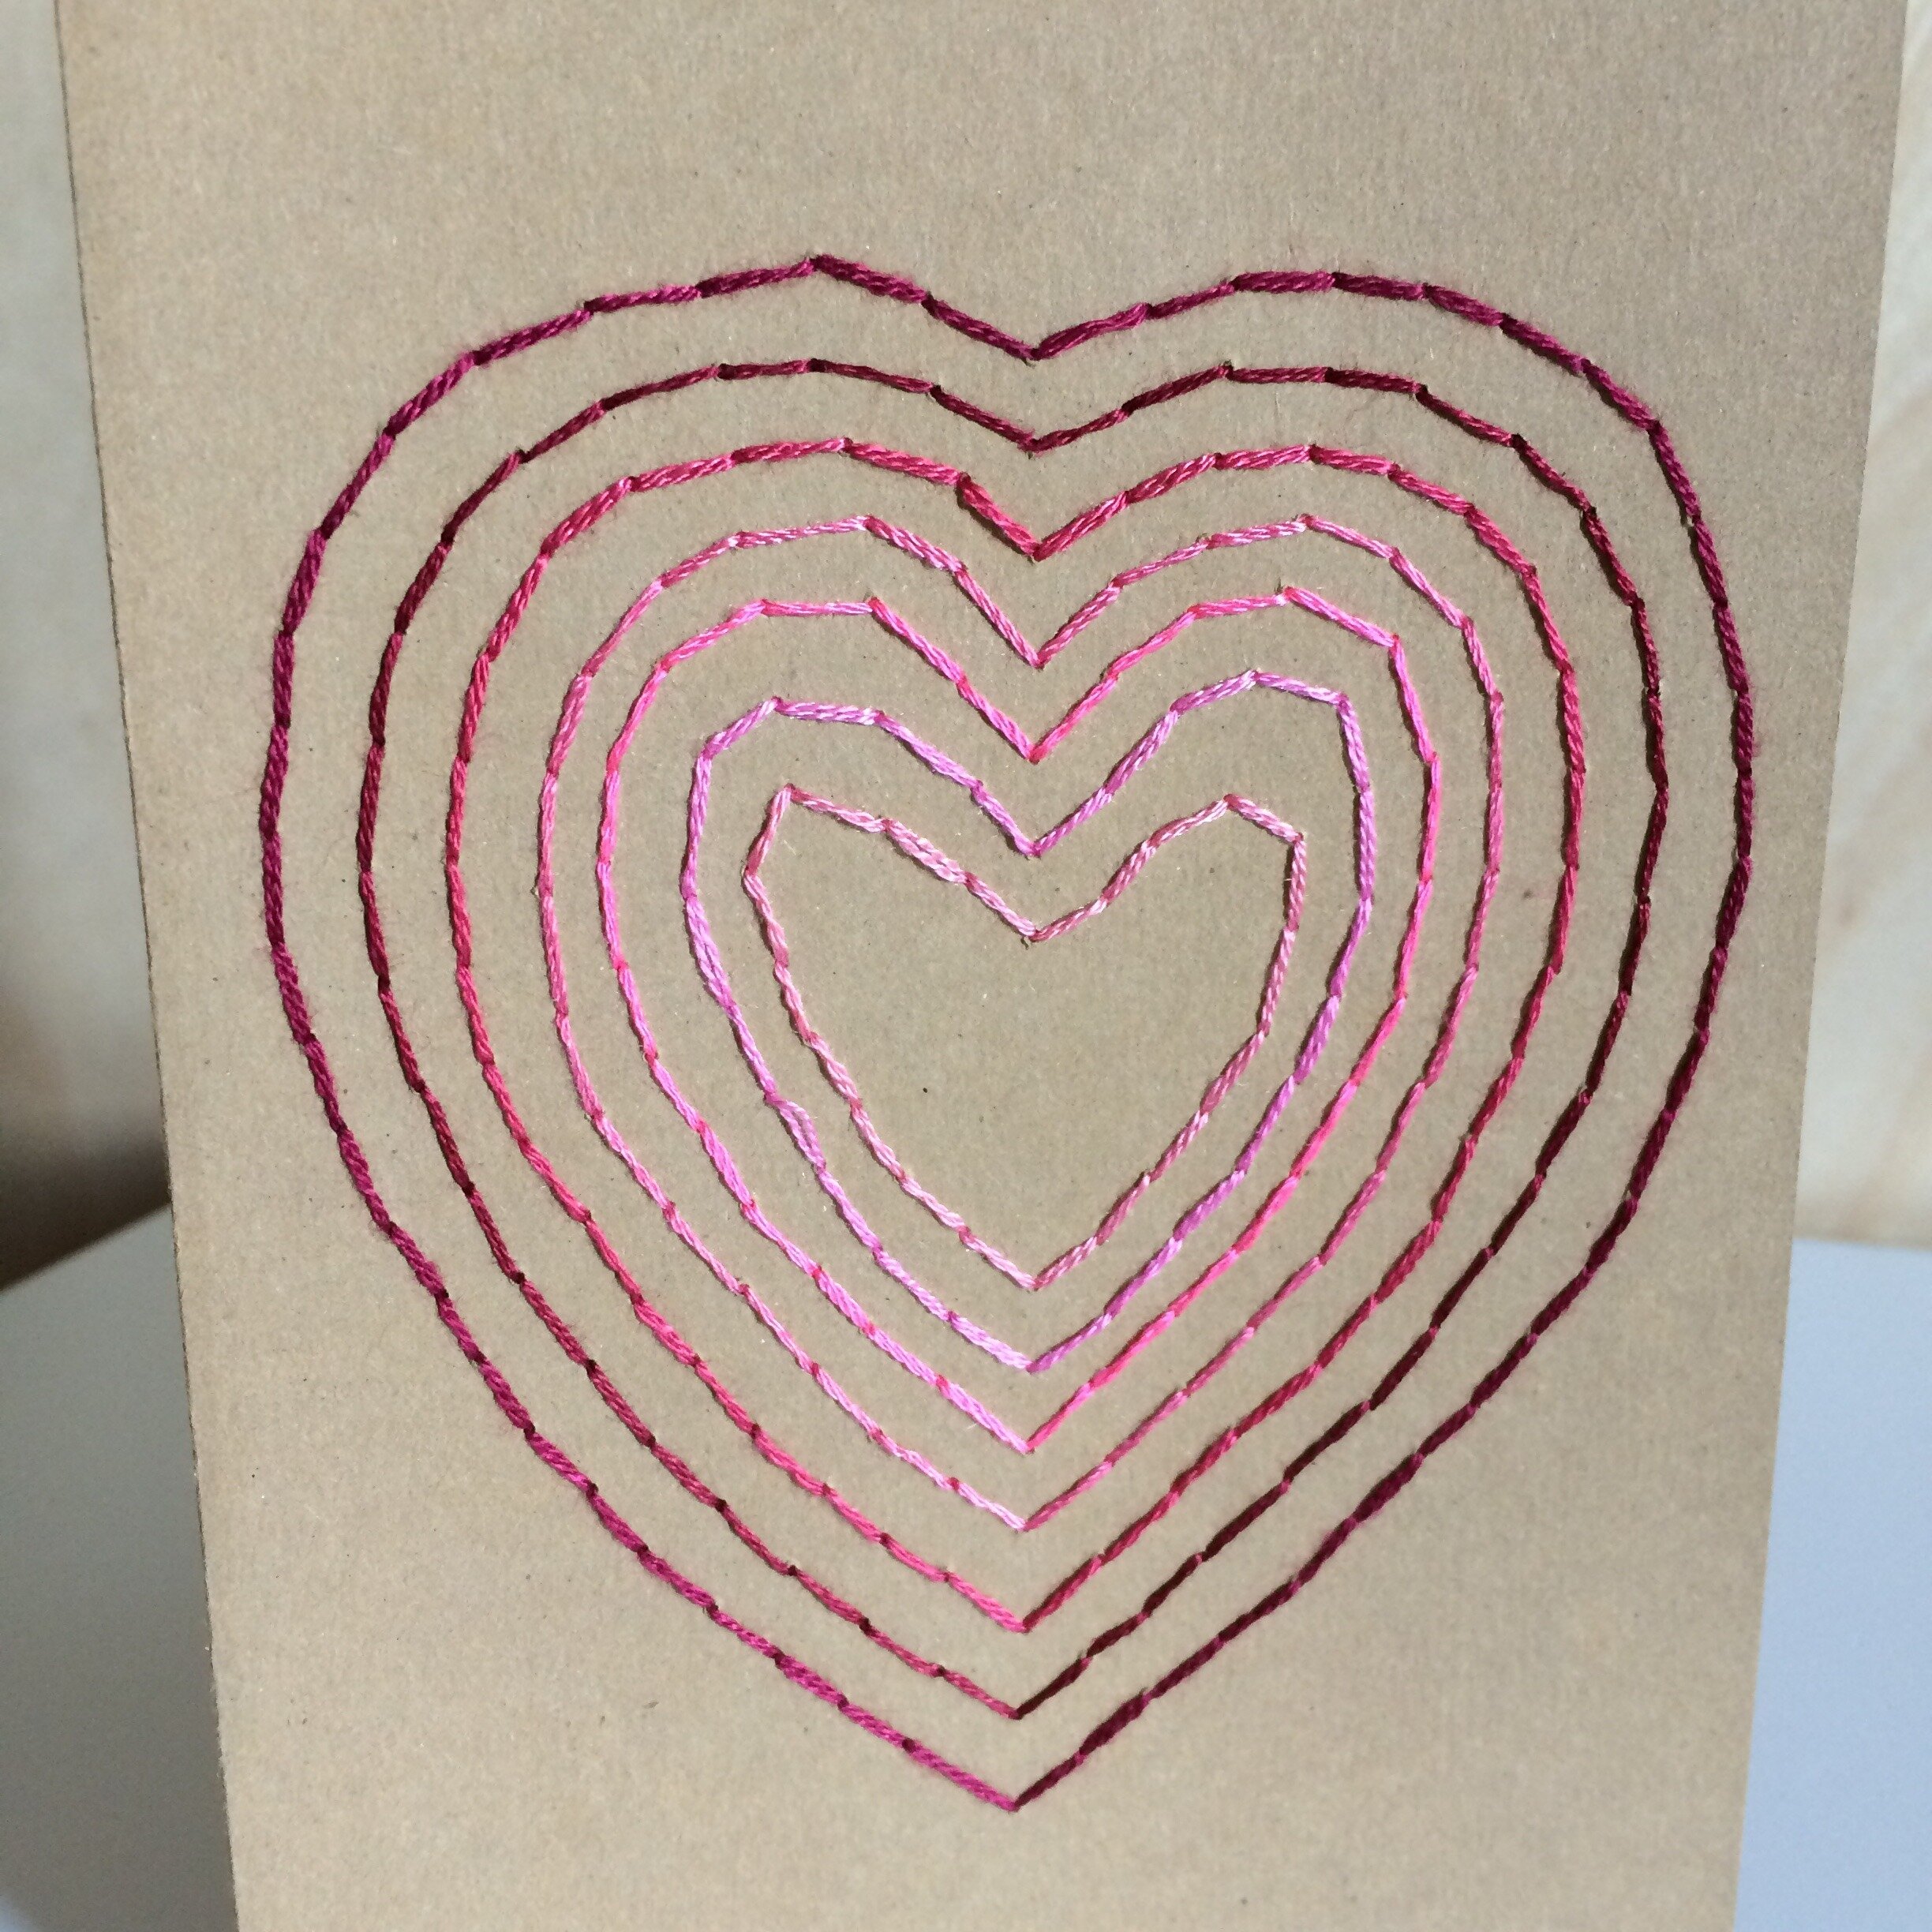
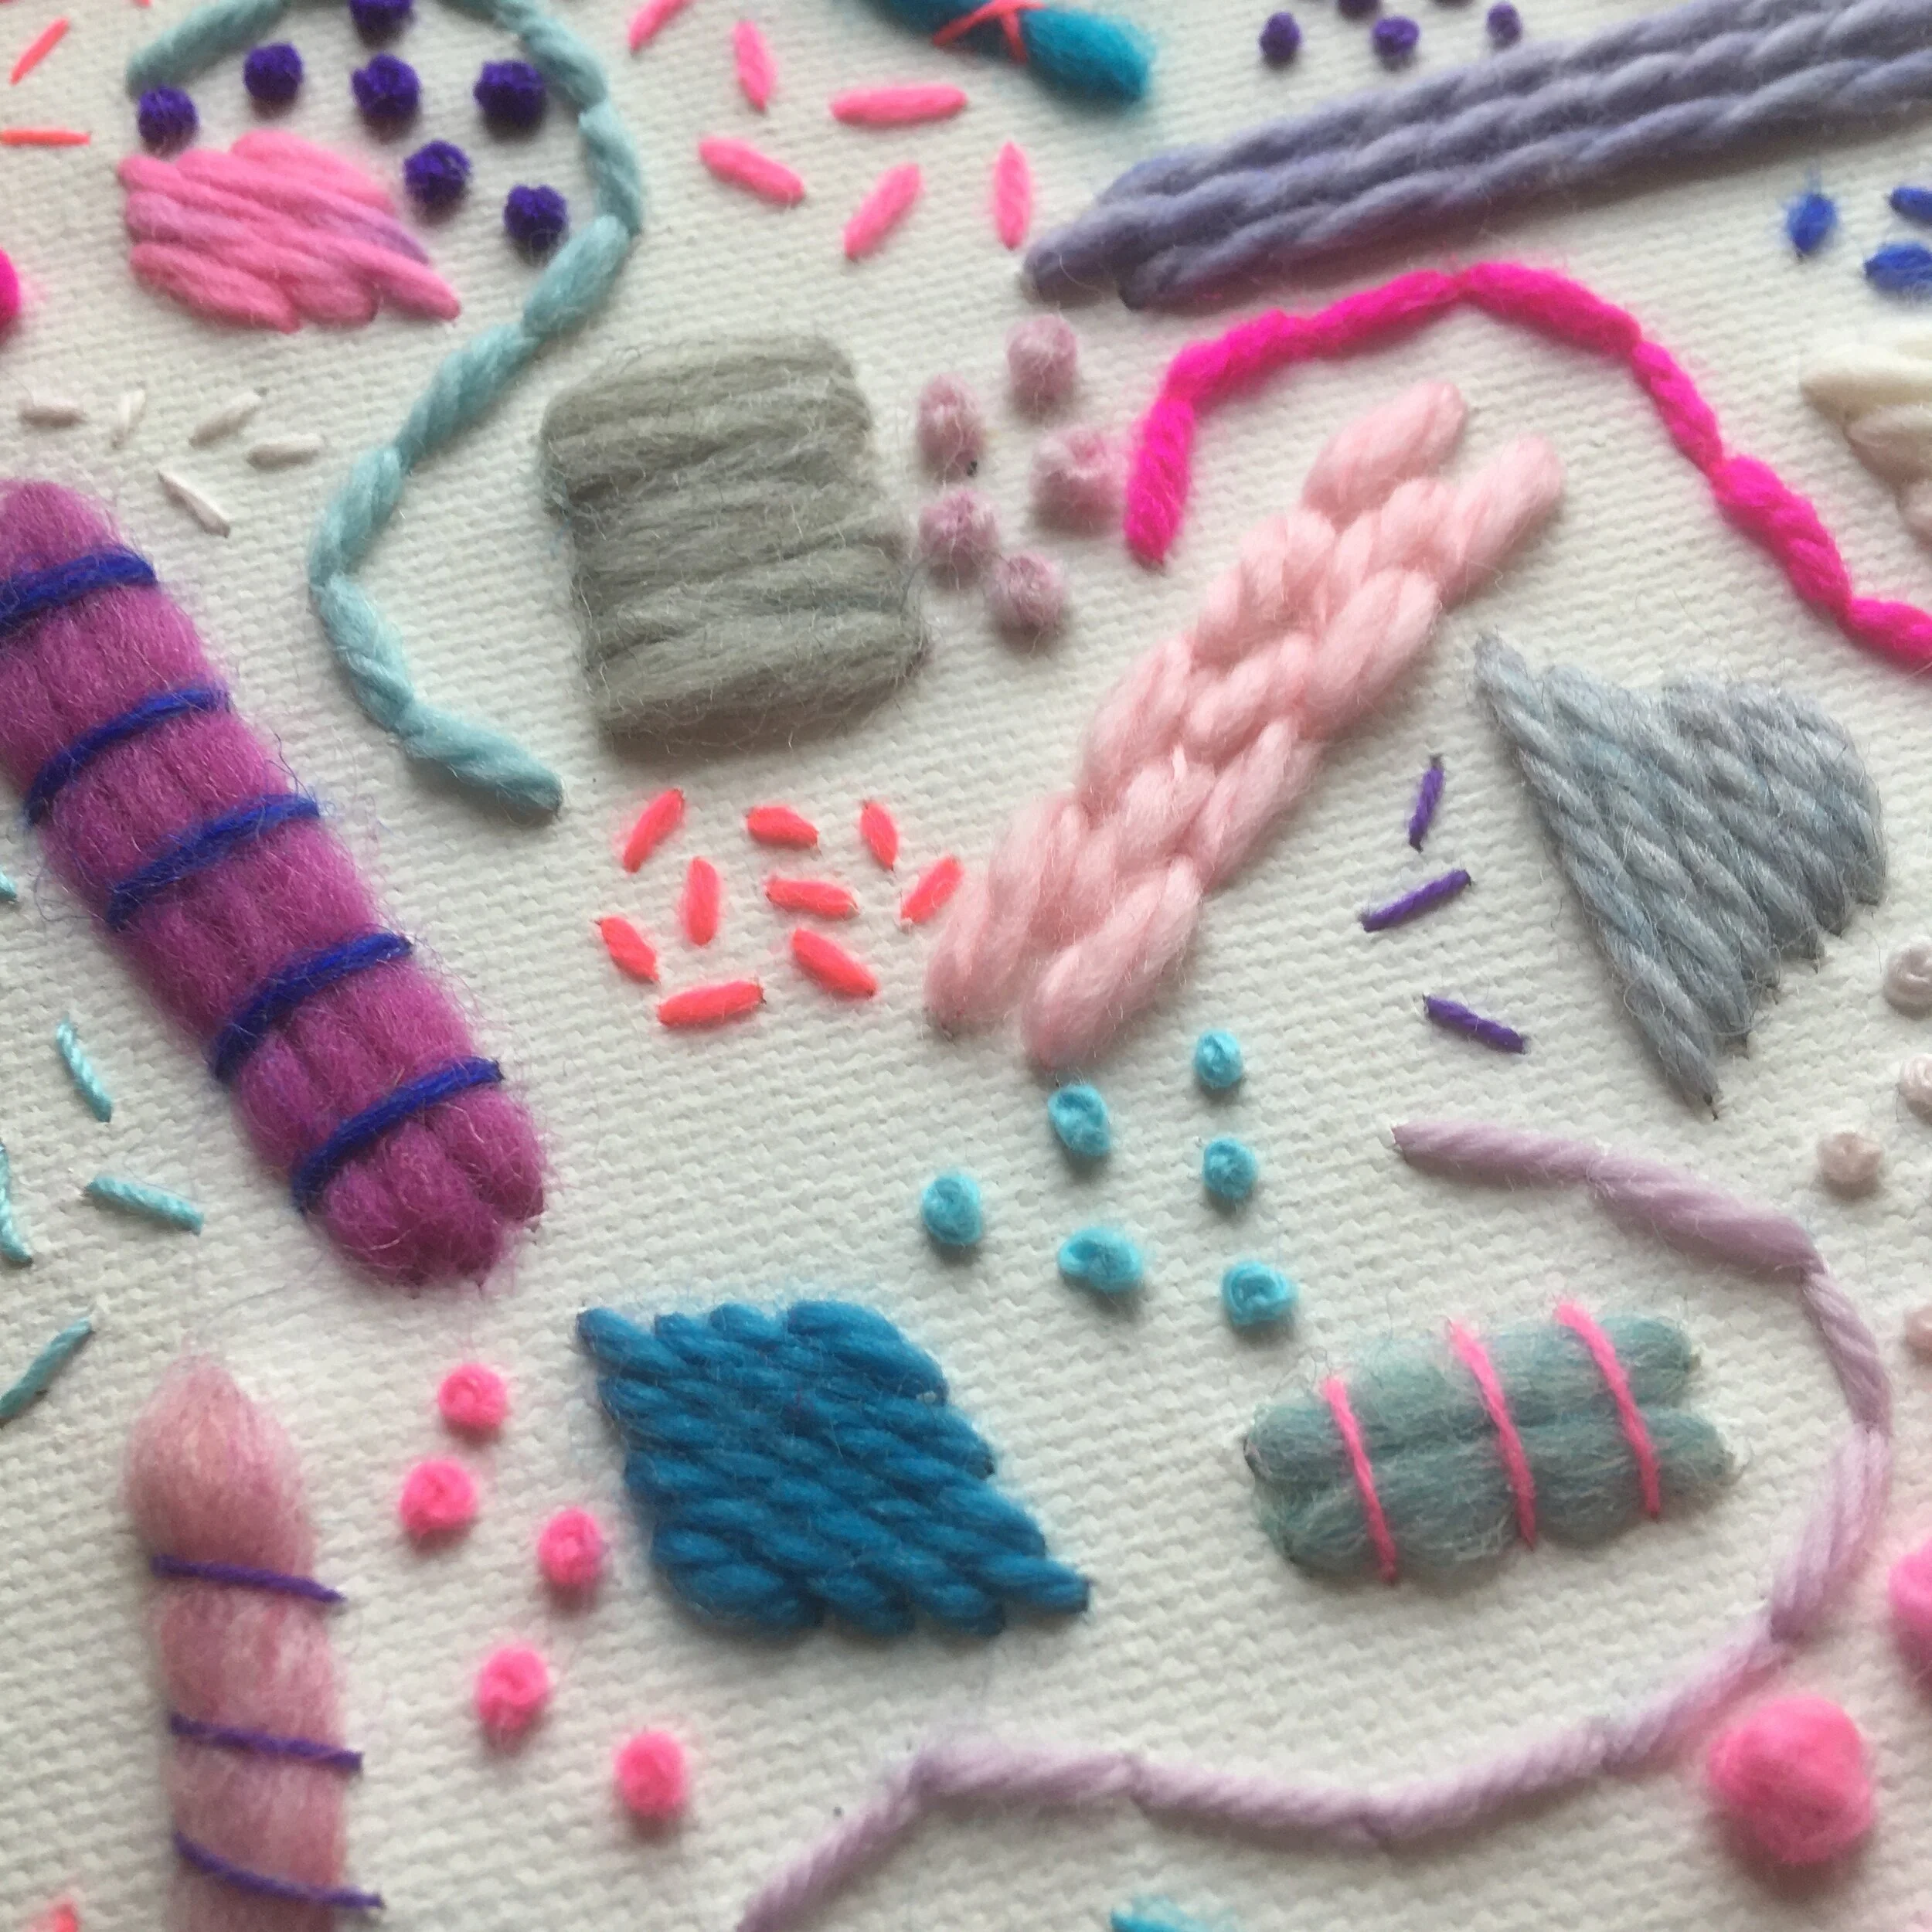
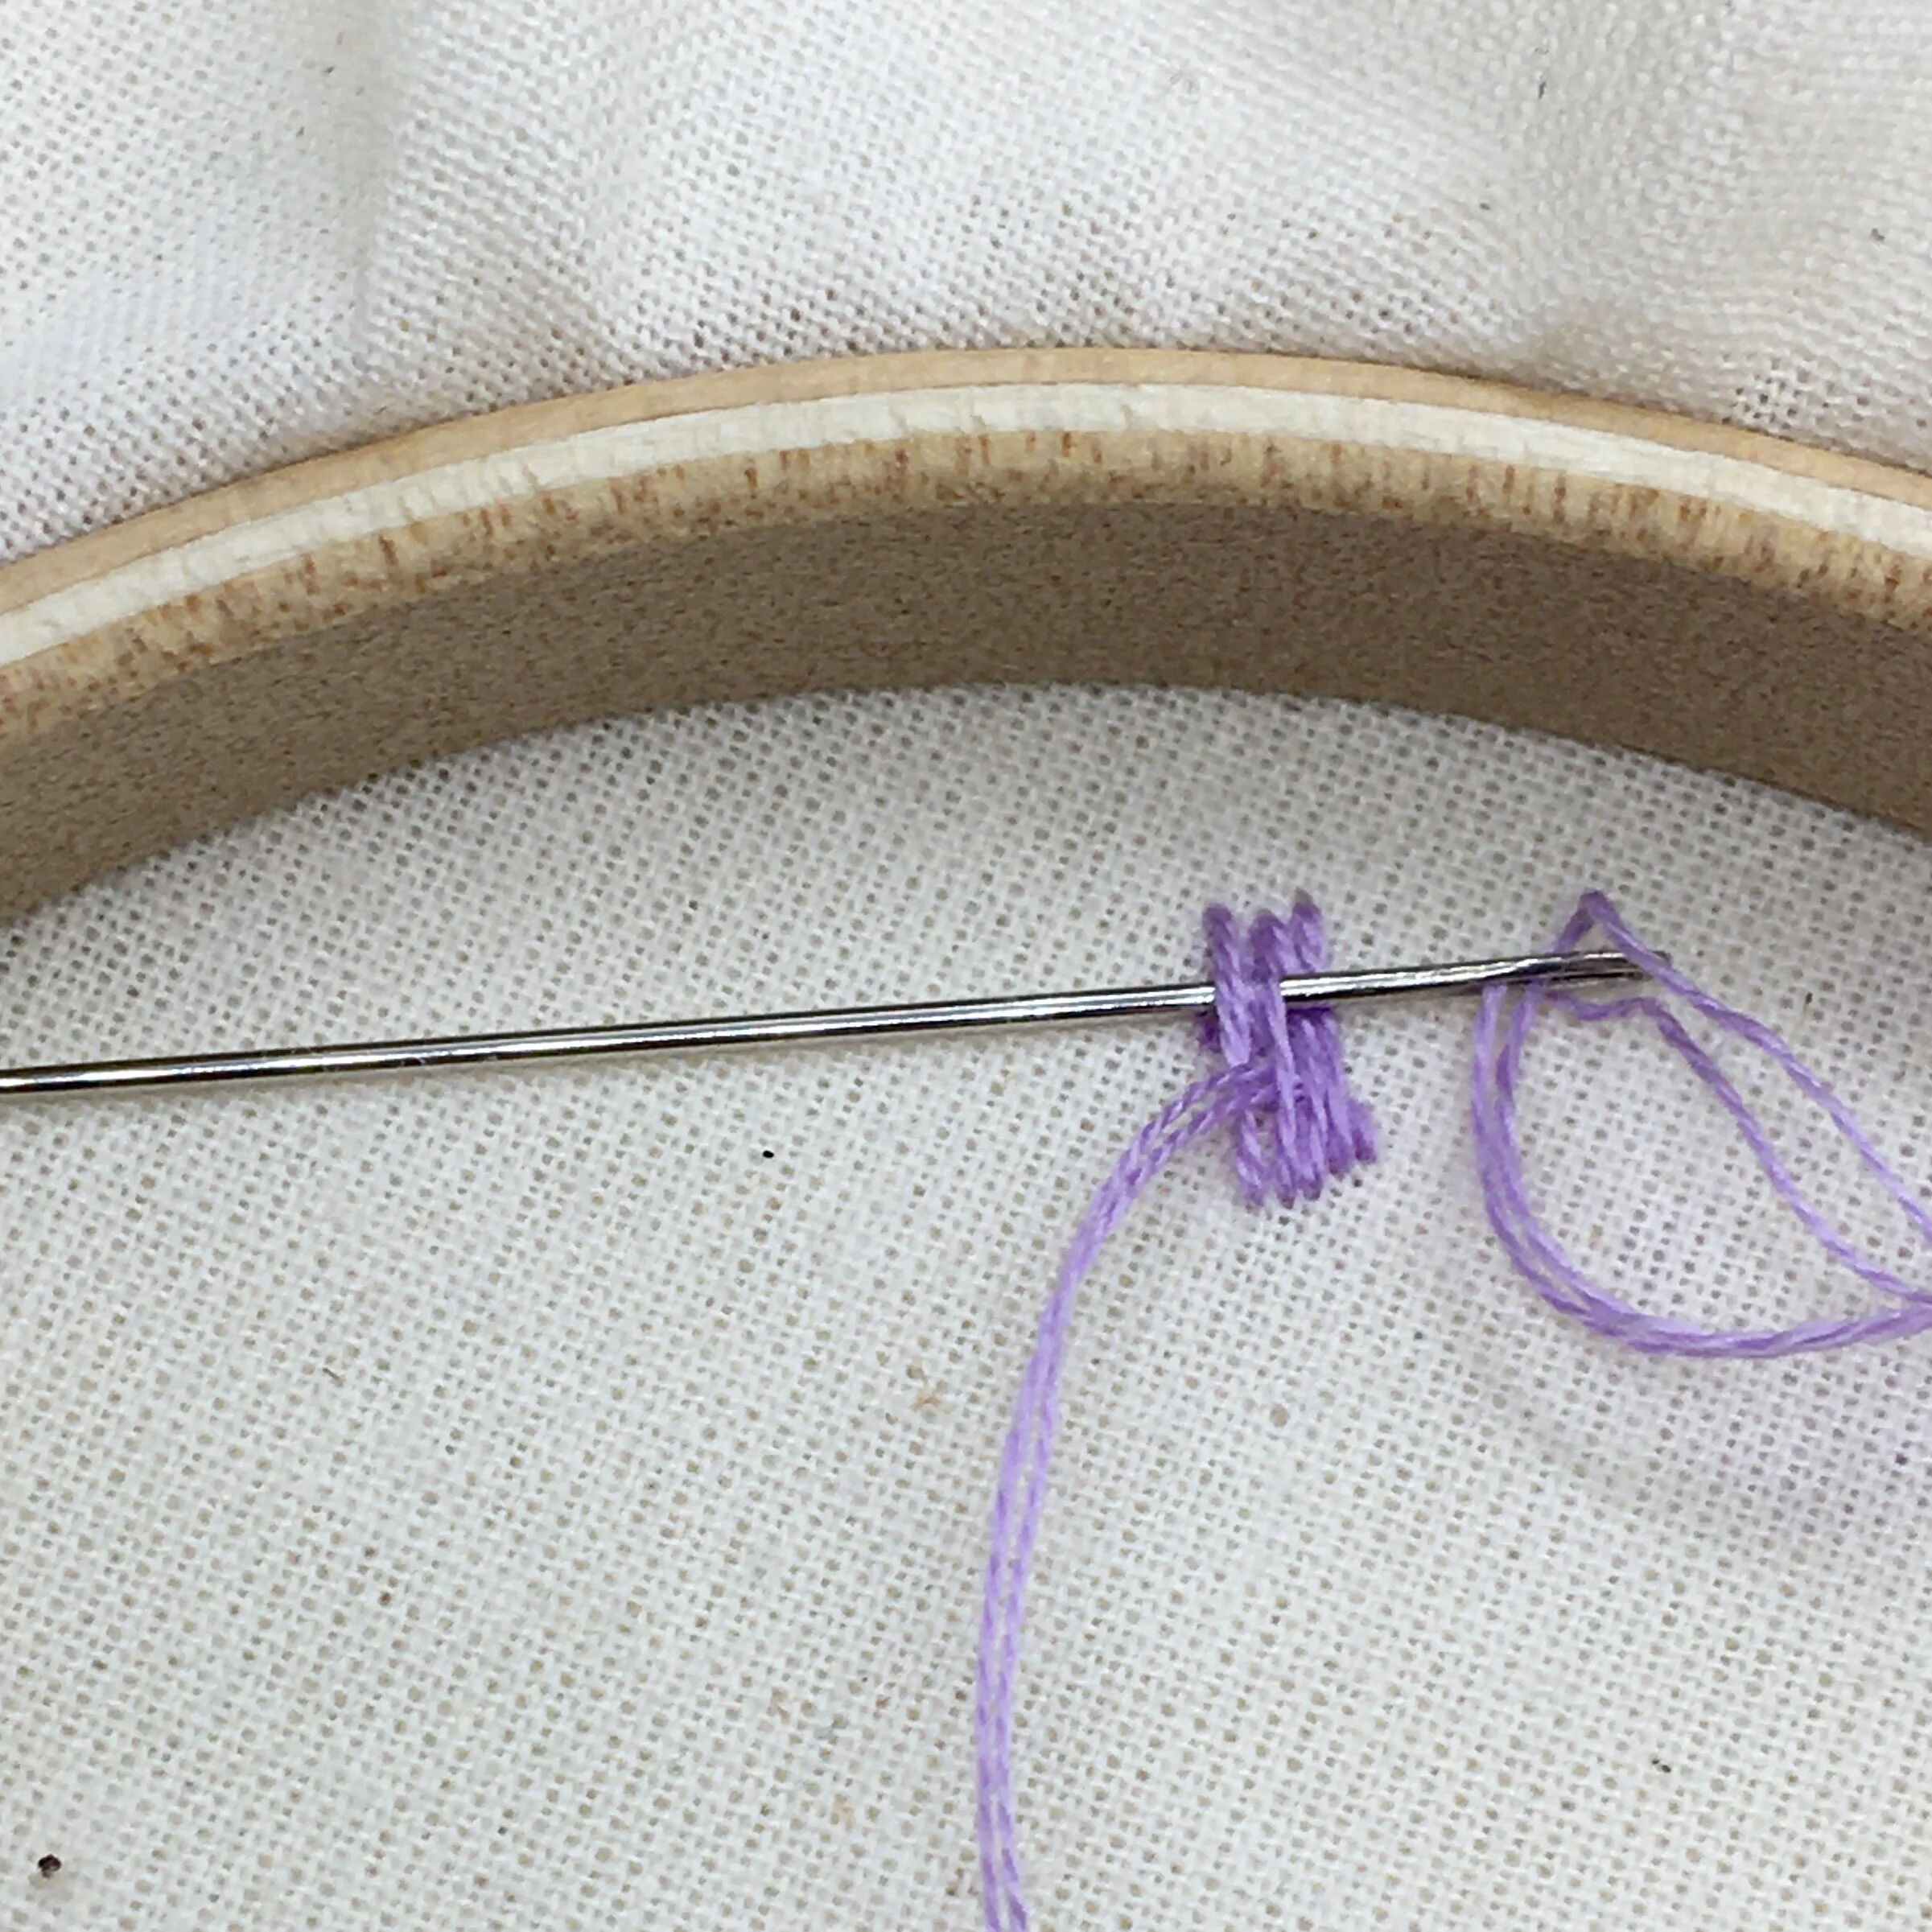
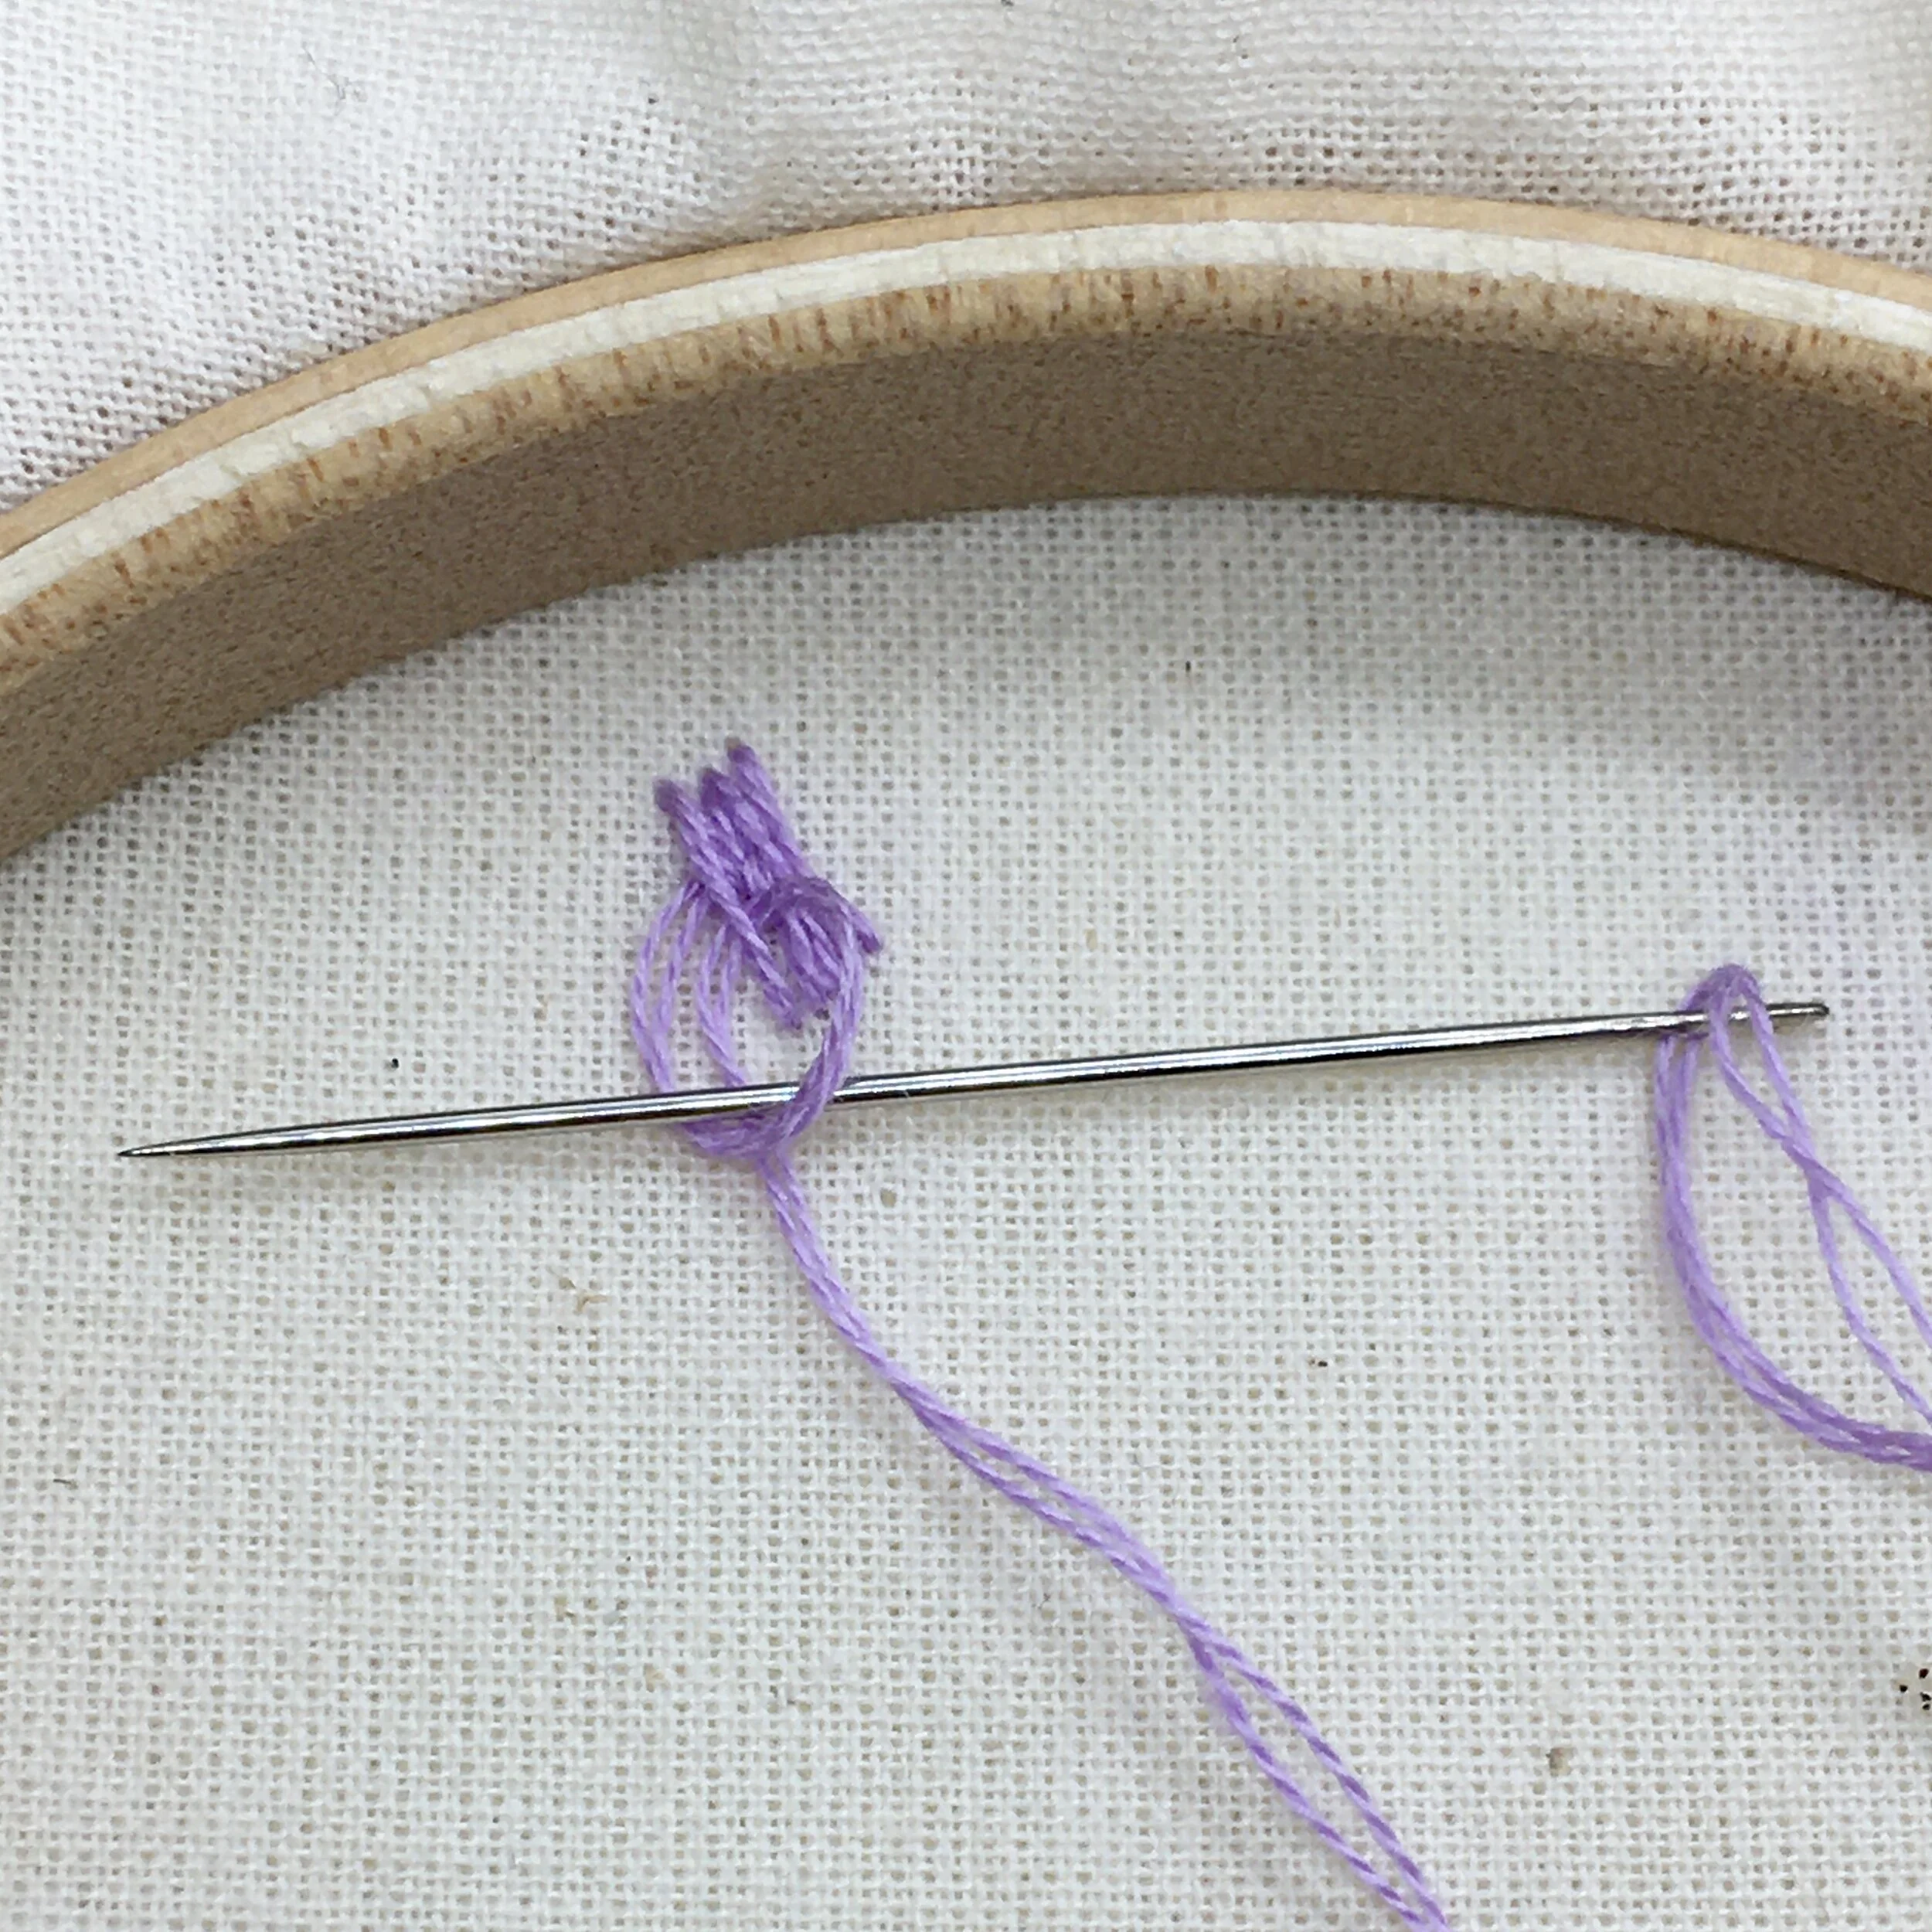
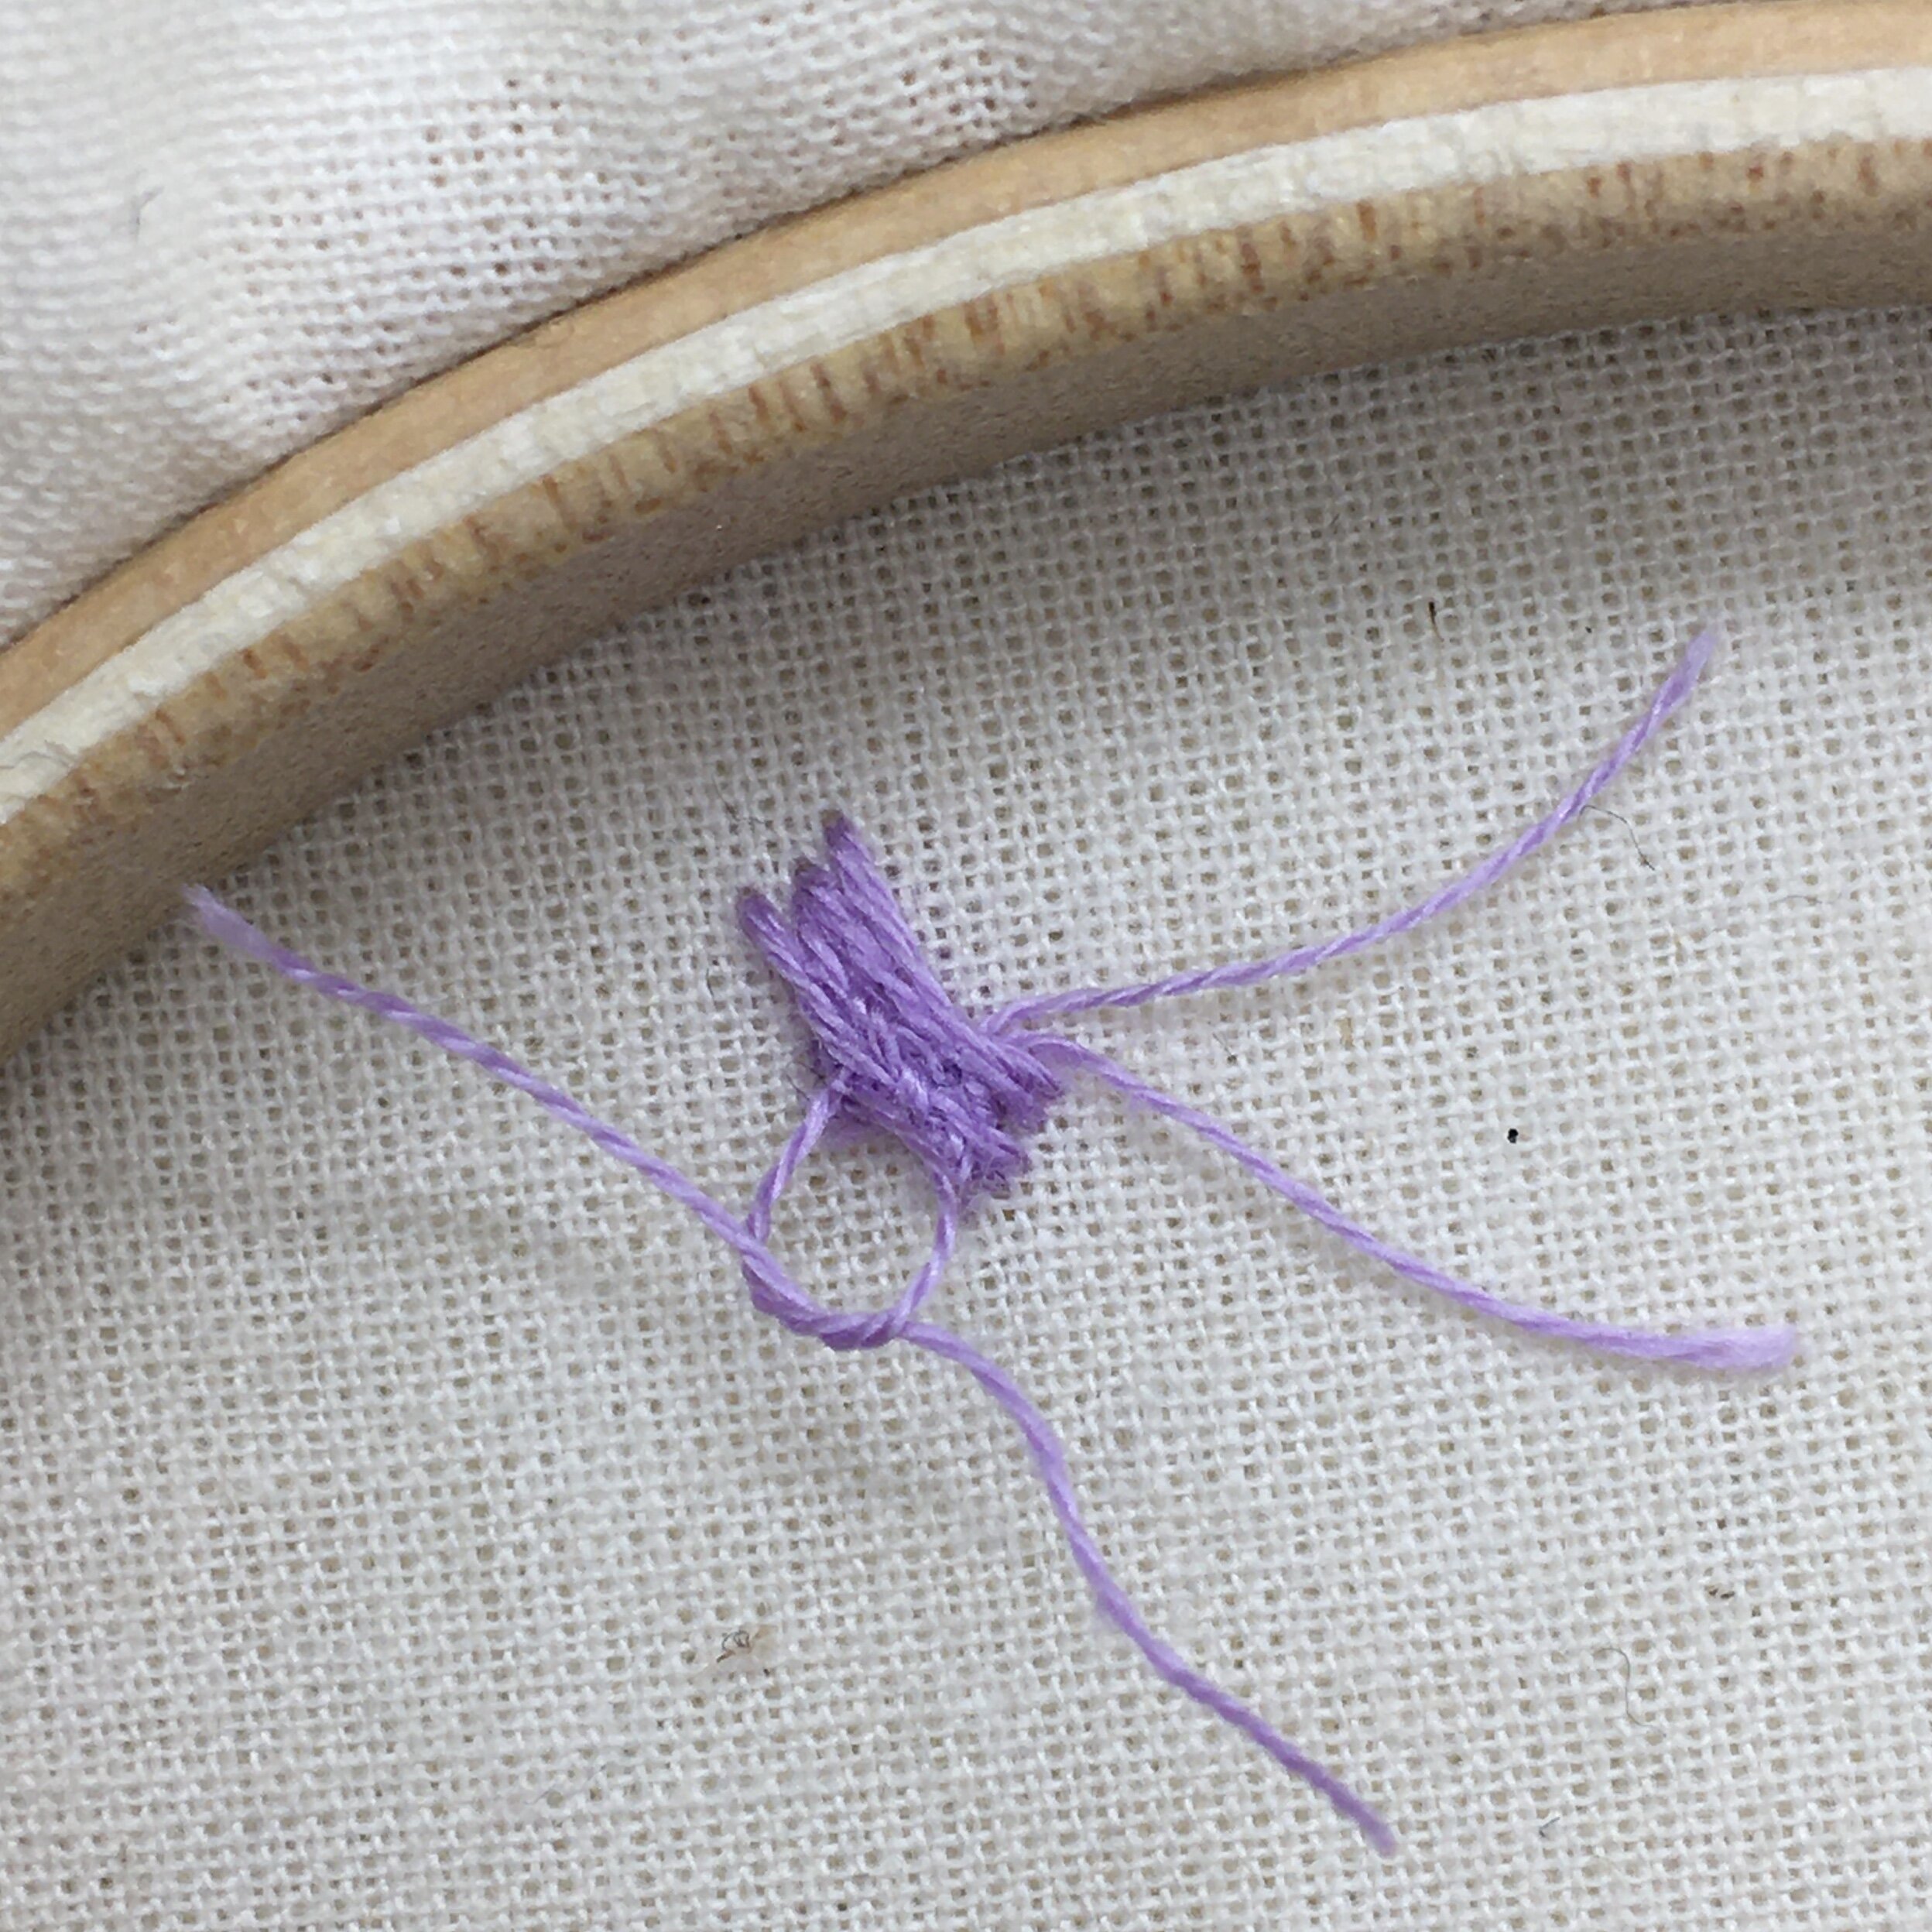
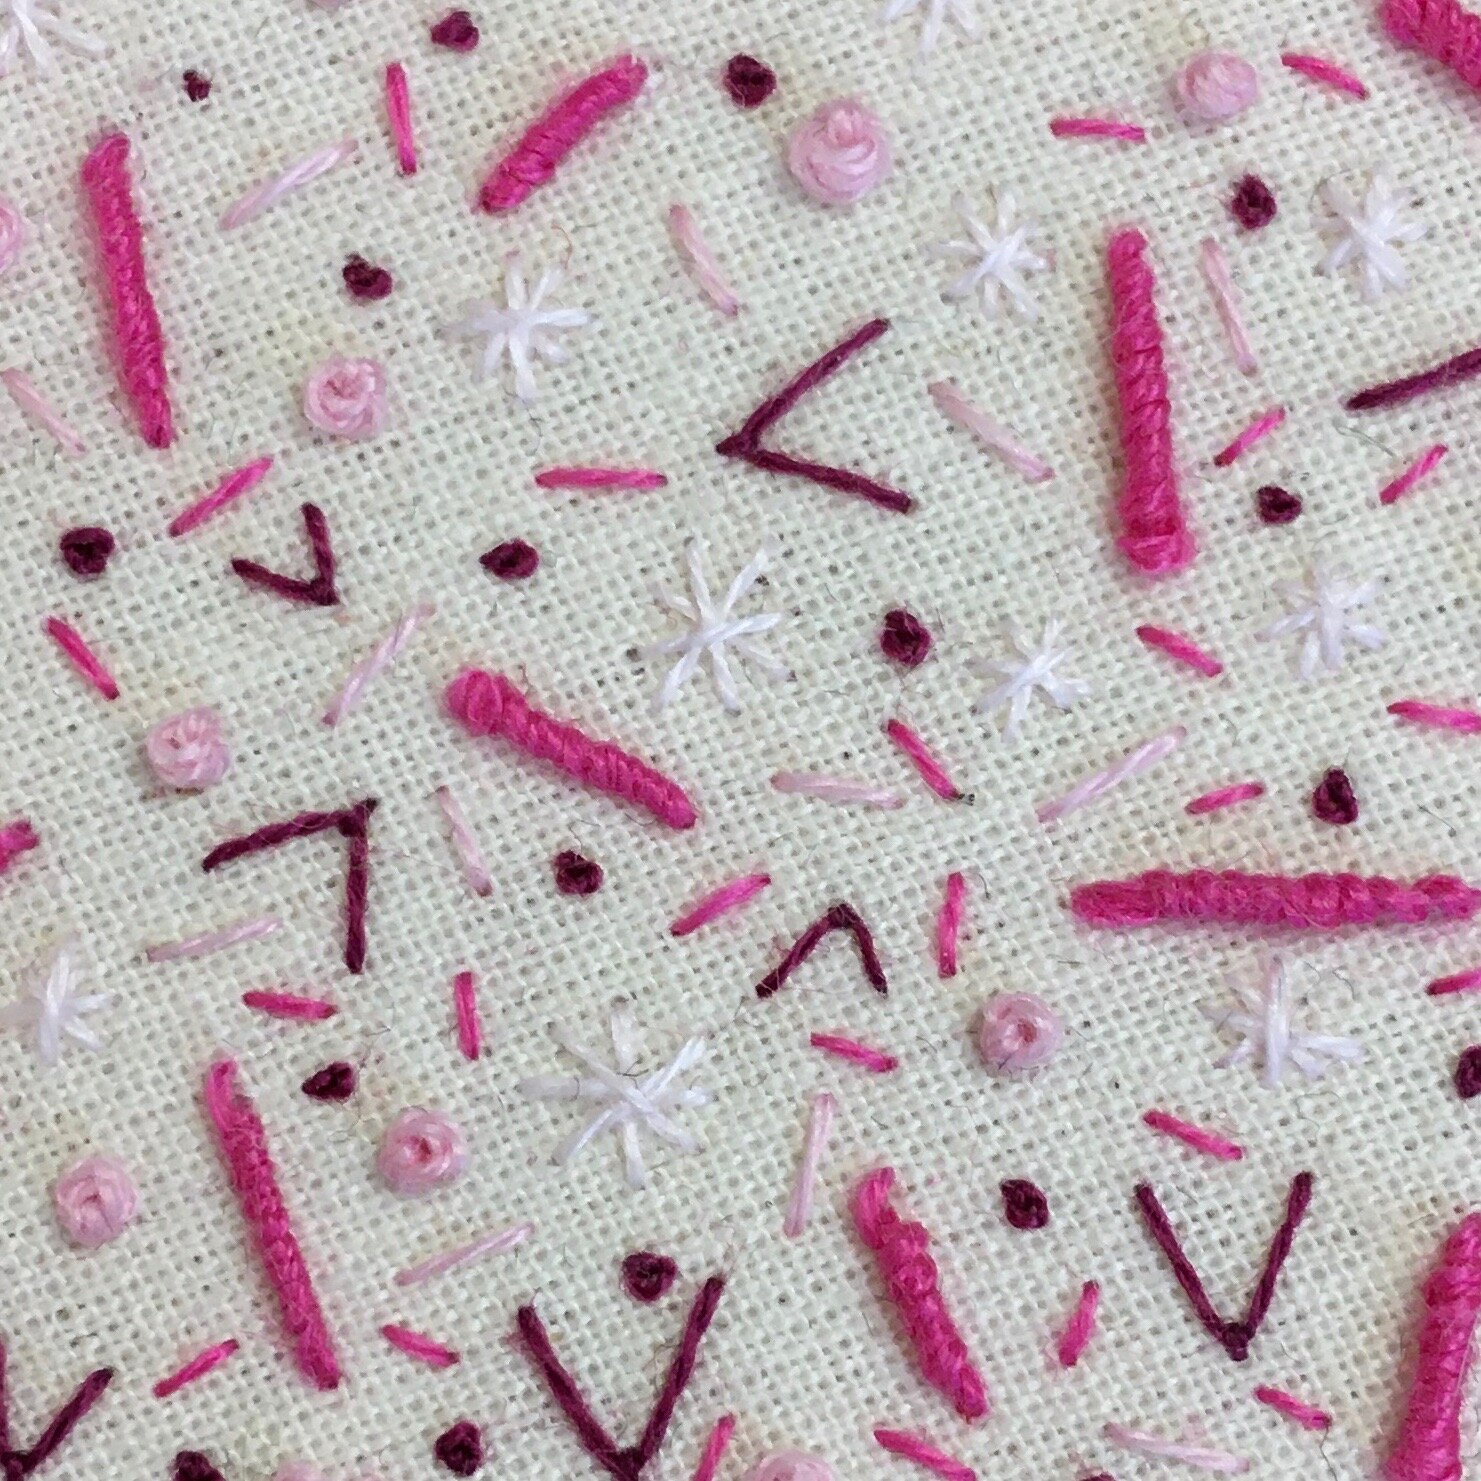
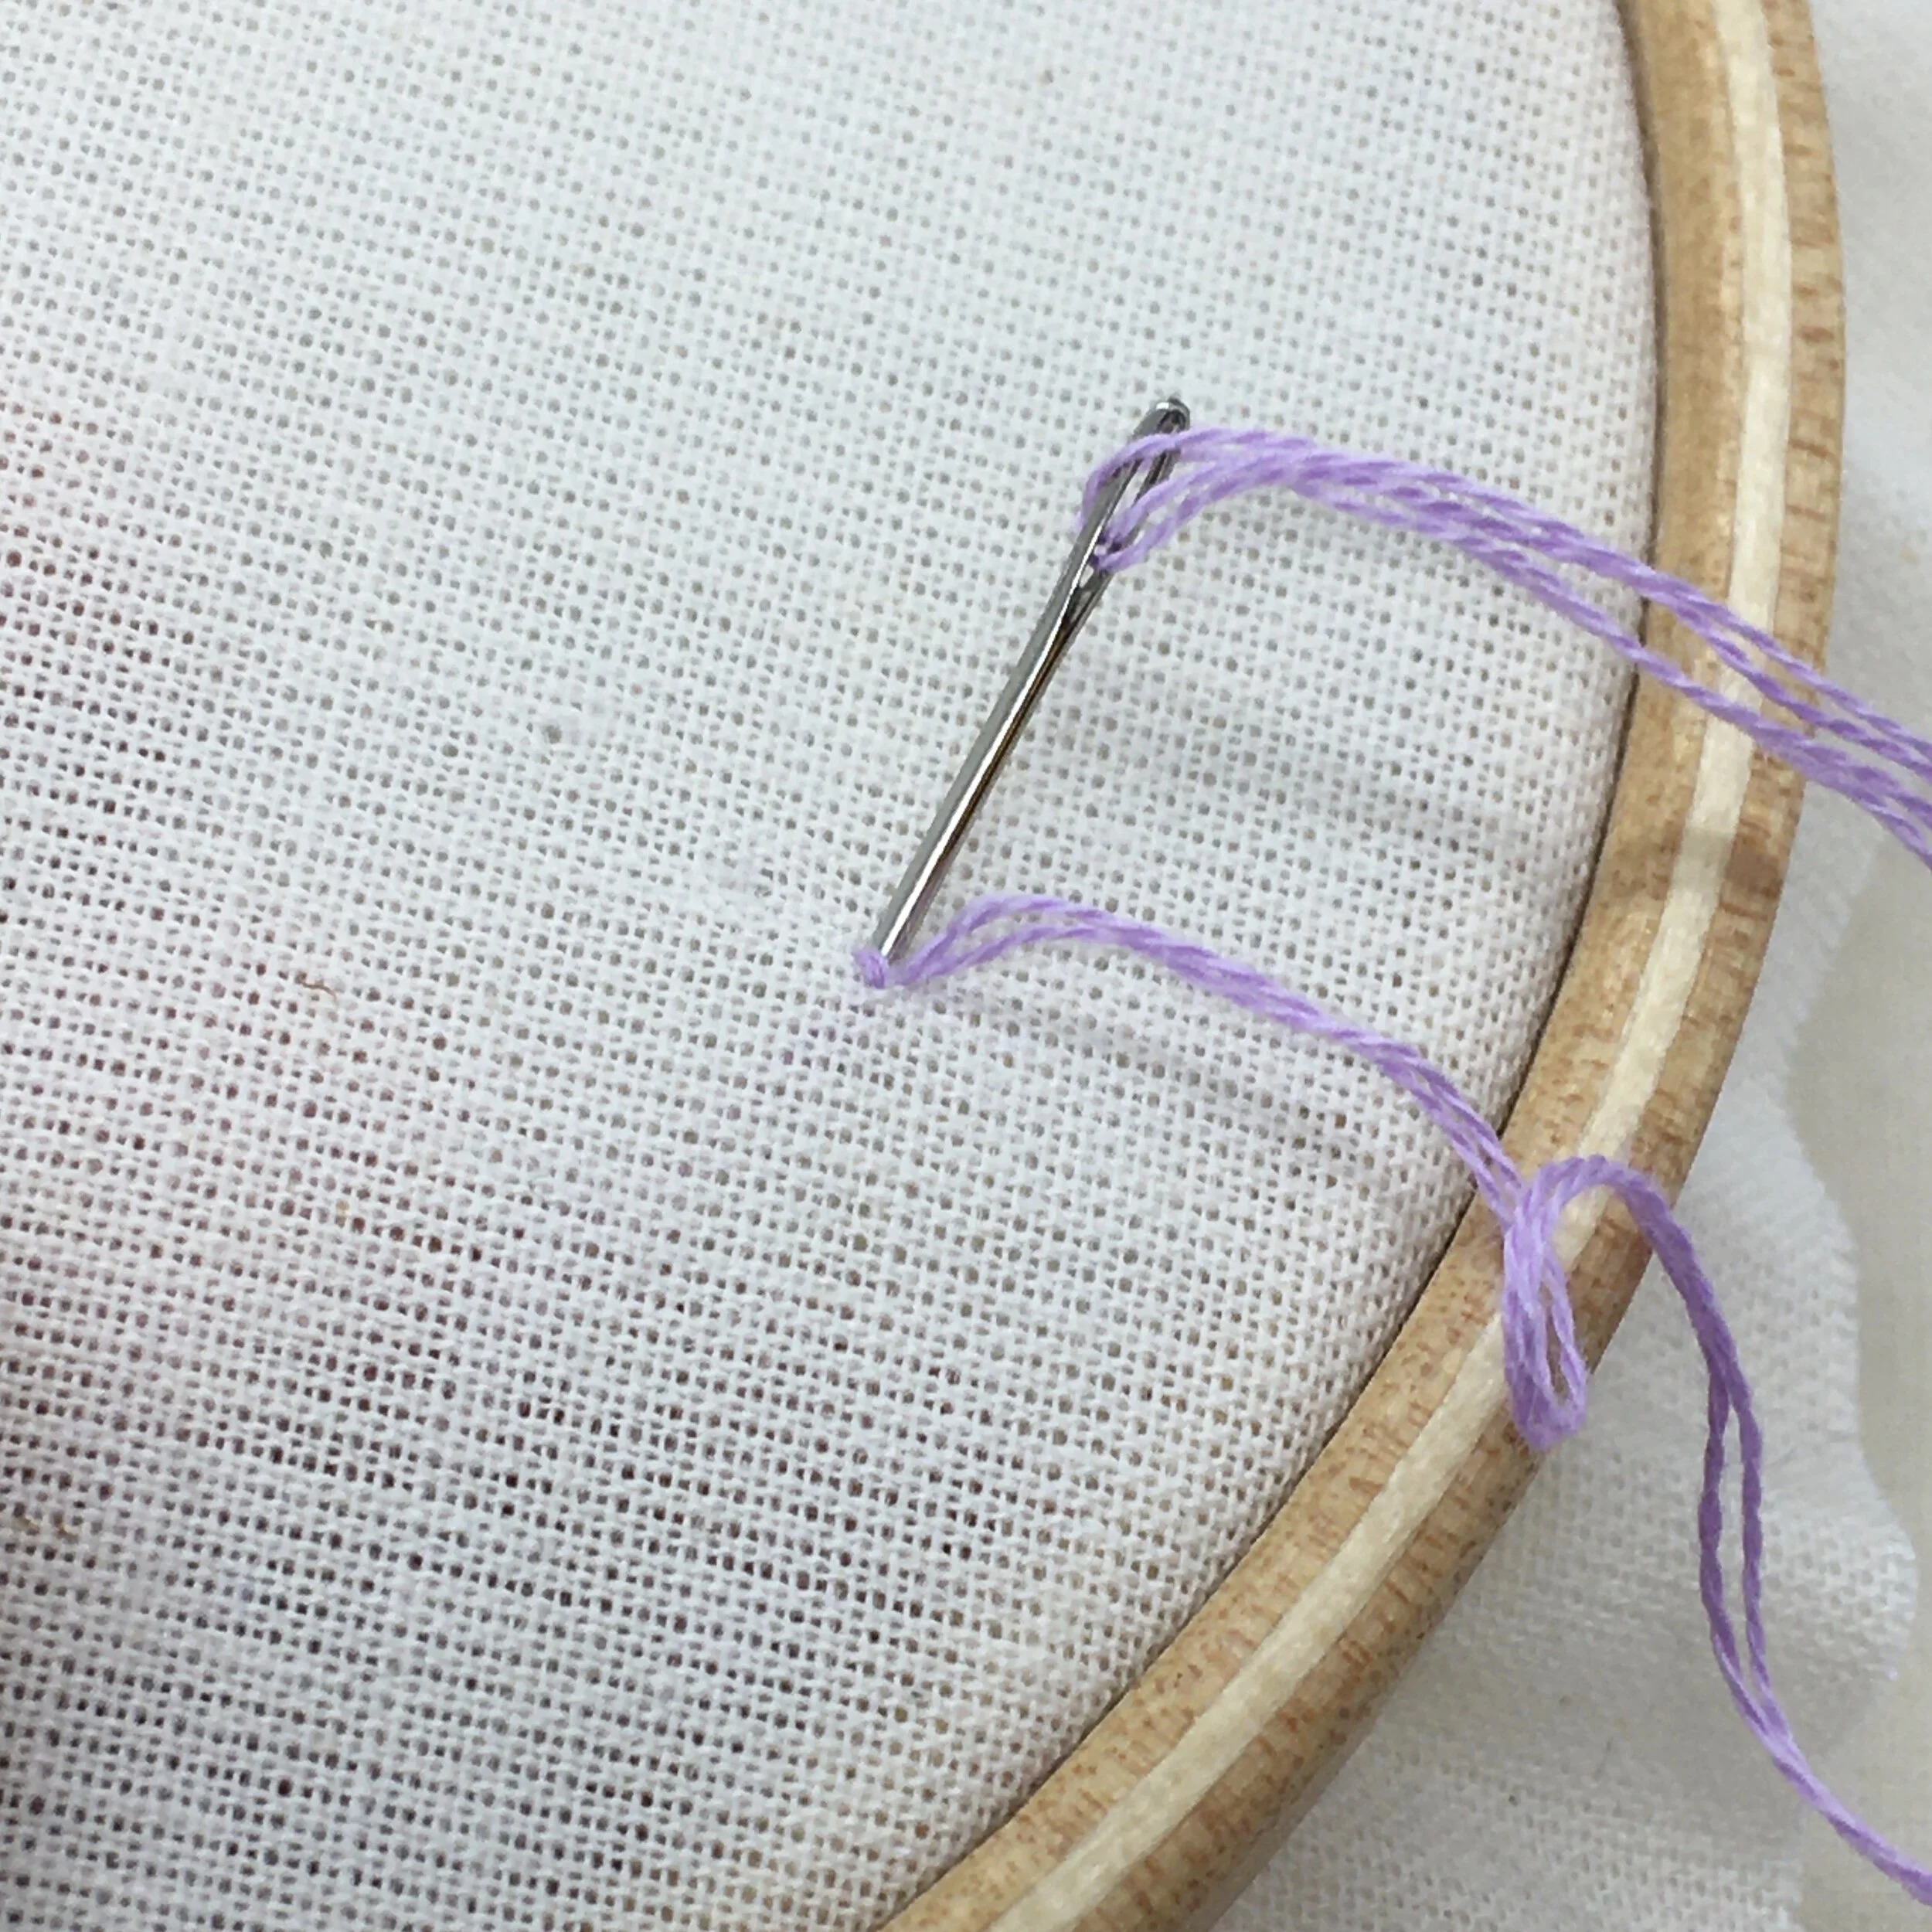
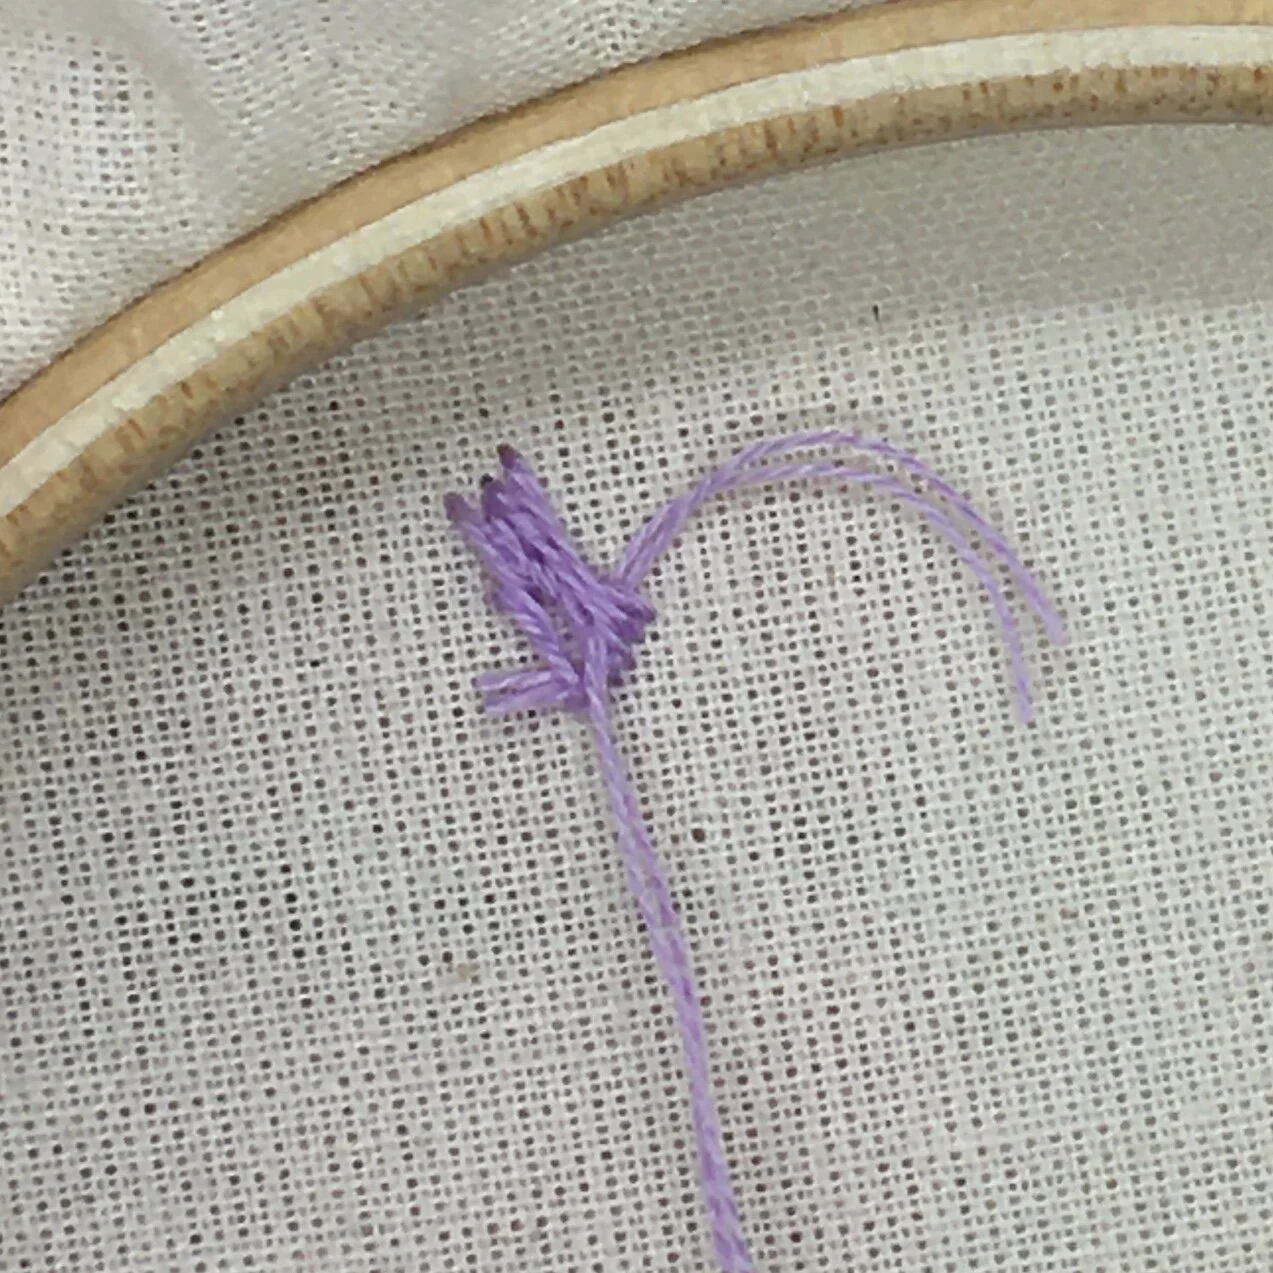
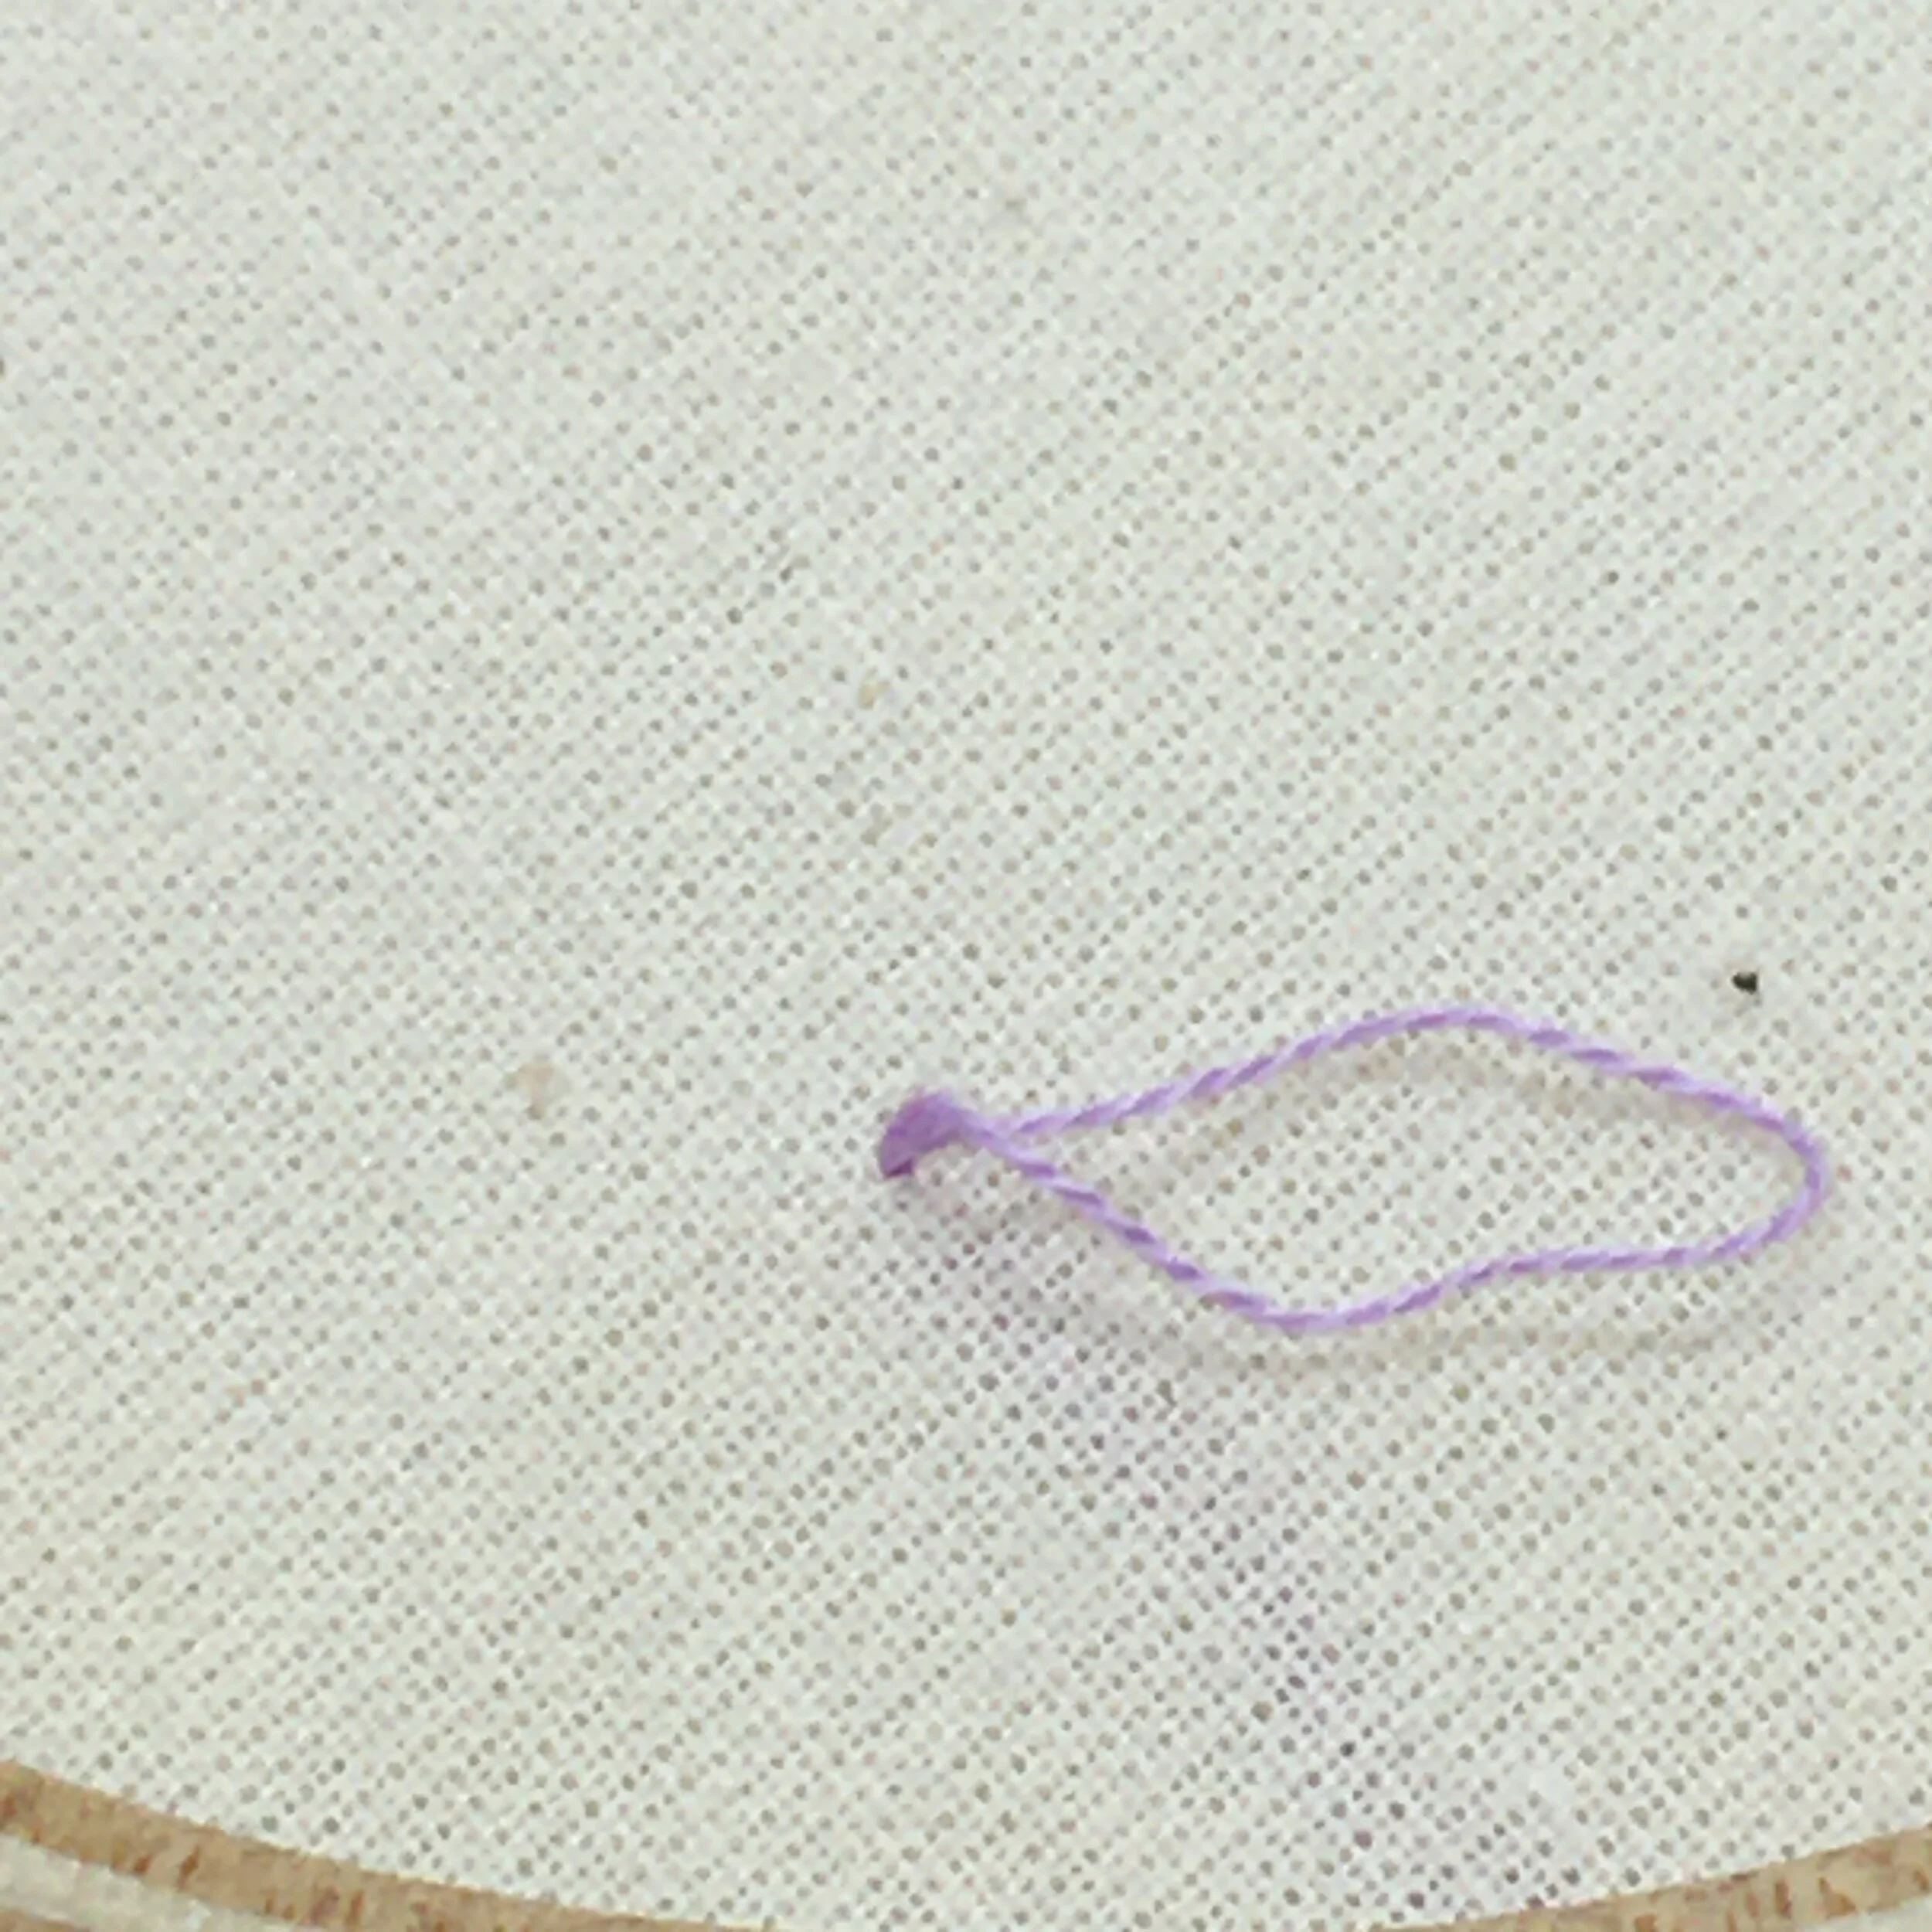
5. Floss

Most traditional embroidery is stitched with 6 stranded embroidery floss. The pattern that you pick will often tell you which brand of floss was used and the colour code.

You don’t actually need to use the exact colour or brand that is suggested in the pattern. My first embroidery I created using floss I’d bought from the £1 shop. Yes the floss quality can be variable and a bit fluffy rather than smooth and silky. But this is your first piece of embroidery - it isn’t going to be perfect.

If you want to stitch with the branded floss then go for it! Got some other types of thread such as sewing cotton or thin yarn, you could give them a try too. The key is just to start and see how it turns out.
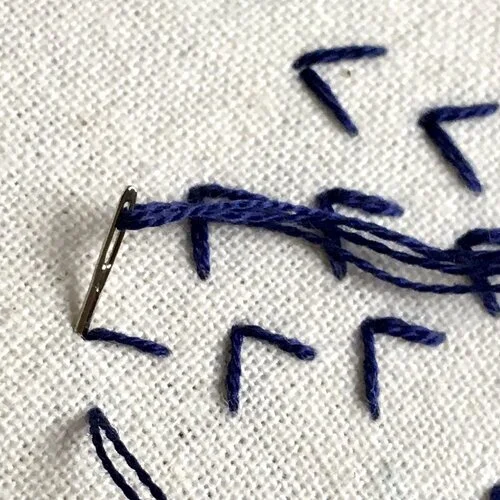
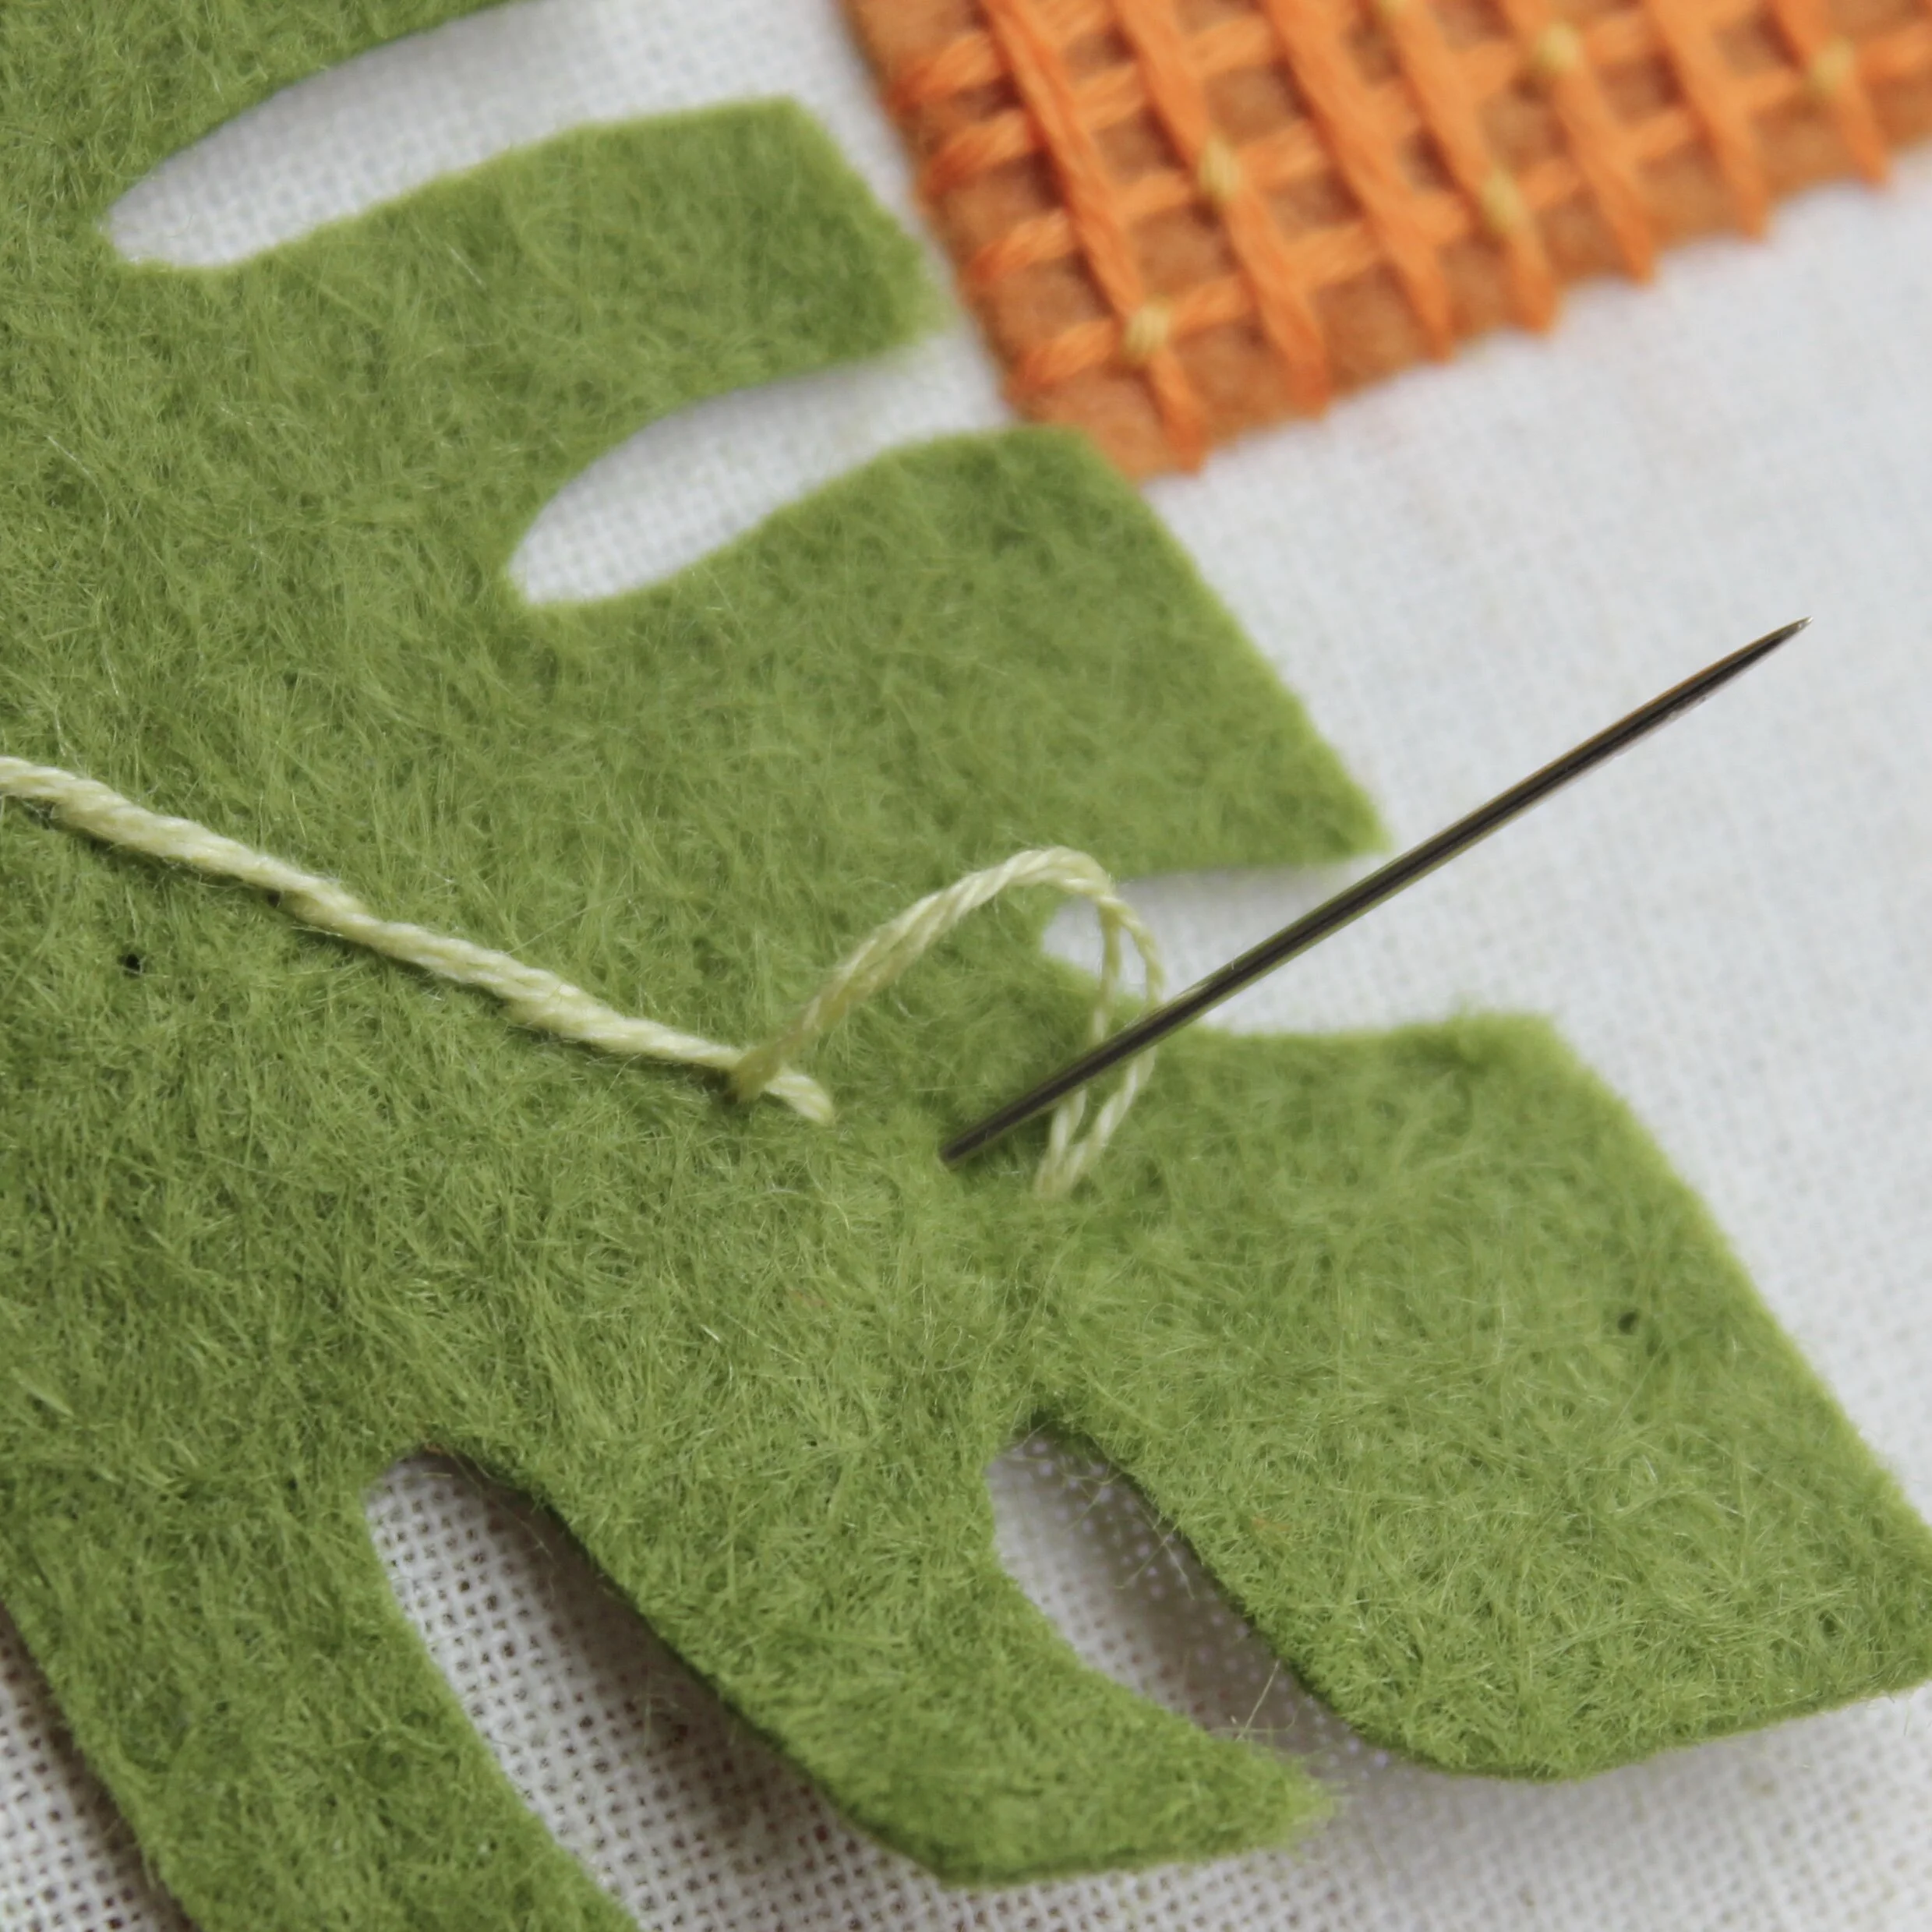
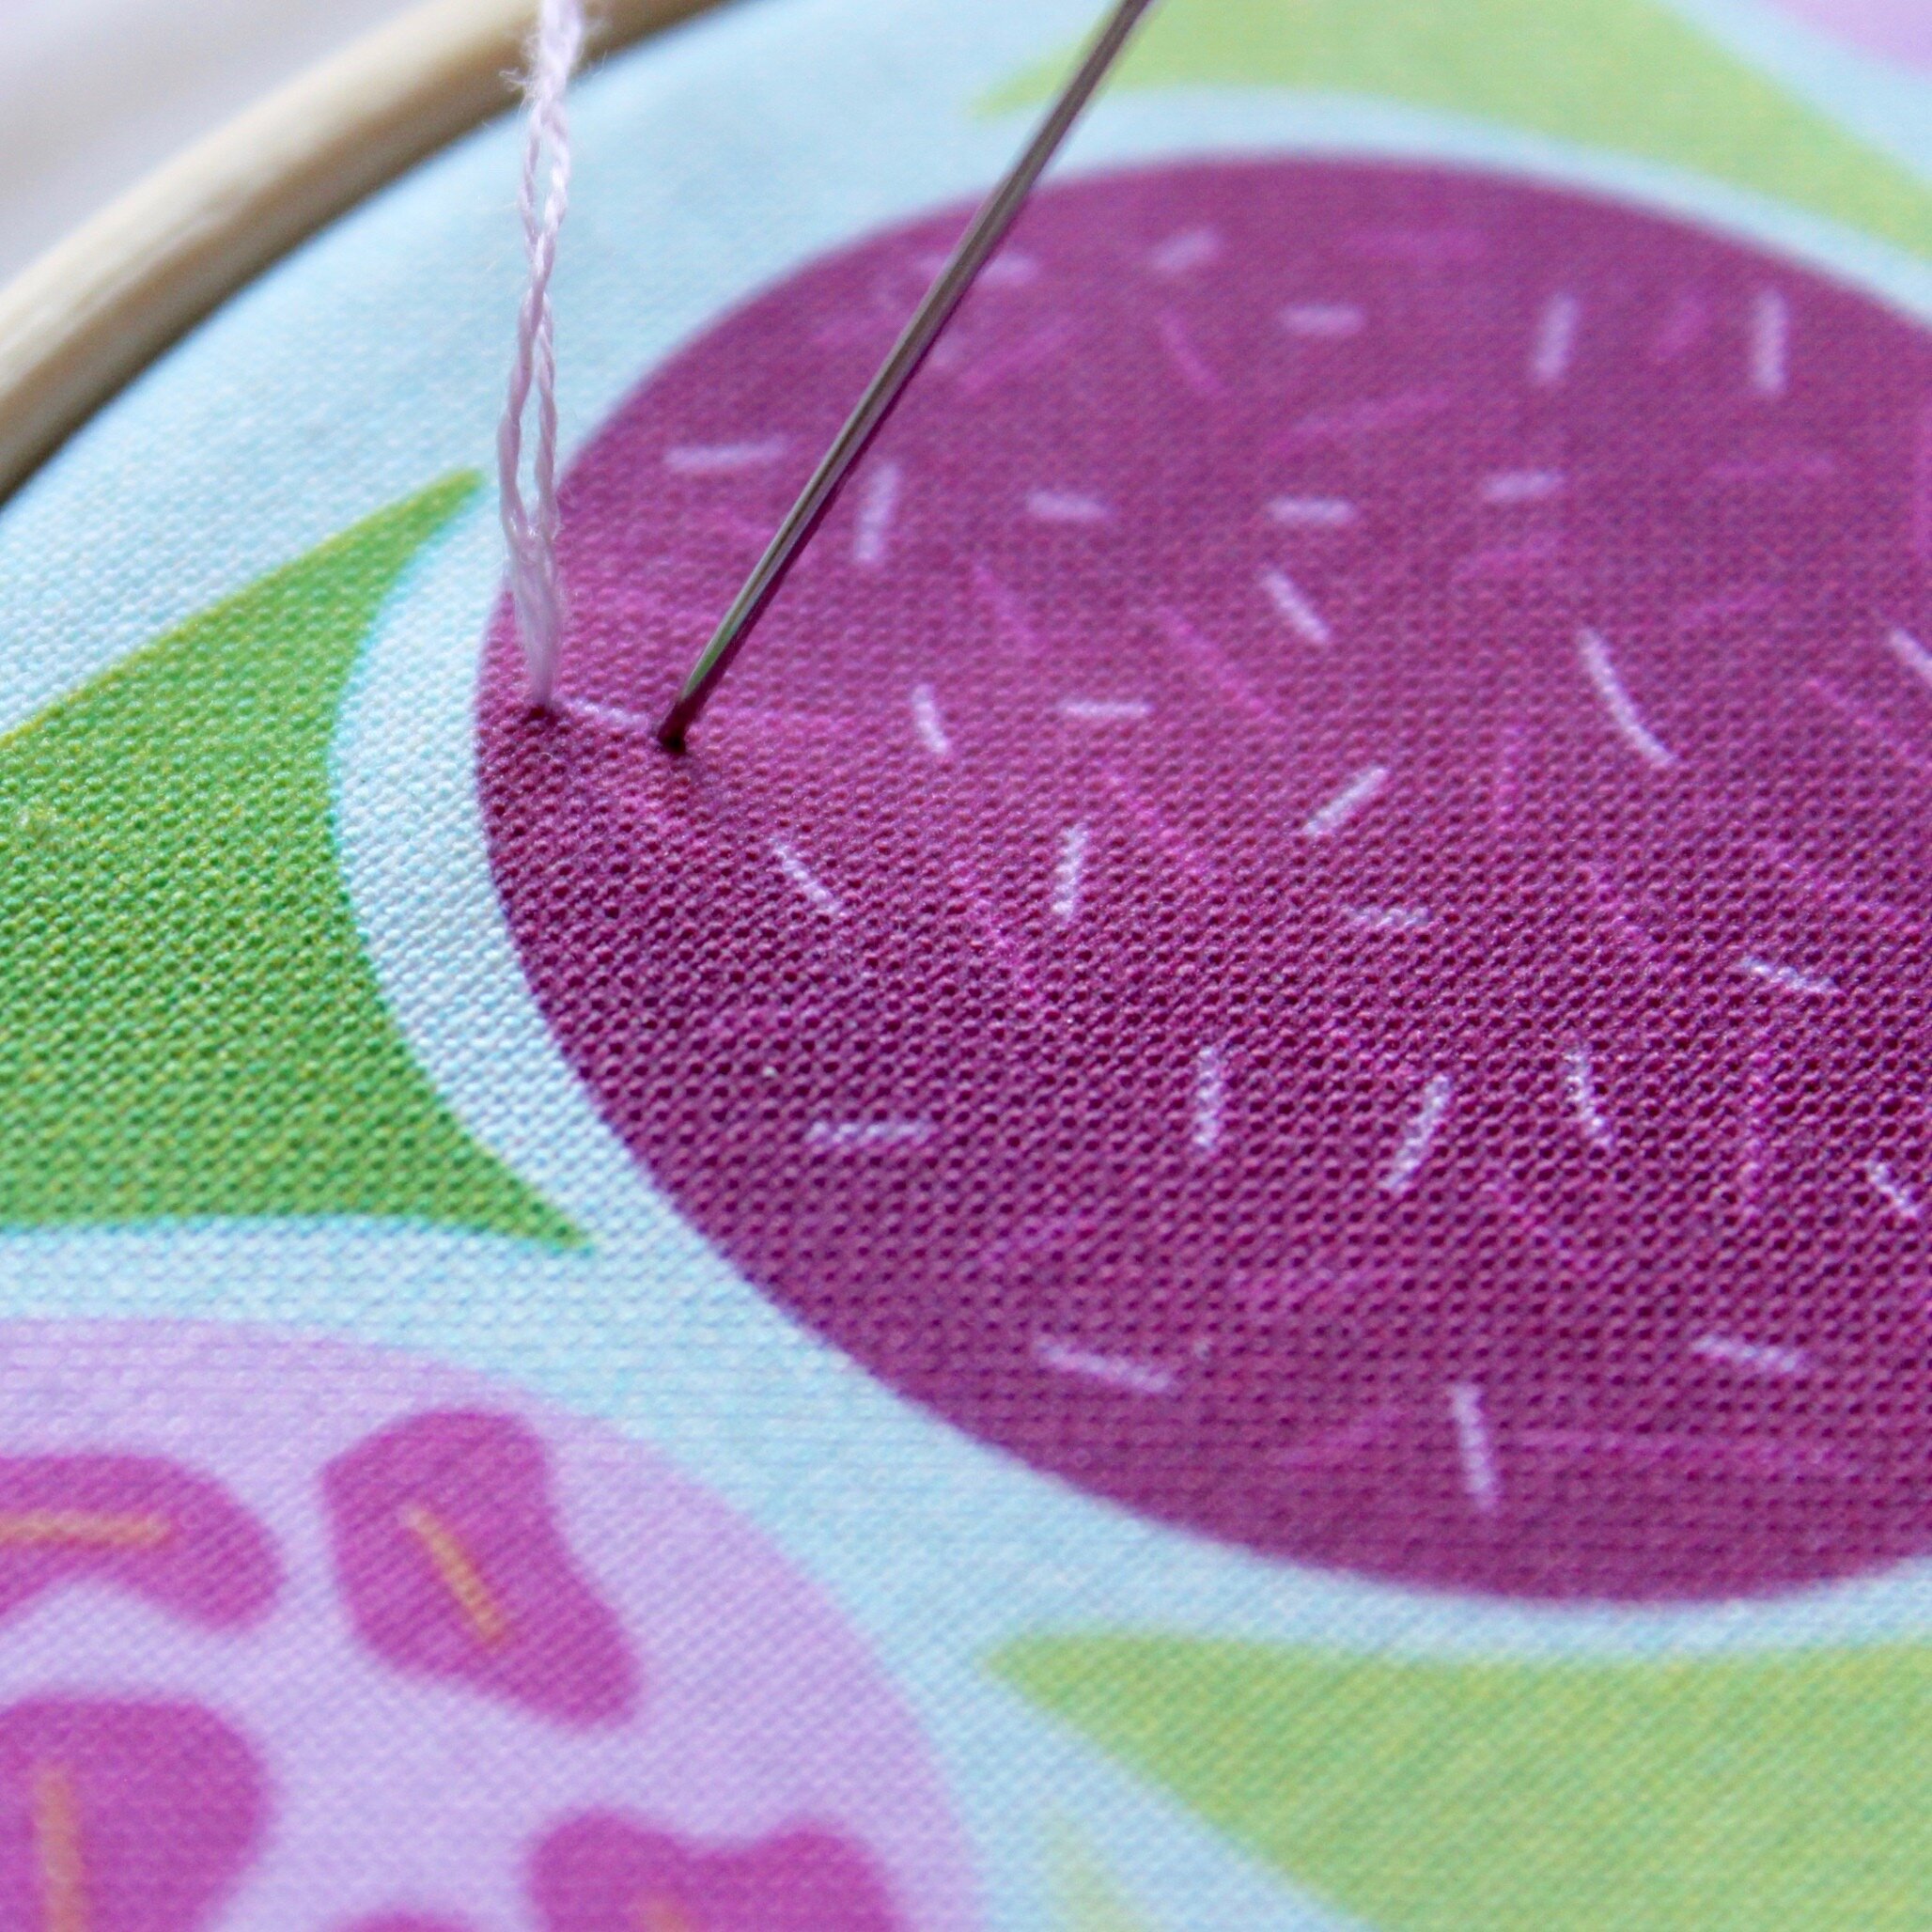
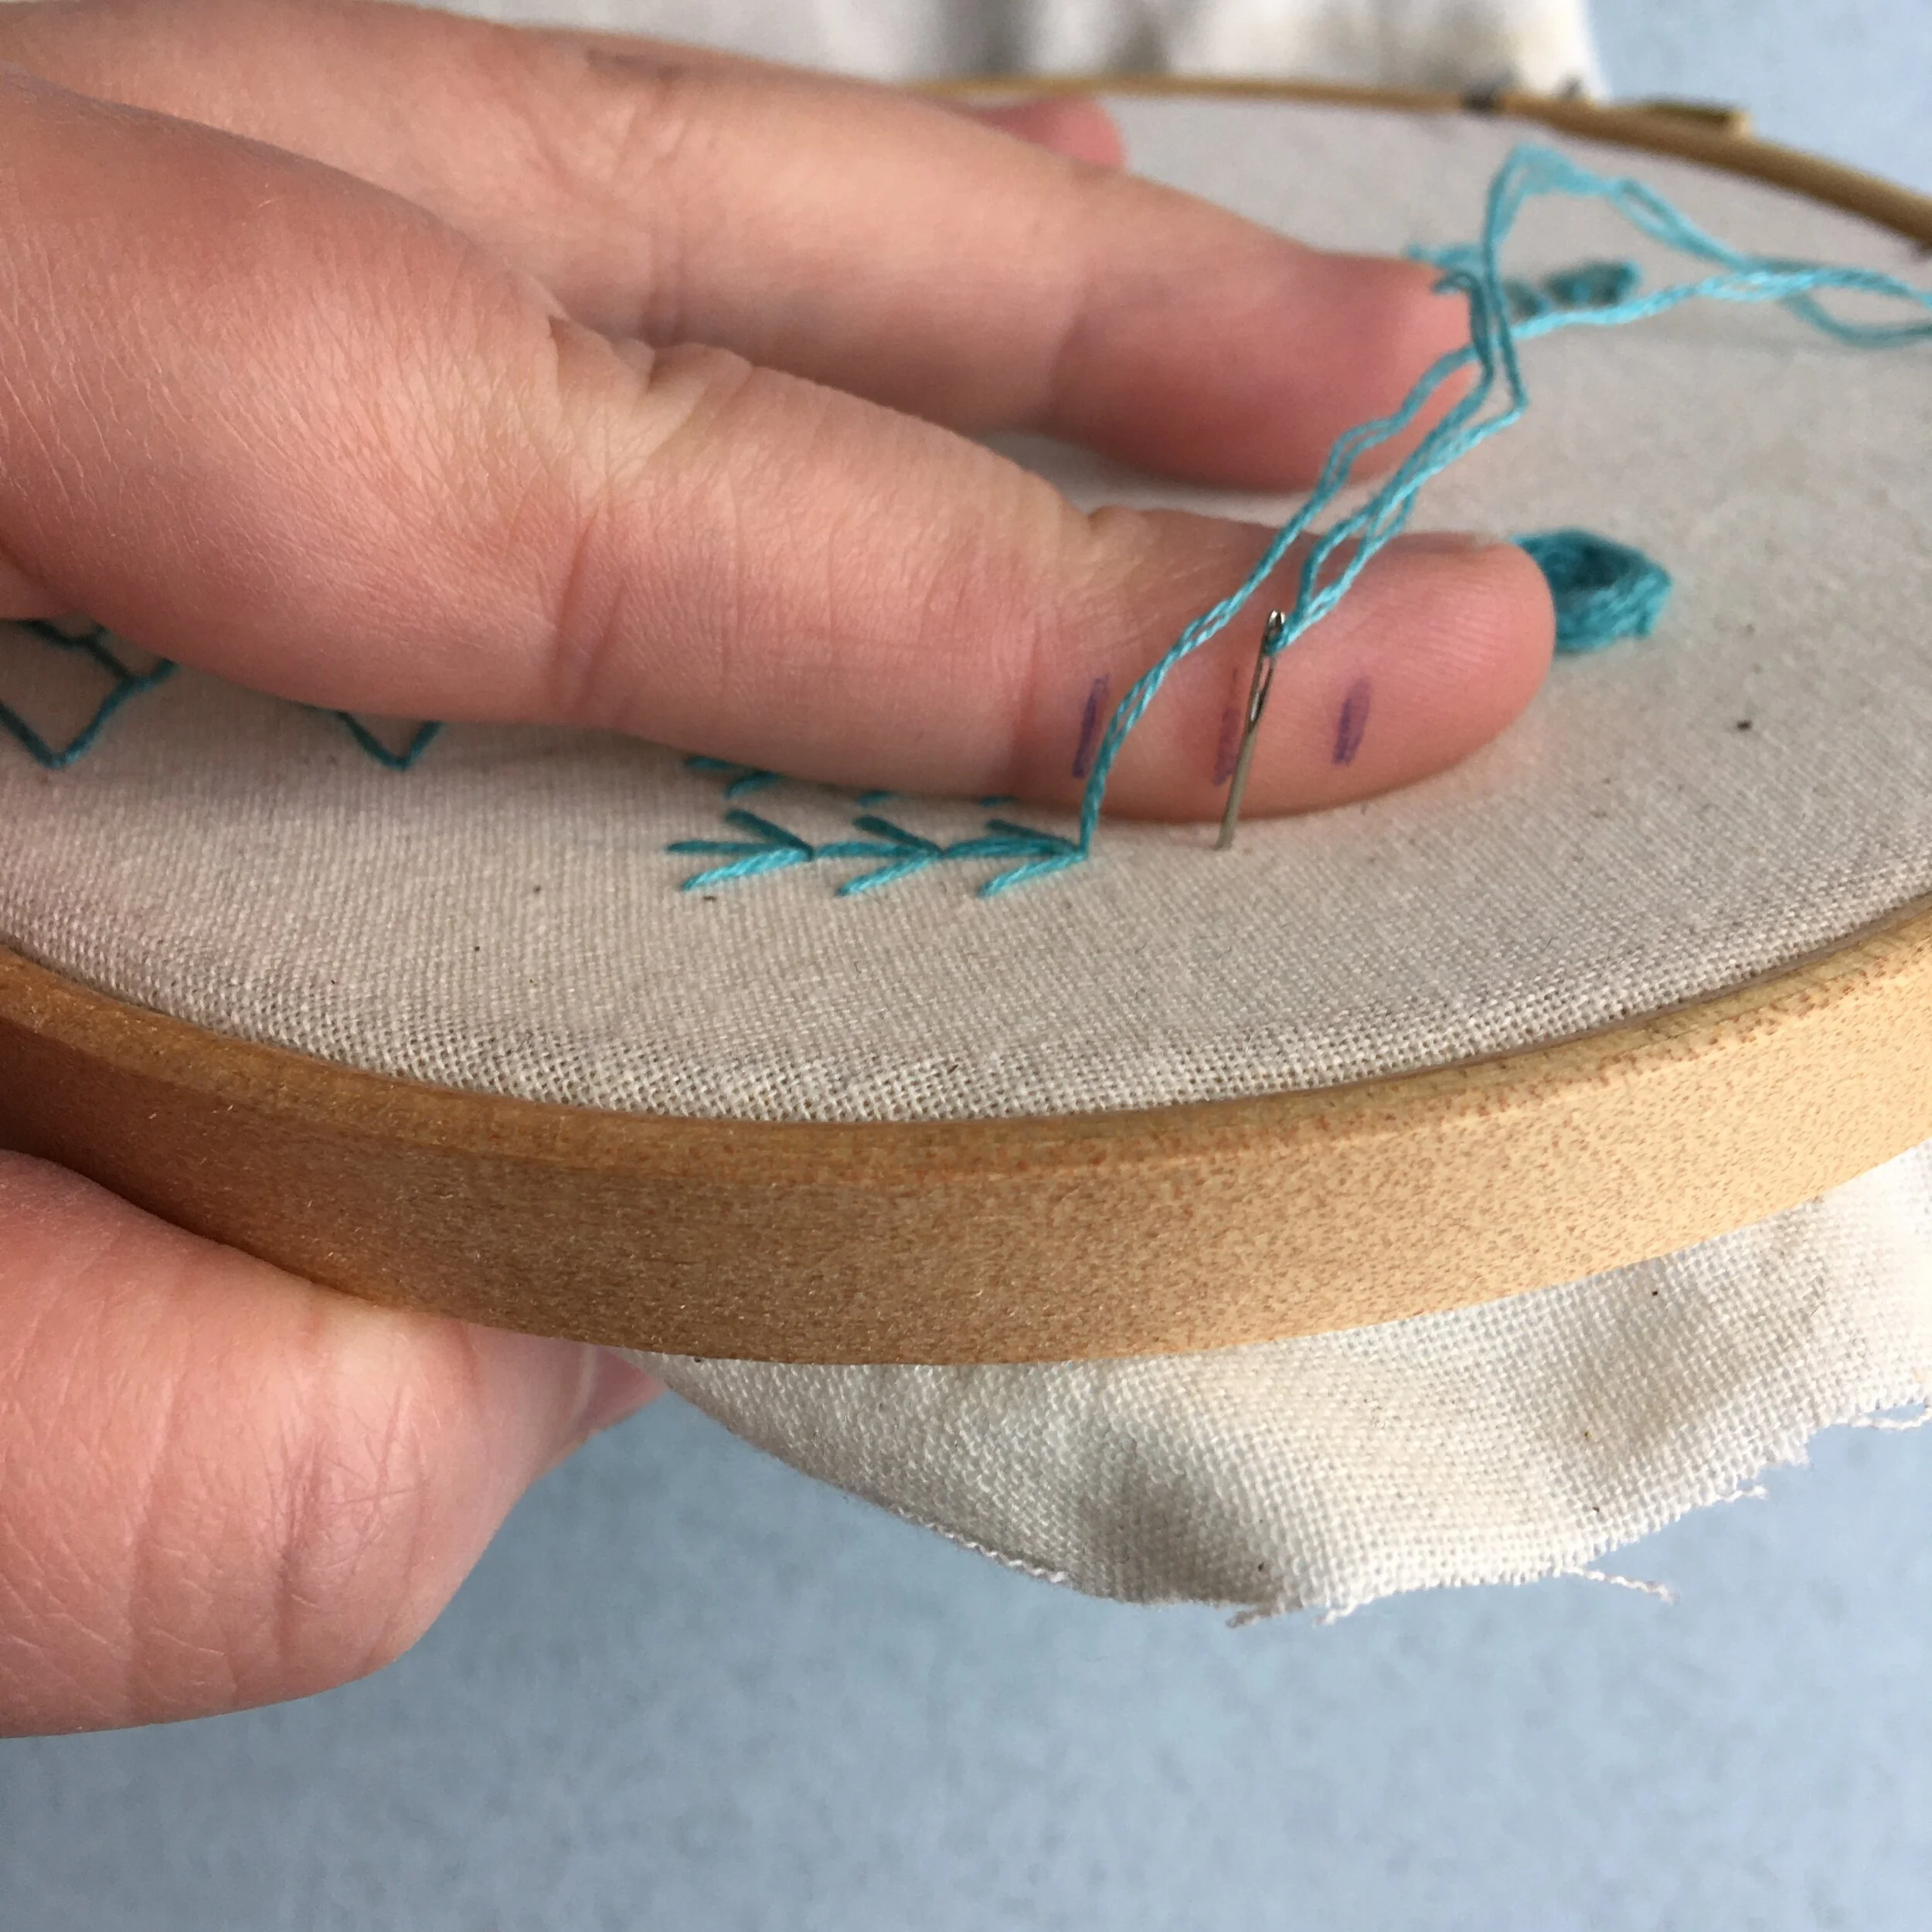
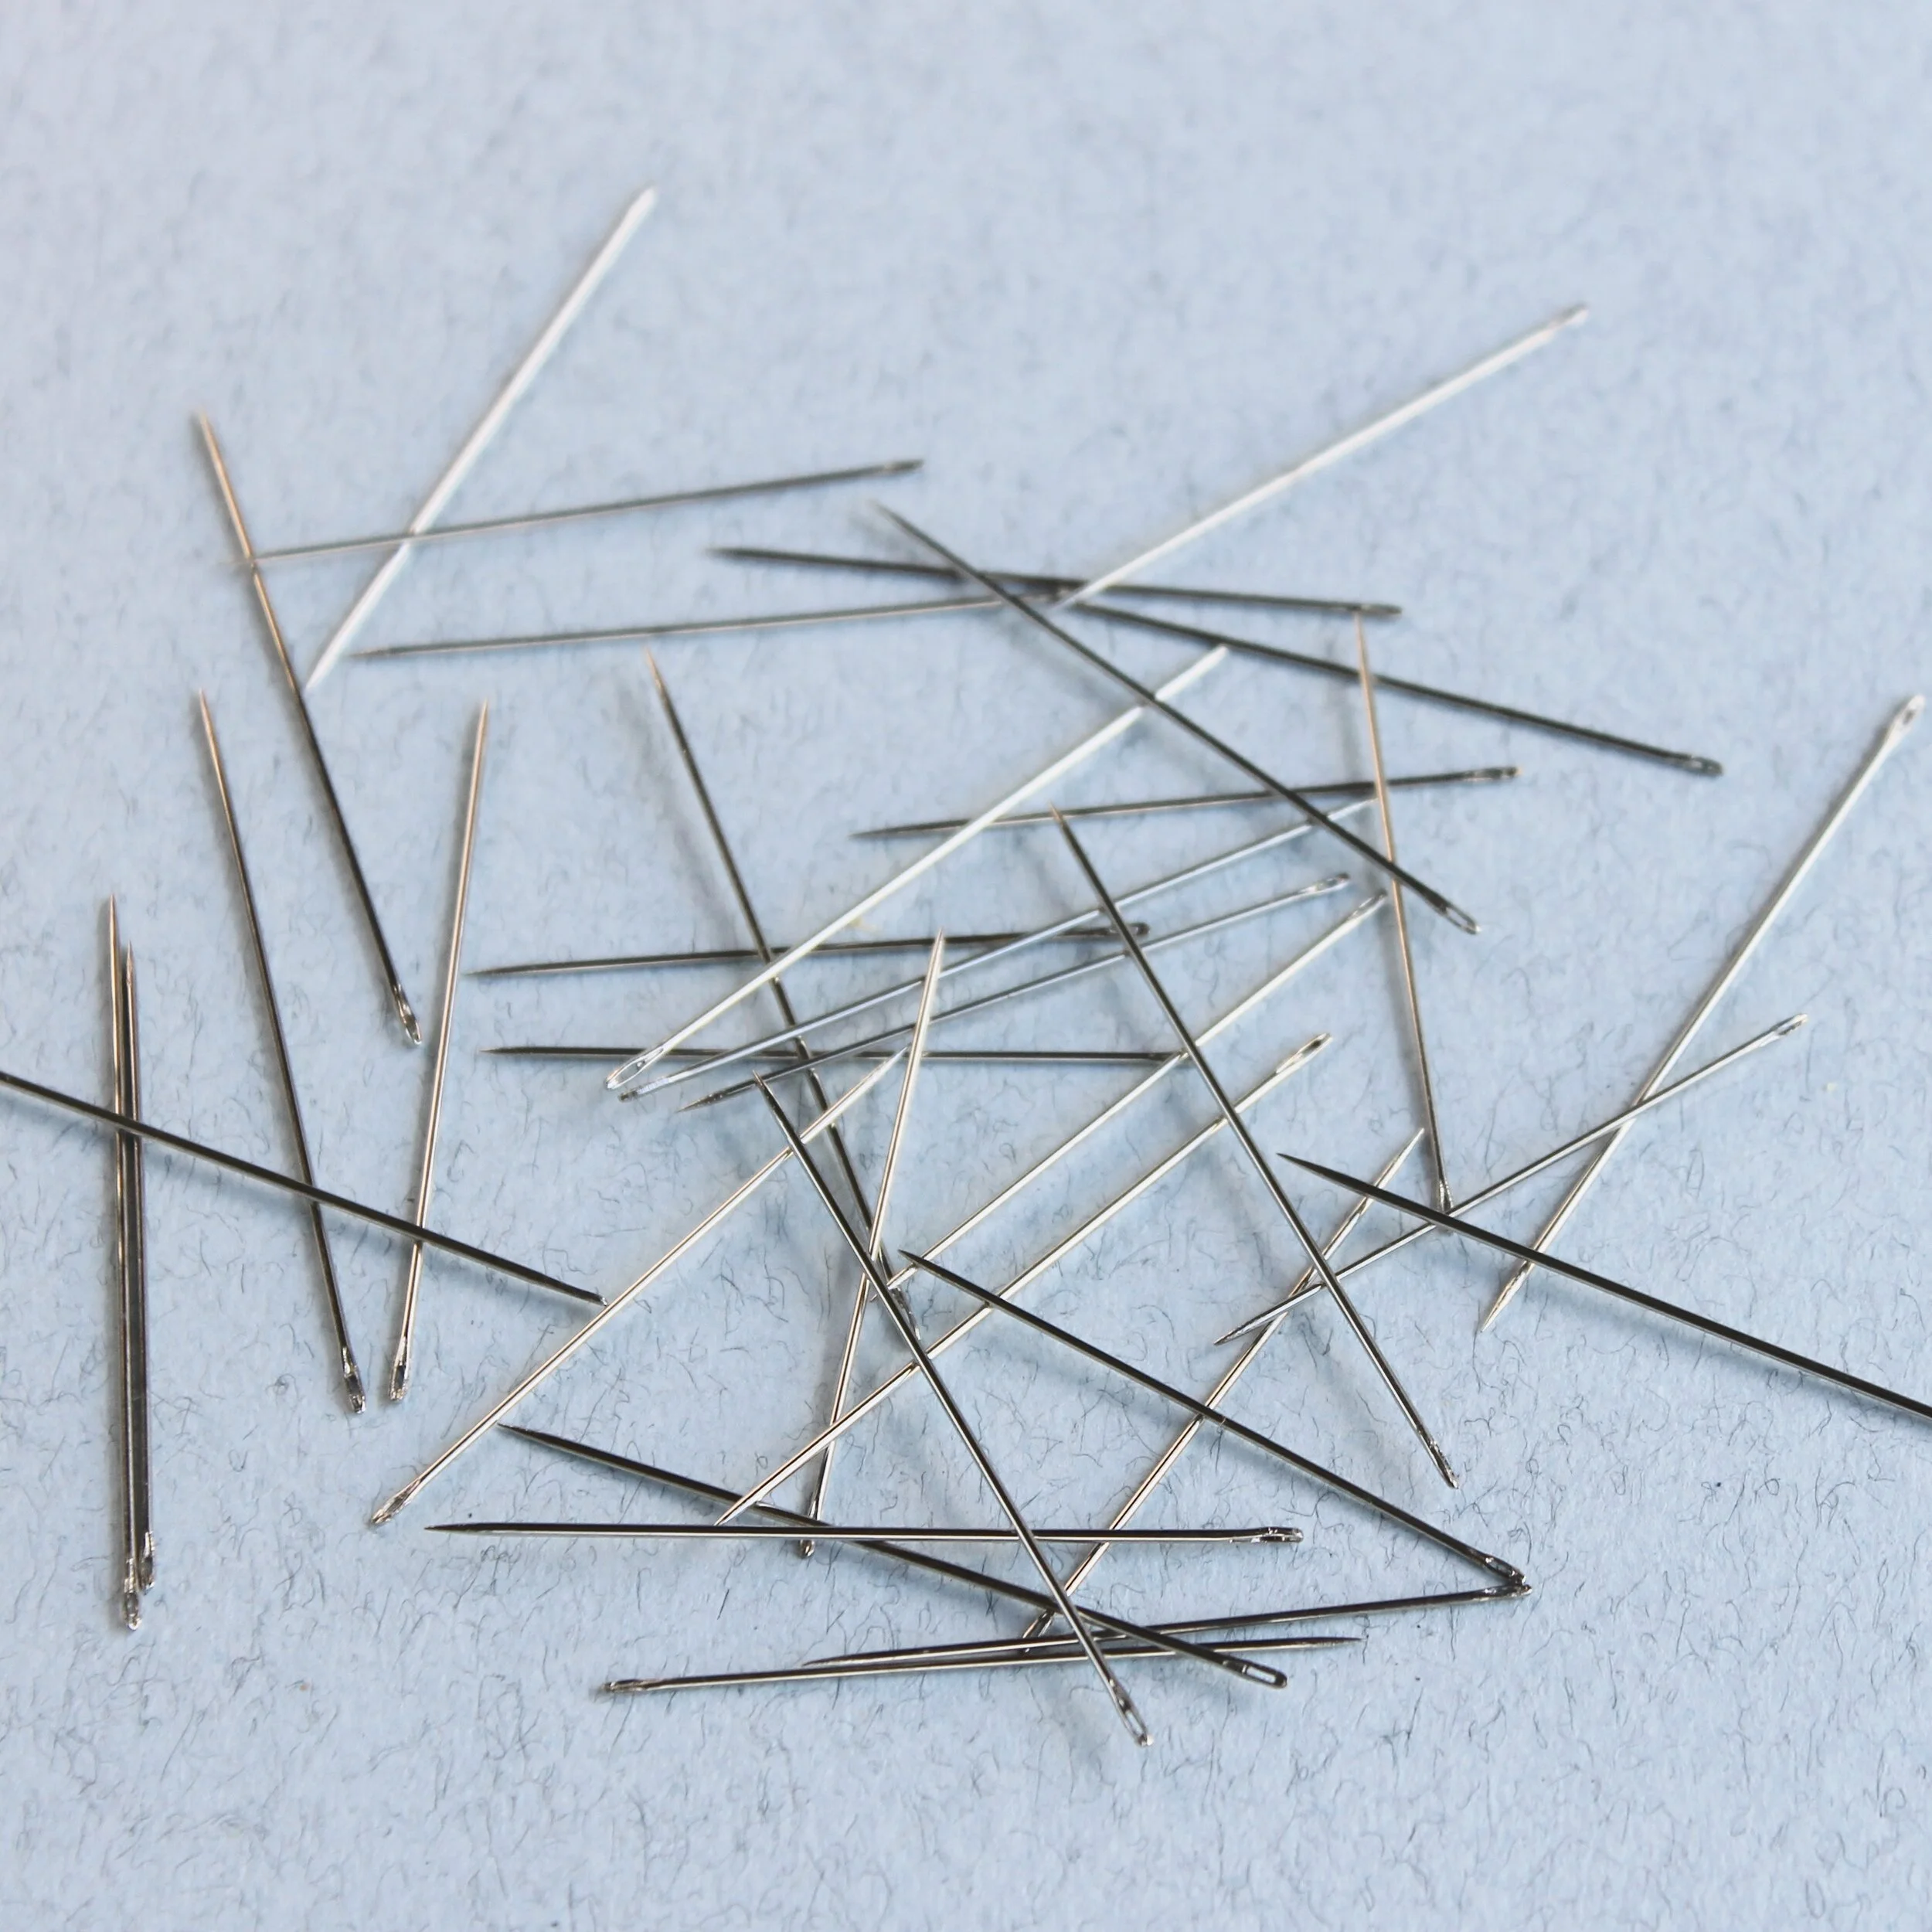
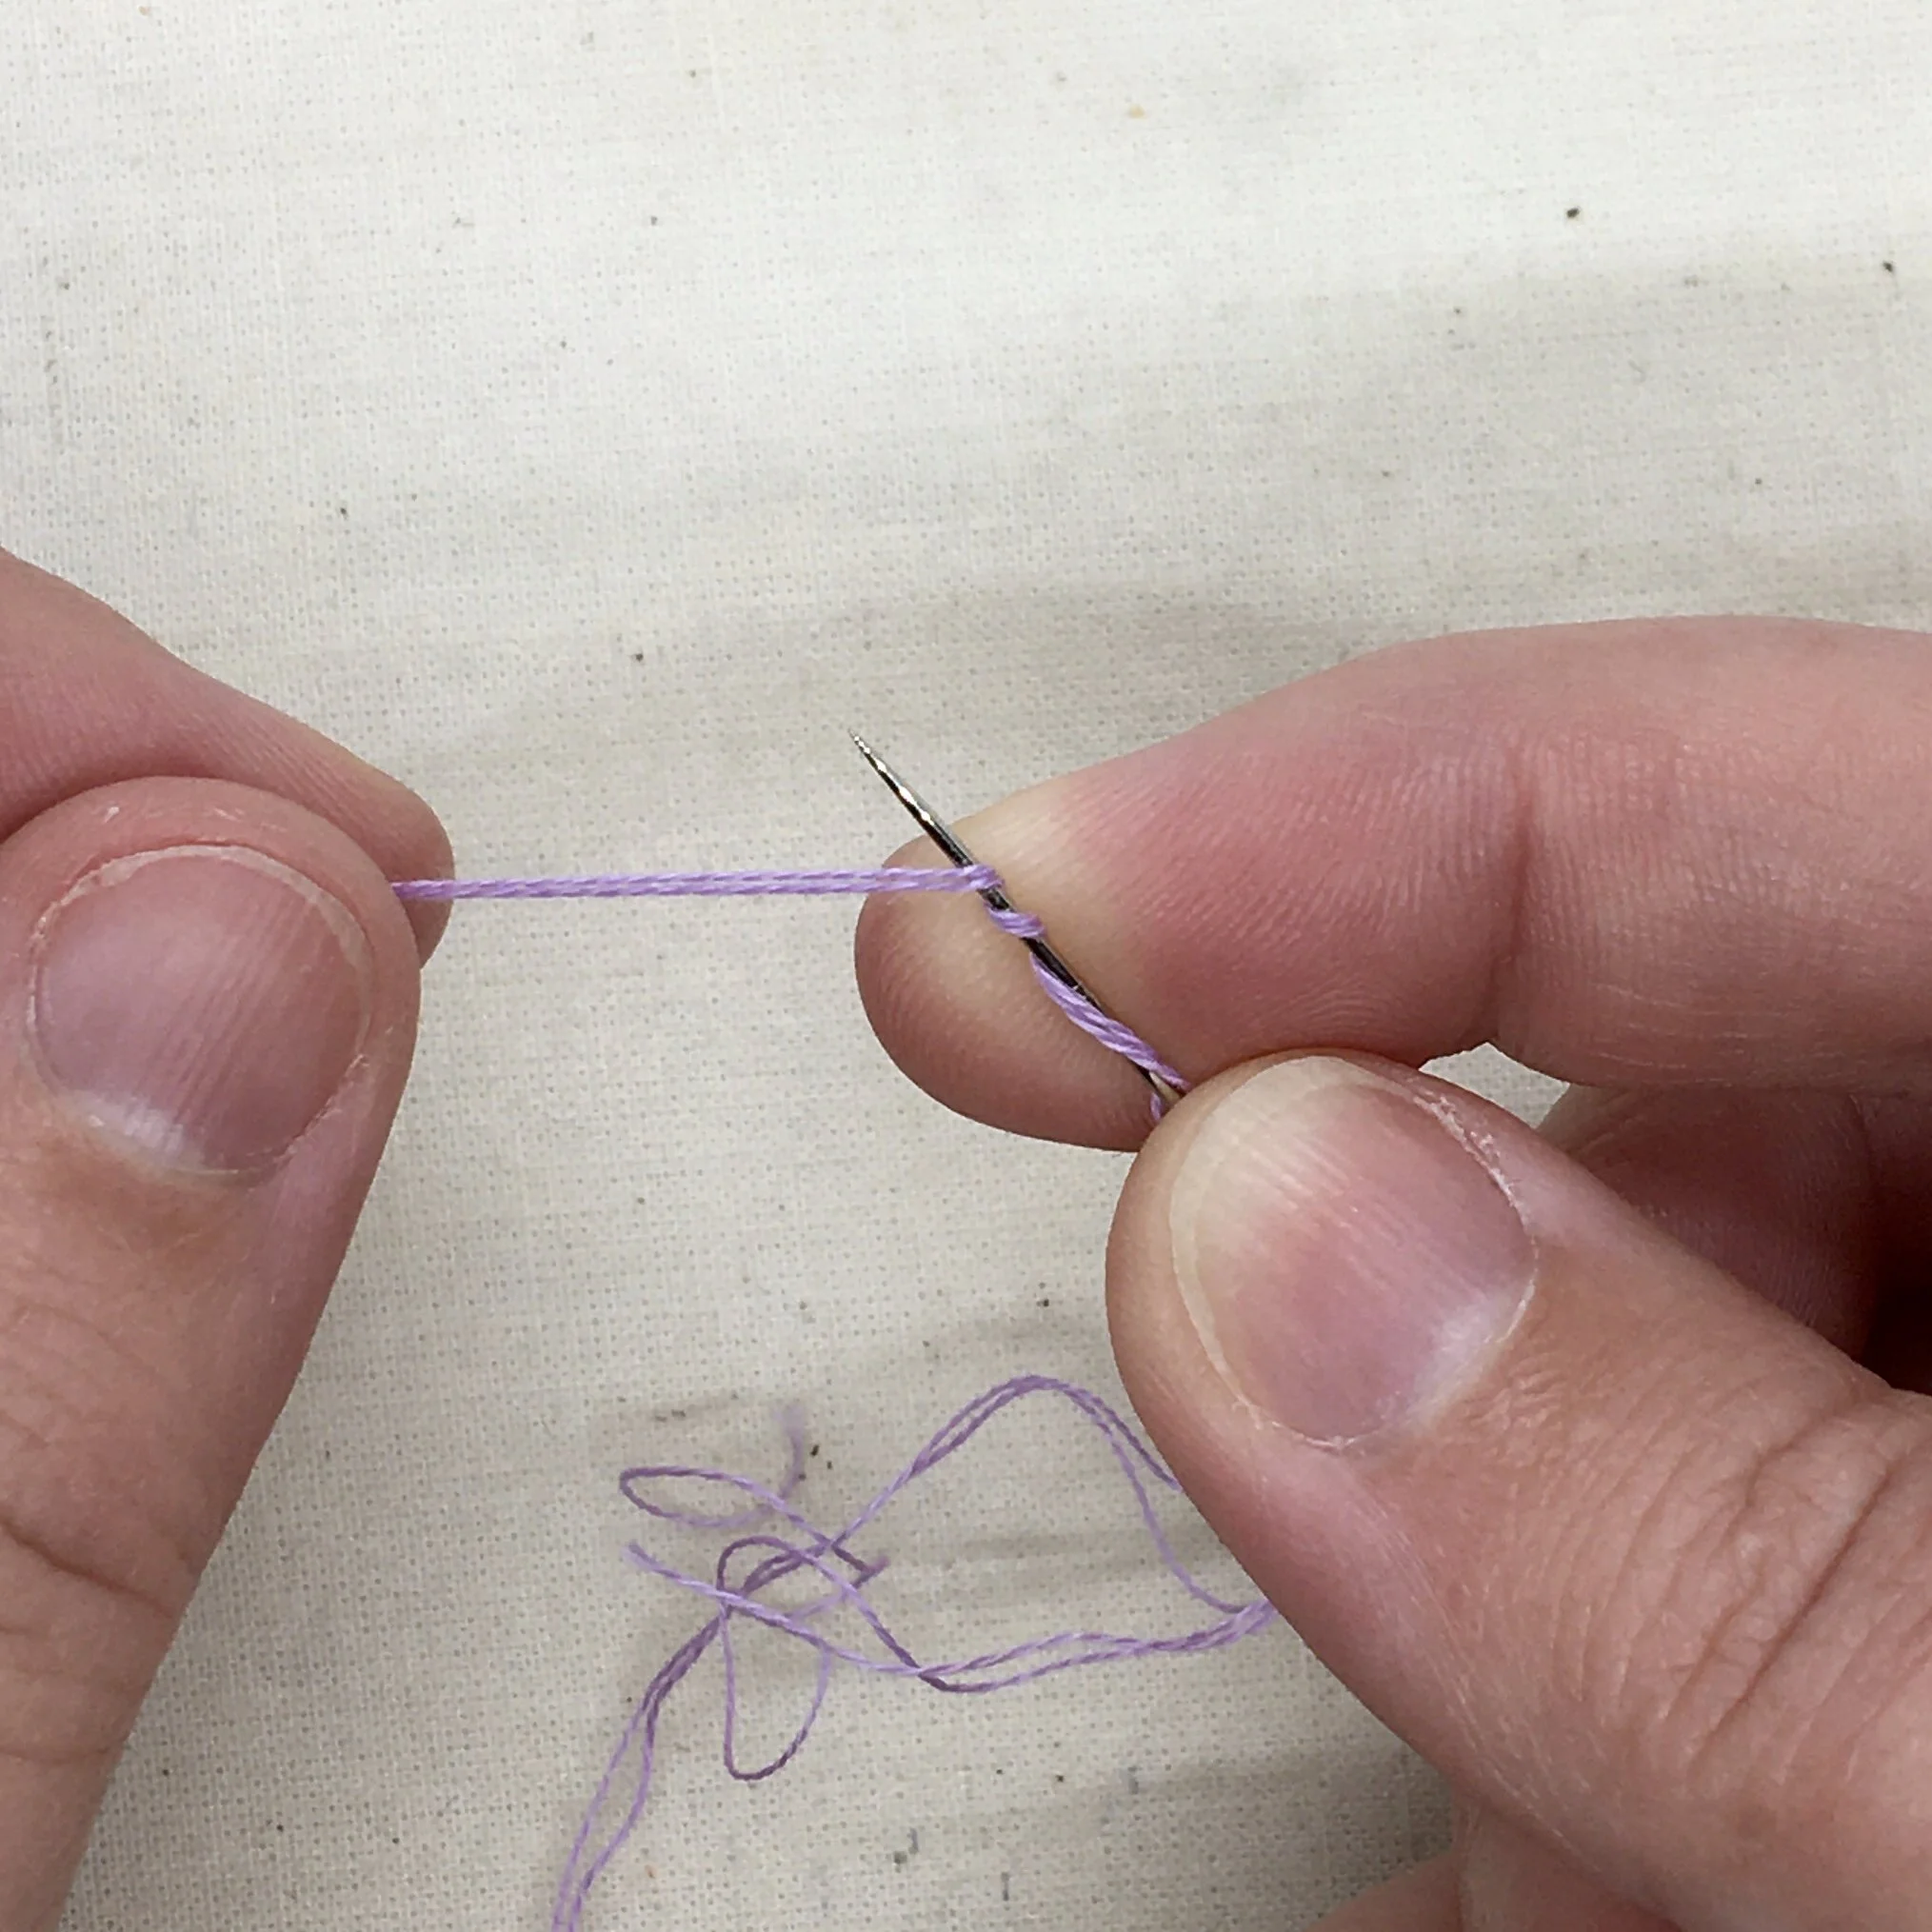
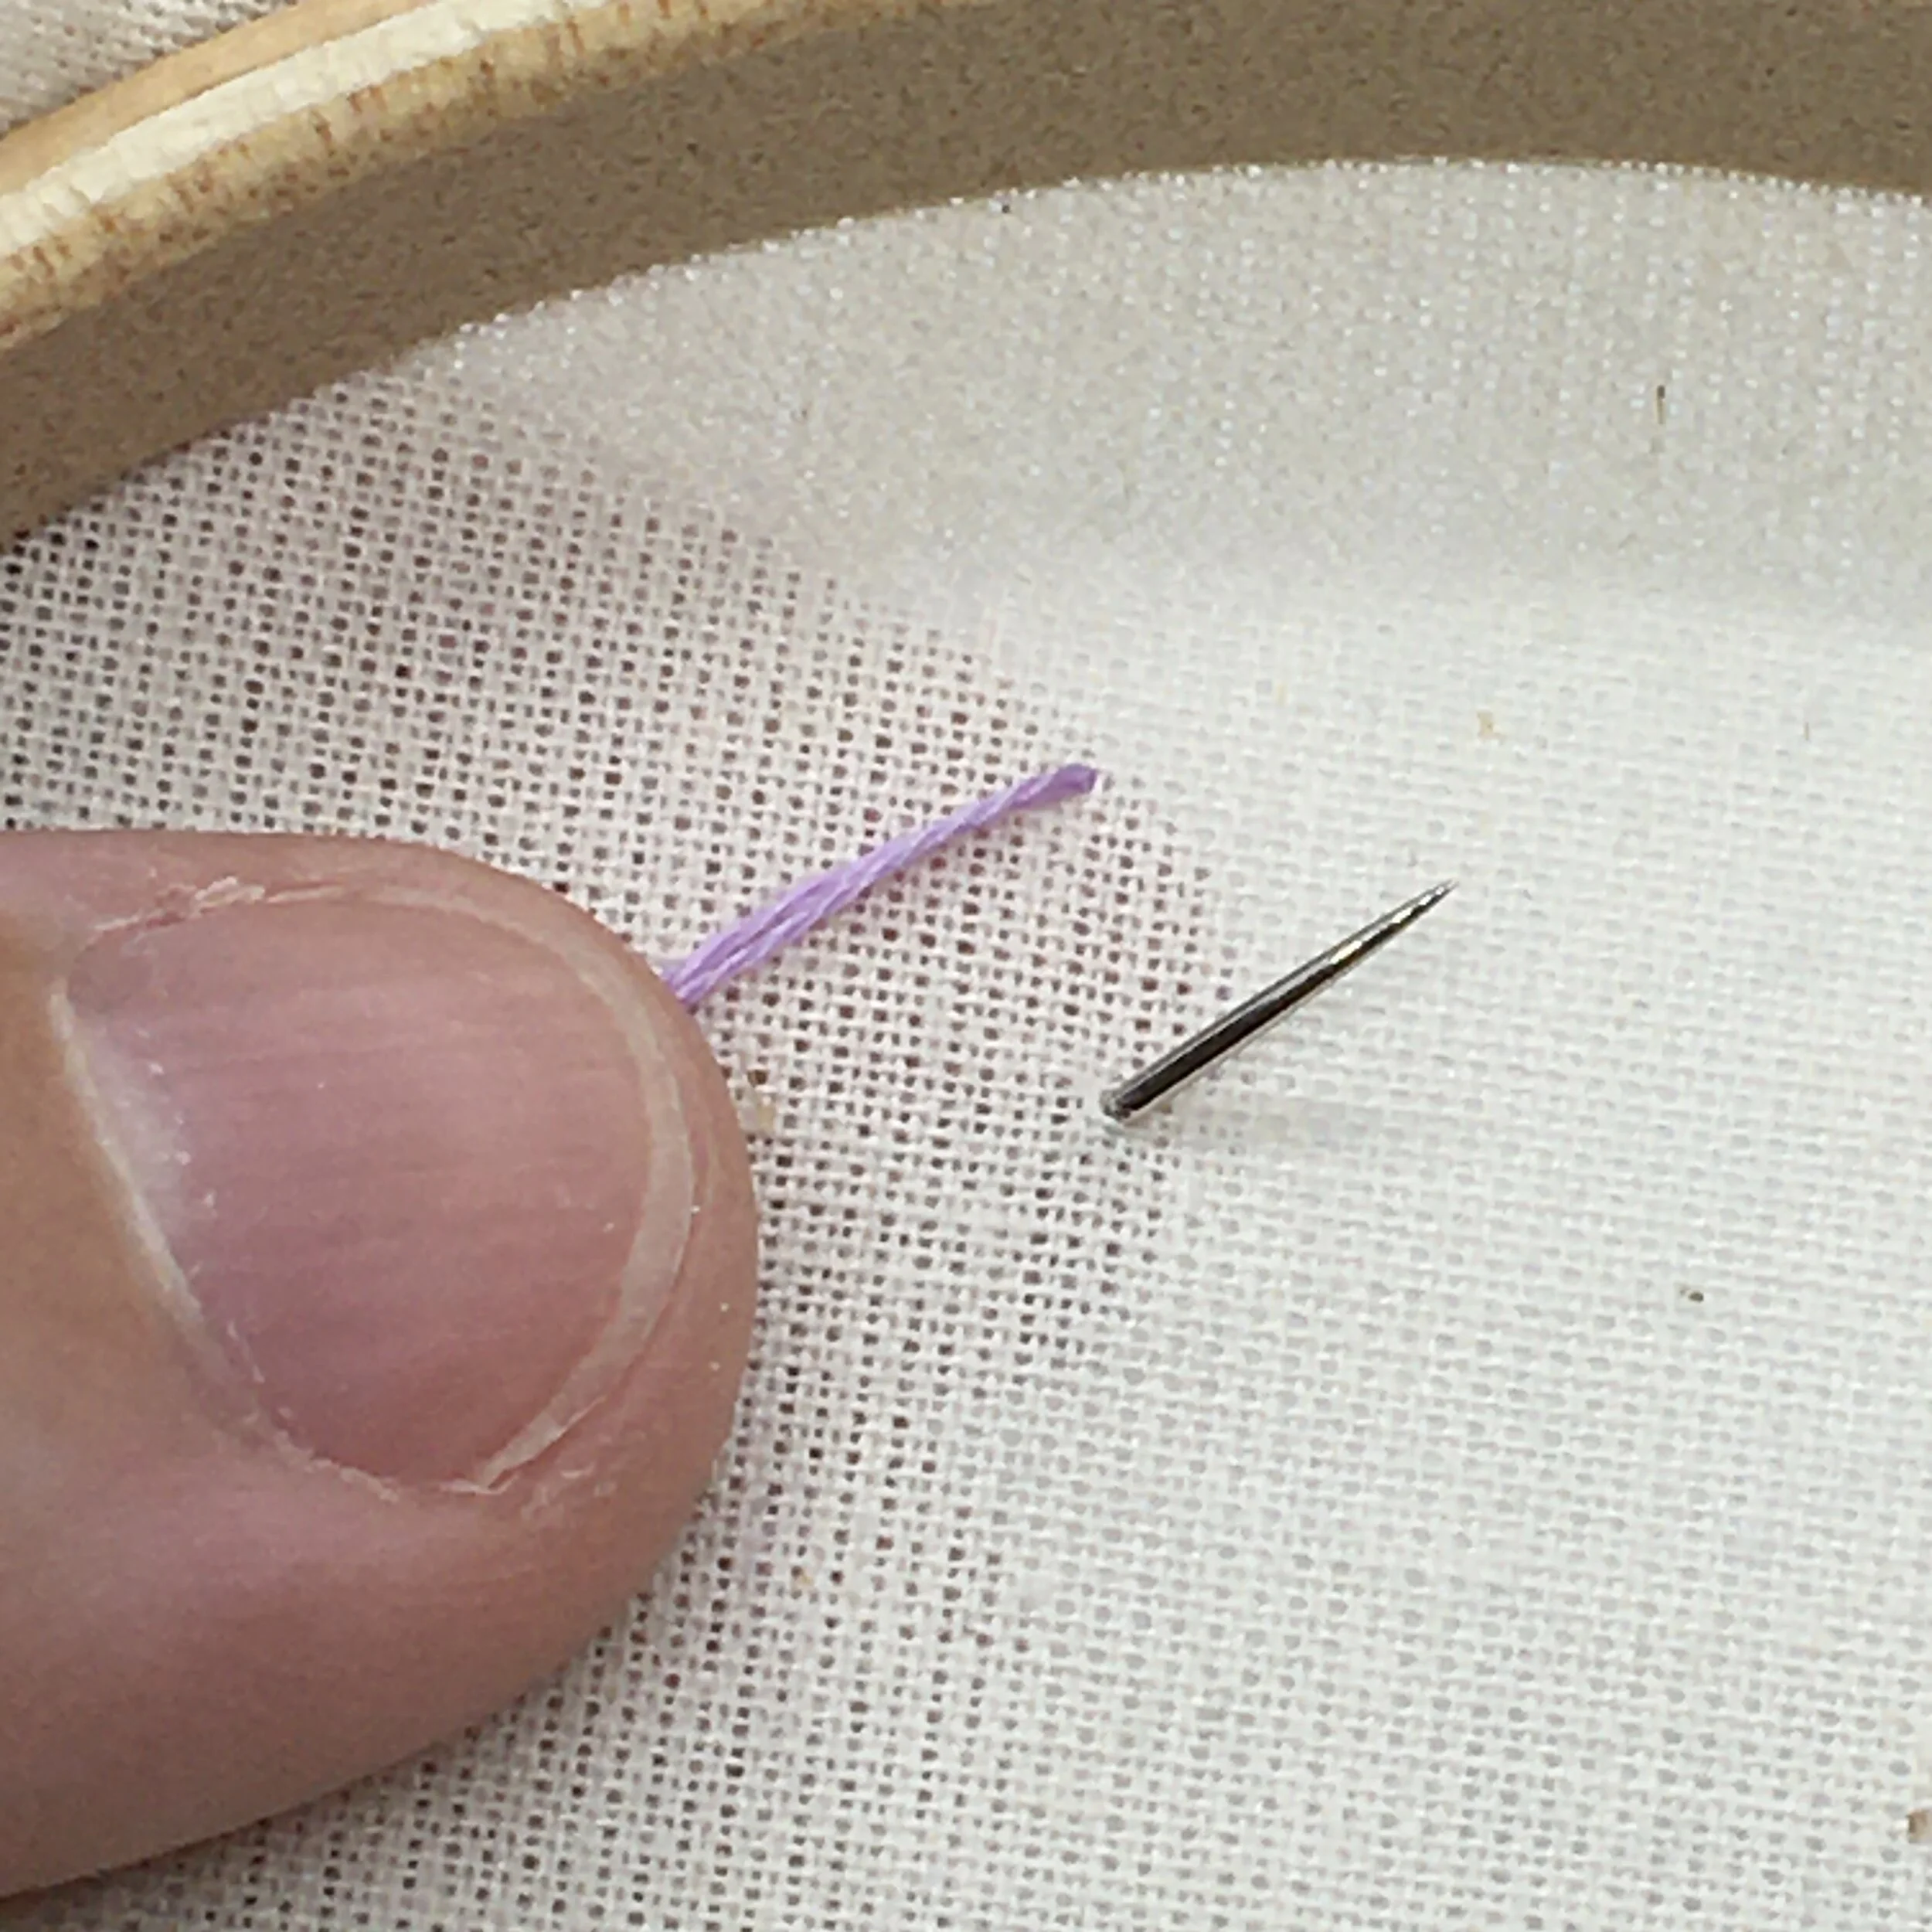
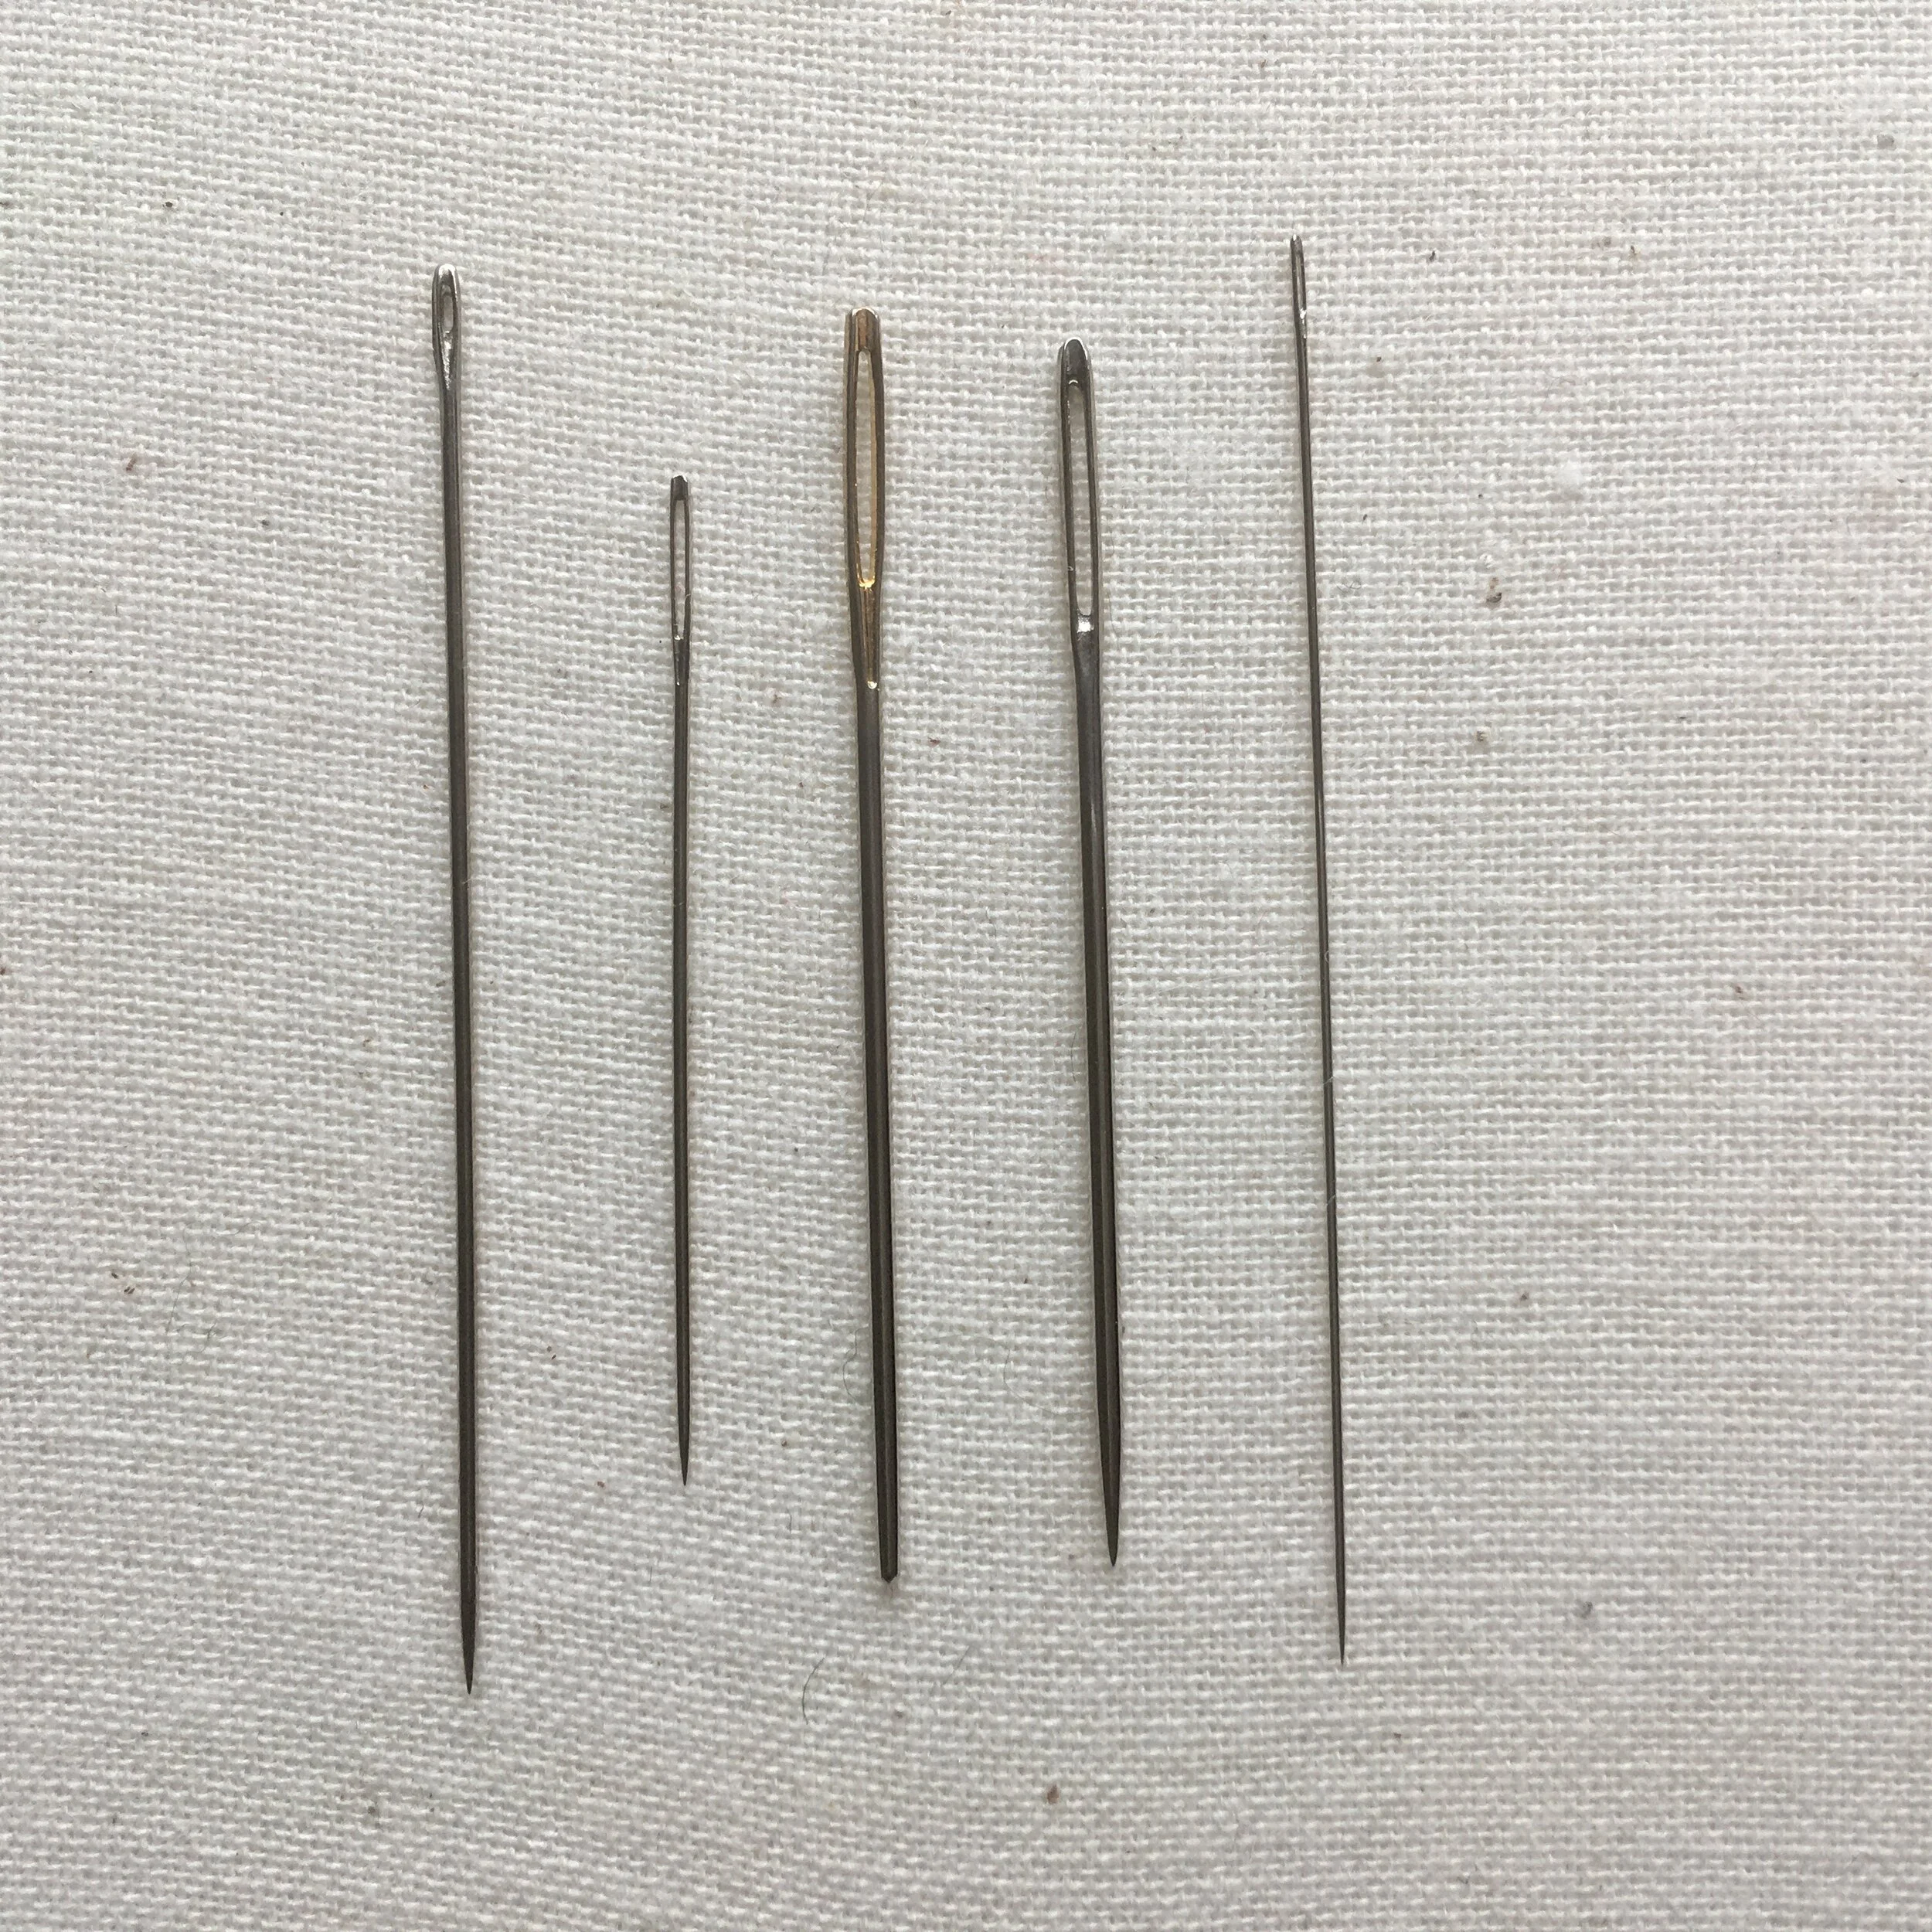
6. Needle

Got one of those free sewing kits you picked up in a hotel back years ago? You can use the needle from that or any other needle you’ve got lying around as long as it’s got a pointy end (if you do cross stitch those needles have a rounded end and aren’t any good for embroidery).

Yes there are different types of needle for different types of sewing (I’ve got a blog post which talks you through five different needle types for hand embroidery) but as long as you can thread the needle with your chosen floss you are good to go.

7. Scissors

Scissors are useful for a number of reasons - to cut your fabric to the right size and to snip the ends of your thread. You can get specialist sharp embroidery scissors but in reality any scissors you have around the house that can snip fabric or thread will do.

That’s the seven items you need to get started with embroidery. If you buy one of my kits you’ll get items 1-6 included (I’m hoping to give you some add on scissor options in the future).

Want to know what to do with these items once you’ve gathered them - my 20-page free ebook Getting Started With Embroidery will guide you through the next steps.


Enjoyed this blog post? I share embroidery tips and a free embroidery pattern in my monthly newsletter. Sign up here to receive the newsletter on the 1st of each the month.

In tips 2 Tags Basics
Comment
A picture of a hand holding an embroidery hoop with fabric over a piece of paper. Overlaid is a blue square with white text saying - hand embroidery, how to trace a paper embroidery pattern, www.embellishedelephant.co.uk

How to trace a paper embroidery pattern

February 20, 2021

When I first started embroidering I used patterns from books and designs I found for free or purchased which I downloaded and printed. However, in order to know what elements to stitch and where you need to transfer the pattern onto the fabric. This is one of the most challenging steps for a novice embroiderer so in this blog post I’ll walk you through how to go about transferring paper patterns onto fabric.

This method works best for thinner and lighter coloured fabrics, if the fabric is too dark or too thick then you’ll need to use another method of transfer such as carbon paper, tissue paper or water soluble paper (blog posts to come on these).

In order to transfer a paper pattern you need a source of light. There are two main options a light box (or light box app on a tablet device) and a window.

I’ll walk you through using a window, if you want more information on using a light box app on a tablet device head over to this blog post that takes you through this method (the only difference being you would just lay the paper pattern on top of a plain white screen in the app).

The benefit of using a window is that you can trace much larger patterns than you can on a tablet.

I recommend using an air, water or heat soluble pen for tracing, for more information about the different pens you can use for transferring patterns take a look at this blog post.

  • Start by making sure that you have the ‘right’ side of the fabric facing towards the inner hoop and stretching the fabric in the hoop as tight as possible

  • Tape the paper pattern to the window

  • Press the hoop up to the window and line it up with any guidelines on the pattern

  • Start by tracing the main elements

  • If you need to move the hoop to see whether you have missed anything use the main elements to help re-align the fabric on the pattern

  • Trace any smaller elements or details

  • Loosen the hoop and turn the fabric over so that the ‘right’ side is on the same side as the outer hoop

A picture of a hand holding an embroidery hoop with fabric against a sheet of paper on a window. On the right hand side a patio and garden can be seen including a white and ginger cat

Need some patterns to practice you tracing? Take a look at my shop where I have some PDF patterns available.

In tips 2 Tags Transfer, Basics
Comment
A picture of an embroidery hoop held over a tablet screen showing an embroidery pattern. Overlaid is a blue square with white text saying - hand embroidery, how to track patterns from a tablet, wwww.embellishedelephant.co.uk

How to trace a digital embroidery pattern on a tablet

January 23, 2021

When I’m stitching personal projects I prefer to trace the pattern I’m going to use from a digital image rather than a printer one (mainly because I have a very old printed that’s a bit of a faff to set up and never seems to have ink or paper!) This method does only work for projects that are no bigger than your tablet screen. For bigger projects then the paper based method is probably best.

First up take a screenshot of the pattern - how you do this will depend on your type and model of tablet. For iPads there are instructions on the Apple support site. Save this image to your photos.

a screenshot of a tablet device showing some photography apps

I have an iPad and use an app called Lightbox Trace. There are other apps out there but I like the simplicity of this app.

a screenshot of the lightbox trace app

When you open up the app you get this rather boring grey screen. Tap on the button in the bottom left of the screen and select the pattern image from your photo library.

a screenshot of the lightbox trace app with an image to be traced onto an embroidery

Resize the image so that it is the right size for the hoop you are using.

Then click on the ‘padlock’ icon (second from the right on the tool bar.

This will lock the image and stop it moving around. You should also see your screen noticeably brighter.

a picture of an embroidery pattern to trace on a tablet screen with an embroidery hoop about to be held over it

Make sure that you’ve added your fabric to you hoop and it’s as tight as possible. Flip the hoop over so that you can see the inner ring and the fabric can lie flat on the screen.

a picture of an embroidery hoop being held over a tablet screen. the embroidery pattern to be traced can be seen faintly through the fabric

Line the hoop up over the screen and press down so the hoop doesn’t move around. You should be able to see the pattern through the fabric. If the fabric is thick or dark then this method probably isn’t going to work.

Using a pencil or air/water/heat erasable pen make smooth rather than sketchy lines as you trace the pattern.

If you need to move the hoop to check that you have traced all parts of the pattern, carefully re-align the hoop before you continue tracing.

Got your own supplies and just need a pattern? I have PDF versions of a selection of my designs in the shop. I also share a free pattern in my newsletter each month - you can sign up here or find past patterns here.

In tips 2 Tags Transfer, Basics
Comment
Older Posts →

Tags

  • About me
  • Artists/Designers
  • Basics
  • Christmas
  • colour
  • Couching Stitch
  • Fabric
  • Filling Stitch
  • Finishing
  • Hoops
  • Isolated Stitch
  • Line Stitch
  • London
  • My Makes
  • Needles
  • Stitch Showcase
  • Texture Stitch
  • Thread
  • Transfer
  • Travel

Latest Posts

Featured
May 1, 2025
How to manage your backlog of craft projects
May 1, 2025
May 1, 2025
Apr 1, 2025
What to do if you don't like what you've stitched
Apr 1, 2025
Apr 1, 2025
Feb 15, 2025
How to decide which embroidery stitch to use
Feb 15, 2025
Feb 15, 2025
Feb 1, 2025
Focus on stitches for flowers
Feb 1, 2025
Feb 1, 2025
Jan 1, 2025
Focus on stitches for leaves
Jan 1, 2025
Jan 1, 2025
Nov 1, 2024
Stitch Showcase: Six-pointed star stitch
Nov 1, 2024
Nov 1, 2024
Oct 1, 2024
Focus on transferring or tracing patterns
Oct 1, 2024
Oct 1, 2024
Sep 1, 2024
Focus on hoops
Sep 1, 2024
Sep 1, 2024
Aug 1, 2024
A focus on needles
Aug 1, 2024
Aug 1, 2024
Jul 1, 2024
Focus on threads
Jul 1, 2024
Jul 1, 2024

Home — Shop — Stockists — Wholesale — Portfolio — Contact — Reviews — Policies — FAQs