
Module 7 of my City & Guilds course was all about finishing techniques. At first I thought I’d fly through this module as I got going with the samples pretty quickly but I found some of the sample categories a little un-motivating and my momentum dried up. This did coincide with a pretty tough time at work and the darker days making it difficult to photograph the samples. But with advent of the new year I have a burst of energy finished the last few samples and got them photographed in my mini photography studio.


Fabric dyeing
Module 6 of my City & Guilds course was all about fabric dyeing. I have to admit that I procrastinated starting this module partly because it wasn’t embroidery based, But as with module 2 once I started I really enjoyed the process of experimenting.
There were 5 different dyeing techniques for us to try, you can see each of the techniques in the pictures below along with the outcomes.
plastic bag dyeing
microwave dyeing
space dying
ice cube dying
drainpipe dying


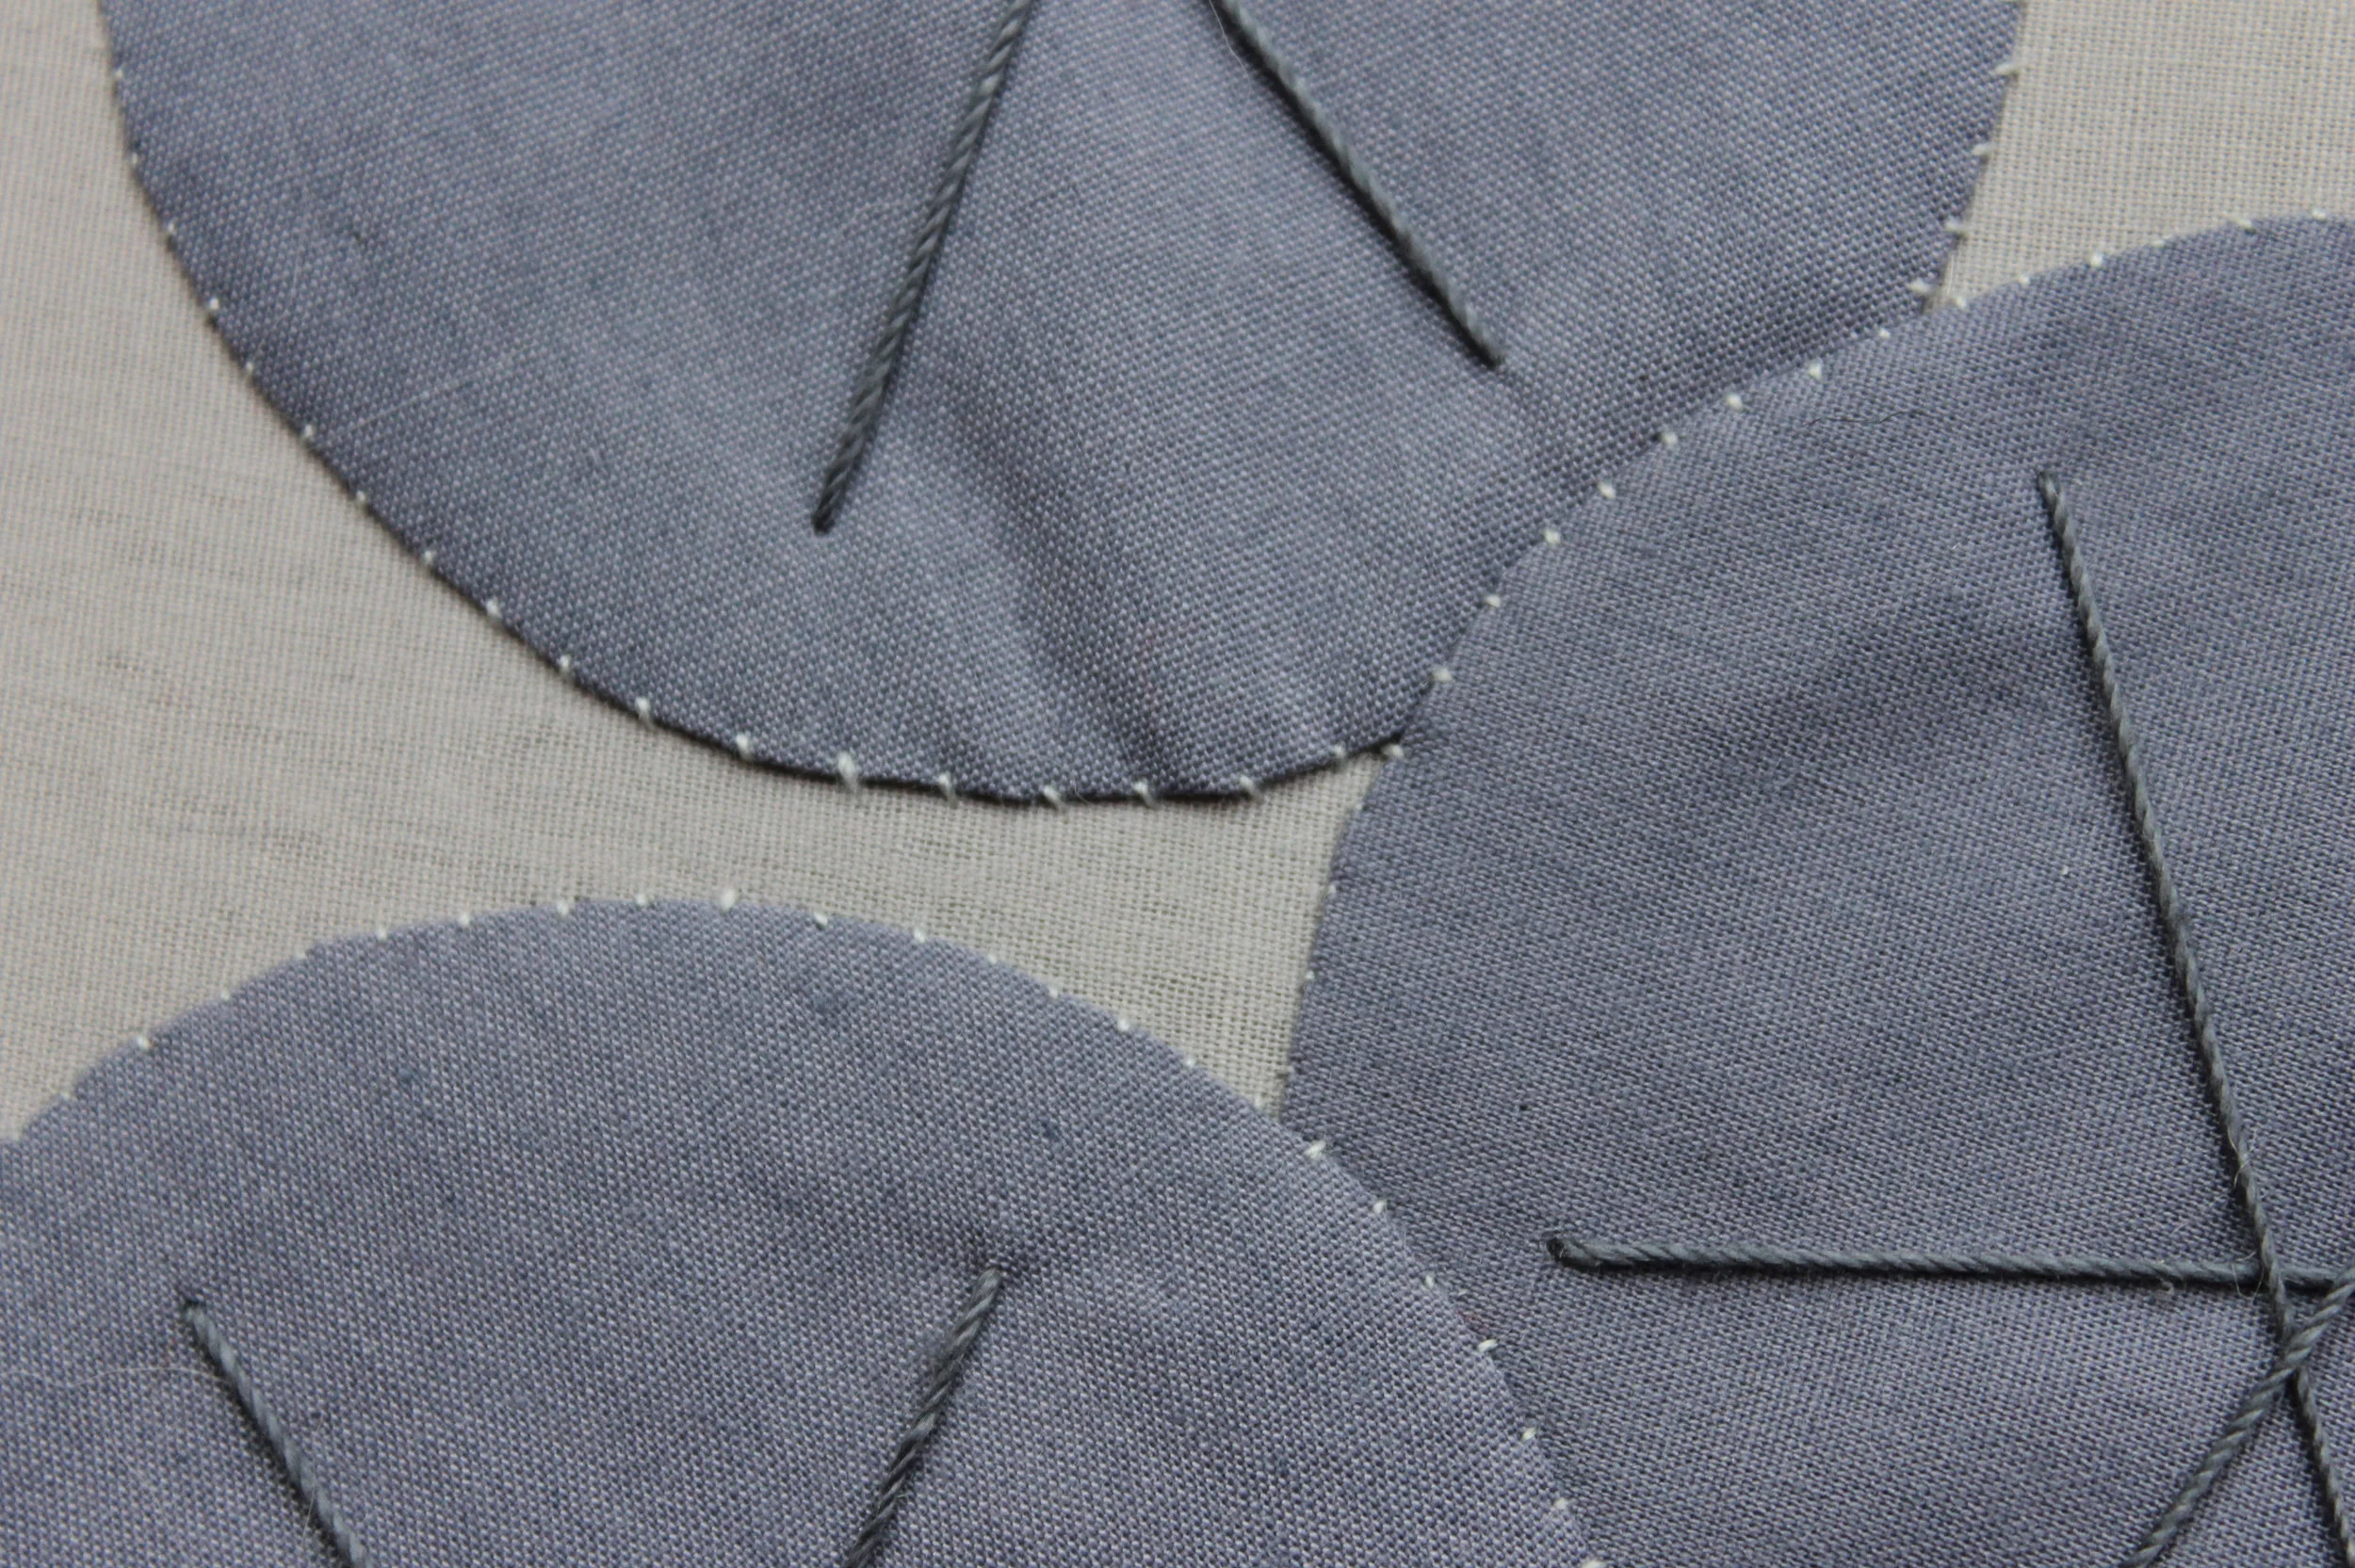
Appliqué, canvaswork and gold work
Module 4 of my City & Guilds course explored goldwork which was completely new to me. When my parents moved house I was donated some craft supplies that were surplus to requirements which included some gold work threads - this allowed me to experiment without worrying about how much I was wasting (gold work threads are made from gold coloured paper wrapped around silk and cost about £1 per metre).


Counted stitch embroidery
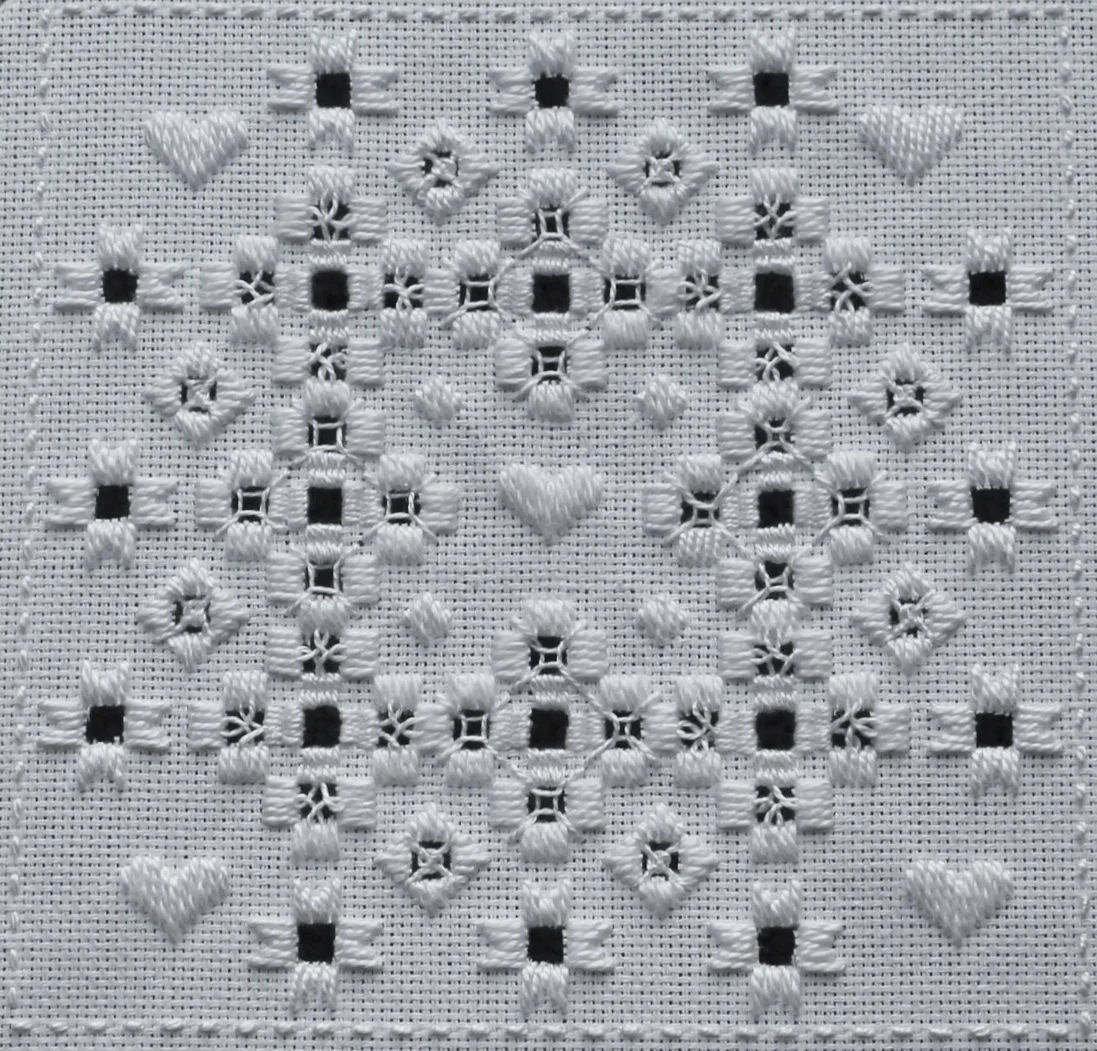
Module 3 of my City & Guilds course was counted work embroidery. As with module 1, some of our samples were based on designs we created using a famous artist for inspiration. In this module I chose Paul Klee.
The techniques covered in this module were cross stitch, blackwork, Hardanger and drawn thread work. I was a bit scared of Hardanger at first (because of the need to snip into your work) but I really loved creating the sample for this technique. I was helped along by a book on Hardanger embroidery my Mum found in a charity shop but this website also has a number of great tutorials.


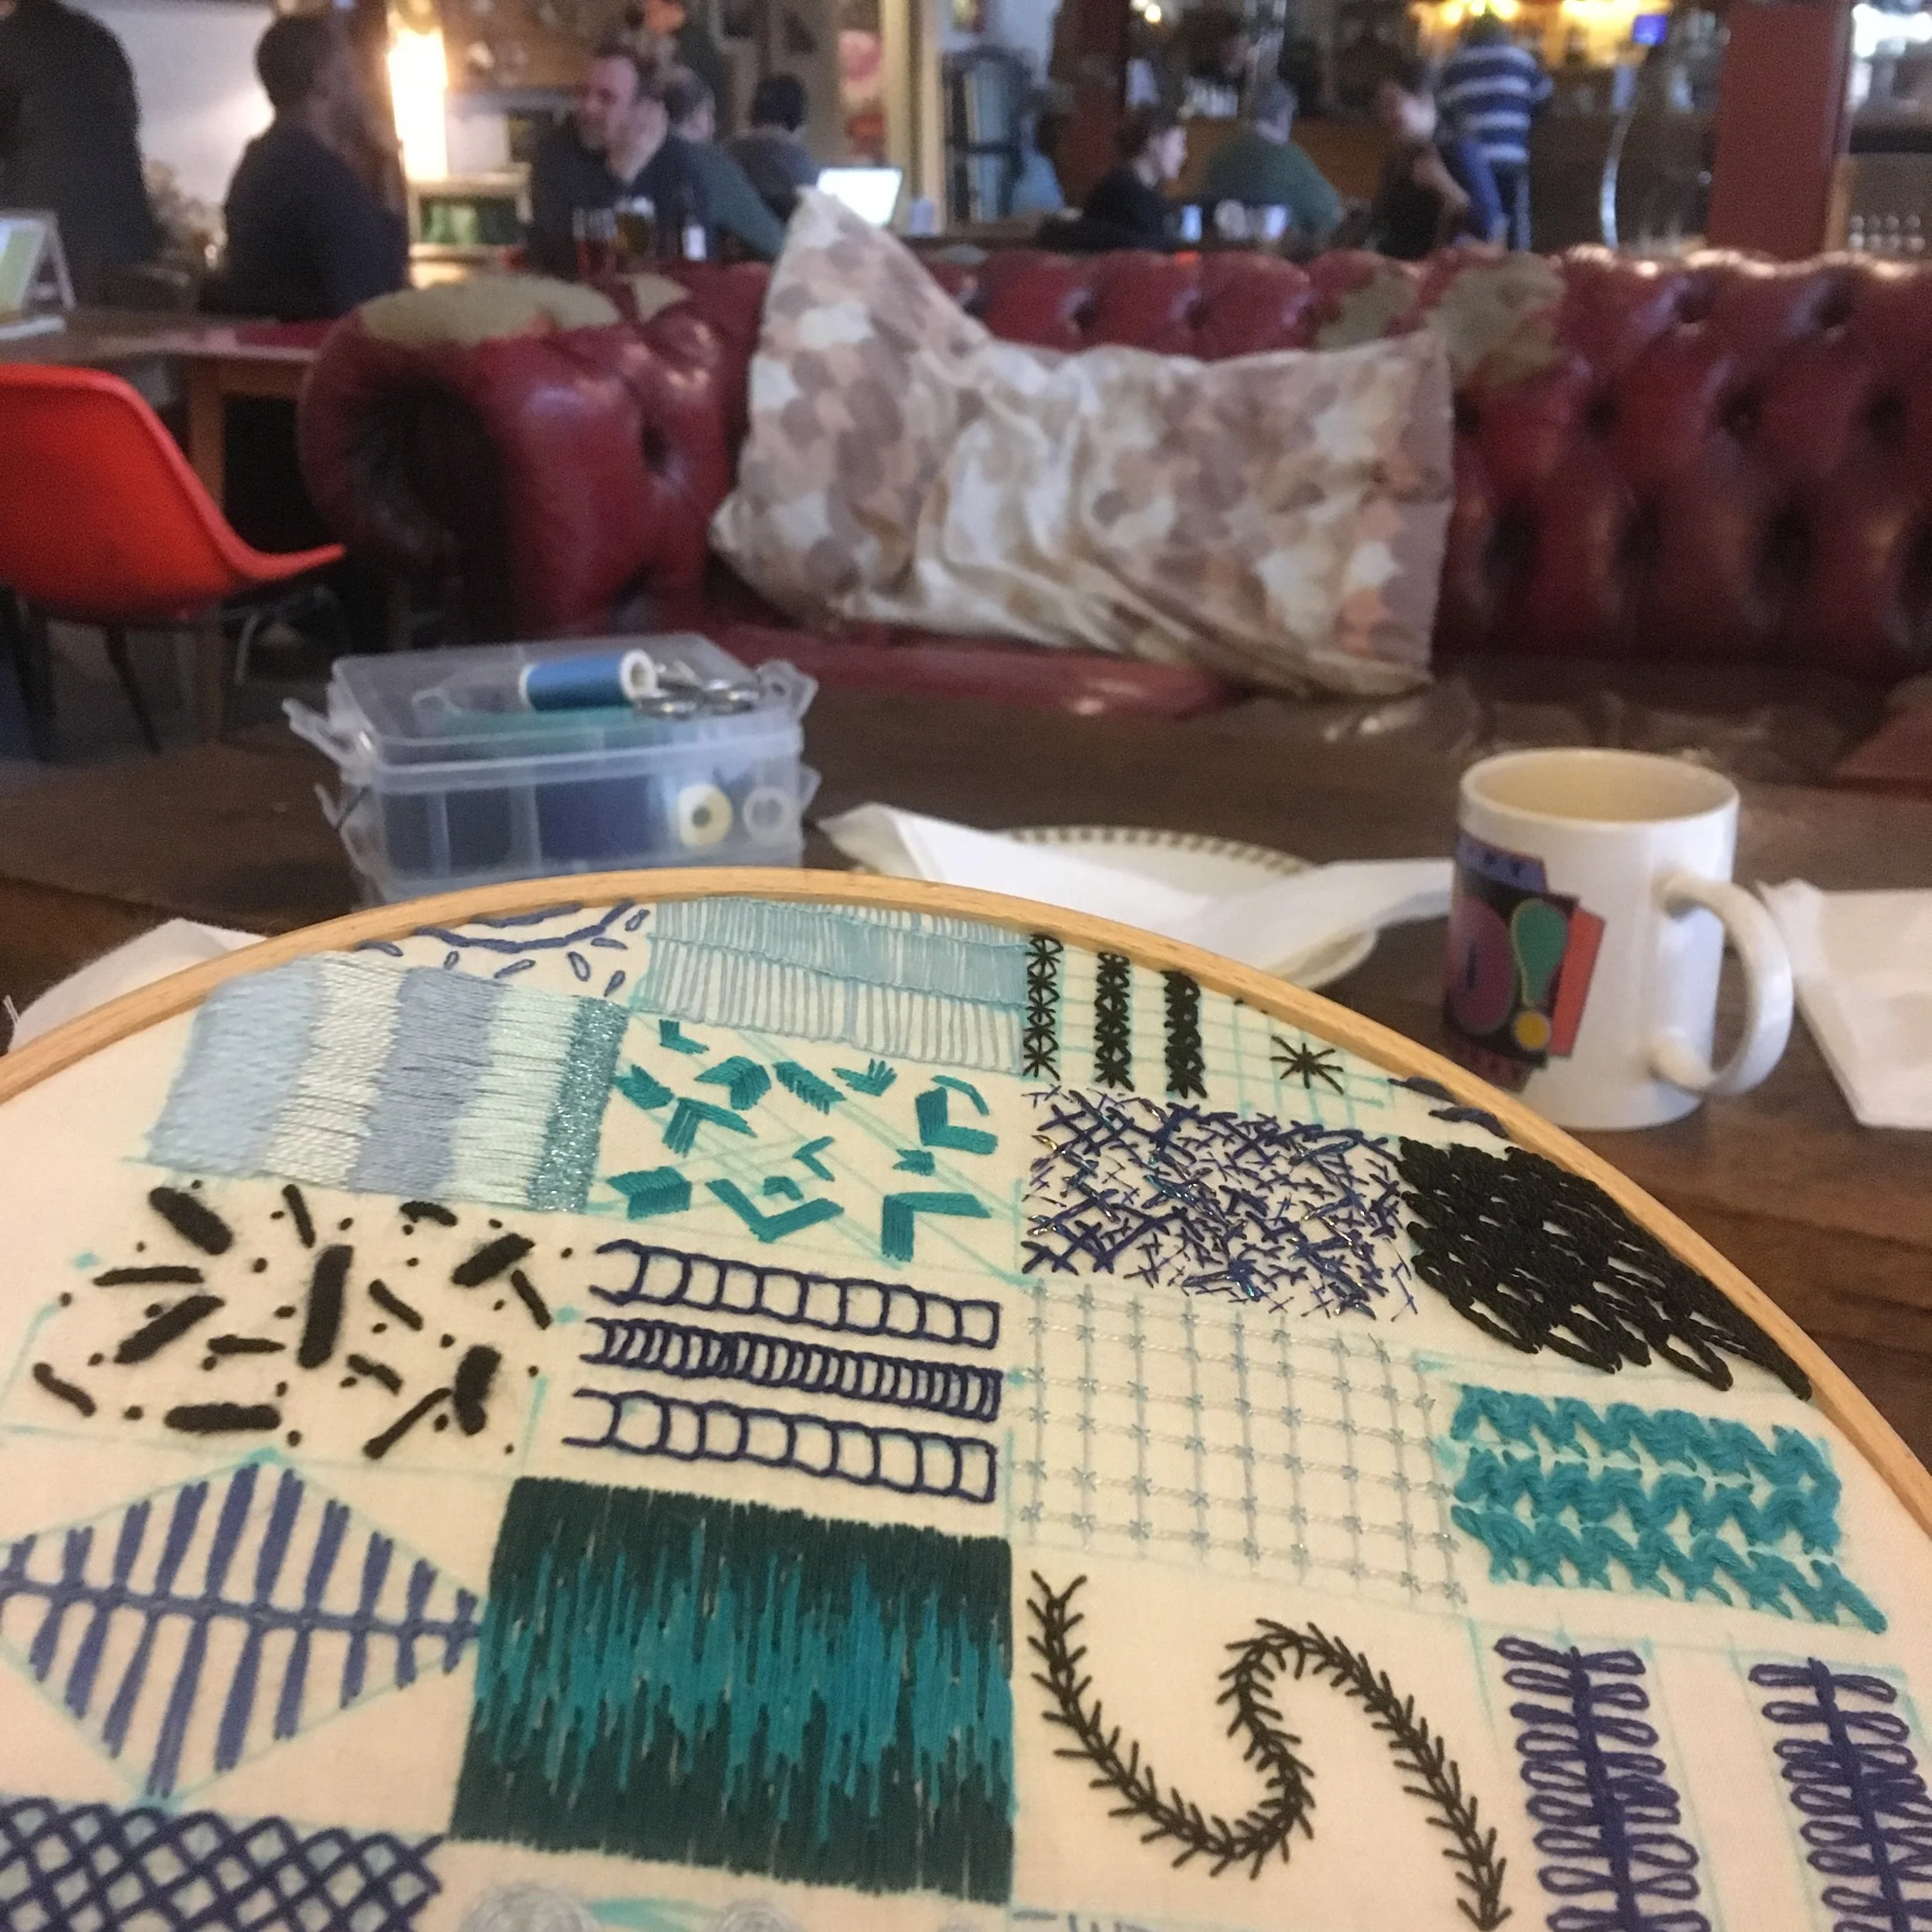
Basics of hand embroidery
The first module of my City & Guilds course was all about the basics - trying different stitches. To complete this module we had to complete 4 samples - line stitches, textural stitches, isolated stitches and blocks of stitches.
The latter was the most enjoyable - I researched as many different stitches as I could (this book has a surprisingly wide range). I divided up my fabric into rectangles using a water soluble pen and started stitching. This was the sample in progress at my local cafe.


Designs on a theme
Module 2 of my City & Guilds course was a pure design module, not a stitch in sight. A lot of the work I’ve done in the past has either been intuitive or I have a very clear idea in my head and I experiment until I achieve the desired effect. Therefore sitting down and designing something from scratch for no purpose other than to create a design was alien to me.
However, we were guided through the process starting with selecting a theme and four photos on that theme. The theme I chose was ‘blocks’.


Clockwise from top left: Cinque Terre near Genoa, wall of Suomenlinna fort near Helsinki, Temple ruin near Angkor Wat, exhibit in Pergammon Museum in Berlin
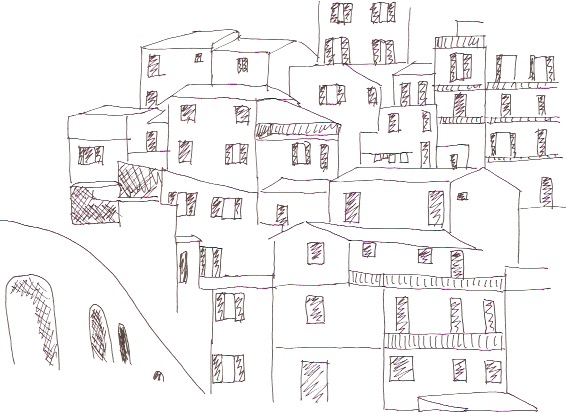


We then traced elements of those photos and repeated those elements to further the designs. I started off using pen and paper but I found a great app on my iPad that allowed me to trace the photo electronically which gave a much more polished and professional look.
Below are some of the favourite of the designs I created for this module.


Distance learning City & Guilds course
I’ve always been a self taught crafter supplemented by the odd workshop or short course. I’ve never had any formal education in art or craft. After all these years I felt it was about time to get some more formal education, and as I’m currently obsessed with embroidery this was the course I wanted to do.
Most of the options I could find were year-long daytime courses which just didn’t suit my needs (as I work full time). So I googled and came across School of Stitched Textiles.
I wasn’t sure about it at first as I couldn’t find any reviews or feedback and didn’t want to pay out the course fee without some idea of what I might be getting. But I went for it in the end and I’m glad I did.
So I want to share my experience a few months after signing up:
There are only a limited number of places available each registration period (and only a limited number of registration periods a year) so if you find a course you want to do you can’t necessarily start straight away.
You can chose a level and discipline, the brochures on the site give you descriptions of what is covered in each level. I felt I was already skilled in everything in level 2 but level 3 covered an number of styles I’d not tried (as well as some I had) and this seems the right level for me.
The courses aren’t cheap, but the level 3 course I’m on is meant to take 2 years so works out at a monthly cost of about £80. You can pay in one lump sum or instalments. I was worried I wouldn’t like the course or life would get in the way but the additional cost of the instalments led to my decision to pay a lump sum. I was lucky to have the savings to pay for it in one go so could make that decision.
Once you’ve signed up and paid you get added to a Facebook group with the other students in your cohort. There are live tutor chats, the timing has so far not worked out for me to join live but you can watch the recording. You are encouraged to share pictures of your progress in the group.
About 3 weeks after you sign up you get the materials for the first 3 modules sent through as well as the course specification and an intro module. I made sure I read each module in detail and then started breaking down the module into actionable chunks as sometimes exactly what is needed takes some unpicking. I then used Trello to plan the tasks and the time needed for each (I love a project plan!) It also helps to plan ahead to order the necessary materials.
Modules 1-3 require you to research other artists. For each one I thought I knew which artist I wanted to use but ended up researching 2 or 3 before finding the right one for that task. It is worth getting this bit right.
Modules 1 & 3 involve stitching, module 2 doesn’t. I had a bit of an itch to stitch mid way through module 2 so started work on module 3. You should do the modules and tasks in order as the build in each other but I was mostly complete module 2 when I started on module 3.
The amount of time you spend on your samples depends on how much stitching your design involves. Many of my designs so far have involved dense blocks of stitching so have taken quite a long time to complete.
A distance learning course suits me - being mostly self taught I’m comfortable relying on my own research (although you are assigned a tutor alongside the Facebook group) but this style of learning may not suit everyone.