I’ve always been a self taught crafter supplemented by the odd workshop or short course. I’ve never had any formal education in art or craft. After all these years I felt it was about time to get some more formal education, and as I’m currently obsessed with embroidery this was the course I wanted to do.
Most of the options I could find were year-long daytime courses which just didn’t suit my needs (as I work full time). So I googled and came across School of Stitched Textiles.
I wasn’t sure about it at first as I couldn’t find any reviews or feedback and didn’t want to pay out the course fee without some idea of what I might be getting. But I went for it in the end and I’m glad I did.
So I want to share my experience a few months after signing up:
There are only a limited number of places available each registration period (and only a limited number of registration periods a year) so if you find a course you want to do you can’t necessarily start straight away.
You can chose a level and discipline, the brochures on the site give you descriptions of what is covered in each level. I felt I was already skilled in everything in level 2 but level 3 covered an number of styles I’d not tried (as well as some I had) and this seems the right level for me.
The courses aren’t cheap, but the level 3 course I’m on is meant to take 2 years so works out at a monthly cost of about £80. You can pay in one lump sum or instalments. I was worried I wouldn’t like the course or life would get in the way but the additional cost of the instalments led to my decision to pay a lump sum. I was lucky to have the savings to pay for it in one go so could make that decision.
Once you’ve signed up and paid you get added to a Facebook group with the other students in your cohort. There are live tutor chats, the timing has so far not worked out for me to join live but you can watch the recording. You are encouraged to share pictures of your progress in the group.
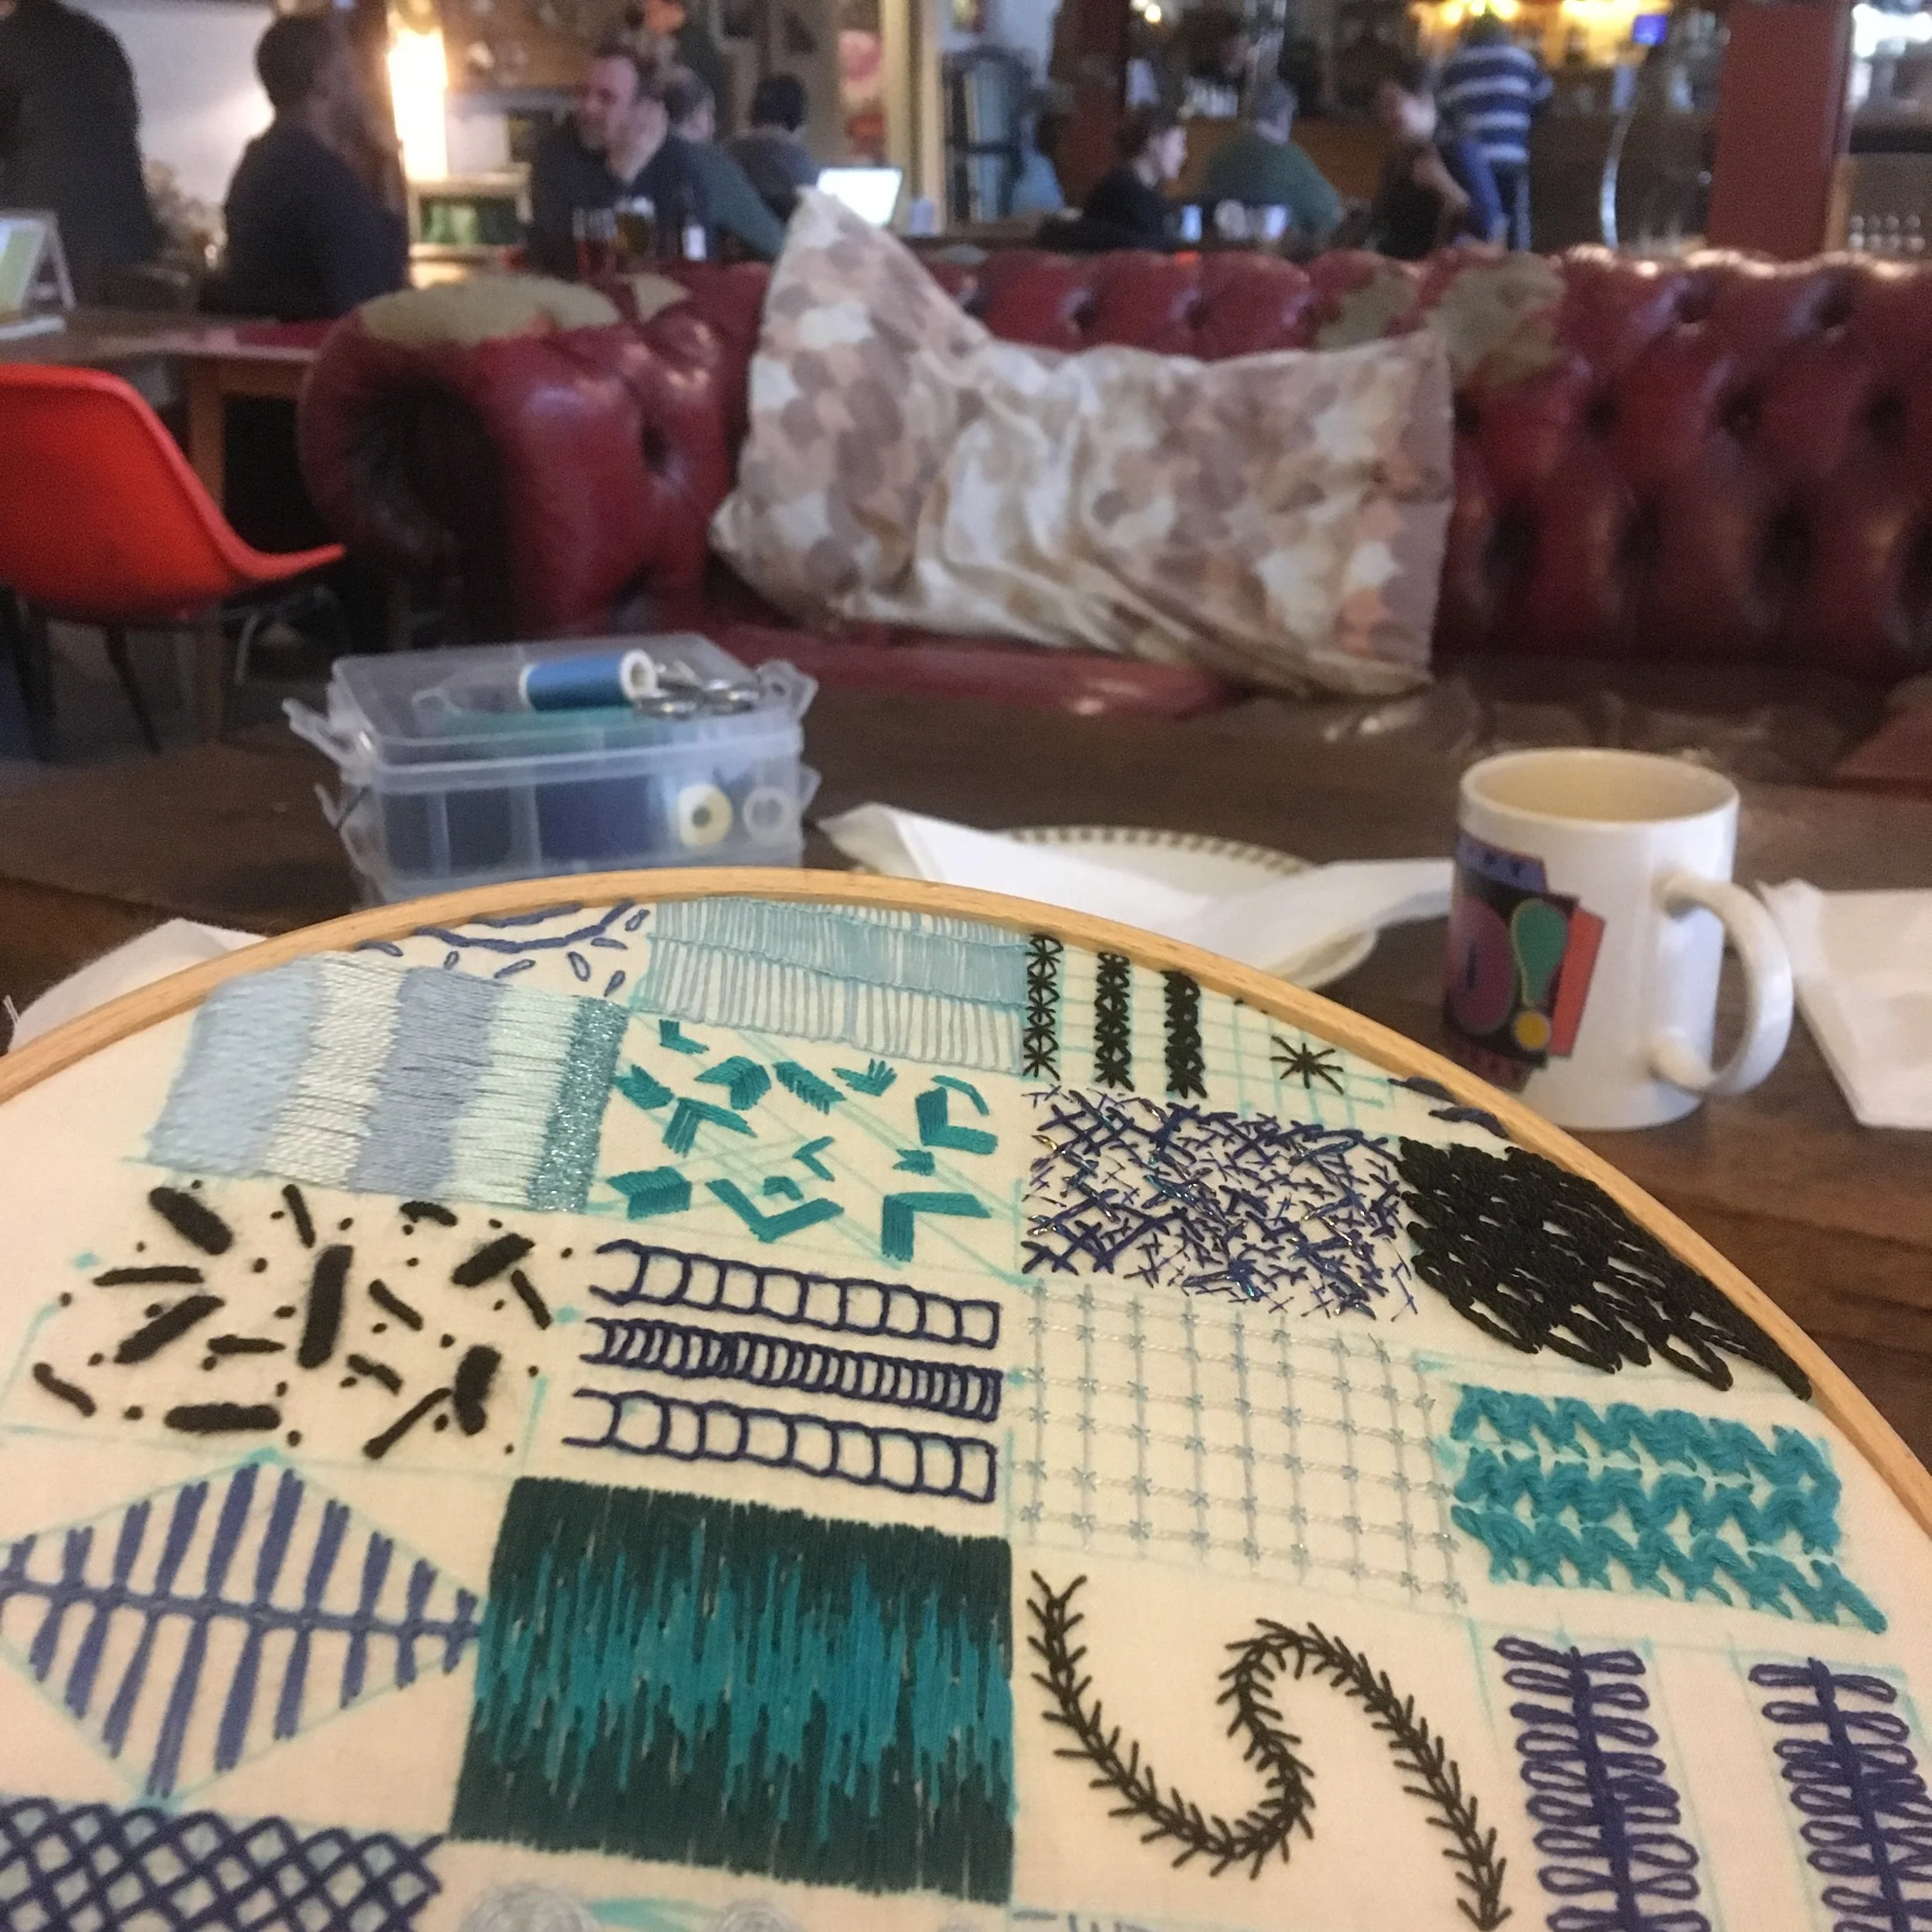
About 3 weeks after you sign up you get the materials for the first 3 modules sent through as well as the course specification and an intro module. I made sure I read each module in detail and then started breaking down the module into actionable chunks as sometimes exactly what is needed takes some unpicking. I then used Trello to plan the tasks and the time needed for each (I love a project plan!) It also helps to plan ahead to order the necessary materials.
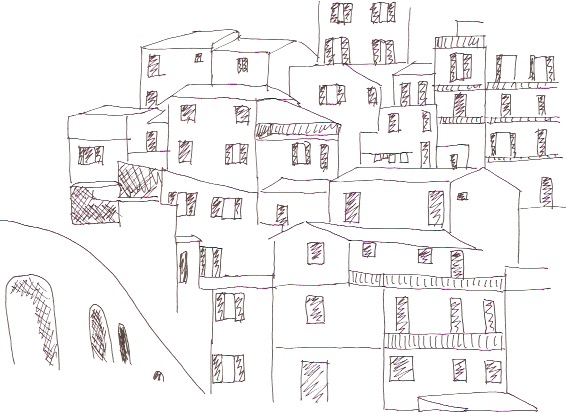
Modules 1-3 require you to research other artists. For each one I thought I knew which artist I wanted to use but ended up researching 2 or 3 before finding the right one for that task. It is worth getting this bit right.
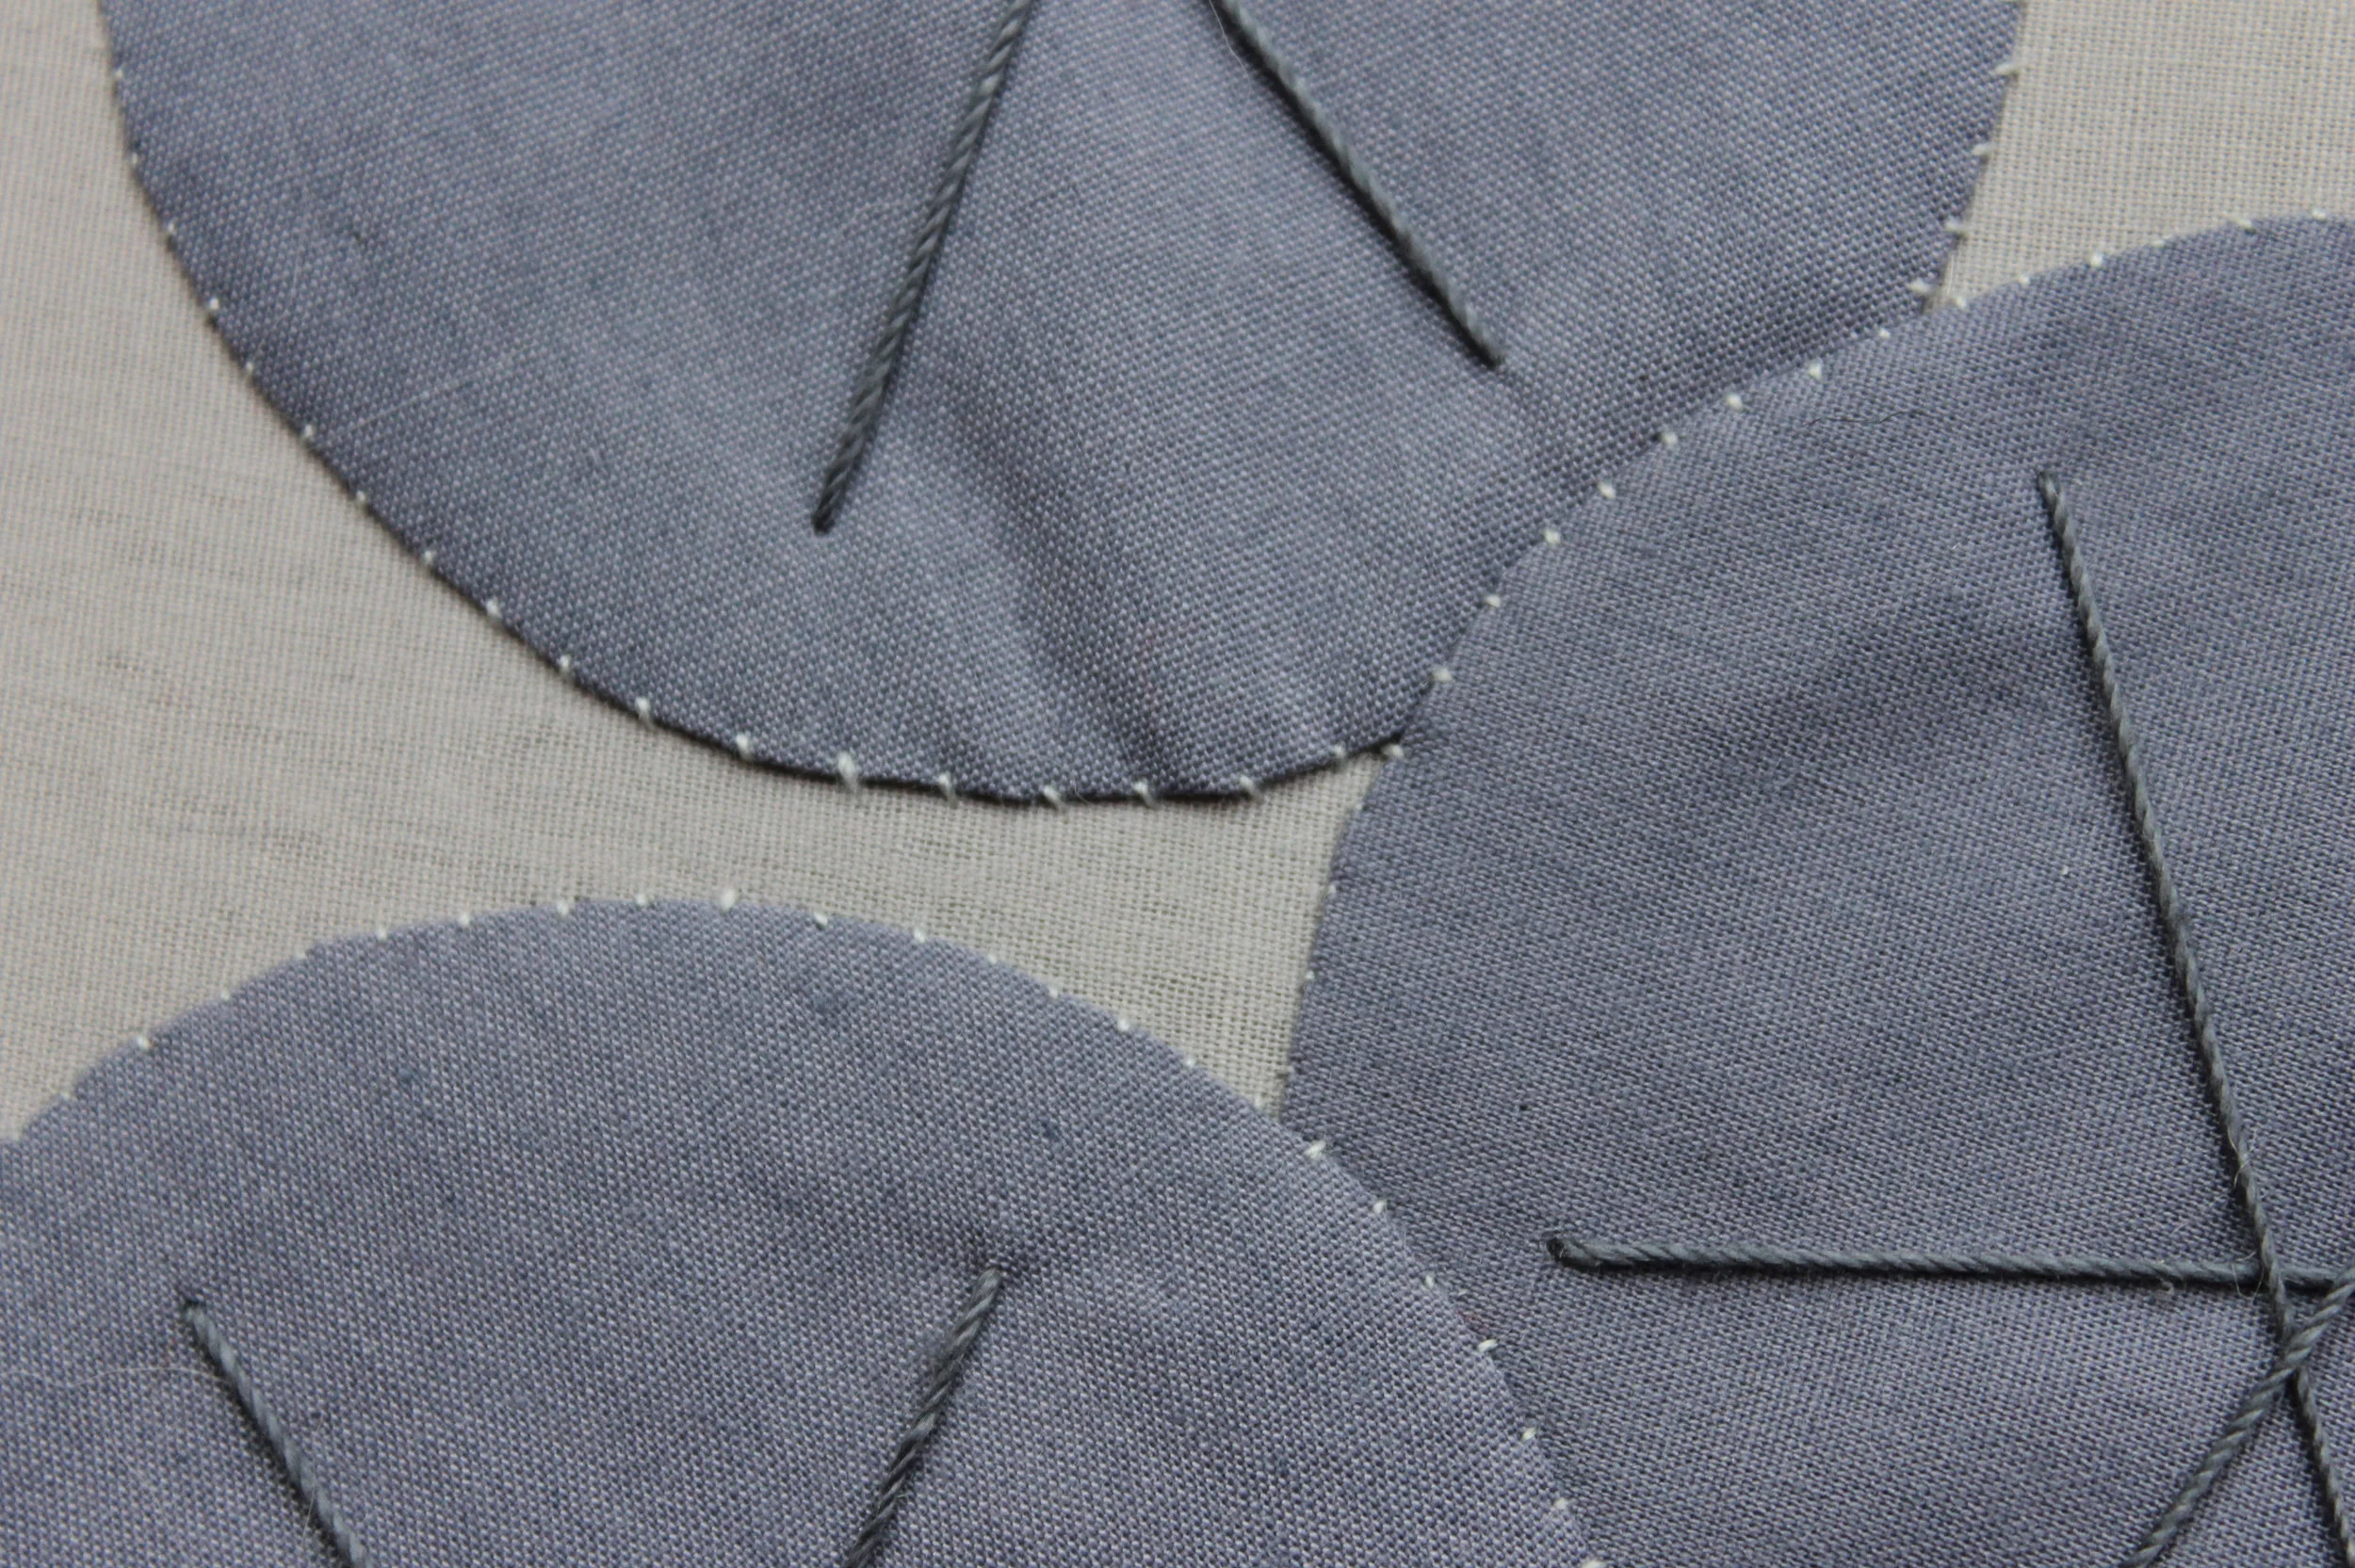
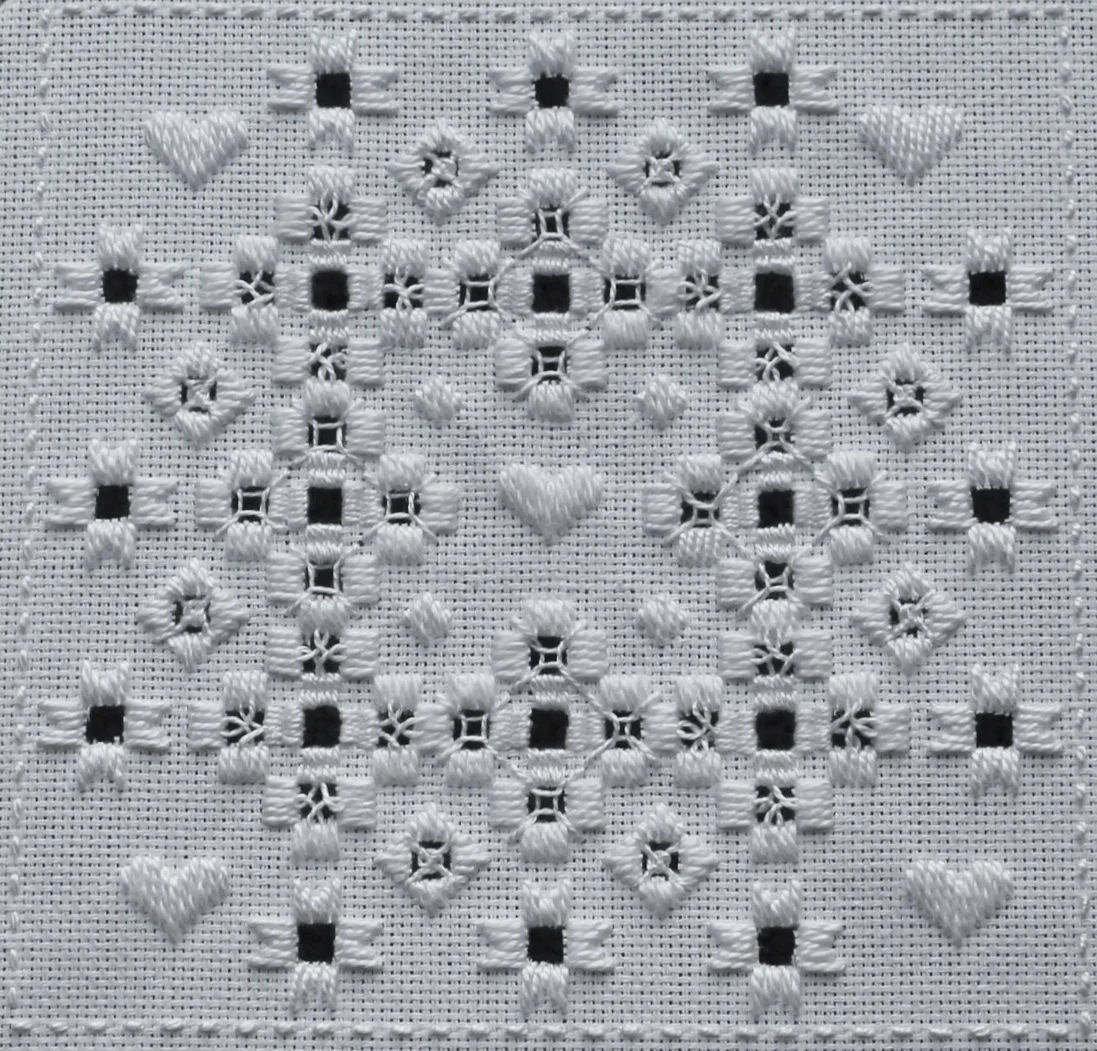
Modules 1 & 3 involve stitching, module 2 doesn’t. I had a bit of an itch to stitch mid way through module 2 so started work on module 3. You should do the modules and tasks in order as the build in each other but I was mostly complete module 2 when I started on module 3.
The amount of time you spend on your samples depends on how much stitching your design involves. Many of my designs so far have involved dense blocks of stitching so have taken quite a long time to complete.
A distance learning course suits me - being mostly self taught I’m comfortable relying on my own research (although you are assigned a tutor alongside the Facebook group) but this style of learning may not suit everyone.