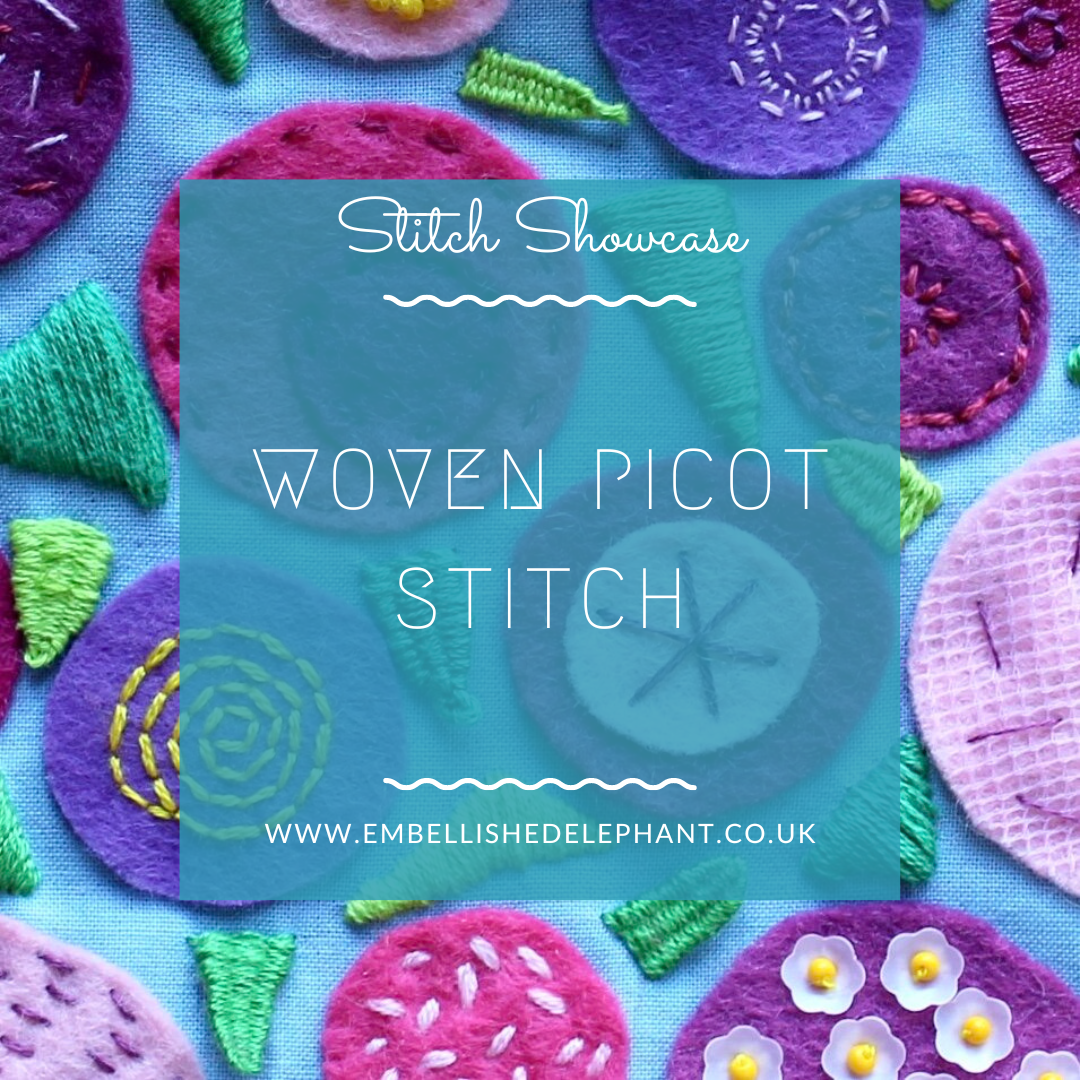
Woven picot stitches give texture and depth to a piece of embroidery and are often used as leaf or petal detail on raised embroidery.
A pin is needed to make this stitch - the pin should be placed through the fabric so as where the pin goes through the fabric is where the top of the stitch will be and where it comes back through the fabric is where the base of the stitch will be.
I also recommend having a much longer length of thread than normal as making these picot stitches is hungry on the thread.
Bring the threaded needle up through the fabric aligned with the lower part of the pin, the distance away from the pin governs the width of the picot.
Loop the thread around the top of the pin and pass the needle back through the fabric in line with the lower part of the pin and the same width away from the pin as the other side you should have an inverted V shape.
Bring the needle back up through the fabric as close to the lower part of the pin (the centre of the V as possible) and loop it around the top of the pin to create a second V.
Rather than pass the needle back through the fabric, start the weaving at the point of the V.
Pass the needle under the right thread, over the centre thread and under the left thread.
Then working back in the other direction over the left thread (to loop round it), under the centre thread and over the right thread.
Keep on working under/over/under and over/under/over in opposite directions.
Once the weaving has reached the bottom of the picot, pass the needle back through the fabric and secure.
Remove the pin to release your finished picot.
If the weaving is too loose, use the needle to push the weaving close together. The fewer strands of thread used for the weaving, the more rows will be needed.
The finished picots can be left loose so they can be moved back and forwards or a tiny stitch can hold them in place.
Want to try this stitch? It’s one of the stitches I suggest for my floral sampler kit.
Sign up to my email newsletter to get a monthly free embroidery pattern and a round up of Stitch Showcase blogs.


