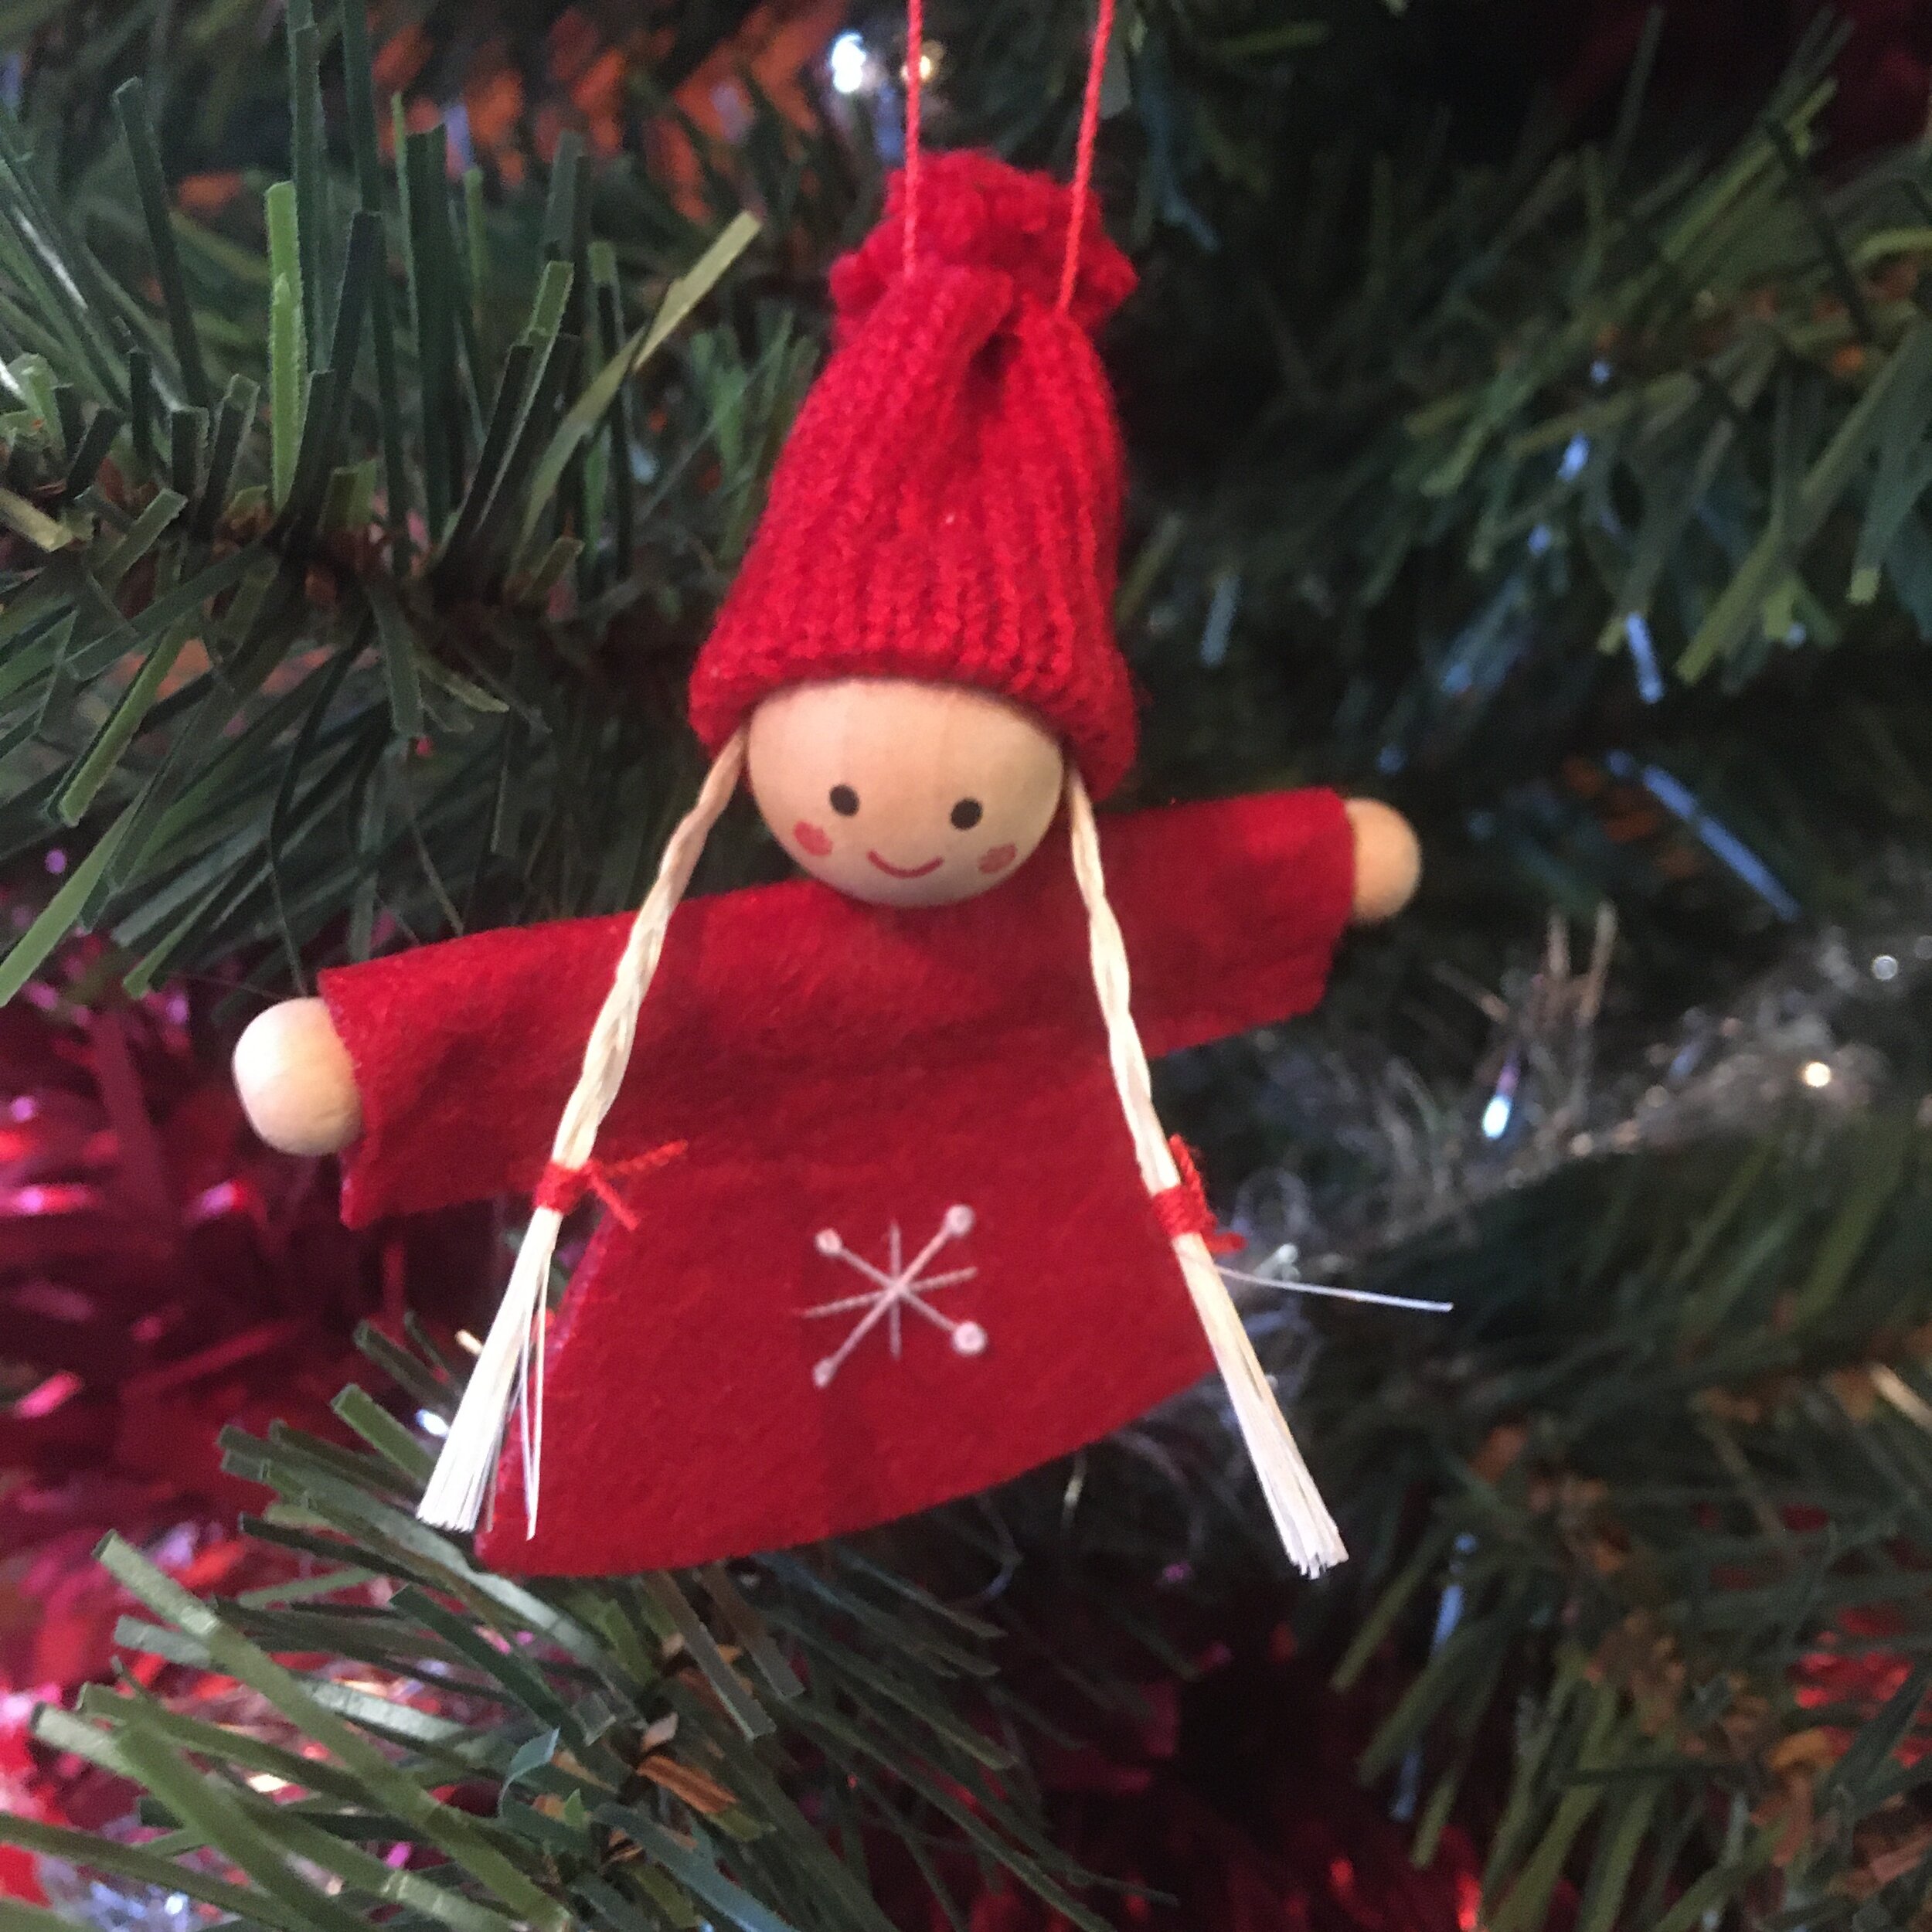
I made these figures from a kit I bought from Flying Tiger a couple of years ago. I’ve not made it into one of their stores for a couple of months so I’m not sure if they have these or something similar in this year but here’s how to create something similar.
You will need …
Large & small wooden beads
Felt
Embroidery floss
Needle & pins
Craft wire
Glue gun
Scissors
Sharpies
How to …
Cut a strip of felt about 2cm and long enough to wrap all the way round the wooden bead. Stitch it together at the back to create the hat. Sew running stitch at one end of the tube and pull tight to create the top of the had and secure the thread.
Cut a two tunic shapes from the felt, embroider or decorate with a winter motif and stitch both sides of the tunic together leaving a gap at the bottom and at the end of the sleeves, don’t sew up the shoulders yet.
Take the wire and snip a length to act as the arms. Thread on one small wooden bead, fold the wire over and twist at the wrist, snip off any excess wire. Repeat for the other hand.
Stitch the hat onto the wooden bead (head) and secure the head to the centre of the wire by stitching or glue gunning. Close up the shoulder scenes of the tunic. If you want to add some hair take some hair coloured floss and plait it and tie off with a contrasting floss.
The final touch is to add some eyes and mouth with black and pink sharpies.

