• Home
  • Shop
  • Stitch Showcase
  • Embroidery tips
  • Freebies
  • About
  • Contact
Menu

Embellished Elephant

  • Home
  • Shop
  • Stitch Showcase
  • Embroidery tips
  • Freebies
  • About
  • Contact
A picture of the back of an embroidery hoop where the fabric has been glued to the hoop. Overlaid is a blue square with white text saying - hand embroidery, four ways to finish the back of a hoop, www.embellishedelephant.co.uk

4 ways to finish the back of embroidery hoops

December 12, 2020

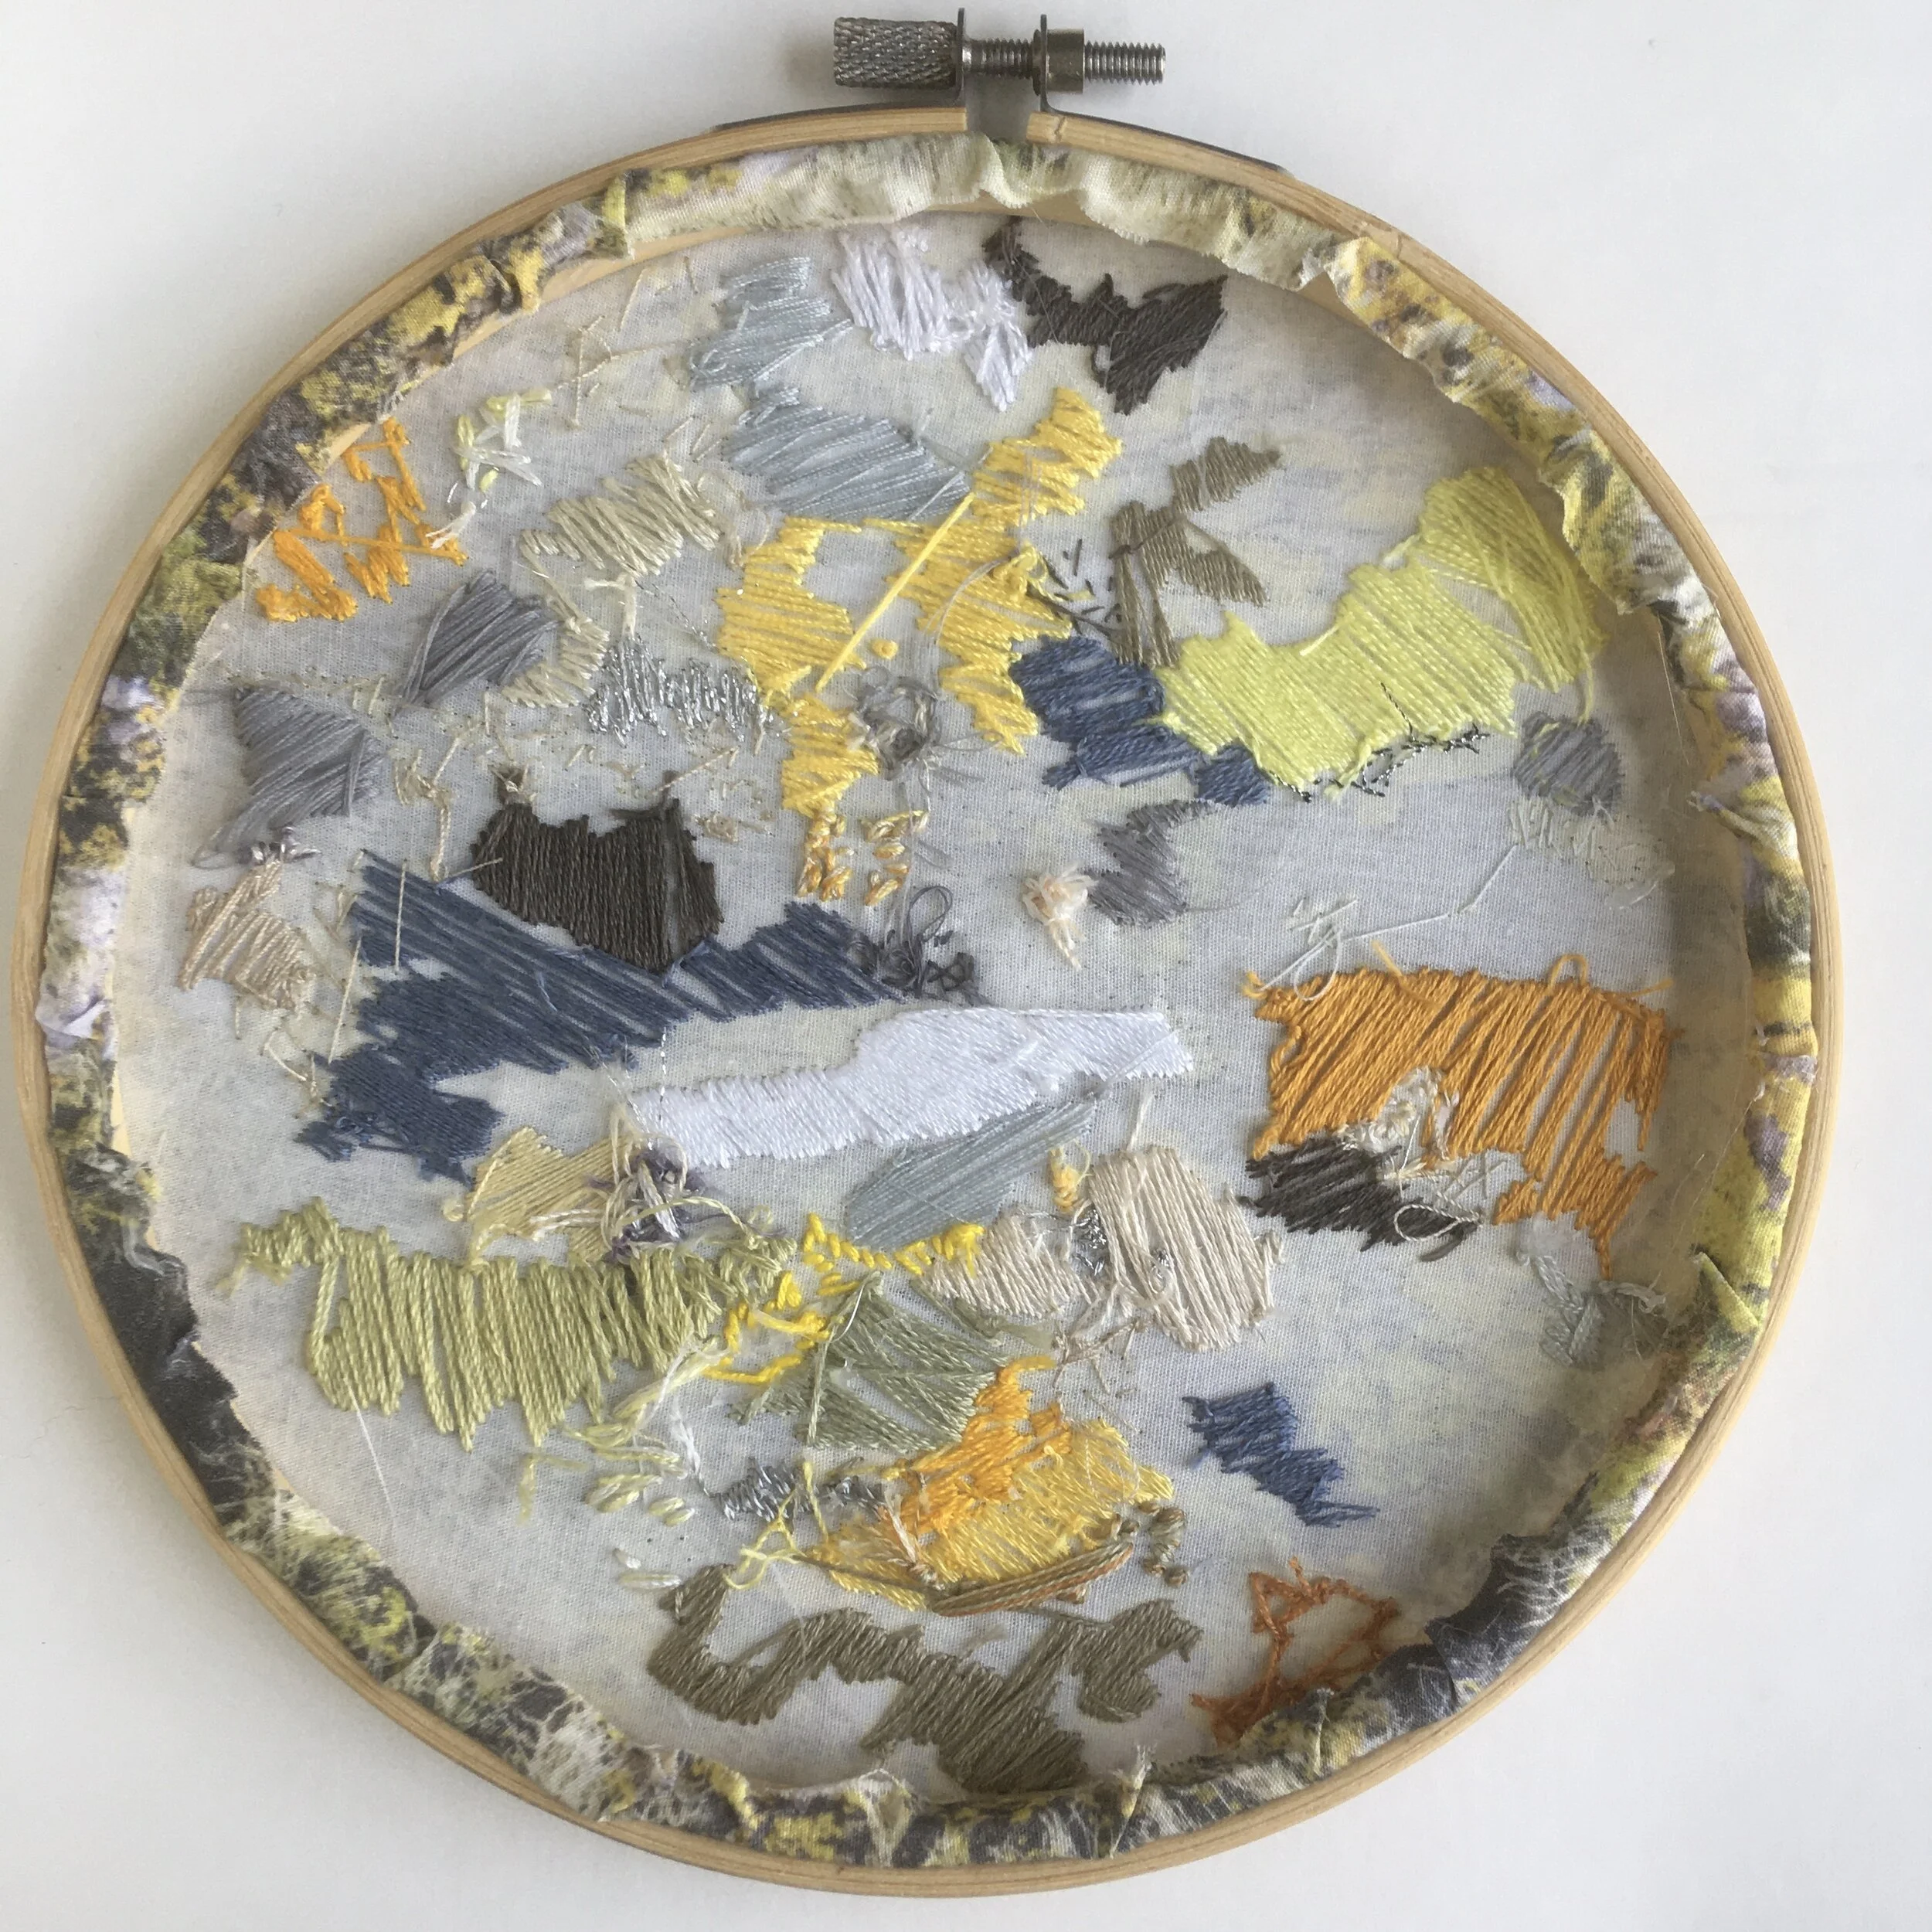
You’ve stitched your piece and you want to proudly hang it in a hoop on the wall. But for it to lie flat on the wall you need to finish off the back of the hoop.

There are several different ways to do this:

A picture of an embroidery hoop with fabric glued to the hoop to finish the back of the hoop

1. Glue

This is great if you know you don’t want to use the hoop for another purpose at a later date and perfect if you’ve not got enough fabric to gather. Just get your glue gun out and work round the hoop section by section
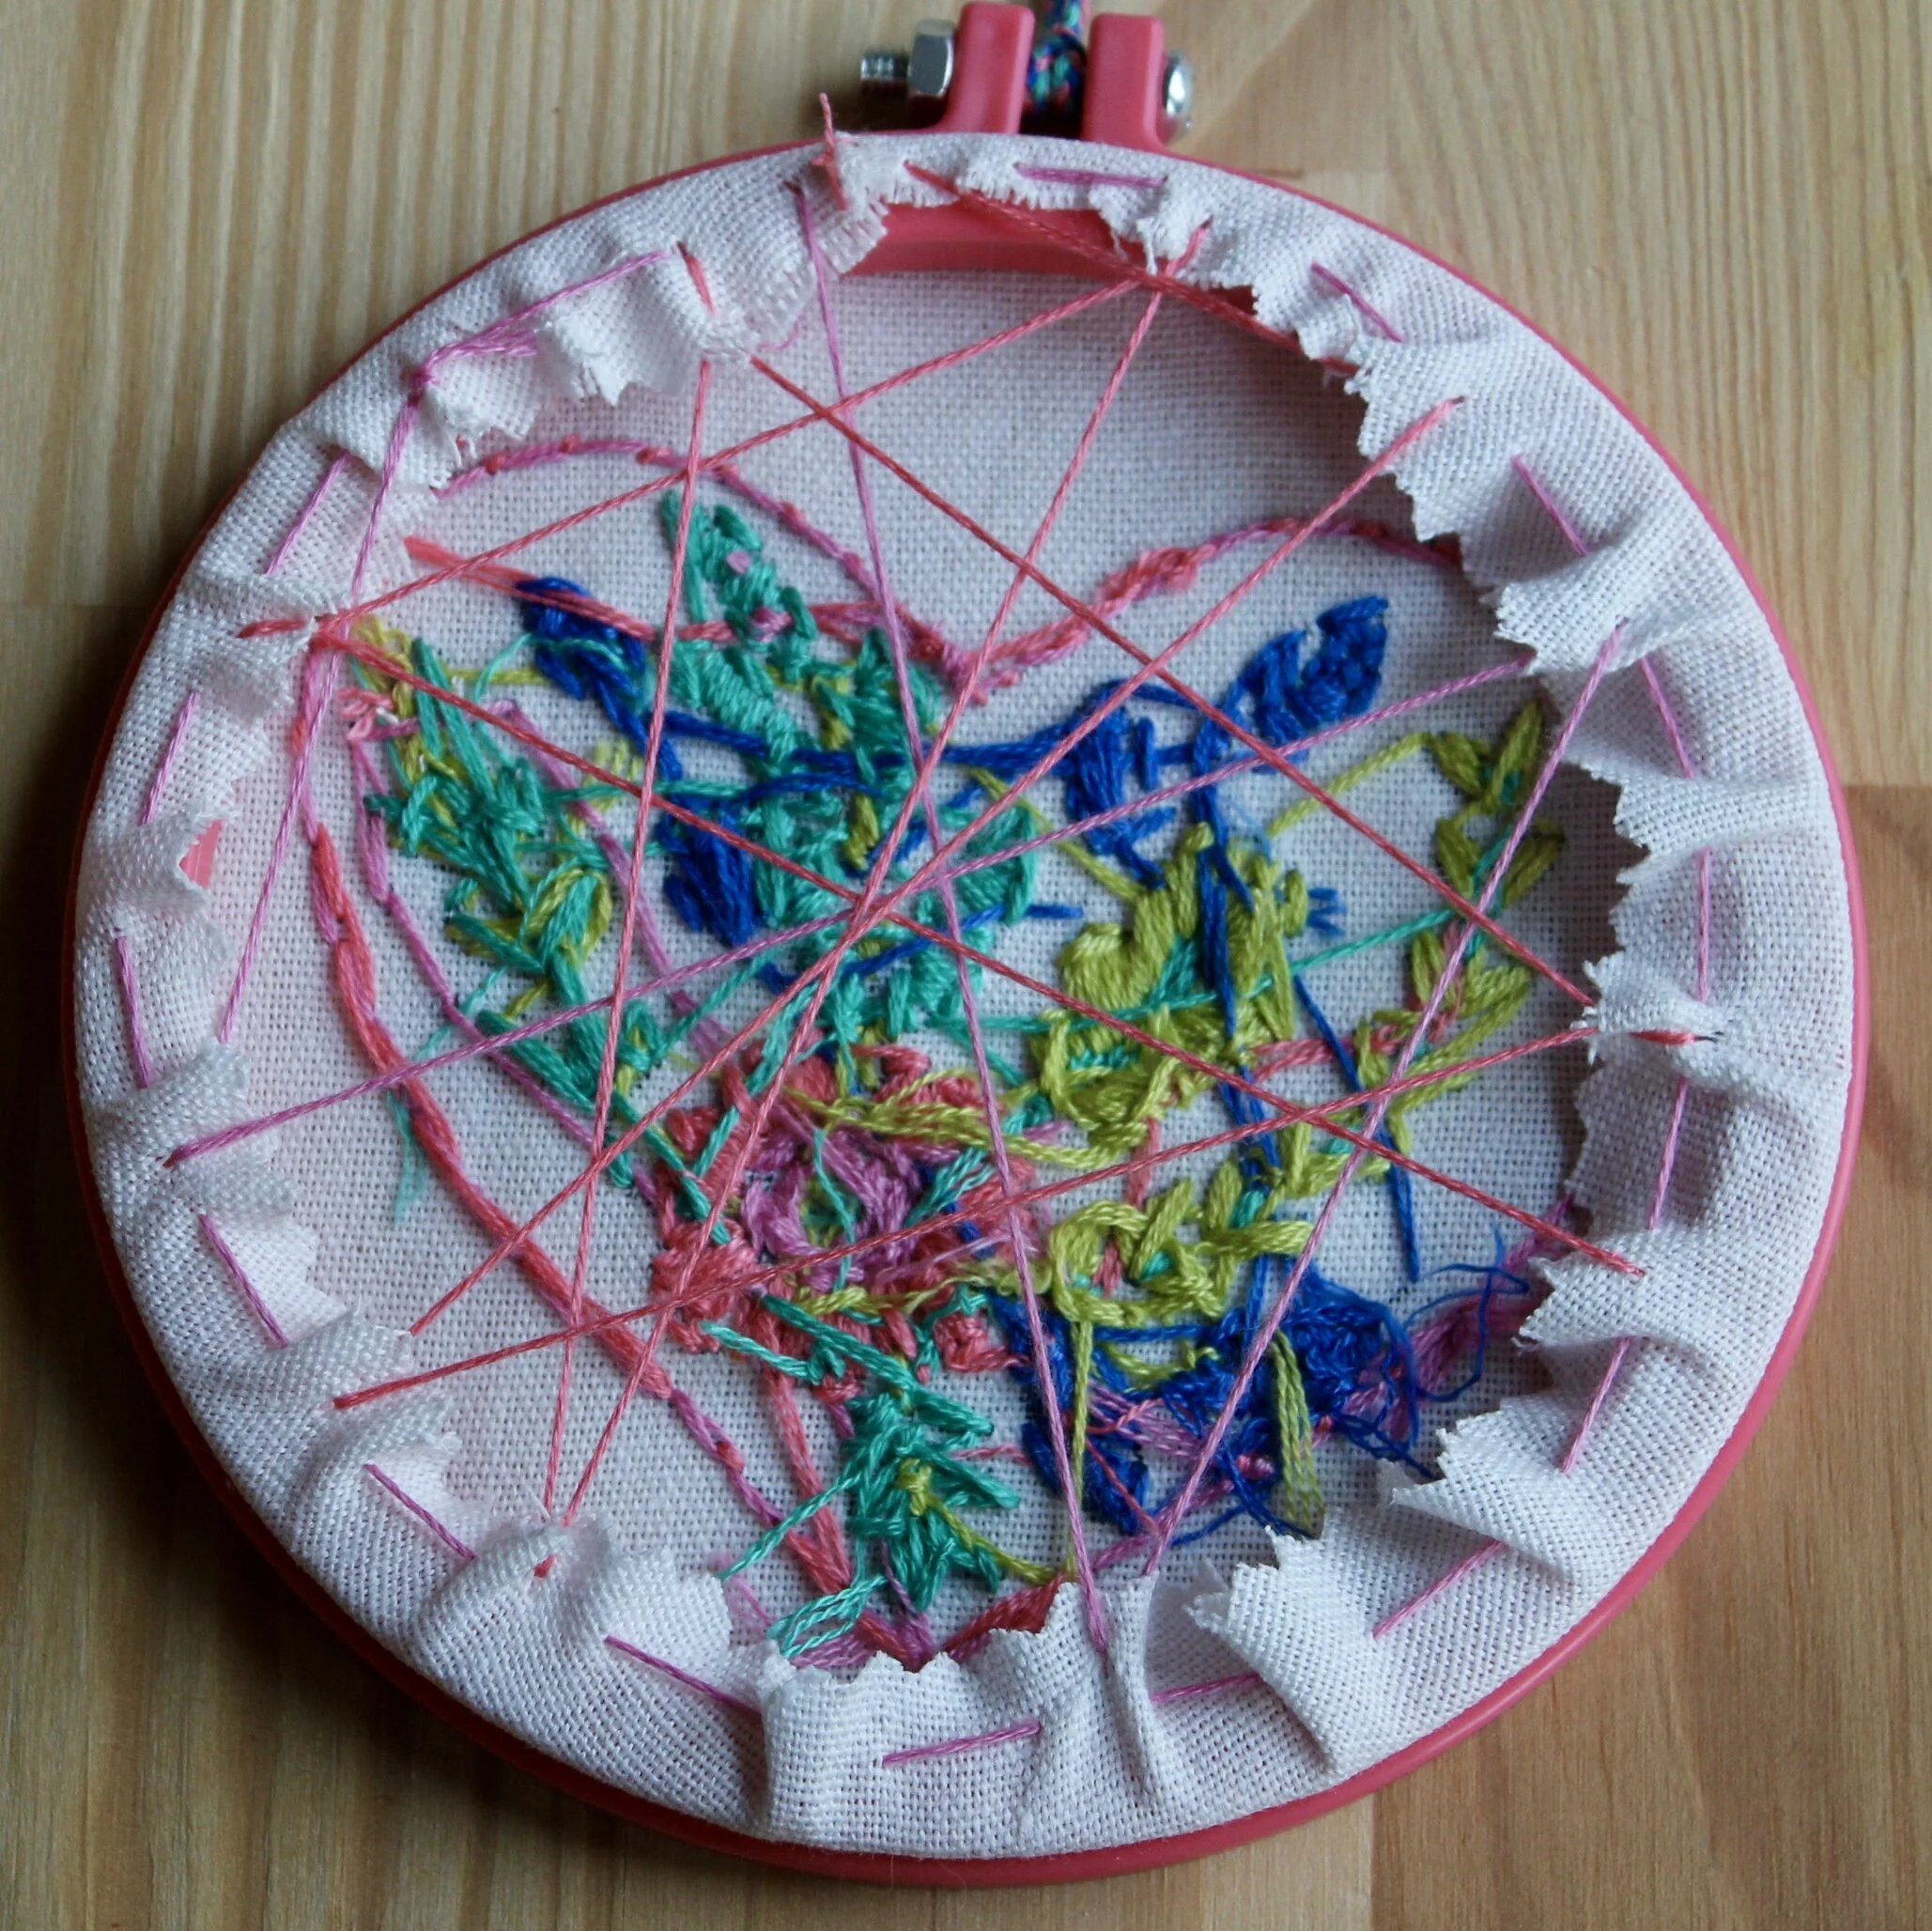
A picture showing an embroidery hoop by finished by gathering fabric using running stitches

2. Gathering

The easiest non-permanent way to finish a hoop by stitching around the edge of the fabric at the back of the hoop and gently pulling the threads to tighten the edges. Just use a large running stitch round the edge of the fabric and gently pul until the fabric has gathered. You can get an even flatter finish if you criss-cross the threads at tension across the back of the hoop as well.
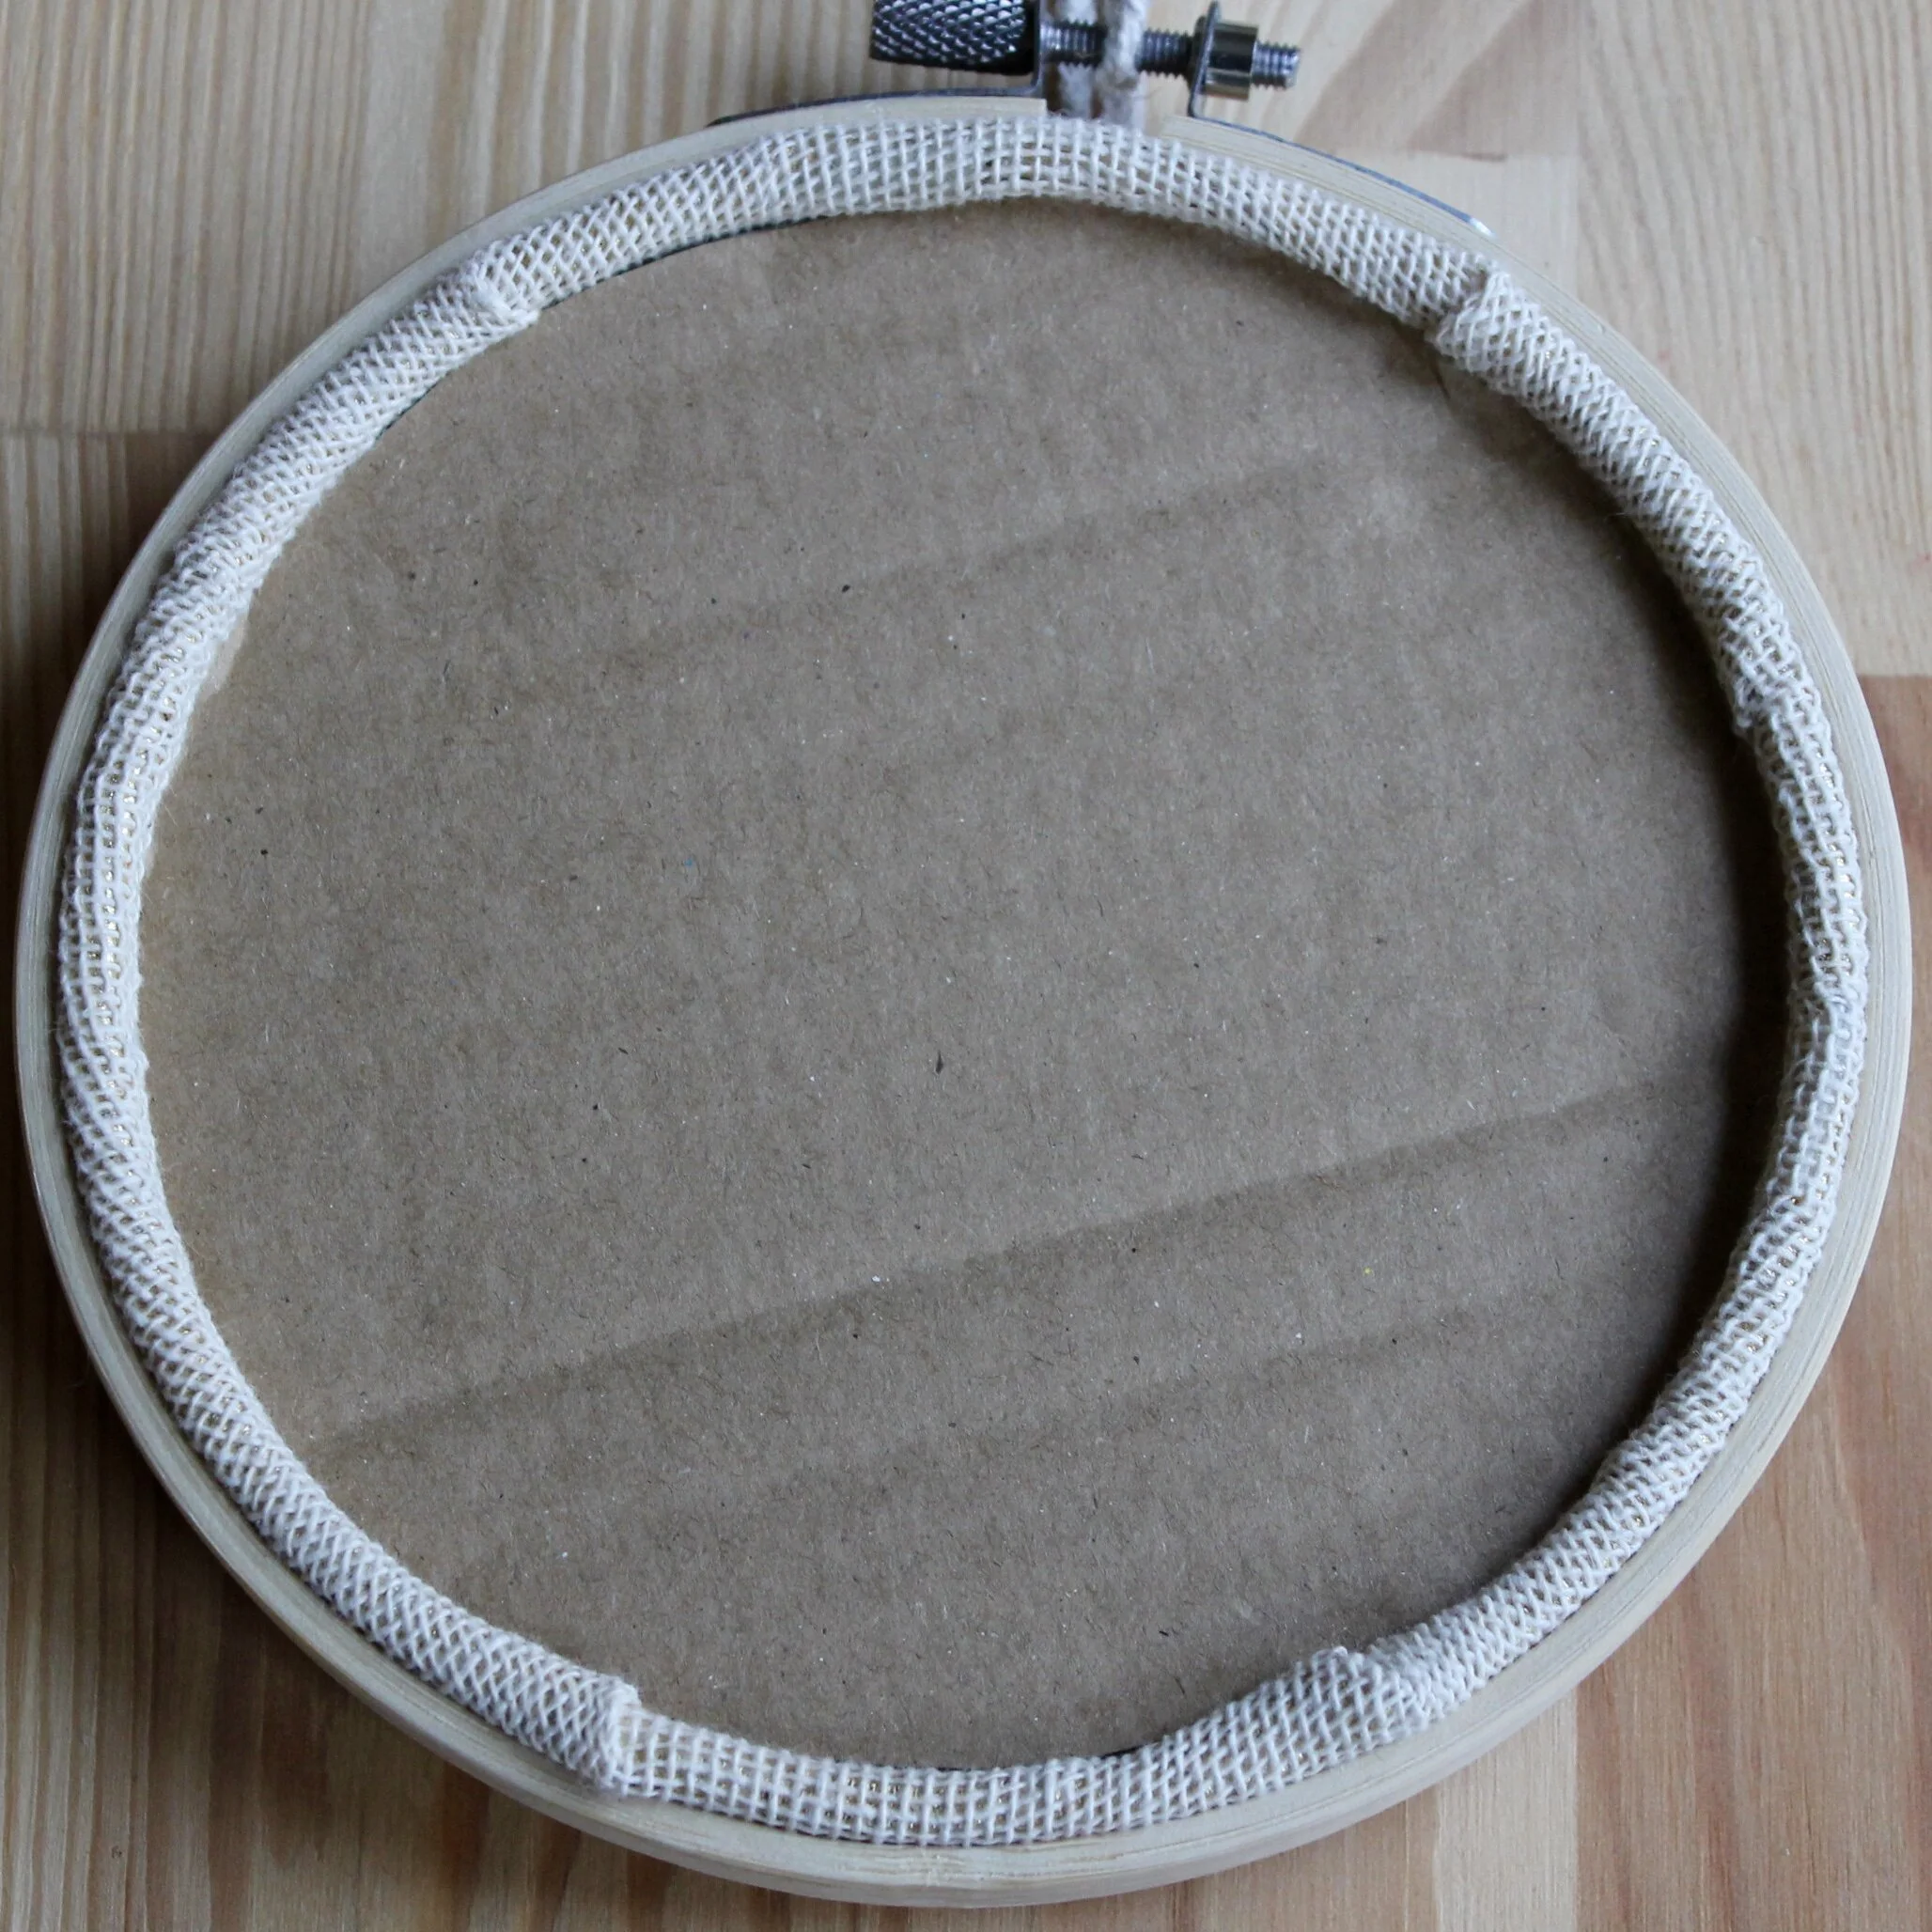
A picture of an embroidery hoop finished using a cardboard circle

3. Cardboard

This is my current favourite as it is so simple, works best if you’ve already gathered the lose fabric although you can sometimes get away with not having done this. Just draw round the inner hoop on a bit of cardboard and cut it out inside the line, trimming by a small amount if the card board still doesn’t fit
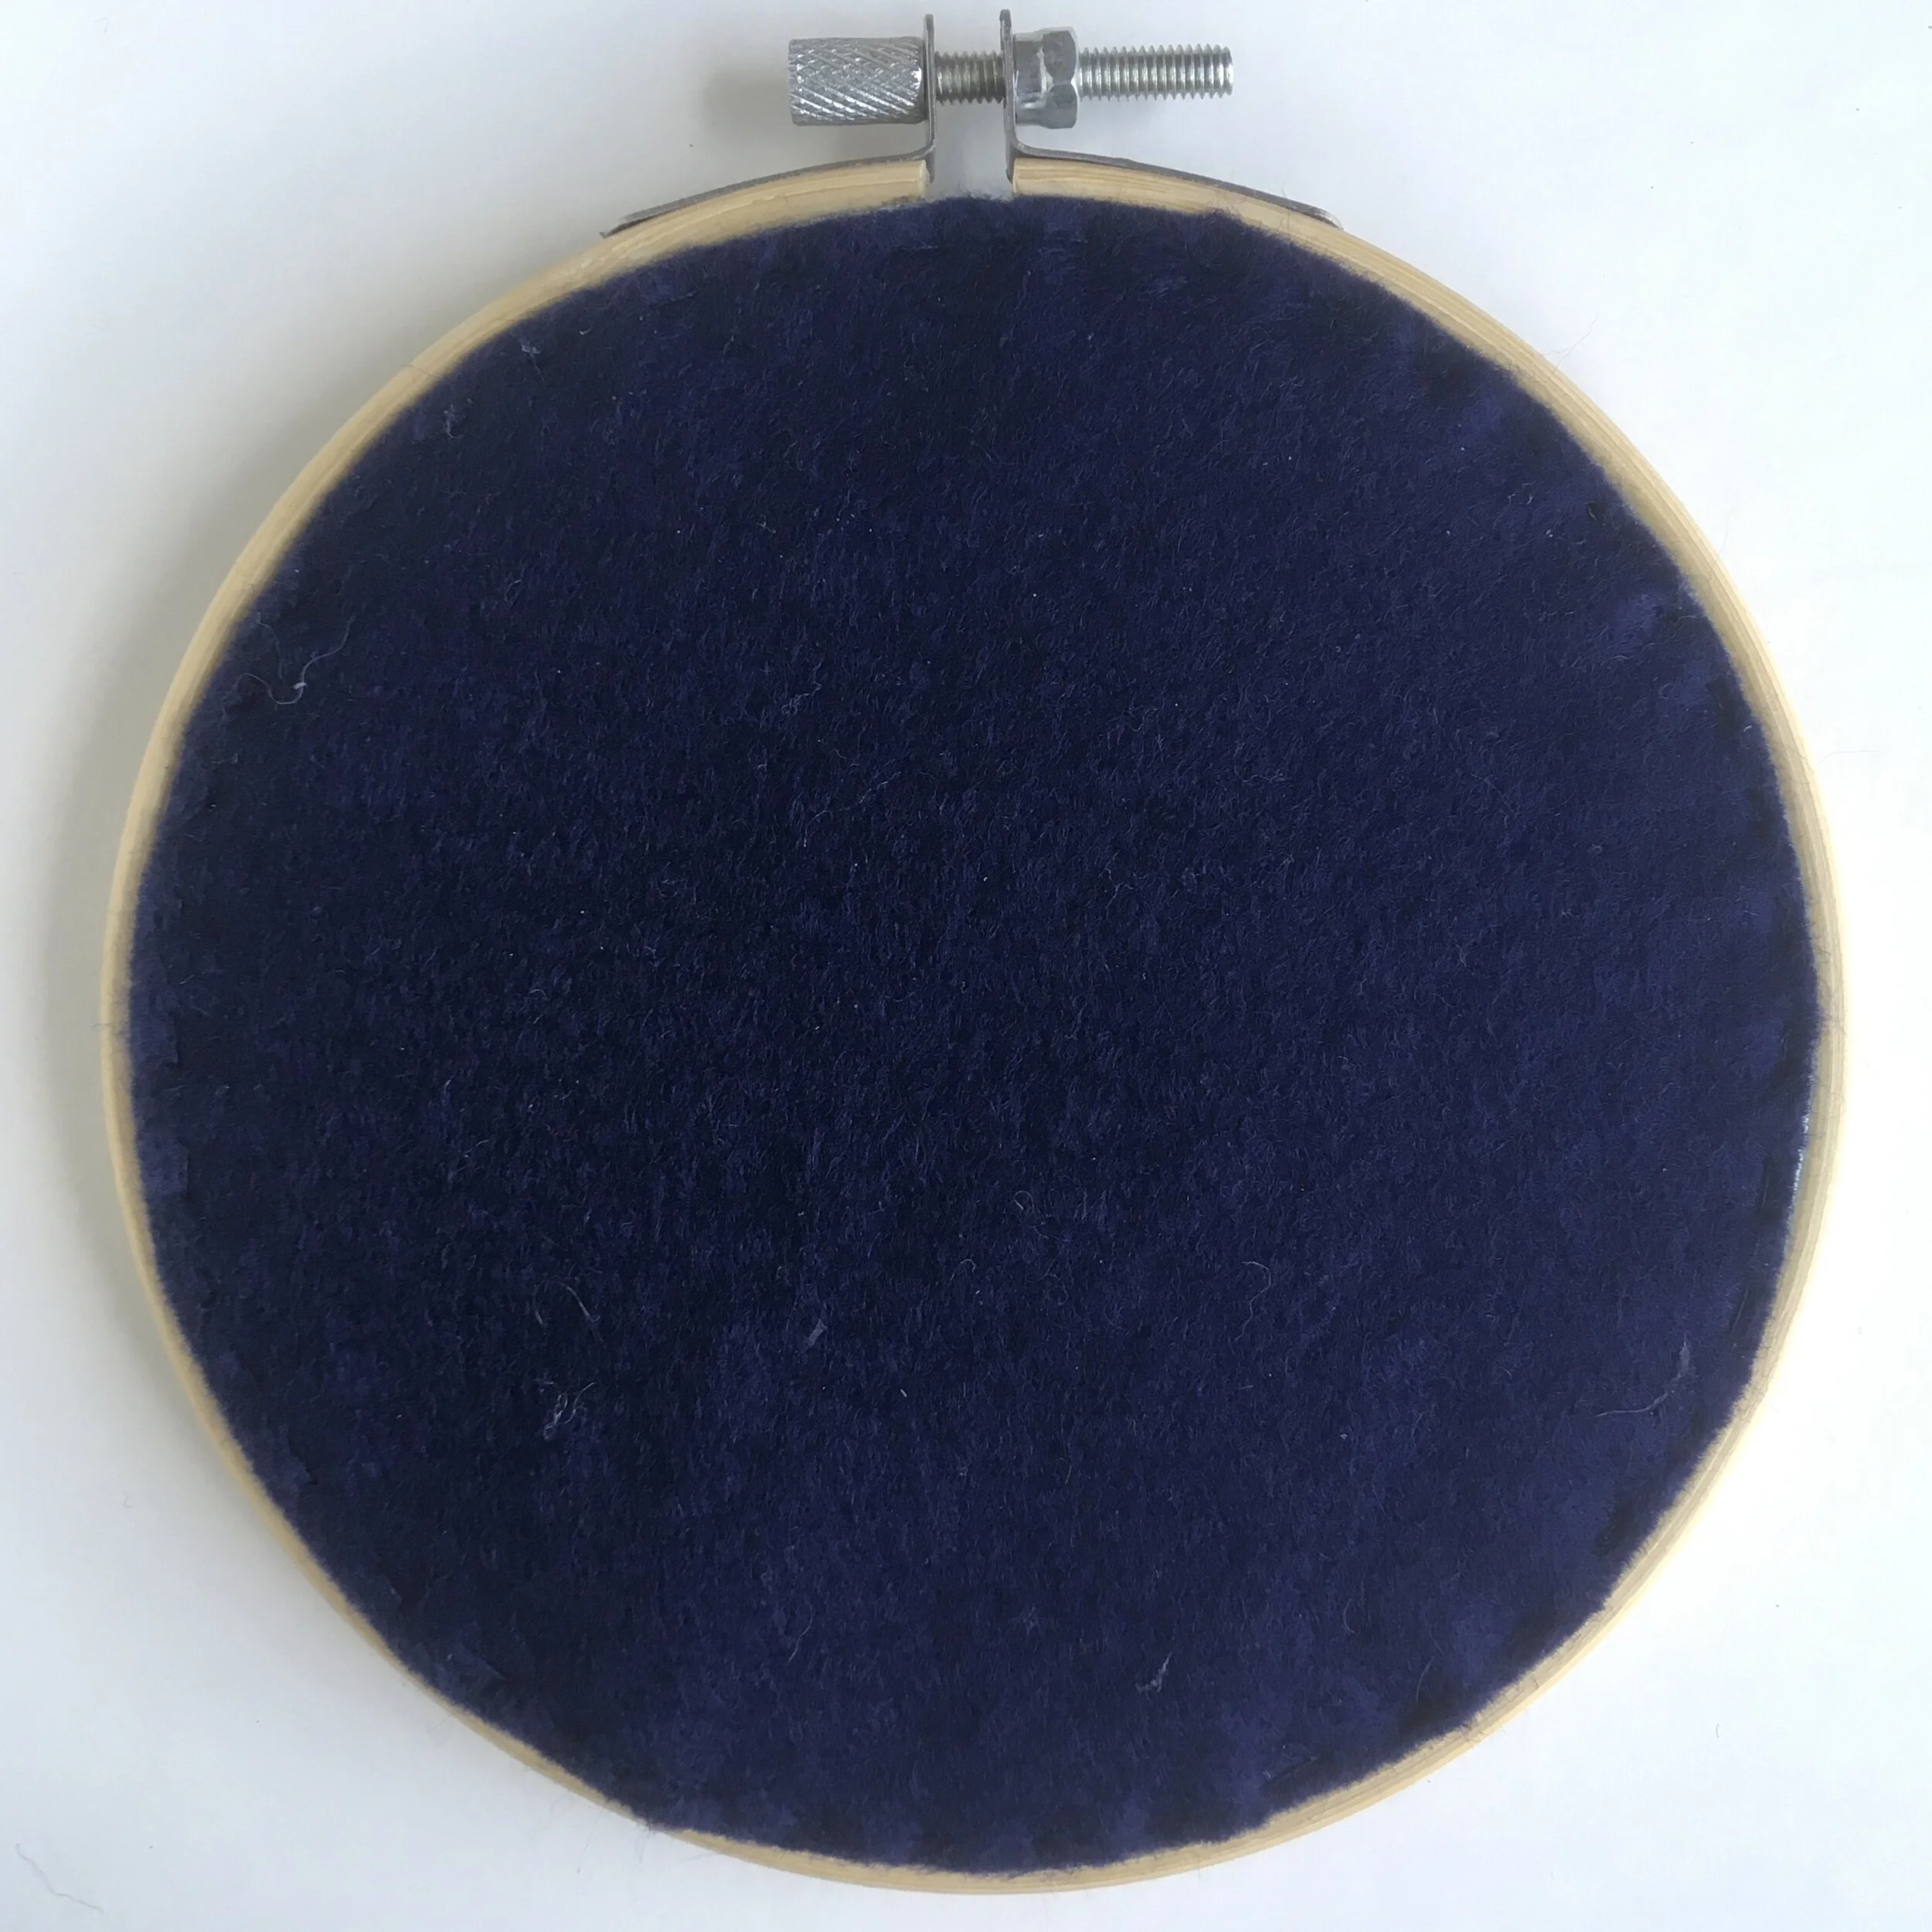
A picture of the back of an embroidery hoop finished off by stitching fabric over the back of the hoop

4. Felt

This gives the most professional finish again you need to gather the fabric first before carefully stitching the felt on to the fabric. Draw round the inner hoop on the felt and then attach with either running stitch or blanket stitch

Enjoyed this blog post? I share embroidery tips and a free embroidery pattern in my monthly newsletter. Sign up here to receive the newsletter on the 1st of each the month.

In tips 2 Tags Hoops, Finishing, Basics
← 12 Crafts of Christmas: Pine Cone Trees12 Crafts of Christmas: Cardboard Trees →

Tags

  • About me
  • Artists/Designers
  • Basics
  • Christmas
  • colour
  • Couching Stitch
  • Fabric
  • Filling Stitch
  • Finishing
  • Hoops
  • Isolated Stitch
  • Line Stitch
  • London
  • My Makes
  • Needles
  • Stitch Showcase
  • Texture Stitch
  • Thread
  • Transfer
  • Travel

Latest Posts

Featured
May 1, 2025
How to manage your backlog of craft projects
May 1, 2025
May 1, 2025
Apr 1, 2025
What to do if you don't like what you've stitched
Apr 1, 2025
Apr 1, 2025
Feb 15, 2025
How to decide which embroidery stitch to use
Feb 15, 2025
Feb 15, 2025
Feb 1, 2025
Focus on stitches for flowers
Feb 1, 2025
Feb 1, 2025
Jan 1, 2025
Focus on stitches for leaves
Jan 1, 2025
Jan 1, 2025
Nov 1, 2024
Stitch Showcase: Six-pointed star stitch
Nov 1, 2024
Nov 1, 2024
Oct 1, 2024
Focus on transferring or tracing patterns
Oct 1, 2024
Oct 1, 2024
Sep 1, 2024
Focus on hoops
Sep 1, 2024
Sep 1, 2024
Aug 1, 2024
A focus on needles
Aug 1, 2024
Aug 1, 2024
Jul 1, 2024
Focus on threads
Jul 1, 2024
Jul 1, 2024

Home — Shop — Stockists — Wholesale — Portfolio — Contact — Reviews — Policies — FAQs