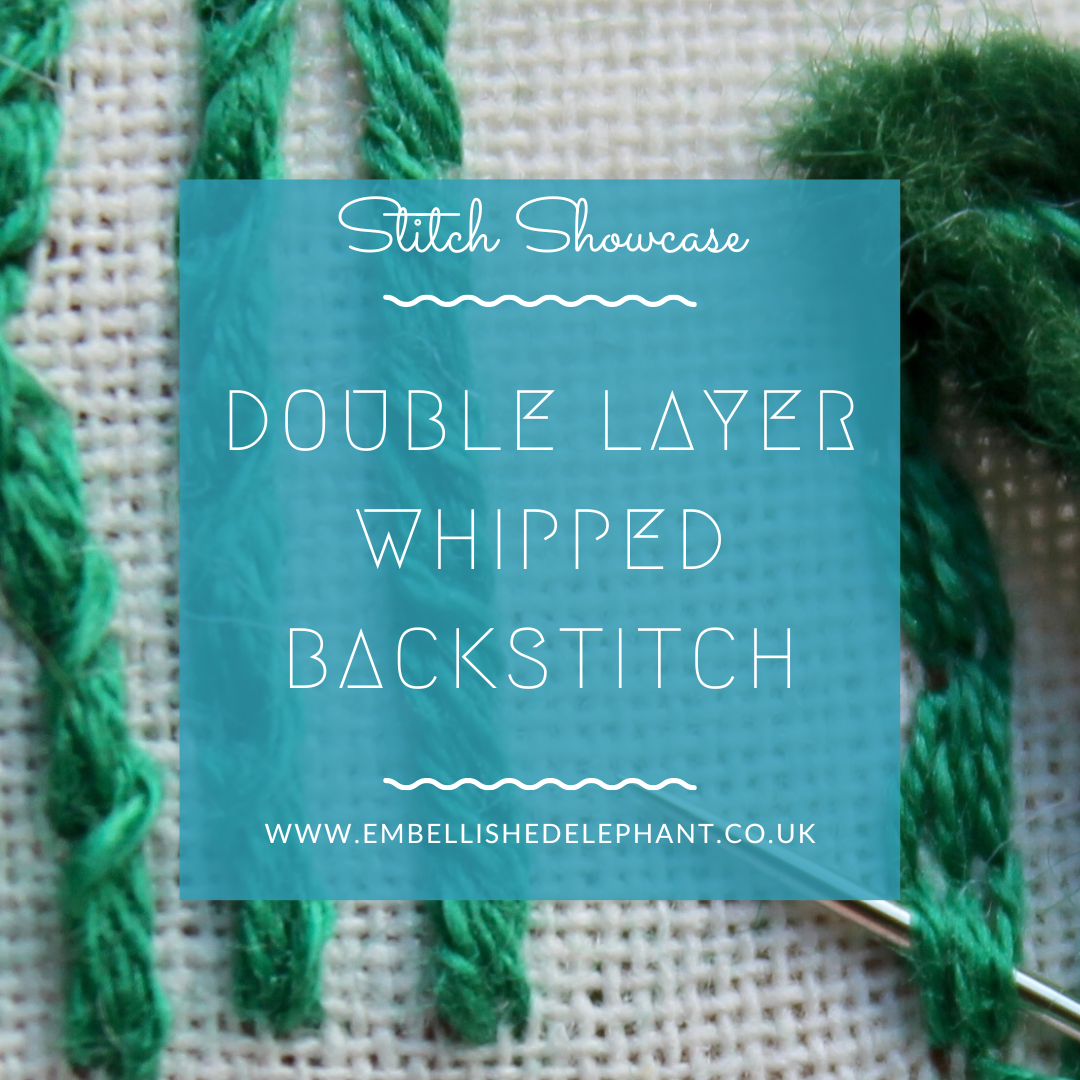
I came across this variation on whipped backstitch recently and it was a bit of a lightbulb moment. Whipped backstitch is a favourite of mine and with this version you can stitch thicker lines without needing to increase the number of strands of thread being used.
The main difference to whipped backstitch is that rather than laying down just one row of backstitches, you lay down two or three rows as the base to whip around.
Backstitch is the foundation and then floss is wrapped around each of these stitches to create a cord effect
Start by backstitching the complete length of the line you want to embroider (see here for how to create a backstitch line)
Create another row or two alongside the first row
To wrap the backstitch, bring the needle up at the end of the backstitch length (B)
Pass the needle under the first backstitch from right to left (E)
Repeat on the next backstitch again passing from right to left
Continue until the floss is wrapped around all the backstitches
To finish push the needle back down through the fabric.
Whipped back stitch is one of my favourite stitches and I recommend it for many of my houseplant kits. You can switch in double layer whipped backstitch to give the plant stems some extra width.
Enjoyed this blog post? I share embroidery tips and a free embroidery pattern in my monthly newsletter. Sign up here to receive the newsletter on the 1st of each the month.


