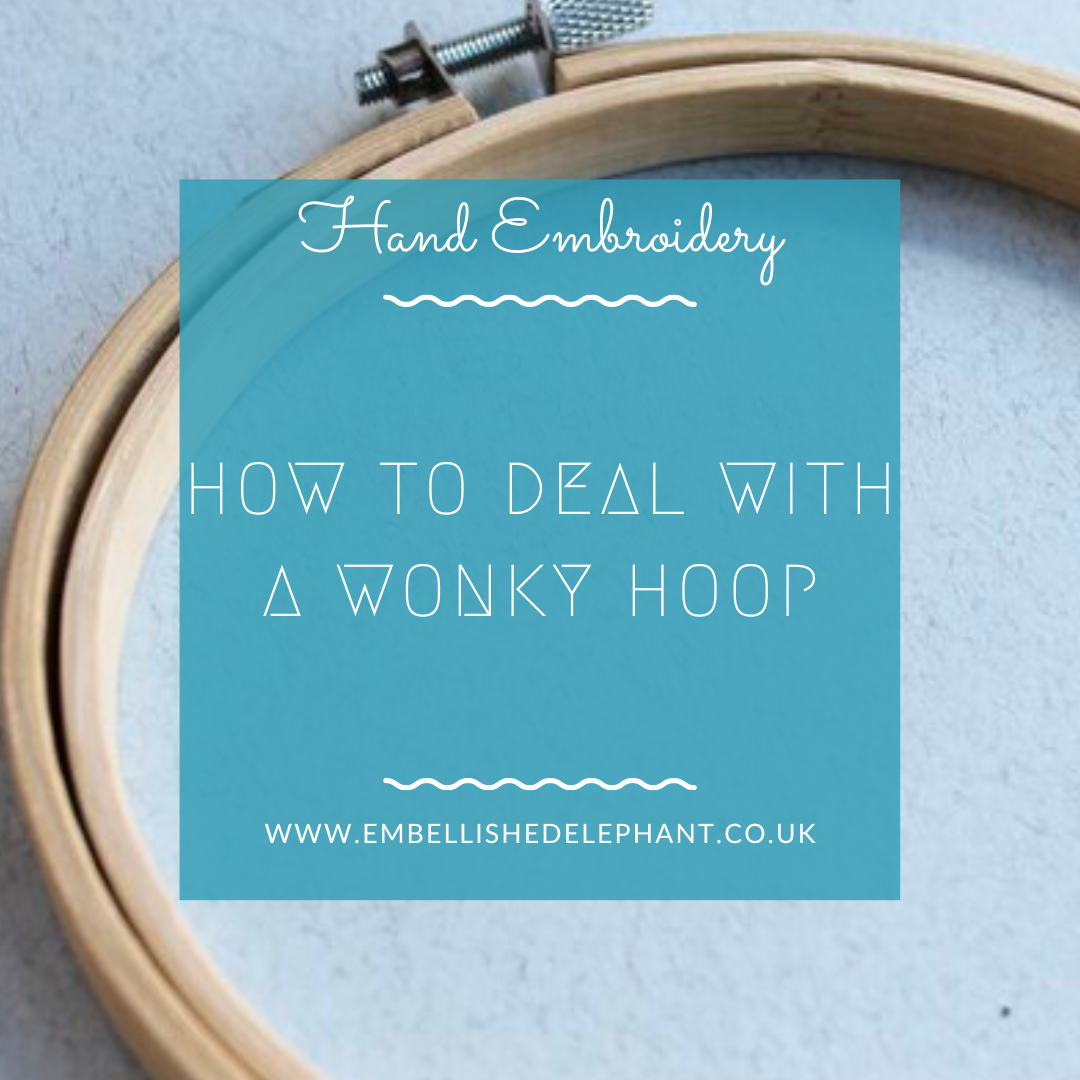
The best hoops are nicely round, the inner and outer hoops fit snuggly together meaning they grip the fabric and hold it drum tight for stitching.
A wonky hoop won’t hold your fabric tight enough to give you enough tension to create great stitches. I’ve learned this the hard way. I went on holiday for 2 weeks with plenty of embroidery to keep me busy but only one hoop. I didn’t check that hoop before packing it and spent the whole holiday cursing that hoop!
1 - Rotate the hoops
Try rotating the inner hoop around before adding the fabric to find the best fit and minimise the size of any gaps. Once you’ve found the best fit, mark the edge of the inner and outer hoop in pencil so you can align them back up when you’ve added the fabric.
2 - Wrap the inner hoop
Wrapping fabric tape around the inner hoop can help prevent the fabric getting marked or creased when it is in the hoop. It also helps to bulk out the inner hoop and potentially reduce any of the gaps as the fabric tape gets squished where the hoop it snug and fills the gap where it isn’t.
3 -Ditch it!
Some hoops are just beyond saving and it is worth preventing hours of frustration by just deciding it’s not worth trying to stitch with that hoop.
If you are thrifty and don’t want to just throw it out then it can be used for framing (where the fabric can be held taut with gathering stitches) and/or remove the outer part of the hoop when displaying the finished embroidery.
It could also be used for non-embroidery projects such as a macramé wall hanging
You shouldn’t find any wonky hoops in my kits! I’ve tried and tested a range of hoops from different brands and only use hoops I know are the best. I check the hoops before I add them to my kits to avoid giving you the challenge of a wonky hoop. Why not take a look at the range of kits I have available here.
Enjoyed this blog post? I share embroidery tips and a free embroidery pattern in my monthly newsletter. Sign up here to receive the newsletter on the 1st of each the month.

