
If you’ve stitched or sewn anything by hand before you probably have a method that you use to start off your thread. My go-to is a simple knot, but there are some other methods that you may find easier or may be particularly useful for the type of project you are working on.
Knot
I always knot the tail end of the thread. There are a few exceptions that I cover here, but most of the time a knot is fine to prevent your thread going all the way through the fabric.
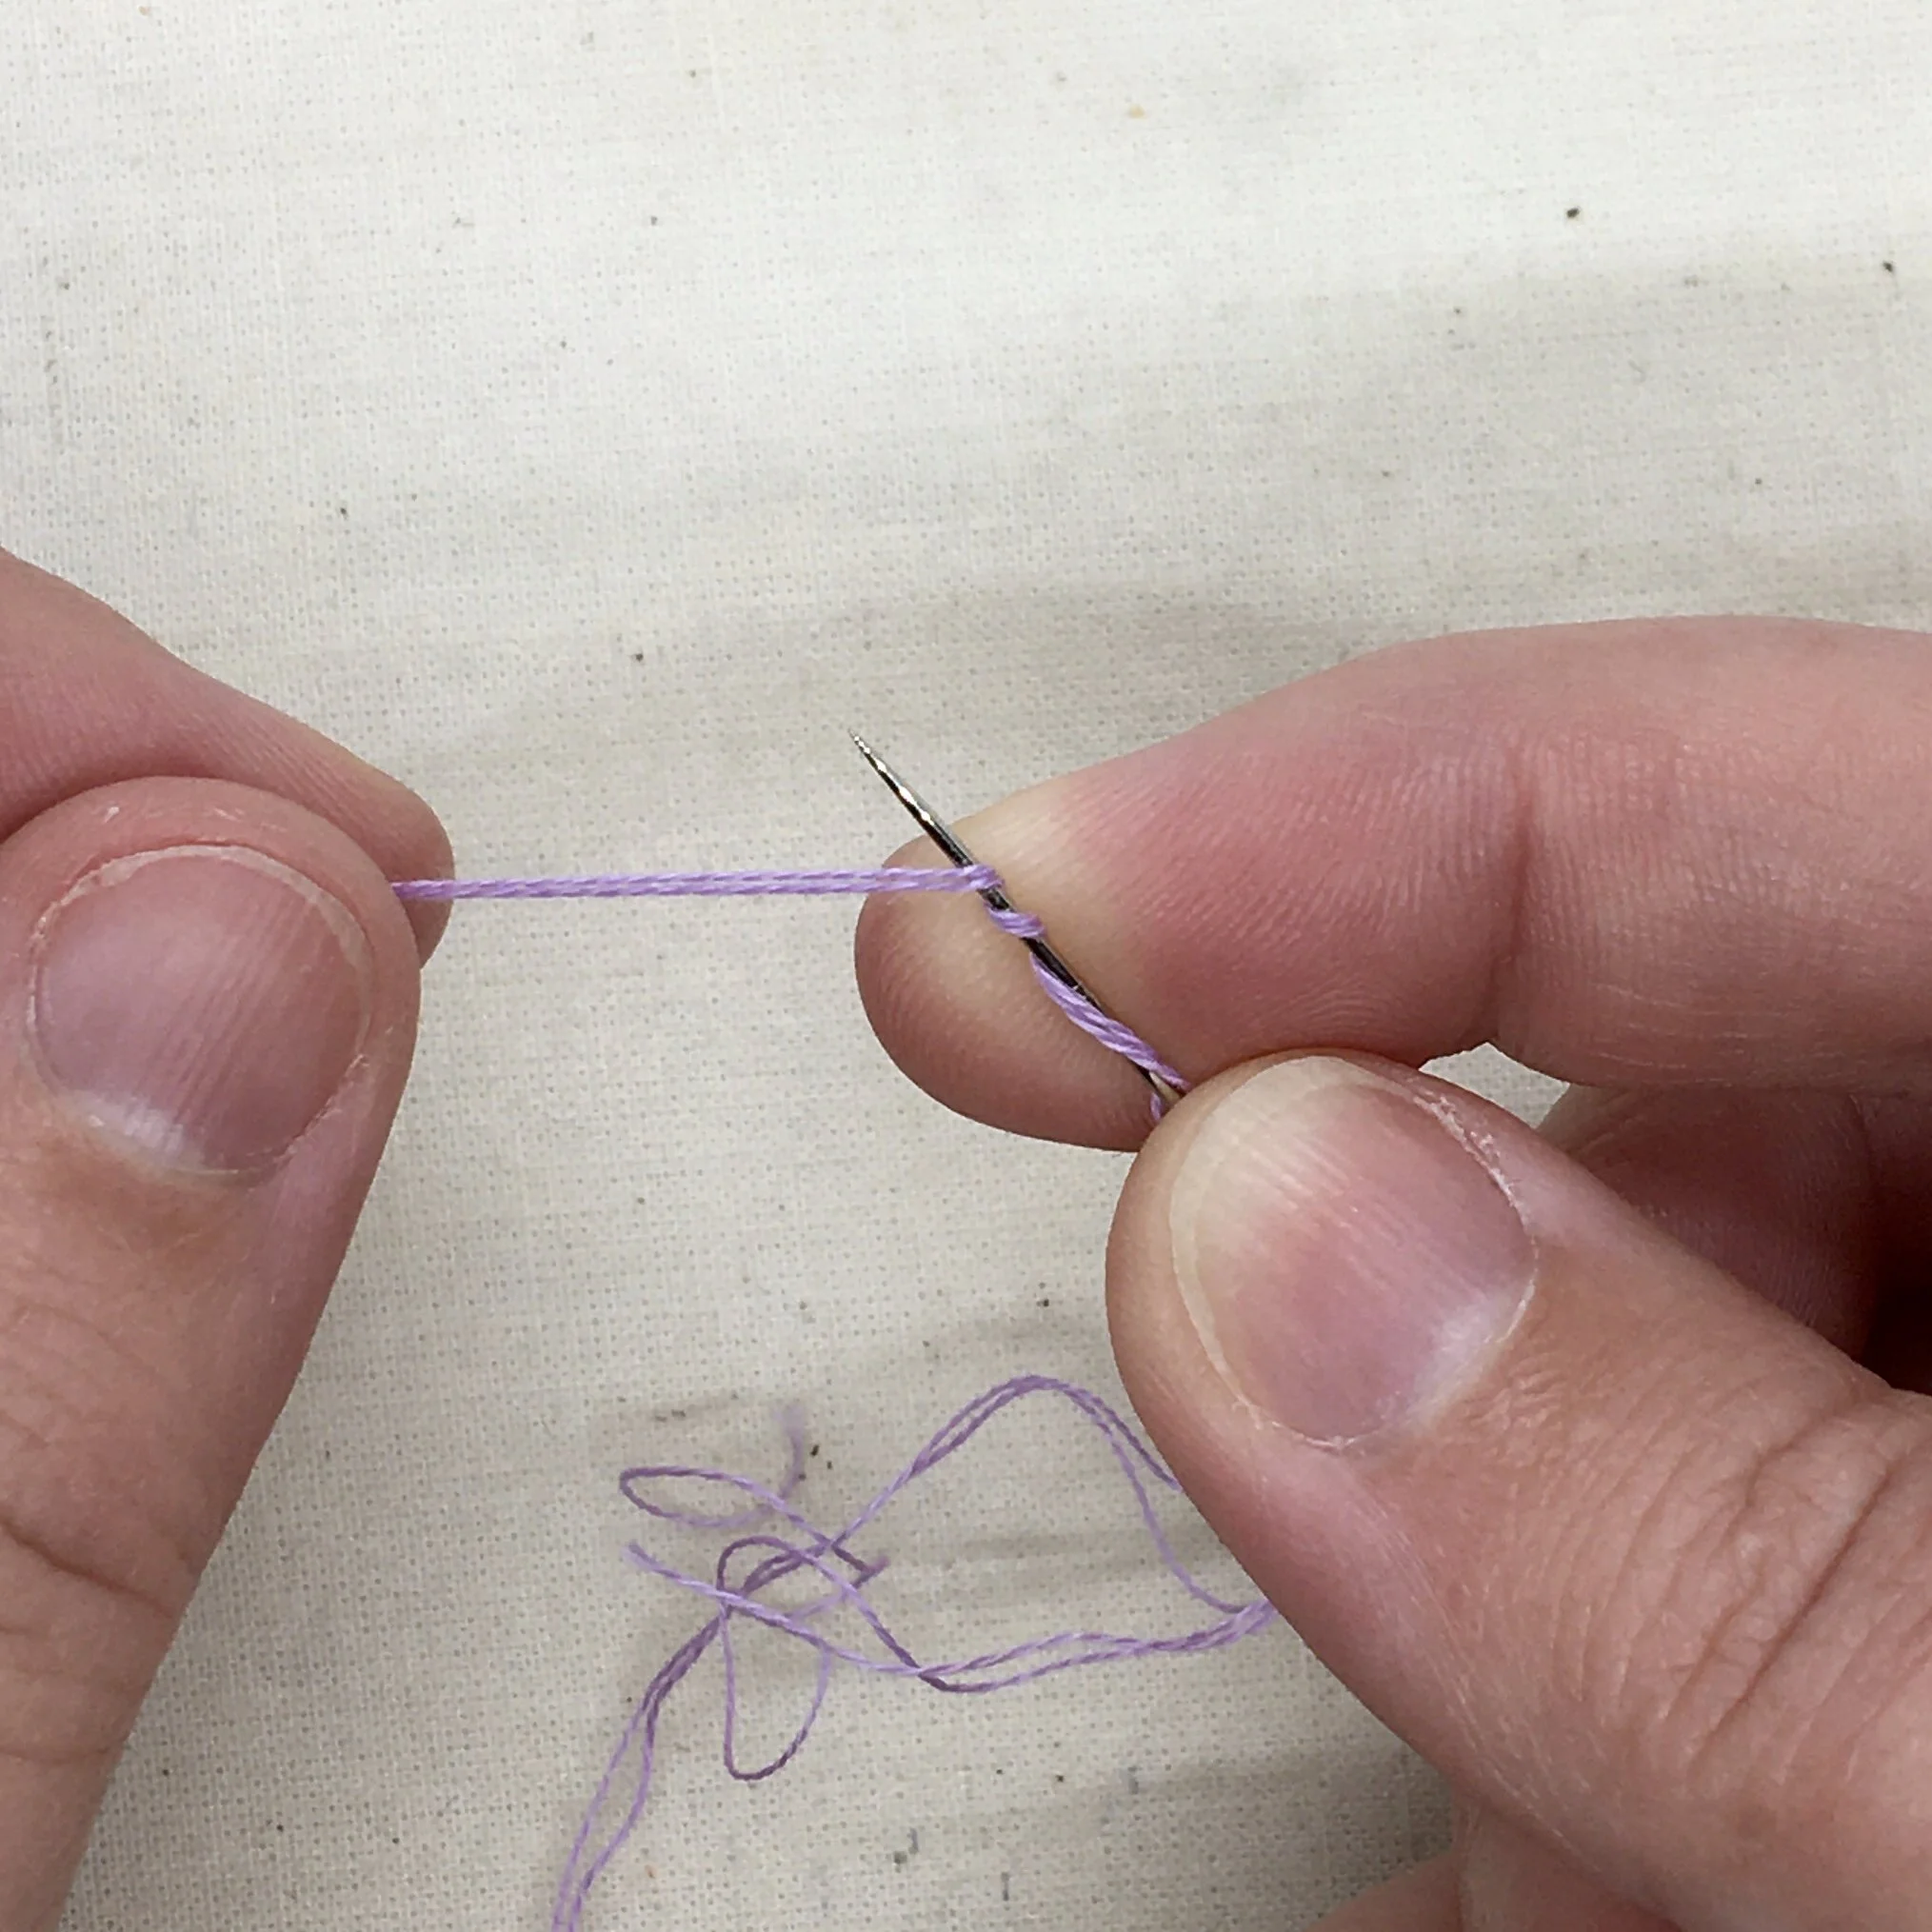
Juts a note on knots. I always use a quilters knot which I like to think of a bit like a French knot just without the fabric! Take the end of the thread (furthest from the needle) and wrap it round the needle a few times. Then carefully move the wraps down the needle and to the end of the thread. You should find you have a nice neat little knot. There is a step by step tutorial from Craftsy here.

Waste knot
This is a little different because you start the thread from the right side. Once you’ve created your knot, bring the needle down through the fabric away from where you are going to start stitching.
Make a few stitches and then gently snip the knot away and make sure the tail is pulled through to the wrong side.
Hold in place
This is the one that puts you most at risk of frustration. You need to concentrate or you end up pulling the thread all the way through.
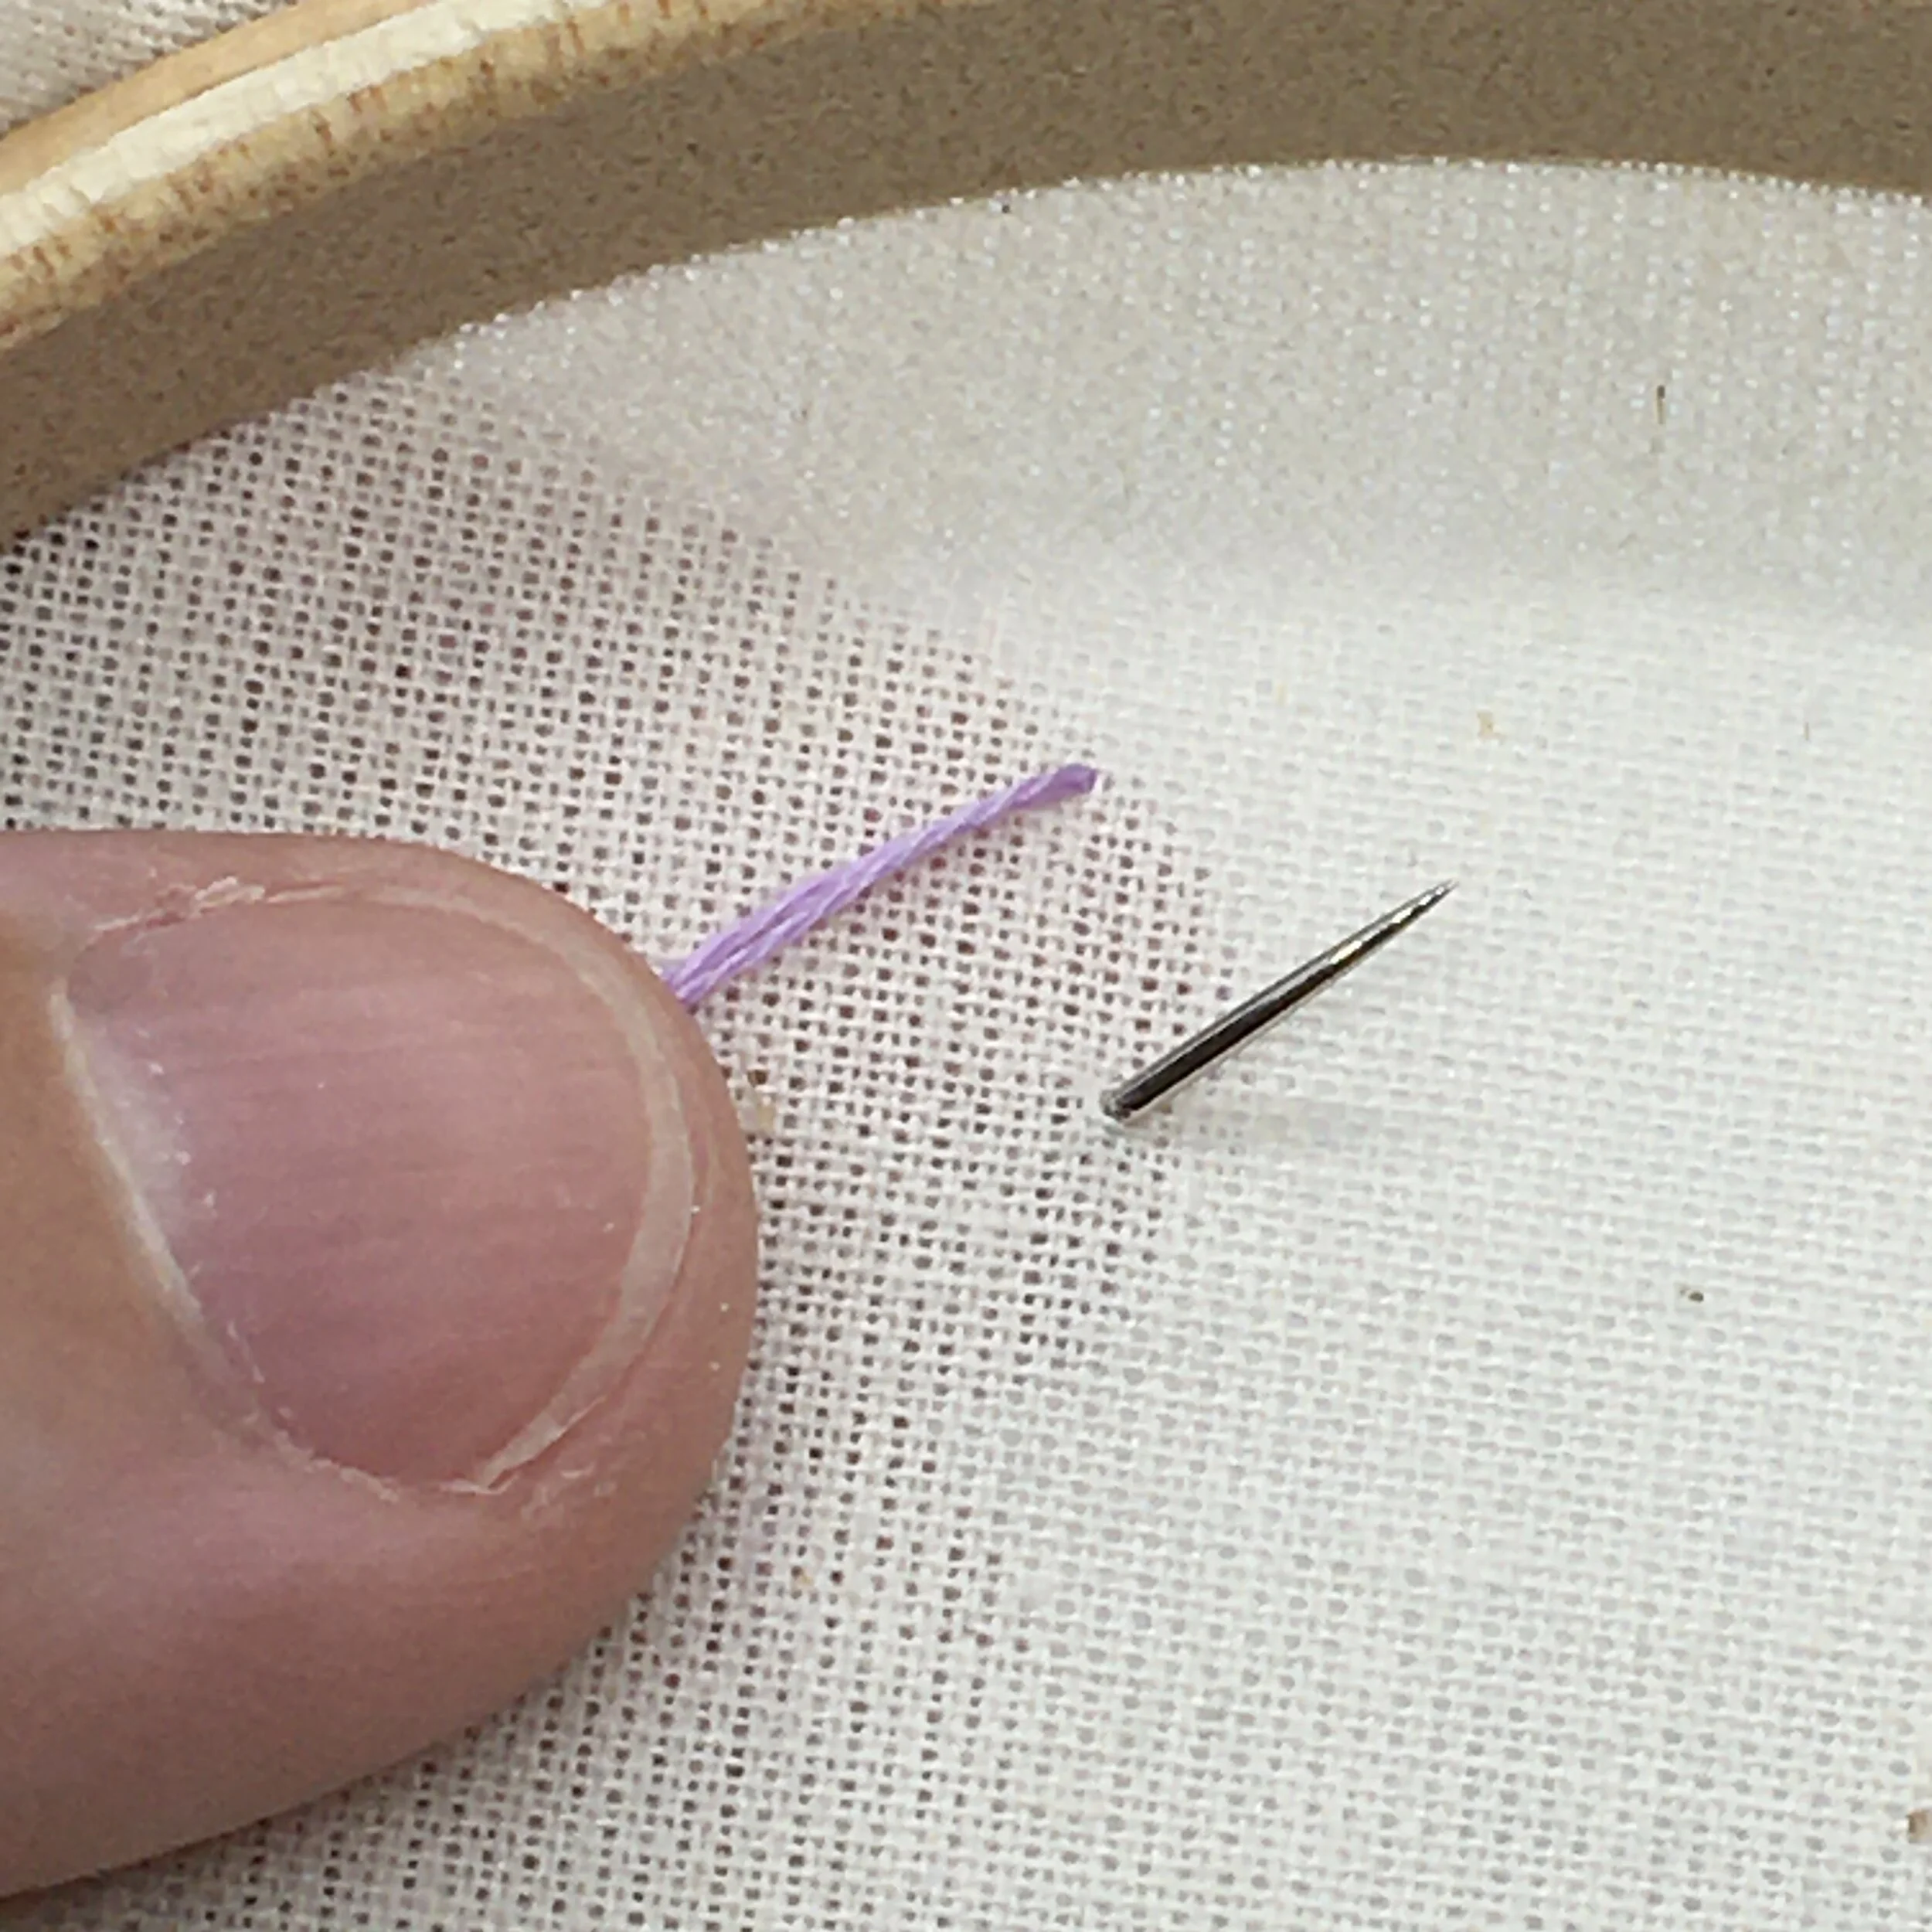
Pull the needle through the fabric and leave a 1-2cm tail on the wrong side. Use your thumb from your non-stitching hand to hold the thread in place while you make a few stitches. Be careful not to pull the thread too hard until you are a few stitches in otherwise the tail will pull through.
Anchor stitches
This is very similar method to the ‘hold in place’ method except you are consciously making a couple of tiny stitches that you will then cover up. In the previous method you are stitching as normal.
Weave in
If you have a lot of stitches already on the back of your work you can weave in the tail so that you have a secure base and can start stitching with confidence
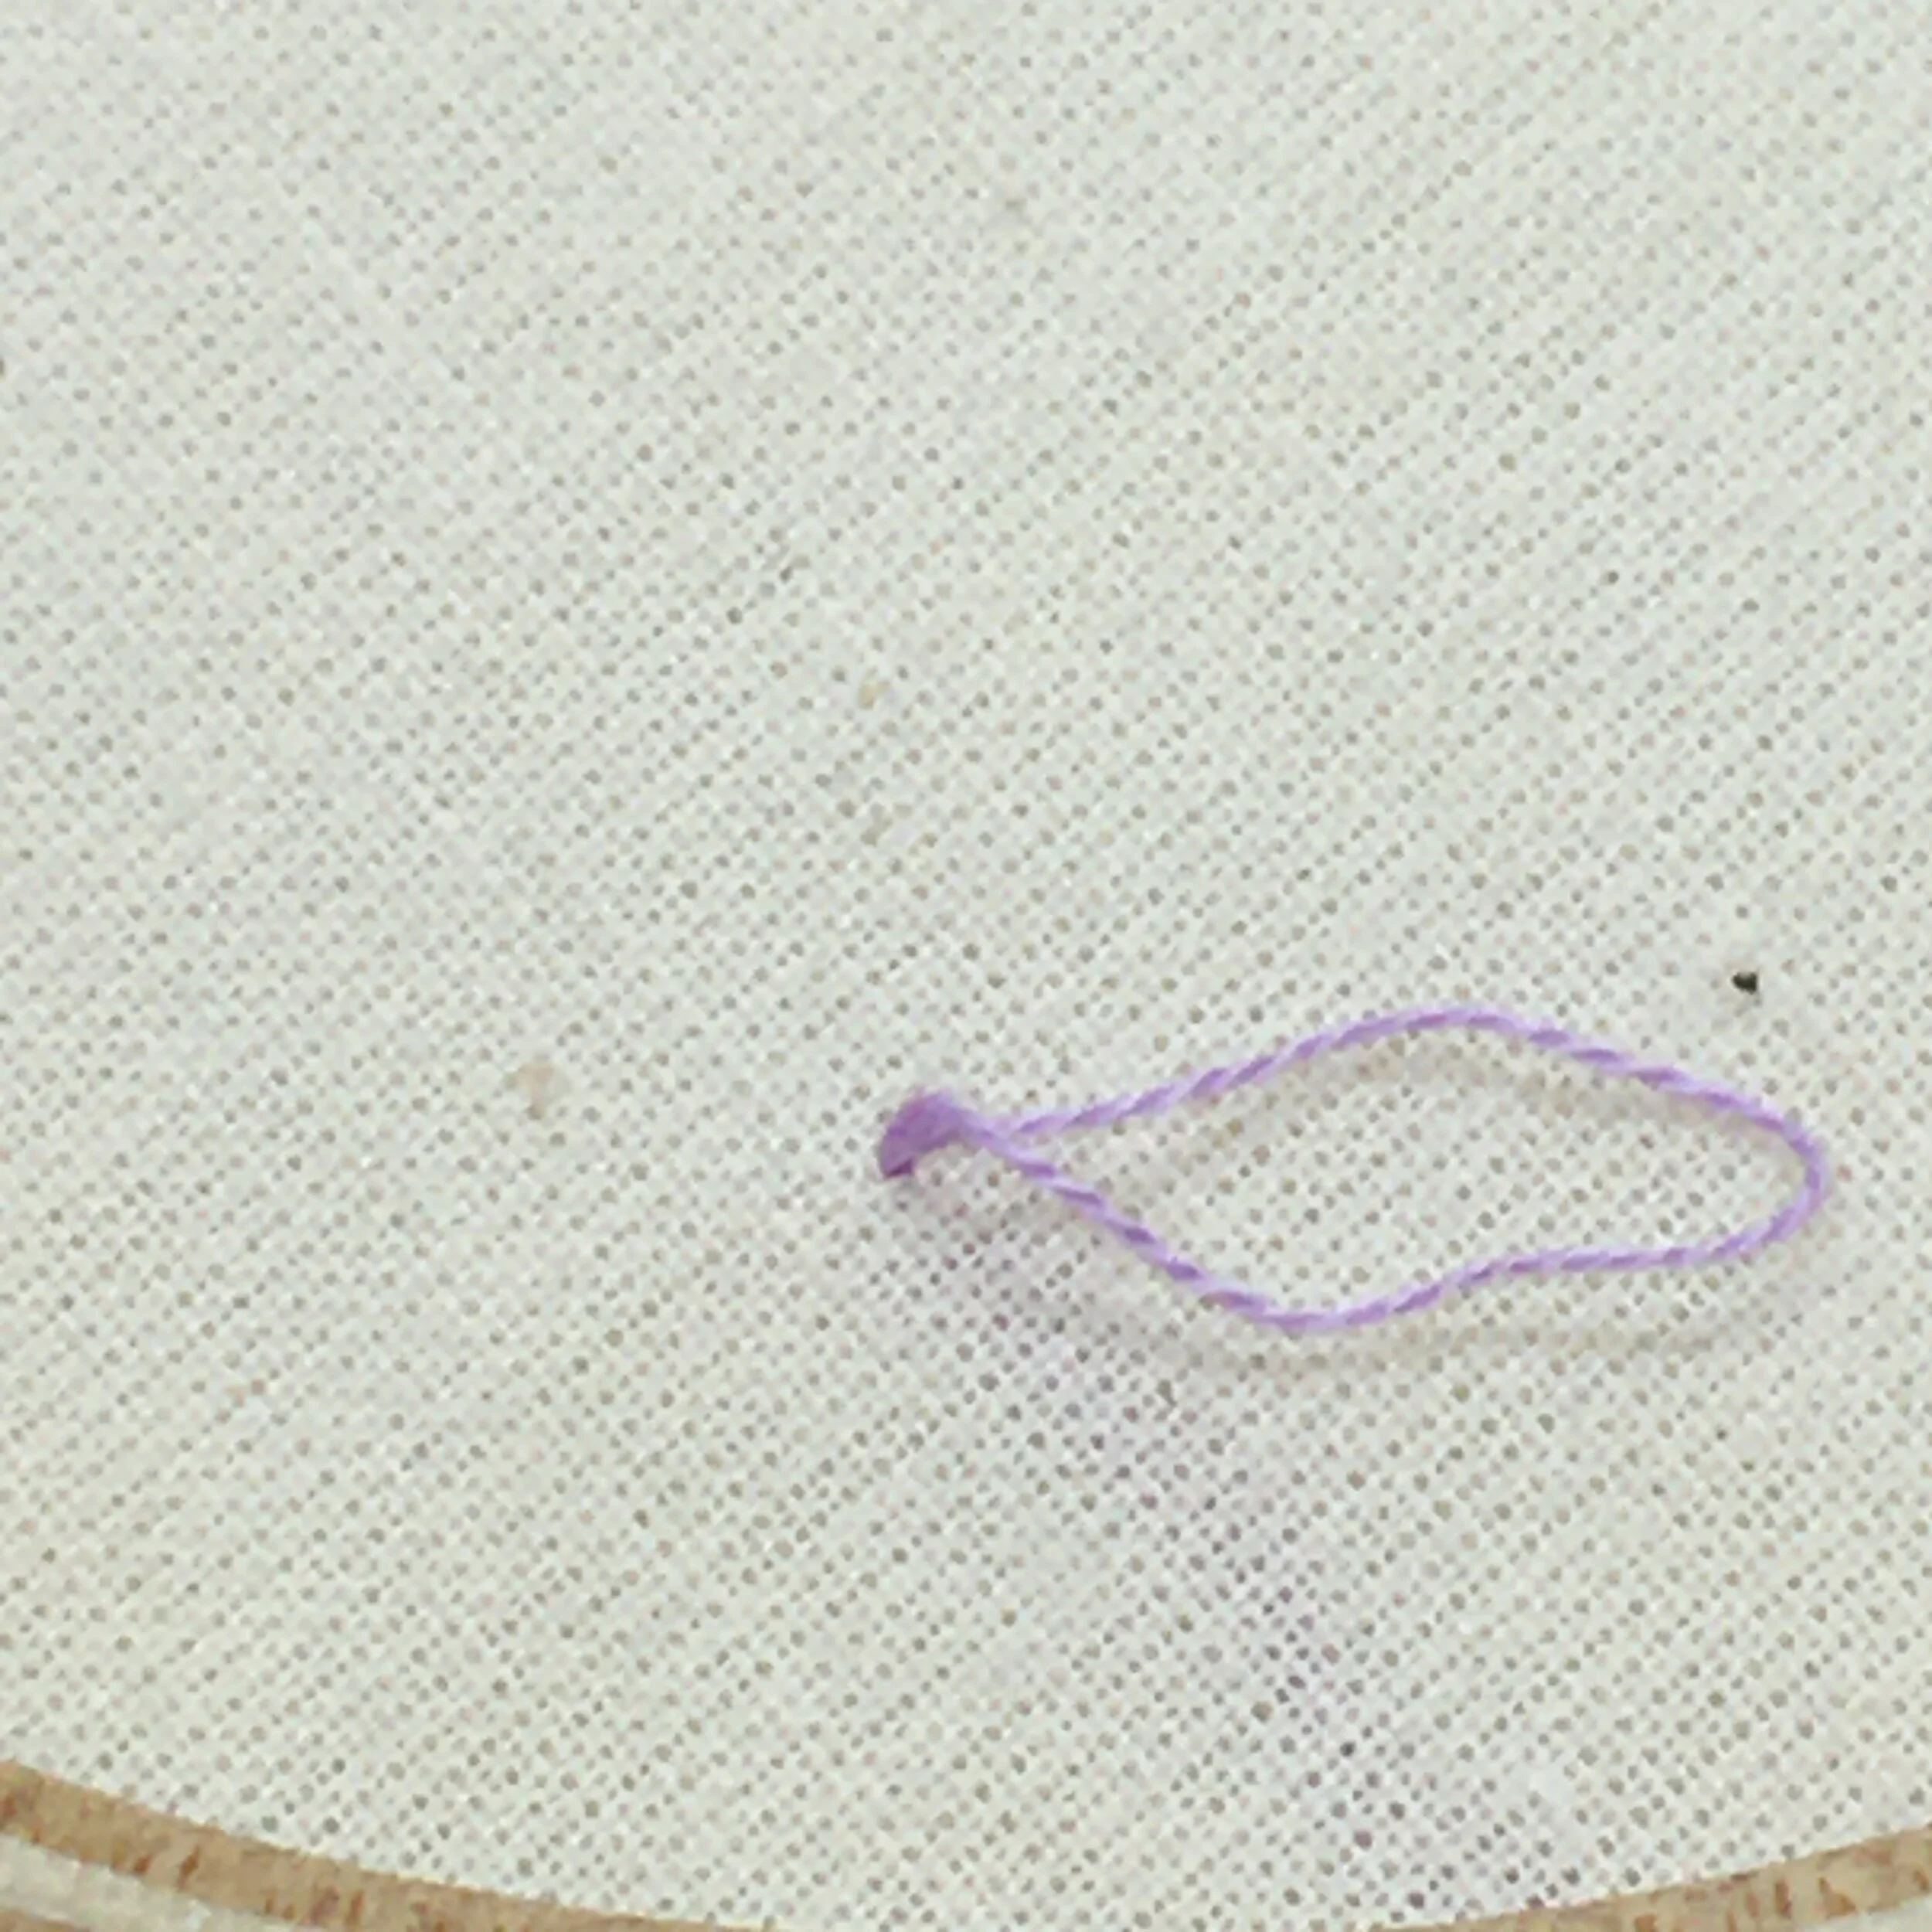
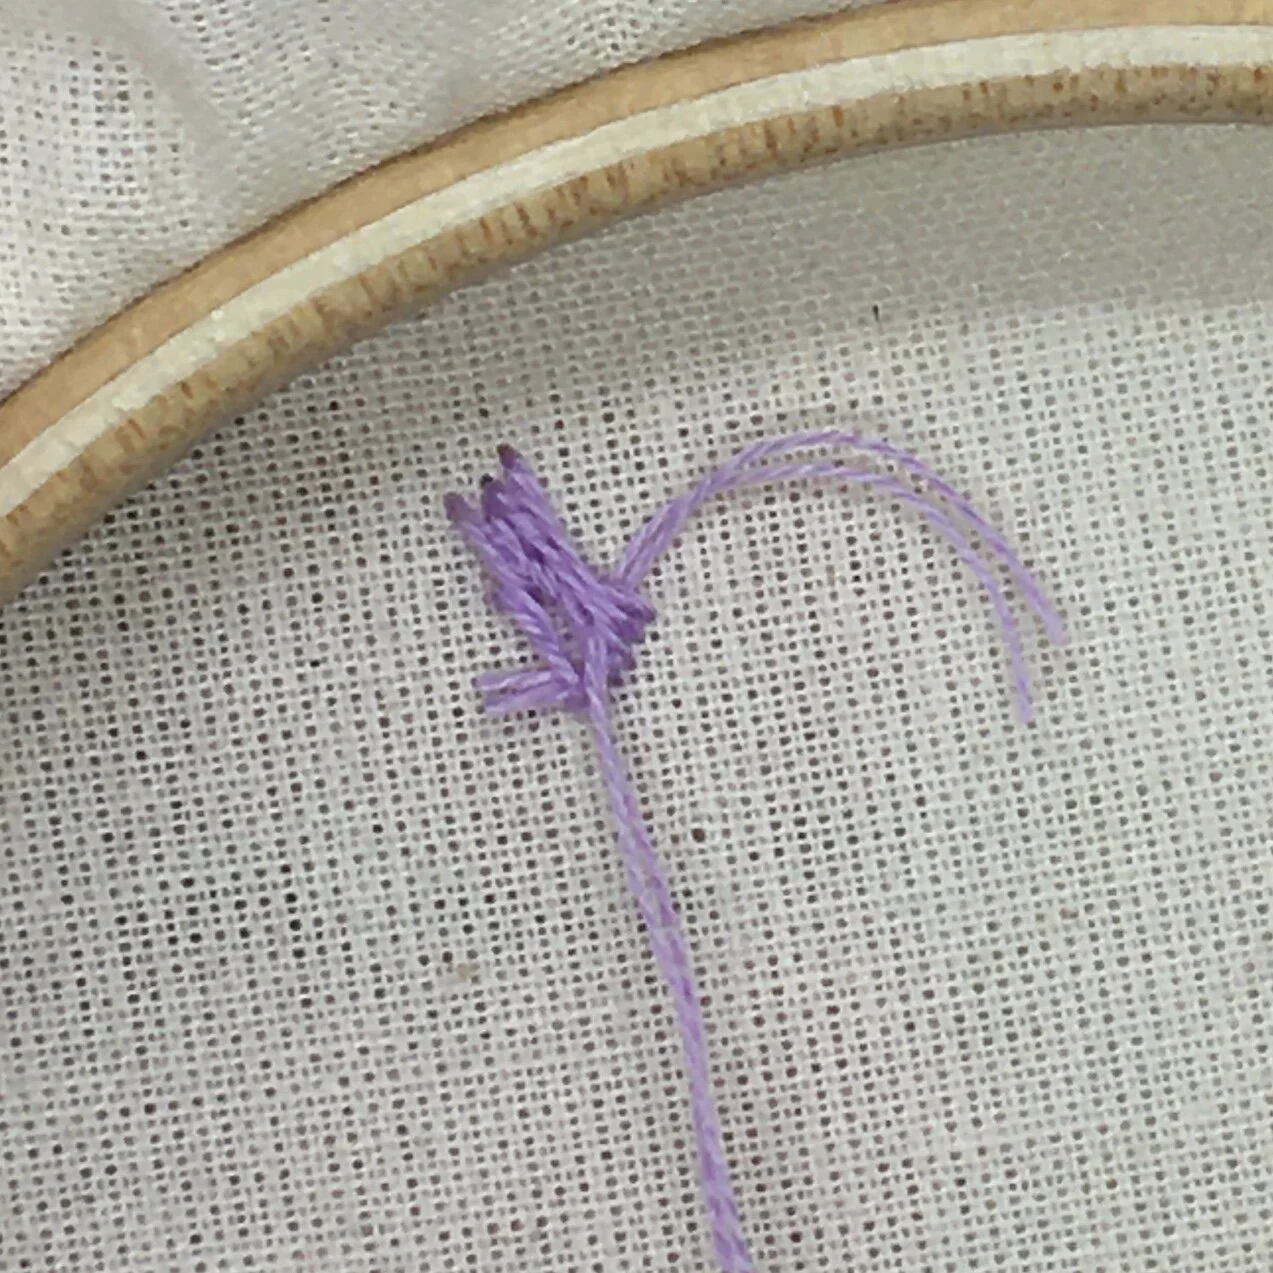
Loop
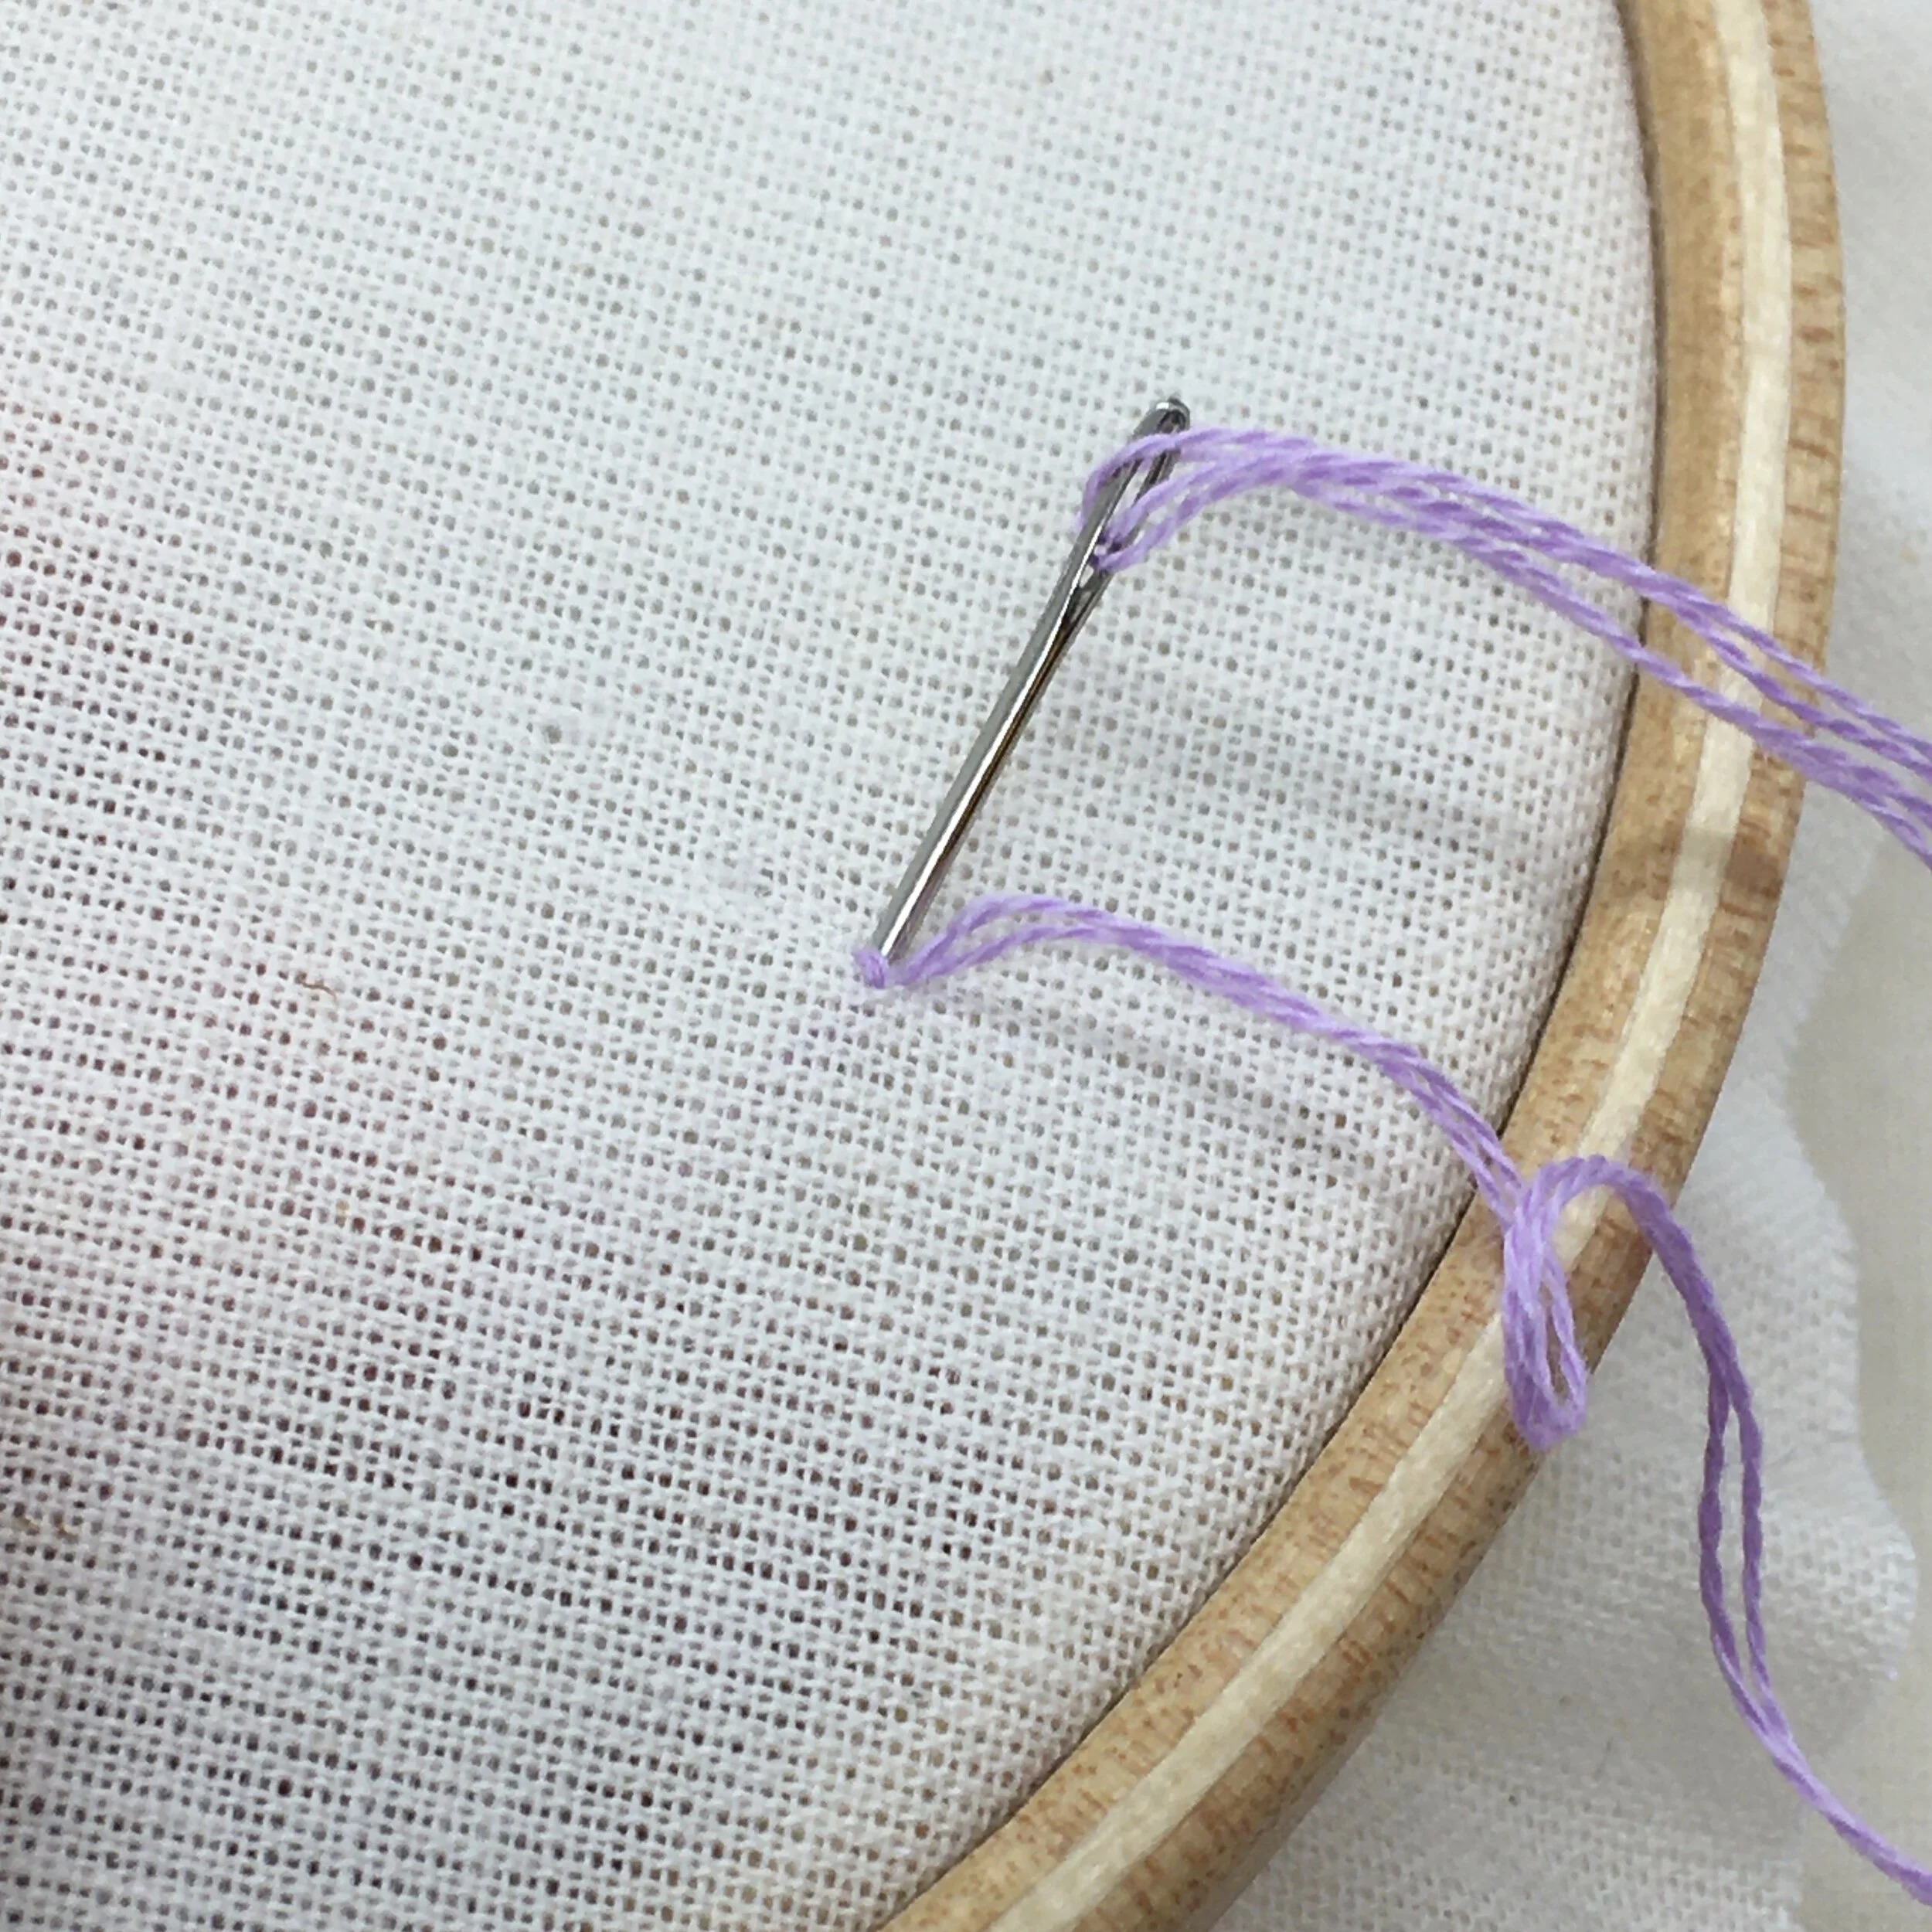
Sometimes I’ll cut a metre length of thread and then fold it in half to stitch with two strands. When doing this it opens up the option of securing the thread using the looped end.
Bring the needle up through the fabric being careful not to pull it all the way through. Complete the first stitch and pass the needle through the loop. Pull the first stitch tight and continue stitching as normal.
Enjoyed this blog post? I share embroidery tips and a free embroidery pattern in my monthly newsletter. Sign up here to receive the newsletter on the 1st of each the month.