• Home
  • Shop
  • Stitch Showcase
  • Embroidery tips
  • Freebies
  • About
  • Contact
Menu

Embellished Elephant

  • Home
  • Shop
  • Stitch Showcase
  • Embroidery tips
  • Freebies
  • About
  • Contact
A picture of an embroidery with blue lines drawn on it with a water erasable pen. Overlaid is a blue square with white text saying  - hand embroidery, five pens for transferring embroidery patterns, www.embellishedelephant.co.uk

Five pens for transferring embroidery patterns

January 9, 2021

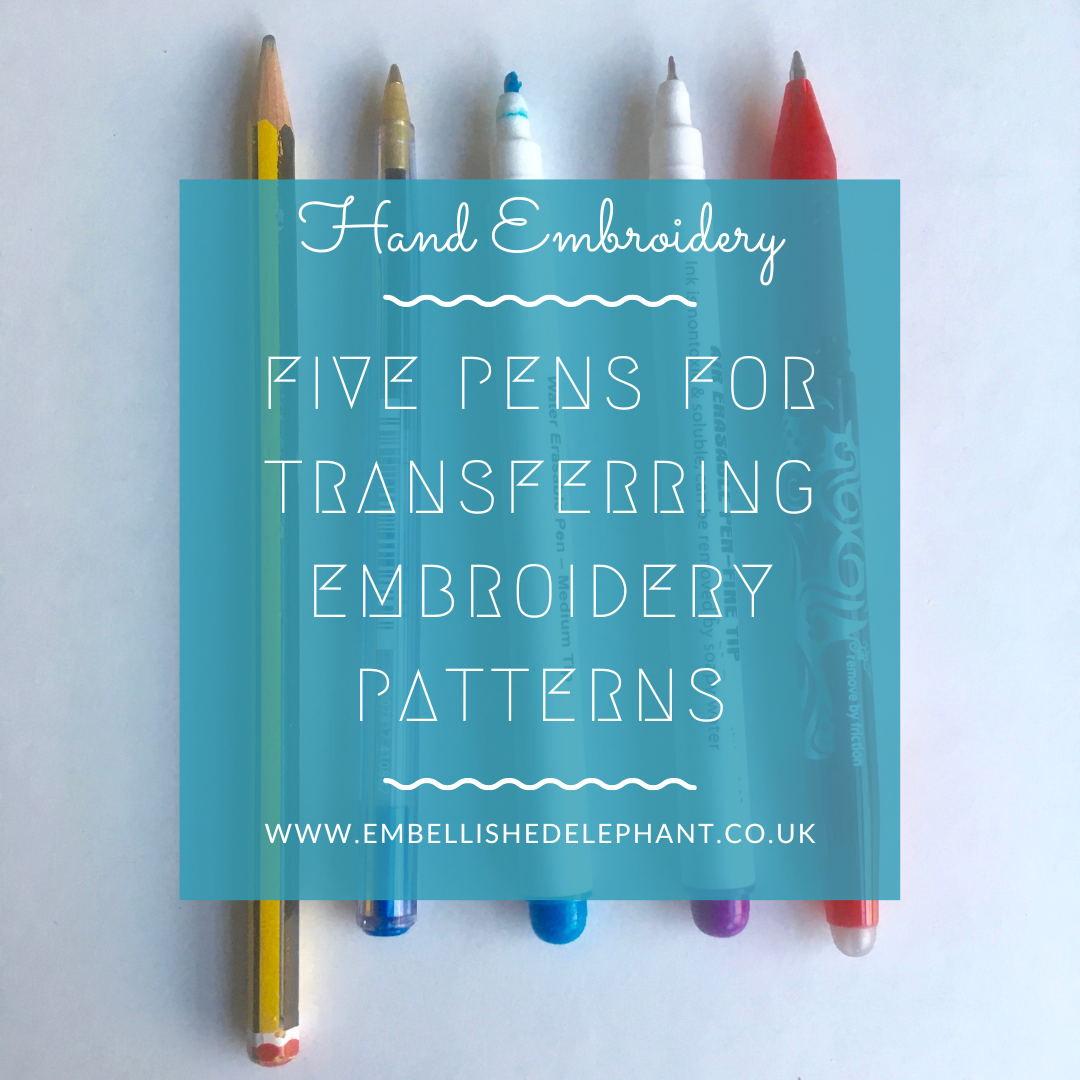
There are more ways than ever for getting patterns transferred onto fabric to stitch on such as pre-printed fabric, carbon paper, water soluble paper. But if you are drawing your own pattern or just want a basic transfer methods then all you need is a pen. There are 5 main pens you can use for transferring embroidery patterns:

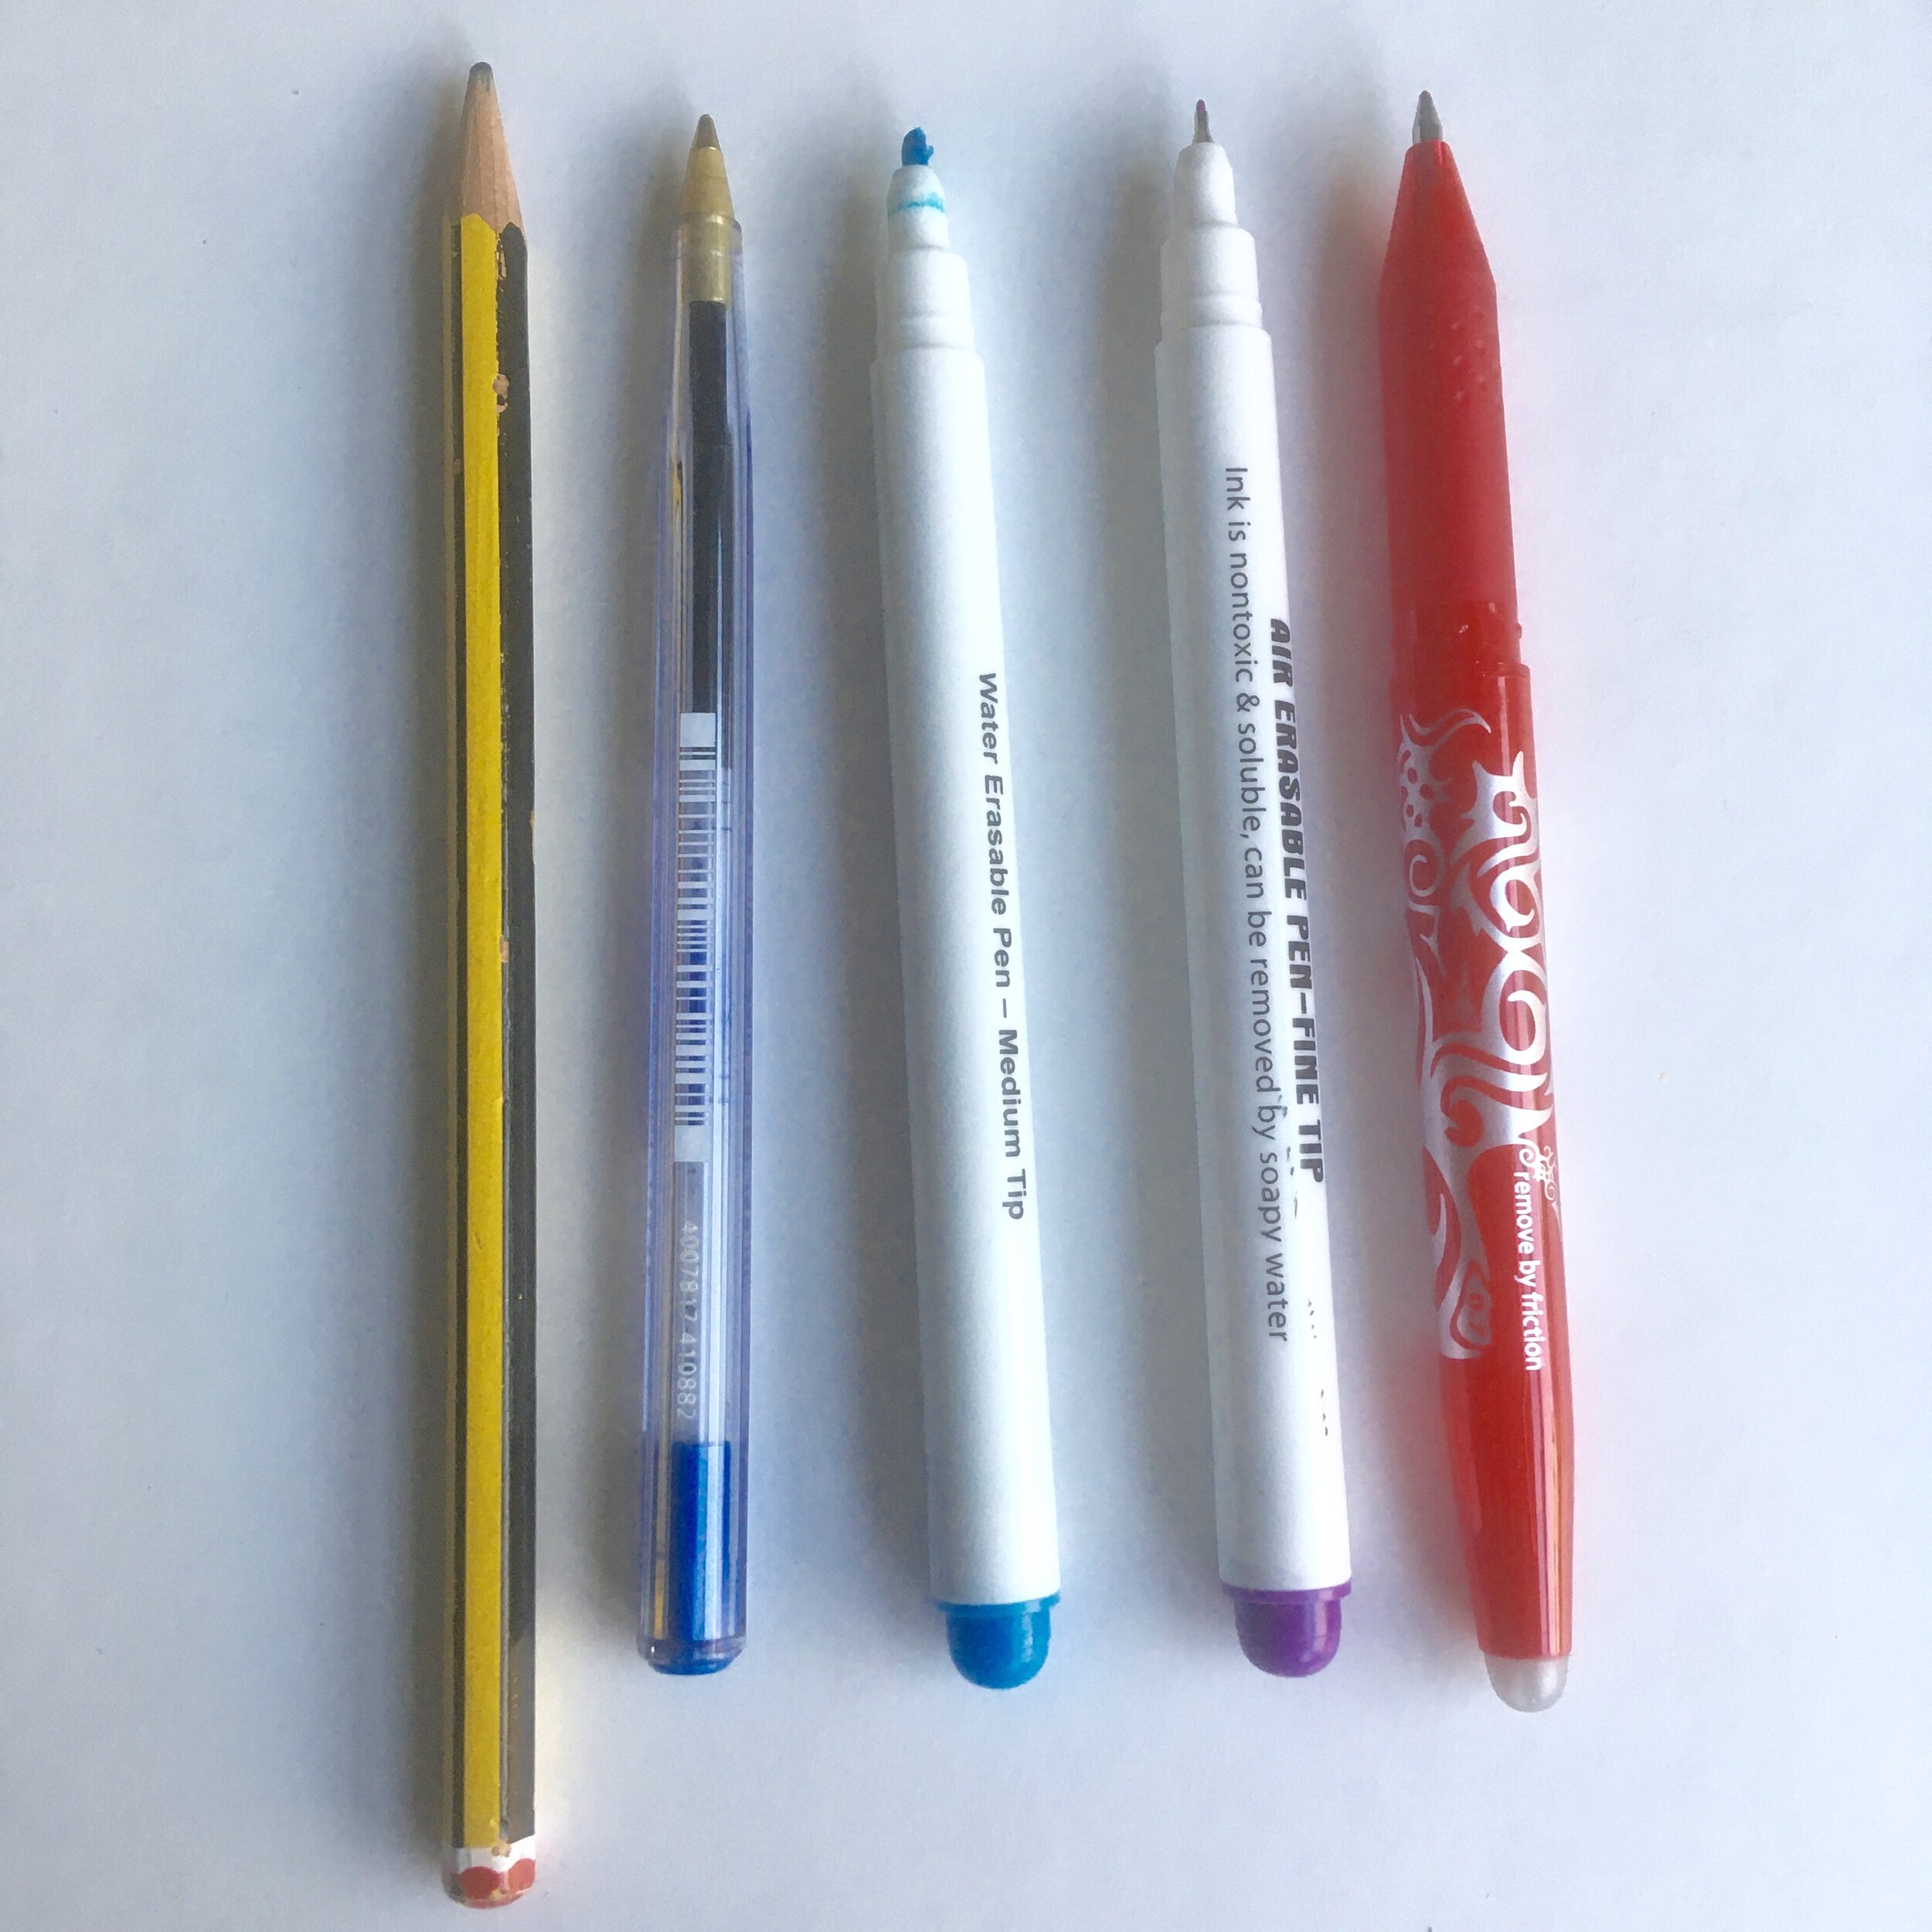
  • pencil - whilst not strictly a pen this is a very good option if you are just starting out in embroidery, you just need to draw slow and steady as if you don’t draw accurately you could see the pencil marks show or you have to alter your stitching to cover them up

  • biro - I’ve see some embroiderers use a biro but you have to be brave to go with this option! At least with pencil it can fade/wash out, biro is a commitment. The only time I use biro is when working with felt as it draws really well on this surface

  • water erasable - this was the first type of specialist pen I tried, in general it works well, but you have to wet your embroidery all over to get rid of it, this can mean that there are wrinkles in the fabric when it all dries. I’ve also found that some pens require more than one wash to remove

  • air erasable - the one I bought had a really fine tip which was great for drawing embroideries, however you have to work quickly! The one I had was meant to last 48 hours but the drawing started disappearing in minutes - not helpful

  • heat erasable - I’d seen a few embroiderers on Instagram recommend this so I purchased some and I’m really impressed. I just run my hairdryer over the fabric once I’ve finished and the pen marks disappear. I did have once incident when I managed to erase a tracing by accident as it was stuck to another piece I was using the hairdryer on but that was user error rather than the pen!

a picture of a pencil, biro and water, air and heat erasable pens lined up on a light blue background

Overall I’d recommend either a pencil or a heat erasable pen (Pilot frixon is the make I use ) for transferring embroideries.

Enjoyed this blog post? I share embroidery tips and a free embroidery pattern in my monthly newsletter. Sign up here to receive the newsletter on the 1st of each the month.

In tips 2 Tags Transfer, Basics
Comment
A picture of some sequins attached to fabric. Overlaid is a blue square with white text saying - hand embroidery, six ways to embellish with sequins, www.embllishedelephant.co.ukfor

Six techniques for embellishing with sequins

December 26, 2020

Sequins are great for adding a bit of sparkle to a project but how is best to attach them?

A picture showing how sequins can be attached using a single stitch

1. Single stitch

A single through the centre to one edge is the easiest way to attach a sequin. It works well whether you are using invisible thread, matching thread or contrasting thread. It’s also a great technique to use if you are overlapping sequins. But it’s not the best technique to use if your piece will be rubbing against something else as the sequins can flip or bend.

A picture of attaching sequins with multiple stitches

2. Multiple stitches

These give a much more secure finish. Most commonly I’d just use two stitches at 180 degrees to give the look of a continual line but you could use three, four or more stitches in a more decorative fashion - the more stitches the more secure the sequin. I tend to use invisible beading thread for this technique as I want the focus to be on the sequin rather than the thread.

A picture showing silver sequin trim being attached to white felt bauble

3. Sequin trims

Trims are great for adding a line of sequins quickly. Sequin trims come ready stitched onto thread so to attach these you just need to couch the thread or stitch through the sequins using small straight stitches. When working with sequin trim you need to plan how you secure the start and edge of the trim. You can slip a couple of sequins off the trim and then fold the thread under and couch this in place. Alternatively slip off a few more and then sew the end of the trim through to the wrong side and secure there.

A picture of a sequin patch with silver sequins, the patch is the shape of a bow

4. Sequin patches

There are some amazing sequin patches available and these are the easiest way to add sequins to a large area or in a particular pattern with minimal effort. You just need to so some small straight stitches to secure the patch. The only thing to consider when using patches is that you get the right size as these can be difficult to trim to the right size without all the sequins falling off!

A picture of sequins attached to fabric using beads to attach the sequins

5. Beads

I love combining the sparkle of sequins with even more shininess by using a seed bead to secure sequins. Just bring the needle up through the centre hole, thread on a bead and then take the needle back down the centre hole. Because the bead is bigger than the hole it keeps the sequin nice and snug.

A picture showing pink sequins attached to blue fabric using pink french knots

6. French knots

These can work in a similar way to beads to secure a sequin, rather than sewing on a bead, you just use one or more French knots to hold the sequin in place. The one thing you do need to make sure is that the finished knot or group of knots is much bigger than the hole, if they are just slightly bigger then the sequin could pop off the knot if rubbed the wrong way. It is best not to use this technique for sequins that will have regular rubbing/contact for this reason.

Want to try embellishing some sequins? I include sequins in my floral stitch sampler kit and my spring blossom kit.

Enjoyed this blog post? I share embroidery tips and a free embroidery pattern in my monthly newsletter. Sign up here to receive the newsletter on the 1st of each the month.

In tips 2 Tags Embellished, Basics
Comment
A picture of the back of an embroidery hoop where the fabric has been glued to the hoop. Overlaid is a blue square with white text saying - hand embroidery, four ways to finish the back of a hoop, www.embellishedelephant.co.uk

4 ways to finish the back of embroidery hoops

December 12, 2020

You’ve stitched your piece and you want to proudly hang it in a hoop on the wall. But for it to lie flat on the wall you need to finish off the back of the hoop.

There are several different ways to do this:

A picture of an embroidery hoop with fabric glued to the hoop to finish the back of the hoop

1. Glue

This is great if you know you don’t want to use the hoop for another purpose at a later date and perfect if you’ve not got enough fabric to gather. Just get your glue gun out and work round the hoop section by section

A picture showing an embroidery hoop by finished by gathering fabric using running stitches

2. Gathering

The easiest non-permanent way to finish a hoop by stitching around the edge of the fabric at the back of the hoop and gently pulling the threads to tighten the edges. Just use a large running stitch round the edge of the fabric and gently pul until the fabric has gathered. You can get an even flatter finish if you criss-cross the threads at tension across the back of the hoop as well.

A picture of an embroidery hoop finished using a cardboard circle

3. Cardboard

This is my current favourite as it is so simple, works best if you’ve already gathered the lose fabric although you can sometimes get away with not having done this. Just draw round the inner hoop on a bit of cardboard and cut it out inside the line, trimming by a small amount if the card board still doesn’t fit

A picture of the back of an embroidery hoop finished off by stitching fabric over the back of the hoop

4. Felt

This gives the most professional finish again you need to gather the fabric first before carefully stitching the felt on to the fabric. Draw round the inner hoop on the felt and then attach with either running stitch or blanket stitch

Enjoyed this blog post? I share embroidery tips and a free embroidery pattern in my monthly newsletter. Sign up here to receive the newsletter on the 1st of each the month.

In tips 2 Tags Hoops, Finishing, Basics
Comment
A picture of packets of embroidery needles. Overlaid is a blue square with white text saying - hand embroidery, five needle types for embroidery, www.embellishedelephant.co.uk

Five needle types you need to know about for hand embroidery

November 28, 2020

My favourite pin cushion isn’t a pin cushion but a ‘needle’ cushion. I’ve accumulated many needles over the years and in this pin cushion I can sort them into their different types (I also love that they look like the spines on a cactus).

A picture of a pin cushion in the shape of a cactus in a pot made from green and brown felt.

I find that most of the time it doesn’t matter what type of needle I use (as long as it has a decent point, a big enough eye and isn’t too thick) but it’s well worth being able to tell the different types of needles apart.

Here are the five different types of needles I use for hand embroidery (shown from left to right in the picture below):

  • Sharps - are used for general hand sewing, they have a small eye as generally only one strand of sewing thread is used at a time

  • Crewel - this is the needle to use for hand embroidery it has a slightly longer eye than a sharps needle to allow threading of multiple strands of thread

  • Tapestry - has a large eye & blunt end to pass thick tapestry yarn through canvas without splitting it, thinner versions are also used for cross stitch

  • Chenille - is a cross between a sharps needle and a tapestry needle in that there is a large eye and a sharp point, it’s great for stitching with yarn on fabric (rather than canvas)

  • Beading - the thinnest needle so that it can fit through the smallest seed bead hole it is long and thin and can be very difficult to thread, it’s also really flexible.

A picture of 5 types of hand embroidery needles laid flat on calico fabric

Each of these comes in different lengths or thicknesses and if you want to read more about different needle types, diameter, lengths and what those numbers mean in terms of sizes then John James have a great needle guide.

Enjoyed this blog post? I share embroidery tips and a free embroidery pattern in my monthly newsletter. Sign up here to receive the newsletter on the 1st of each the month.

In tips 2 Tags Needles, Basics
Comment
A picture of the back of an embroidery hoop  showing the edge of the fabric. Overlaid is a blue square with white text saying - hand embroidery, how to gather fabric at the back of a hoop, www.embellishedelephant.co.uk

How to gather the fabric at the back of an embroidery hoop

November 14, 2020

Once you’ve finished your embroidery and want to put it on display the easiest way to do this is to display it in the hoop you stitched it in. 

Many of the different techniques to finish off the back of an embroidery hoop for display require the fabric to be gathered first so that none of the excess fabric peaks out and so it also lies flat on the wall. 

  • Before you start you may need to straighten up the embroidery in the hoop and make sure the screw fixture is at the top of the hoop as this is how you will hang it on the wall. Don’t forget once you have straightened it up to re-screw the fabric as tight as possible.

  • Trim any excess fabric, but don’t trim too close to the hoop - you need some fabric to be able to overlap to the inner hoop for all methods about 1.5-2cm is perfect (it doesn’t need to be trimmed in a perfect circle but just make sure you get as close as you can). 

  • Take a long length of normal sewing thread - long enough to go round the circumference of the hoop twice (to give some nice long ends to pull on to gather).  

  • Tie a BIG knot in one end - it doesn’t have to be neat as it will get the chop later - but you do need to make sure that it won’t pop through the weave of the fabric as you sew

  • Stitch around the fabric in a running stitch - each stitch should be reasonably long (around 1cm). Your stitches should be about 5mm from the edge of the fabric but don’t worry if it isn’t even from the edge all the way round.  

A picture showing how running stitch can be used to gather the fabric at the back of the embroidery thread
  • Once you’ve stitched all the way round and get back to the starting point, gently pull on the knot end slightly whilst holding the other end so you have two tails.

  • Then pull on one of the tails while holding the other to gather the fabric. Once it is gathered maintain the tension and tie the two tails together. It is tricky to maintain the tension so do a single knot first and then pull to tighten before doing the second (double) knot. Don’t pull too hard otherwise you risk breaking the thread.

  • You can either leave it like this or pull the fabric at the back extra tight by stitching across the back from opposite side to opposite side.

A picture showing additional stitches to gather fabric at the back of an embroidery hoop

Enjoyed this blog post? I share embroidery tips and a free embroidery pattern in my monthly newsletter. Sign up here to receive the newsletter on the 1st of each the month.

In tips 2 Tags Fabric, Hoops, Basics
Comment
A picture of different threads in shades of blue laid on a wooden table. Overlaid is a blue square with white text saying - hand embroidery, one rule for picking the right embroidery thread, www.embellishedelephant.co.uk

One rule for picking the right thread for your embroidery project

October 24, 2020

When you are first starting out learning embroidery the default recommendation is to use six-stranded embroidery floss. This thread is great for the traditional styles of hand embroidery but don’t assume that this is the only thread you can stitch with. If you want to start experimenting more with embroidery, changing up the thread you are using is a surefire way to get a different look.

But the one rule I wan to share if you are going to experiment in this way by using different threads is …

“The type of thread you use should match the project that you are making”

‘Of course’ you may be shouting at your screen right now but let me explain a bit more.

There are so many different types and styles of embroidery - gold work, Hardanger, canvaswork and not to mention modern embroidery artist such as Elizabeth Pawle artists who work with yarns rather than floss.

Some of the more traditional styles of embroidery use particular threads for very good reasons:

A picture of a goldwork buddha figure on white fabric

Gold work

This technique uses thicker threads so that you can see the beautiful gold detailing that this style is based on.

A picture of hardanger embroidery - white thread on white fabric with cut out square sections

Hardanger

Size 5 & 8 perle cotton is used for this type of embroidery because you need this thickness of thread to hold the warp and weft threads when you cut out the holes.

A picture of canvas work stitch sampler in shades of yellow, brown, grey and orange.

canvas work

When working on canvas then using tapestry wool is best to make sure the larger holes in the canvas are covered up appropriately.

A picture of isolated embroidery stitches in pink, purple and blue shades stitch on white canvas

Modern embroidery

I like to use yarn (I have a big stash from knitting and crocheting projects). The main reason for this is that the yarn fills up the larger space much quicker than floss would. But it also creates a different look and feel to the piece.

Enjoyed this blog post? I share embroidery tips and a free embroidery pattern in my monthly newsletter. Sign up here to receive the newsletter on the 1st of each the month.

In tips 2 Tags Thread, Basics
Comment

To knot or not to knot when hand embroidering

October 10, 2020

In the ‘old days’ the quality of the back of the embroidery was as important as the front as it showed a lady’s skill in embroidery.

I’m a real advocate of knotting the thread when starting or finishing my embroidery. Why? Because I’m a bit lazy and I don’t always pay attention when starting off a new thread and have ended up pulling the thread completely through after one or two stitches (and roll my eyes every time I do this).

But there are certain occasions where even I will not knot:

  • when the back does need to look identical to the front such as in Hardanger

  • when the embroidery needs to lie completely flat such as for pieces that are framed

  • embroidering on clothes where a knot in the wrong place could be irritating

  • where the fabric just won’t take a knot as the holes are too big

  • when you are stitching on thin fabric and everything going on in the back of the work shows through

The photos below show the difference between a piece where knots were used and a piece where they weren’t used, but no-one is going to see these when these pieces are on display.

Do you knot or not knot?

Enjoyed this blog post? I share embroidery tips and a free embroidery pattern in my monthly newsletter. Sign up here to receive the newsletter on the 1st of each the month.

A picture showing the back of an embroidery where knots are used to start and finish the thread
A picture of the back of an embroidery where knots are not used to secure threads
In tips 2 Tags Thread, Basics
Comment
A picture of lots of blue thread and yarn jumbled up. Overlaid is a blue square with white text saying - hand embroidery, five tips to avoid thread tangles, www.embellishedelephant.co.uk

5 tips to avoid thread tangles in your embroidery project

September 26, 2020

It seems so simple - you just want one or two threads from the six stranded floss … and 30 seconds later you have a big old tangle that you spend 5 minutes wrestling with before you win or give up.

Thread tangles are not unique to embroidery, every thread or yarn based craft I’ve ever tried I’ve had instances of that big tangled mess.

But since I’ve been embroidering there are a few things I’ve learned about working with embroidery floss that help to avoid the tangles. Here are my 5 top tips to avoid tangles:

Picture of the label on a skein of blue DMC embroidery thread

1. pull the thread from the bottom of the skein (the long label end)

Most embroidery threads are manufactured and packaged in this way to prevent such tangles. It’s such a simple thing to remember to do to prevent tangles.

A picture of a length of blue six stranded embroidery floss

2. don’t cut the thread too long

It can be tempting to pull a really long length of thread so that you don’t run out of thread too quickly when you are in your stitching flow. I normally pull 2 full skein lengths or about the length of my fingers to my elbow.

A picture showing separation of six stranded embroidery floss in the middle of the length

3. pull your strands from the middle of your cut length

Most embroidery patterns require you to use one or two strands of floss for a section of stitching. Separating strands is normally where I end up in tangles. But ever since I was given the tip to separate the strands in the middle of your cut thread and use your fingers to run the strand to the end, I’ve all but eliminated the tangles.

A picture showing two separate lengths of embroidery floss being brought together

4. pull each strand out separately

When threads are manufactured they are twisted to create each strand and each strand is twisted together to make the six stranded floss. So if you need two strands pull out two strands of one rather than two strands together, this just releases the twisting from the manufacturing process. Then just bring them back together and smooth them out.

IMG_5816.jpg

5. keep an eye on twists

Each time you pull the thread through the fabric it twists slightly and twists twist upon themselves to create tangles. If you do find your thread twisting, periodically just let the needle and thread dangle and it will untwist itself.

And one final bonus tip (that I’ve not yet cracked!) periodically keep an eye on the back of your work to prevent knots and tangles while you are stitching. I’d love to hear from you if you have any other tips to help avoid the tangles just add a comment below.

Enjoyed this blog post? I share embroidery tips and a free embroidery pattern in my monthly newsletter. Sign up here to receive the newsletter on the 1st of each the month.

In tips 2 Tags Thread, Basics
Comment
A picture of some pink fabric in a wooden embroidery hoop. Overlaid is a blue square with white text saying - hand embroidery, the basics of using an embroidery hoop, www.embellishedelephant.co.uk

The basics of using an embroidery hoop

September 12, 2020

An embroidery hoop is vital to creating a great finished look for your embroidery project.

It’s important to stretch the fabric taut to keep the stitches you make even, if the fabric is too lose then you will often unwittingly pull the stitches marginally too tight meaning the fabric can’t lie flat due to the uneven tension when you remove it from the hoop.

There are a few different types of embroidery hoop, but the most common is the wooden hoop with a screw fixture.

Ideally the size of the hoop should be big enough to display the whole area you are going to stitch but this isn’t vital unless you are working with beads or other embellishments.

  • To get started loosen the screw slightly (you don’t need to unscrew it all the way) until the inner hoop separates from the outer hoop.

  • Lie the inner hoop down and place the ironed fabric over the inner hoop so that it is central.

  • Place the outer hoop over the inner hoop and gently press down, you may need to unscrew the outer hoop a little further if you have any difficulty in pushing the outer hoop down.

  • The tighten the screw as tight as you can so that the fabric is like the skin of a drum, you can pull each side of the fabric to make sure it is as taut as possible.

Enjoyed this blog post? I share embroidery tips and a free embroidery pattern in my monthly newsletter. Sign up here to receive the newsletter on the 1st of each the month.

a picture of some calico fabric in a wooden embroidery hoop
In tips 2 Tags Hoops, Basics
Comment
A picture of an embroidery on navy fabric. Colourful metallic threads are stitched in different firework patterns. Overlaid is a blue square with white text saying - hand embroidery, four things to know about working with metallic thread

Four things to know about working with metallic thread

March 16, 2019

​New Years Eve 2018 I was lucky enough to view the fireworks from the 10th floor balcony of a building that overlooks the Thames.  ​

When my parents moved house my Mum de-stashed (not by very much her home studio is still full!) I inherited some lovely metallic threads in a range of colours. ​ To play around with these threads I stitched this firework embroidery sampler. 

A picture of golden coloured fireworks exploding over the river Thames
A picture of an embroidery on navy fabric. Colourful metallic threads are stitched in different firework patterns.

Some things I learned from stitching with metallic threads:​

  • they tangle

  • they split

  • they wear at the point where they pass through the eye of the needle

  • they are much rougher than normal embroidery floss

The top tip for working with metallic threads is to keep the lengths of threads you use much shorter than you would normally stitch with - this will help immensely with the tangling, splitting and wearing.

These threads are rougher than normal floss, normally as the metallic part is wrapped around a thinner inner thread. it can make some stitches such as French knots more challenging. It doesn’t mean you can’t stitch these, but I’d recommend so practice and patience! The rougher thread also means that trying to undo a tangle is particularly horrendous

Enjoyed this blog post? I share embroidery tips and a free embroidery pattern in my monthly newsletter. Sign up here to receive the newsletter on the 1st of each the month.

In tips 2 Tags Basics, Thread
Comment
← Newer Posts

Tags

  • About me
  • Artists/Designers
  • Basics
  • Christmas
  • colour
  • Couching Stitch
  • Fabric
  • Filling Stitch
  • Finishing
  • Hoops
  • Isolated Stitch
  • Line Stitch
  • London
  • My Makes
  • Needles
  • Stitch Showcase
  • Texture Stitch
  • Thread
  • Transfer
  • Travel

Latest Posts

Featured
May 1, 2025
How to manage your backlog of craft projects
May 1, 2025
May 1, 2025
Apr 1, 2025
What to do if you don't like what you've stitched
Apr 1, 2025
Apr 1, 2025
Feb 15, 2025
How to decide which embroidery stitch to use
Feb 15, 2025
Feb 15, 2025
Feb 1, 2025
Focus on stitches for flowers
Feb 1, 2025
Feb 1, 2025
Jan 1, 2025
Focus on stitches for leaves
Jan 1, 2025
Jan 1, 2025
Nov 1, 2024
Stitch Showcase: Six-pointed star stitch
Nov 1, 2024
Nov 1, 2024
Oct 1, 2024
Focus on transferring or tracing patterns
Oct 1, 2024
Oct 1, 2024
Sep 1, 2024
Focus on hoops
Sep 1, 2024
Sep 1, 2024
Aug 1, 2024
A focus on needles
Aug 1, 2024
Aug 1, 2024
Jul 1, 2024
Focus on threads
Jul 1, 2024
Jul 1, 2024

Home — Shop — Stockists — Wholesale — Portfolio — Contact — Reviews — Policies — FAQs