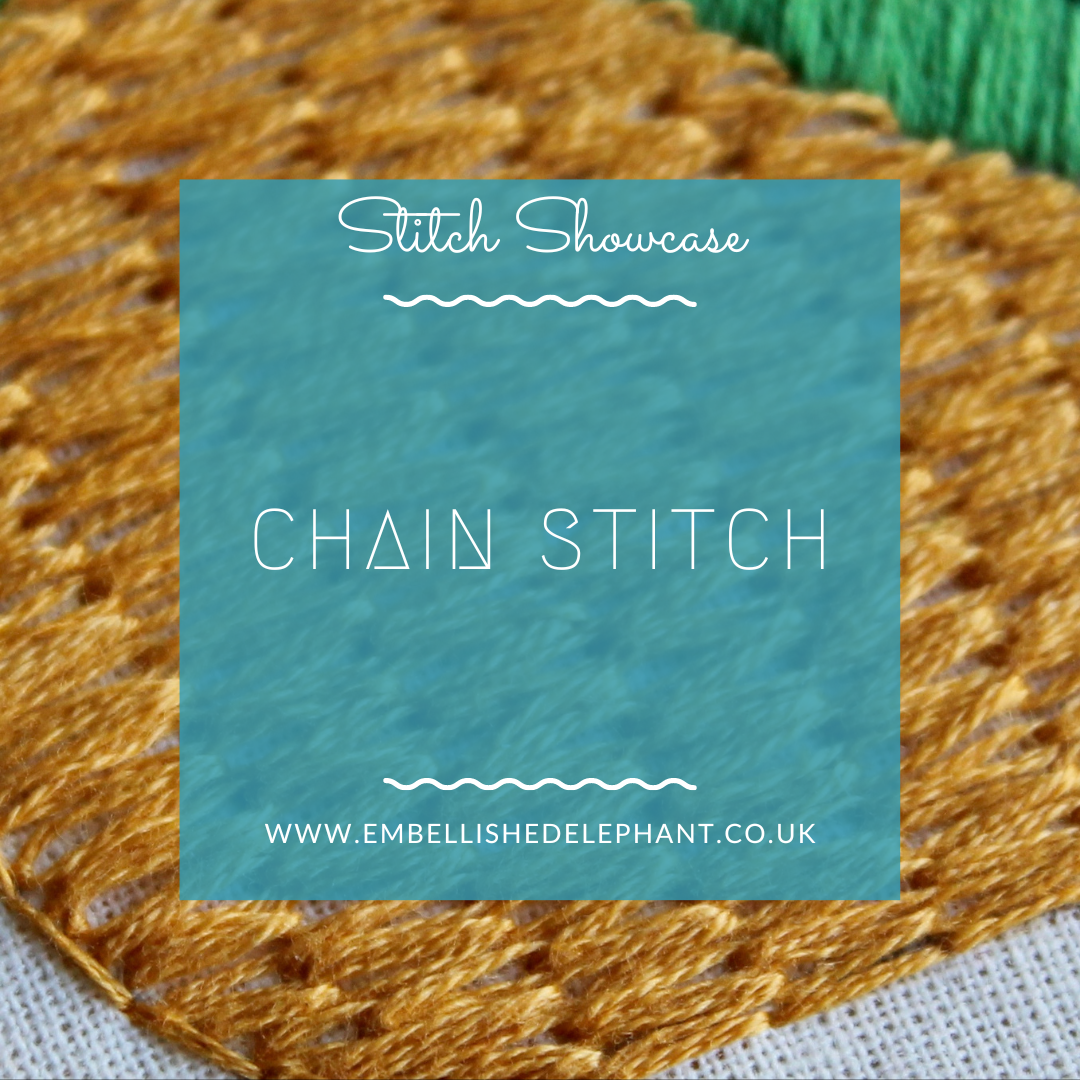
Chain stitch is one of my favourite embroidery stitches as it can add some wonderful texture to a piece of work. It can be stitched in a single row or closer together to create a basket effect. A single chain stitch on its own is know as a lazy daisy stitch.
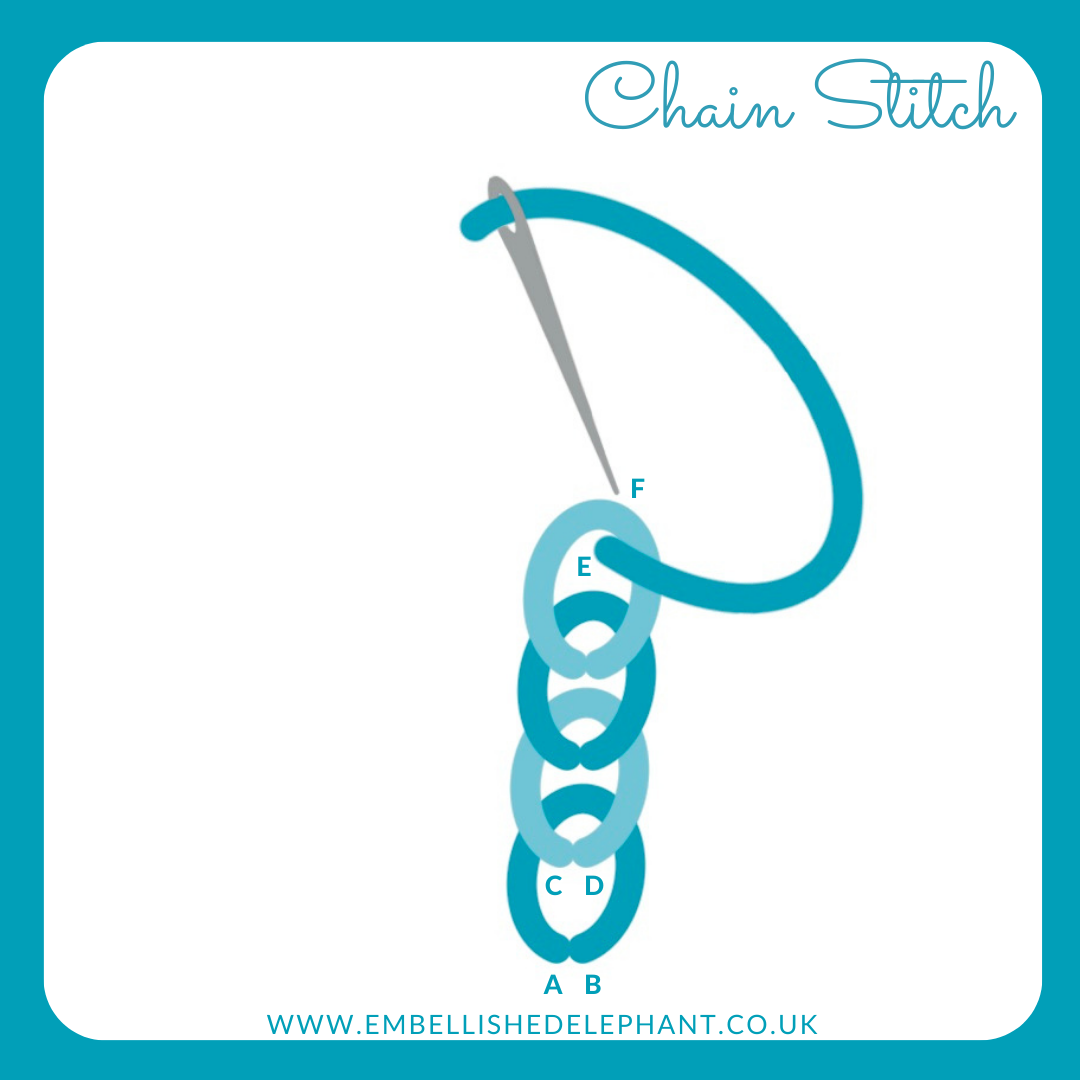
Bring the needle up through the fabric (A) then back down as close as possible to the original hole (B)
Gently pull the thread until there is a small loop - don't pull fully tight
Push the needle up through the fabric where the stitch should end (C) when pushing the needle back up make sure it goes through the centre of the loop
Gently pull the needle all the way through so that the loop ends up the same length as the stitch and lies flat
To create the next stitch push the needle back down as close as possible to the spot it came up (D), this should be inside the stitch just created
Repeat until the chain is the desired length
At the end of the chain, secure the final chain by stitching the last stitch over the end of the loop rather than inside it (E & F)
Chain stitch can be used as a filling stitch and looks great when several rows are stitched together, each row in the opposite direction.
It can also be stitched as a single chain to create an outline such as in this free kit from Mollie Makes designed by Zeena Shah. In this example, I also filled the chain stitches with a straight stitch in a contrasting colour to fill the centre of the chains.
Want to try this stitch? It’s a stitch I suggest using in my flamingo flower kit.
Enjoyed this blog post? I share embroidery tips and a free embroidery pattern in my monthly newsletter. Sign up here to receive the newsletter on the 1st of each the month.


