If you’ve ever woven with a loom then needle weaving is a version of this just on a much smaller scale. It’s also the same technique you’ll use if you need to darn a sock or jumper.
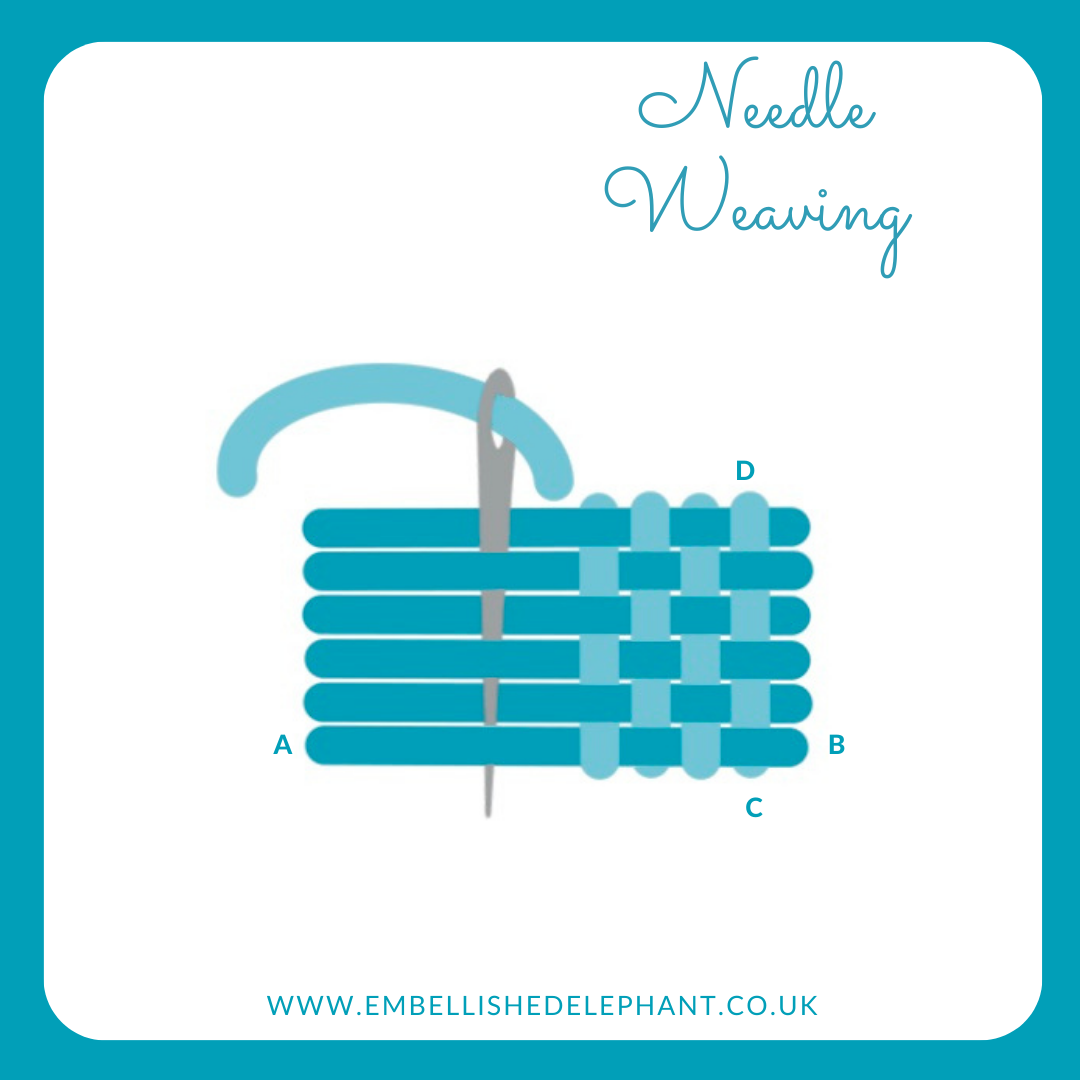
To start you need to create the warp threads, these should be long, parallel stitches in one direction (A to B).
The steps for satin stitch here can be used for creating the warp threads
The warp threads don’t have to be laid tightly together, but if they are spaced, make sure the spacing is even
The weaving can be done in the same thread or a different one, the weft thread is passed over and under the warp threads (C to D)
On the next row it is passed under and over ie the opposite way.
Different textures can be created by passing over or under different numbers of threads or using the same pattern on multiple rows.
Normally all the weaving is done above the surface, but I’ve found that I maintain tension better and don’t get a pulling effect if I anchor the end of each row with a tiny stitch through the fabric.
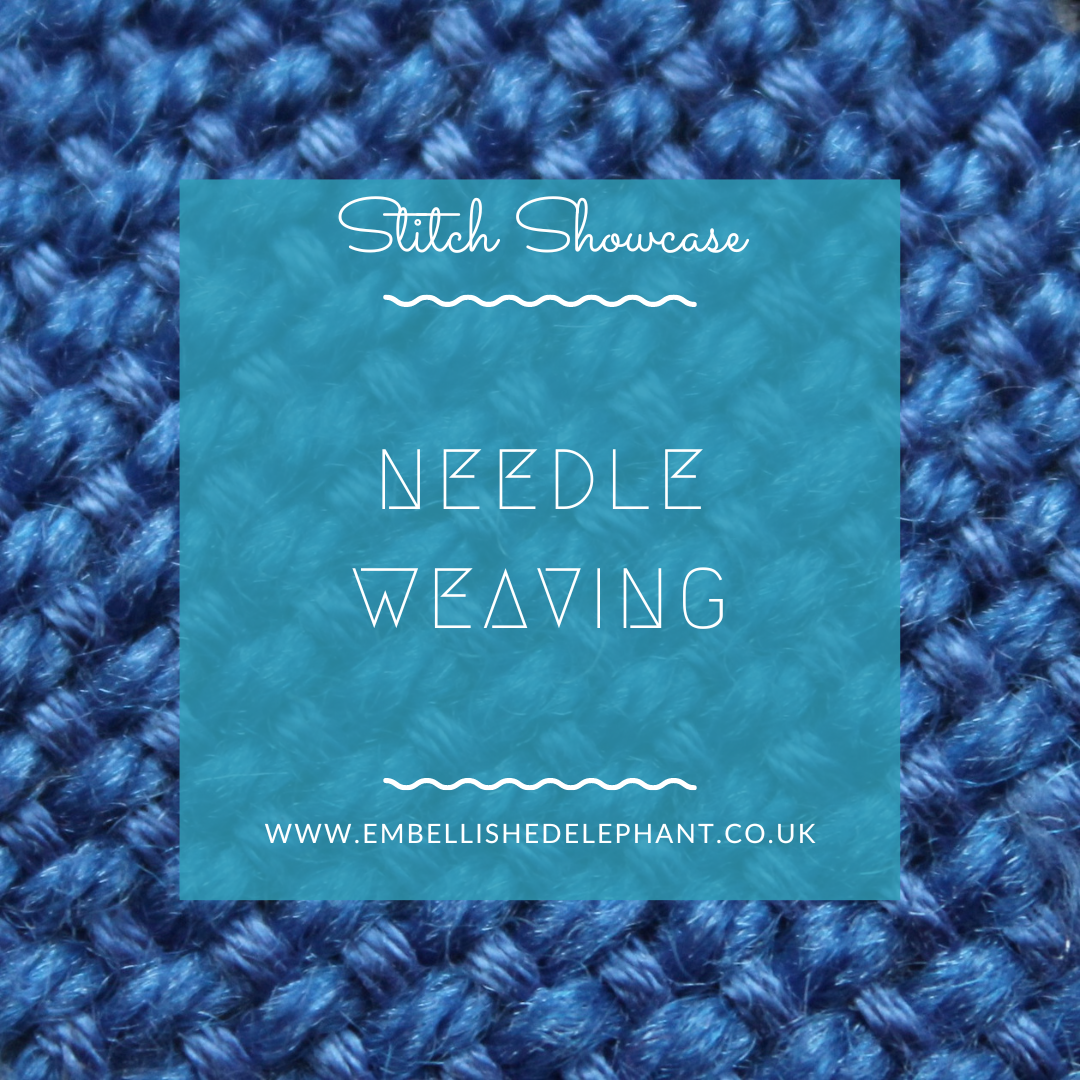
The blue sampler shown in the header picture uses two different thicknesses of thread with the weft thread the thicker one, this creates a much tighter weave and didn’t need to anchor at the end of each row because of this.
Want to try this stitch? It’s one I suggest using in my elephant ear plant kit.
Sign up to my email newsletter to get a monthly free embroidery pattern and a round up of Stitch Showcase blogs.


