
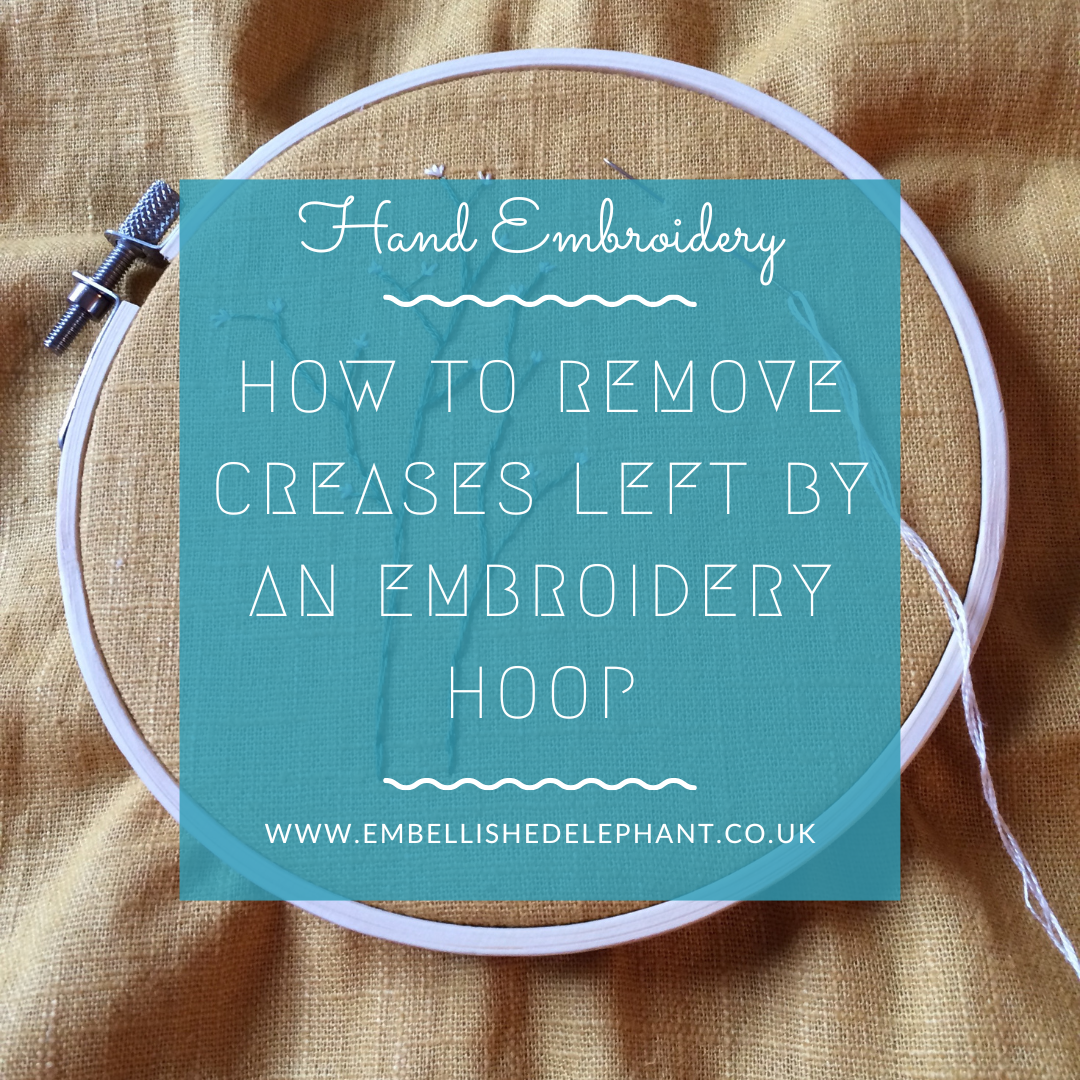
If you are stitching a piece and framing it in the hoop then you probably won't need to worry about this but if you are displaying your embroidery in another way, embroidering on to a bag or item of clothing, or using the embroidered piece to make an item then you may want to get rid of the creases that are left by the hoop.
The first option is stitching in a larger hoop than the size of the finished embroidery, this will mean that the creased fabric is outside of the finished frame. This works well if you are framing the piece.
If you can only stitch in a certain sized hoop, or you will be using the embroidery for something else, you can minimise the creases the hoop creates by either binding the inside ring of the hoop or removing the fabric from the hoop each time you finish a session of stitching.
But these aren’t vital (I never bother removing the fabric from the hoop each time I finish session!) because you can remove the creases left by a hoop (with some care) using the following steps:
Always iron on the reverse side of the embroidery
Use another piece of fabric over the top of the embroidery
If you need to iron over the stitches then lift the iron up and down rather than pushing it back and forth over the whole area
Use the right temperature for the the fabric (I once ruined a piece that I’d stitched on polyester fabric because I used the heat setting for cotton)
Enjoyed this blog post? I share embroidery tips and a free embroidery pattern in my monthly newsletter. Sign up here to receive the newsletter on the 1st of each the month.