
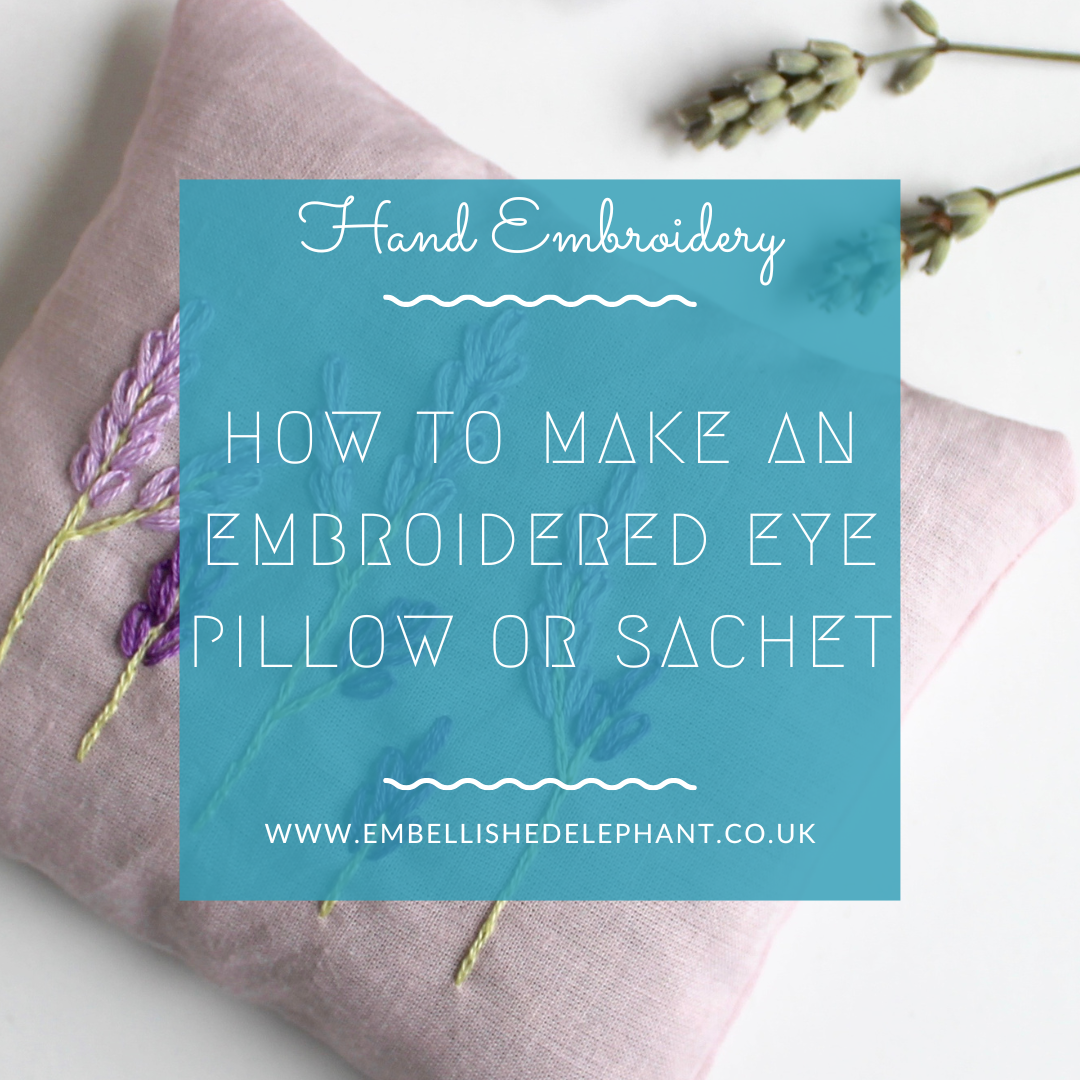
If you have a lavender plant in your garden it is really easy to harvest and dry lavender stems and use the dried lavender to make an eye pillow or sachet.
An eye pillow is great if you practice yoga or meditate to help block out light. A lavender sachet popped in a draw or wardrobe gives a lovely scent and can help ward off moths.
Materials
You will need:
fabric (approximately 15x20cm)
embroidery hoop
embroidery needle
pins
embroidery floss
sewing thread
dried lavender (approximately 25g)
some small sharp scissors to cut the fabric & thread
pencil/pen for transferring the pattern
75g of lentils, rice or similiar dried grain for an eye pillow or some stuffing for a lavender sachet
an iron to press out any creases in the fabric
Getting started
The guidance below is to make an eye pillow. Sachets simply are half-size eye pillows.
Start by folding your fabric in half with the longer edges coming together. Take some of the sewing thread and stitch some long guidance running stitches along this fold.
Now unfold the fabric and fold in half the other way, again sew some long guidance running stitches along the fold.
These stitches will help you know where to embroider. If you have a water/air/heat erasable pen you can use this to make these marks rather than stitches.
Place the fabric in the hoop. You'll be embroidering the top half of the fabric so make sure this is the area in the hoop and that you trace onto. If the fabric is creased then give it a quick iron on the reverse side first.
Planning the embroidery
You can stitch the lavender stems intuitively (without following a pattern) but I suggest that you draw the lavender stems lightly in pencil, you can do this freehand or trace a pattern (either way I recommend not drawing or tracing the flower part of the pattern, just the stems).
To trace the pattern, place the fabric in the hoop over the design and hold securely tracing with a pencil. Be careful when tracing as you won't be able to rub out the pencil.
Adding the embroidery
Start with the stems. I recommend picking a line stitch for the stems, there are some suggestions of line stitches here.
Stitch the stem to the desired length. I recommend that you tie off the thread and go back to the bottom of the area you are stitching to start the next stem. This will mean the stitches are all in the same direction and there won’t be any thread trails on the back of the fabric that may show through.
For branched stems, go to the point on the stem you want to add the branch and stitch from there, again this will mean the stitches are all in the same direction. If you do this without tying off the thread then I'd suggest weaving the thread through the back of the stitches so that you don't get any thread trails.
You can stitch all the stems first or stitch each stem and then add the lavender in turn. When you are ready to add the flowers, select a small textured stitch such as lazy daisy, granitos or bullion knots.
For the lavender flowers I recommend starting the stitch right next to the stem and angling it a few millimetres away from the stem.
Continue stitching the lavender stems and flowers until you are happy with the number you have stitched. You can experiment with varying the colours and number of strands of thread.
If you are making the eye pillow and want to cover the full length of the eye pillow with embroidery then you may need to move the hoop along the fabric to stitch all parts.
Making up
Once you have finished the embroidery, take the fabric out of the hoop and carefully unpick the guidance stitches.
Give the fabric a gentle press on the back using a low heat if there are creases from it being in the hoop. Be careful not to press the embroidery itself.
Place the two halves of fabric right sides together (so the embroidery is on the inside) and pin.
Thread the needle with the sewing thread and then stitch around the outside using backstitch. Alternatively use a sewing machine.
Sew around all sides, leaving a gap of 2-3cm at the top.
Turn the right sides out through the gap and give a quick press.
Add the lavender and the dried grain bit by bit, use a funnel or rolled up piece of paper if needed. If things get stuck, give them a gentle shake. (If you are making the sachets you won't need the grain, but you might want a little bit of stuffing.)
Fold the fabric at the opening inwards and then sew closed using an invisible stitch. Start by threading the needle and knot one end. Bring the needle through the fabric so that the knot is hidden behind one of the little flaps. Take the needle across to the other side of the fabric and push through at the top of the fold and back up a few mm along. Take the needle to the other side and repeat until the gap is closed.
Enjoyed this blog post? I share embroidery tips and a free embroidery pattern in my monthly newsletter. Sign up here to receive the newsletter on the 1st of each the month.