• Home
  • Shop
  • Stitch Showcase
  • Embroidery tips
  • Freebies
  • About
  • Contact
Menu

Embellished Elephant

  • Home
  • Shop
  • Stitch Showcase
  • Embroidery tips
  • Freebies
  • About
  • Contact

Focus on threads

July 1, 2024

Last month I picked out some of my blog posts about fabric, so this month I've picked out a few about threads to share with you.

  • Most embroidery is stitched with one or two strands from 6-stranded floss. This blog post shows you the differences when you stitch a range of embroidery stitches and vary the number of strands used.

  • If you've ever wondered why your thread tangles when you work, take a look at my tips for avoiding tangles. 

  • How do you start off with a new thread when embroidering? Everyone will have their favourite method but this blog post goes through different techniques for starting off with a thread.

I've got plenty of other blog posts about threads (and other aspects of embroidery) so I encourage you to browse through the embroidery tips page on my website.

Enjoyed this blog post? I share embroidery tips and a free embroidery pattern in my monthly newsletter. Sign up here to receive the newsletter on the 1st of each the month.

In tips 4 Tags Thread
Comment

Focus on fabric

June 1, 2024

Here are a few blog posts about fabric that you may find useful. I stitch all my pattern samples on calico but that doesn't mean you need to do the same.

  • This blog post gives some ideas of the range of different fabrics you can use for embroidery, some are more suitable than others, but the experimentation is part of the fun.

  • Depending on the fabric you select using a second layer might be needed. In this blog post I share 3 situations when this is particularly useful. 

  • Whatever fabric you use it's important to get the fabric taut in the hoop and I share some of my tips in this blog post.

  • If you want to try something completely different, how about stitching on canvas, I share some tips in this blog post.

Enjoyed this blog post? I share embroidery tips and a free embroidery pattern in my monthly newsletter. Sign up here to receive the newsletter on the 1st of each the month.

In tips 4 Tags Fabric
Comment
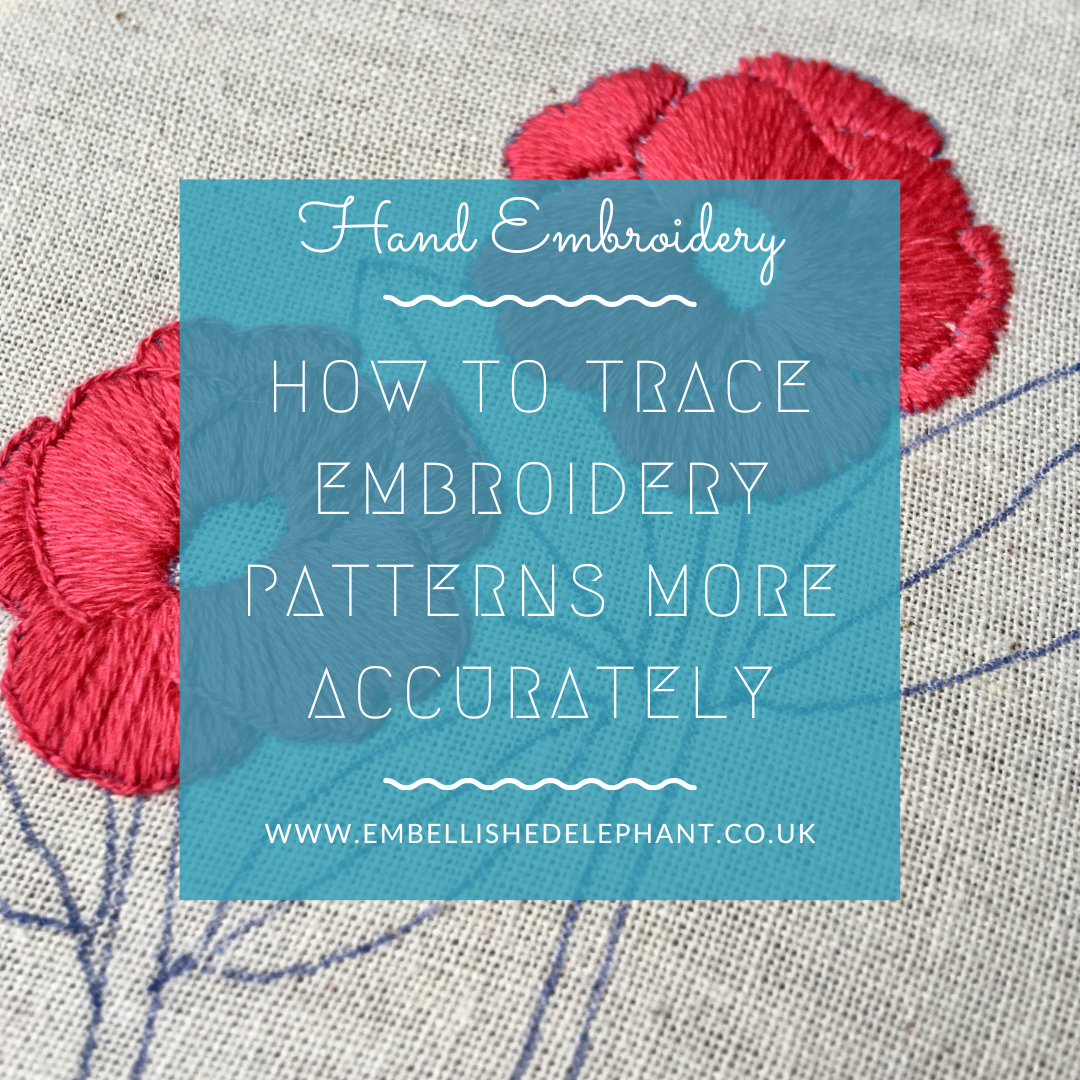
a picture of some pink embroidered flowers on calico. Overlaid is a blue box with white text saying, hand embroidery, how to trace embroidery patterns more accurately, www.embellishedelephant.co.uk

How to trace embroidery patterns more accurately

March 6, 2024

If you’ve ever tried tracing an embroidery pattern onto fabric, you will know that there are some challenges to replicating the design accurately. Here are my top tips to improving the accuracy of any embroidery pattern you trace. 

  • Use a thin air/heat/water erasable pen, the thinner the better will allow you to trace more accurately

  • Trace slightly inside the pattern lines. When you are stitching you will want to cover the lines (even if you are using an erasable pen) and if these are on or outside the pattern then it will make some elements thicker

  • For really thin or small elements such as stems or flower buds, think about whether you need to trace all the lines. For example on a stem, do you need to trace both lines or is one line up the middle enough guidance for direction and you can refer to the pattern for thickness as needed

  • Some elements don’t need to be traced as accurately as others, for example in my cornflower pattern the cornflowers are stitched a little bit freeform so the outline shape doesn’t need to be exactly as drawn

  • The fabric can slip when tracing meaning that elements are wonky or out of line - trace each element in turn and check the positioning

  • The pen can get caught on the warp or weft threads of the fabric, often on curved sections meaning the traced line isn’t

Enjoyed this blog post? I share embroidery tips and a free embroidery pattern in my monthly newsletter. Sign up here to receive the newsletter on the 1st of each the month.
In tips 4 Tags Transfer
Comment

How to make time for embroidery

February 7, 2024

We all have busy lives, it is important to find time for hobbies and embroidery is a great way to relax. There are three situations when I’ve found I’m able to set aside time for embroidery (or any craft project).

When watching TV

I’ve always crafted in front of the TV right back to when I had a side hustle at school making beaded friendship bracelets. In my years of crafting in front of the TV the main thing I’ve learned is that it has to be a programme you can listen to rather than watch. Anything with subtitles, a new programme where you are not yet familiar with the characters and sports such as tennis are definitely not good choices.

In online meetings

I work from home and some of the meetings I attend I need to be present at but not always have something on the agenda and therefore don’t need to be on camera. These meetings and also webinars where I’m required to listen (rather than interact or participate) I embroider. In fact I find that stitching away, especially during a webinar, helps me to listen and focus on what is being said rather than getting distracted by my emails or other pieces of work.

When travelling

One of the first things I pack when I’m off on a long train ride or if I’m flying somewhere is a craft project or two. I live in the North of England and if I need to take a train to London for a work meeting, I’m delighted by the knowledge that I’ll get 3 hours of solid crafting time. Just a note that if you are flying with a craft project then you do need to know about any rules around flying especially with scissors in your hand luggage.

Enjoyed this blog post? I share embroidery tips and a free embroidery pattern in my monthly newsletter. Sign up here to receive the newsletter on the 1st of each the month.

In tips 4 Tags Travel
Comment

Is it better to trace embroidery patterns or use pre-printed ones?

January 10, 2024

If you browse for embroidery kits and patterns they fall into two groups, those that you trace onto fabric yourself or those where the pattern is printed directly onto fabric. But which is best?

At Embellished Elephant I offer some kits where the pattern is traced and some kits where the design is pre-printed onto fabric, this is because some designs are more suited to one method or another.

The advantages of tracing an embroidery pattern yourself is that you can customise the pattern as you trace, adding or changing elements. But it does take a bit of time to trace, especially more complex patterns. It can also be tricky to trace the design exactly as it is shown in the pattern, especially in any small or thin elements. But there are techniques that can be used to combat these issues. For many designs I prefer the flexibility that tracing an embroidery pattern gives.

For pre-printed embroidery designs there are two main types, those that have just line drawings and those which are full colour designs. 

With those that are just line drawings these leave very little scope for changing or adapting the design. In some of these designs the lines you are to stitch over can be quite dark and/or thick meaning that they still show through even when you have stitched over them. These line drawing styles of pre-printed designs are also not very forgiving if you are a beginner and your stitching is not perfectly accurate.

If I am using (or creating) a pre-printed design, my preference is for full colour designs. This approach means you don’t have to follow specific lines and the colour can mask any gaps in stitching which a dark line or white background can show through. These types of pre-printed designs allow more freedom to change the stitches, colours or which areas you stitch on.

This is why for the designs I select to pre-print on fabric I chose designs with full colour backgrounds rather than simple line drawings.

In terms of whether it is better to trace or use pre-printed embroidery patterns, it really does depend on the design and personal preference. If you’ve only ever used one method why not give the other a go. 

For pre-printed patterns my floral sampler and Lisbon tiles use this approach. 

For patterns to trace, any of my floral embroidery kits are nice and simple patterns to practice your tracing skills.

Enjoyed this blog post? I share embroidery tips and a free embroidery pattern in my monthly newsletter. Sign up here to receive the newsletter on the 1st of each the month.

In tips 4
Comment
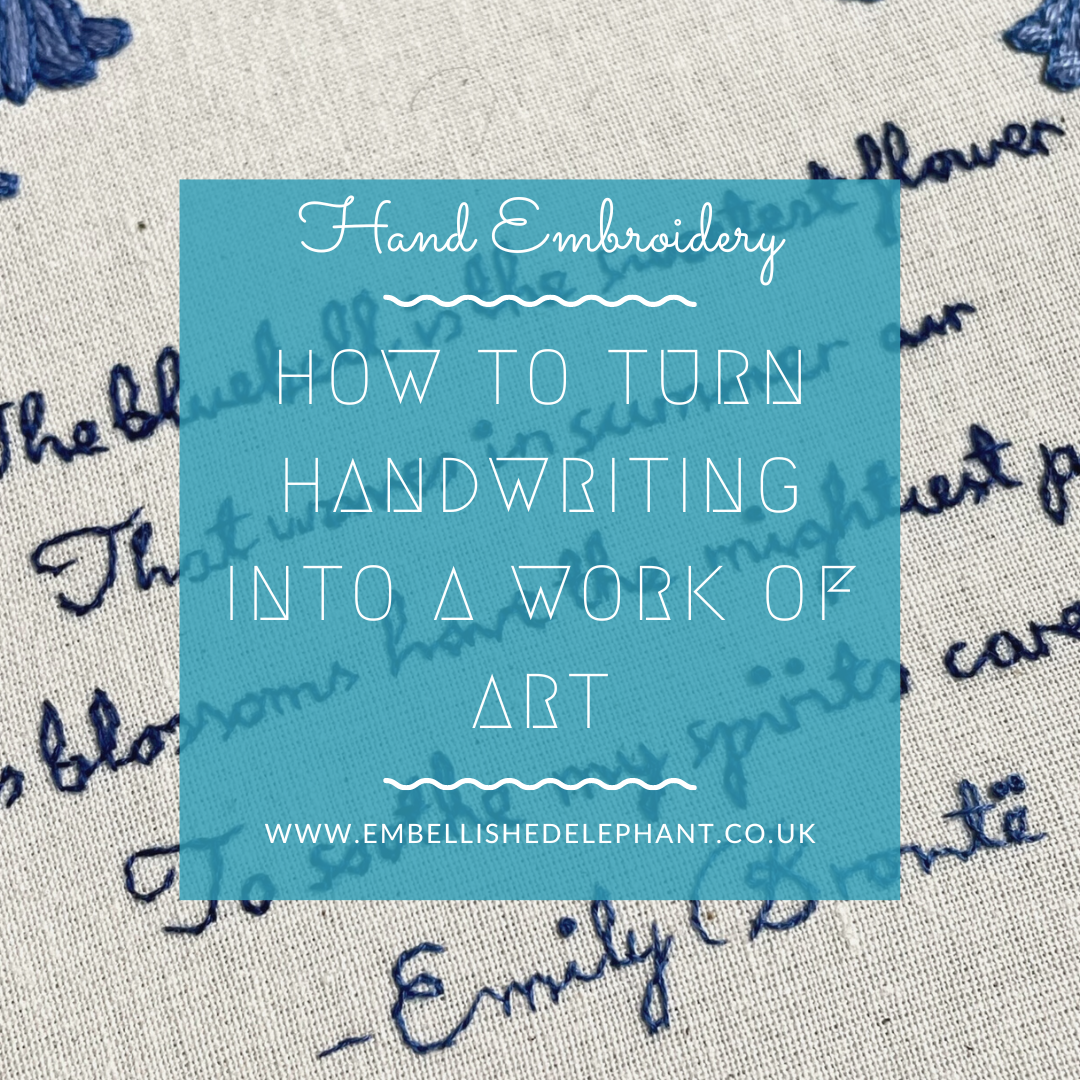
An image of an Emily Bronte quote embroidered onto calico fabric in blue thread. Overlaid is a blue square with white text saying - hand embroidery, how to turn handwriting into a work of art, www.embellishedelephant.co.uk

How to turn handwriting into a work of art

March 8, 2023

Incorporating words into embroidery is something that has been happening for centuries (think stitch samplers in stately homes). There are some lovely modern embroidery patterns that make words a feature, but these generally are based on a font face, normally a script or block font.

To make an embroidery even more special you could include your handwriting or the handwriting of someone else such as a child.

I have a free guide to creating your own stitched greeting’s cards and one of the ideas I demonstrated in that is a card with the word ‘love’ on it. But you could also feature it in an embroidery on fabric. One great idea is to get your kid to write a message to a grandparent or teacher and you trace it and stitch it to make it into a unique framed memento.

Here are my tips for turning handwriting into a work of art:

  • size is important - too small makes it difficult to stitch especially letters with loops like ‘e’ can get squished and difficult to read

  • use small stitches for curves in letters, even smaller than you think is needed otherwise the line will come out with a jagged rather than smooth edge

Enjoyed this blog post? I share embroidery tips and a free embroidery pattern in my monthly newsletter. Sign up here to receive the newsletter on the 1st of each the month.
In tips 4
Comment
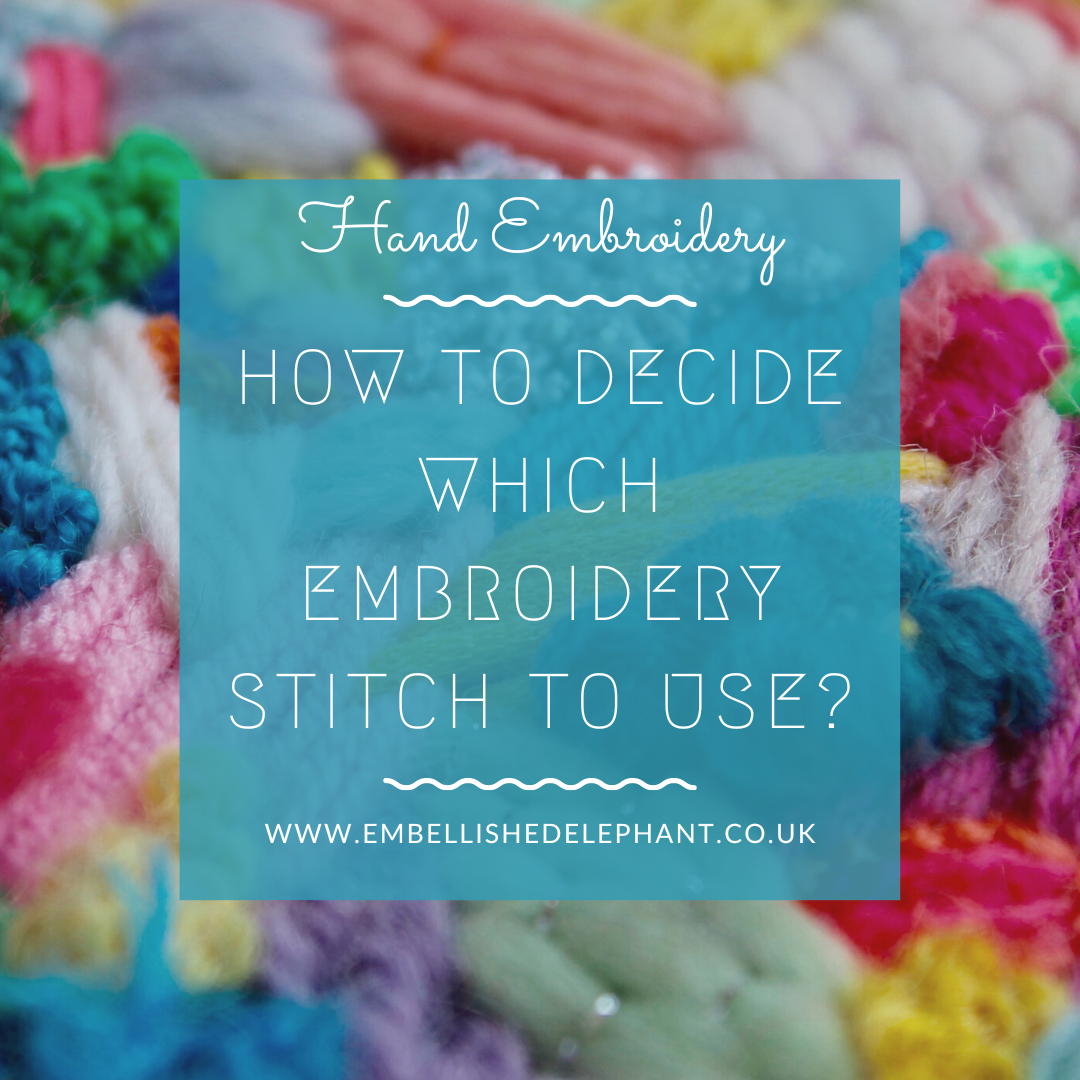
A close up of some multi coloured embroidery stitches slightly out of focus. Overlaid is a blue square with white text saying - hand embroidery, how to decide which embroidery stitch to use, www.embellishedelephant.co.uk

How to decide which embroidery stitch to use?

February 22, 2023

There are hundreds of different embroidery stitches so how do you decide which ones to use in an embroidery project?

Most embroidery patterns will be made up of elements involving lines, areas and details. The type of stitch to pick will depend on the element that you are stitching.

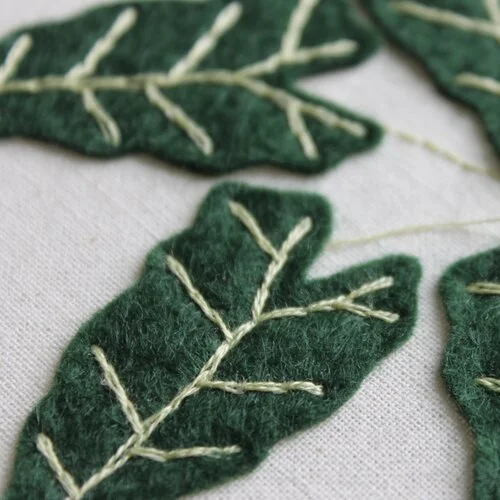
A picture of a felt leaf with the veins of the leaf stitched using split stitch

Lines or outlines

You need to consider whether you want a basic look that you get from a stitch such as backstitch or something that makes a feature from the line stitch such as split stitch. I share some of my favourite line stitches here.

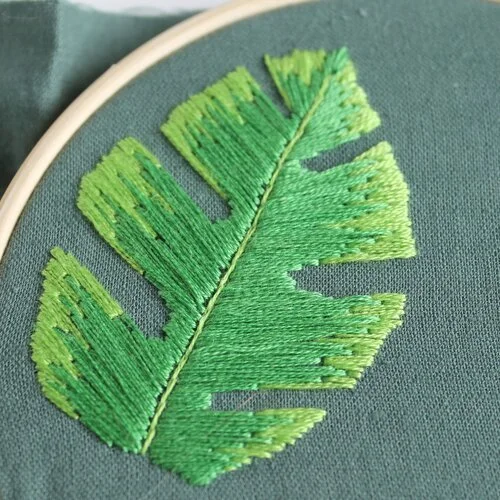
A picture of the edge of an embroidery hoop. In the hoop is green fabric and on the fabric is stitched a monstera leaf. The embroidery is in light green at the edge and darker green in the centre using long and short stitch

Areas that need filling

These require stitches that can cover the fabric. Satin stitch is a popular stitch for filling large areas but I really like long and short stitch which breaks up satin stitch into sections. You can see a selection of filling stitches here.

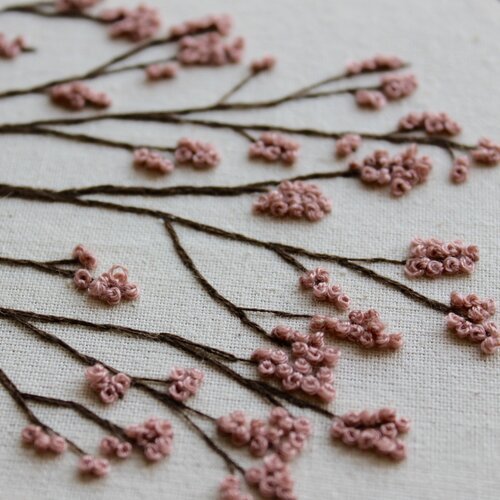
A close up of an embroidery on calico fabric. The embroidery is brown branches with pink french knot stitch to represent blossom

Details

There are a range of stitches that can be used to highlight a feature or add texture or detail. Texture stitches such as the ones I’ve selected here can add a 3-D feel to the embroidery. Isolated stitches are those that can be stitched on their own (or in groups) to highlight a feature for example the centre of a flower. A range of isolated stitches are listed here.

Enjoyed this blog post? I share embroidery tips and a free embroidery pattern in my monthly newsletter. Sign up here to receive the newsletter on the 1st of each the month.
In tips 4 Tags Isolated Stitch, Texture Stitch, Line Stitch, Filling Stitch
Comment
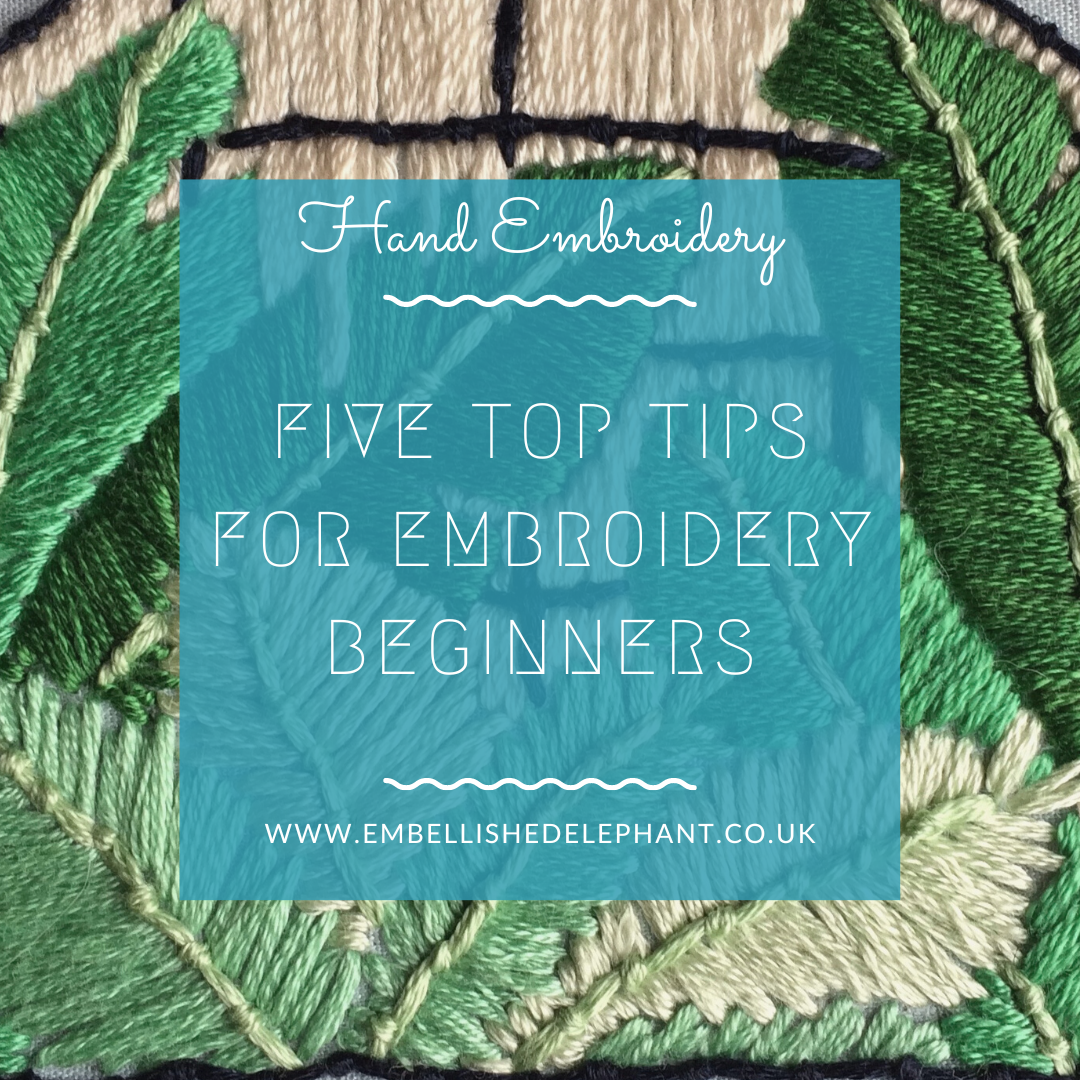
A picture of lots of green leaves stitched at different angles. Overlaid is a blue square with white text saying - hand embroidery five top tips for embroidery beginners, www.embellishedelephant.co.uk

Five top tips for embroidery beginners

February 8, 2023

1. Don’t use long lengths of threads.

It is tempting to cut a really long length of thread to avoid the need to change threads part way through stitching an area. But long lengths have a habit of getting into a tangle. You can find more tips on avoiding thread tangles here.

2. Keep the fabric taut in the hoop

If the fabric isn’t stretched in the embroidery hoop you’ll end up with a saggy looking embroidery. It can be tricky to know what the right tension should be, but this blog post will help.

3. Make sure you have plenty of light

I do a lot of stitching in the evenings whilst on the sofa watching TV. It can be difficult to see the warp and weft threads of the fabric, and where the needle comes up through the fabric. Dark colours such as black, dark blue and brown are particularly difficult to stitch with if the light isn’t good enough.

4. Take things slowly

The hardest thing I found when I first started embroidering was getting the needle in the right place to create the stitch. The slower I went the more I was able to poke the needle up through the fabric several times to get it to appear in the right place.

5. Don’t be afraid to undo

If you see a stitch or even a patch of stitching that doesn’t look how you want it to, don’t be afraid to unpick it or cut it out. But remember if this is one of your first few projects don’t be too much of a perfectionist and end up not finishing the project!

PS - The picture in the header image is one of he first pieces of embroidery I completed.

Enjoyed this blog post? I share embroidery tips and a free embroidery pattern in my monthly newsletter. Sign up here to receive the newsletter on the 1st of each the month.
In tips 4
Comment

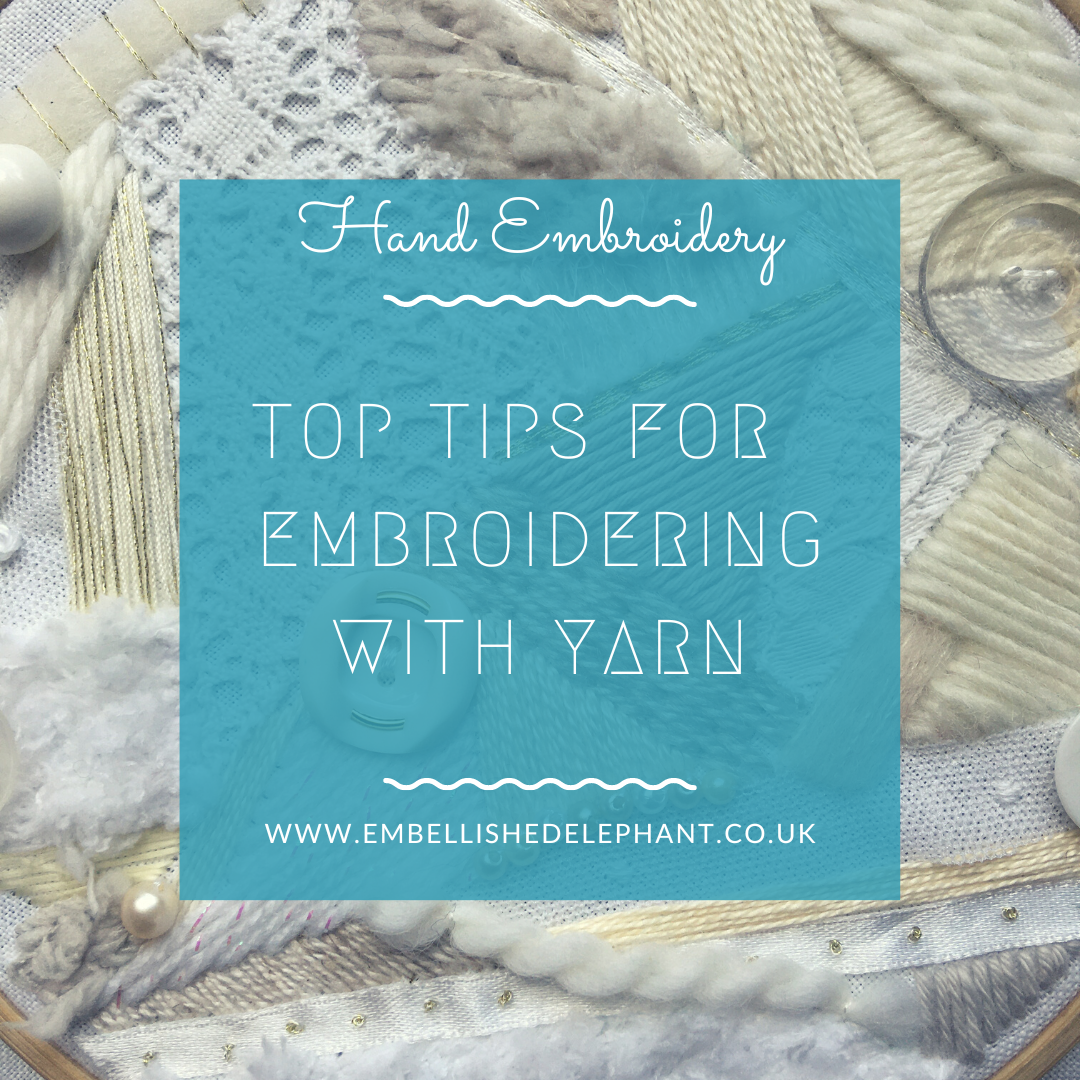
Top tips for embroidering with yarn

January 25, 2023

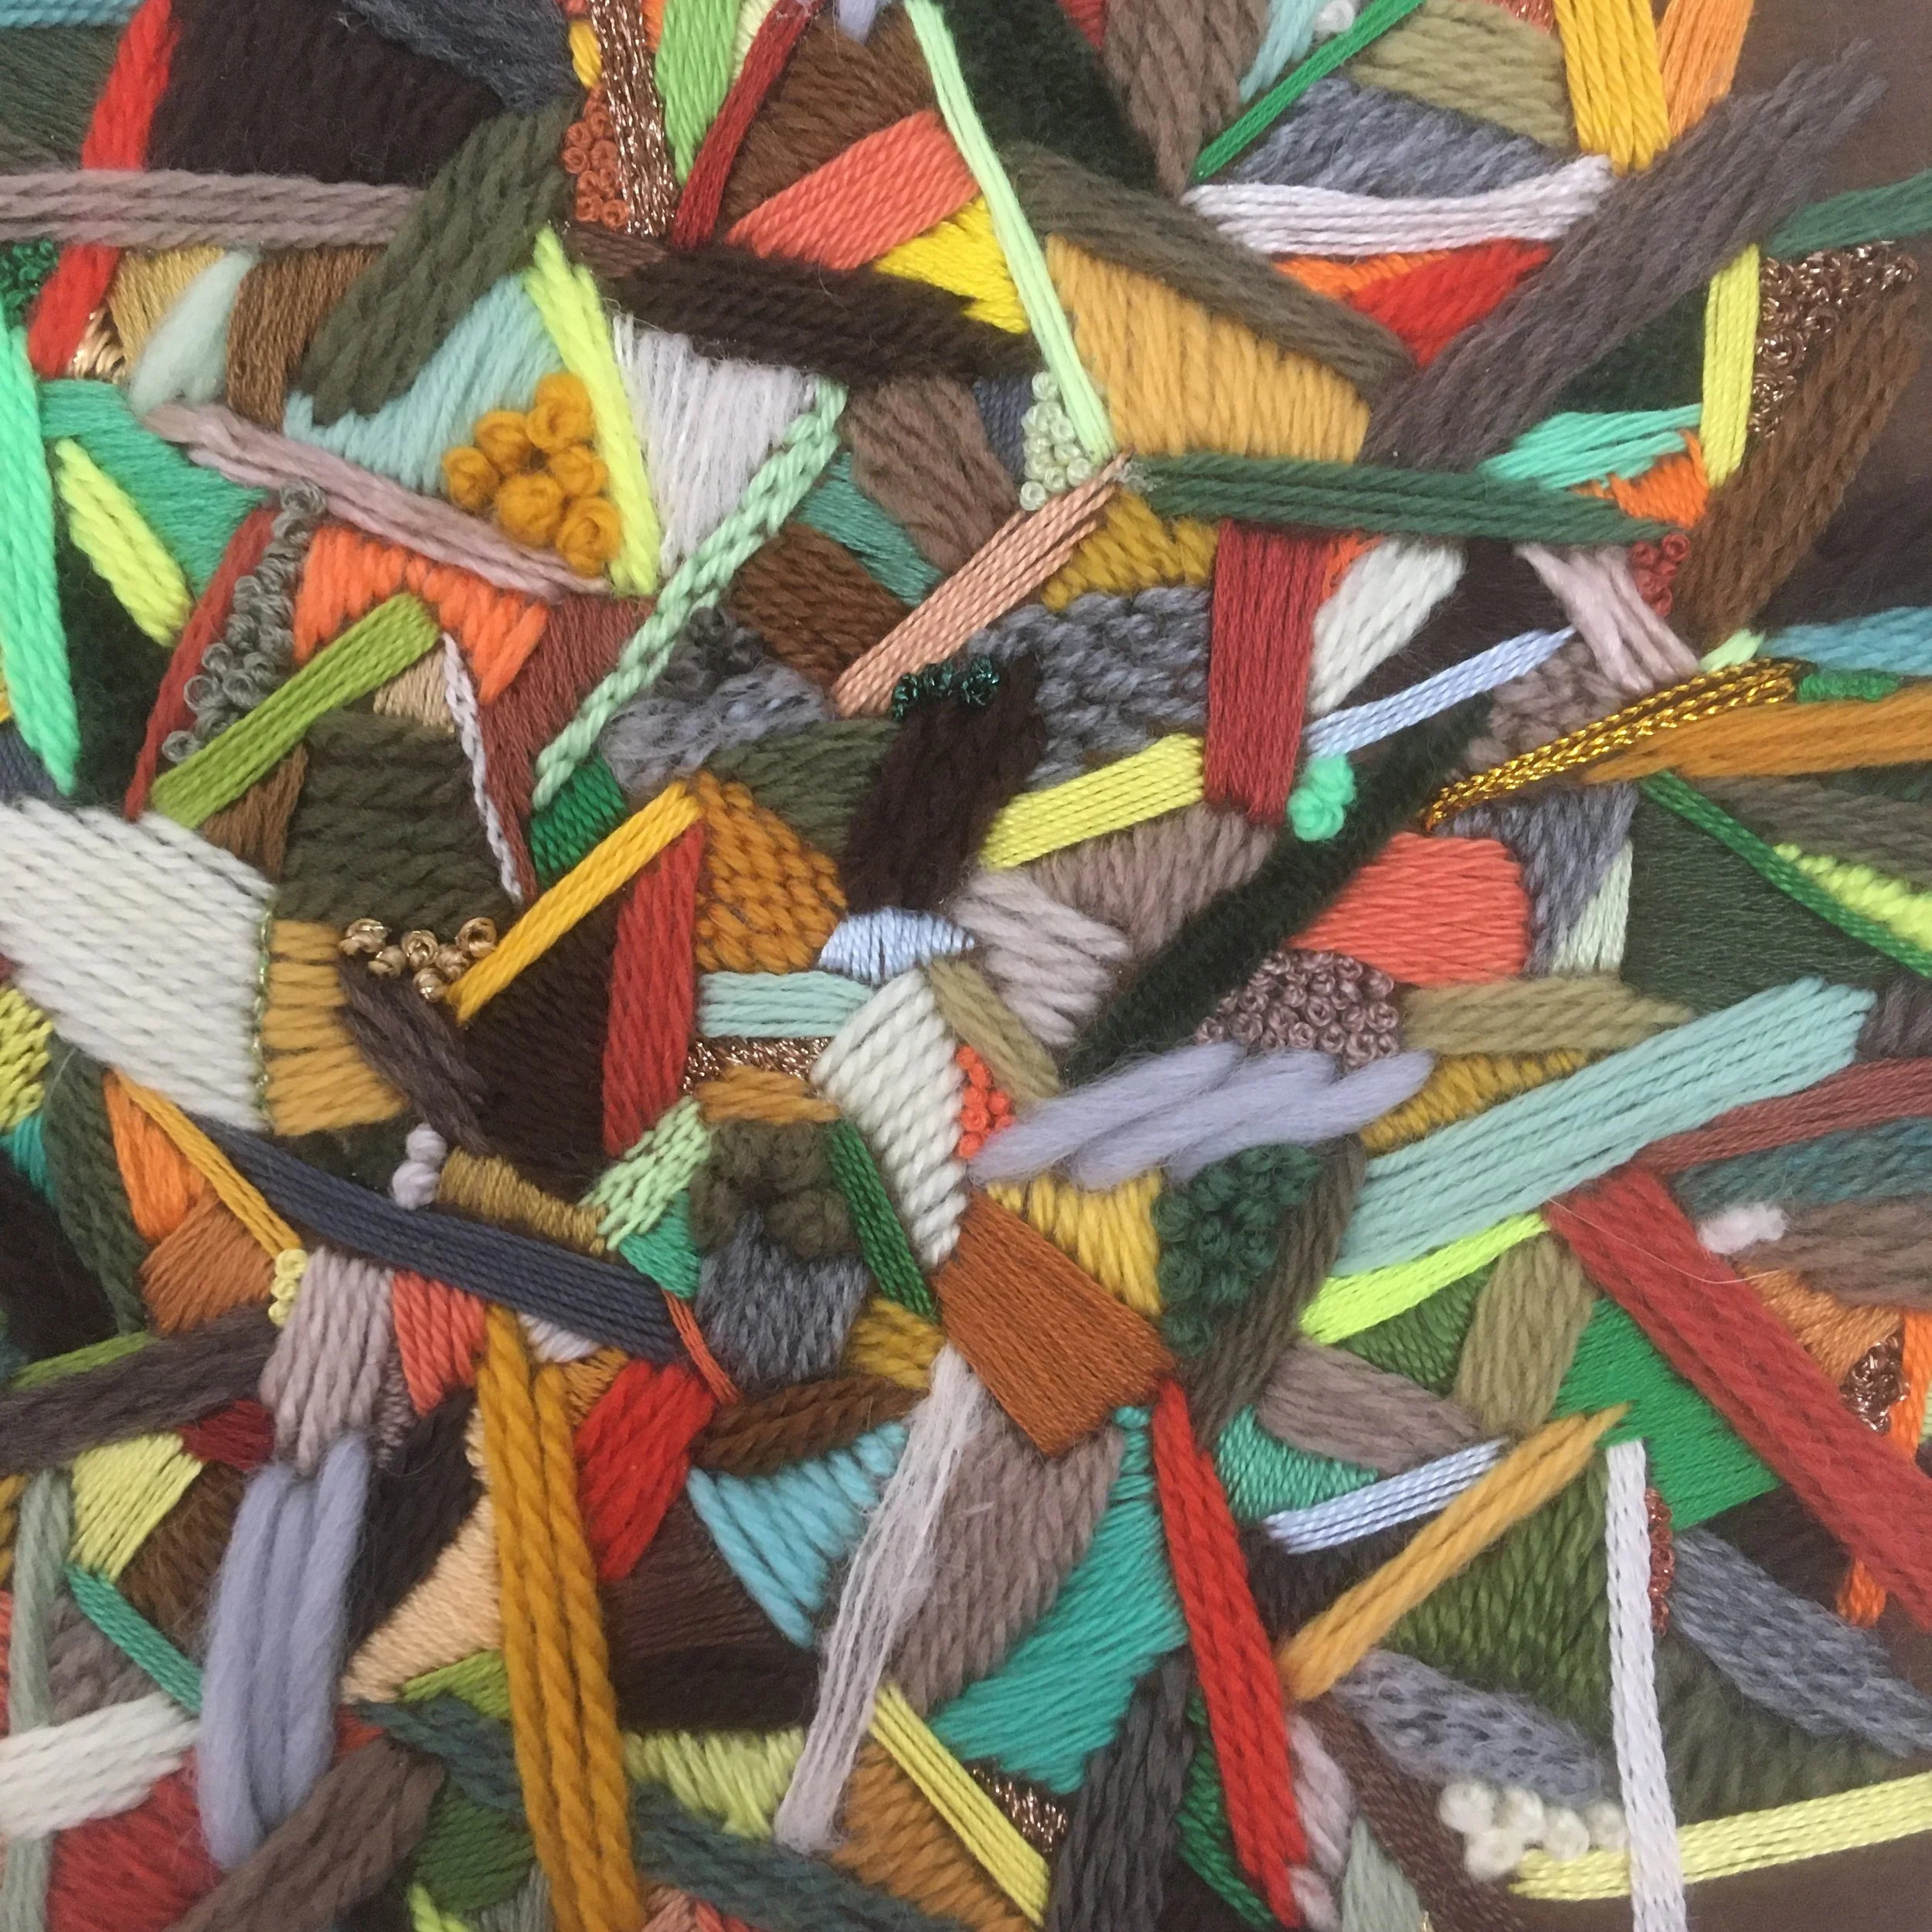
You can use pretty much any thread for embroidery. One of my favourites to use for creating more abstract embroideries is yarn. As an avid crafter I have quite a stash of yarns left over from knitting and crochet projects. Embroidery is a good way to use up shorter lengths of yarn that can’t be made into a knitting or crochet project. Here are my top tips for embroidering using yarns:

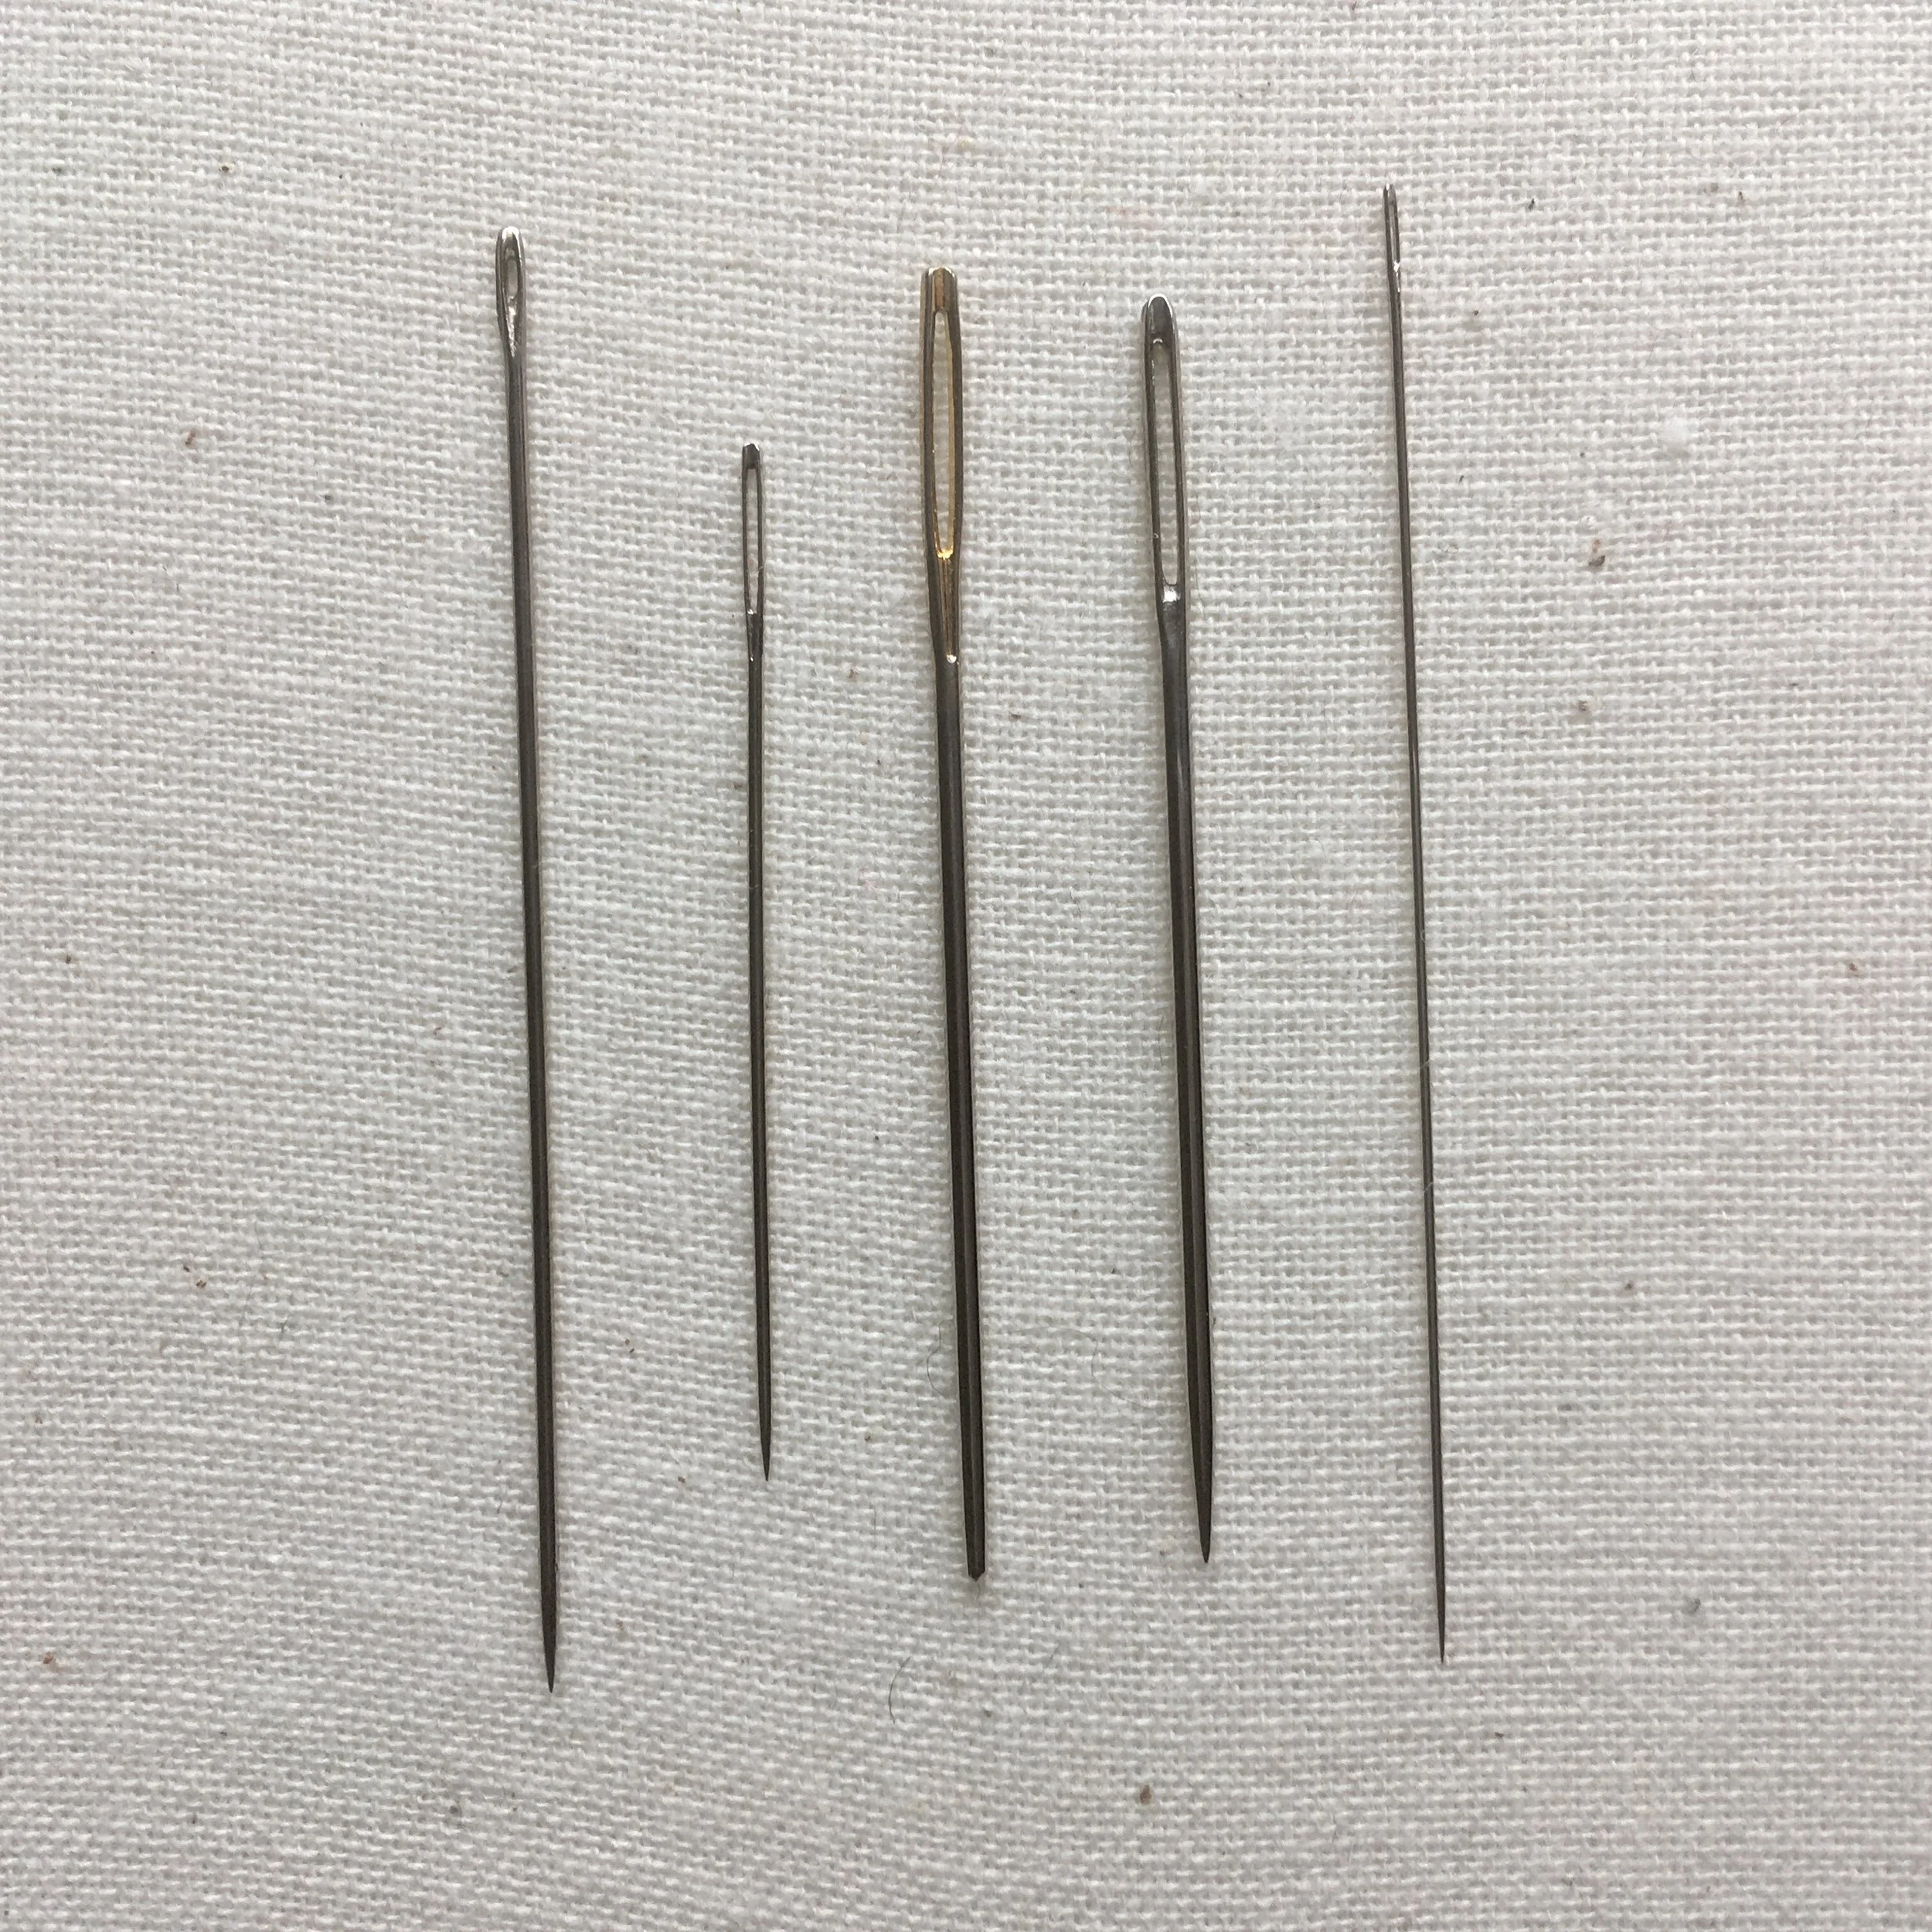
A picture of 5 different hand embroidery needles

Use a large eye needle

The yarn you use will be much thicker than standard embroidery floss so you’ll need to find a needle with a larger eye to fit the thread through Chenille needles work particularly well for yarn embroidery as they have a very sharp point and a large eye (second needle from the right in the picture).

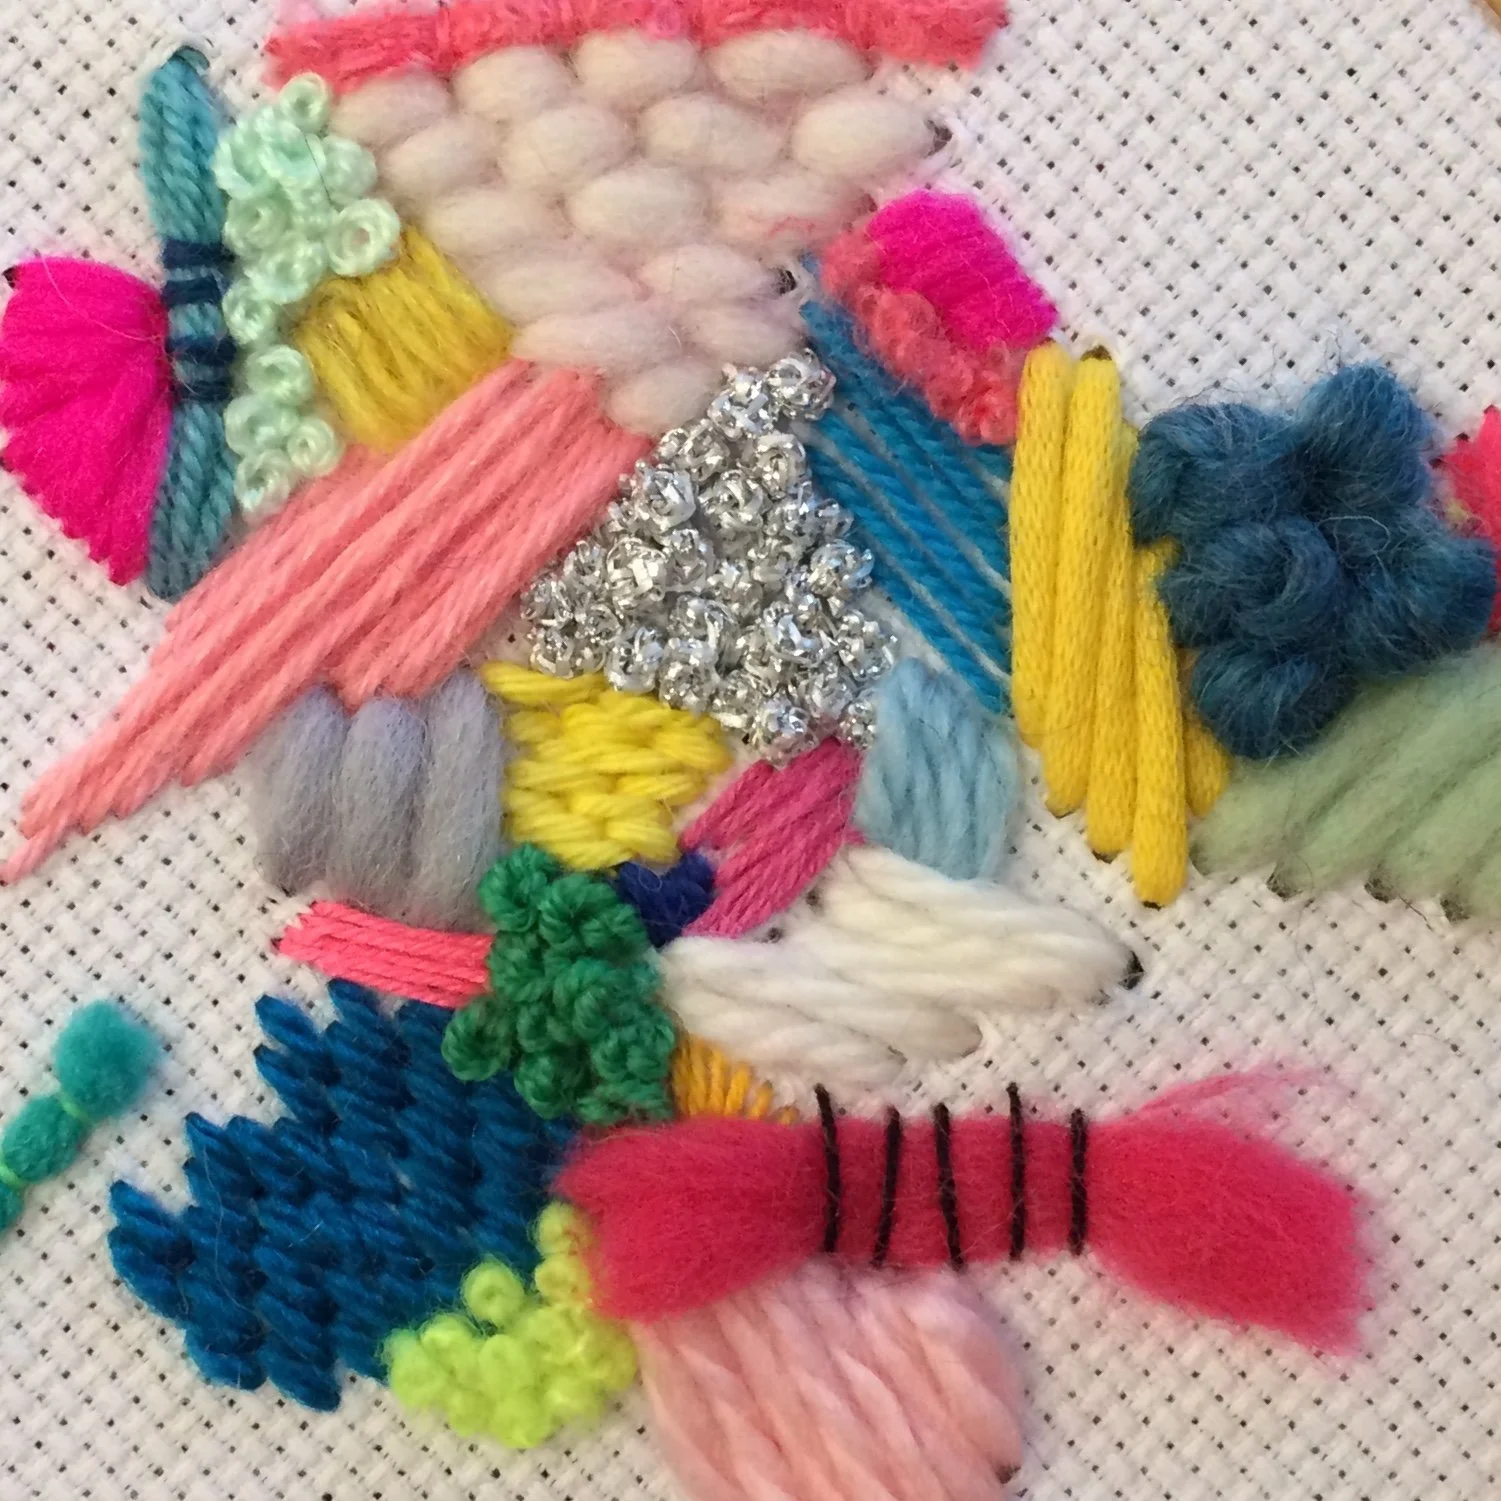
A multi-coloured abstract embroidery stitched on aida fabric

Use an open weave fabric

When embroidering the stitches pass through the fabric between the warp and weft threads. The tighter the weave of the fabric, the harder it will be to physically get the yarn through the fabric. Open weave fabrics such as linen, hessian or aida (such as used for this piece) are much easier to stitch on when working with yarn.

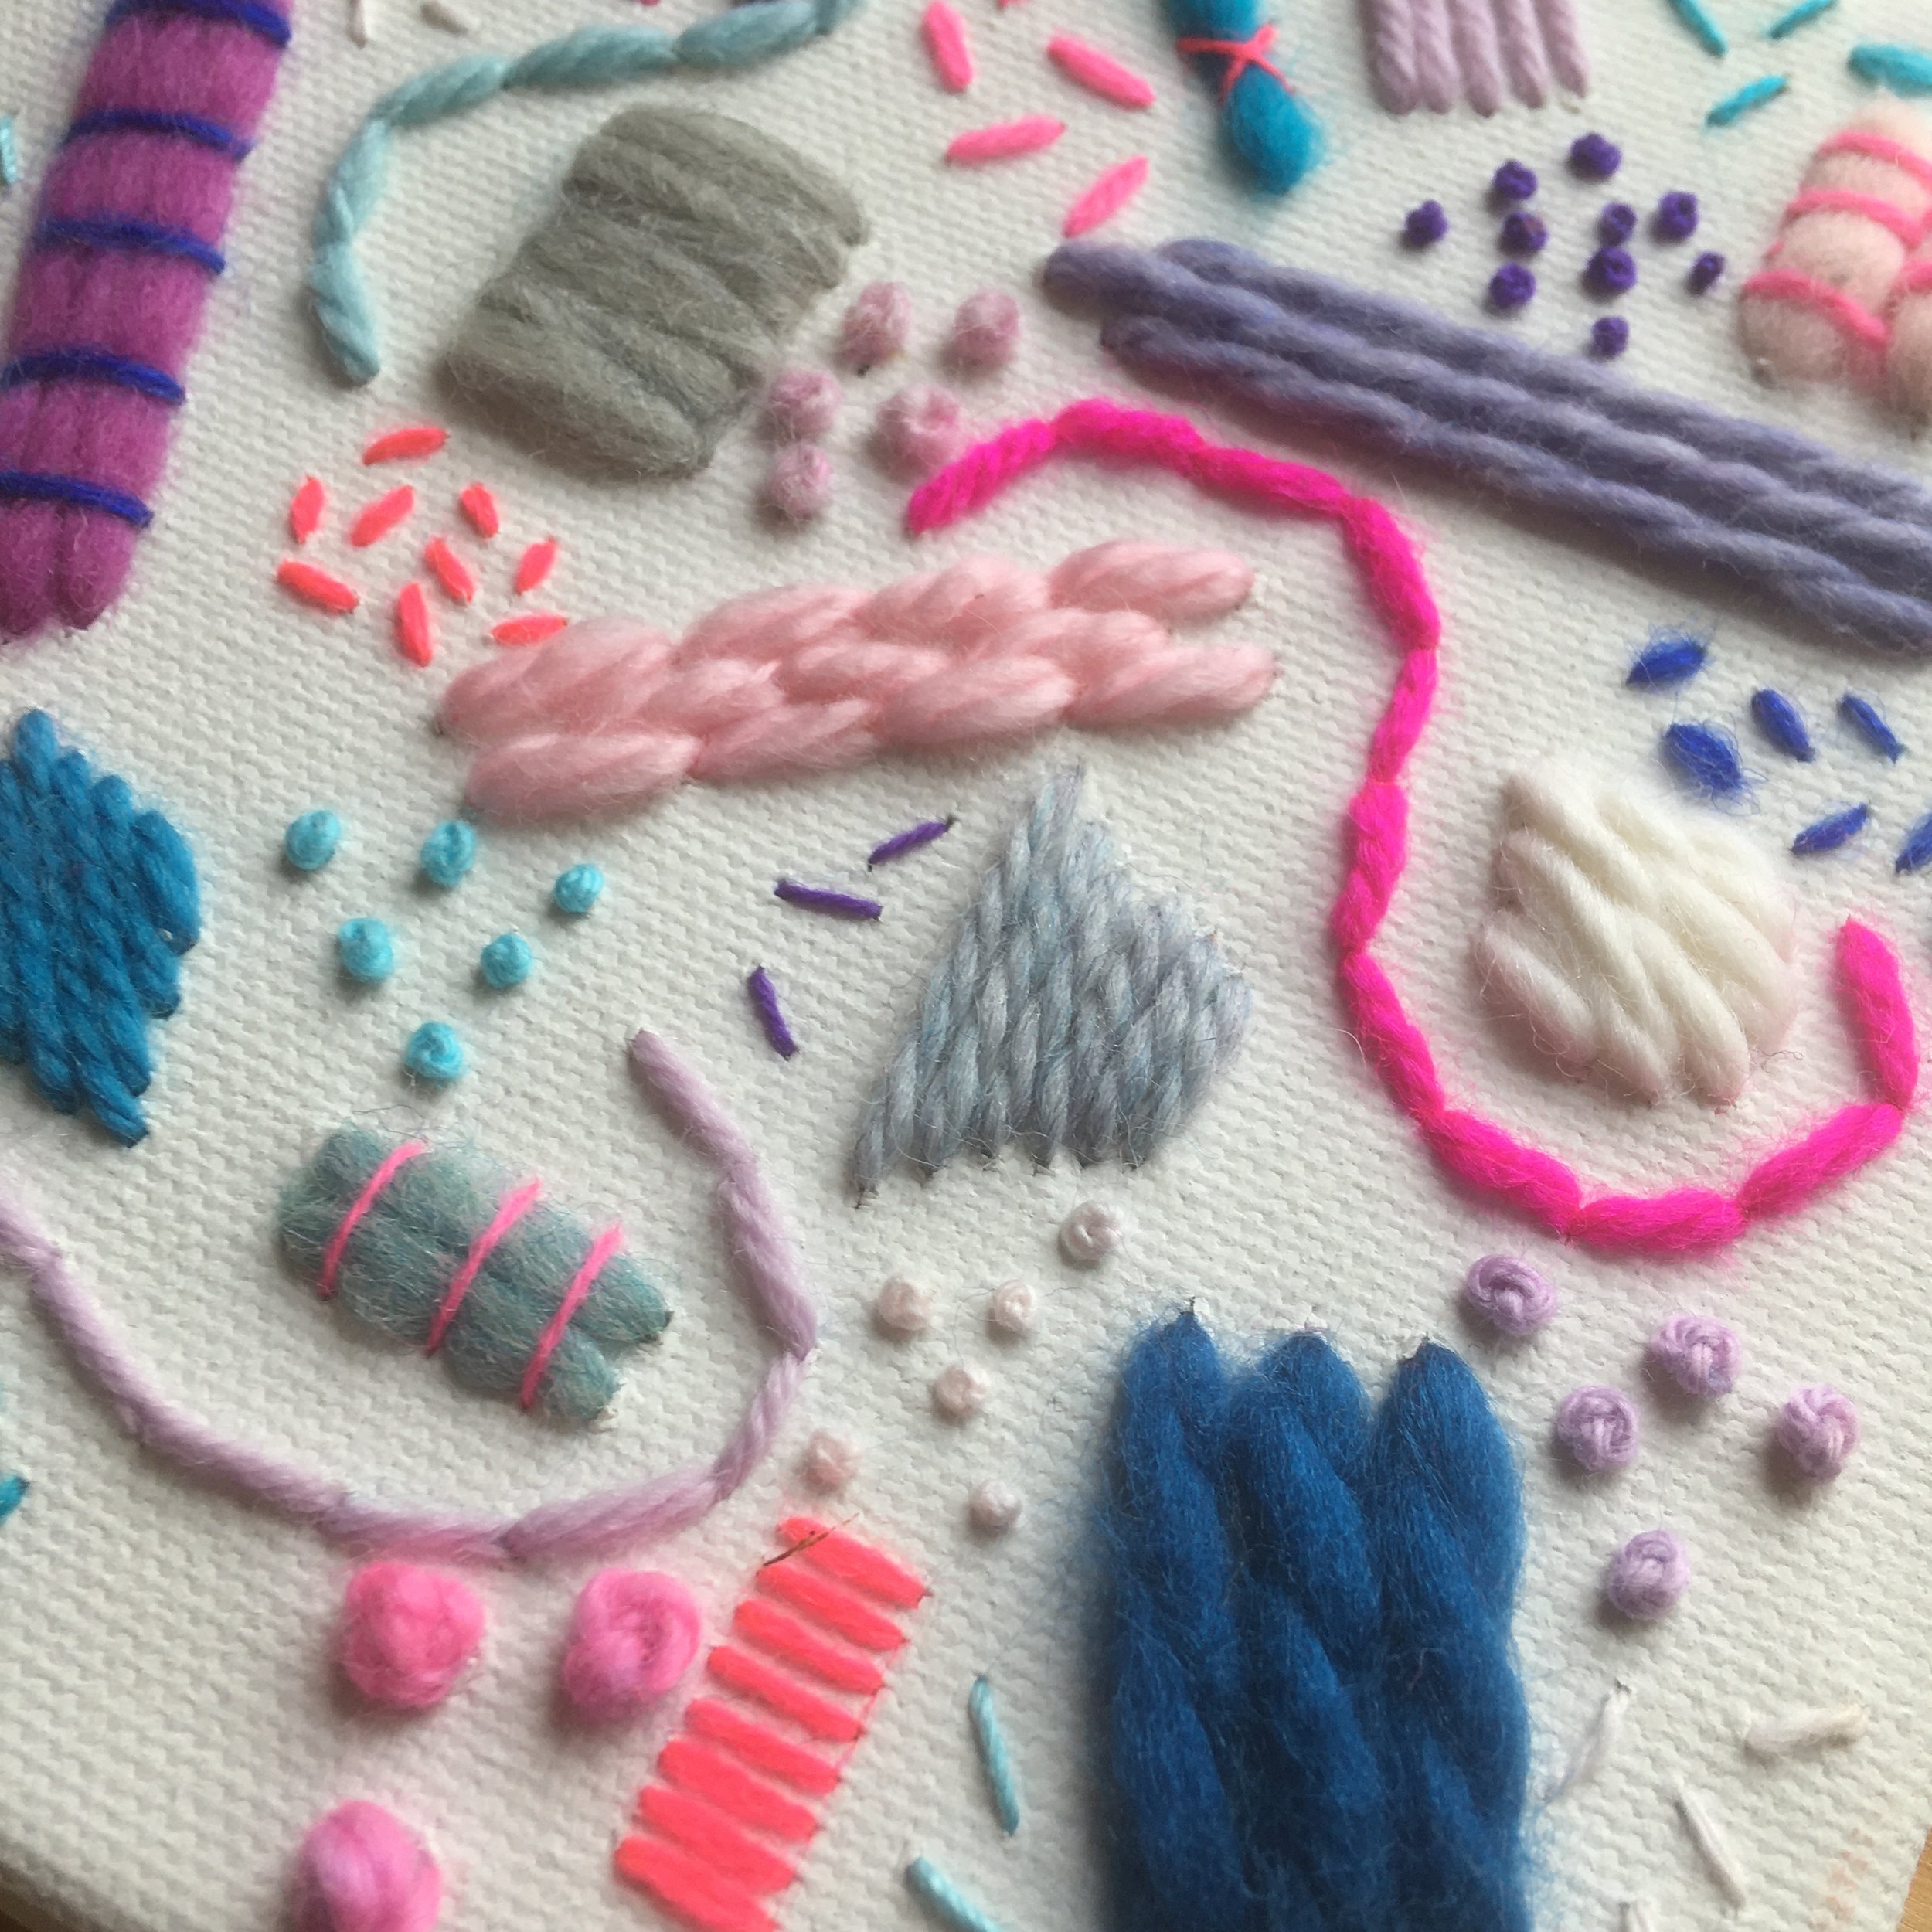
A picture of an abstract embroidery in shades of pink, purple and blue on a white canvas background

Use a heavier weight fabric

Each strand of yarn is thicker and heavier than embroidery floss. This means that the fabric being stitched onto needs to hold that additional weight. Thicker fabrics such as canvas (used for this piece) or felt can help make sure the additional weight is held. Alternatively using a second layer of fabric can also provided the additional support needed.

Keep the stitches simple

Stitching with thicker yarn can mean the definition on more complex stitches is lost, especially if the yarn has any sort of fluffy texture to it. Simple stitches such as straight stitch, seed stitch, back stitch, running stitch, brick stitch and satin stitch work well.

An abstract embroidery in autumnal shades or brown, yellow and green stitched mostly in long straight stitches to represent fallen leaves

Stitch carefully

With thicker thread you’ll be creating larger holes in the fabric. Therefore if you make a mistake and need to unpick the stitches those larger holes will remain. This piece was stitched on felt which held the weight of the stitches well but when I unpicked any stitches I had to think carefully about covering the holes that were left behind.

Enjoyed this blog post? I share embroidery tips and a free embroidery pattern in my monthly newsletter. Sign up here to receive the newsletter on the 1st of each the month.
In tips 4 Tags Thread
Comment
A picture of a white crochet blanket. Overlaid is a blue square with white text saying - hand embroidery, why i spent a year not buying any new craft materials, www.embellishedelephant.co.uk

Why I spent a year not buying any new craft materials

January 11, 2023

I moved house at the start of 2022. I knew I’d accumulated quite a craft stash over the 9 years since we’d last moved but having to box it all up revealed exactly how much I’d managed to cram into the craft cupboard. It also allowed me to compare the number and size of boxes I packed compared to the number of boxes football memorabilia my partner had acquired (and that I was always moaning to him about). 


I started mulling over how I’d ended up with such a stash: 

  • Buying something just because it was pretty without a clear idea of how I might use it 

  • Being gifted or inheriting materials, again without a link to a particular project 

  • Trying new crafts and buying all the necessary tools and materials 

  • Keeping left over materials because they might be useful 

  • Packages often containing far more materials than I needed for a particular project 

  • I had disposable income and I chose to spend it on craft materials. 

It was that last point that really got me thinking and exploring my feelings towards my stash. 


To be honest I felt embarrassed by all the things I had accumulated. No one needs that much stuff. I felt embarrassed because I felt privileged to be in a position to waste money on things that were just sitting in boxes waiting for their moment to come alive.  

My move also came after taking 18 months career break when I wasn’t working full time, so I was more aware of how much money I’d spent and was tied up in my stash. 

The packing and move was precipitated by needing to care for a family member and moving into their property. Knowing we’d have less space of our own and how much of their stuff we would need to go through and decide what to keep, donate to charity, sell or chuck out also brought into focus the question of actually what objects do we really need to have in our every day life. 


Even if I made a project a week for the next 5 years, I’m would still have a huge stash of stuff. So what could I do to address the size and feelings towards my stash? 

First up, crafting is a huge part of what I do to relax and is my biggest form of self-care. Having a stash of materials is a reasonable consequence of this past-time and I accept that, but I can still indulge in this hobby without needing every single item I currently own. 

Not buying any new craft materials for 12 months was the obvious first step towards rationalising my stash. I have not been 100% successful but I have pretty much cut out buying something just because it is pretty. There were a few exceptions I allowed myself (as I’m trying to kick a 30 year habit!) 

  • Quarterly Craftpod – I consider this part of my self-care routine as the projects are so gorgeous. But what I have started doing is not keeping all the off cuts ‘just in case’ 

  • Gifts – my family will often get me something craft related as a gift. This is a nice thing, I don’t want it to stop but I’ll direct them to a kit or workshop rather than just a load of materials so I can make a project and move on 

  • Workshops – having moved, I was looking for activities that would let me meet more people locally and discovered Pimms and Needles, which is a craft based group. Every month we make a new project. But the good thing about this I can try out a new craft without buying all the stuff. The bad thing is that I end up walking away with a finished item that I need to find a home for!

I also acknowledged that there may be a need to buy some craft materials to use up some that are already in my stash. For example, to use up 3 metres of Jersey fabric I need some 1/4 inch clear elastic. In this case the aim was to buy exactly the amount of elastic I needed to complete this project and not extra just because it was a better deal. 


I was also more conscious with the projects I chose to make. I have four plastic tubs of fabric which is one of the bigger collections in my stash. I embarked on a quilting project to use up all the fabric scraps I’ve accumulated, even the very tiny scraps that could never be used for making a garment. I also went through the larger sections of fabric and have matched the fabric with projects I want to make. I browsed Ravelry for knitting and crochet patterns that match the yarn weights I have in my stash rather than just picking a project and buying the yarn to fit it.


So why am I talking about not buying any new craft materials when I design and make craft kits? Well, if you like the idea of partaking in some craft as therapy or self-care but don’t want to end up with the stash problem I’ve found myself with, then kits are a great solution. Even though didn’t buy any new materials for the year, I did give myself permission to buy kits as it’s a controlled way of fulfilling my creativity needs. 

Enjoyed this blog post? I share embroidery tips and a free embroidery pattern in my monthly newsletter. Sign up here to receive the newsletter on the 1st of each the month.
In tips 4 Tags My Makes
Comment

Top tips for tracing embroidery patterns

December 28, 2022

There are many kits available where the design is pre-printed onto the fabric such as this one. But knowing how to transfer an embroidery design onto fabric gives many more options and isn’t as difficult as you think. Here are my top tips for transferring embroidery patterns:

  • Have the fabric super tight in the hoop. It’s really hard to trace accurately if the fabric in the hoop is a bit loose. The pen will catch on the warp and weft threads and the design will end up looking a little wonky. To read my tips about how to get fabric taut in the hoop, have a look here.

  • Use a erasable pen. You can use any pen or pencil for transferring a design onto fabric but knowing that you can erase any mistakes really helps when tracing. This blog post covers the different erasable pen options, and this post outlines why heat erasable pens are magic.

  • Trace just the crucial elements. Some patterns have a lot of detail and it isn’t always necessary to trace it all. For example a thin stem or branch, you might not need to trace both sides of the outline, instead trace one line in the centre.

  • Keep an eye on the position of the hoop. Whatever method used to trace the pattern, the hoop will move during the tracing process. I recommend checking the positioning after tracing each element to make sure the final traced design doesn’t end up wonky.

  • Don’t panic if you go wrong. The fabric has 2 sides to it and if you do go wrong then flip the fabric over and have a second attempt.

There are step by step instructions on how to trace from a digital embroidery pattern and how to trace from a paper embroidery pattern along with lots of other embroidery tips on my blog.

Enjoyed this blog post? I share embroidery tips and a free embroidery pattern in my monthly newsletter. Sign up here to receive the newsletter on the 1st of each the month.
In tips 4 Tags Transfer
Comment
A picture of lots of blue buttons scattered on a surface. Overlaid is a blue square with white text saying - hand embroidery, how to be a thrifty crafter, www.embellishedelephant.co.uk

How to be a thrifty crafter

December 14, 2022

When I was a kid I was very thrifty with obtaining craft materials because I didn’t have the money to spend on buying new. As an adult, I’m lucky that I have the disposable income to spend on any craft materials I want or need but that thriftiness learnt as a child is still there and there are some things I continue to do to this day. Here are my tips for making the most of your craft materials:

  • Embroidery hoops are probably the most expensive item of any embroidery project and although they may only cost a few pounds one way to make sure you can re-use them is in how you finish your embroidery project. If you are displaying your project in a hoop, finish the back in a way that means in the future if you don’t want that project on display any more you can take it out of the hoop and use the hoop for the next project. costs of an embroidery project finish your hoops so you can re-use them. This blog post outlines 4 ways to finish the back of an embroidery hoops - just avoid the gluing method if you want to use the hoop again in the future.

  • Embroidery projects need fabric to stitch on. I regularly use old fabrics such as sheets, curtains and shirts that aren’t good enough to go to the charity shop. I cut around any stains or tears and make use of as much of the fabric as possible.

  • Keep thread offcuts for use in future projects. There are two ways I keep thread offcuts, the first is if there is a long length of several strands left, I rewind this onto the thread bobbin I cut it from. For shorter lengths and single strands, I have a jar where I store these for when I need a tiny amount of a colour or for use in an abstract embroidery project.

  • Store things well. There is nothing more sad than opening a bag of yarn and finding its been nibbled by moths. This has happened to me and although I tried to rescue as much of the yarn as possible the grainy deposits the moths left meant much of it was unusable. I now store all my yarn in sealable bags and have moth balls dotted around the storage boxes.

  • Keep anything and everything! This is only a good tip if you have the space. That ribbon from around the Christmas cracker, a necklace that broke, buttons from a shirt that you had to send to the fabric recycling. They could all be used in future craft project.

Enjoyed this blog post? I share embroidery tips and a free embroidery pattern in my monthly newsletter. Sign up here to receive the newsletter on the 1st of each the month.
In tips 4 Tags hoops, Thread, Fabric
Comment
← Newer Posts
No results found

Tags

  • Artists/Designers
  • Basics
  • Christmas
  • colour
  • Couching Stitch
  • Fabric
  • Filling Stitch
  • Finishing
  • Hoops
  • Isolated Stitch
  • Line Stitch
  • London
  • My Makes
  • Needles
  • Raised Stitch
  • Stitch Showcase
  • Texture Stitch
  • Thread
  • Transfer
  • Travel

Latest Posts

Featured
June 1, 2026
Focus on knots
June 1, 2026
June 1, 2026
May 1, 2026
Focus on stranded floss
May 1, 2026
May 1, 2026
April 1, 2026
Focus on raised stitches
April 1, 2026
April 1, 2026
February 15, 2026
Tips for unpicking thread tangles
February 15, 2026
February 15, 2026
February 1, 2026
How to add elements to a basic embroidery pattern
February 1, 2026
February 1, 2026
December 1, 2025
Using yarn in embroidery
December 1, 2025
December 1, 2025
November 1, 2025
What can you learn from vintage embroidery books
November 1, 2025
November 1, 2025
September 1, 2025
What is the difference between cross stitch and embroidery?
September 1, 2025
September 1, 2025
July 1, 2025
How to make time for embroidery
July 1, 2025
July 1, 2025
June 1, 2025
What is stranded embroidery thread?
June 1, 2025
June 1, 2025

Home — Shop — Stockists — Wholesale — Portfolio — Contact — Reviews — Policies — FAQs