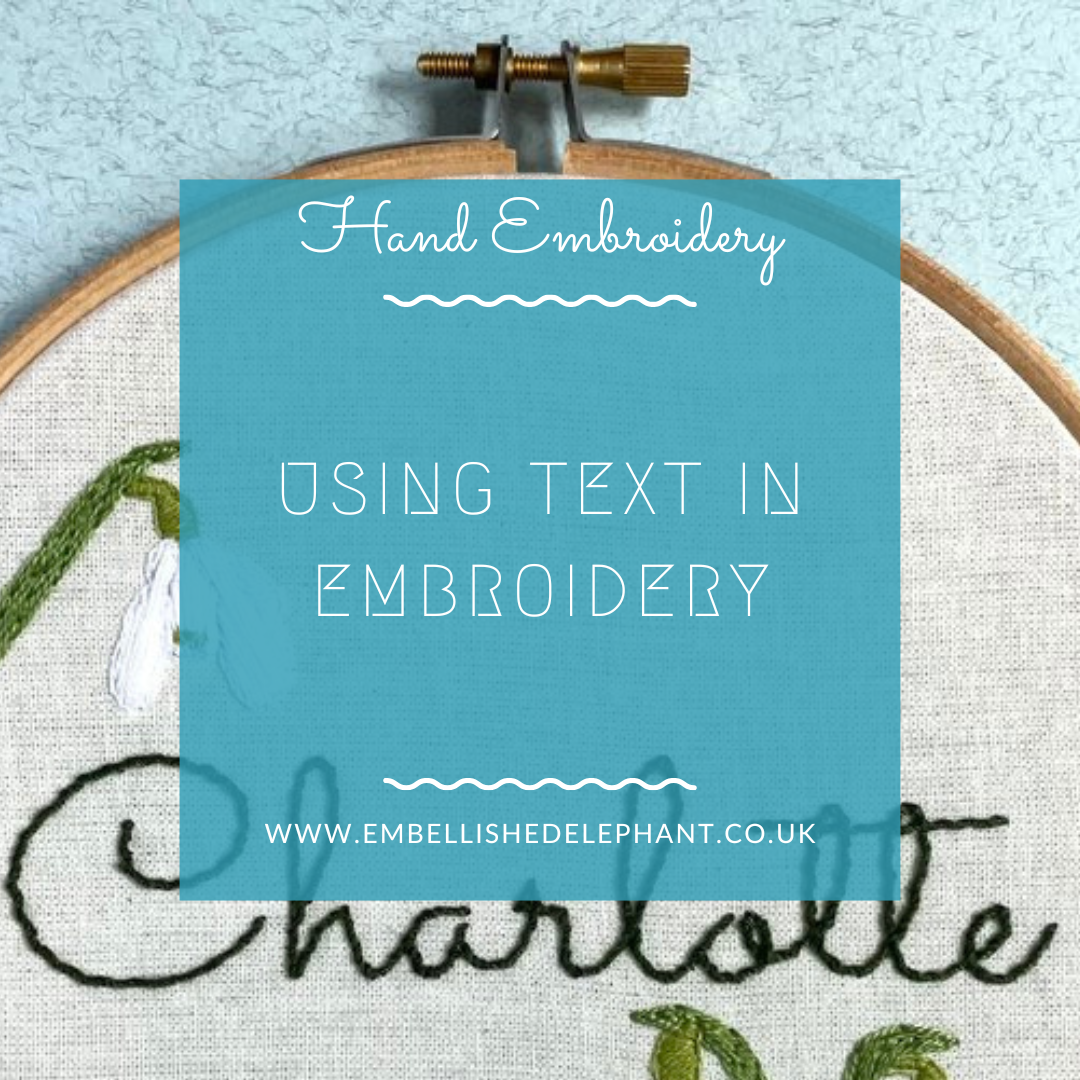
Many of the patterns I’ve designed include French knots. Some people (including me) really love them and other people hate them - I'm sorry if you are in the latter group, I promise that some patterns I design don’t include any!
Knots feature in embroidery both on the front and back of the fabric.
Traditionally, knots are not used to start and finish a thread, but personally I prefer using them.
In this blog post, to knot or not to knot, I cover when it is useful to use knots and when it is useful to use another method to secure the thread.
My favourite type of knot to use to secure a thread at the start of a section of embroidery is the quilters knot. If you've not tried using one before then this blog post shows you how to create one.
Meanwhile on the front of your embroidery, if you want my tips on stitching French knots, then I have a tutorial here. I recommend also taking a look at pistil stitch, which is an elongated French knot and is great for the centre of flowers. There is a tutorial here if you've not come across it before.
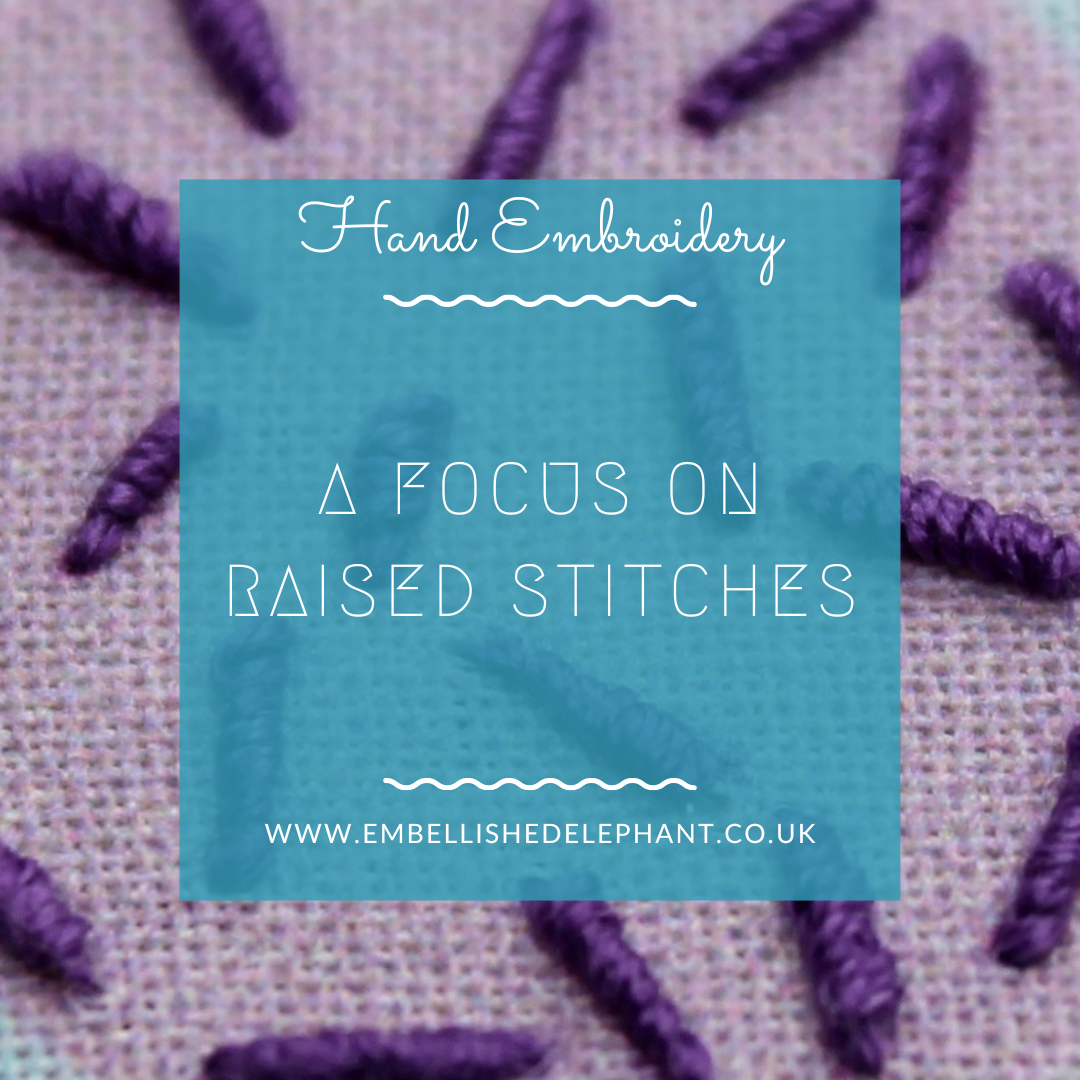
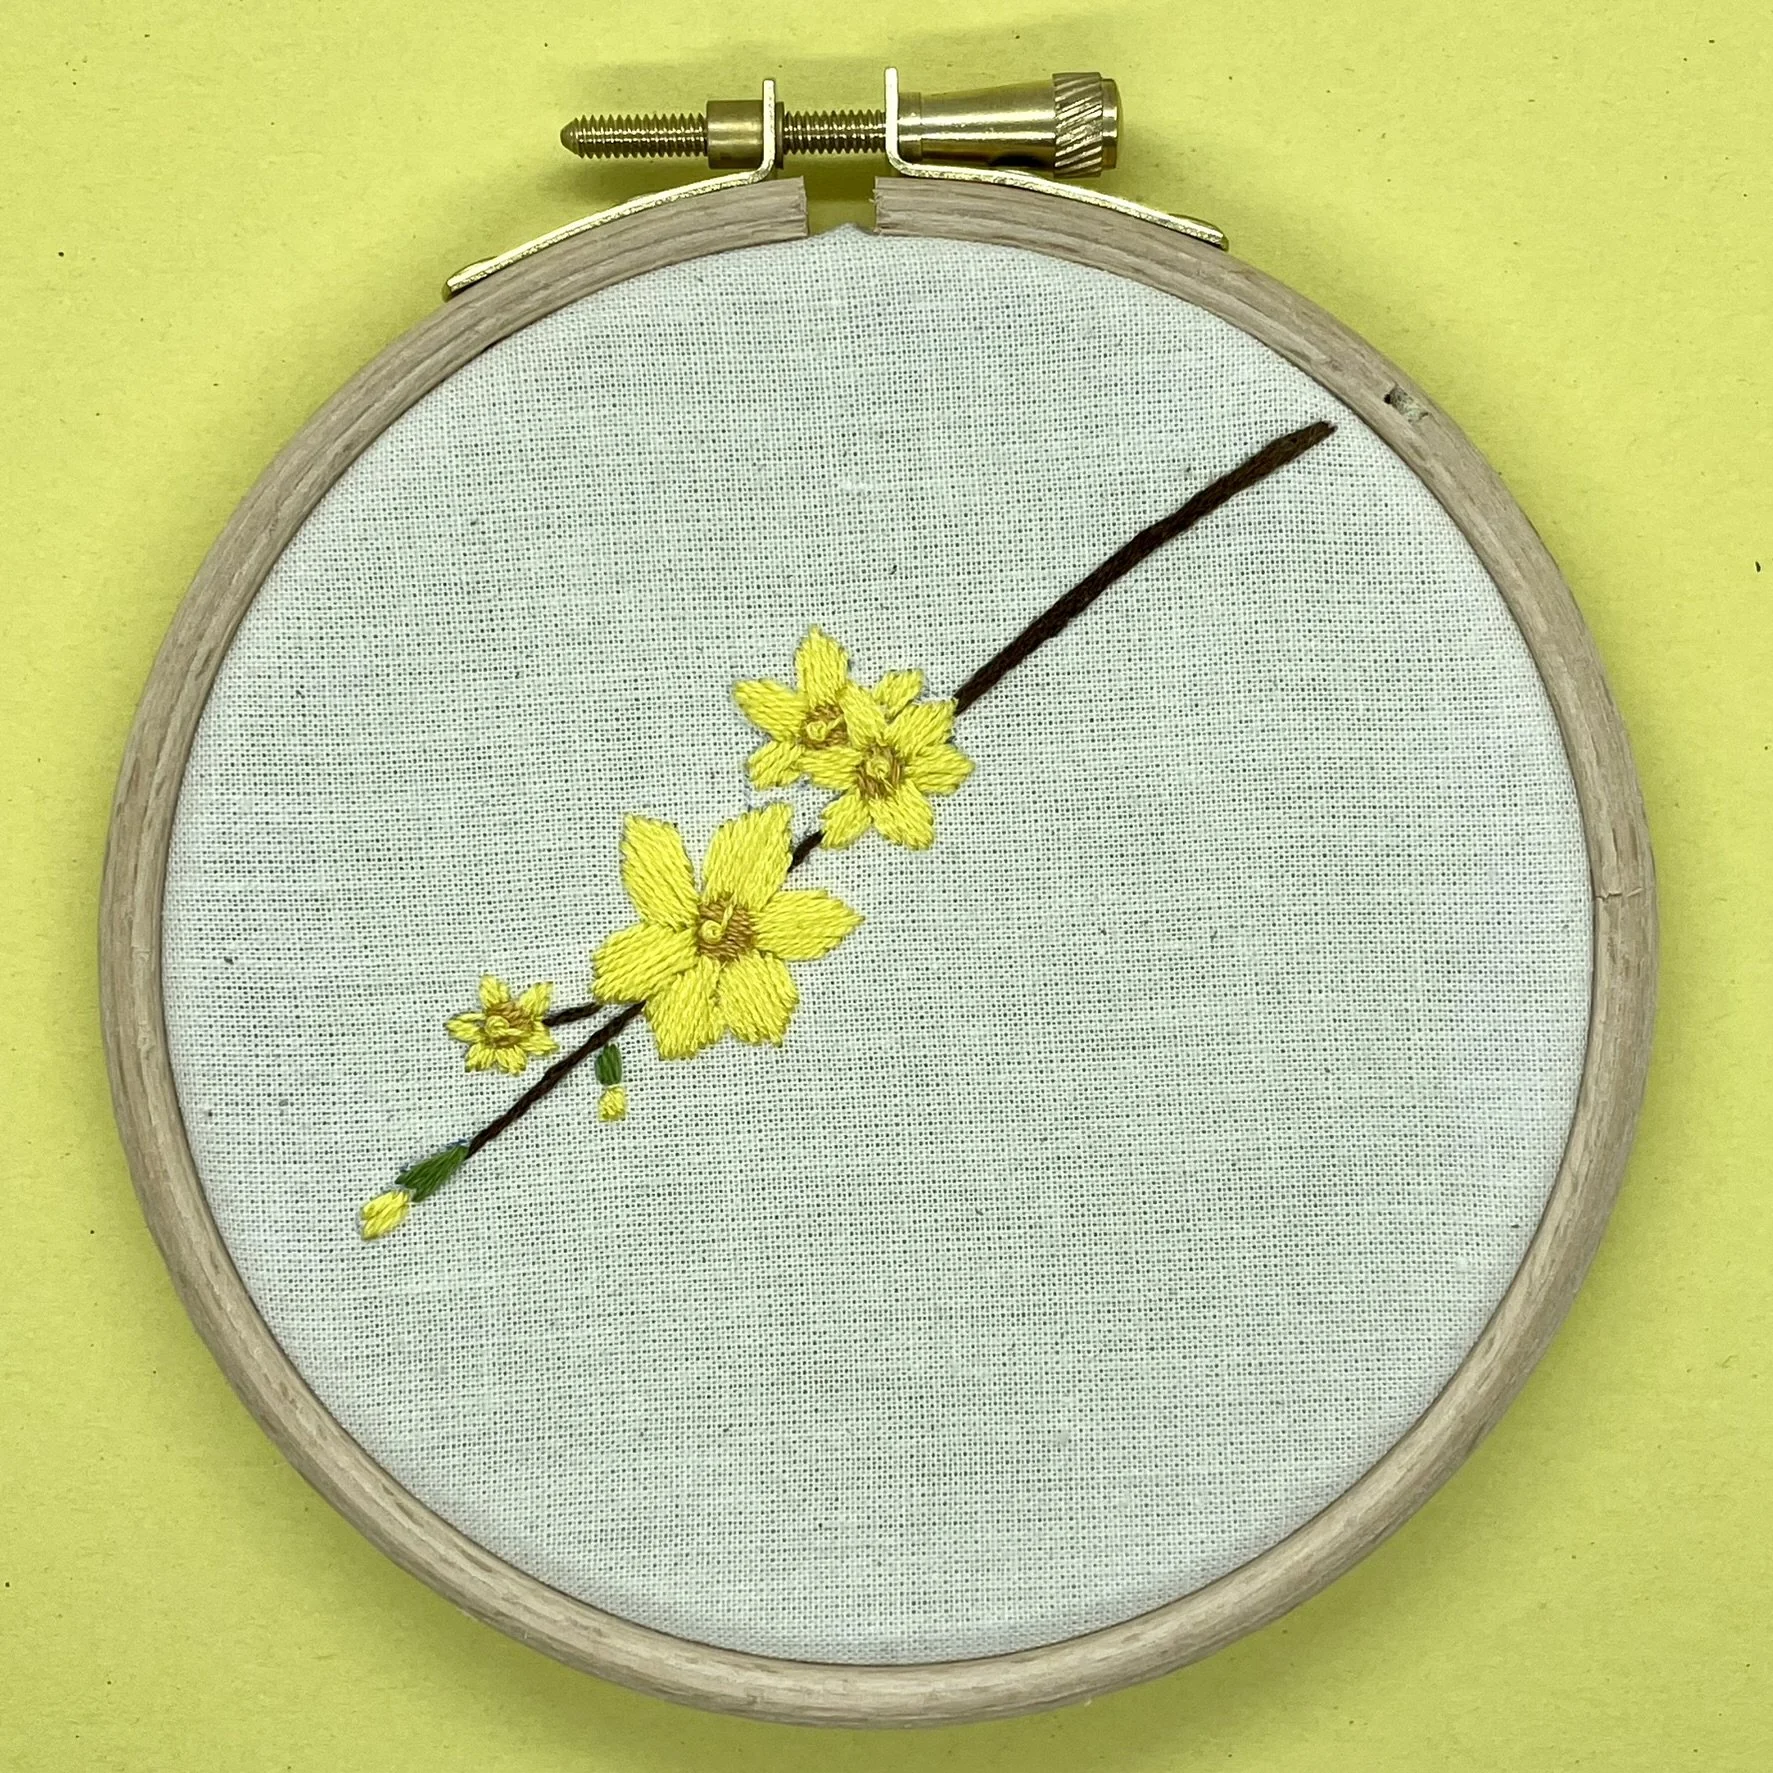
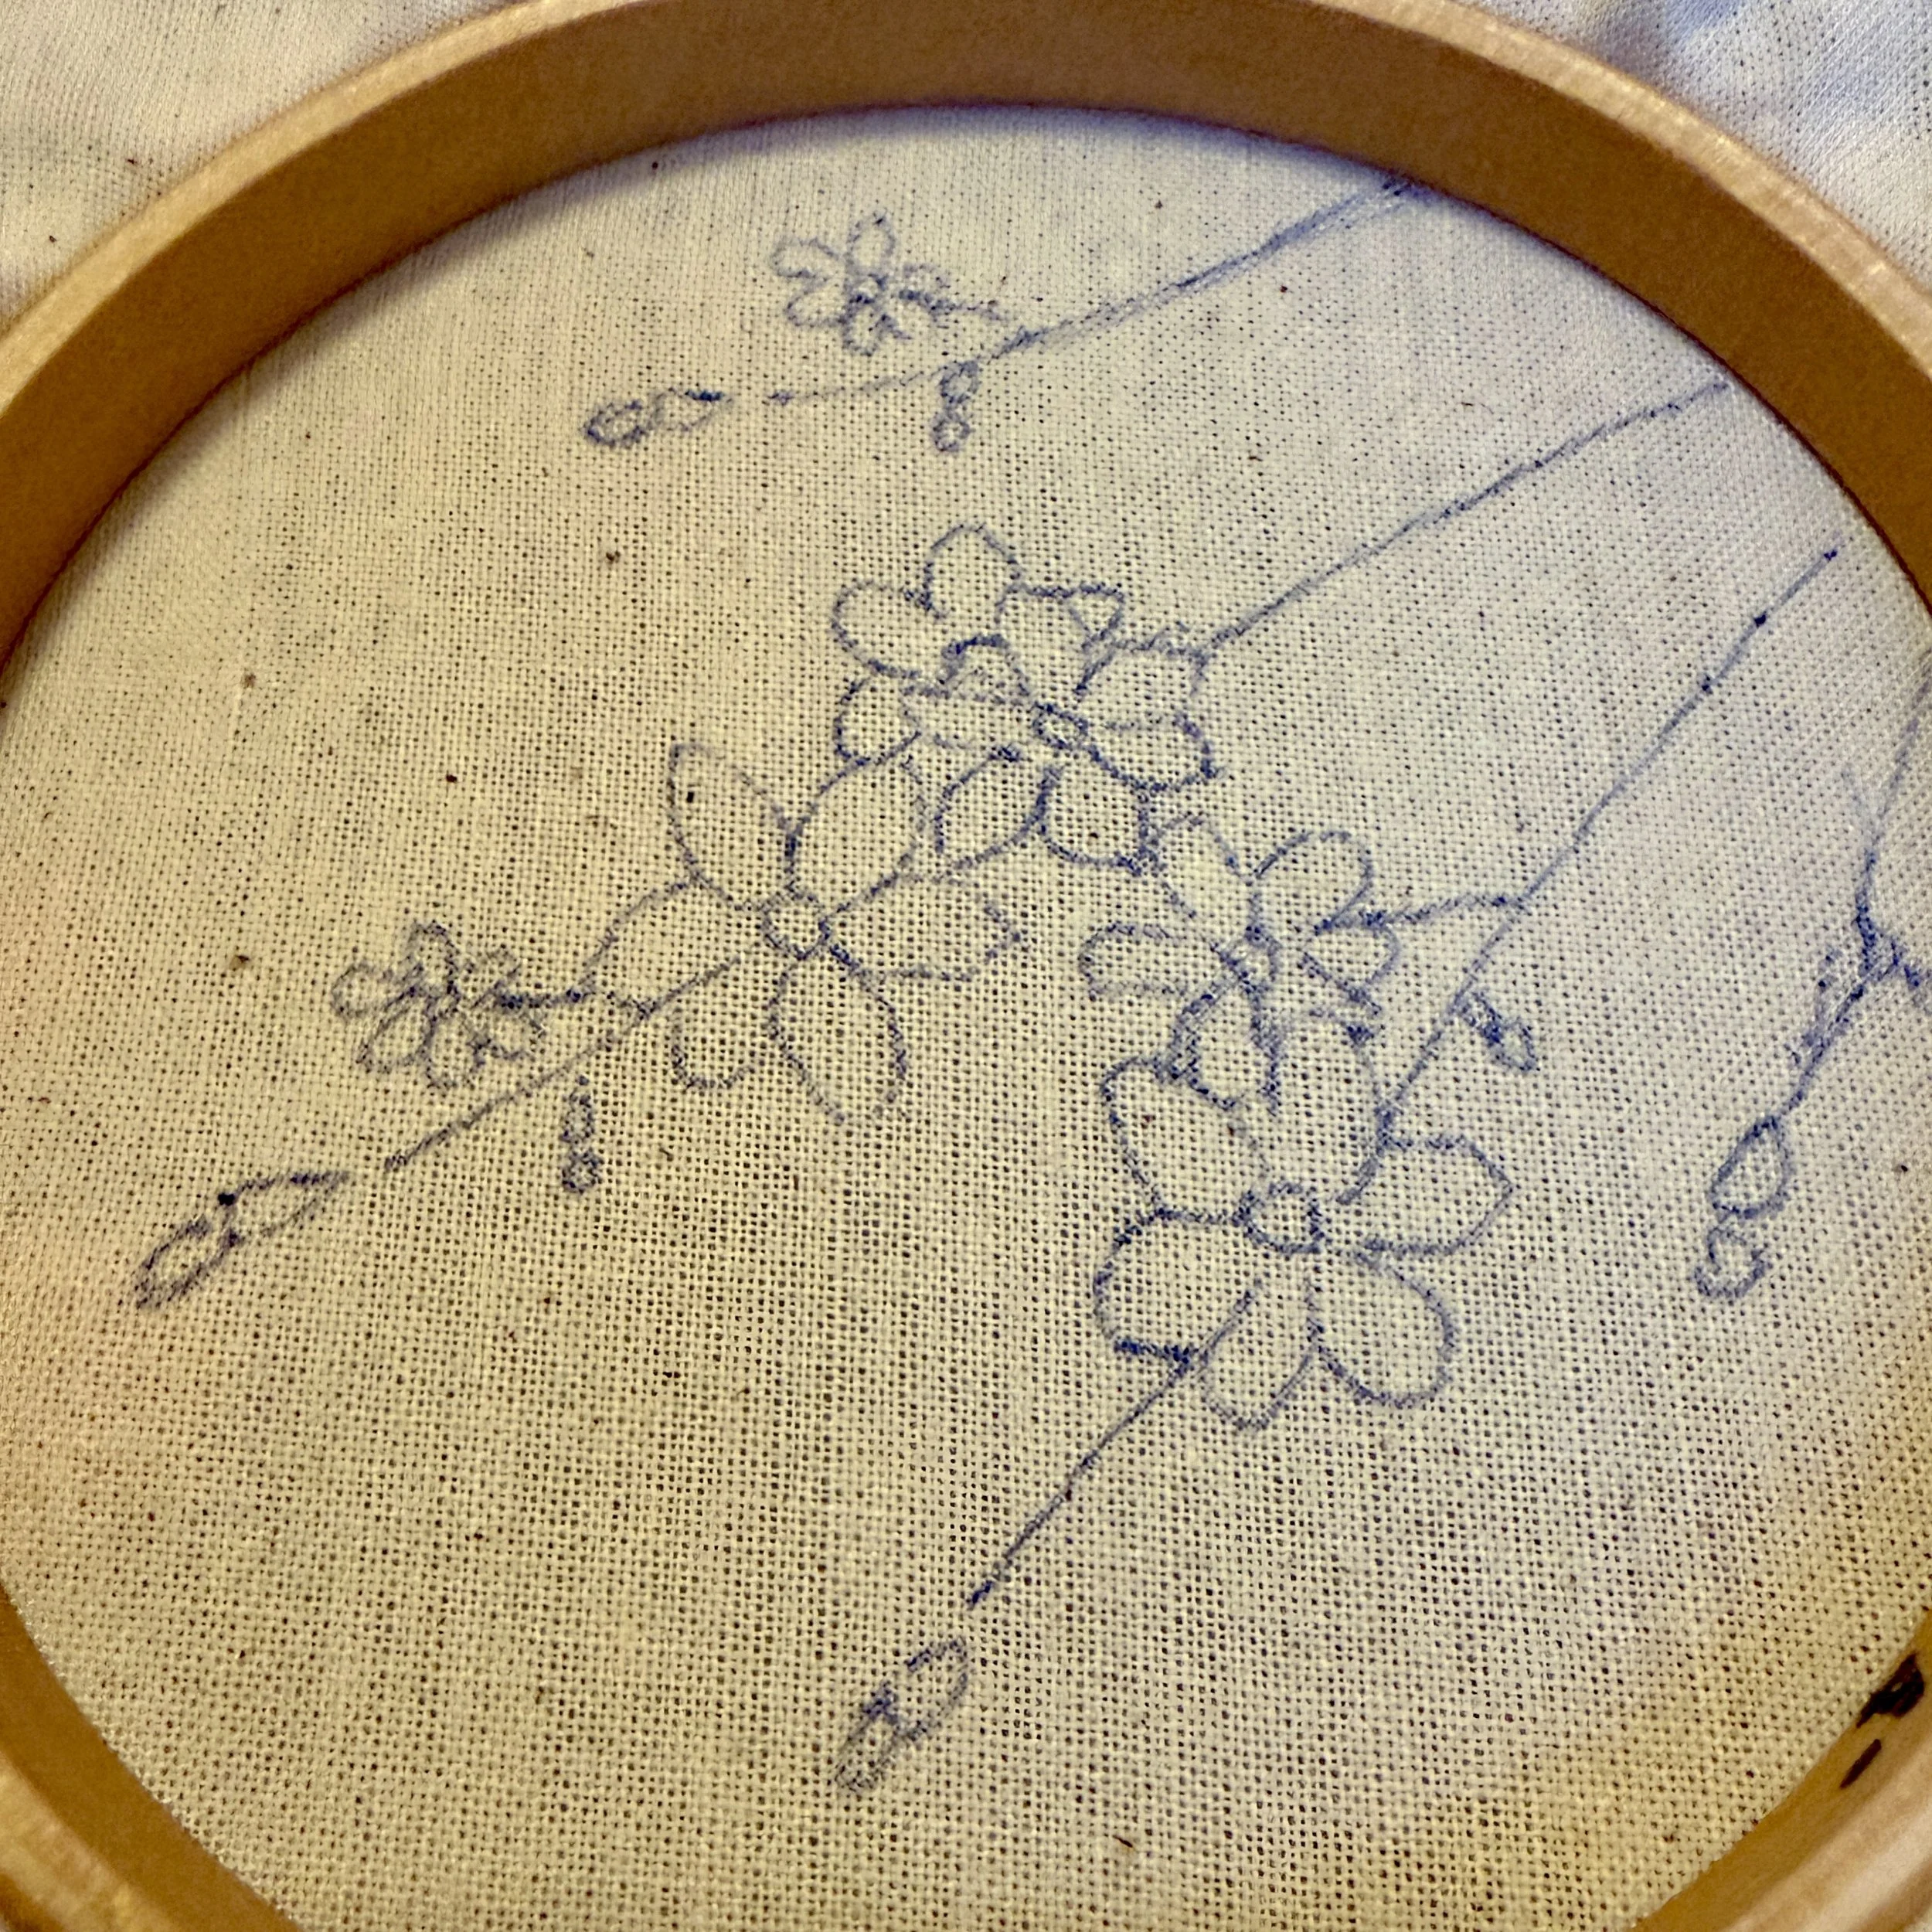
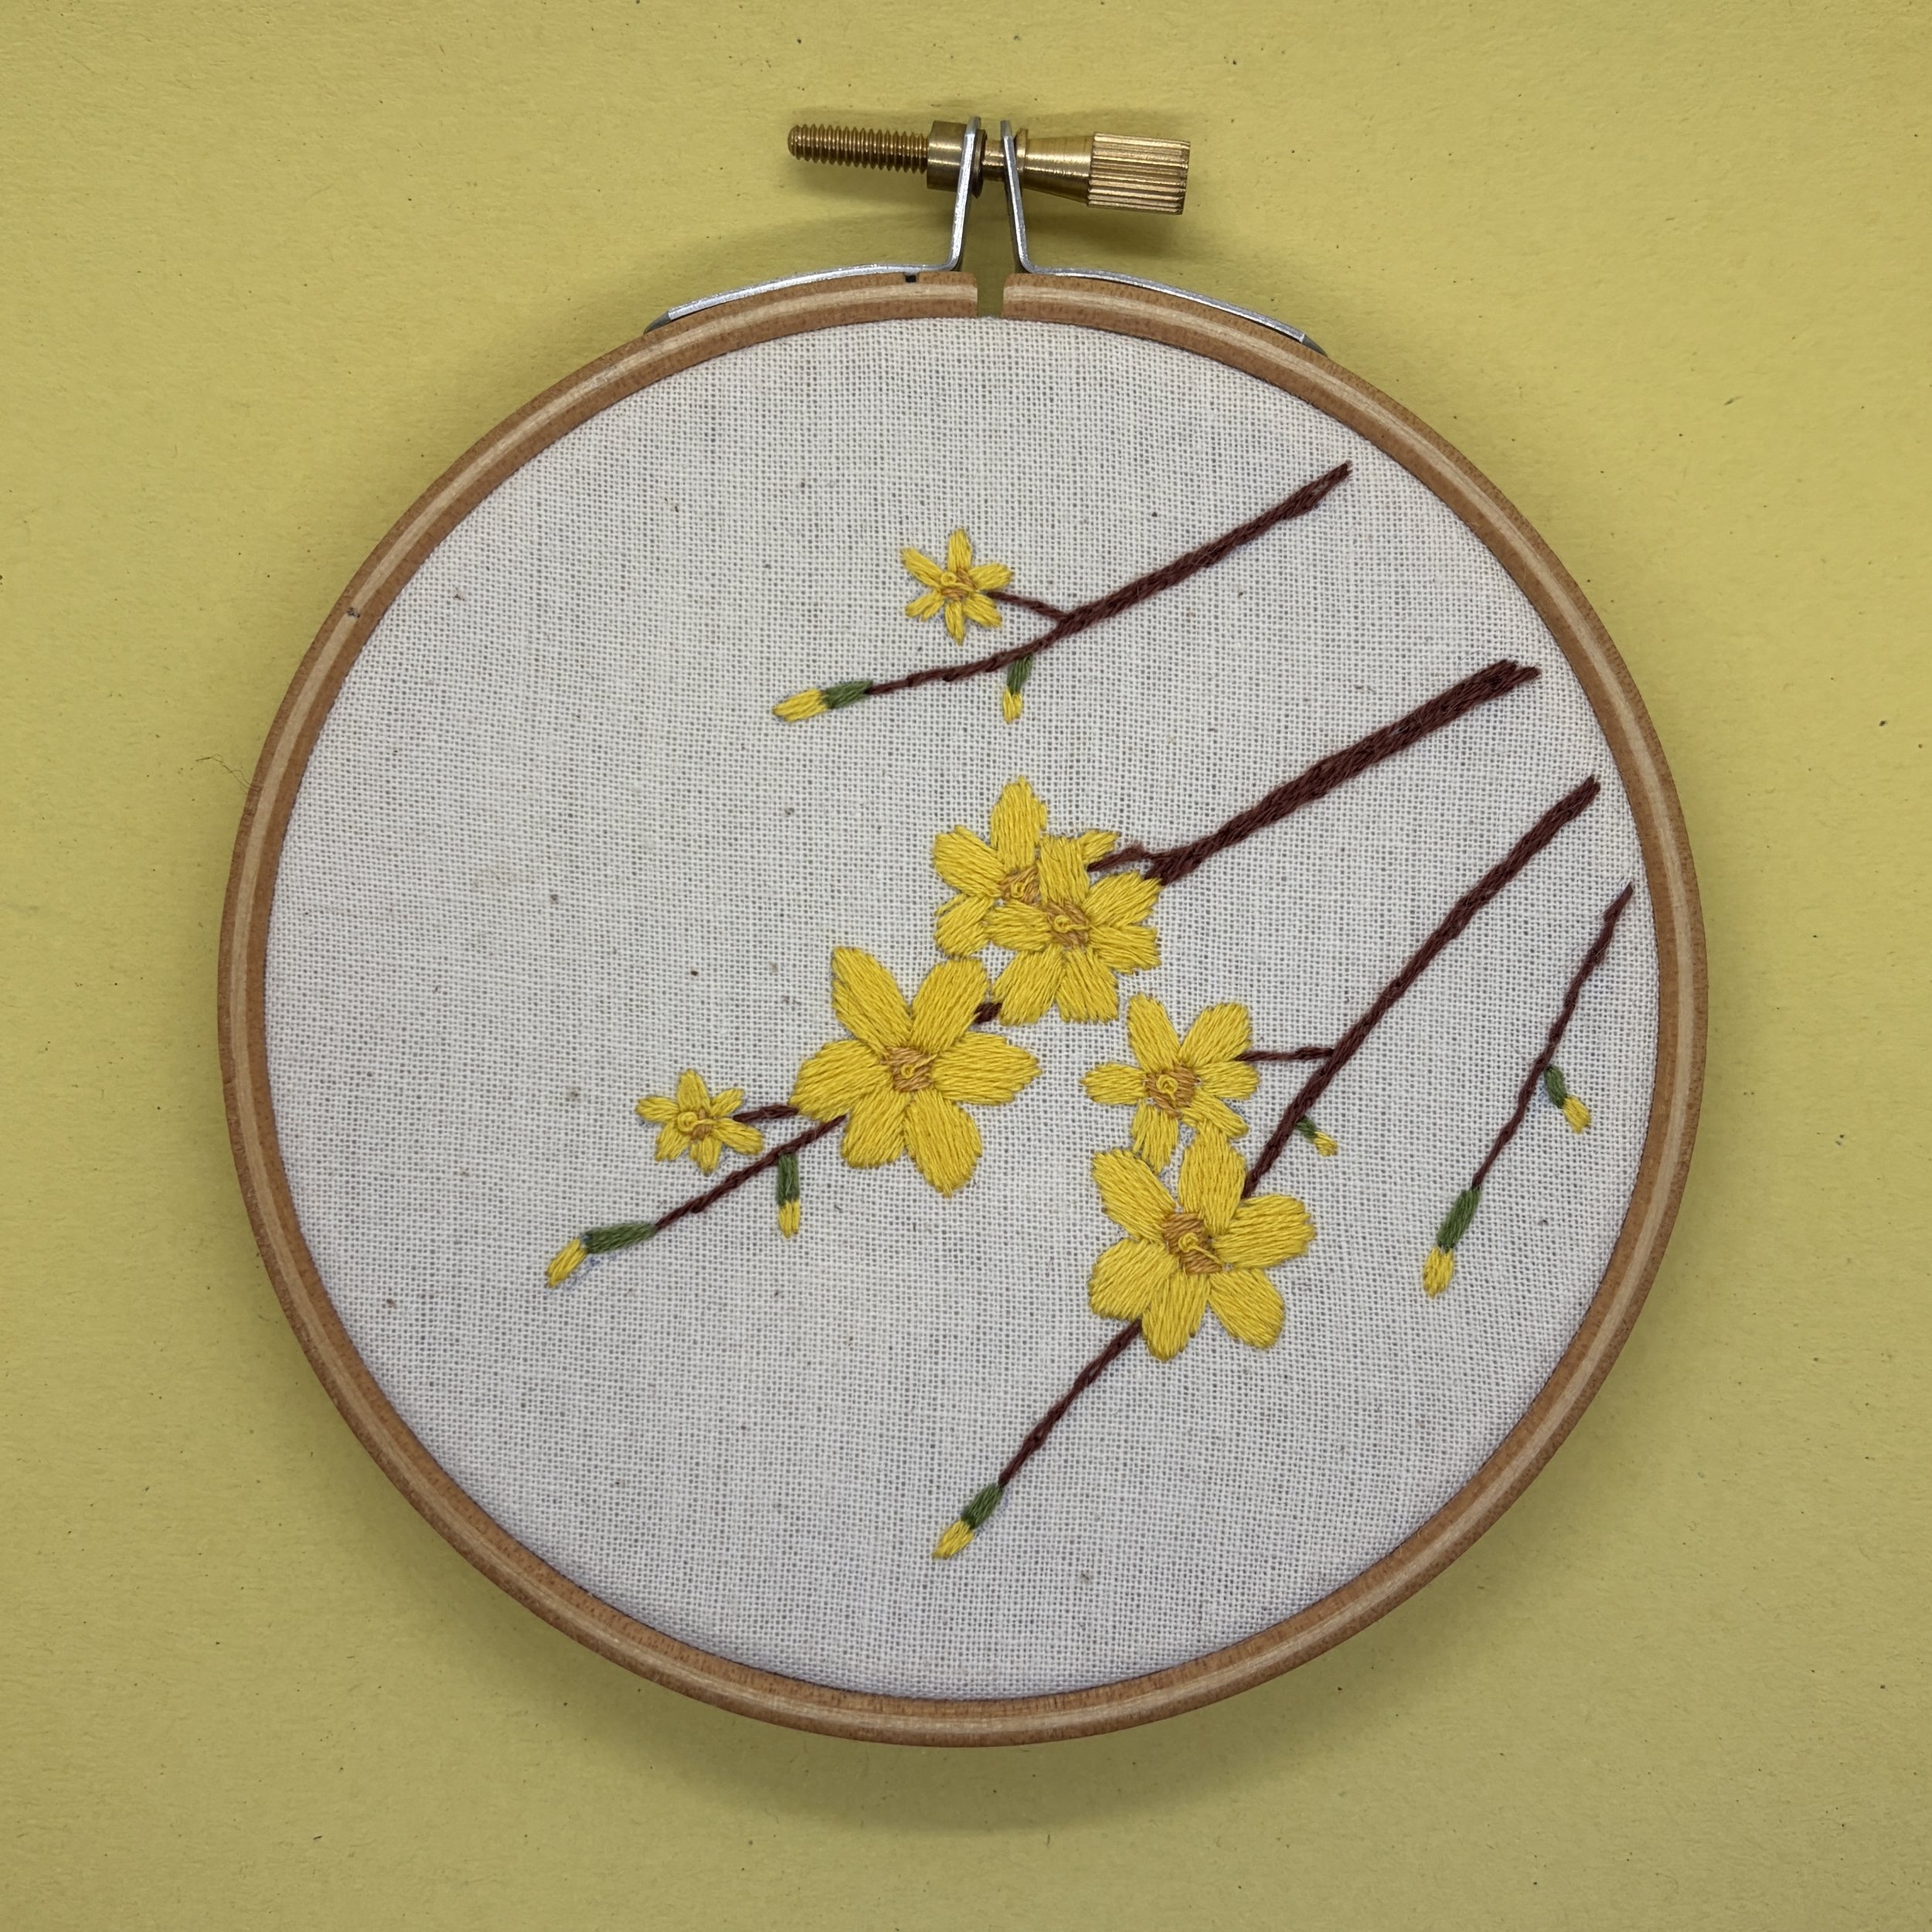
The final knot to share is a bullion knot. This has been my nemesis for a long time, but I recently finished stitching this which required lots of delicate bullion knots. It's still not my favourite stitch but I'm certainly much better at stitching them, so it does help to practice. My tutorial for bullion knot is here.
Enjoyed this blog post? I share embroidery tips and a free embroidery pattern in my monthly newsletter. Sign up here to receive the newsletter on the 1st of each the month.